
- Thread starter
- #121
Batch #2 is ready. I will be sending out an email to all those who are on the list.
Follow along with the video below to see how to install our site as a web app on your home screen.
Note: This feature may not be available in some browsers.
This site may earn a commission from merchant affiliate
links, including eBay, Amazon, Skimlinks, and others.
How was your install? Any pointers?Done and installed. Looks awesome. Took it for a drive and it really feels good on the hands. So nice not having a rough, torn, sticky wheel to hold on to anymore.View attachment 1787959
How was your install? Any pointers?
Sorry I’m late? Is another batch coming?
Done and installed. Looks awesome. Took it for a drive and it really feels good on the hands. So nice not having a rough, torn, sticky wheel to hold on to anymore.View attachment 1787959
Hey there, I'd like to be added to the next batch! Thanks!
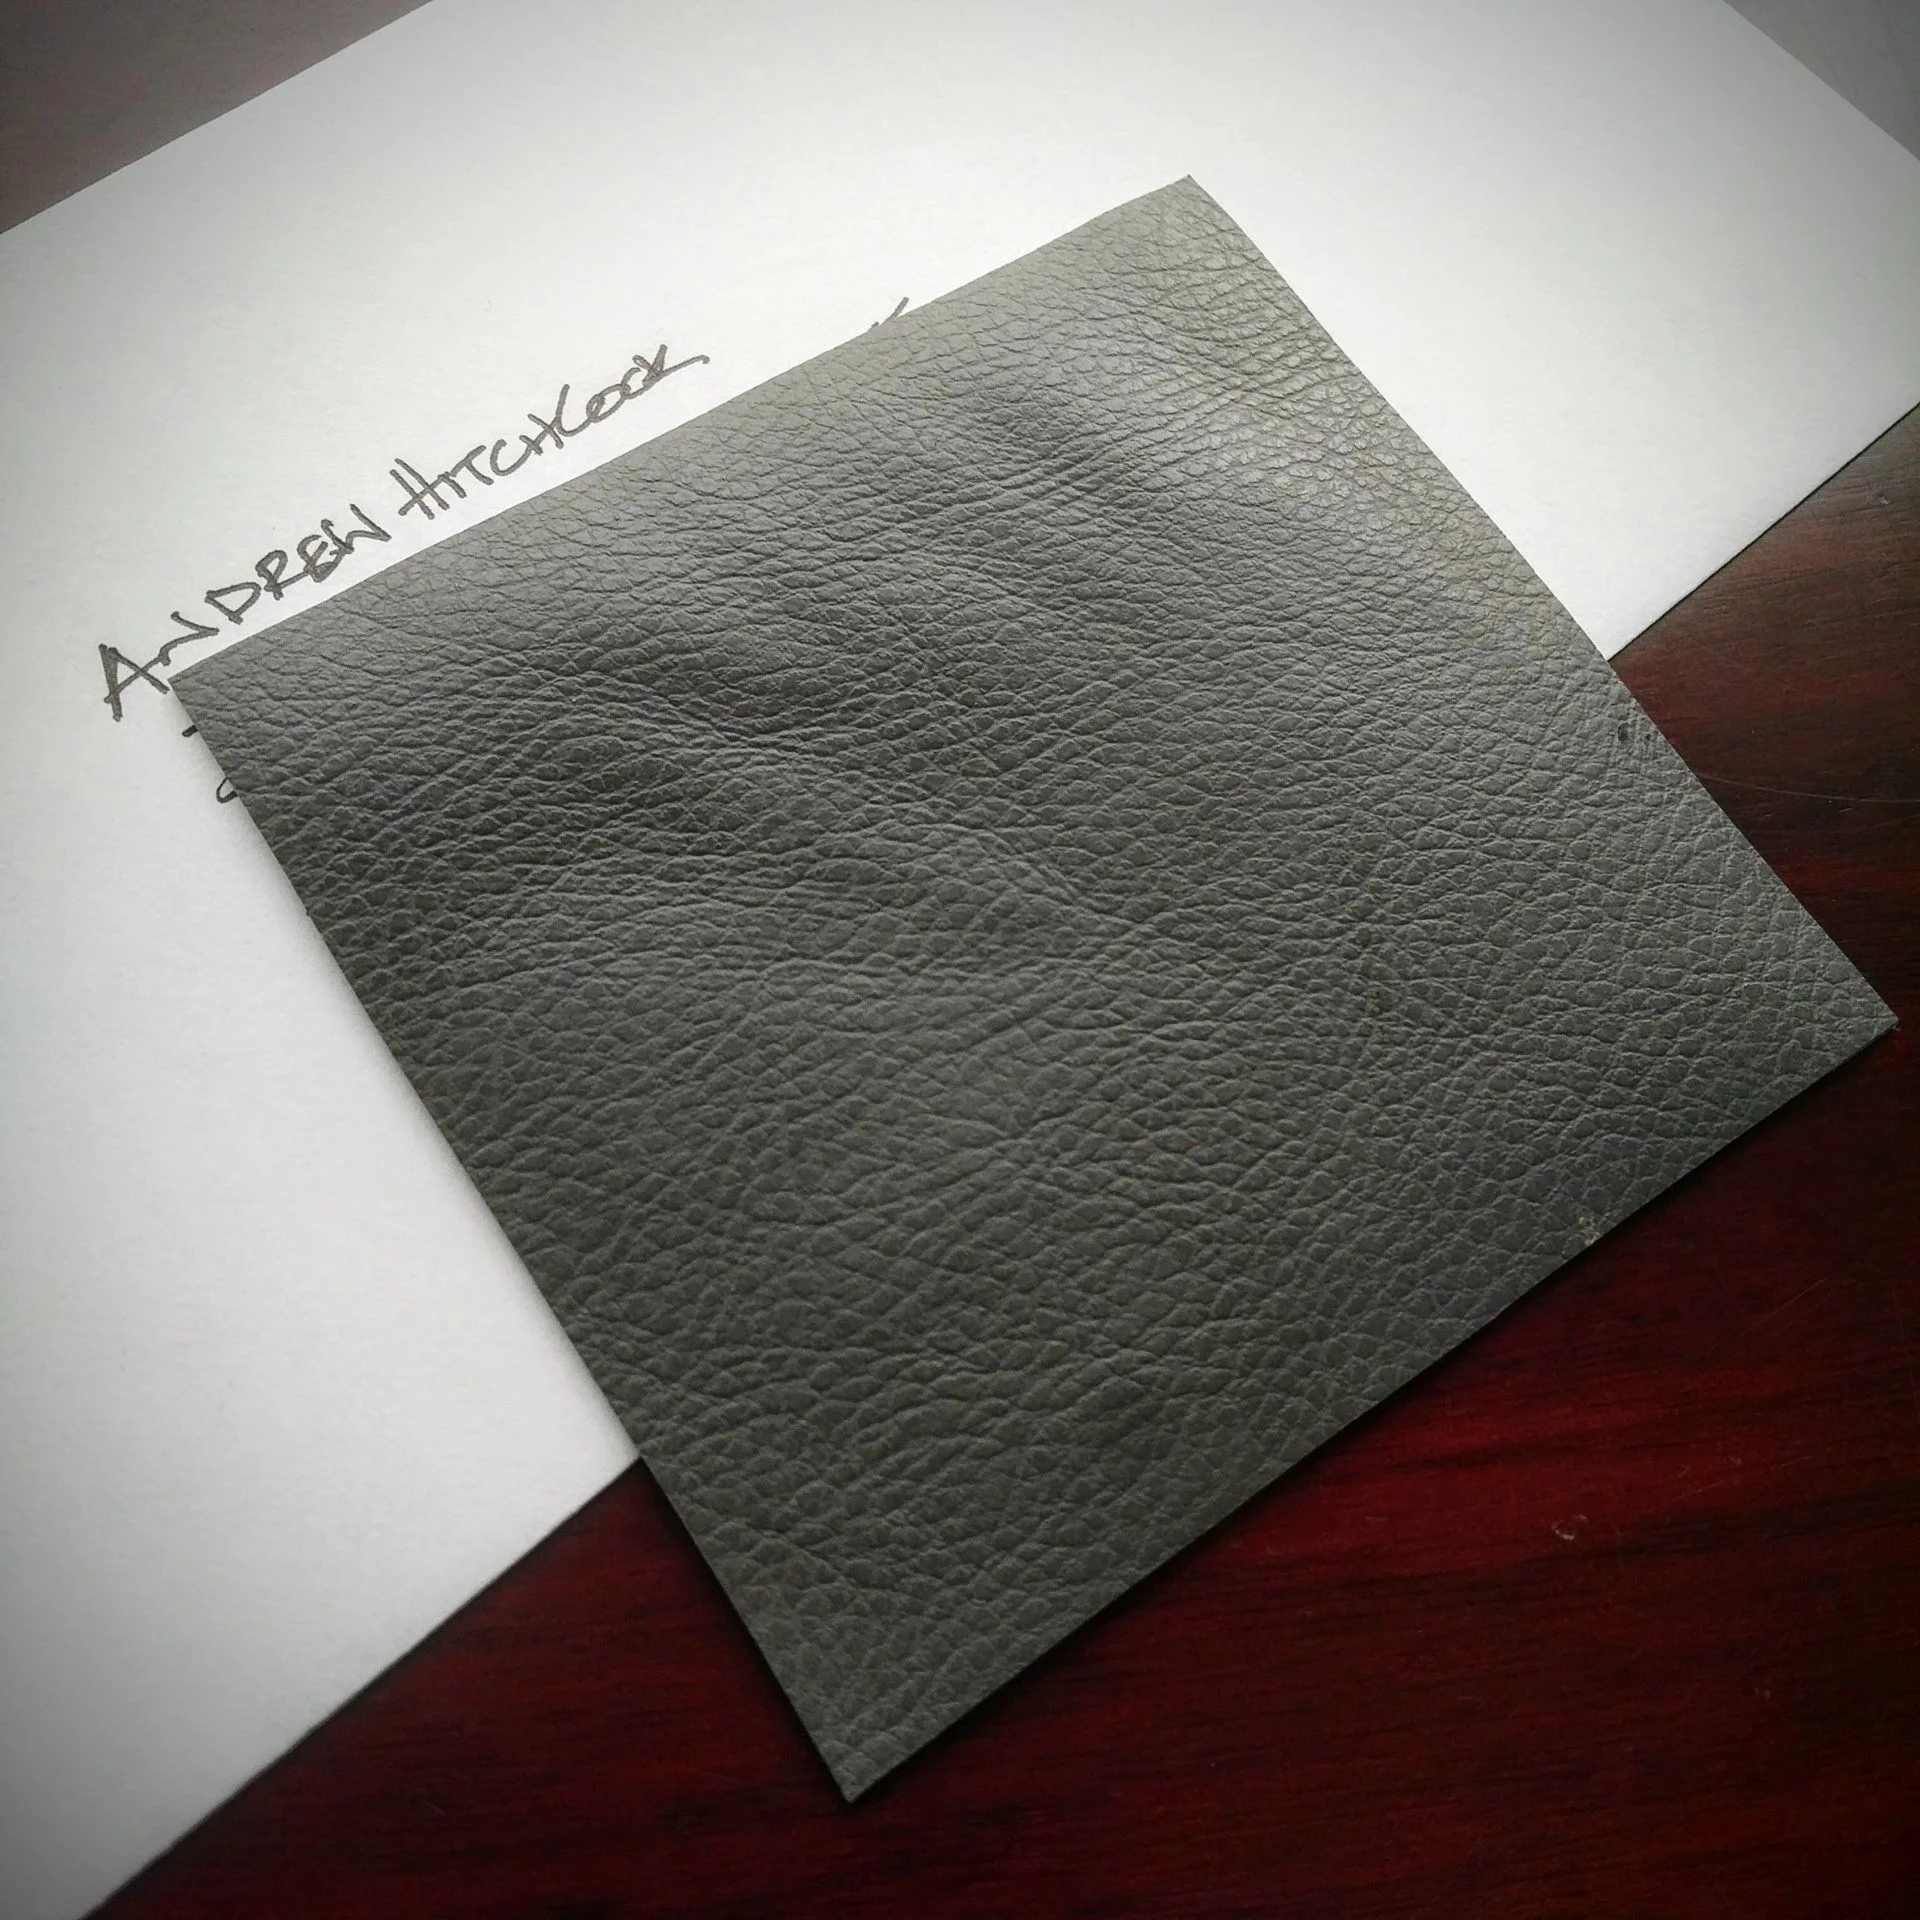
I have a cover with a very very small imperfection in the leather. Is just slightly lighter than the rest of the leather. The spot is about the size of a pencil eraser. When installed, it will also be on the back side of the wheel, so you should not even be able to see it.
Asking $120 shipped, instead of the usual $135
PM me if you want it.
View attachment 1788739
Very interested. I’m assuming this is what is referred to as “tan”?
Done and installed. Looks awesome. Took it for a drive and it really feels good on the hands. So nice not having a rough, torn, sticky wheel to hold on to anymore.View attachment 1787959
I wish I hadve known the 40th anniversary model existed when I was searching, I would’ve been more patient. PMing you about the cover btwYes. The “tan” interiors were called “Oak” by Toyota.
The interior was the classic tan color, but darker pieces of brown leather were found on the door cards, and steering wheel. This is also true with the 40th Anniversary Editions.