TLC Norway
woodwelder
Lovely job you have done, interesting to follow 
Follow along with the video below to see how to install our site as a web app on your home screen.
Note: This feature may not be available in some browsers.
This site may earn a commission from merchant affiliate
links, including eBay, Amazon, Skimlinks, and others.
I'd appreciate if you can share how you wired your cable locker wiring to your dash lights. Mine originally did not have the cable lockers so there is no factory wiring harness in the dash harness but I have all the parts including the dash indicators, etc. The wires were cut at the diffs but some remain to splice. So I think I just need to run the wires but I am total newbie in this type of work. Thank you in advance.


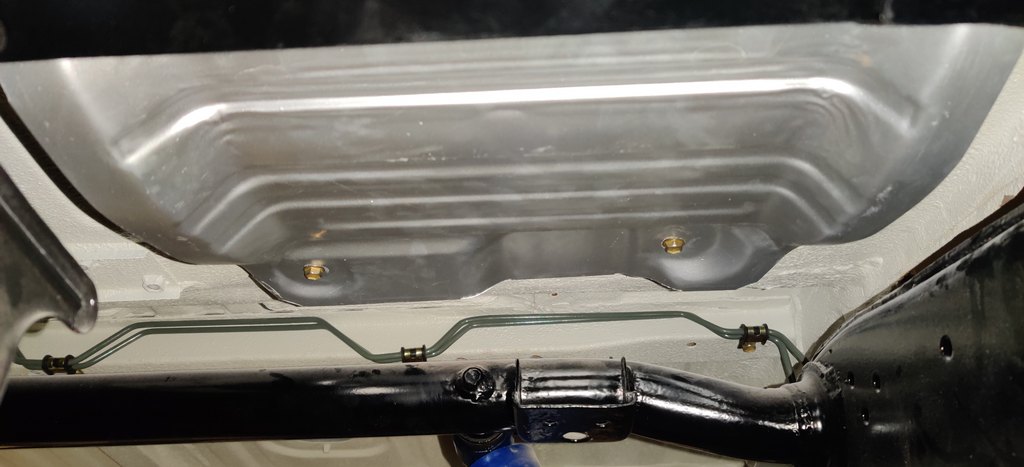


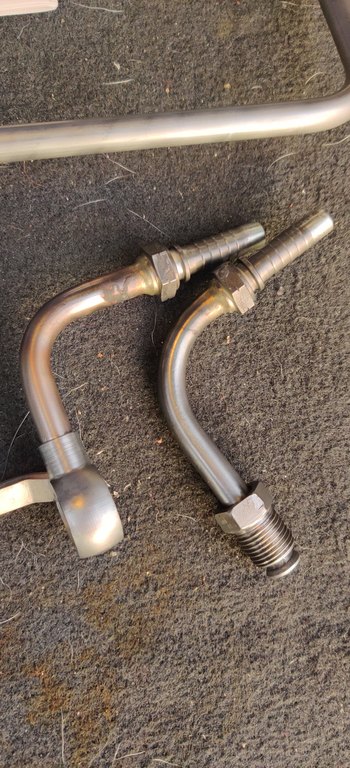
Very nice work here. Did you custom-make the rear heater hard lines?
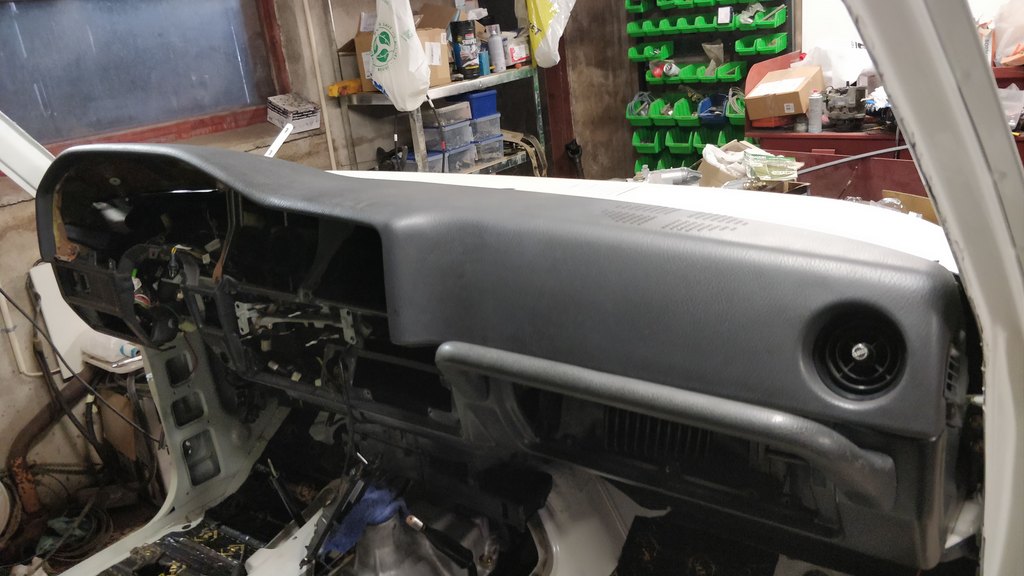
That looks great! I love the polishing work on the dash pieces.
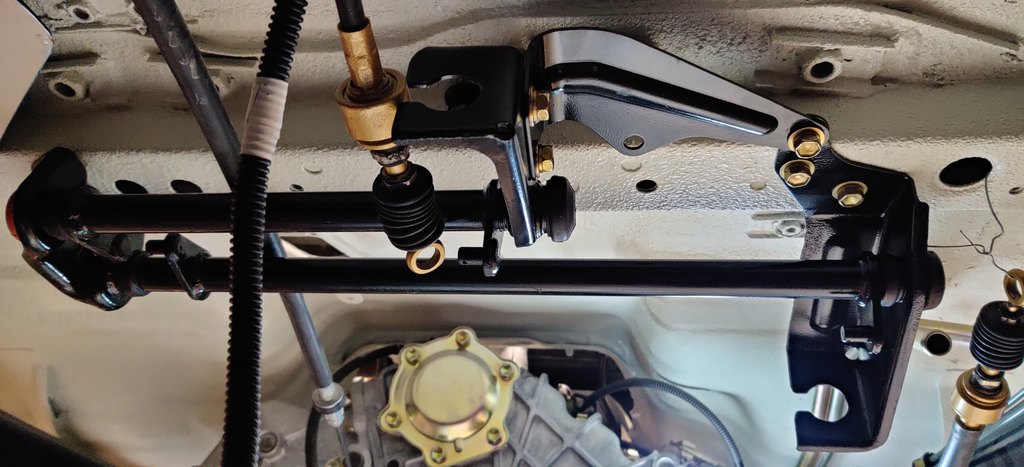
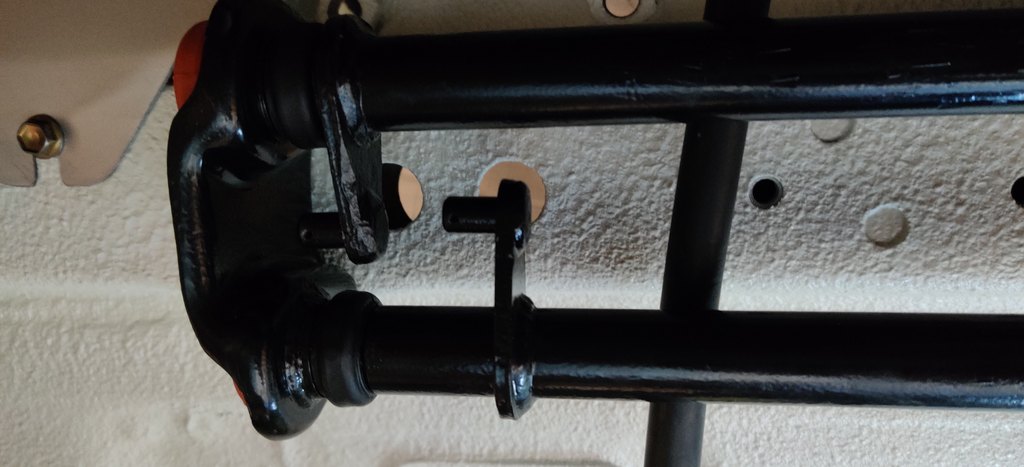
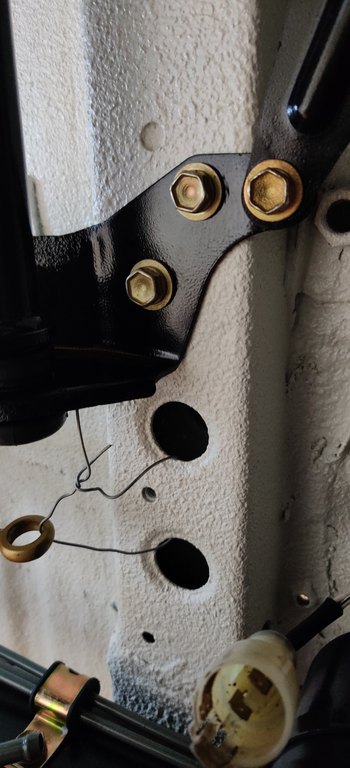
do you have your diff lock arms installed yet? If so, could you post up a couple of pictures of that? I am having a little trouble locating exactly where they bolt on the bottom of my 60 as well as the exact location of the 3 holes inside the truck where the levers mount. I have a bunch of pictures of one of @CenTXFJ60 's HJ61's but it is RHD and a bit different setup. I pretty much have a solid guess where they locate but pictures would be huge!
Your truck is looking great, keep it up.
Cheers
Yes i had a local pipe bender to make them. They have a 3d scanner and cnc pipe bender so it is easy to make new pipes.
Thank you! The hole locations are really the most important. I can scale it close enough just from a picture.Yes i had a local pipe bender to make them. They have a 3d scanner and cnc pipe bender so it is easy to make new pipes.
I will post pictures here when I mount them. I can also send you some pics of the holes they mount to before that if you want.
And thank you for feedback!


samppahj, way to get after it buddy! onnelinen uusi vuosi sinnulle
")
I have not seen a EU spec carpet kit. I was goin go buy a carpet kit here from mud, but the rear heater cut out is located different US vs. EU spec vehicles.
 forum.ih8mud.com
The carpet kit comes whole. I had to cut my heater out. You can cut a heater where ever you need.
I can’t imagine going through all this work just to put an old dirty rug back in it. Power washed or not. Just my humble opinion.
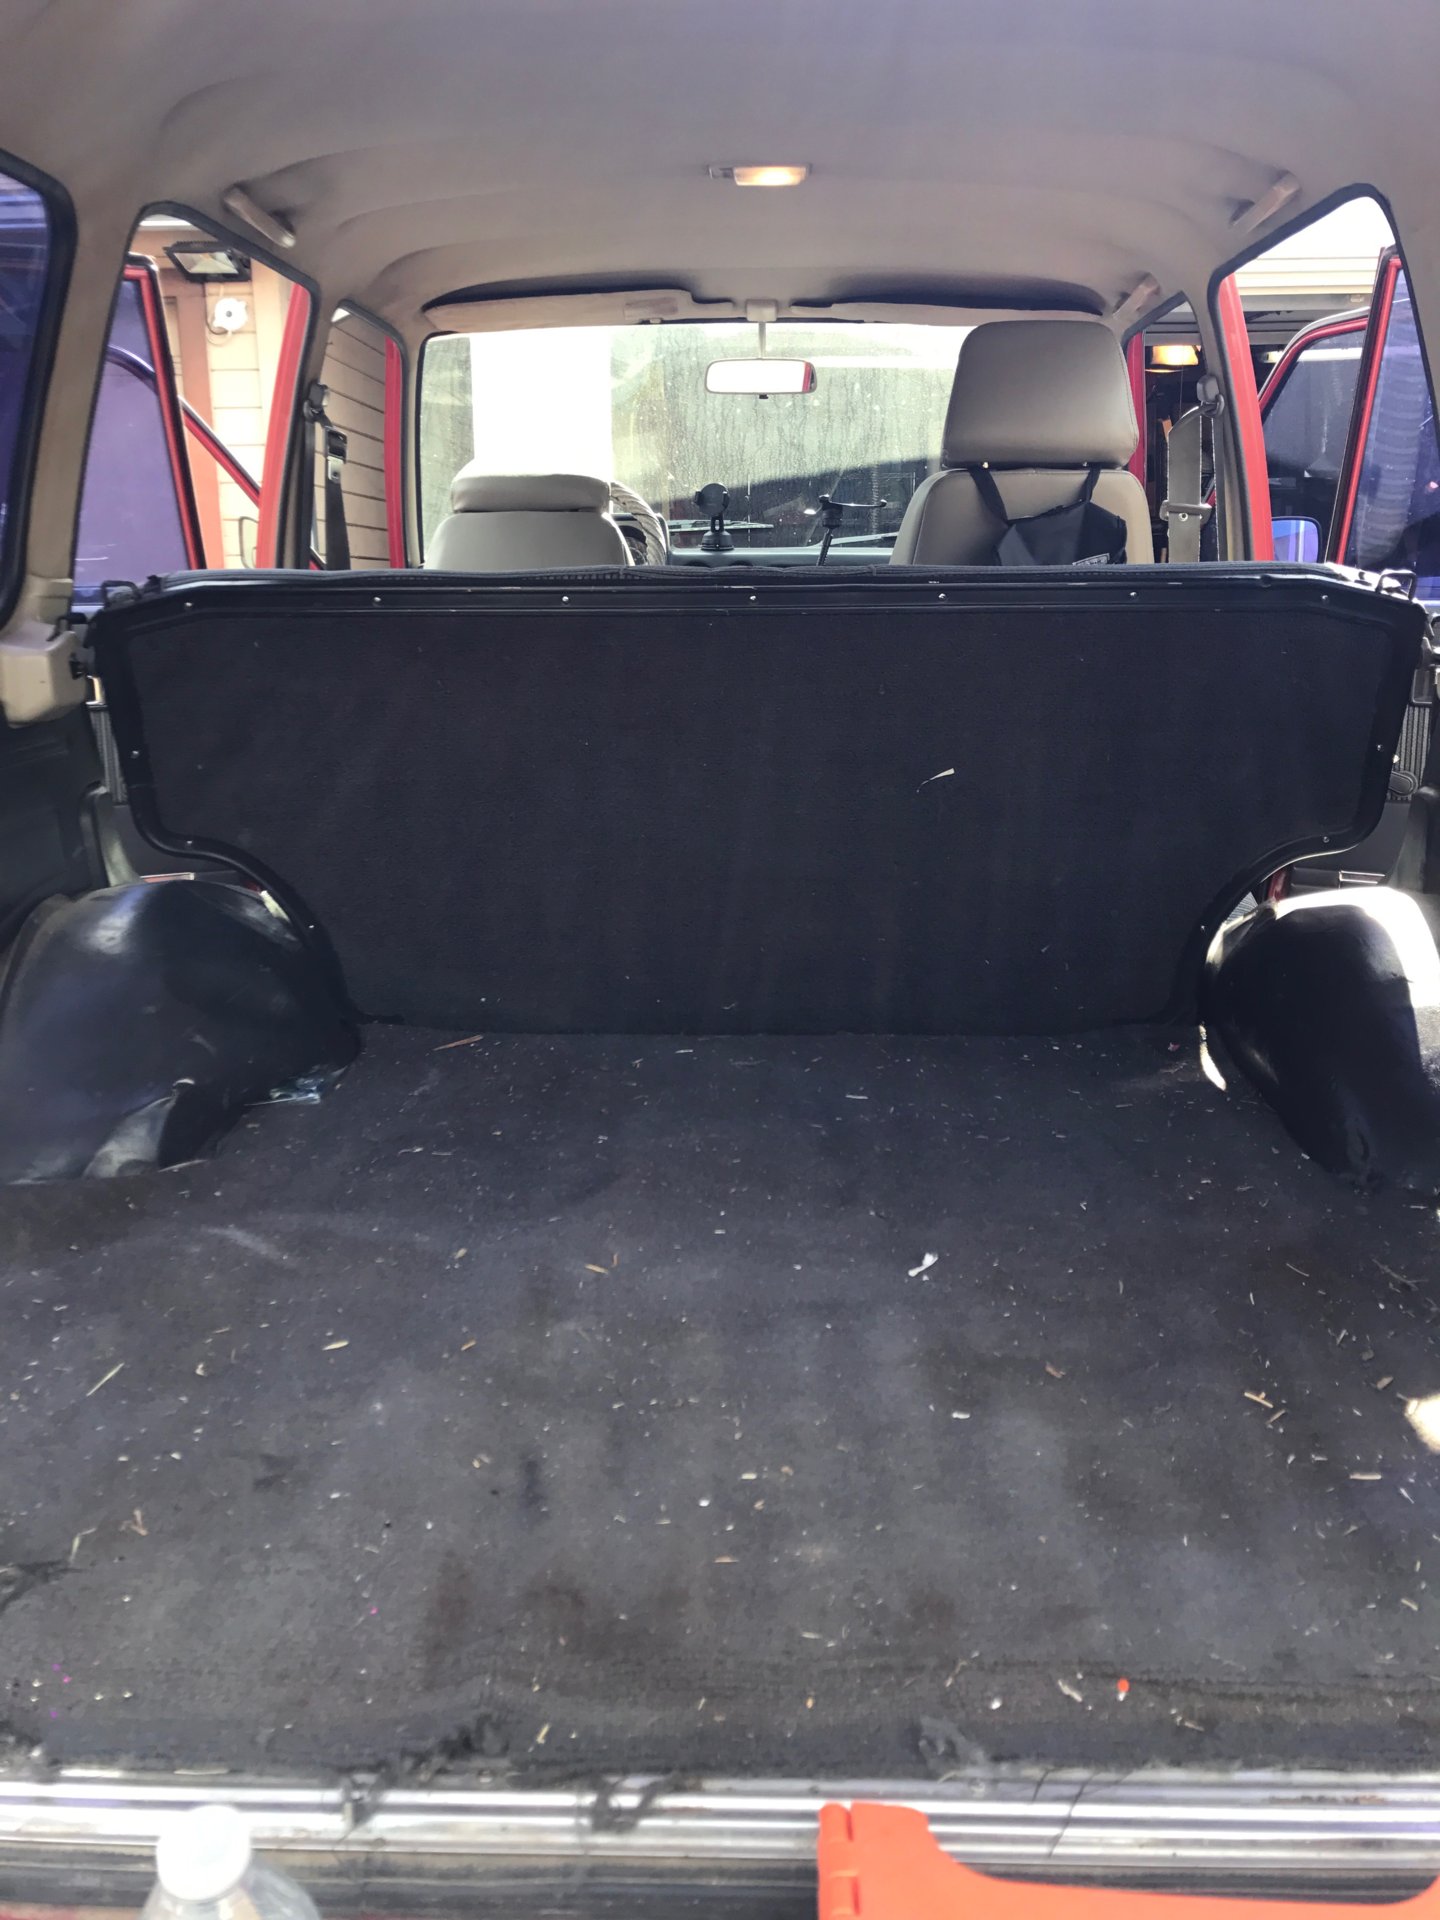
Carpet Install / Tint Removal / Wheel rust repair
So of course I thought this was going to be just a quick afternoon job. I of course was wrong... My truck has now been laid up for three weeks while I take care of a bunch of misc repairs. I got the carpet kit from Reevesci. Couple things to note with his kit. It does not come with backing Jute...