
I have been searching youtube and a quick search here, but I am wondering if anyone has seen a video or a guide with step by steps to disassemble the hard top. Everywhere I look with top restoration it shows the top all together before, jumps to the fiberglass off and sides seperate, and then next thing you see is the finished top back together. I want to restore my top and I could probably just figure it out, but with the price and rarity of the fiberglass cap I want to make sure I dont mess anything up while doing so. Any help would be awesome!!!
Navigation
Install the app
How to install the app on iOS
Follow along with the video below to see how to install our site as a web app on your home screen.
Note: This feature may not be available in some browsers.
More options
You are using an out of date browser. It may not display this or other websites correctly.
You should upgrade or use an alternative browser.
You should upgrade or use an alternative browser.
Help With Hardtop Disassembly (1 Viewer)
- Thread starter budharris
- Start date
This site may earn a commission from merchant affiliate
links, including eBay, Amazon, Skimlinks, and others.
More options
Who Replied?watching.
The actual process of aligning the new rain gutter, drilling rivet holes and locating the holes for the bolts holding the top to the sides would be nice.
This may or may not help. Both installations and removals discussed.
Correct sequence for installing hardtop and doors.................
Correct sequence for installing hardtop and doors.................
Determining the location for the bolts holes on a NEW rain gutter is worrisome.
Check out my build in my signature line. There's some videos and pics that might be helpful. I just went through this so I can try to answer any questions if I can.
More specifically starting here...
 forum.ih8mud.com
More specifically starting here...
AA Ron's FJ40 refresh
I purchased my 1976 FJ40 summer of 2016. I've taken a slow approach to making it right and I'm doing what I'm calling a "refresh" not a restoration. I drive it usually on weekends mostly for fun, but there are definitely some things that need fixing. The "refresh" is mostly because I can't...
forum.ih8mud.com
Last edited:
- Thread starter
- #7
Yeah your build was helpful a bit. Did you fill the gutter with SEM to the point of covering rivet heads. Yours looks good and you can barely even see where the cap meets the SEM!!! Also did you decide to fix where the holes were ripped where the rivets came out?Check out my build in my signature line. There's some videos and pics that might be helpful. I just went through this so I can try to answer any questions if I can.
More specifically starting here...
AA Ron's FJ40 refresh
I purchased my 1976 FJ40 summer of 2016. I've taken a slow approach to making it right and I'm doing what I'm calling a "refresh" not a restoration. I drive it usually on weekends mostly for fun, but there are definitely some things that need fixing. The "refresh" is mostly because I can't...
From memory with pictures...
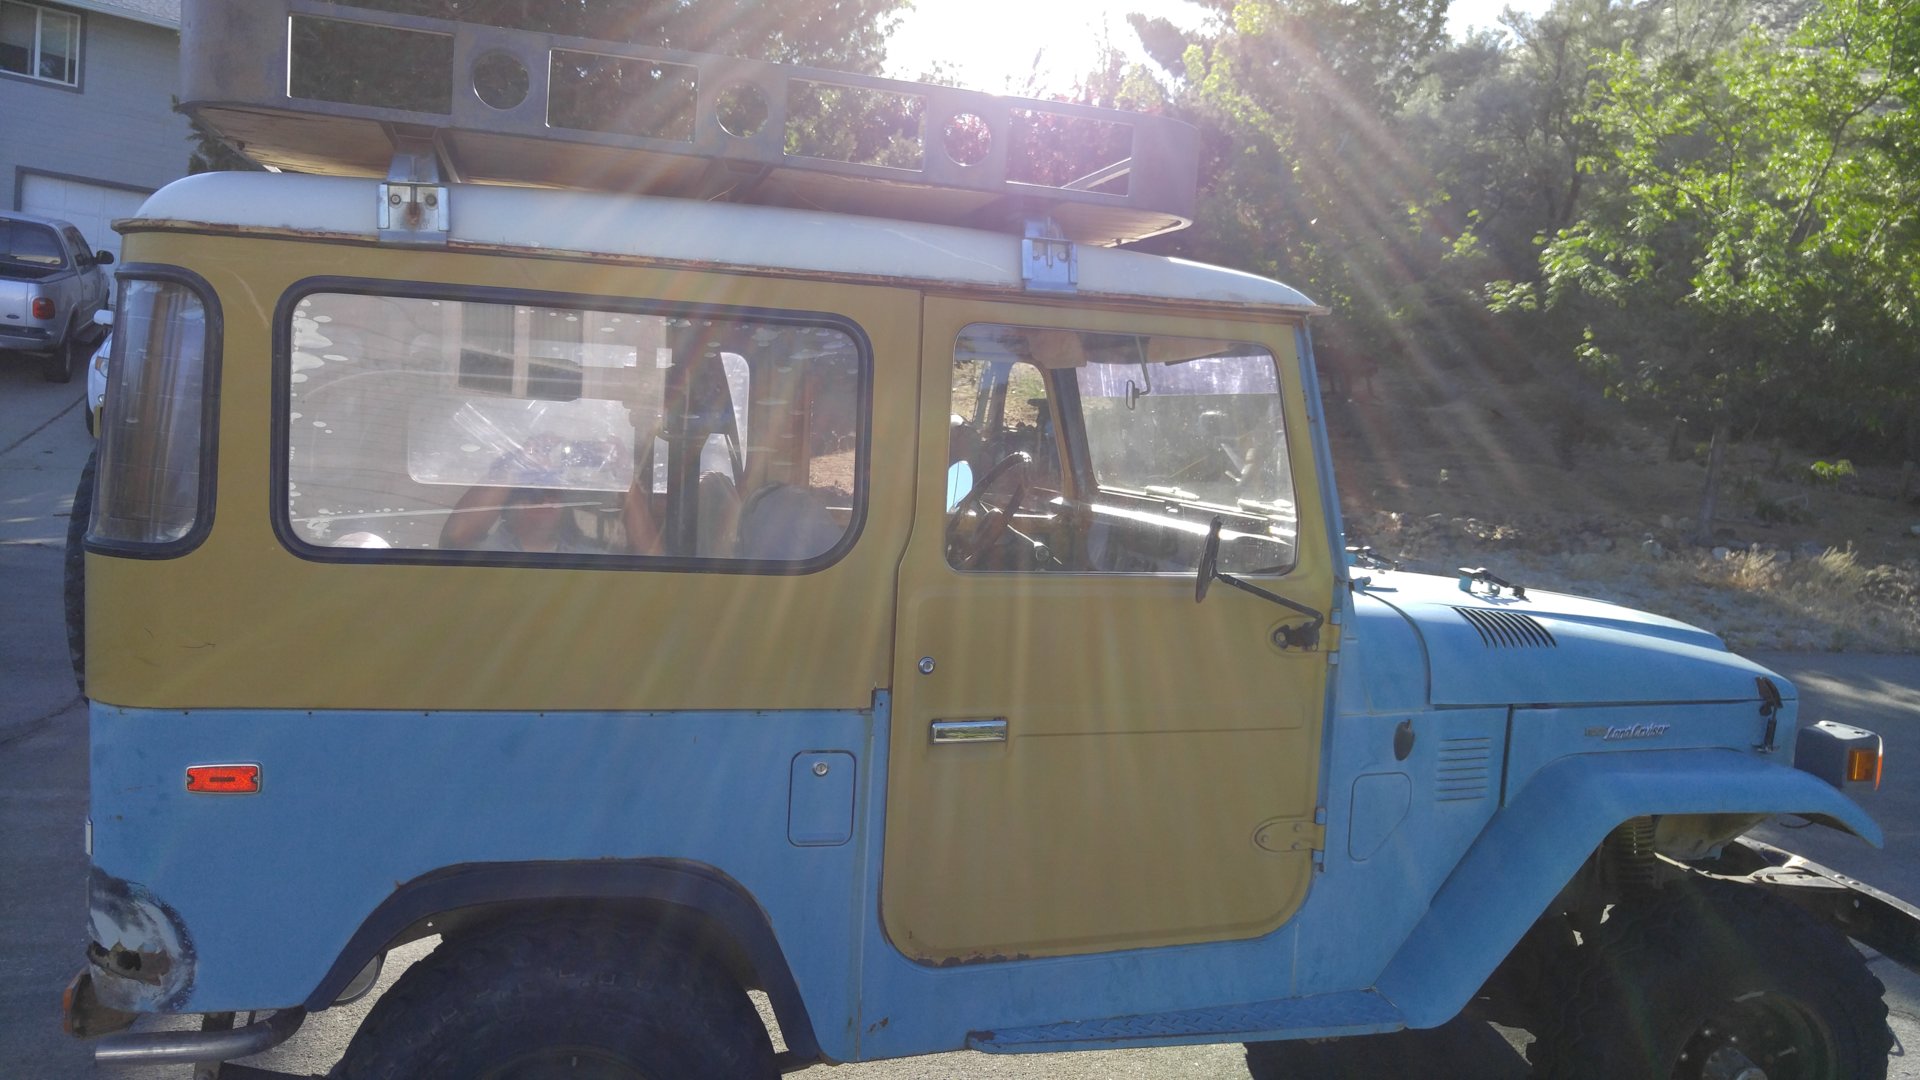
1.Remove the ambulance doors (with or without the hinge up to you. I just unscrewed the hinges from the hard top side altogether and later removed them from the doors.

2. Remove the bolts attaching the top to the windshield.
3. There are 2 bolts, one on each side, that hold the bars for the top in the door jam area. Loosen them. The picture is showing the screw from the inside but look for it about half way down from the inside of the tub.

4. Begin undoing the bolts around the fiberglass top, example: the ones with the arrows. There are more all the way around from the inside of the landcruiser so just make sure you get them all. Then the bolts with the circles, those you have to get from above the metal rail, i.e. the headliner side whereas the others you can access from the bottom of the rail. I think some people miss these and the task becomes harder.

Don't forget these on each side

5.Now you're ready to separate the fiberglass top. Note: you will also be taking off the side bows that attach the hardtop side to the windshield. If you want, you could remove it while you are doing the rest if so you need to unbolt the bolts from the inside of the bows. These will need to come off either way but I removed mine when I already had the fiberglass top off.
The picture shows the holes where the bolts screw in from the inside. This part on how to remove them seemed a little tricky, but it really isn't. You'll see a ridge where it looks like the piece slides in and you think you have to slide the piece out but it isn't about sliding it, it really is more like separating a clam if that makes any sense. You'll figure that part out but I don't think I'm explaining it well. See the next pictures for better shot.

1.Remove the ambulance doors (with or without the hinge up to you. I just unscrewed the hinges from the hard top side altogether and later removed them from the doors.
2. Remove the bolts attaching the top to the windshield.
3. There are 2 bolts, one on each side, that hold the bars for the top in the door jam area. Loosen them. The picture is showing the screw from the inside but look for it about half way down from the inside of the tub.
4. Begin undoing the bolts around the fiberglass top, example: the ones with the arrows. There are more all the way around from the inside of the landcruiser so just make sure you get them all. Then the bolts with the circles, those you have to get from above the metal rail, i.e. the headliner side whereas the others you can access from the bottom of the rail. I think some people miss these and the task becomes harder.
Don't forget these on each side
5.Now you're ready to separate the fiberglass top. Note: you will also be taking off the side bows that attach the hardtop side to the windshield. If you want, you could remove it while you are doing the rest if so you need to unbolt the bolts from the inside of the bows. These will need to come off either way but I removed mine when I already had the fiberglass top off.
The picture shows the holes where the bolts screw in from the inside. This part on how to remove them seemed a little tricky, but it really isn't. You'll see a ridge where it looks like the piece slides in and you think you have to slide the piece out but it isn't about sliding it, it really is more like separating a clam if that makes any sense. You'll figure that part out but I don't think I'm explaining it well. See the next pictures for better shot.


6. You should probably have at leas a 2nd person to remove the top if you don't want to damage it. It's not too heavy just big and awkward. Remove the fiberglass top and store it.
7. With the top removed you can start removing each of the bolts around the hartop sides. Note: you will break some if not all of these if your top hasn't been removed in a while, so be ready to buy new ones or have replacement bolt ready when you go back to reinstall.

8. Remove the bolts (1 on each side) holding the door channel between hartop sides, and also remove the 90 degree metal pieces.


9. Sides should now be independent and free to come off. Carefully remove them, again with help if you can.
A couple notes:
The weatherstrips from @Racer65 weatherstrip are top notch. I can't say enough how good they were and how easy they were to work with and very reasonable pricing.
Here were a couple other Mud Members threads I used that I found to also be very helpful...
 forum.ih8mud.com
 forum.ih8mud.com
And a video I posted outlining how I went about doing the rivets if you get to that point.
I hope this helps and you can feel more comfortable about pulling off this restoration of your hardtop. I feel like if I can do it then pretty much anyone can. Sure there will be different levels of restoration, but as far as pulling it all apart and getting it back together, I'm sure you can do it.
7. With the top removed you can start removing each of the bolts around the hartop sides. Note: you will break some if not all of these if your top hasn't been removed in a while, so be ready to buy new ones or have replacement bolt ready when you go back to reinstall.
8. Remove the bolts (1 on each side) holding the door channel between hartop sides, and also remove the 90 degree metal pieces.
9. Sides should now be independent and free to come off. Carefully remove them, again with help if you can.
A couple notes:
The weatherstrips from @Racer65 weatherstrip are top notch. I can't say enough how good they were and how easy they were to work with and very reasonable pricing.
Here were a couple other Mud Members threads I used that I found to also be very helpful...
Builds - Tucker and Roma's 75 FJ40 Restore
pace has slowed since the truck is running but did manage to get some work done on the hard top. also had a custom pulley machined for the a/c compressor so we could run a factory sized belt. hard top sides finished up with new Toyota seals for the corner windows and spector sliding...
forum.ih8mud.com
FJ40 Fiberglass rivet tool
Here is a tool I used for riveting a top for my FJ40, Had to turn down the air hammer a little.
forum.ih8mud.com
And a video I posted outlining how I went about doing the rivets if you get to that point.
I hope this helps and you can feel more comfortable about pulling off this restoration of your hardtop. I feel like if I can do it then pretty much anyone can. Sure there will be different levels of restoration, but as far as pulling it all apart and getting it back together, I'm sure you can do it.
Yeah your build was helpful a bit. Did you fill the gutter with SEM to the point of covering rivet heads. Yours looks good and you can barely even see where the cap meets the SEM!!! Also did you decide to fix where the holes were ripped where the rivets came out?
I did try to fix those holes with some resin thinking it would harden and then I could just drill the whole again. But what I found was that it wasn't enough of a fix. I think if I did it again, I might use some small washers to get more coverage and "bite" on whatever fiberglass was in tact. That's one way. I'm sure maybe others have different ideas of how to fix that but that's what I went with.
Also, yes the SEM covered the rivets pretty completely. Maybe not necessary, but I wanted to make sure it sealed well.
I hope I didn't go too much on a tangent and my pictures and explanations were actually helpful.
- Thread starter
- #12
your pics and videos definitely helped me as far as what repairs I'm going to do and separating the gutter from the cap. The only thing I gotta figure out now is separating the top and gutter from the side pieces.I did try to fix those holes with some resin thinking it would harden and then I could just drill the whole again. But what I found was that it wasn't enough of a fix. I think if I did it again, I might use some small washers to get more coverage and "bite" on whatever fiberglass was in tact. That's one way. I'm sure maybe others have different ideas of how to fix that but that's what I went with.
Also, yes the SEM covered the rivets pretty completely. Maybe not necessary, but I wanted to make sure it sealed well.
I hope I didn't go too much on a tangent and my pictures and explanations were actually helpful.
- Thread starter
- #13
Oh I just saw that there are directions fro removing top from sides posted here. Last night I checked in on my phone and it didnt show up. Thank you everyone for the help
Similar threads
Users who are viewing this thread
Total: 2 (members: 0, guests: 2)