Since I'm getting a lot of IMs about how I did it, I'll capture it here again but I think I posted it somewhere else too. Don't get in a hurry as this process took me several weekends (b/c of time needed for paint, seam sealer, adhesive, etc. to cure)
Here is what I did, step by step and you don't need any fancy expensive tools for the job...but you do need to purchase a couple of special inexpensive tools to make the job much easier.
Rivet setting tool:
C.S. Osborne Model Rivet Setter(USA)
Rivets (1/8" x 3/8" flat head):
McMaster-Carr
Also get a bunch (100+) of round 1/8" rivet washers in aluminum to use with these rivets (can get at any hardware store).
Other Materials:
- 3M Seam Sealer (2 tubes from Cool Cruisers of Texas)
- Sikaflex (1 tube of white, waterproof, and long cure set/up type formula)
- Optional: body filler, fiberglass repair kit, 3M Heavy Duty Repair Filler (all this depends on the condition of your fiberglass roof cap)
Tools:
- sledge hammer
- flat steel plate or marble/cement (to use to brace the rivets when you strike them with hammer)
- "clecos" (at least 30+...I used many more...get the 1/8" size)
- cleco pliers
Picture of Cleco Pliers and Clecos
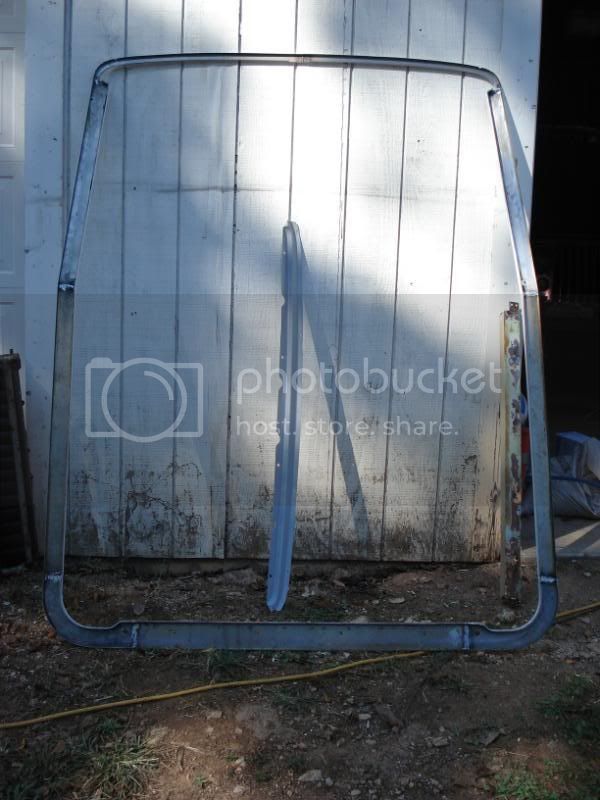
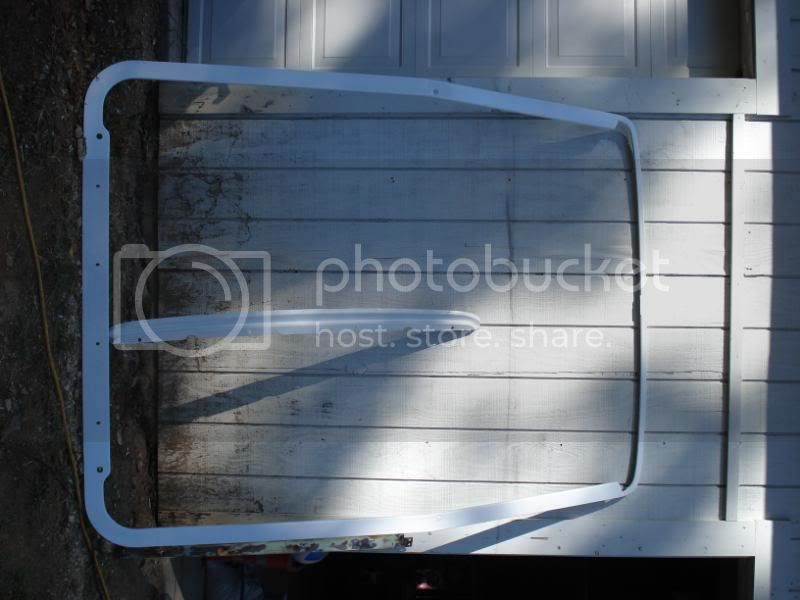
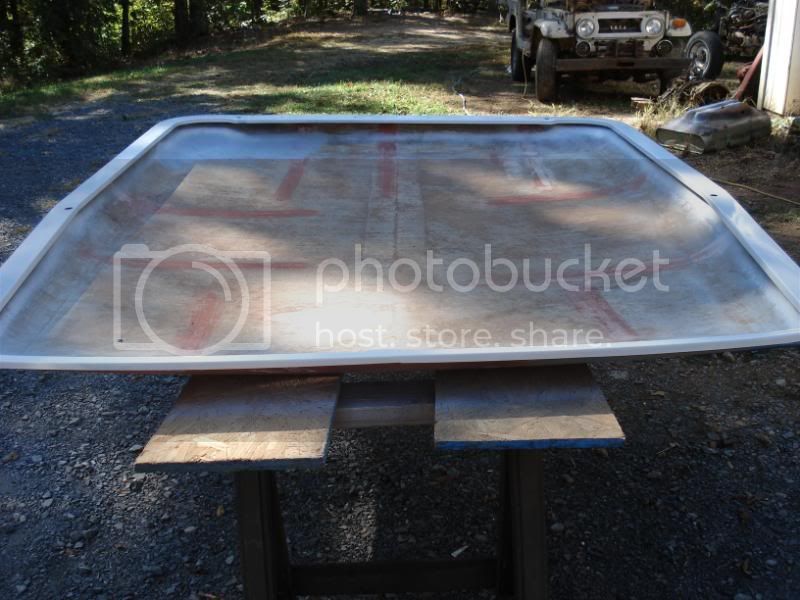
Separate the fiberglass cap from the rain gutter by shearing or sanding the rivet heads off the underside of the drip rail. If the winshield header is loose, now is the time to remove it. Clean out all of the old seam sealer from the drip rail and sand or media blast the drip rail and the winshield header. Remove headliner from underside of roof cap and lightly sand old headliner glue from roof cap.
Replace any welded nuts that have stripped threads or rusted away (can either tack weld new nuts or drill out old nut and simply place a new nut on top of the old one). Repair any rusted sections of the drip rail metal.
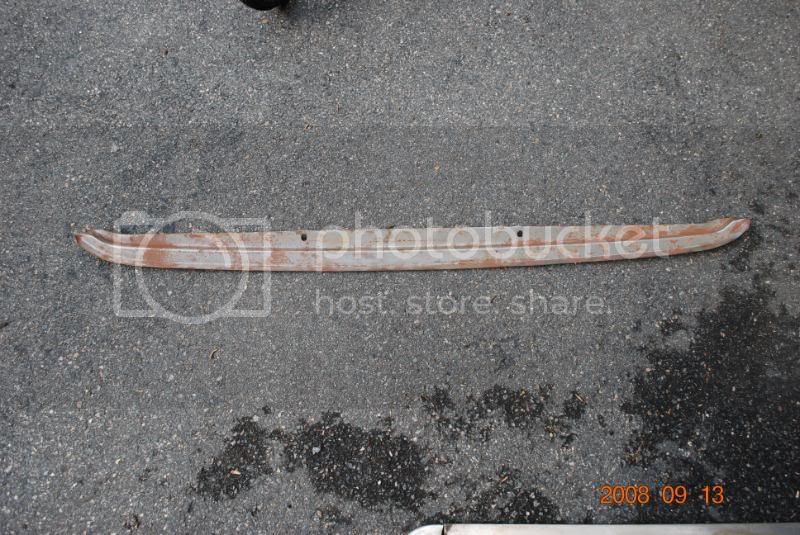
Paint drip rail with good rust preventative paint like POR-15 or Rust Bullet. Try not to paint down inside the welded nuts on the drip rail or else you will have to clean the threads with a proper size tap. Also paint the winshield header with rust preventative paint.
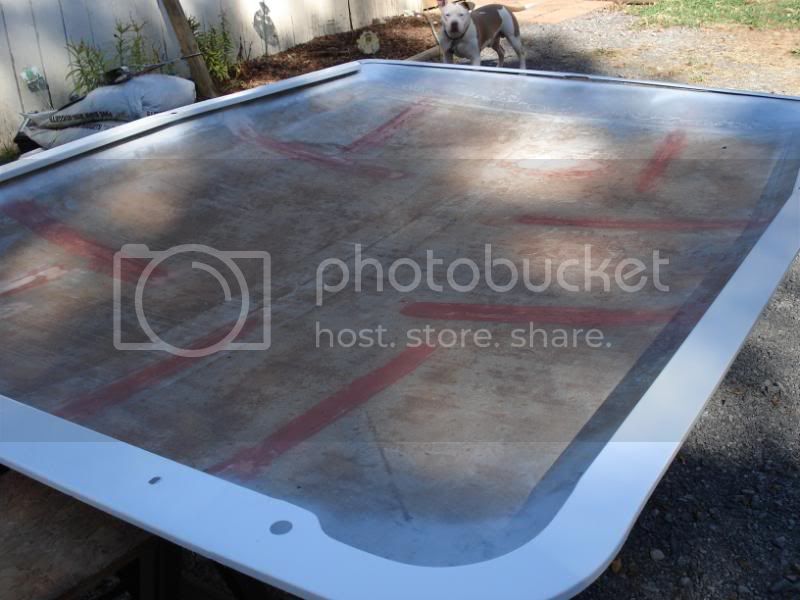
The fiberglass top should be checked for holes or cracks and repaired with appropriate fiberglass repair materials. Especially look at the holes that attach the roof cap to the drip rail and repair as necessary (3M High Strength Repair Filler is excellent for this as it dries ultra hard and strong). Light skim coats of body filler can be used for deep scratches on either side of the roof cap. Do not paint roof cap yet!
To re-attach roof cap to rain gutter, place rain gutter and fiberglass roof cap on smooth garage floor (unless you have a huge heavy duty table or countertop). Place a bead of Sikaflex (marine adhesive...get the waterproof one with a longer cure time) around the perimeter of the roof cap and set roof cap inside of drip rail. Use a bunch of "clecos" to secure the roof cap to drip rail or a bunch of other type of "C" clamps to pull the roofcap and gutter together while the Sikaflex cures. If you are not using clecos, clean out the rivet holes to minimize the amount of adhesive that dries in the rivet holes. Let Sikaflex completely cure for a few days and then clean out each and every rivet hole with a 1/8" drill bit.
To install rivets, insert the rivet up from the bottom / underside the rain gutter and through the fiberglass top, place aluminum 1/8" washer on rivet shaft letting the washer lay in the rain gutter area. Brace the rivet from the underside of the rain gutter with a thick piece of steel or other very hard block of marble/granite/cement. Place rivet tool on top side of rivet and strike with a sledge hammer until the rivet shaft flattens and secures itself against the washer. Be careful and don't strike the rivet too many times after it flattens against the washer...don't break the fiberglass! Repeat this process all the way around the perimeter of the top.
Once all rivets are set use 3M Seam Sealer (the stuff that Cool Cruisers of Texas sells...you will need 2 tubes). Smooth the seam sealer with your finger to re-shape the rain gutter area. Each rivet/washer combo should now be invisible and covered with seam sealer. Let the seam sealer dry for a few days and lightly sand it smooth.
Reattach winshield header if removed earlier...again using Sikaflex and clecos to clamp to hardtop. Make sure you get the angle of the winshield header correct or you won't be able to properly bolt the header to the winshield. I'd recommend placing the roof cap / drip rail combo back on the truck and bolt in place to get the angle on the header exactly right. To secure the header panel, I tried using rivets, but was unsuccessful in attaching them b/c of the location of the mounting points, so I used very short rounded stainless button head bolts with a slightly larger diameter stainless washer on the topside and another stainless washer with flat nylock nut on the underside (use some seam sealer to avoid leaks around the bolts/washer area).
You have successfully restored the drip rail & roof cap! Now you are ready to paint the entire roof cap / drip rail (Cygnus White please!!!).
Hope this helps!
")