- Thread starter
- #81
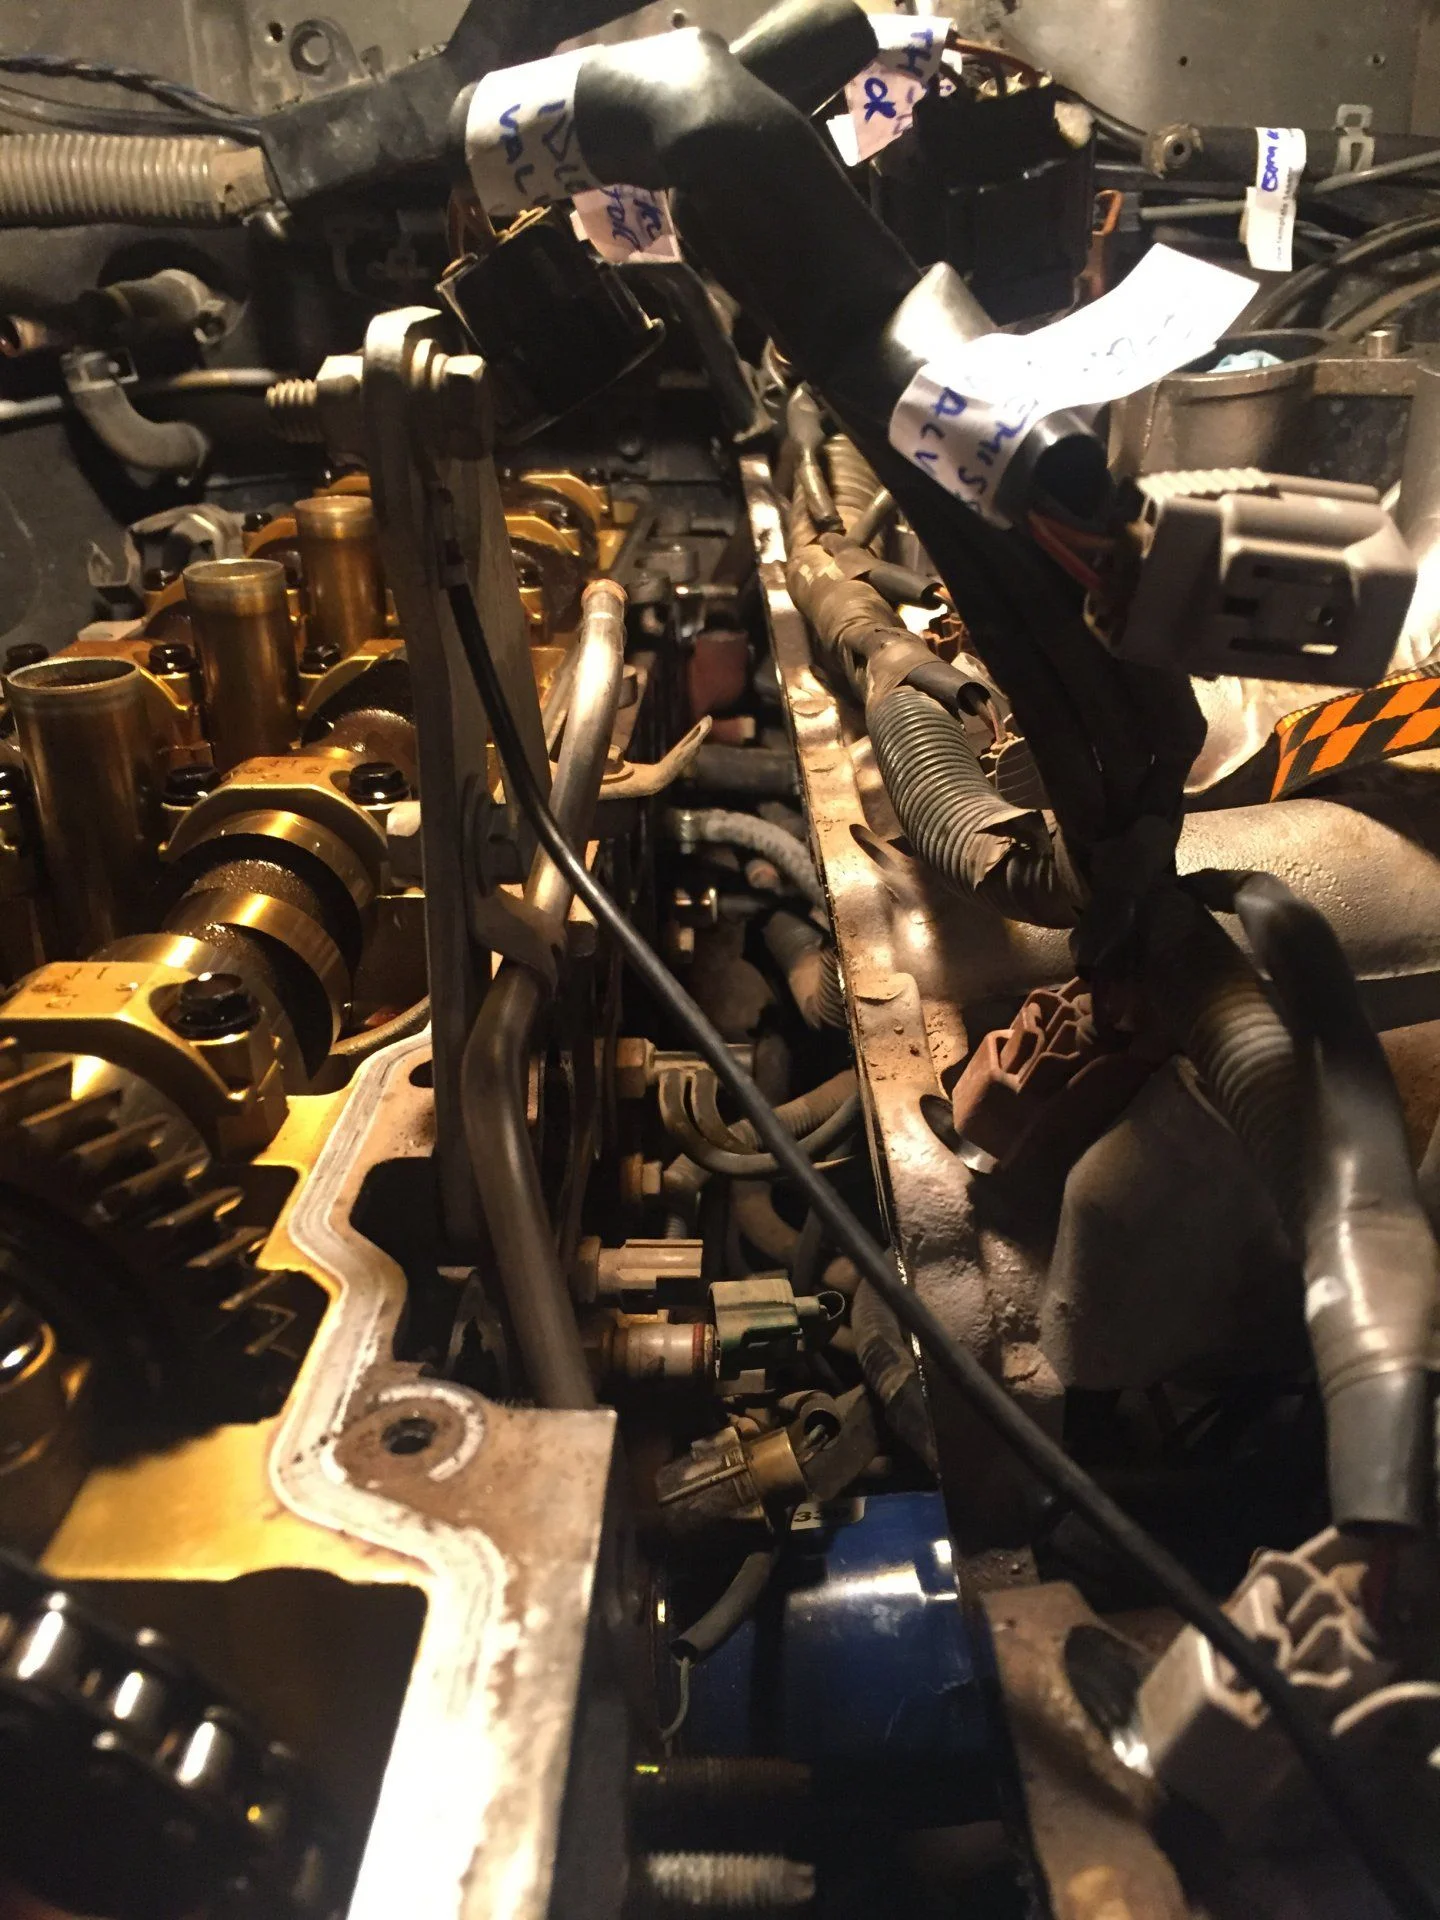
Question: There are four connectors on the driver side of the head and actually Doug in his famous video is not talking about the connectors at all. What is the best time and way to disconnect those connectors ?
I think it is ECT sender, ECT cut, and ECT sensor
I think it is ECT sender, ECT cut, and ECT sensor