Head Gasket job (total noob) (1 Viewer)

This site may earn a commission from merchant affiliate
links, including eBay, Amazon, Skimlinks, and others.

When you do this how well does it clear the radiator? Do you use a hoist or do you remove the hood and go straight up off of a come a long and then role the truck back? It is just a big old motor. I dont know if my hoist goes high enough to lift it over the front radiator support.

i do it like it says in the book, take all that off and pull it.

my question is basically, if you have the space and tools to do it either way which would you do? just seems easier to me to pull the engine than to work bent over the top of the truck for hours.
 
I have done both, pulled the engine out and done the HG on a stand, and did the HG in the car. Seems like 6 of one half dozen of the other. The real question is how much money in your pocket. I ask that because the "while you are there's" make the pulling the engine out more costly.

If you pull the engine, you would want to pull the pans and reseal. Replace the rear main seal. Replace main and rod bearings, oil cooler, etc.

The real pain is having to pull out the A/C and then have it recharged when you pull the engine/tranny.

Good luck man. I will be out your way tomorrow night and on Sunday morning if you want me to swing by and take a look and a quick hand (I will have my two (no so) little helpers with me).

Cheers,
That would be great if you can come and just to verify what I have done so far. I will send you my address . Thanks a lot.

Jorge
 
Anybody knows what is the reason why we have water bypass hose in Land Cruiser ? That hose comes out of the thermostat housing goes around the block enters throttle - goes out of the throttle and ends up in the block. I just don't get it .
 
Probably heating it so no frost/icing at cold/damp temps-v8s can get it directly through the bottom of the intake.
 
if you remove the spark plugs you can hand turn the crankshaft pulley to line up the TDC mark .. before you remove the distributor. also I used a small pipe wrench on the large nut on the EGR valve (as suggested by another person here) and it was what I needed to loosen it. The studs holding the EGR valve come out fairly easily because they are threaded into aluminum obviously... use a Torx socket

.."Anybody knows what is the reason why we have water bypass hose in Land Cruiser ? That hose comes out of the thermostat housing goes around the block enters throttle - goes out of the throttle and ends up in the block. I just don't get it ." actually the pipe/hose from the thermostat housing 1FZ-FE goes to the firewall where a Y connects to the front and rear heater
 
I am still fighting with the EGR nut, I have decided to leave it there and remove it when the head will be out. Preparing to take the intake upper manifold out.
 
Good job young man, I think Its great 2fpower has offered to take a look see and help you..! Good Luck..!
 
Well the EGR nut defeated me for a while anyway I made a little bit of progress today.

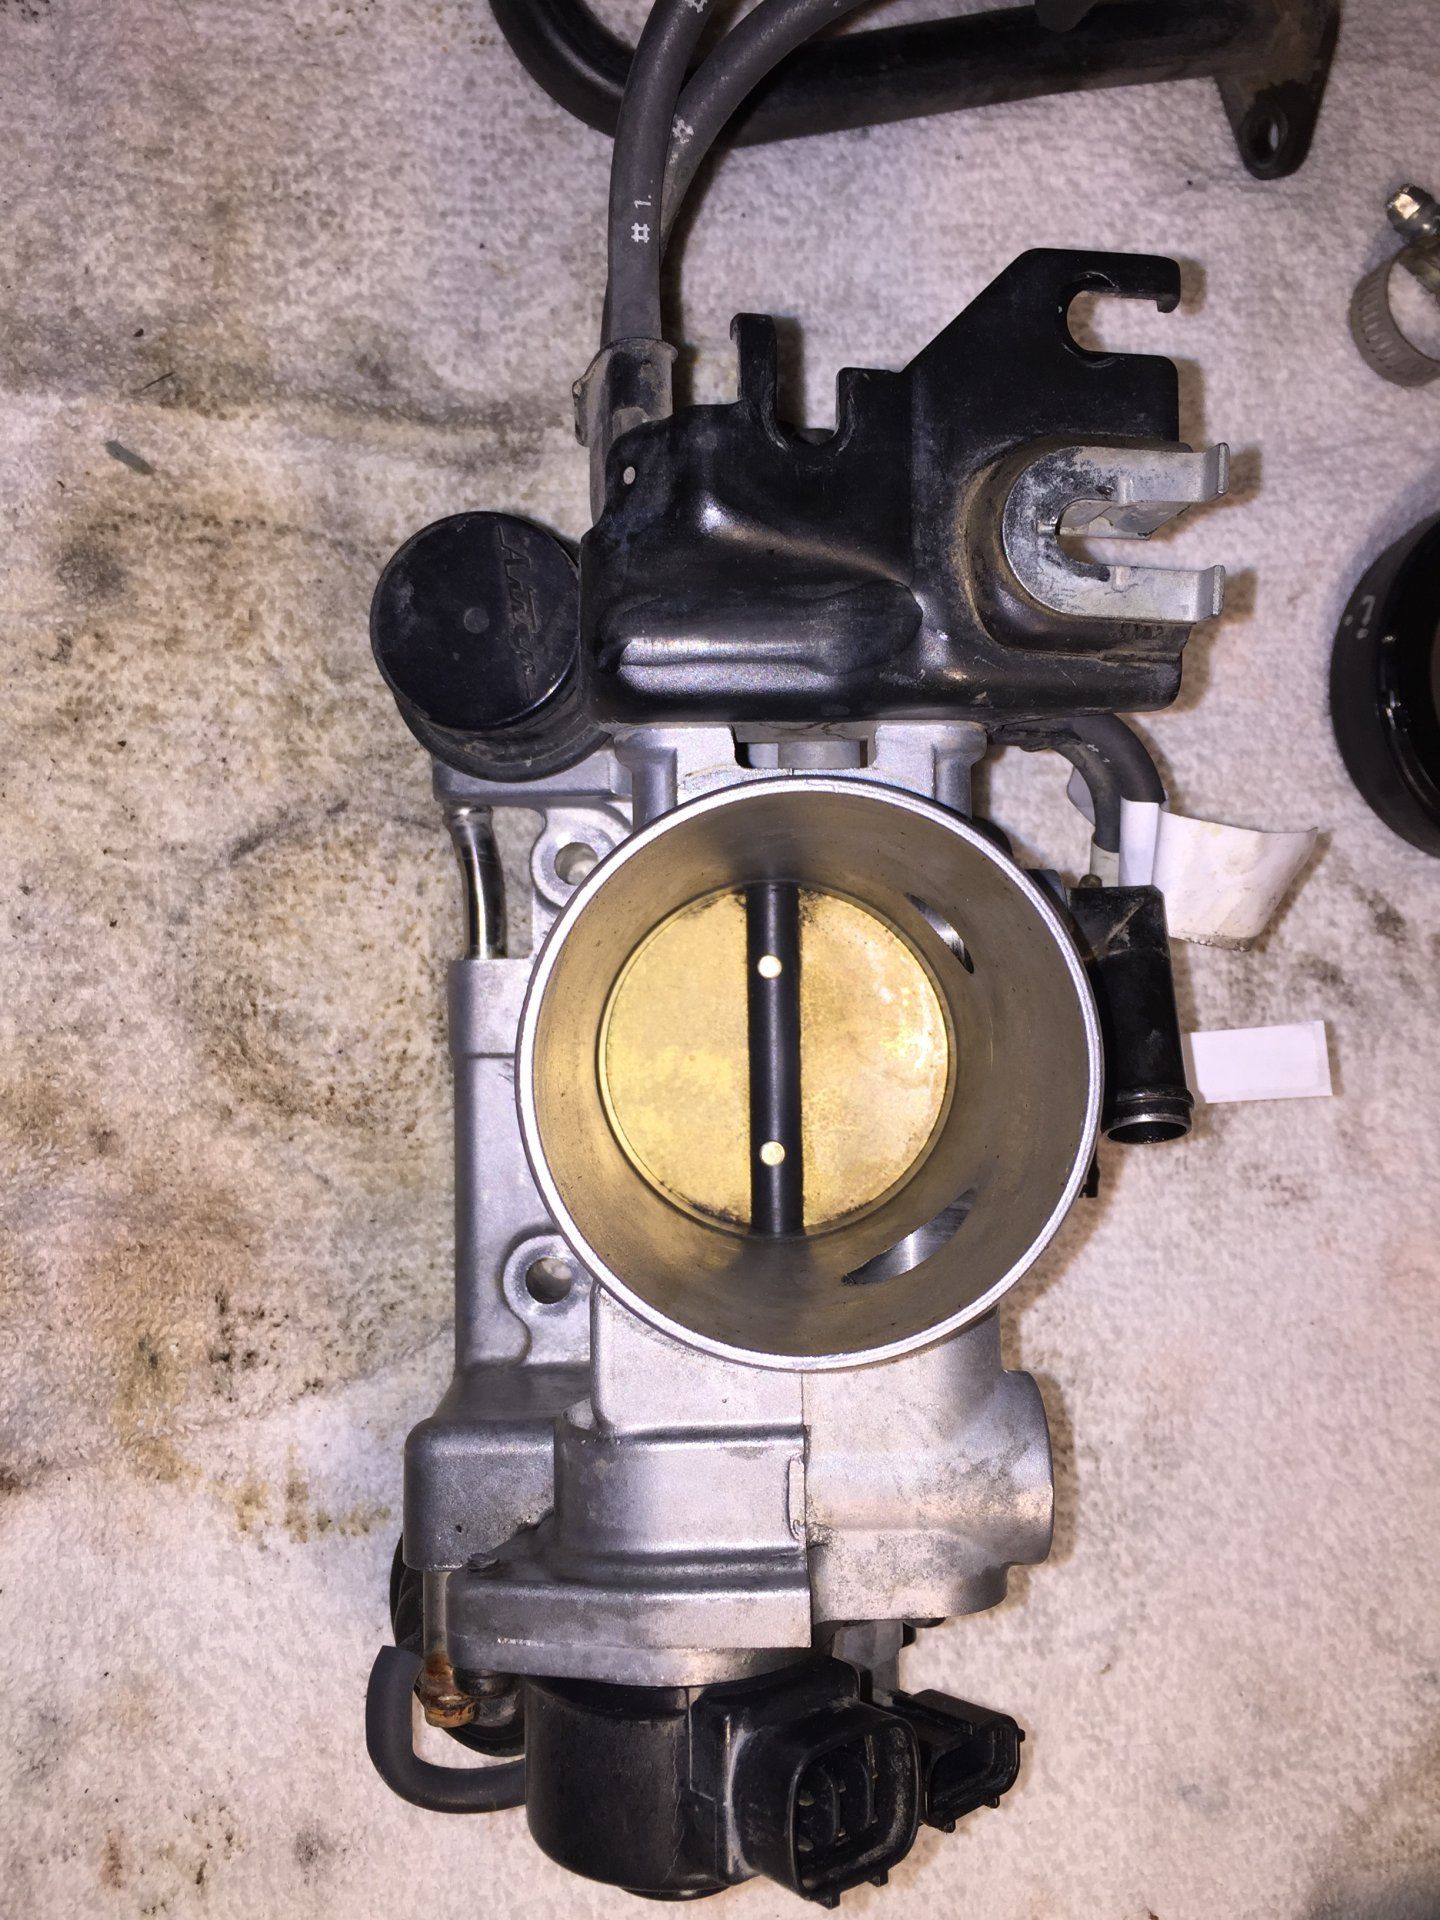
First , I cleaned the throttle body which is not really in bad shape and there was just a little bit of carbon.

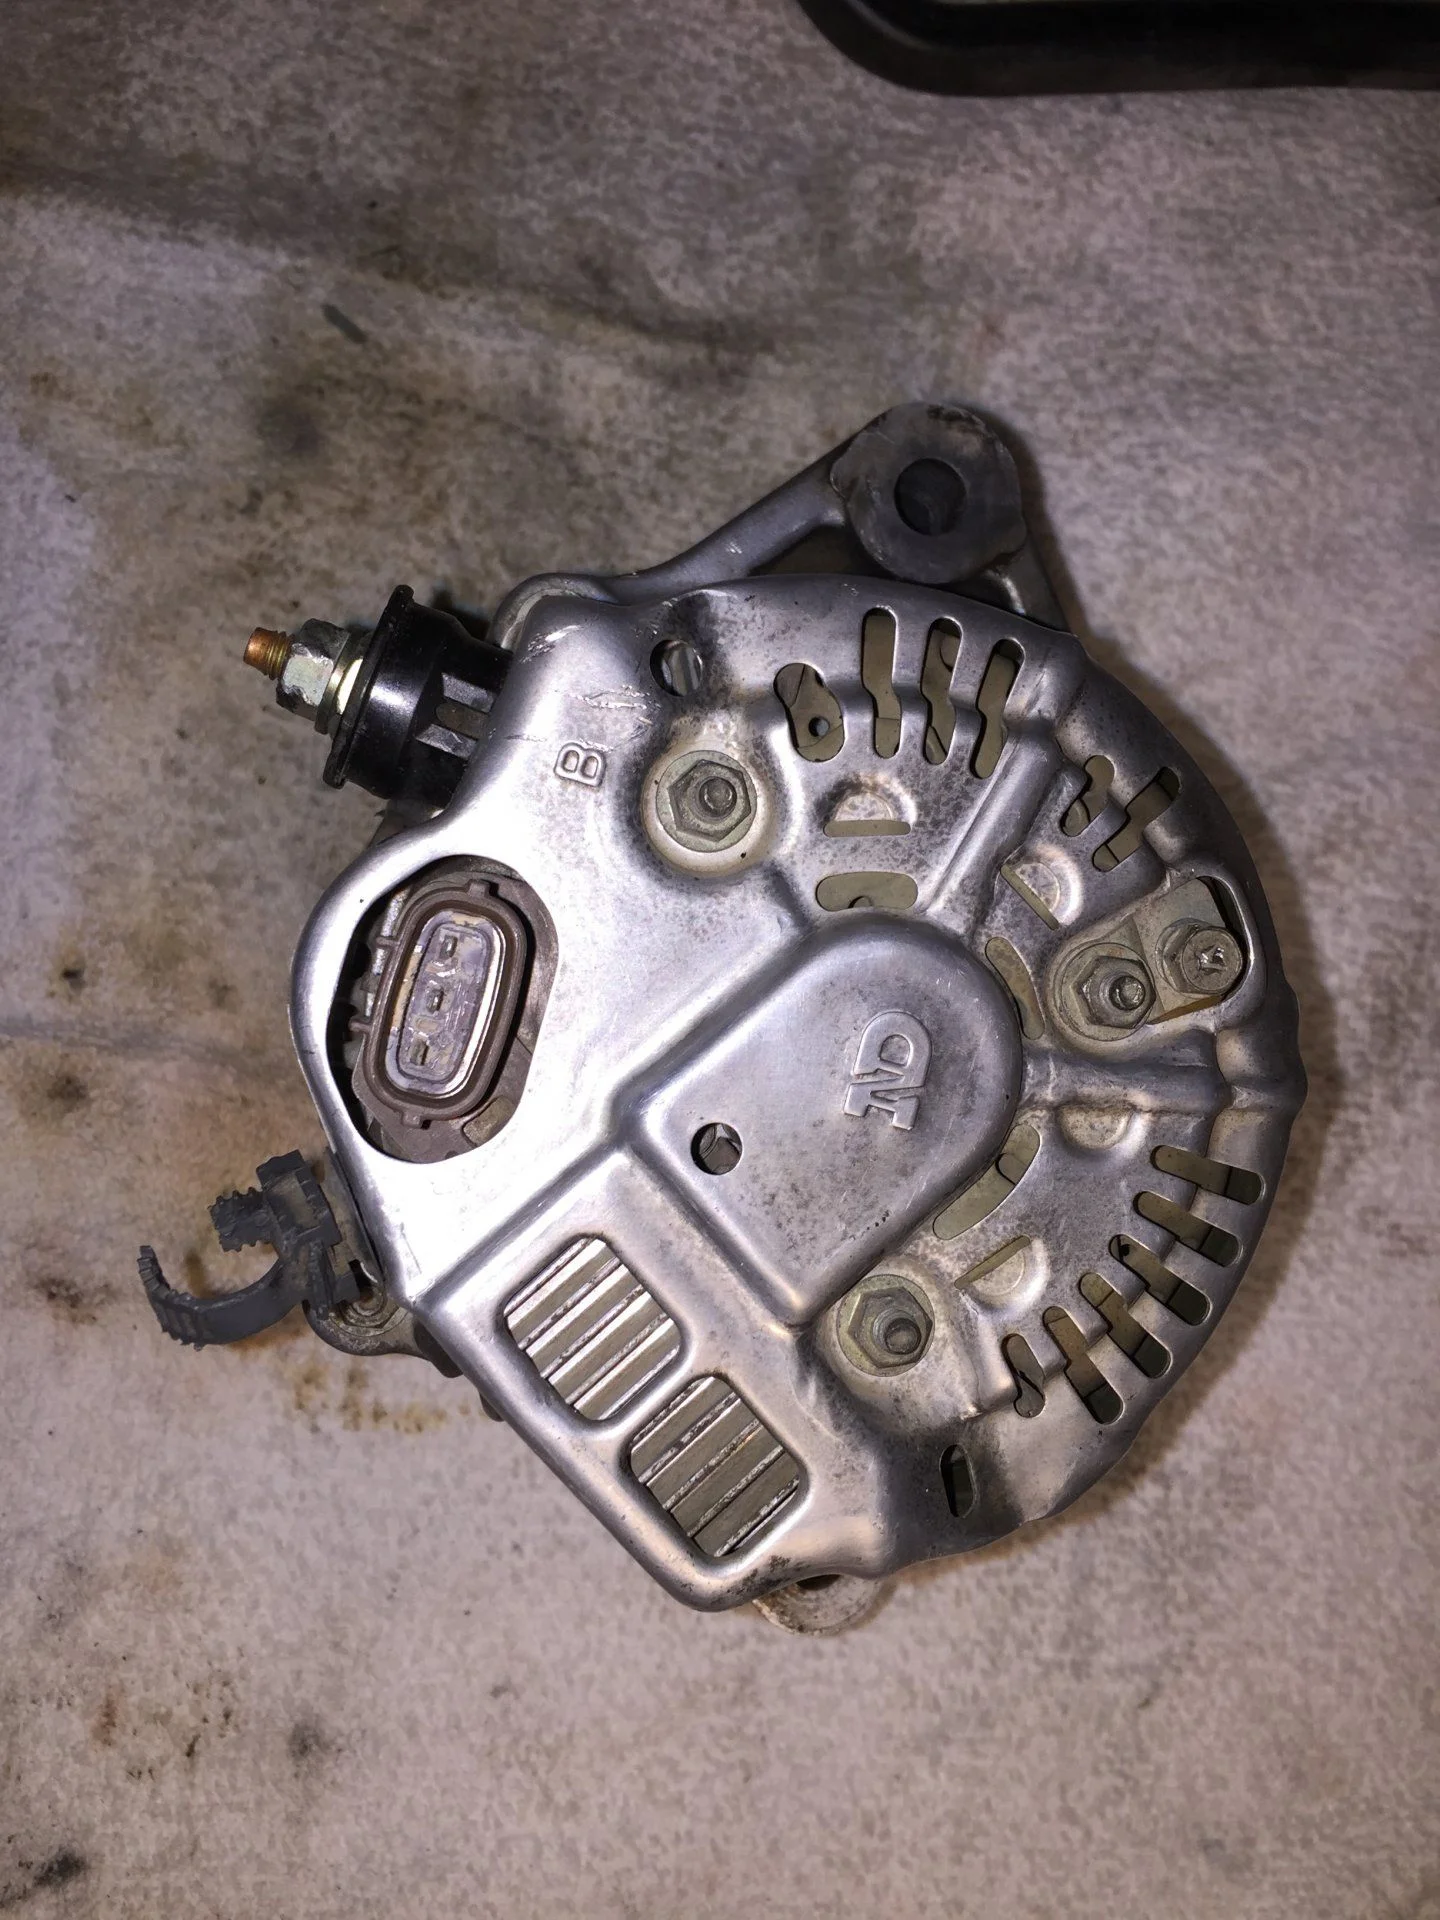
Here is also a picture of the alternator which was taken out yesterday. I already replaced the brushes.

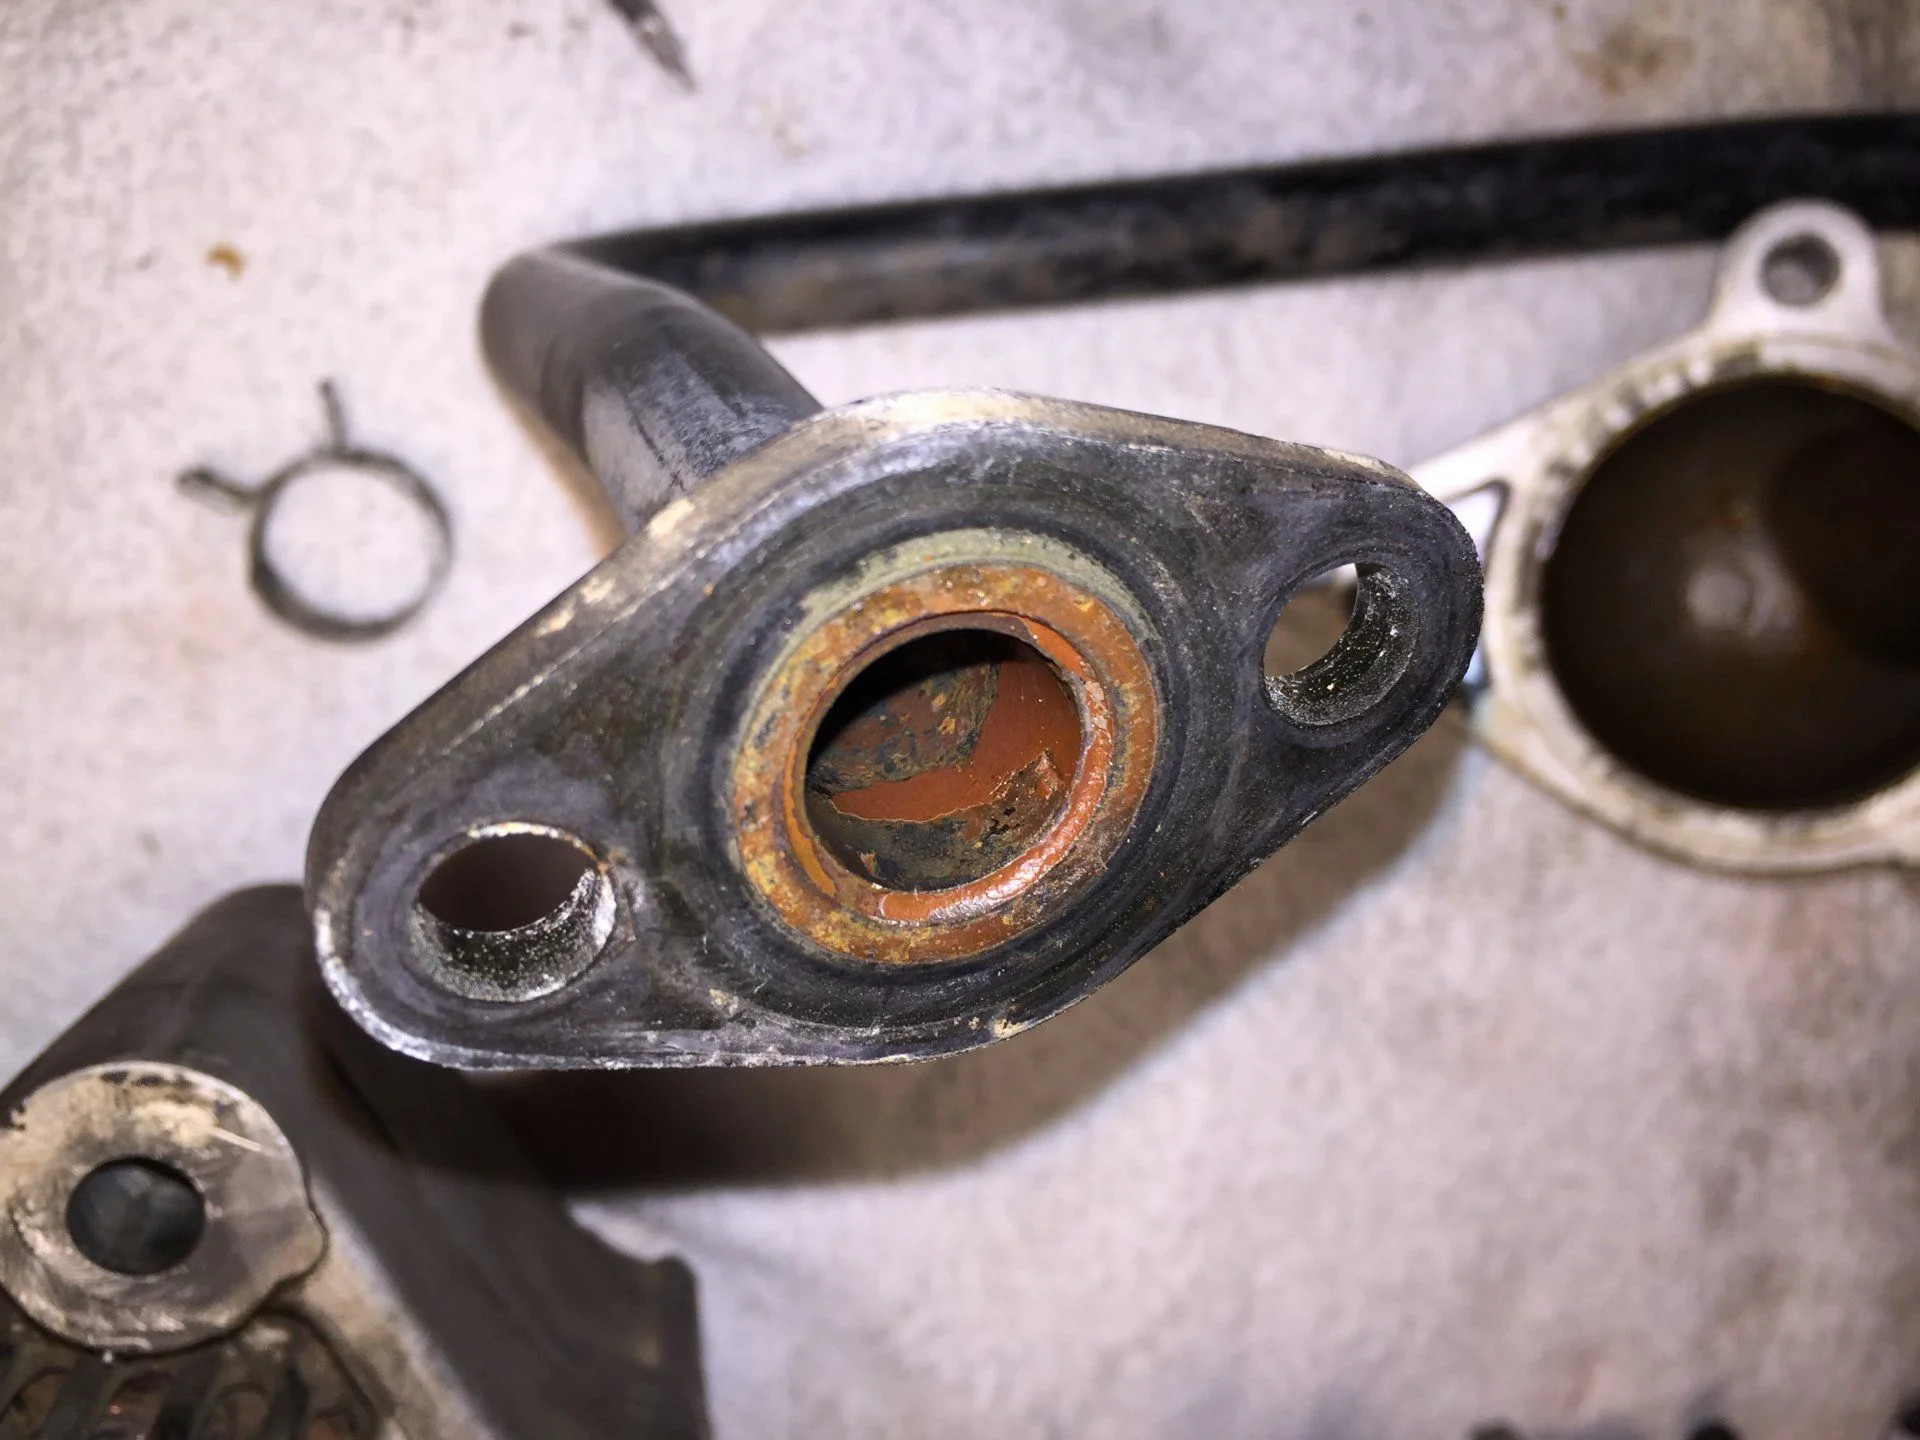
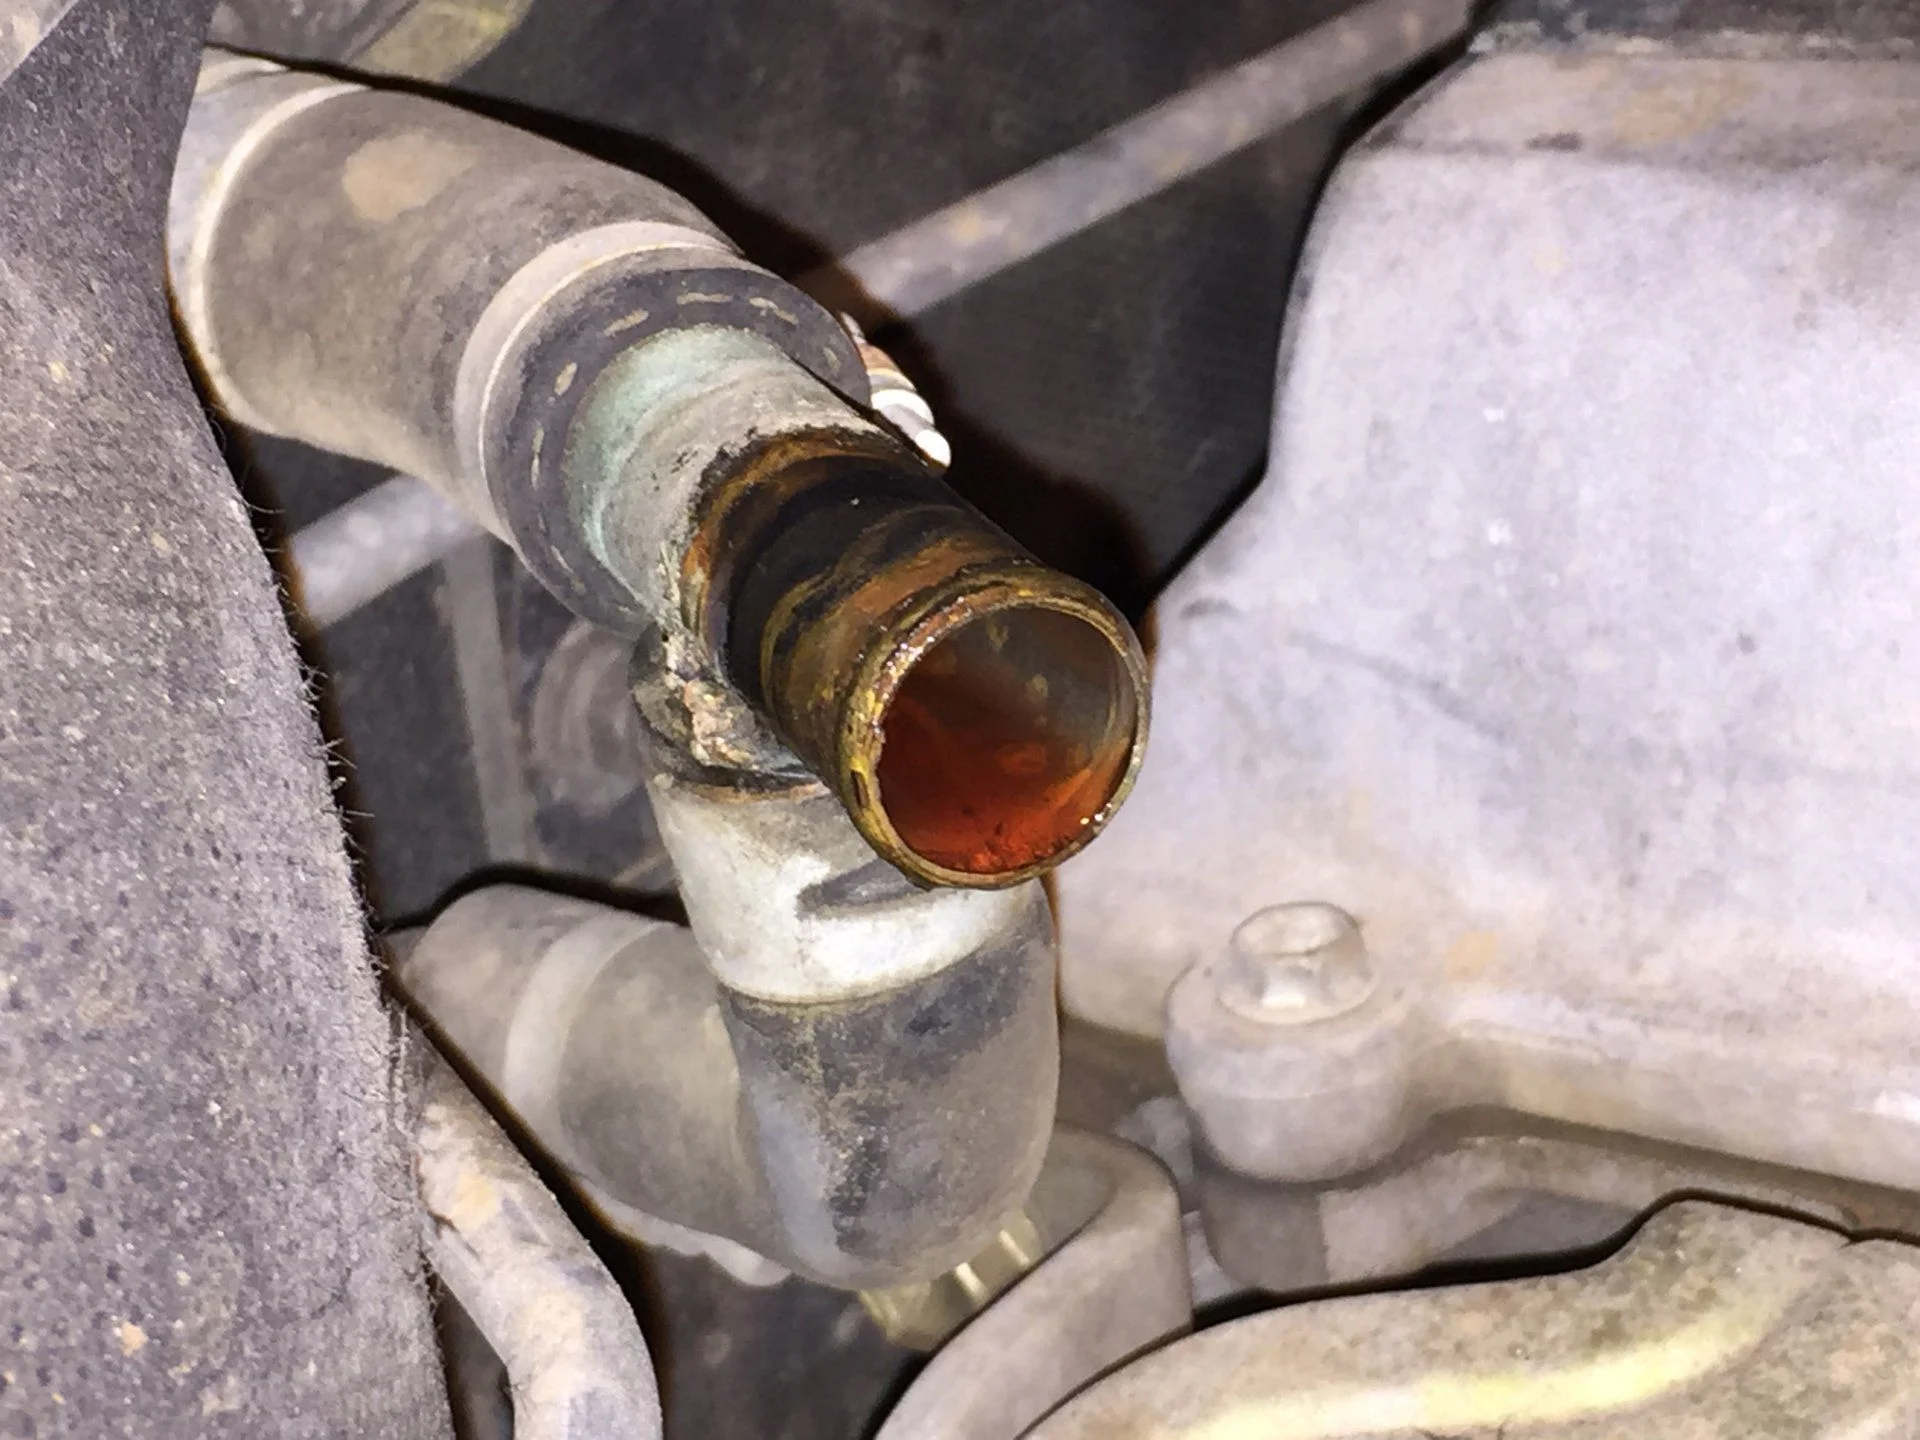
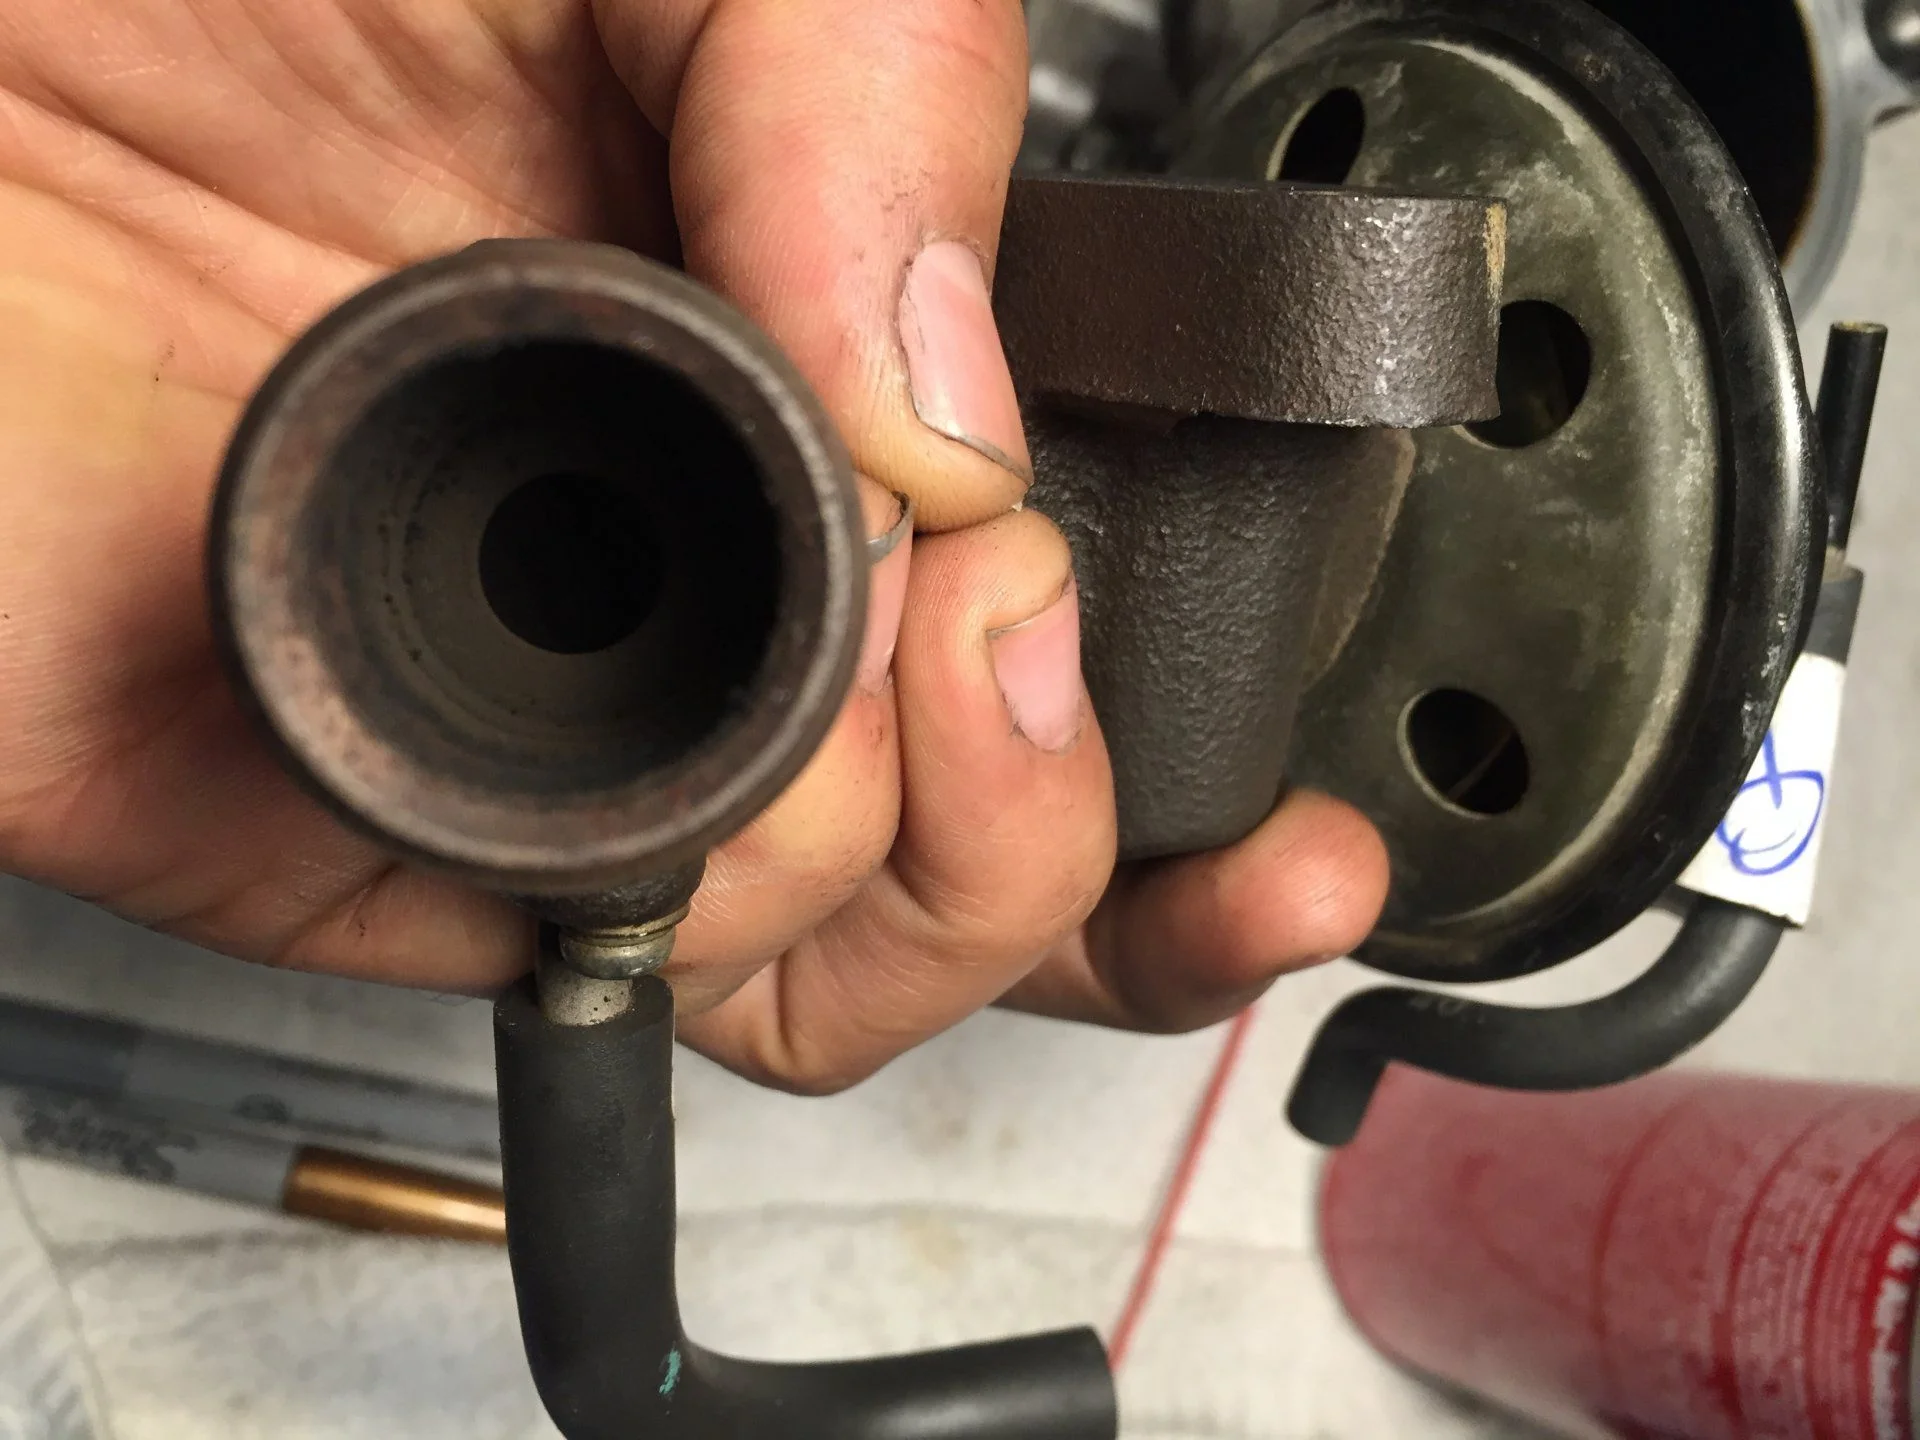
I took of the rear heater pipe going from the thermostat housing. I will need somebody to tell me if it needs replacement or not as it seems to be a little bit corroded. 
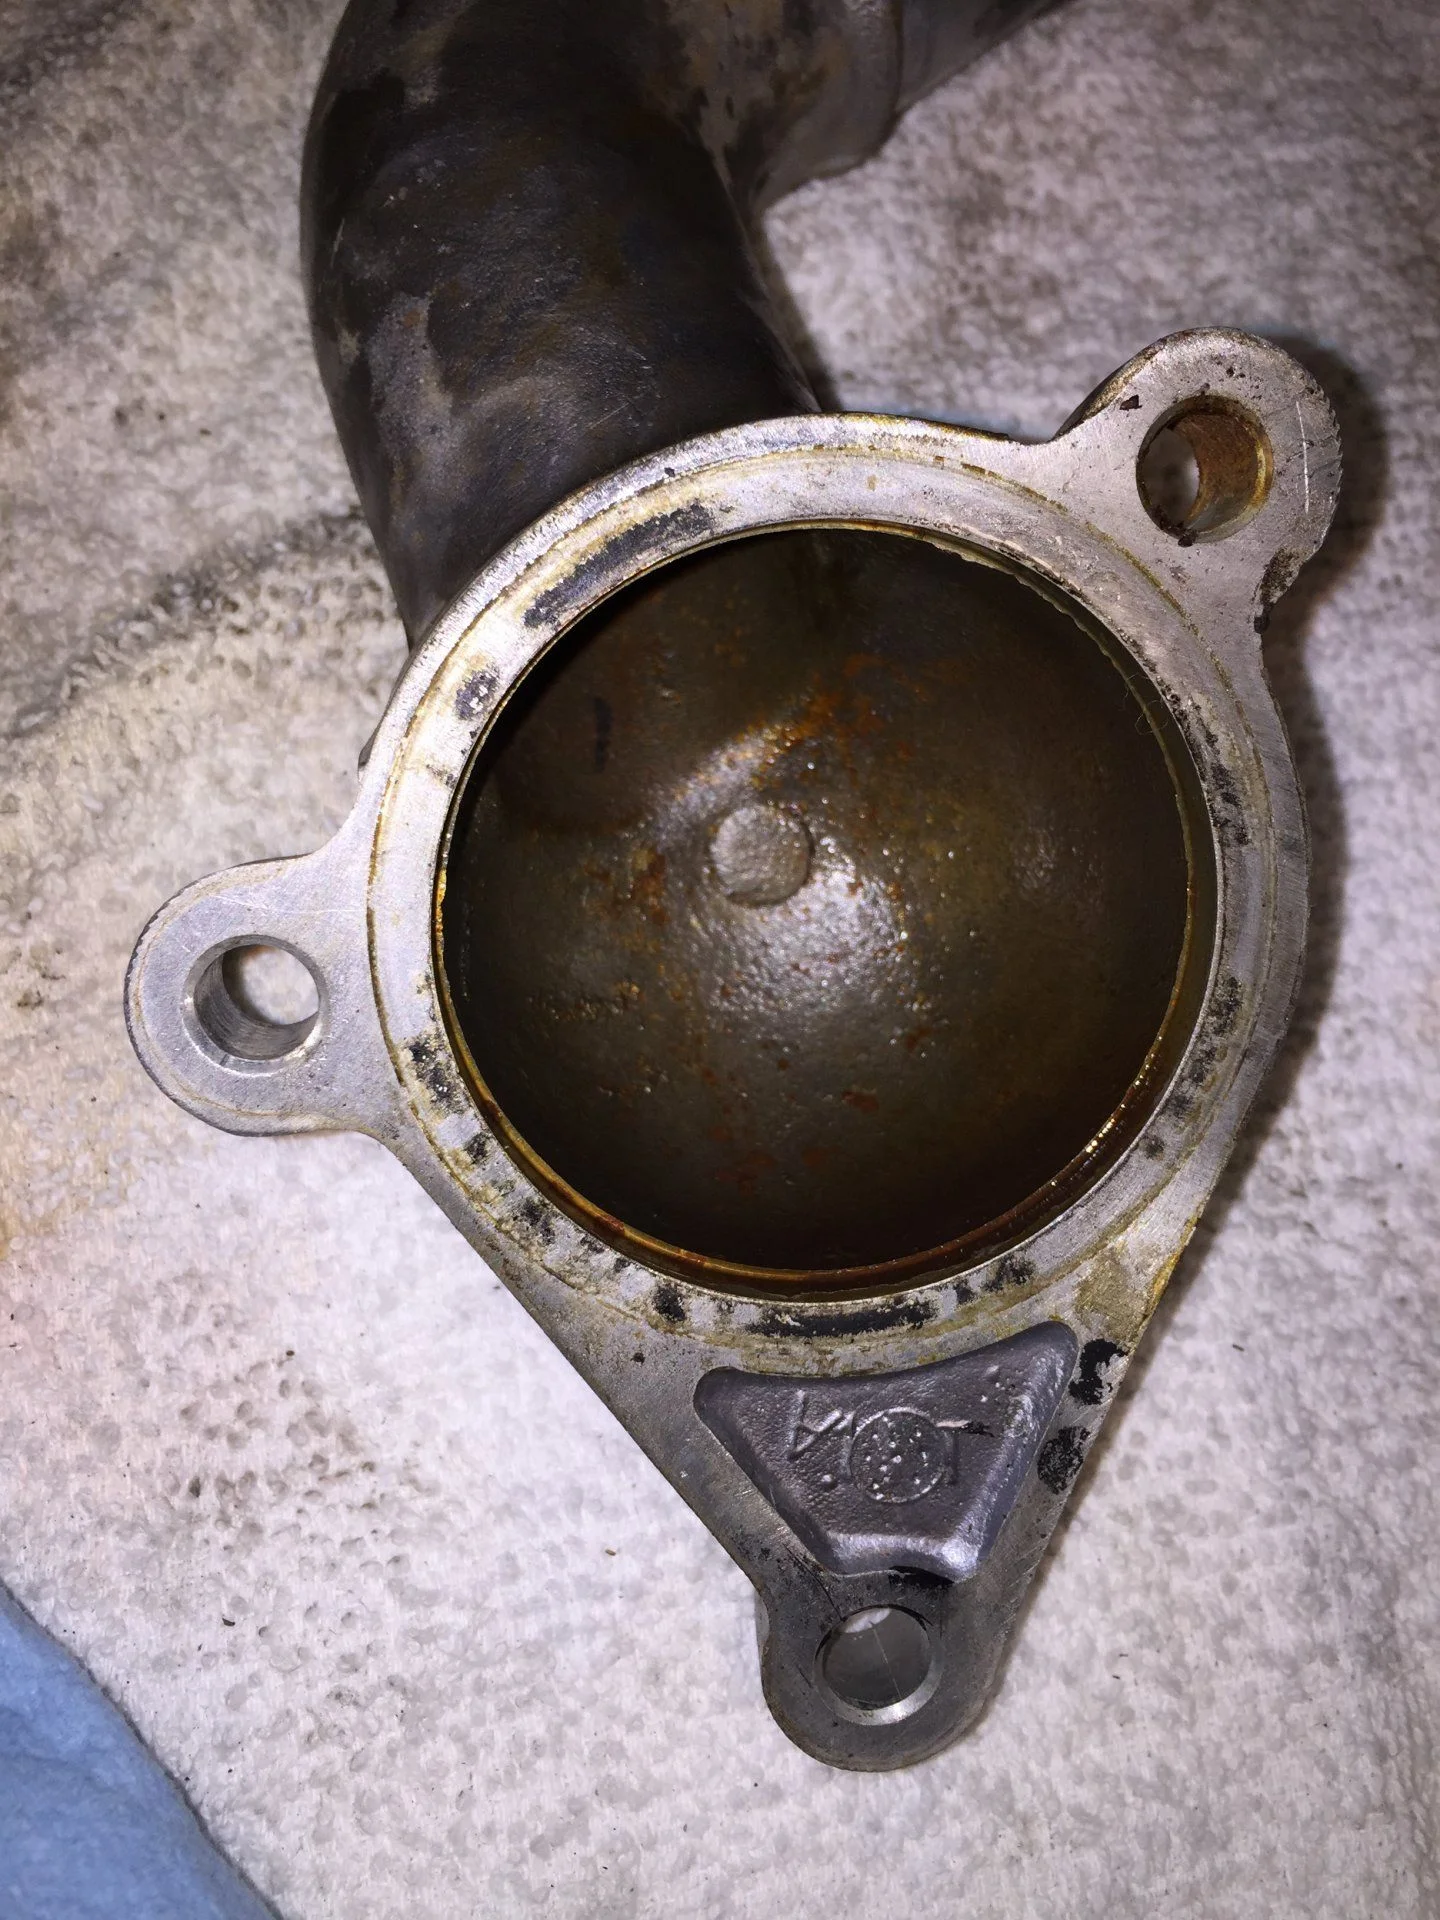
Here is the picture of the T pipe of rear heater where the mentioned pipe connects.

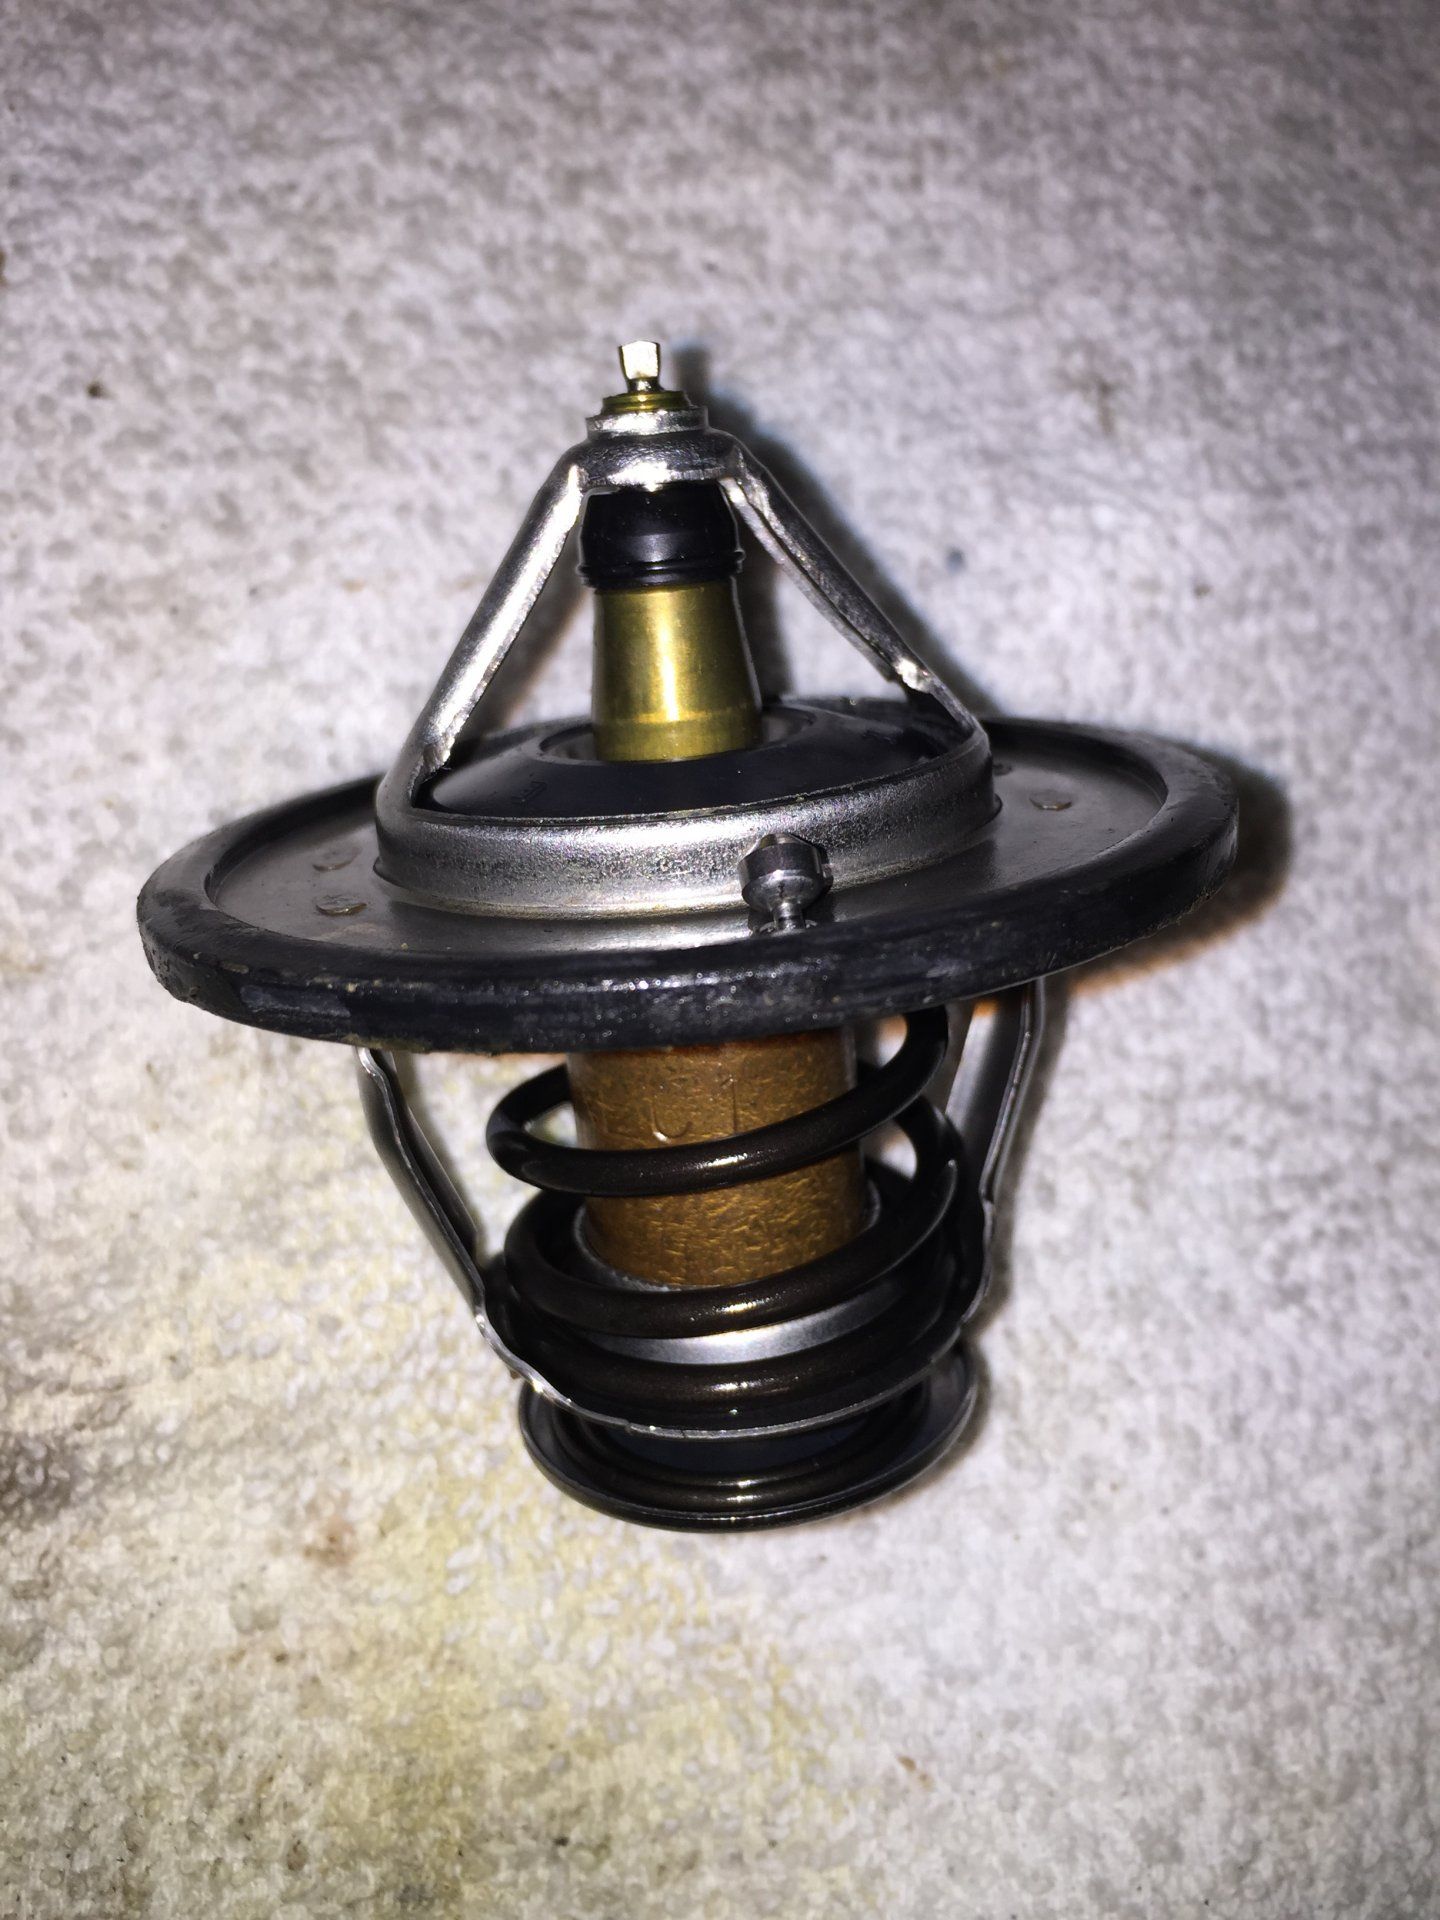
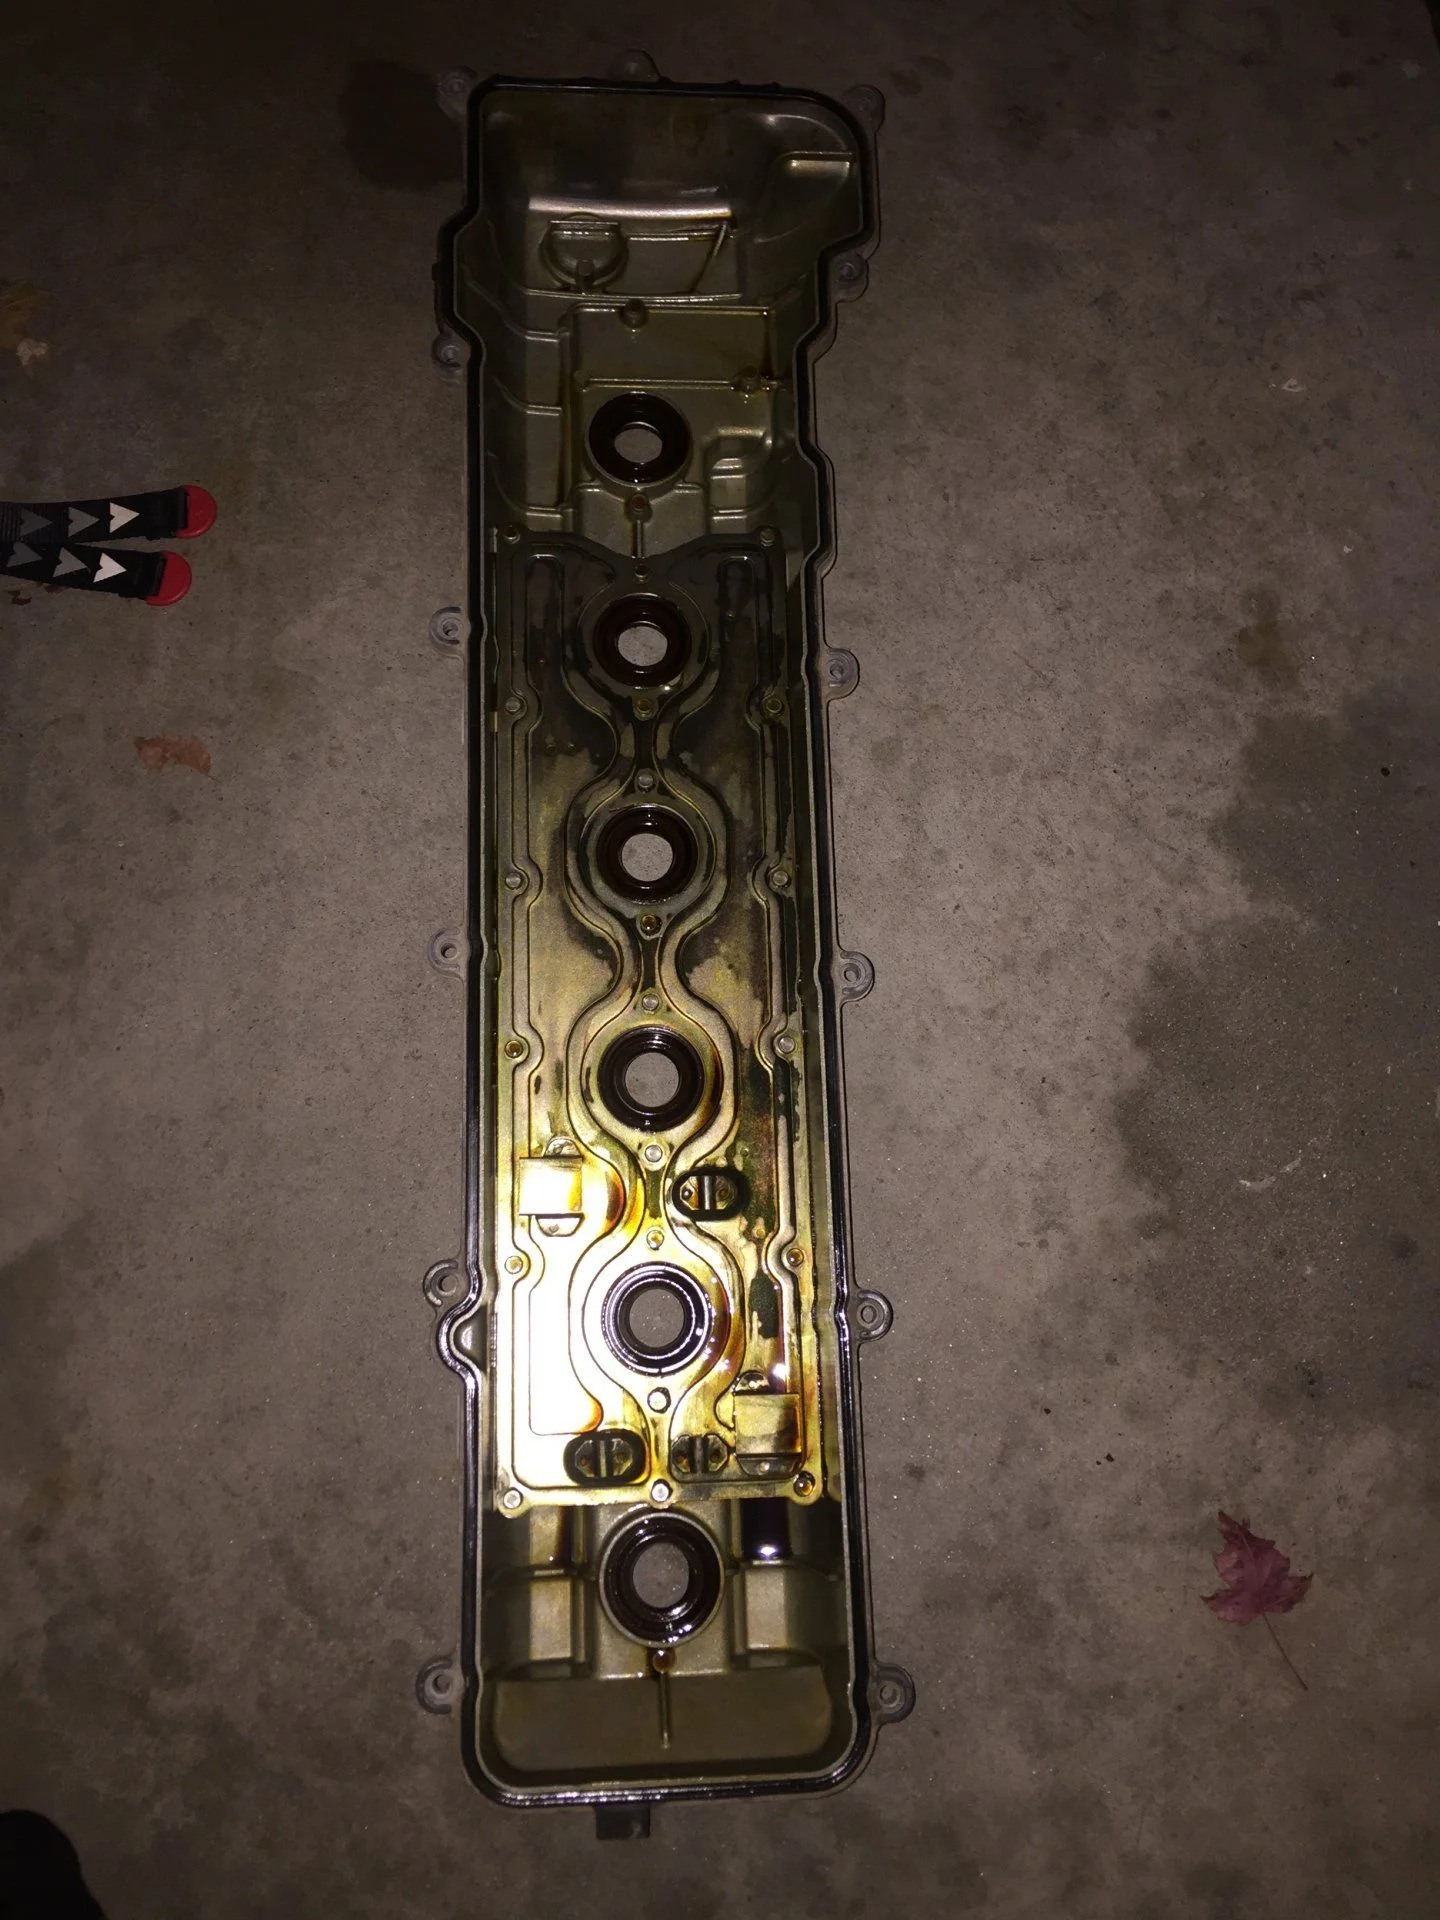
I took of the thermostat housing as I will be replacing the thermostat anyway. There is a slight corrosion there also.
The thermostat looks pretty good , I did not test it in the hot water thou.

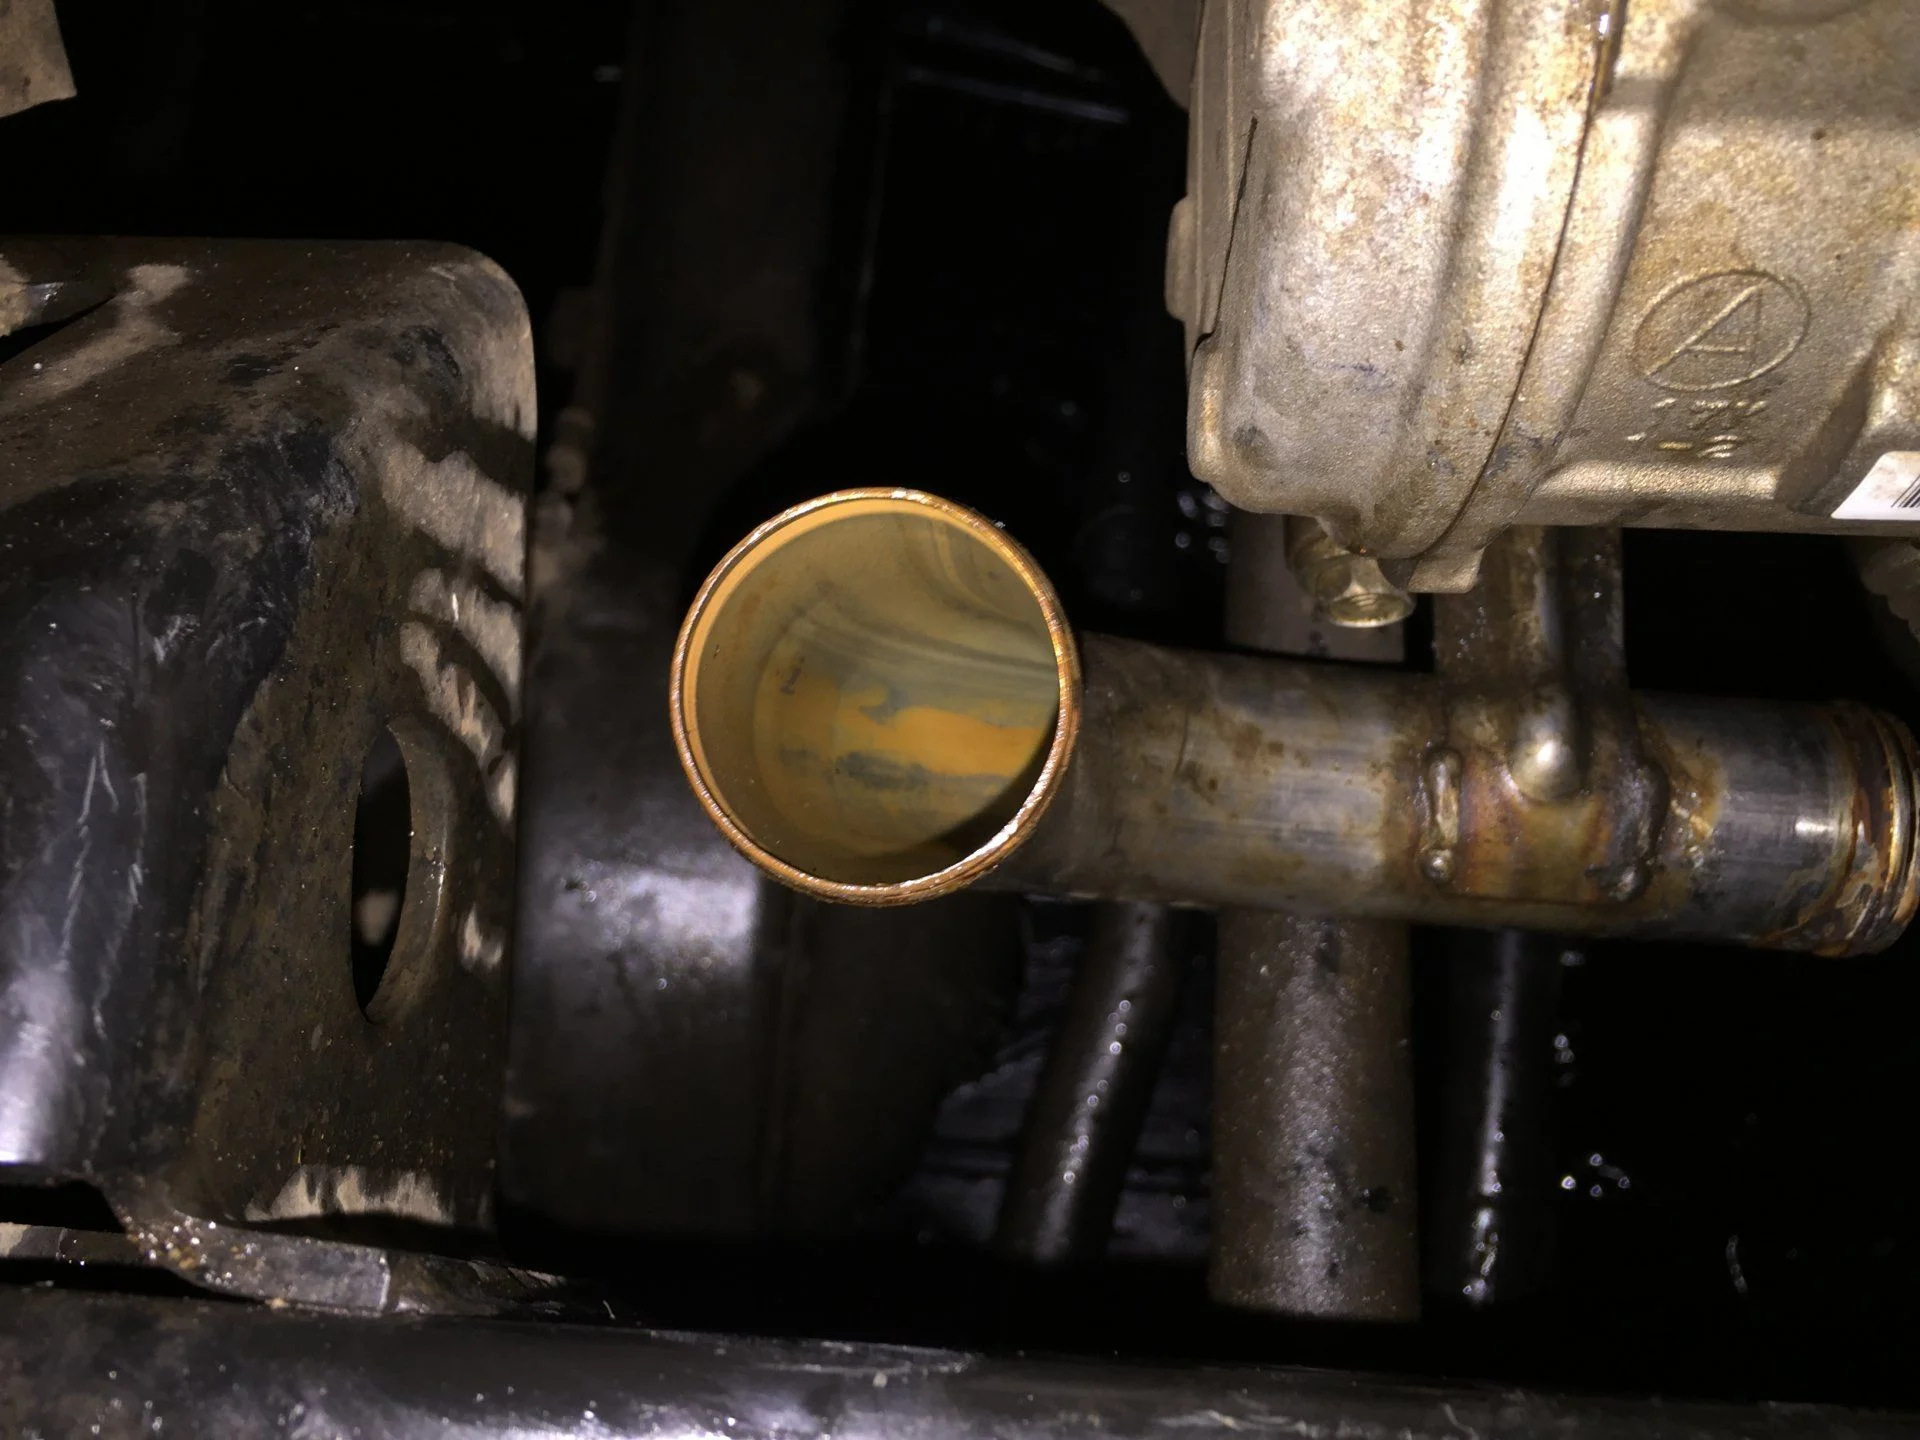
I removed also the water inlet hose from radiator to thermostat housing.

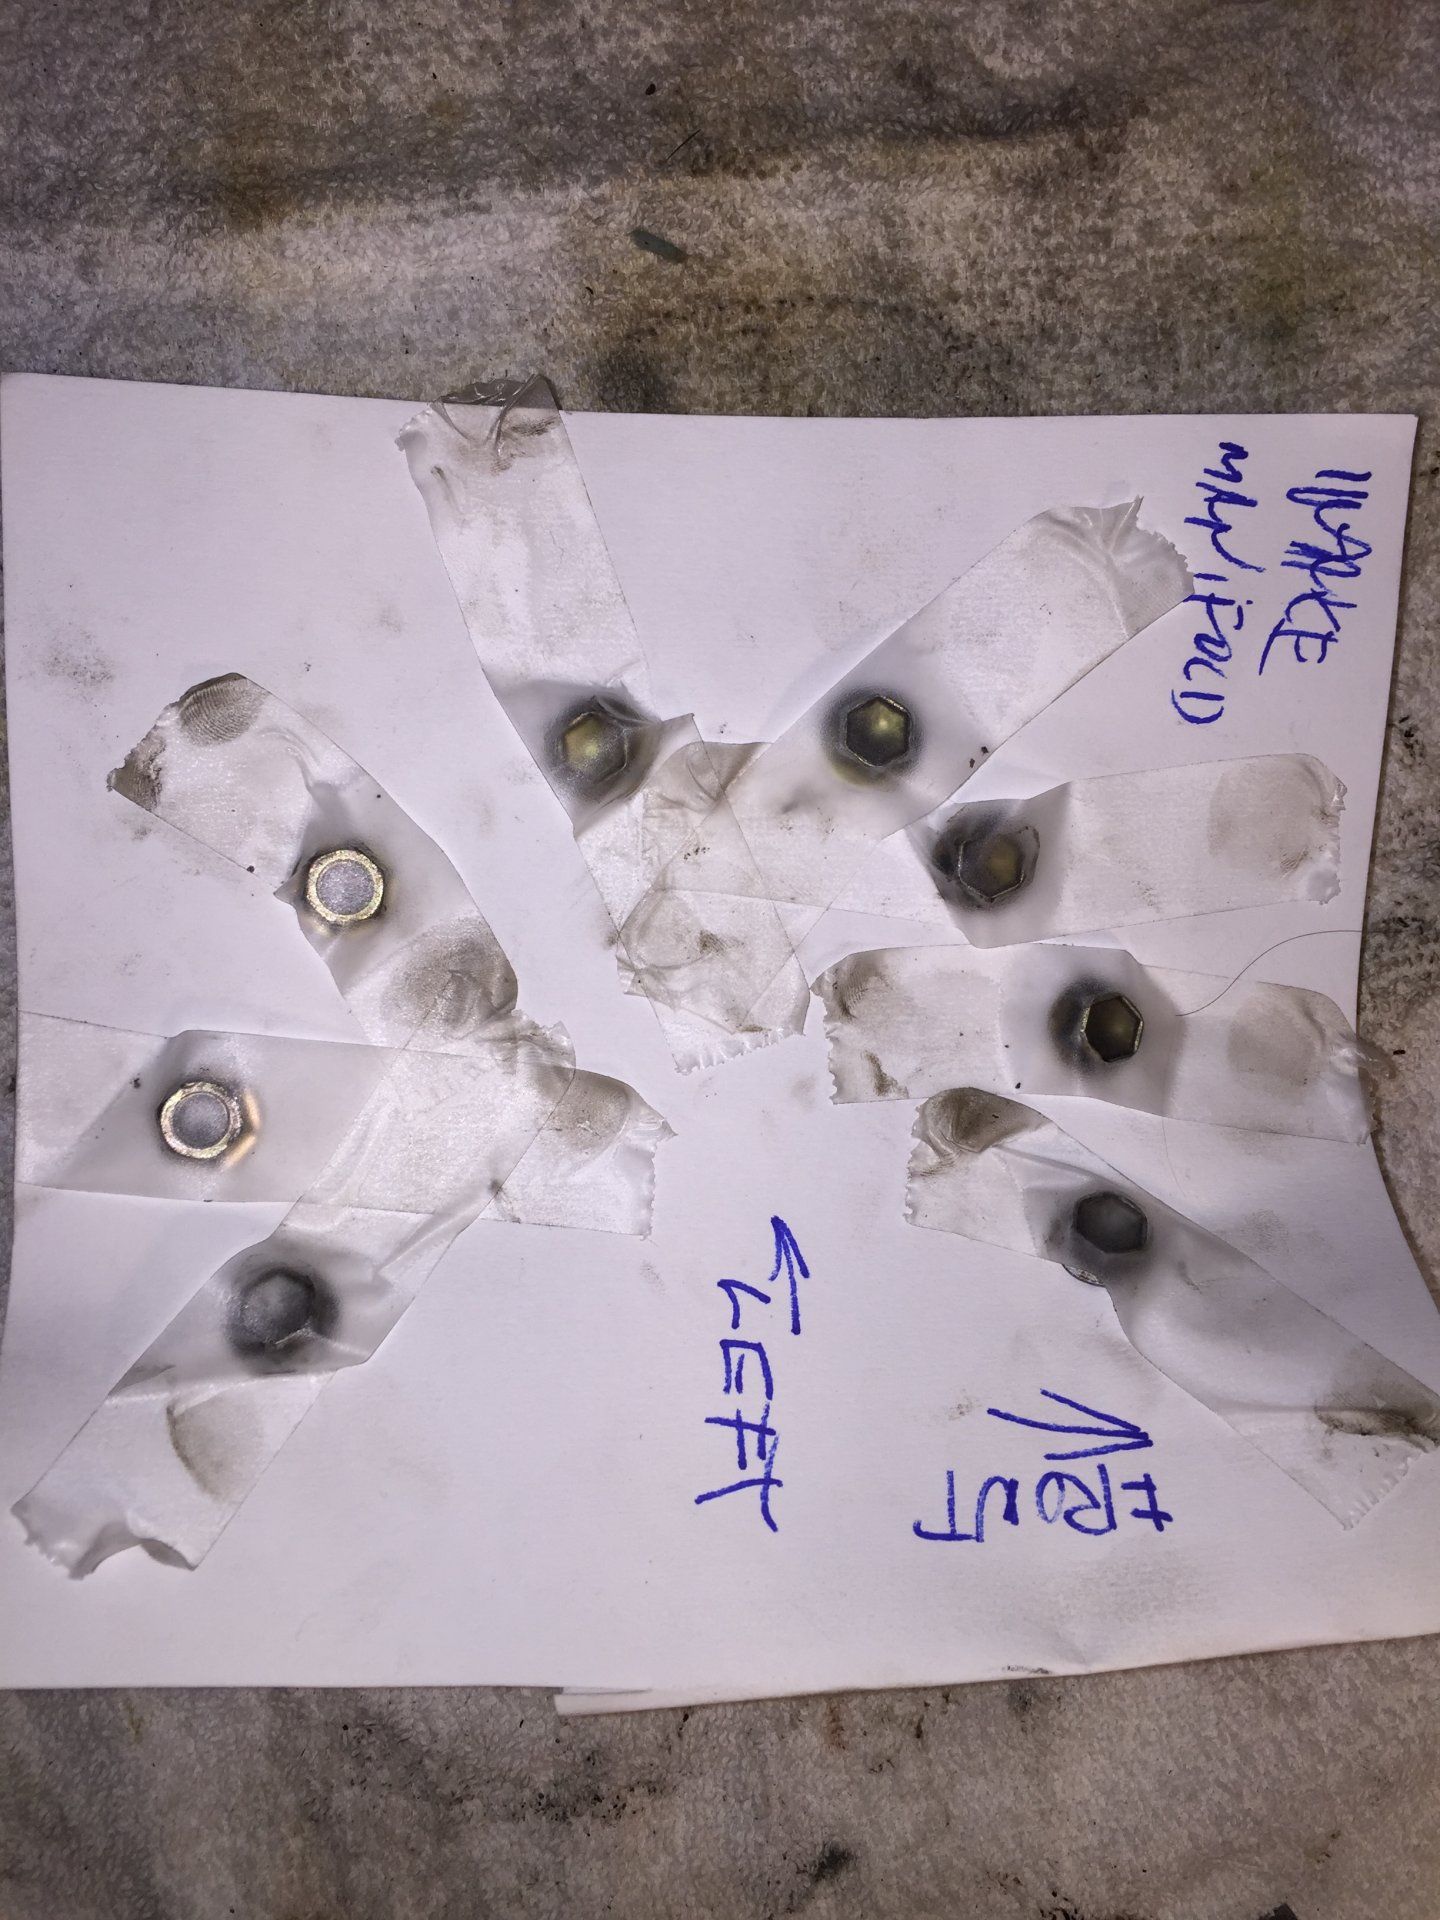
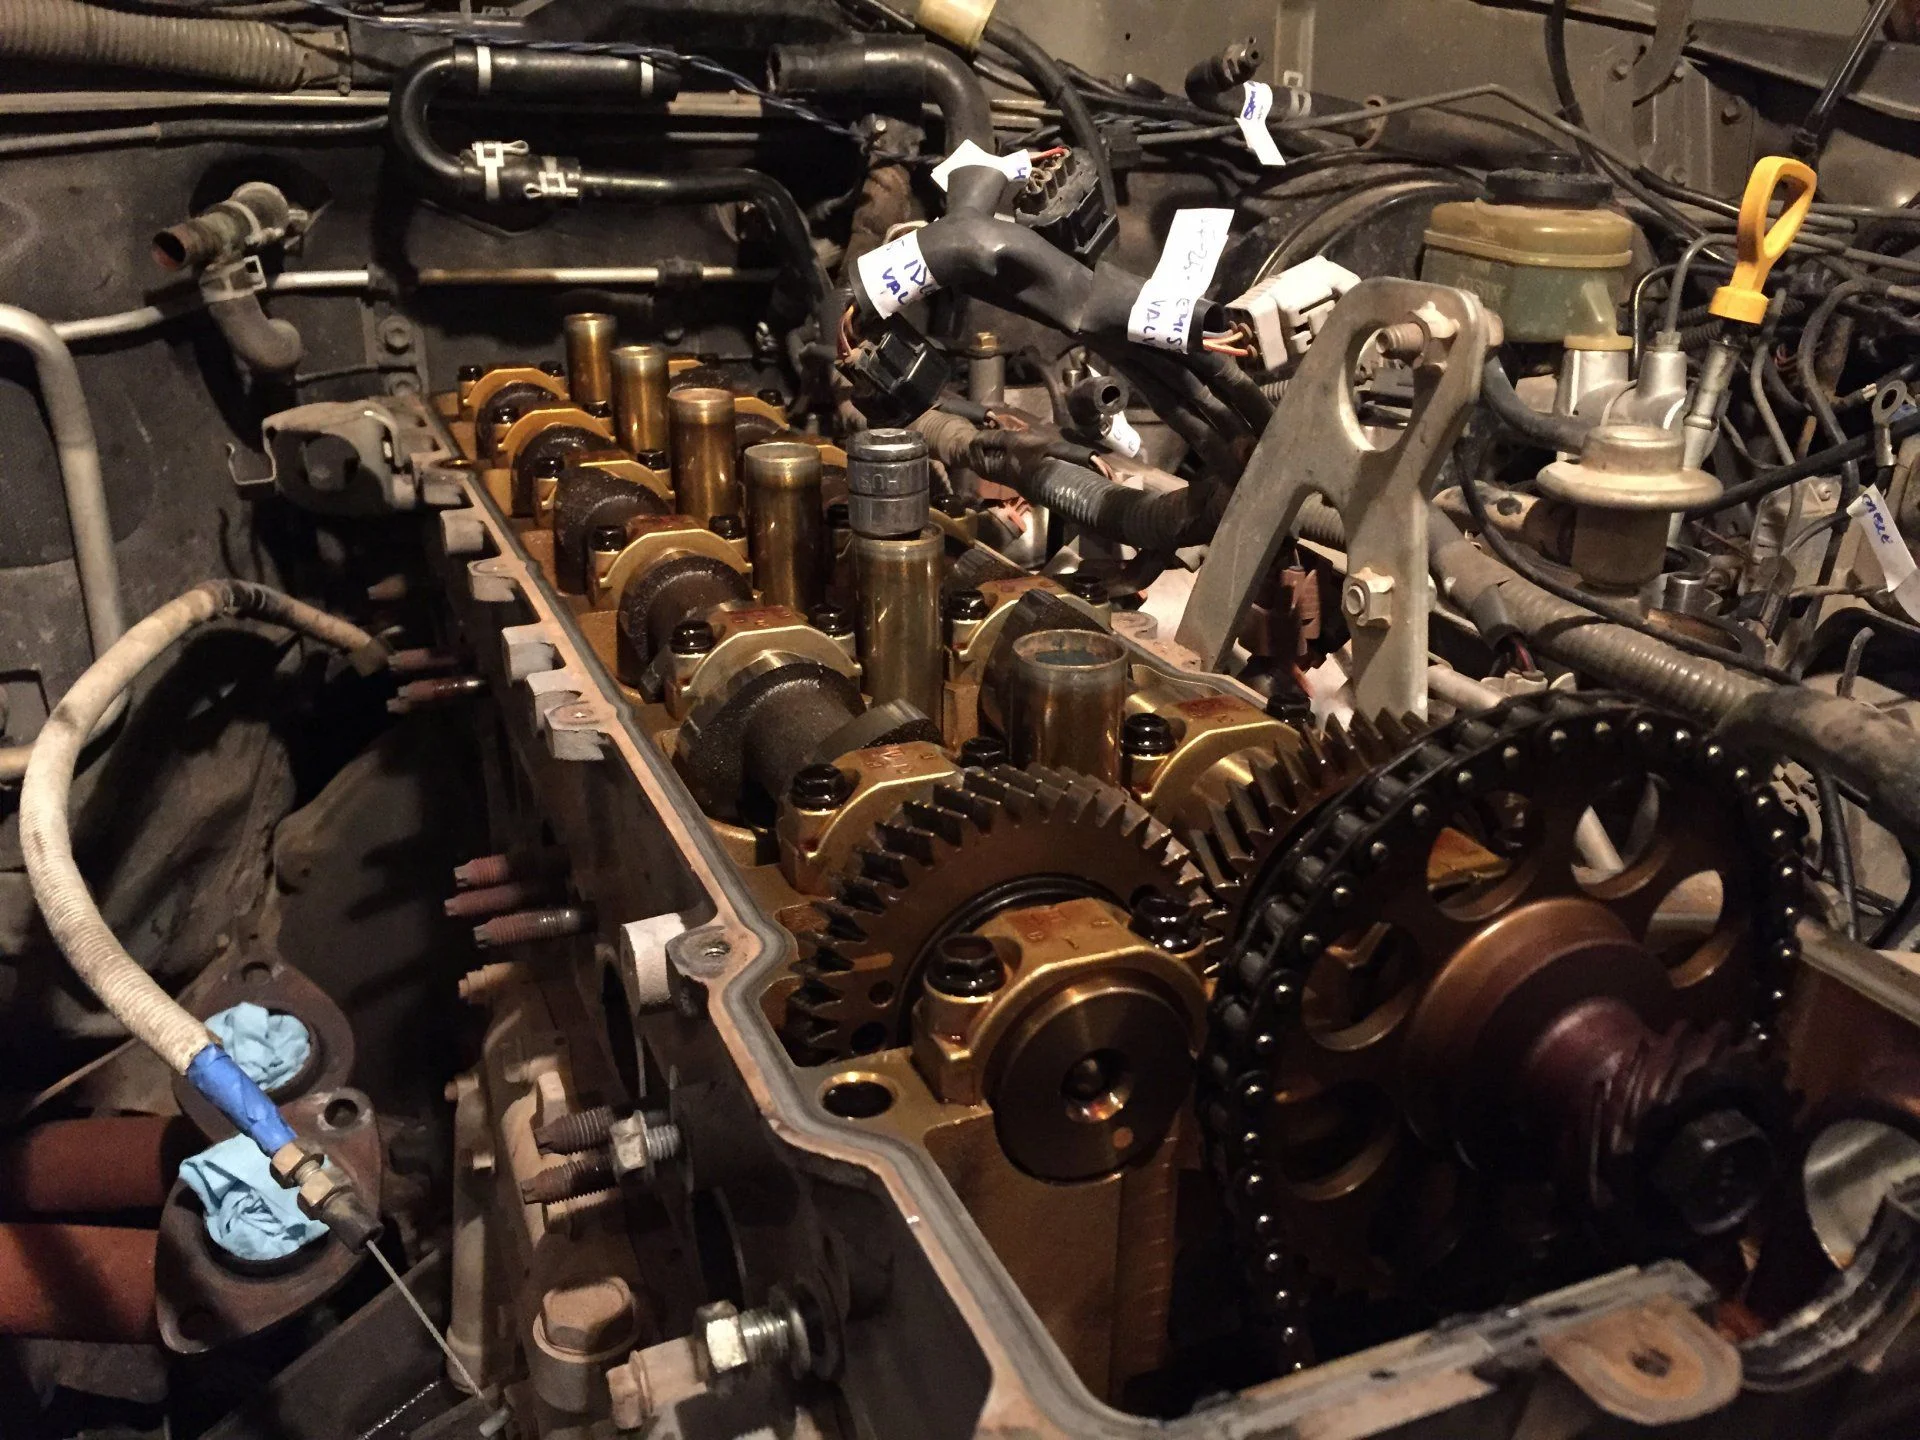
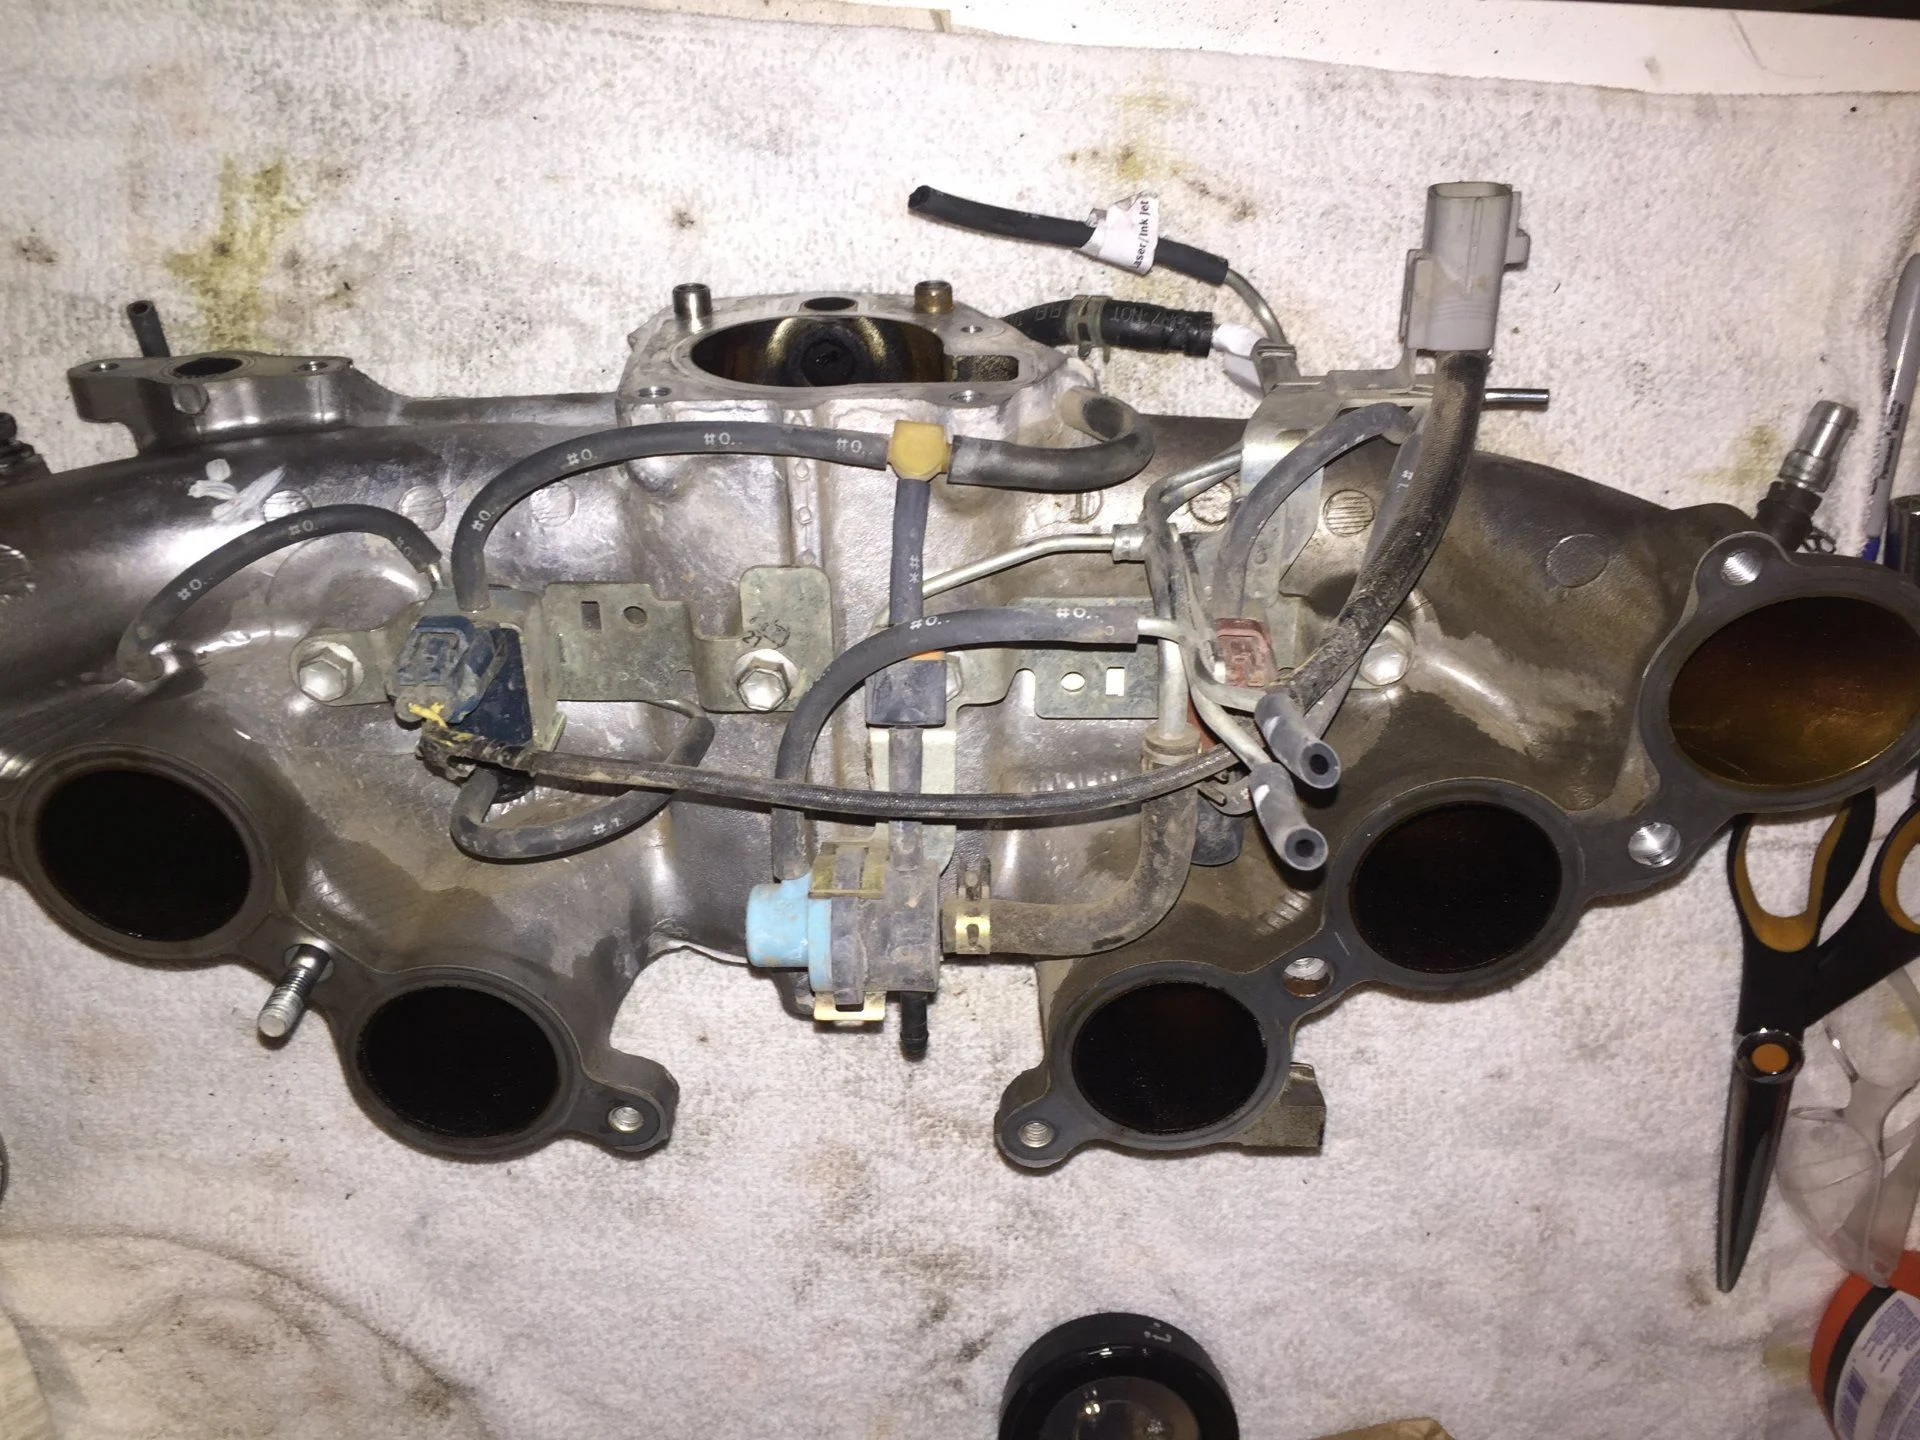
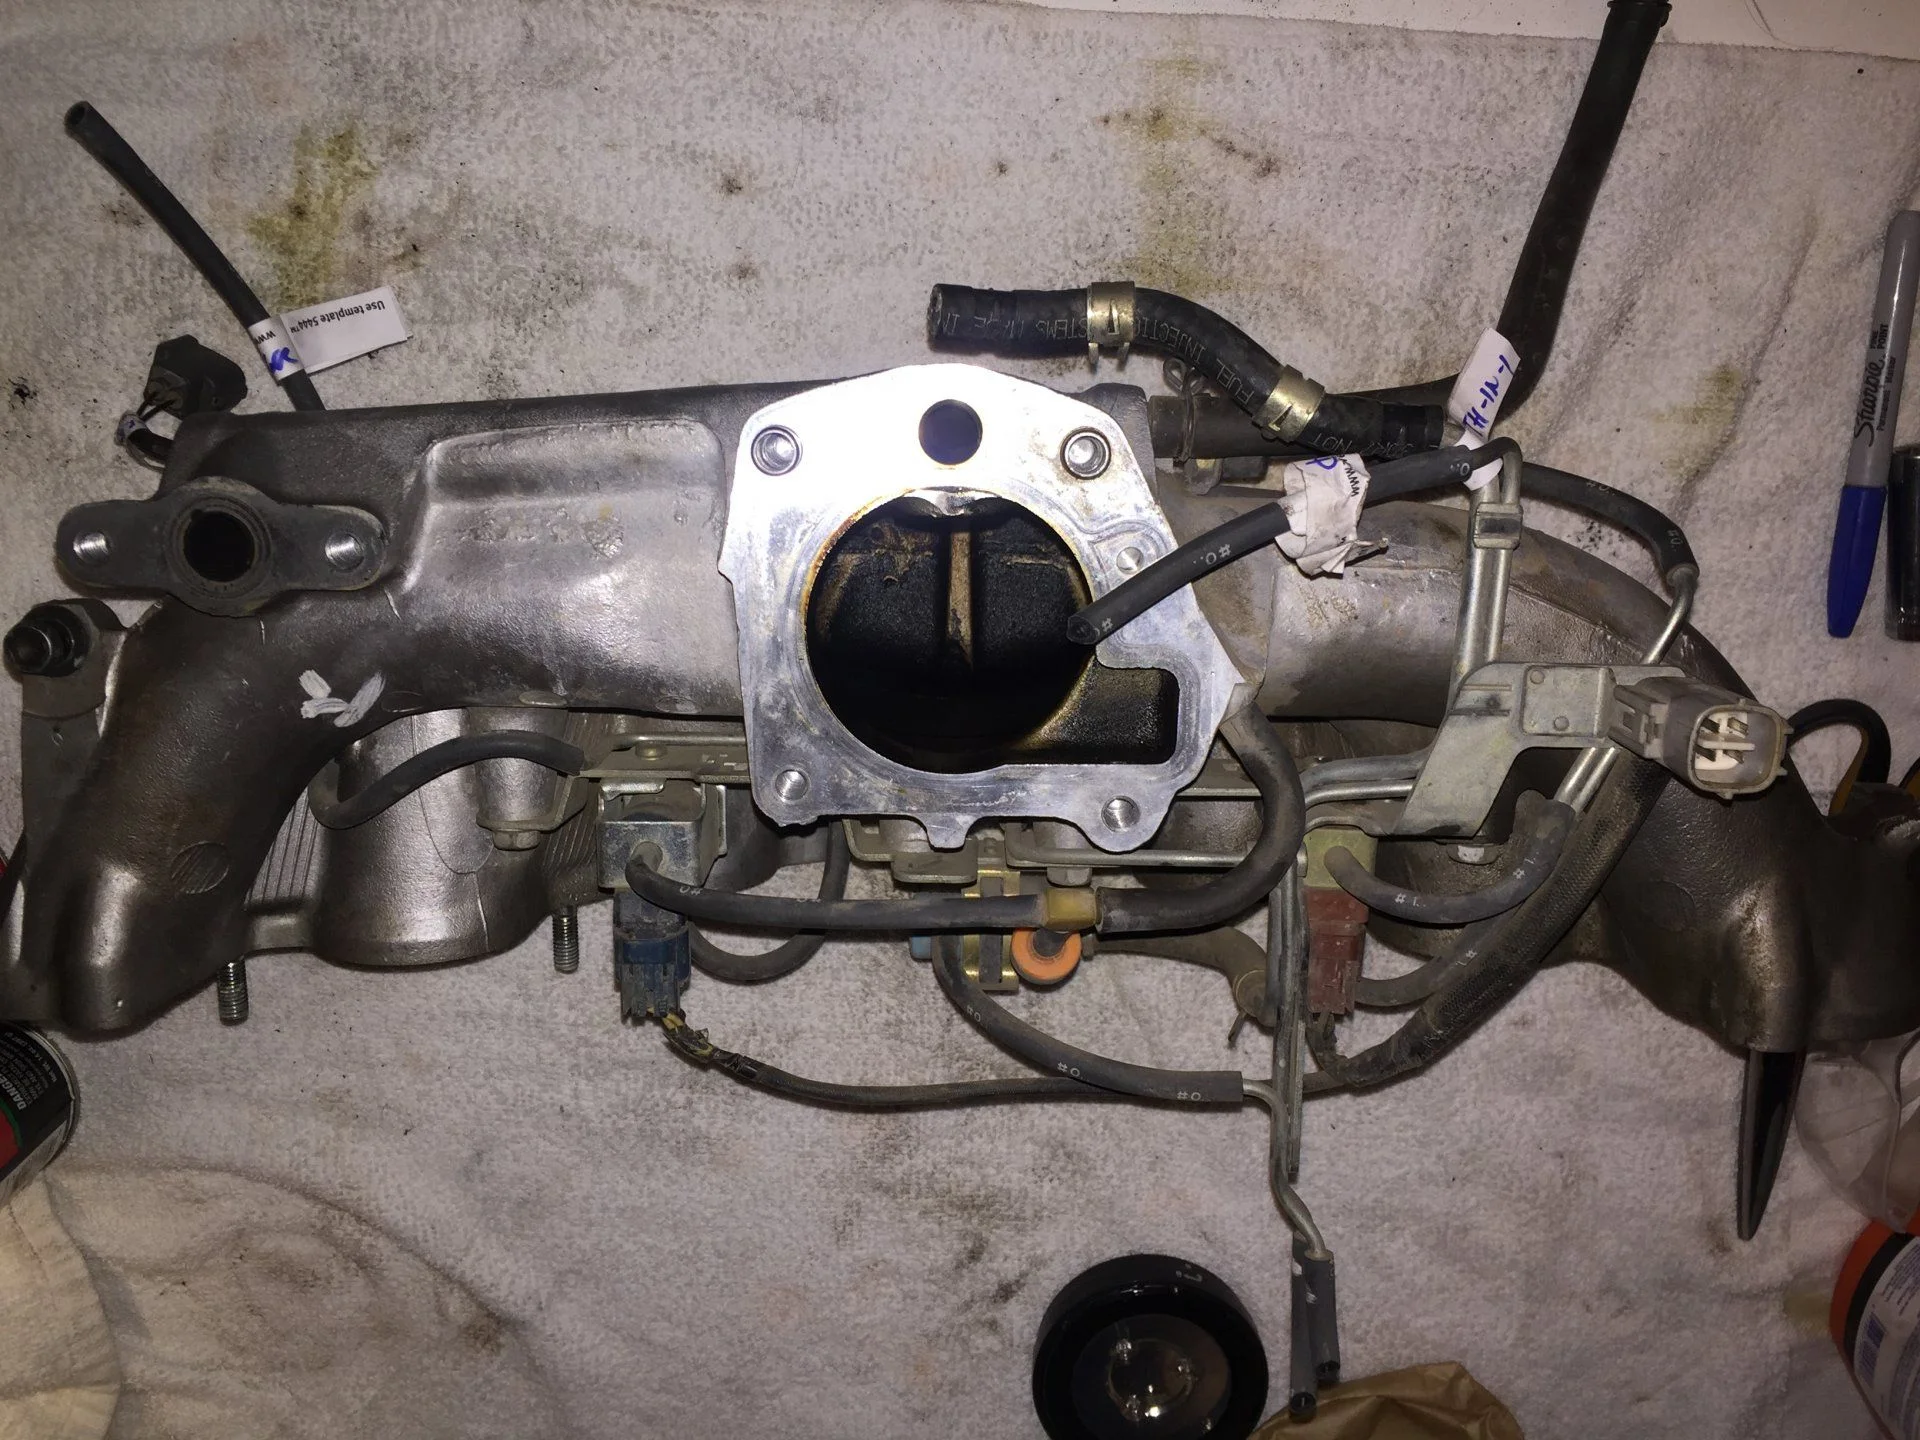
I worked also on all the bolts and screws of the upper intake. It was not really bad as everybody else was saying. I had to use the universal joint and I got to the bolts pretty easily.

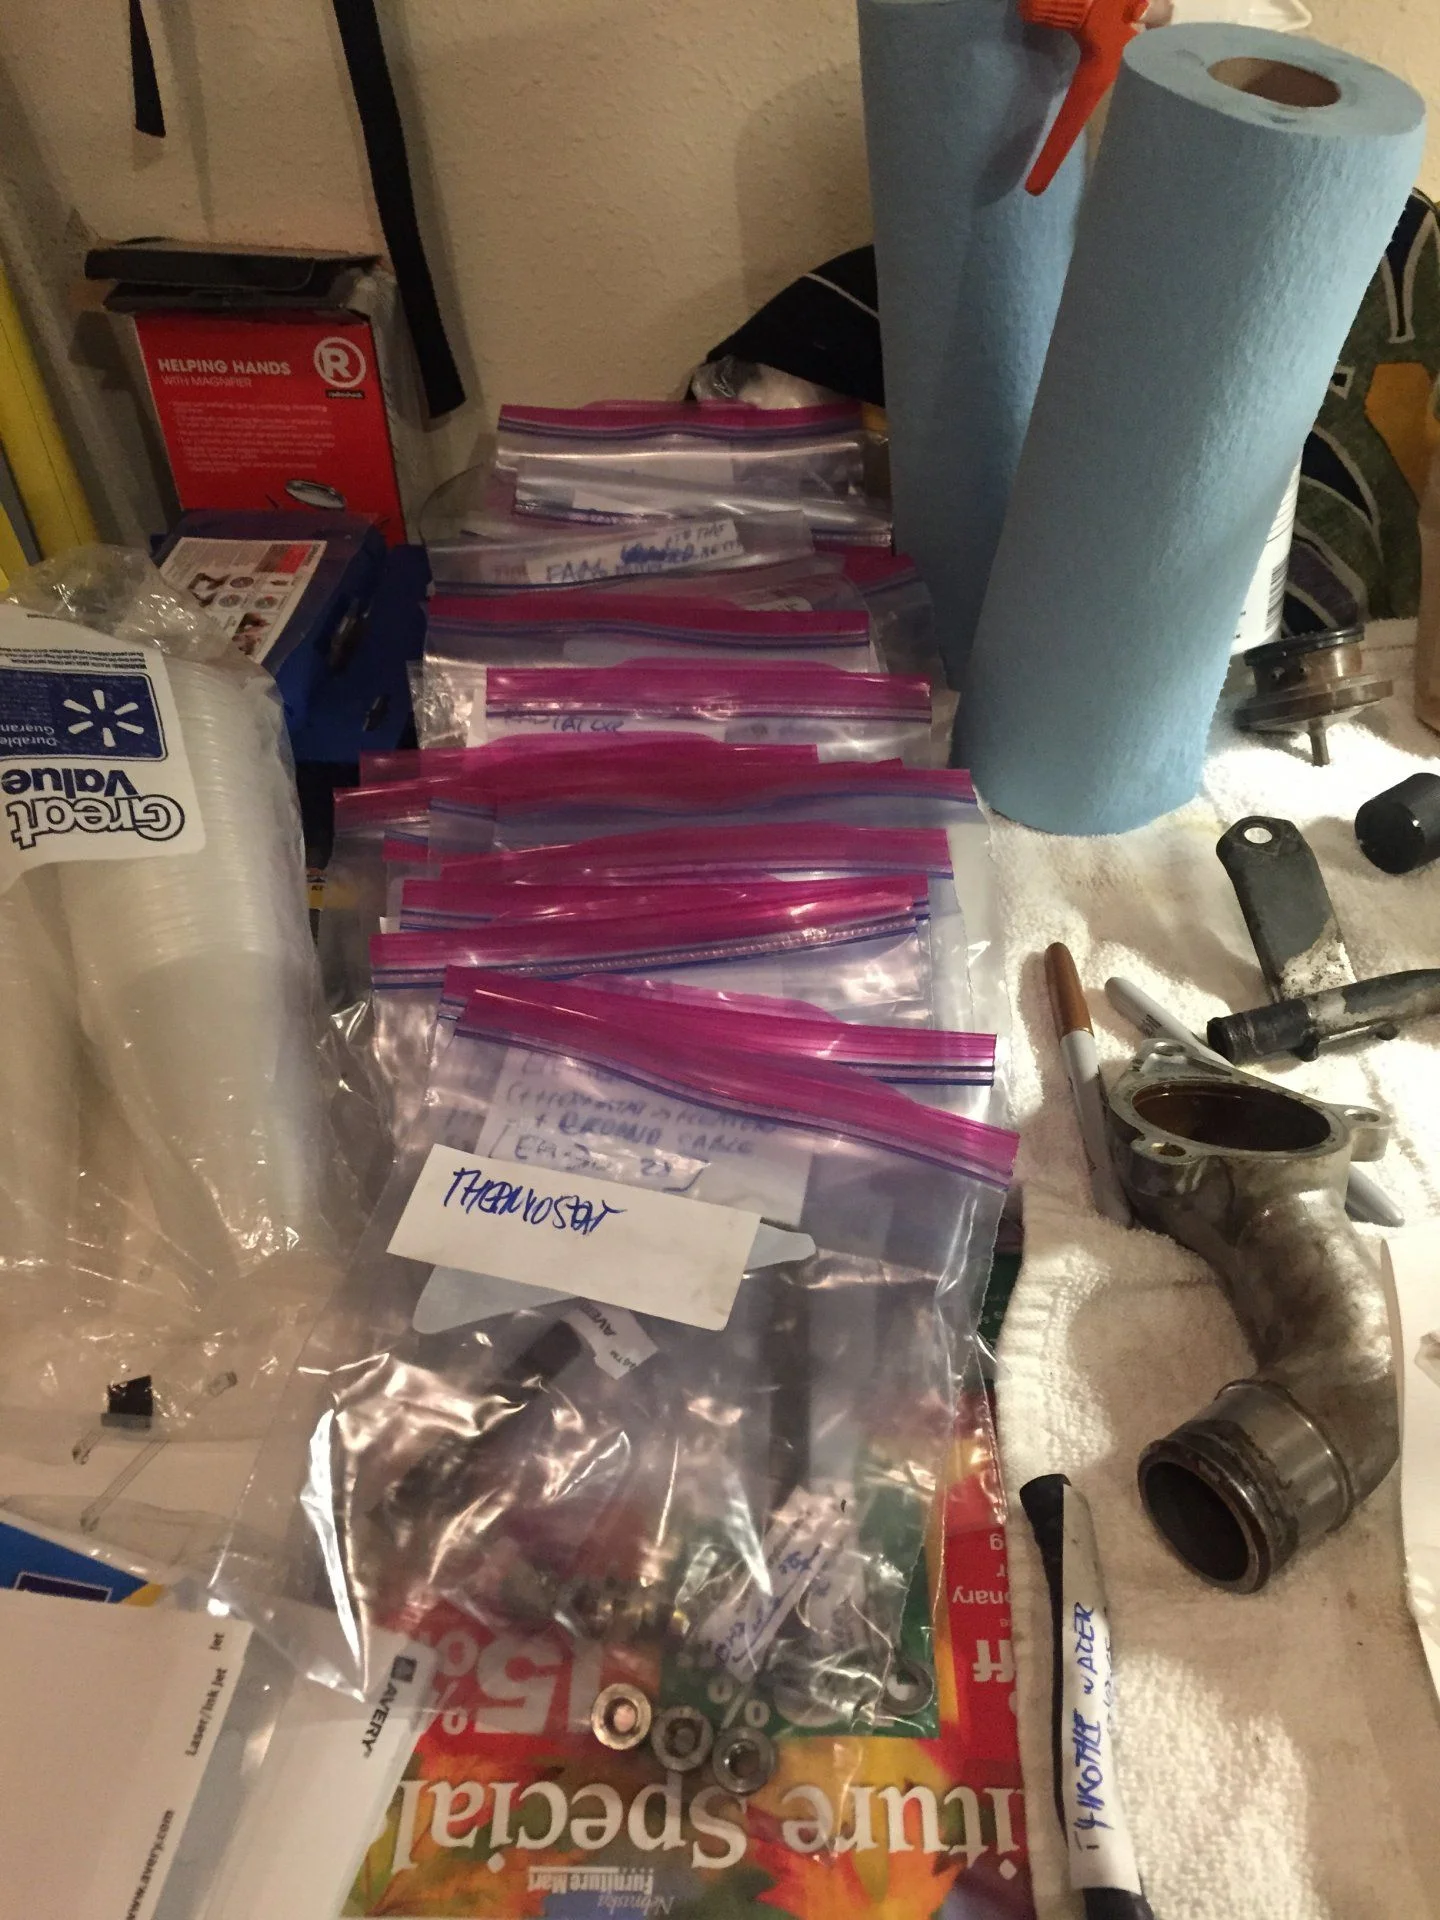
As suggested by others , I am using the ziploc method and there is a pile of ziplocs already on my small table.

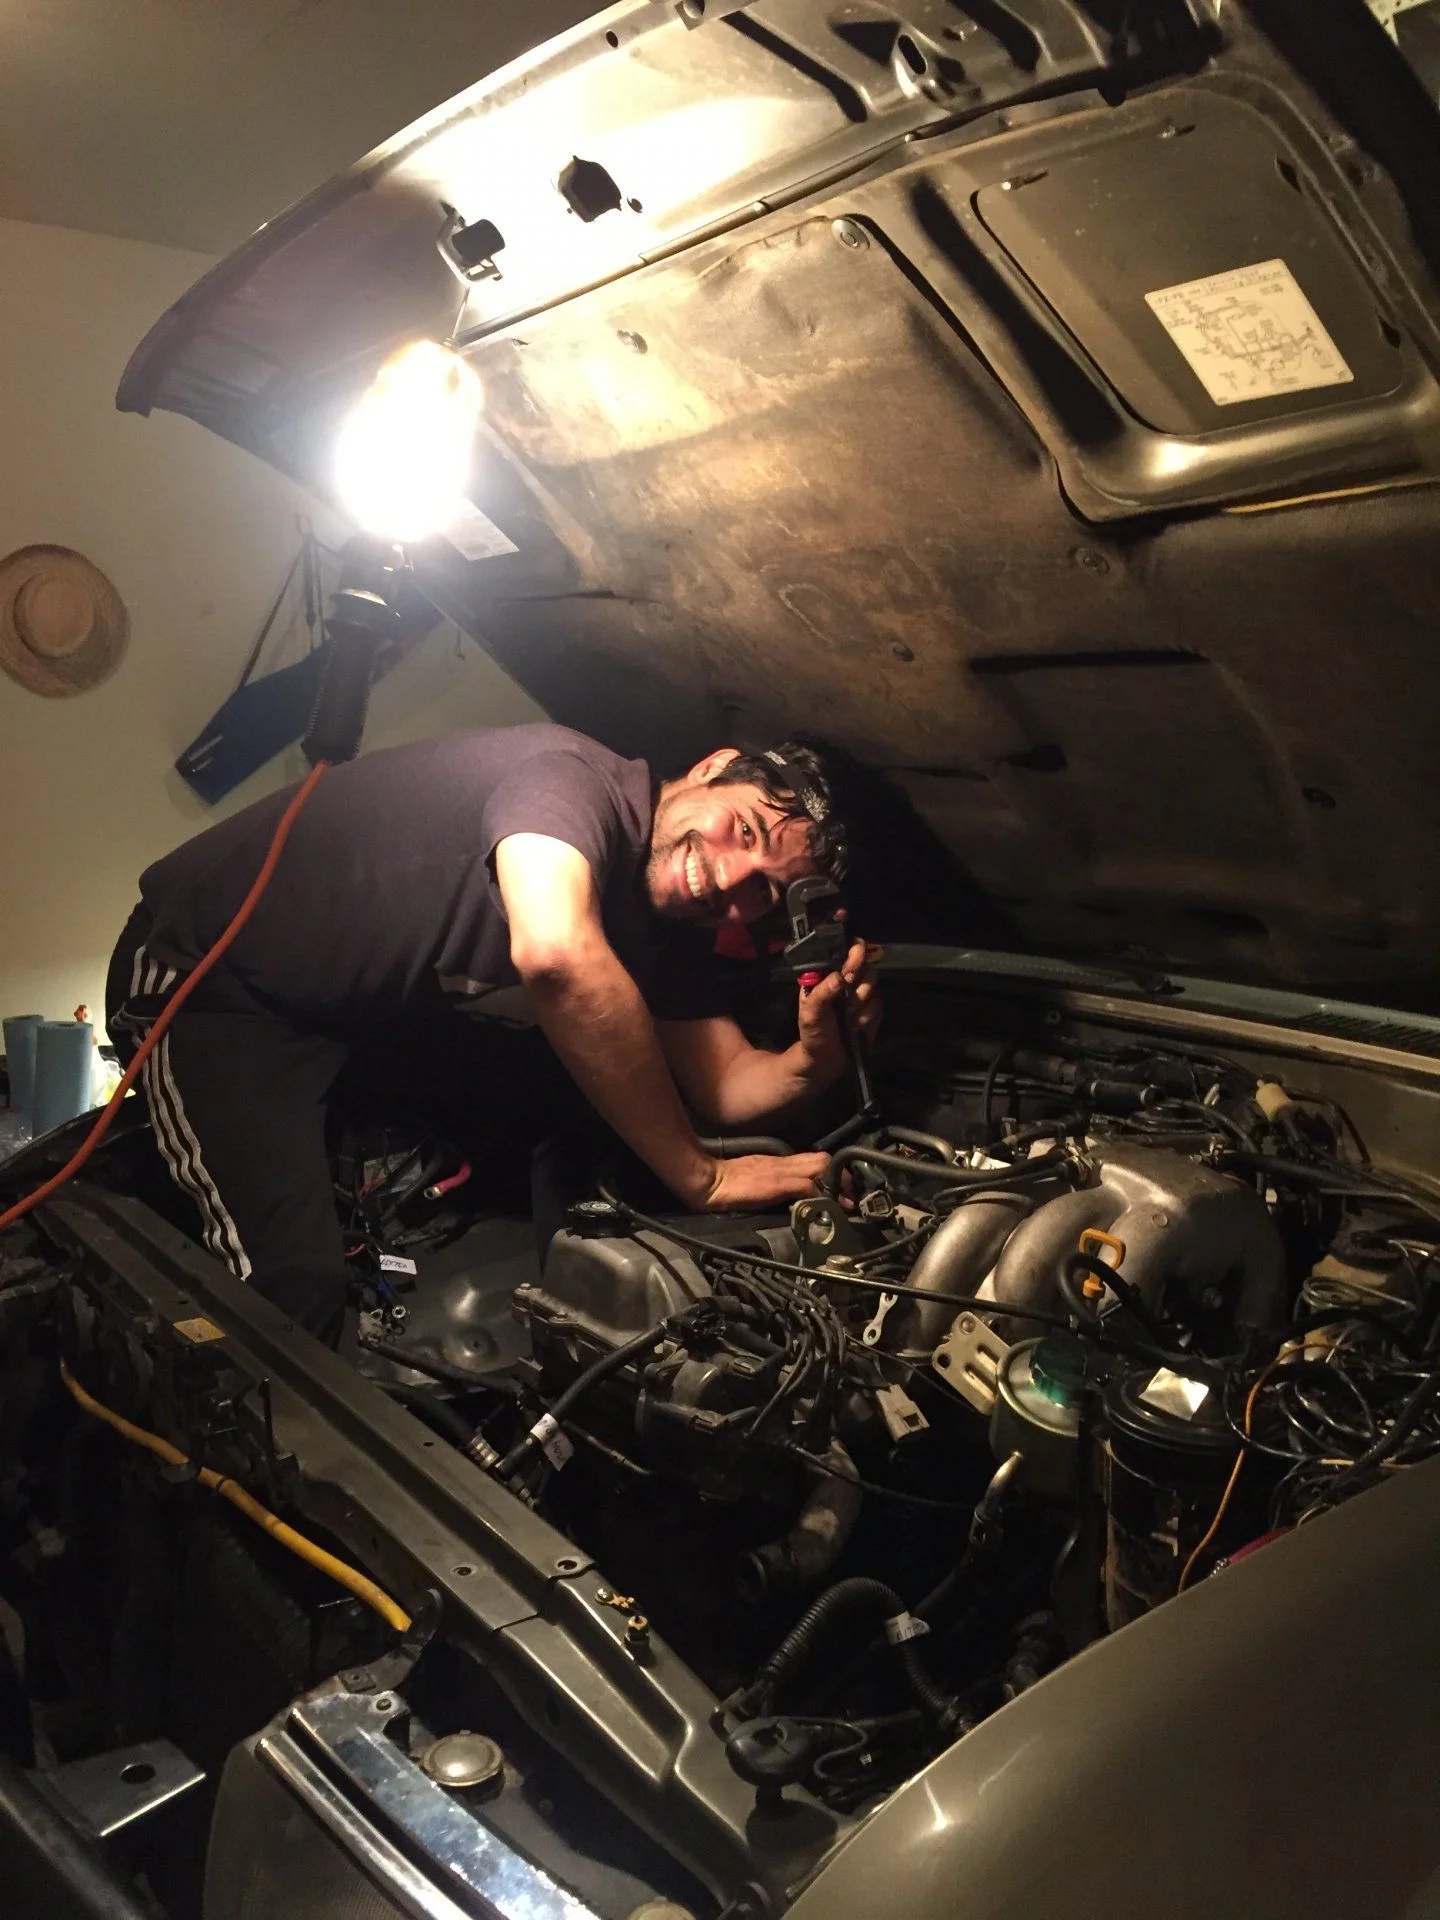
and finally , this is me working on the car. I found out that instead of looking for some boards to lay on the engine it's easier to stand and sit inside of the motor where is a lot of place (as radiator and air intake is removed).

I am waiting for @2fpower to arrive on Sunday as I need some help with the intake and fuel rail .

Jorge
 
Good work! You seem to be very organized and systematic and thorough for a fella who describes himself as an inexperienced mechanic.
The drivers side of the engine is a bit more tedious but you and 2fpower should have the head off by Sunday evening. Thanks for this thread. I was to lazy to do a HG thread or even a build thread for that matter.
 
excellent work!! ... btw that pipe you show that goes to the rear (and front) heater is fine ... they are pretty thick and even in my climate where rust is prevalent mine is fine and doesnt look as good as yours. The "rear" heater pipes that folks get concerned about are the ones that run down the firewall and also under the vehicle... they are much smaller in diameter and have thinner tube walls .. the picture you show of the two hoses by the firewall .. the bottom hose goes to one of the rear heater pipes .. the other pipe is on the DS firewall near the heater control valve. ALSO if you get a lot of PB Blaster on the EGR valve nut over a few days... and use a pipe wrench while standing on the DS and pulling on the wrench ... it may come loose;

Have you got the engine wiring harness out yet?
 
More power to you man. Its a big project to tackle for anyone, so props to you for taking it on. You seem to be willing to accept and look for help, so good luck!
 
excellent work!! ... btw that pipe you show that goes to the rear (and front) heater is fine ... they are pretty thick and even in my climate where rust is prevalent mine is fine and doesnt look as good as yours. The "rear" heater pipes that folks get concerned about are the ones that run down the firewall and also under the vehicle... they are much smaller in diameter and have thinner tube walls .. the picture you show of the two hoses by the firewall .. the bottom hose goes to one of the rear heater pipes .. the other pipe is on the DS firewall near the heater control valve. ALSO if you get a lot of PB Blaster on the EGR valve nut over a few days... and use a pipe wrench while standing on the DS and pulling on the wrench ... it may come loose;

Have you got the engine wiring harness out yet?
I will not be taking the harness out which is real pain. I will leave the lower intake manifold in the bay and just move it to the side as suggested by IdahoDoug in his video. I decided just to leave the EGR there and fight with it on table when I take the head off.
 
Yes I left the harness in also but its going to be awkward lifting the head AND the upper manifold out while leaving the lower manifold in the bay because the EGR tube will be holding them (the head and the upper manifold) together .....and a little awkward to lift them like that ....you probably don't want to bend the tube or you will have a tough time getting it reconnected later ... Anyway I think you will find it better to undue the EGR first... However if you do manage this ... Let me know.
 
Yes I left the harness in also but its going to be awkward lifting the head AND the upper manifold out while leaving the lower manifold in the bay because the EGR tube will be holding them (the head and the upper manifold) together .....and a little awkward to lift them like that ....you probably don't want to bend the tube or you will have a tough time getting it reconnected later ... Anyway I think you will find it better to undue the EGR first... However if you do manage this ... Let me know.
@DetroitStyle was doing it the same way - leaving the EGR and taking it with the head away . A novice tackles the head gasket thread
 
Of course!!!! How stupid of me !!!! That is smarter than what I struggled with ..... When you were describing what you were doing I was dumb and didn't realize that you had pulled the two studs out of the EGR and it was free of the upper manifold!!! I am embarrassed!!!! Well done!
 
Update:

Today I had visit from @2fpower and well all went really well. He was so fast taking the stuff out that I had problems labeling all the bolts he was taking off. Turns out I was turning the EGR nut the other side then I should be and it went away really smoothly. :(

We took out the intake manifold , distributor and valve cover. Nice to see it progressing this far.

I have couple of questions:
  1. I ordered the small vacuum hoses from Cruiser Dan, I think that I ordered five sets which I will be cutting down to the appropriate sizes. Anyway I see that there are some bigger vacuum hoses there also in the intake manifold. Where do you guys order these ?
  2. What shall I replace related to VSV or EVAP or EGR ? From this thread P0401 Defeated - with pics I see that at least I should replace following, not sure if you would recommend me to go ahead and replace something else also:
    1. VacuumModulator for EGR - 25870-66011
    2. EGR Valve Gasket - 25627-66010 (probably in the head gasket kit i ordered)
    3. VSV for EGR - 90910-12079
  3. How do I clean all the parts:
    1. Cleaning the intake manifold - shall I buy some long sticks like for cleaning bottles and try it with brake cleaner ?
    2. Cleaning the distributor - is this recommended to clean inside the distributor ?
    3. EGR valve - what is the preferred way to clean this ?

I am still "recovering" from @2fpower visit , labeling and cleaning mostly. I will take time as I am not in hurry and would like to do it properly.

Some pictures here:
Distributor out, @2fpower marked the position of the distributor while in DPC of piston 1

EGR valve taken out, what a pain this was but probably only because of my noob skills:

The cams are nice and shiny:

The valve cover is not bad at all and not too much dirt.

The intake needs some cleaning and replacing of all hoses.
 
I once had a code PO402 that a new VSV for EGR cured. Some have also cured a PO401 with a VSV for EGR. Very easy to do with the manifolds separated from the head; The EGR gasket came with my gasket kit. as will the rubber "O" ring for the distributor shaft. I would not do anything to clean the distributor other than using dry compressed air. If you look at the driven gear on the distributor .. you will see a little protrusion on one of the teeth and a groove on the bottom of the distributor housing near the gear - these will need to be aligned when you reinstall the distributor. You will also have to ensure that while those marks are aligned that the center of the distributor flange is also aligned with the center of the bolt hole that is used to lock the distributor ... and that the camshaft gears are aligned iaw the FSM ... IF you don't have the FSM ... get one (or photocopies of the relevant pages) BEFORE you undo the camshaft bearing caps as otherwise you may do damage to the camshafts .. they must be turned so that the lobes are pressing on the correct valves and the cap bolts are unscrewed in a specific order and sequence to release the camshafts evenly. Similarly the head bolts are to be loosened in a specific sequence.

The only mark you really need on the distributor is one that shows the position of the distributor flange relative to the lock bolt washer .. this will enable you to get the distributor re-installed well enough so that your timing should be "close" to where it was (it will need to be reset to 3deg advance eventually -- using a wire to short out the DLC1 terminals TE1 and E1 etc )
 

Users who are viewing this thread

Back
Top Bottom