Head Gasket job (total noob)

This site may earn a commission from merchant affiliate
links, including eBay, Amazon, Skimlinks, and others.

I can't agree with this anymore, this is what we're all here for.

Nobody was born knowing how to replace the PHH for that matter.
I think you may have misread, Zimbwanabe said the same thing you have typed, only different. ;) !!
 
I don'i know If you have removed your fan schroud. Remove your battery and battery box. The fan schroud on drivers side get hung up on It and I have read where guys pulled for hrs. and messed up there rad. fins. Get as much room as you can to work and SEE what your working on. Wire brush all threads prior to attempting to remove. Your Manifold nuts should come off with heat, bolts transfer to much heat and can be a pain.
I would respectfully advise you to see If there Is an experienced mud member In your area that would be willing to check your work. This Is a big job and many details that experienced men could be of great value to you making sure all unforgiving spicifics are addressed. :) Or you may be a natural. Good Luck . !!
 
Thanks for your support, I already contacted couple of locals and I was provided with the famous DVD. I am sure that in case of some issues they would come to rescue.

I had to give the fan some love with mallet and it went out, started with removal of the radiator and removed the hoses. Robbie suggested to take the radiator out by removing the top plate where the hood release is. Unfortunately the craftsman racheting wrench gave up on me and broke. As I don't have any other 12mm wrench I stopped right there.


Also when I unmounted the fan shroud the mounts were already destroyed see the picture here:

The exhaust manifold is still holding strong , I already gave it some blast with the AeroKroill but still holding.
 
All four bolts from Y pipe are out, AeroKroil is amazing and the guy who invented it should get Nobel Prize.
 
Thanks for documenting your process, Jorgito! I'm a Land Cruiser noob looking to do a head gasket on my rig and researching as much as possible. Subscribed!
 
I don't carry crapsman tools for the trail anymore, only Stanley and hand tools, kobalt torque wrench and impact and die grinder/cutoff wheel and for ratcheting end wrenches I use gear wrench. Crampsman has failed me too many times to count on them. I still have a full mechanics set of crapsman in my garage, but I'm not putting anything on the line working on my vehicles at home. I've had to have all of my ratchets rebuilt multiple times because they no longer give you new ones. That's why I bought my stanlley set, tired of waiting 2-3 weeks to get my needed tools back. I had a full Stanley set for over a decade without one spot of rust or one skipped tooth on the ratchets. Didn't have my crapsman a day before everything started rusting, it's a constant battle to keep them that free. Crapsman told me piss up a rope more or less on replacing my set because of surface that and chintsey ratchets that skip teeth or don't catch at all on occasion. Sorry for the tirade, if you can, ditch that Chinese made American branded garbage and get something else. Stanley tools makes Proto tools and I'm not sure of now, but they were all made in Japan or America and I've not had an issue with them in 17 years of using their tools.
 
Have you tried a long extension setup on a large breaker bar for the exhaust pipe stud/nuts. That's what I used to access them from beneath. Also, be sure to keep all parts and hardware organized and labeled. I use ziploc bags and a sharpie. It's worth it to buy new head bolts and you may consider ARP head studs. Research a lot because you won't look forward to doing this again.
 
Yes I was using a long 1/2 inch breaker bar and long socket going from down of the vehicle to the Y pipe. I really struggled until I used the AeroKroil. I left the AeroKroil work overnight and in the morning while waiting for school bus I loosened those nasty bolts.

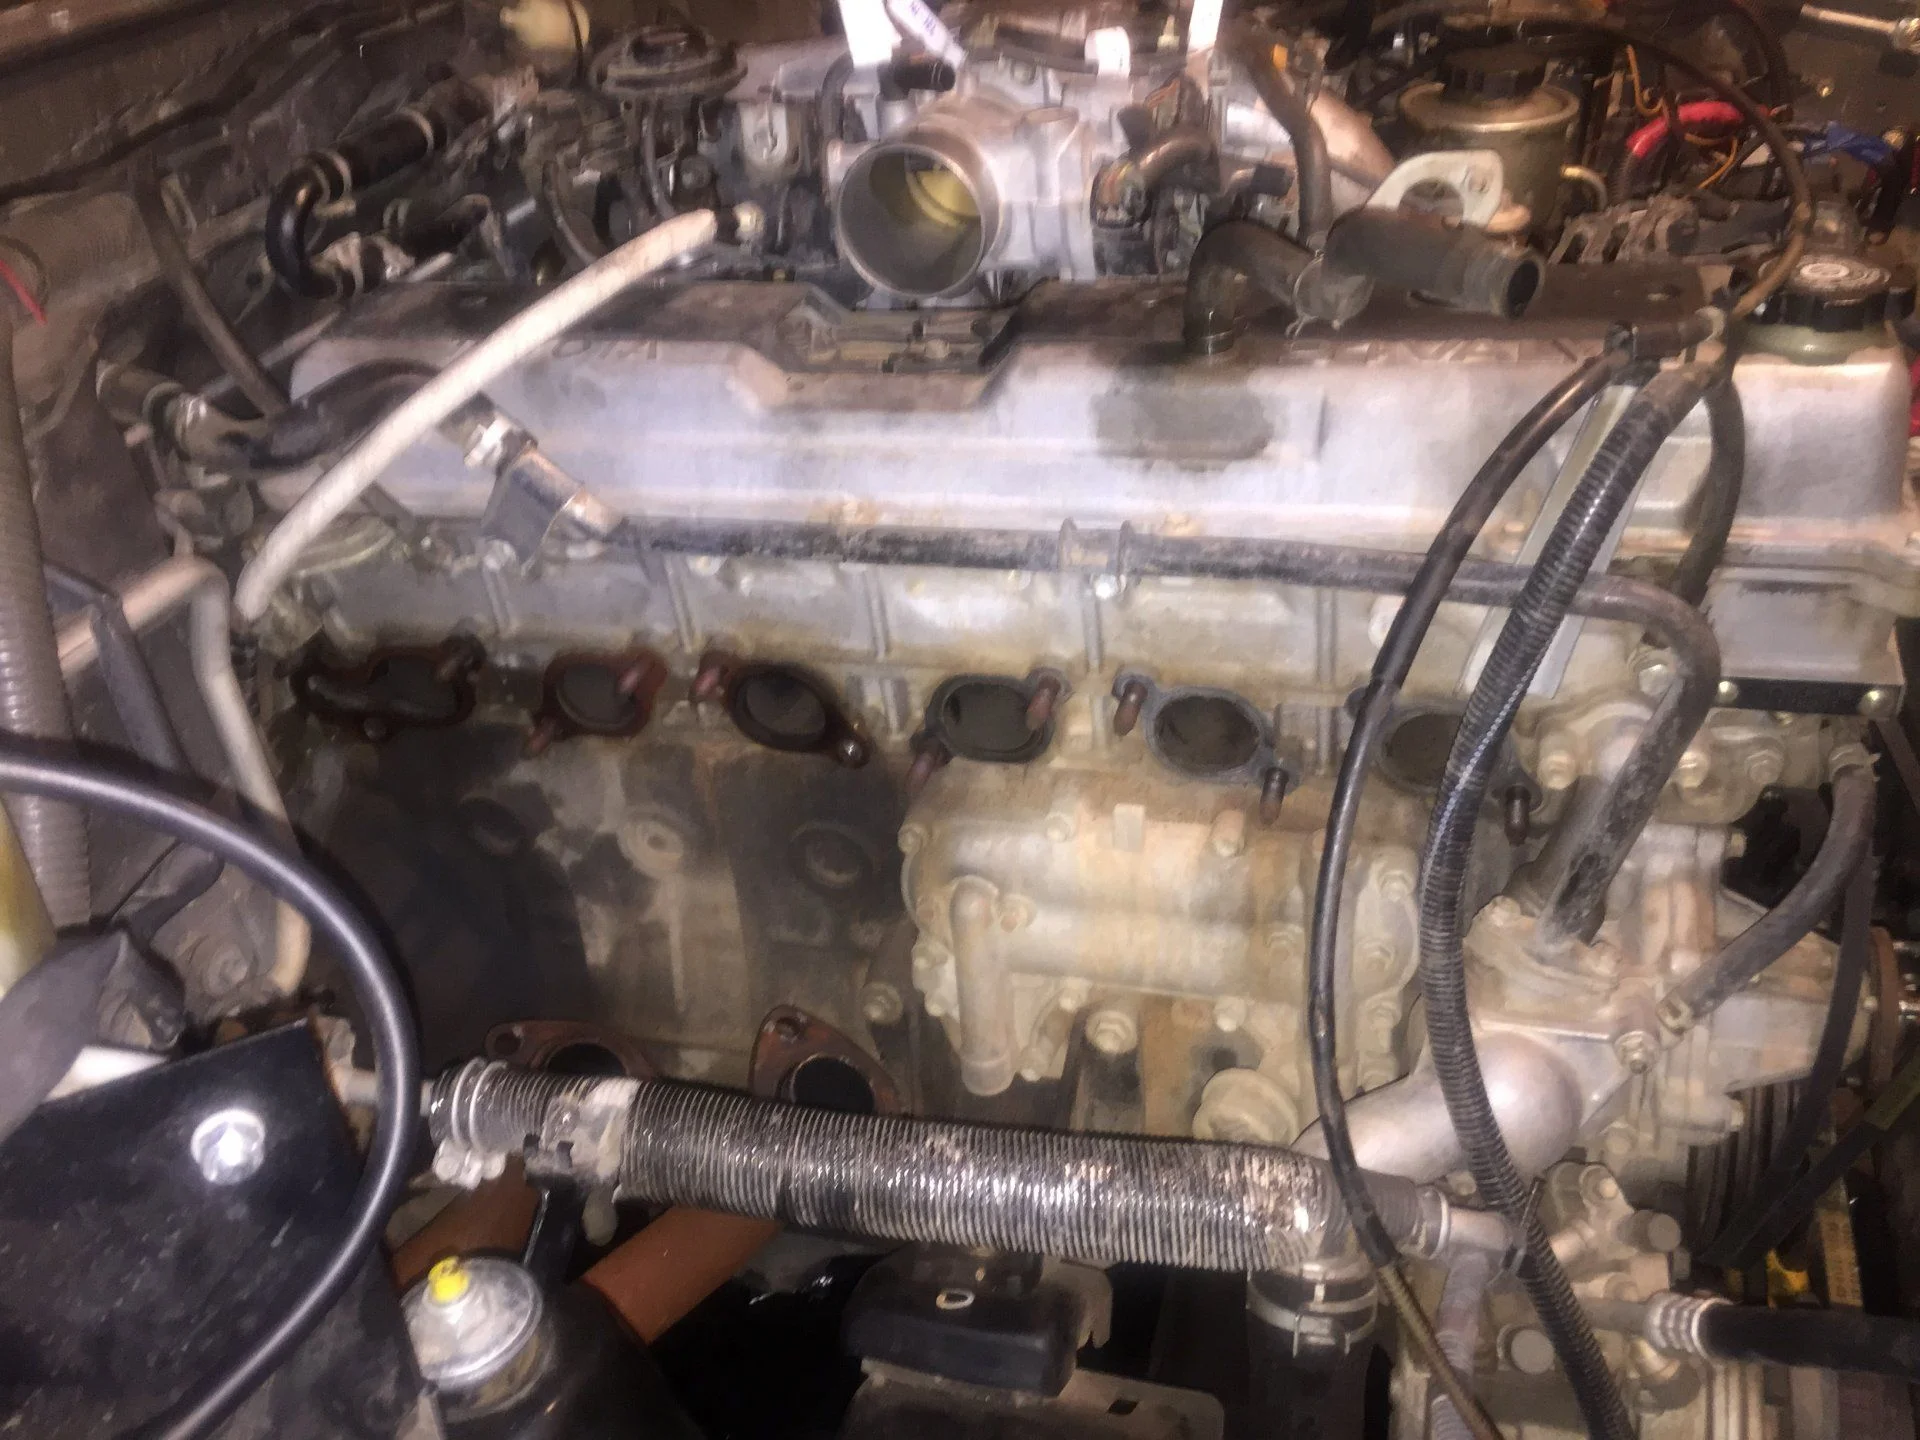
I have taken all exhaust to head bolts out and I was surprised how easily they went out, most of the studs stayed in the head. Now I need to work on the holding bracket of the Y pipe as I have problems taking the exhaust manifold out of the Y pipe. I was able to remove the front exhaust manifold by moving the front y pipe little bit to the side.

Will keep you guys posted.
 
Use a torque wrench that has been verified accurate for assembly.
 
Glad to tag along. I'm afraid to tackle this one alone. I'd want a buddy along. I miss my fleet mechanic neighbor more and more all the time. Slip him a few bucks from time to time asnd he was all in.
 
Thanks for your support, I already contacted couple of locals and I was provided with the famous DVD. I am sure that in case of some issues they would come to rescue.

I had to give the fan some love with mallet and it went out, started with removal of the radiator and removed the hoses. Robbie suggested to take the radiator out by removing the top plate where the hood release is. Unfortunately the craftsman racheting wrench gave up on me and broke. As I don't have any other 12mm wrench I stopped right there.


Also when I unmounted the fan shroud the mounts were already destroyed see the picture here:

The exhaust manifold is still holding strong , I already gave it some blast with the AeroKroill but still holding.
I know i sound like a a broken record if you read my old posts about the coolant system, sorry. But those clips are very critical in my experience. My old aftermarket rad didnt hold them well, or i didnt have them installed well. While wheeling hard i got the motor to twist enough that the fan caught the shroud and smashed my radiator. It was kind of bad being several miles up a trail in the Wyoming mountains by myself with a smashed radiator. My motor mounts look good. I think it was the mounting clips not being good.
 
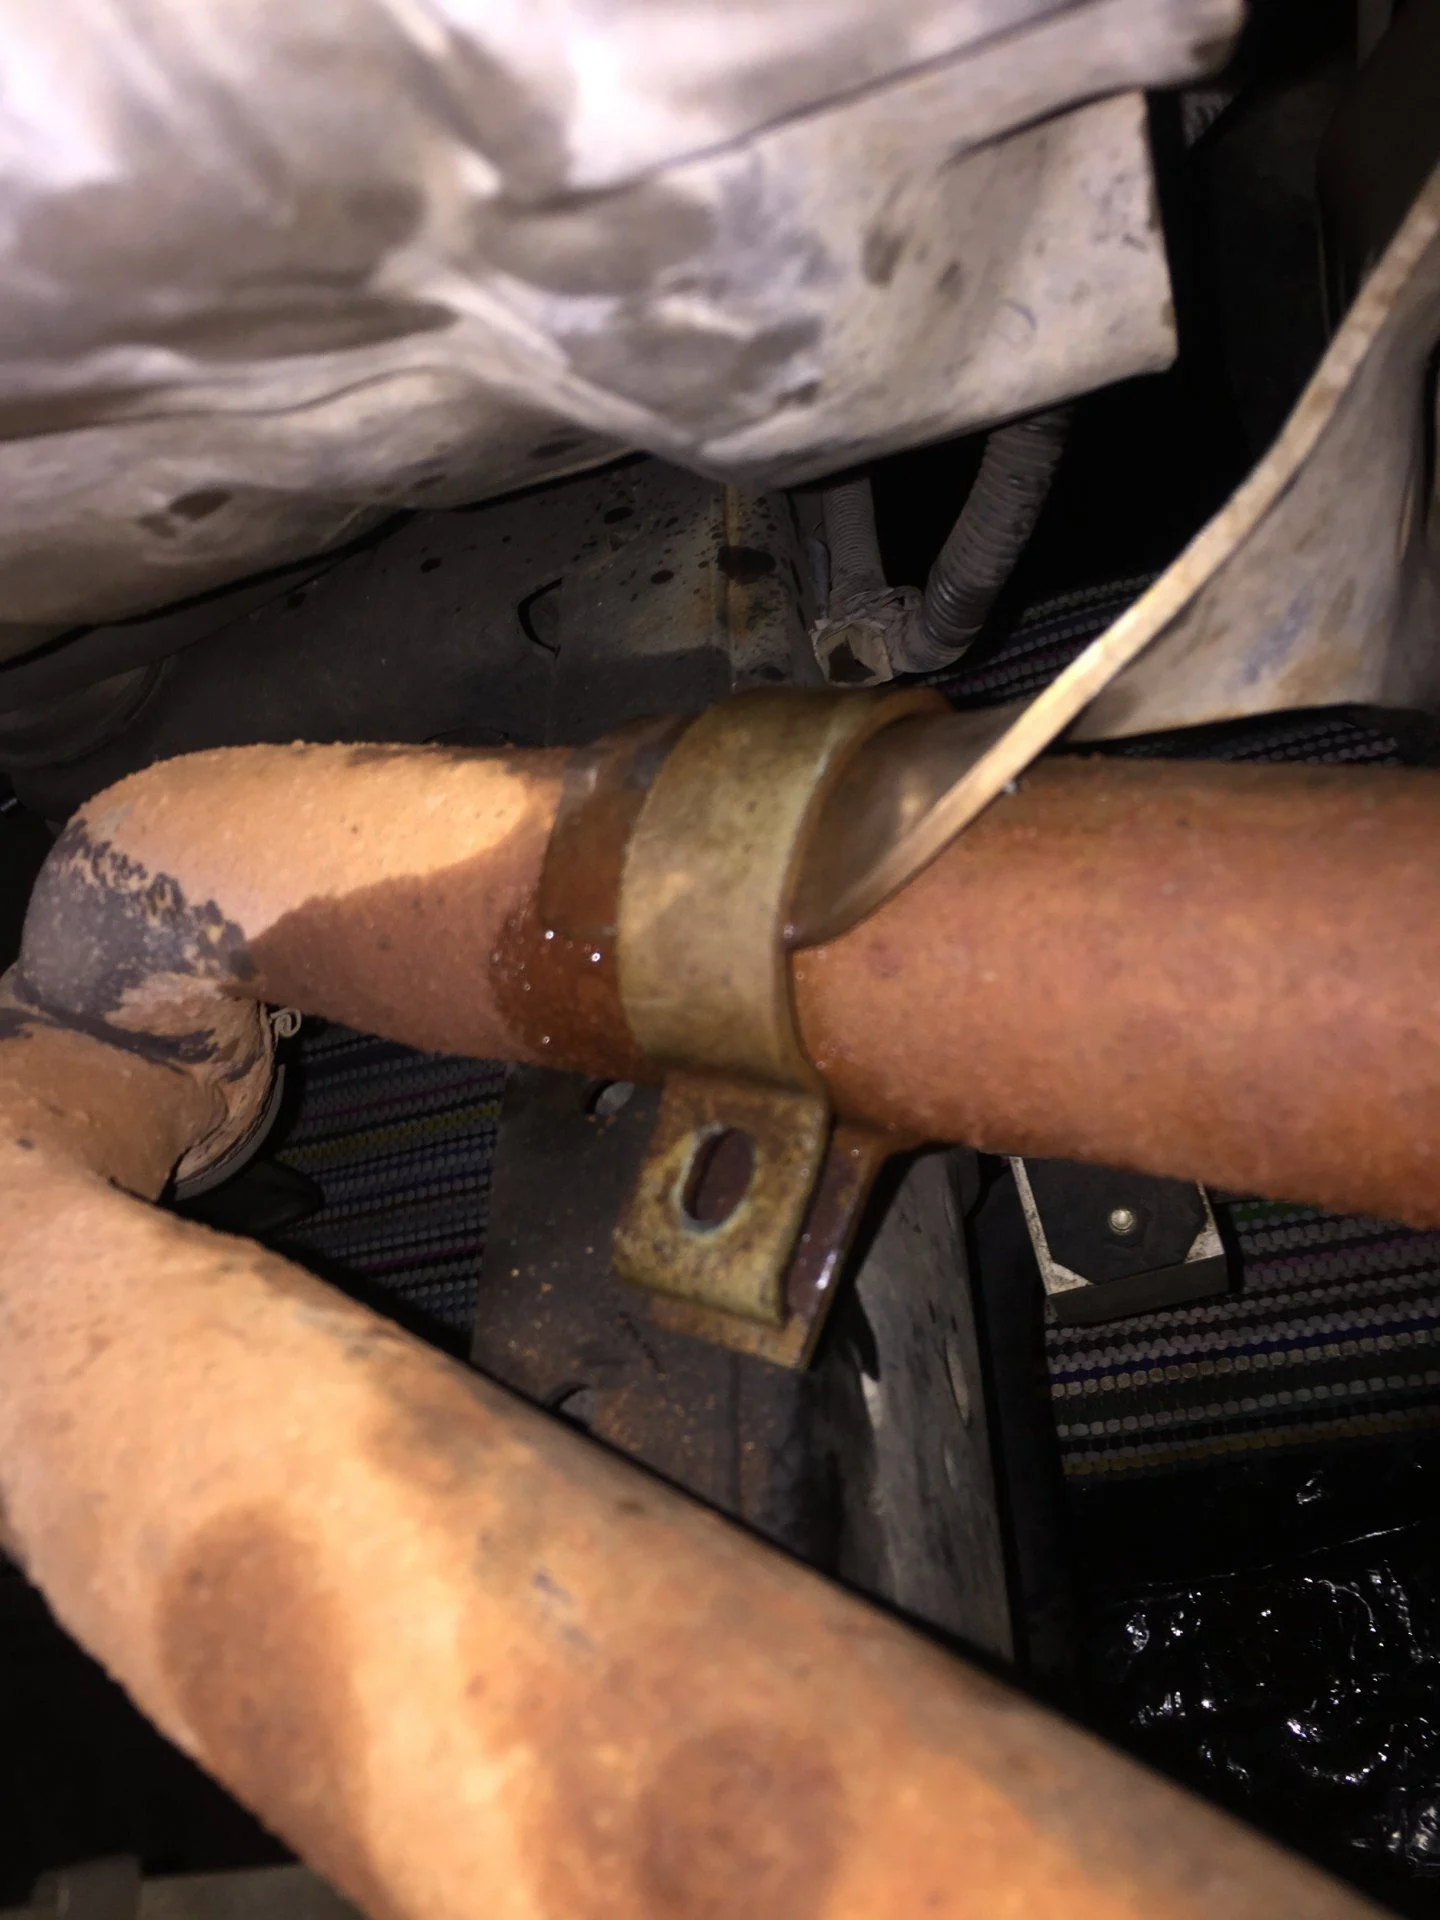
Do you guys have any idea how to remove the bracket from the y pipe ? I removed the bolt but the bracket doesn't come off the y pipe holder.
 
I would just use the brute force method on that bracket
Glad to tag along. I'm afraid to tackle this one alone. I'd want a buddy along. I miss my fleet mechanic neighbor more and more all the time. Slip him a few bucks from time to time asnd he was all in.

Well you can get a lot of buddys here for sure that's what I do :)
 
Exhaust manifold out, I used the brute force method to get the bracket out.
 
serious question here. why not pull the engine and do the work? i have yet to do a HG job but i have pulled several and its really not that bad. seems it would be much easier with the engine out and give you plenty of room to do other things that are hard/impossible with the engine in.
 
serious question here. why not pull the engine and do the work? i have yet to do a HG job but i have pulled several and its really not that bad. seems it would be much easier with the engine out and give you plenty of room to do other things that are hard/impossible with the engine in.
Well, I never did anything else on any car then oil change, there is no way I could pull out the engine. I also live in apartment house and do this work in two car garage.
 
serious question here. why not pull the engine and do the work? i have yet to do a HG job but i have pulled several and its really not that bad. seems it would be much easier with the engine out and give you plenty of room to do other things that are hard/impossible with the engine in.
When you do this how well does it clear the radiator? Do you use a hoist or do you remove the hood and go straight up off of a come a long and then role the truck back? It is just a big old motor. I dont know if my hoist goes high enough to lift it over the front radiator support.
 
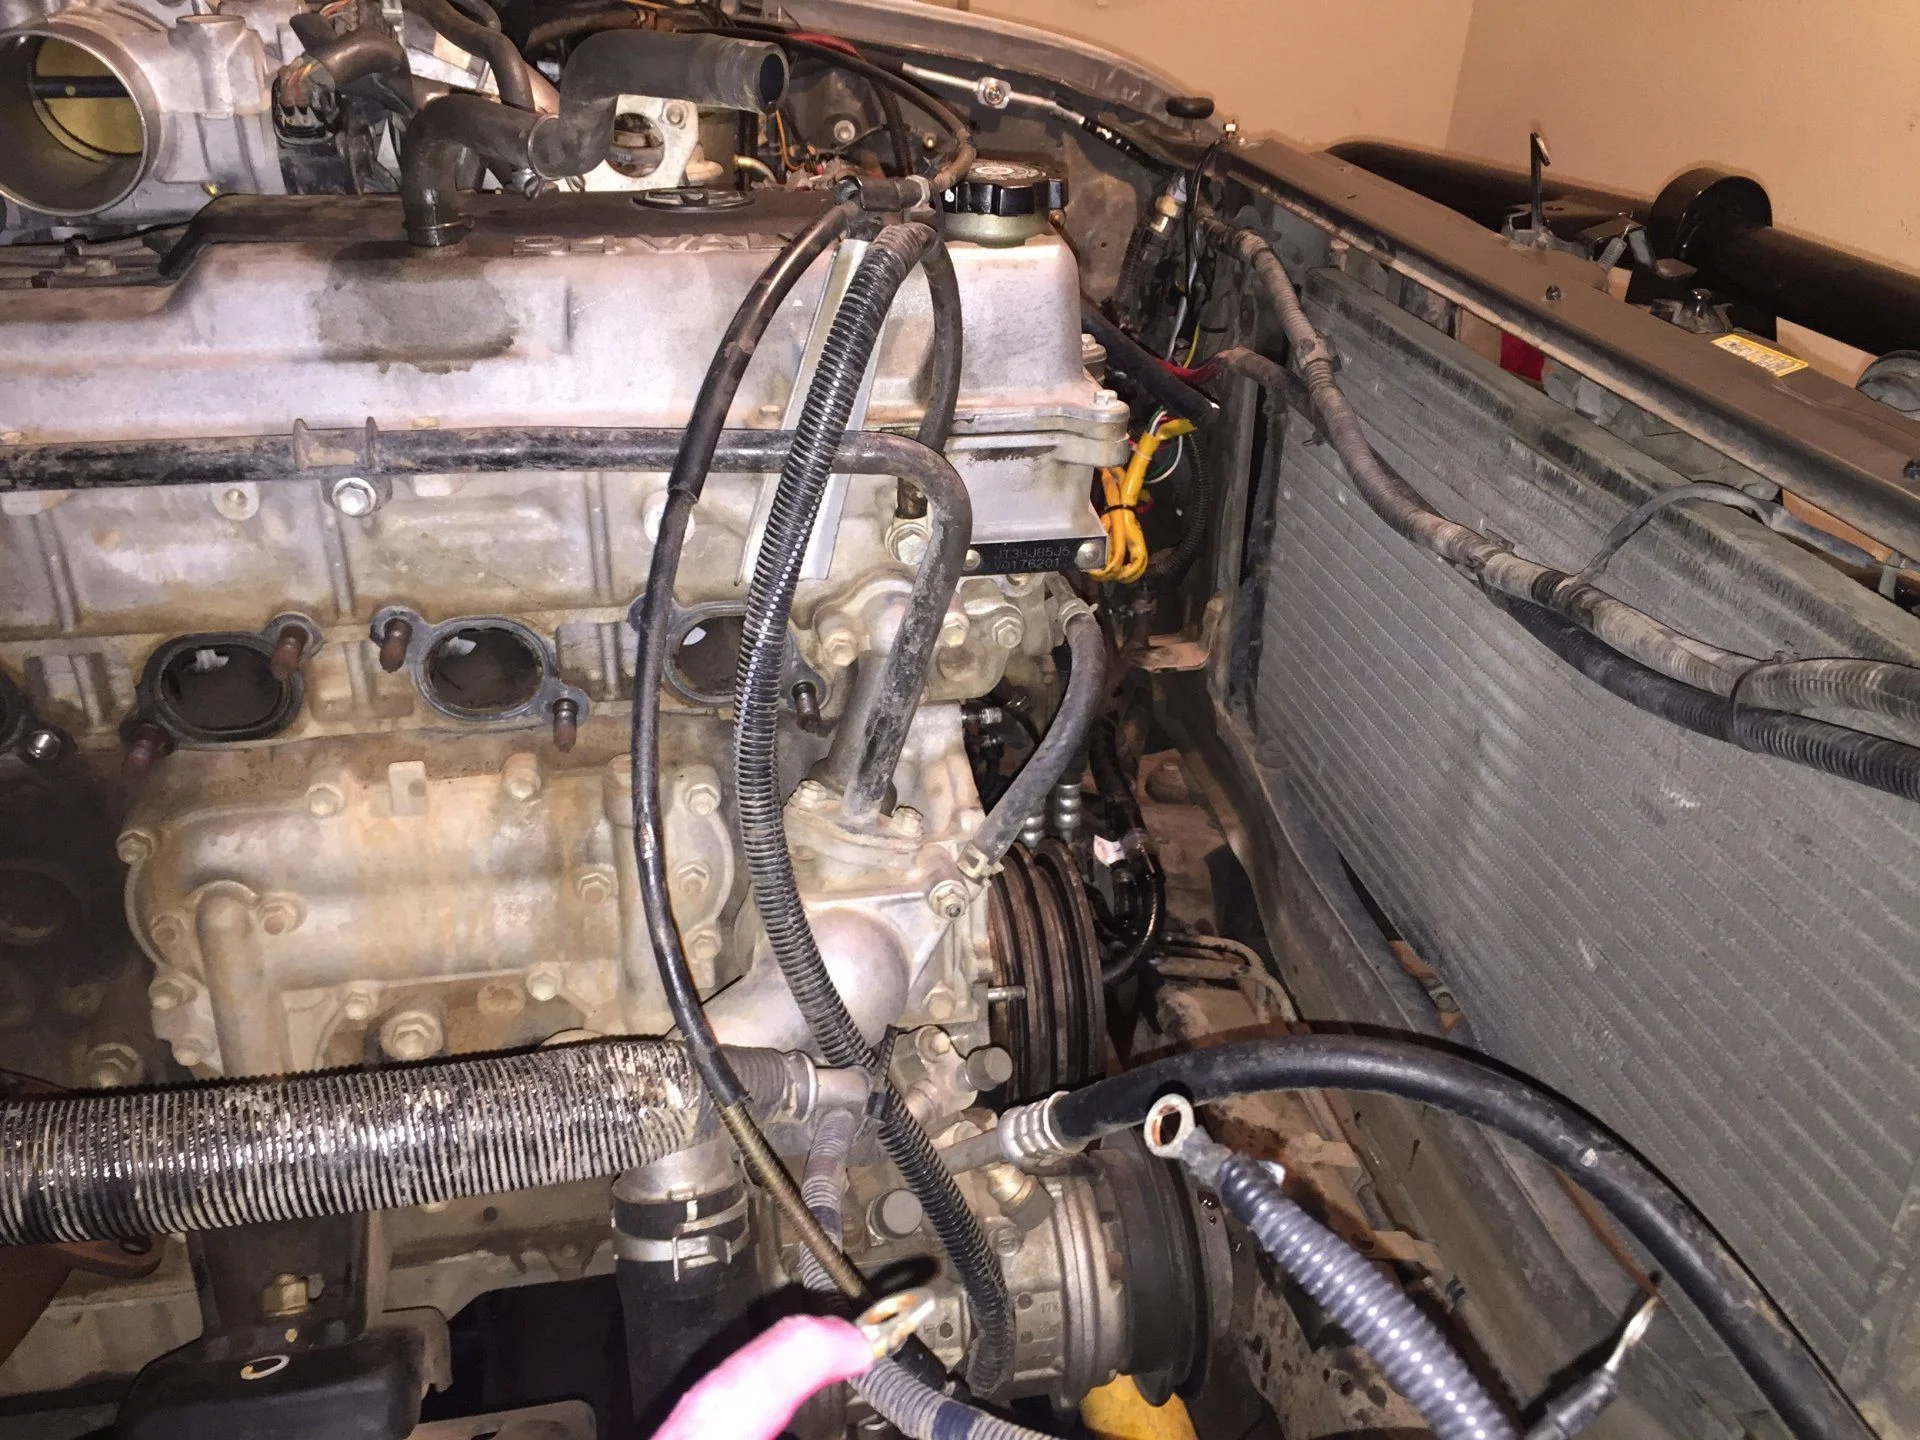
So latest update comes here:

I got out both belts out, I needed to get the crank ac belt first which is done by loosening the idler pulley. Then I just removed both of the belts.
I pulled out the radiator, getting to two front bolts was not bad , I had to fight a little bit with the hoses but a little bit of persuasion and they came out.

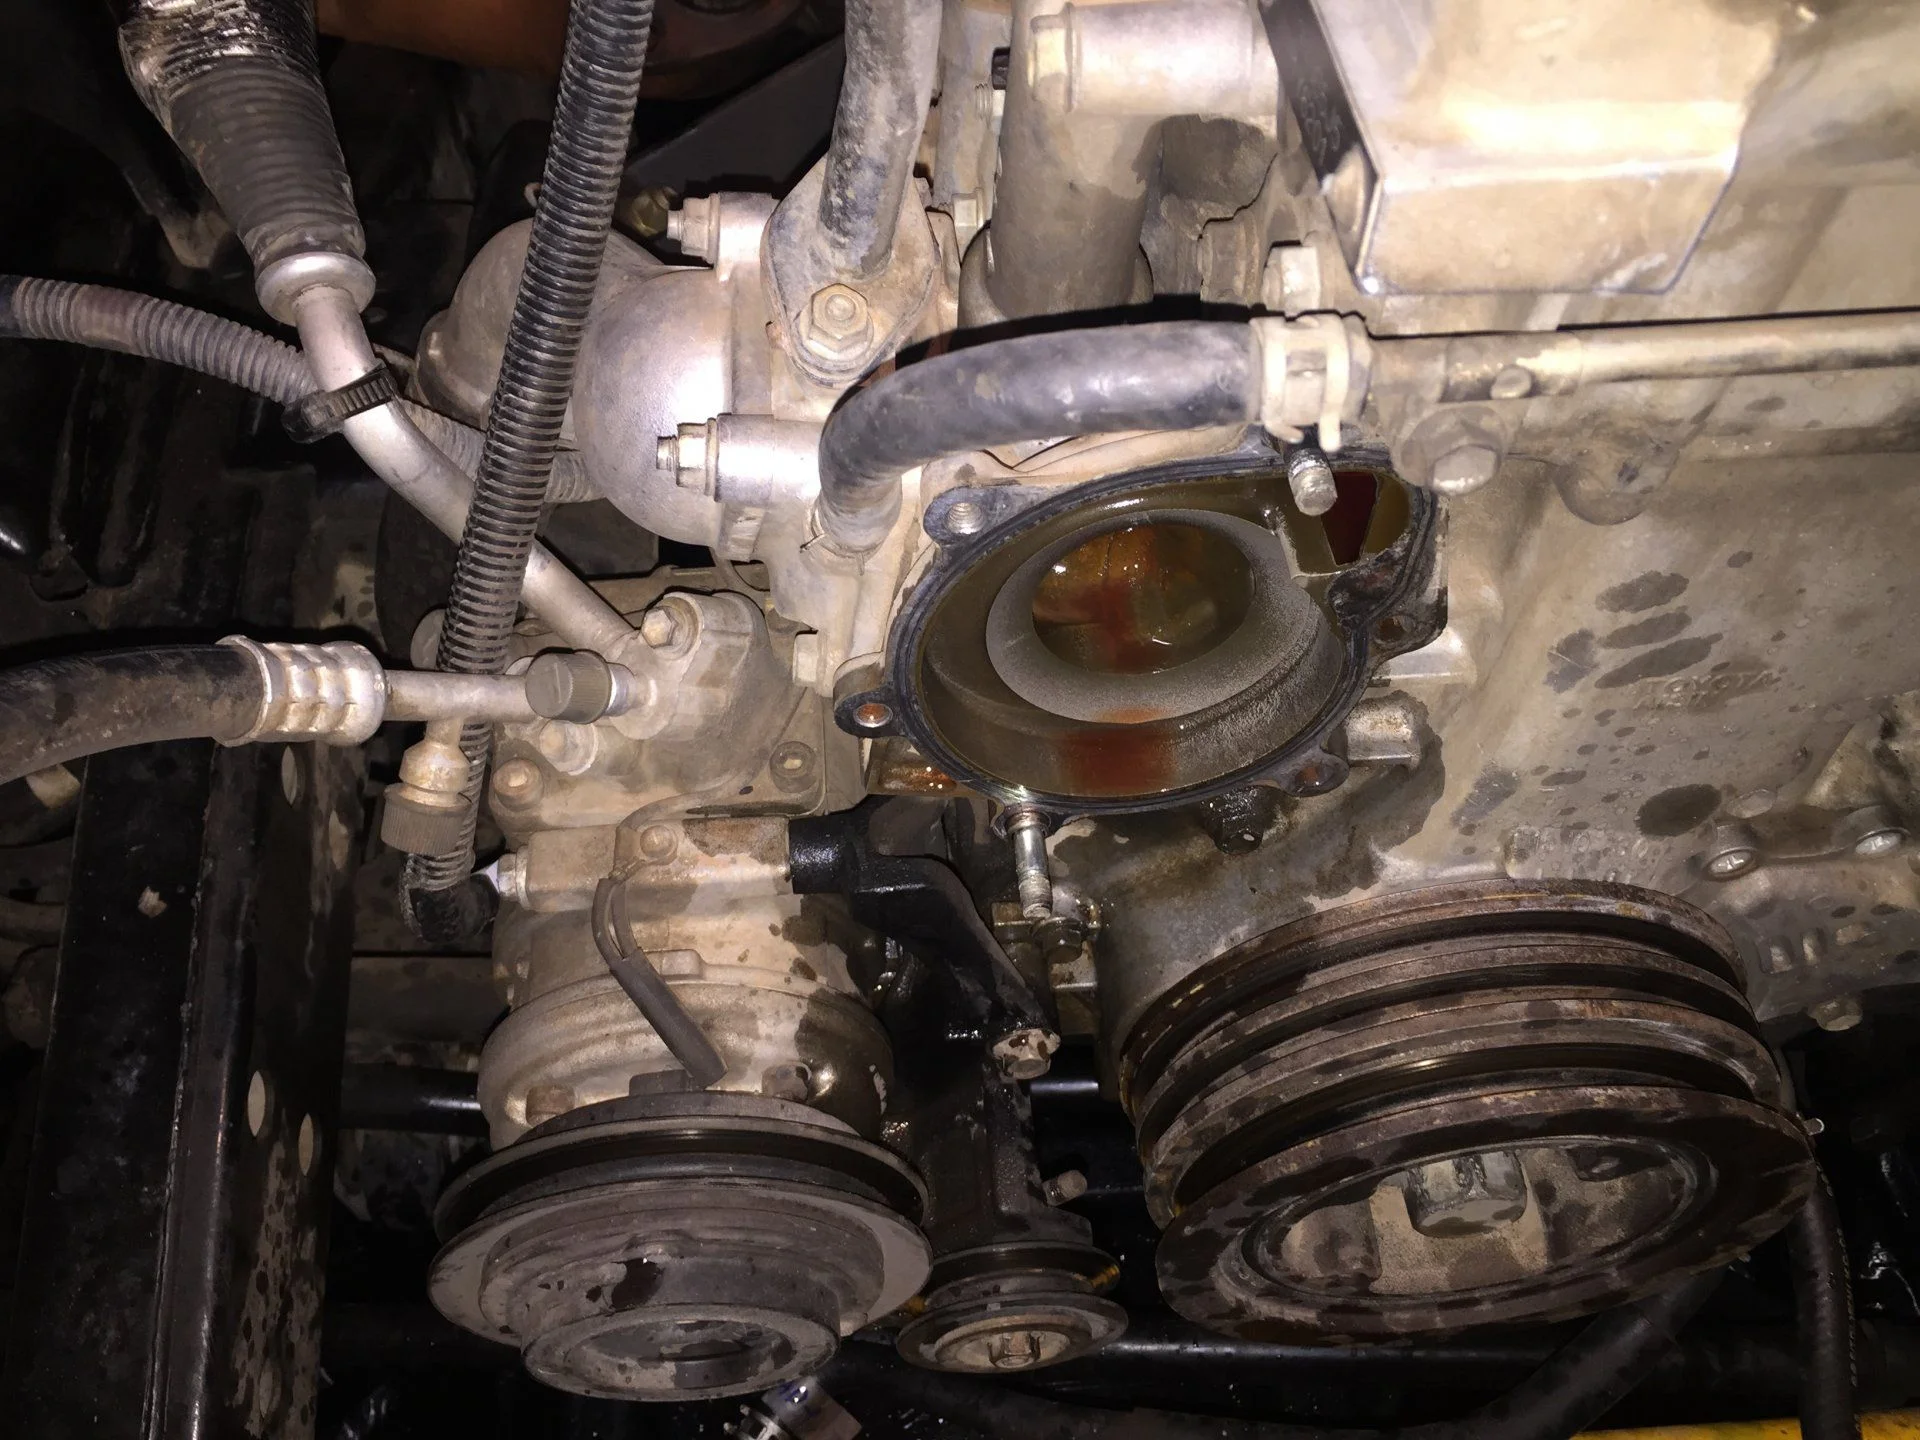
Next I got out the water pump , I was surprised as the bolts and nuts were loose and almost without any torque.

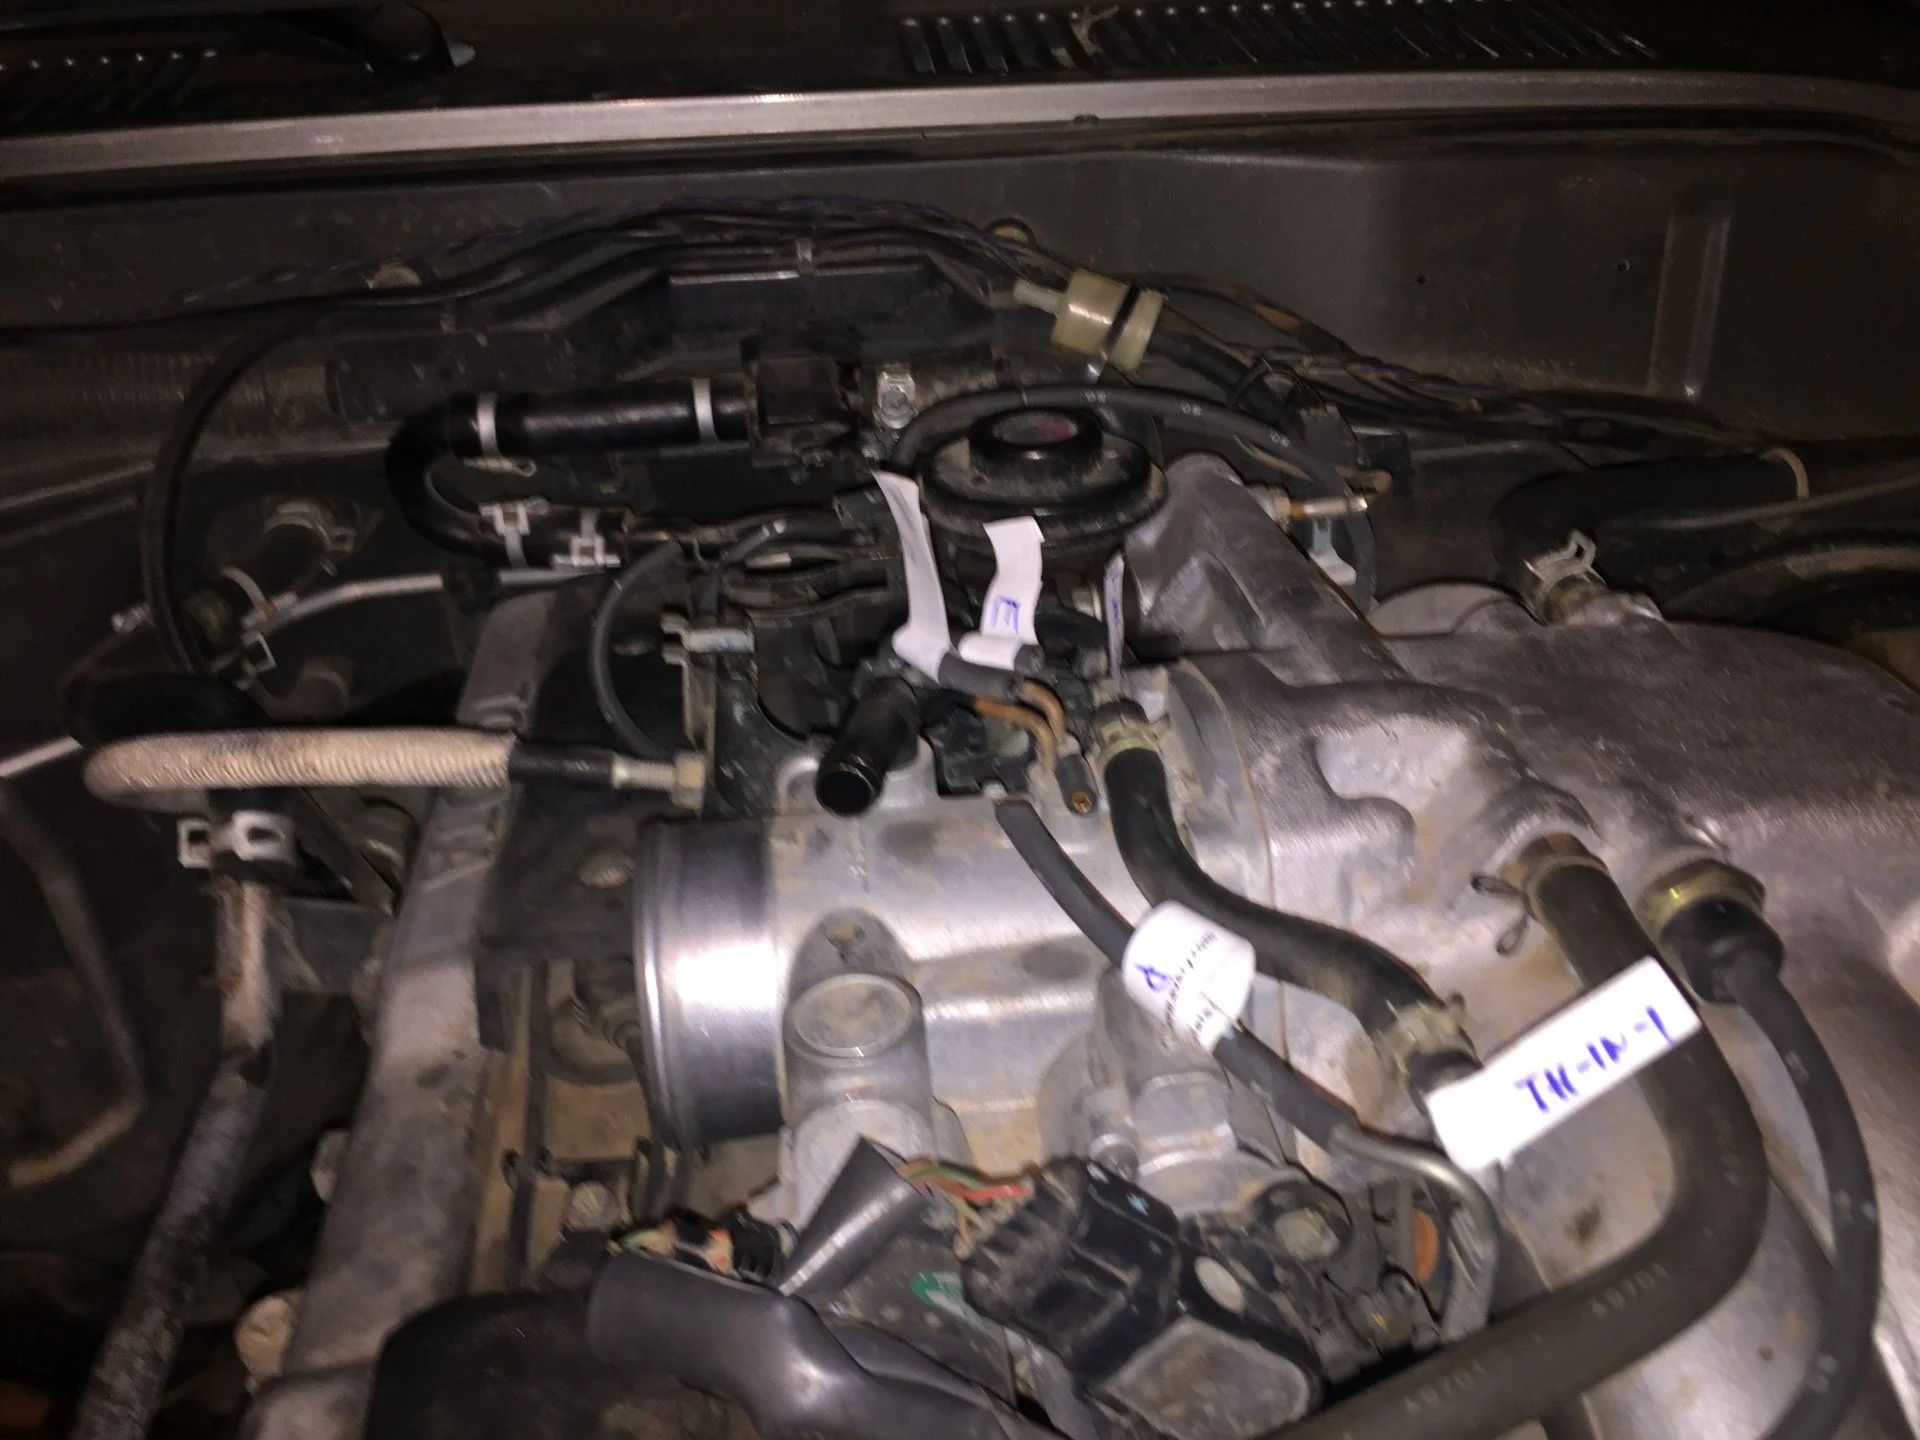
I also labeled the hoses on the throttle body to make sure that I put them where they were.

I still need to work on the distributor , not sure which way I should go if I just should pull it out and mark the position before or if I should follow the procedure from FSM. I don't have the big socket for the crank to turn it so I will need to purchase that tomorrow.

Jorge
 
Use your phone to take photos of everything during disassembly. I still have a lot of photos from my HG job last spring.
This will be the time to replace/rebuild the alternator (new brushes minimum), PS pump and hoses, fuel filter, PHH. Actually, it would be prudent to go ahead and replace the trans cooler hoses also because your access will never be better. Send your injectors out for servicing, heat wrap the engine wire harness in the area of the EGR tube, replace heater hoses, and test all VSV's per the FSM prior to reinstalling them in their not so convenient location.
Do yourself a favor and use OEM parts unless you are on a seriously slim budget and time is a factor. One exception to this is coolant. The green stuff is just fine when not mixed with red and can be found on sale at Napa for as little as $5.99/gallon. Be sure to flush your block out very well before filling the cooling system with the new stuff. There is a drain plug low on the drivers side of the block. It is easily accessed with a ratchet/extension from the drivers wheel well.
 
Last edited:
Back
Top Bottom