Hello,
I am complete noob in car mechanics , purchased the Land Cruiser 80 from 1997 with 240k miles and decided to work on the head gasket as suggested by Robbie.
I took off the air cleaner and am working right now on taking off the exhaust manifold. The question I have is - should the car be in the N on the transmission with transfer case in N ? I have it now on "P" and High.
I searched for this information and did not find it anywhere in this forum.
Regards,
Jorge
UPDATE:
The head gasket and all other stuff is done. Cruiser already went to the trail and I was happy to see it working out pretty hard. The temperature is around 182-185 Fahrenheit even when wheeling on the trail.
What I ended up doing during the head gasket job:
What were the biggest obstacles and frustrations:
If I were to do the same job again I would definitely take the engine out and do all the work on the stand. It was not very comfortable to spend hours on the engine bay even if the bay is pretty big.
What I wish I did differently:
What helped me during the process:
Thanks again for all the support .
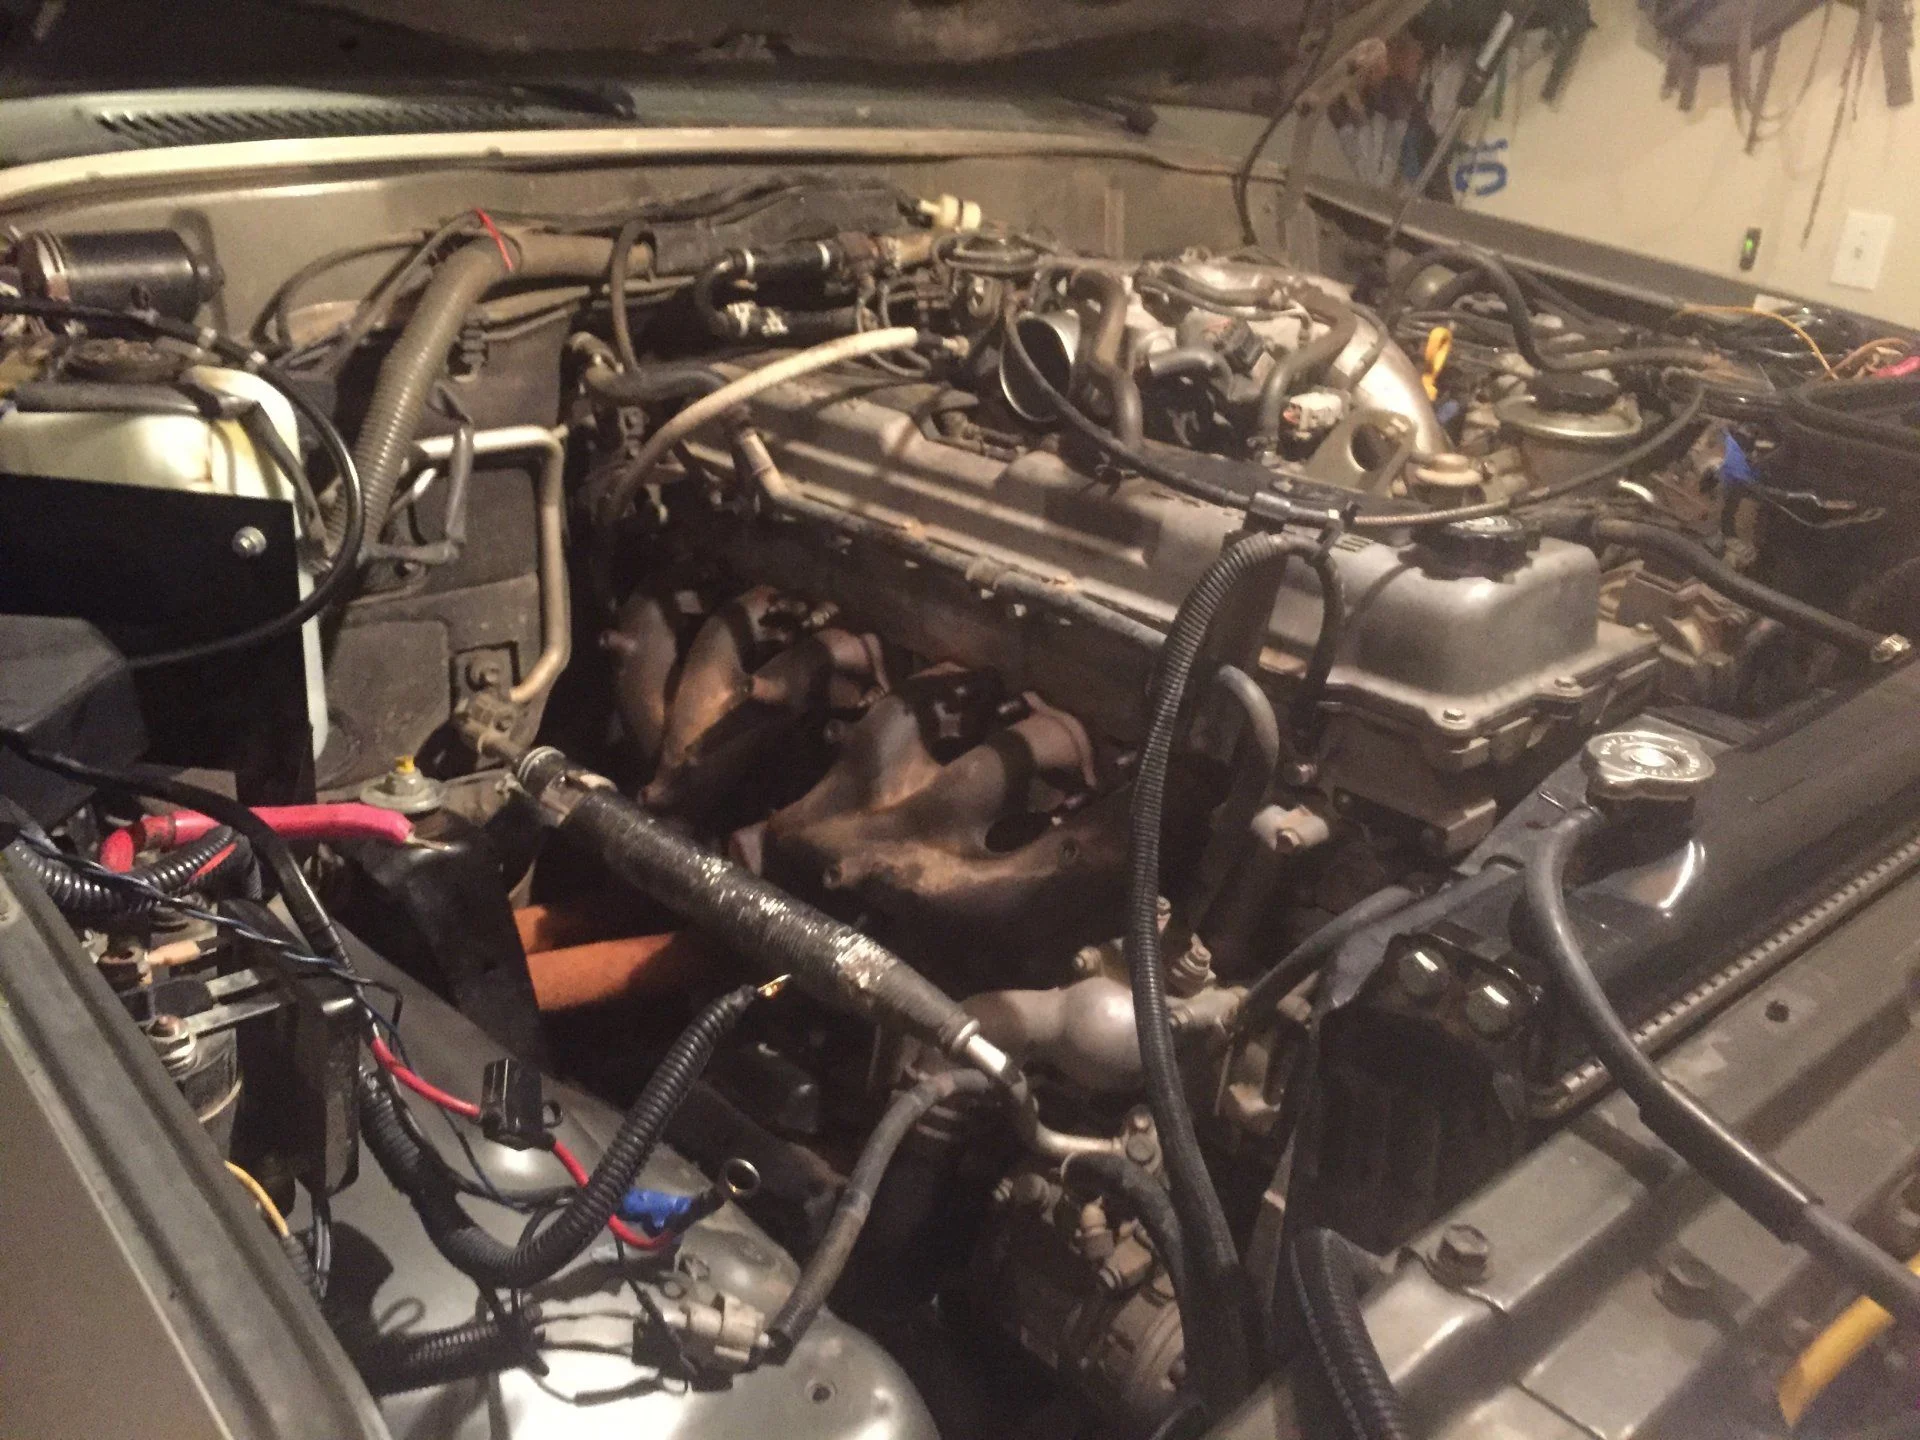
 IMG_5781 by xsanch1, on Flickr
Jorge
I am complete noob in car mechanics , purchased the Land Cruiser 80 from 1997 with 240k miles and decided to work on the head gasket as suggested by Robbie.
I took off the air cleaner and am working right now on taking off the exhaust manifold. The question I have is - should the car be in the N on the transmission with transfer case in N ? I have it now on "P" and High.
I searched for this information and did not find it anywhere in this forum.
Regards,
Jorge
UPDATE:
The head gasket and all other stuff is done. Cruiser already went to the trail and I was happy to see it working out pretty hard. The temperature is around 182-185 Fahrenheit even when wheeling on the trail.
What I ended up doing during the head gasket job:
- replaced all vacuum hoses. There are actually three different types of diameter. I ended up buying the generic hose 90999-92003 (packet of 5). This hose is used on the EGR , under the intake manifold etc. . There are some other little hoses I ended up ordering from CDAN.
- Replaced all cooling hoses. Ordered the hose kit from ajikoverland. I overpaid this but I am happy to support these vendors. The hose kit came also with breeze constant torque clamps (1FZ-FE Breeze Radiator Hose Clamp Replacement Kit | Toyota 80 Series Land Cruiser and Overland Gear.)
- Bypassed the PHH and disabled the rear heater. Again bought the kit form ajikoverland. (1FZ-FE Work Around Kit/Rear Heater Bypass – Kit 3 | Toyota 80 Series Land Cruiser and Overland Gear.)
- Put the landtank modified blue fan clutch (80 Series Modified Toyota Blue Fan Clutch | Toyota 80 Series Land Cruiser and Overland Gear.)
- Bought a new radiator for 1991-1994 Land Cruiser which according to Robbie has bigger capacity. I also put a new fan shroud and new waterpump with new thermostat
- Had the head resurfaced and checked for cracks warping. Also the valves were adjusted. For the head bolts I ended up buying the new OEM head bolts as I didn't wanted to risk it with old bolts.
What were the biggest obstacles and frustrations:
If I were to do the same job again I would definitely take the engine out and do all the work on the stand. It was not very comfortable to spend hours on the engine bay even if the bay is pretty big.
- EGR - this was really pain in the ass. Both taking it out and putting it back. I spent two days getting the EGR nut out. Putting it back was frustration even bigger. To align the EGR valve was really difficult. I ended up putting a lot of force to bend the EGR pipe a little. I would suggest to put the EGR valve before the upper intake is bolted back. This way it would give you some room to wiggle the intake to align both EGR studs with EGR nut.
- TIMING CHAIN - really be very careful with the chain and the big hole where the chain is. If something falls down or the chain binds the timing chain cover would need to be taken out which means dropping both oil pans. Not really nice. If you rotate the crankshaft put tension on the timing chain so it doesn't bind on the gear down in the cover. Also be very careful that nothing falls down to the timing cover. Be very careful when taking the zip ties out !
- HEAD AND CAMS INSTALLATION - it's not difficult as it seems. Following the FSM is the gold here. I was putting the head two times as for the first time I forgot to put FIPG in the front of the head gasket. Be careful when putting the head back as I scratched the gasket when I was putting the head down and didn't align it properly. Be generous with oil and make sure that everything is lubed correctly.
- INJECTORS - I spent hours and hours on ih8mud going threw the threads of people describing their head gasket experience. There is high number of people who wrongly installed injectors which at the end were leaking. I still don't know if I installed them properly or not but I don't see any external leaking.
- EXHAUST - this was really PITA. I spent three days trying to take the bolts from the Y pipe (four of them). I ended up buying kano kroill penetrating oil which helped a lot.
What I wish I did differently:
- TAKING ENGINE OUT - I wish the motor was out many times. Firstly when the timing chain bound and I was looking to drop both oil pans. Second time when Robbie told me that the engine needs to be rebored at least and change the piston ring's etc. Spending hours and hours cleaning the block and piston I always told myself that I should have taken the engine out.
- TUNING - I don't know why but for some reason I didn't do the tuning when I had the head off. Now I would like to change the spark plugs, distributor rotor and cap, wires. All of this is much easier when it is out.
- TESTING ALL COMPONENTS - I did not test all the components. I admit that I cut the corners here and I must say that it is mistake. I should have tested the VSV for both EGR and EVAP. I didn't go threw the testing of the sensors and other stuff. Now I have intermittent starting issues which were also before the head gasket (hard start when engine is warm , fine start when engine is cold ) and I don't know if it is leaking wrongly installed injectors or bad fuel pressure regulator.
What helped me during the process:
- This community is amazing - a lot of people are listening and willing to help. Anyway I needed to do the homework first - reading hours and hours of threads about the head gasket repair was my daily bread for couple of weeks.
- Famous DVD - there is famous DVD from one of the member of ih8mud. I would recommend the DVD to everybody who wants to target this project.
- Local ih8mud people - asking for help in local clubs and finding somebody to help is not that hard. I was not dependent on the car which also helped. There was always somebody willing to come and help which is amazing.
Thanks again for all the support .
 IMG_5781 by xsanch1, on Flickr
Jorge
Last edited: