FJ62 Front Seatbelt Replacement - Help Needed (1 Viewer)

This site may earn a commission from merchant affiliate
links, including eBay, Amazon, Skimlinks, and others.

Joined
Jan 22, 2019
Threads
3
Messages
7
Location
Baton Rouge, LA
I've searched all over these forums and seen plenty of people talking about successfully replacing their seatbelts, but no clear directions on how to access them cleanly. I ordered brand new belts from SeatBeltPlanet.com (those guys are great to work with). I got the back installed very easily, but am having trouble finding a clean way to get to the bolts in the front.

Specifically, I'm not sure how to remove the plastic trim panel from the B pillar that covers up the retracting portion of the seatbelt. Pushing on it in some places, it feels like it gives a little bit but I certainly don't want to crack the plastic.

Any advice (or pictures) on how to get to the bolts to replace these belts would be appreciated. I've looked through the FSM and the forum posts but am having trouble findings a clear path forward.

Thanks in advance for your help. New to the Cruiser world and these forums but found a great FJ62 locally and am loving it so far.
 
Did you remove the door seal on both sides/edges of the column? I believe that once you slide those off the cover, it will be free to remove.
 
Thanks, that's what I was thinking when I saw the kick plates had 4 easily accessible screws but just wanted some validation. Going to give it a try this weekend.
 
yeah, once you take that trim off all the way up they just fall off and they are fragile. One of the vendors makes replacement made out of metal that looks very interesting and I may go that route one day, but mine are still in good shape. I replaced my front seatbelts too on my '83 from seatbelt planet. Ran into some issues but they guys there were quick to send me the parts I needed to make it work. I also took the plastic of the receptacles and painted them brown....came out nice. I wanted them to work but still look as stock as possible. Here is my thread.


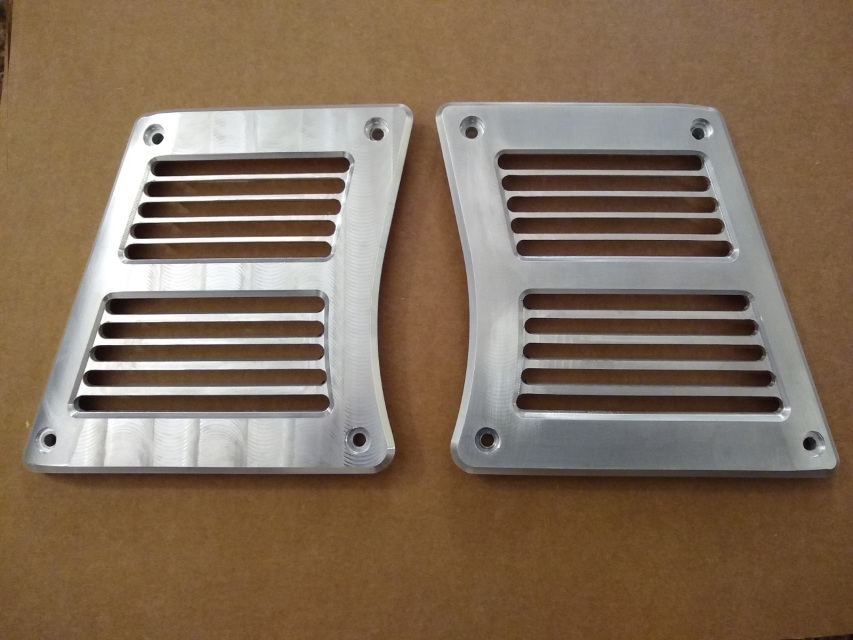
It is trail trailor that makes them. He also makes some reproduction pillar vents that are kick ass. One of the most satisfying upgrades I have made to date. He just started making them so you have to watch to see when they come in stock


You can add a layer of duct tape or similar to the inside of the b pillar covers. This adds some strength and resilience to minimize cracking.
 
You can add a layer of duct tape or similar to the inside of the b pillar covers. This adds some strength and resilience to minimize cracking.
Great to know. I was thinking about what could be added to reinforce the covers as I read through the posts in this thread, and you've kept me from needing to ask the question.
 
1 unscrew the kick plates from drivers and passenger door area of carpet

2 pull the body seal off the drivers side of the B pillar and from the rear passenger side the B pillar.

3. Plastic cover pops off as noted be careful

4. Note the orientaion of the seatbelt bracket that mounts to the floor at the base of the b pillar. Take a picture so you remember when bolting new belt in.

You may have to use new hardware to attach the mount bracket to the retraction real on the new belt.
 
Thanks for the help everyone - got the new seat belts installed today. Wasn't too bad after I got the first trim panel off. I also took the advice of putting some duct tape on the back of the plastic panel to try and reinforce it.
 

Users who are viewing this thread

Back
Top Bottom