Taking inspiration from various threads, I am starting on this project to get a DIY dual battery setup. This is to track my progress and help from existing members who have way more experience with this sort of thing then me.
List of Items:
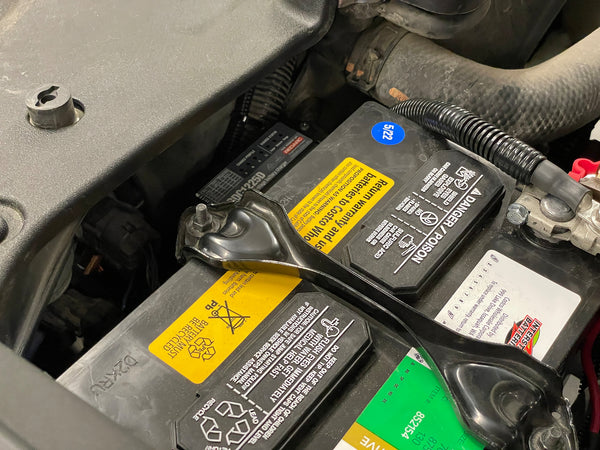
1. Battery mount, Currently none exist so this will be the biggest challenge. I measured the space currently being used along with some empty space around the OEM battery and feel a 14 X 11 is about what could fit at the base with a DIY monting tray. Atleast that is what I am stating with. I found some on Jegs which I am planning to DIY together in some shape or form
 www.jegs.com
2. The current measurements look to be able to accommodate 2 Group 24 battery. I am planning to go with ODP-AGM24 (24-725) ODYSSEY Performance Series Battery | ODYSSEY® Battery - https://www.odysseybattery.com/products/odp-agm24-battery-24-725/
3. Need a isolator like this please suggest if anything else is more appropriate. Amazon product ASIN B00400IYTK4. Some wire 1/0 gauge for the battery terminals.
If I am missing something please do comment. The ultimate aim being for future reference for forum members who may want to do a similar install.
List of Items:
1. Battery mount, Currently none exist so this will be the biggest challenge. I measured the space currently being used along with some empty space around the OEM battery and feel a 14 X 11 is about what could fit at the base with a DIY monting tray. Atleast that is what I am stating with. I found some on Jegs which I am planning to DIY together in some shape or form
JEGS 10215: Steel Battery Tray Kit for Group 24, 74 Batteries [7 in. x 11 in.] - JEGS
Get the Best Performance with JEGS Steel Battery Tray Kit for Group 24, 74 Batteries [7 in. x 11 in.] 10215 parts at JEGS. Shop Now at the Guaranteed Lowest Price!
www.jegs.com
2. The current measurements look to be able to accommodate 2 Group 24 battery. I am planning to go with ODP-AGM24 (24-725) ODYSSEY Performance Series Battery | ODYSSEY® Battery - https://www.odysseybattery.com/products/odp-agm24-battery-24-725/
3. Need a isolator like this please suggest if anything else is more appropriate. Amazon product ASIN B00400IYTK4. Some wire 1/0 gauge for the battery terminals.
If I am missing something please do comment. The ultimate aim being for future reference for forum members who may want to do a similar install.