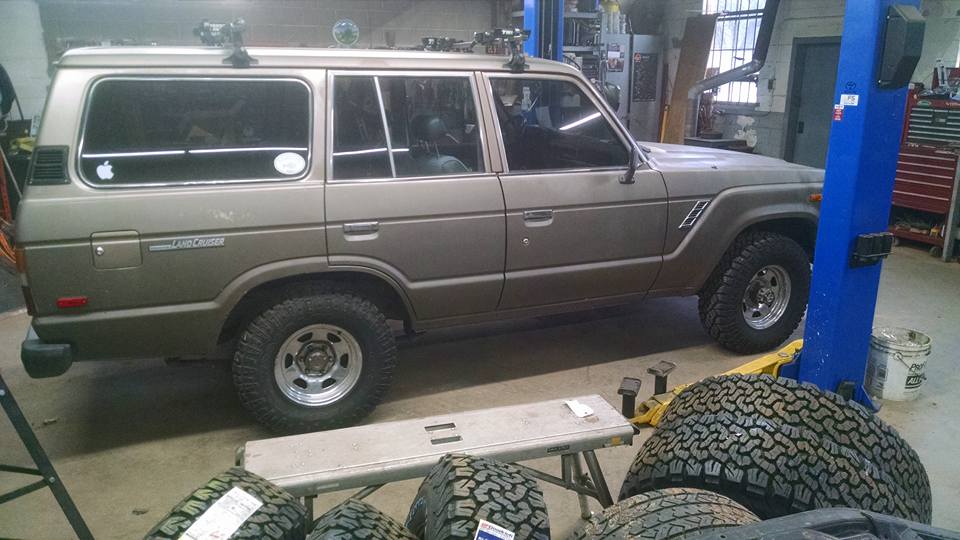
Have you sourced the HVAC tubes? My understanding is the part numbers differ 60/62.
I have been slowly accumulating 62 dash parts to put into my 83.
I have been slowly accumulating 62 dash parts to put into my 83.
Follow along with the video below to see how to install our site as a web app on your home screen.
Note: This feature may not be available in some browsers.
This site may earn a commission from merchant affiliate
links, including eBay, Amazon, Skimlinks, and others.
I may be real interested as I get into the swap in about two weeks.Have you sourced the HVAC tubes? My understanding is the part numbers differ 60/62.
I have been slowly accumulating 62 dash parts to put into my 83.
I may be real interested as I get into the swap in about two weeks.
The gauges do work well there and the radio is, well, ok there from a functional standpoint. It is a very tight squeeze to get that unit in there (one needs to “massage” the HVAC duct to make it fit and it doesnt go in far enough due to the HVAC cable placement. To make this work, one would need to 3D print a custom bezel for the whole center section. I was thinking about integrating power ports and LED lights in that custom bezelI have to admit, I like that double din radio with gauges above. Not seen it before, and it makes sense.
Too bad you are so far away, I’d try to get all your used original dash parts when you are done.
Does anyone have a line on FJ62 style rocker switches? I am not in need of the stock switches but I have a need to add additional switches for: Camp Light, Roof LED lights, and the water/Methanol Injection system. I would like to have a near match in style to the stock switches so that they look “stock” and fit within the bezel recesses. Thanks
Does anyone have a line on FJ62 style rocker switches? I am not in need of the stock switches but I have a need to add additional switches for: Camp Light, Roof LED lights, and the water/Methanol Injection system. I would like to have a near match in style to the stock switches so that they look “stock” and fit within the bezel recesses. Thanks

 forum.ih8mud.com
Hey Comet- I strive to meet all the "correct" Mountaineer expectations. Thanks for the ideas for the interior- just what I am looking for in terms of the interior plan. If I could just find the right "perfectionist" auto upholstery guy.
Carp- I have a National Luna battery system to manage the two batteries. The main starting battery is placed on the drivers side under the hood (the engine bay photo above has the battery and controller placement shown) the controller has the NL fuses (80 amp) per their instructions I ran 0 cables (+ and -) inside the front inner fender then inside the frame rail on drivers side ( prevent accidental damage) then up into the rear quarter panel. These were wrapped full length in large shrink wrap and are softened at each bend to prevent insulation wear/tear and thus shorts. Installed a Blue Sea fuse block for all my Aux loads in the rear quarter panel and had Kevin at Wagongear customize my cover for the fuse panel access door. I used a Marinco (I should have bought stock in West Marine) terminal block at the Main battery to supply cleaner terminal connections. I bought a high output chevy alternator and ran a #2 cable from there to my main battery.
The Aux battery had to be two 6v optimas to fit in the confined space of the quarter panel. Wired them in series. I had to make a custom bracket to secure the two batteries ( Sorry didn't take a pic of that). They are solidly bolted in and both batteries can be removed in a simple straight forward method. I didn't really want to place these on the passenger side as that is the fuel filler/vent side of things. That said, this is a great place for an AUx battery as most my aux loads are in the back of the truck or off the rear bumper
View attachment 1526823 View attachment 1526824
I did cut holes to fit them in. I got these from Gary at Mudrack (Sonoma). However, given the wide adoption of LEDs these days, I would think its an easy thing to find. I did think about LED strips but decided to stay with something more in line with the 1987 styling of the truck. This tail gate light mod is a really useful and relatively easy thingThose rear tailgate lights are amazing. Did you drill the panels out to fit the lights? Which lights are those?
Show.me. More! ....... pleaseUpdate - I procured a lot of parts and closing on color selections. I am using SEM Elastomeric paint for a unifying color change
View attachment 2099487View attachment 2099490
View attachment 2099490
