Builds Black Project 80 Engine Build Thread (1 Viewer)

This site may earn a commission from merchant affiliate
links, including eBay, Amazon, Skimlinks, and others.

If you go to the 2nd pic on post #3 above, is it the sensor on the upper left?

Yes! The light grey round one with the red/orange o-ring.

Need a connector with good wires going into the black rubber on the back.

Thanks!
 
Update 11/17.
Valve cover installed


Spark plug wires. I am amazed how slick this setup is. Very well engineered. And you get it completely assembled. NO ASSEMBLY REQUIRED. I really liked that.


Here's the throttle body nearly all plumbed up. Ready for EGR crap.


The left side of the engine


The right side of the engine


The view from the radiator's perspective


Here's my "filing system". When I took a part off, I tagged it and bagged it. I used the back of old business cards. This system has its pros and cons. You can look at a bag and know what it is. But when you're staring at 100+ bags, it gets to be a pain. Cardboard beer flats make sorting easy though.


I had these 4 gaskets left over from the rebuild kit. Dan did say there were parts I wouldn't use. Anybody recognize these as something I should have used??!?


And a shot of the shop with the blk prj sitting waiting for attention to the engine bay. Now that the engine is near done, I have to switch over to cleaning and scrubbing mode.


Thanks for coming along for the ride... :steer::wrench:
 
This looks awesome! I really hope I can do this eventually...
 
Wow, I just finished up my HG job and I am jealous, I wish I tore into mine like you did. Great job, that engine is clean enough to eat off of.


As for the extra gaskets you have, the 1st two are for the O2 sensors, I have never seen the 3rd one, didn't come in my valve grind kit. The last one had me scratching my head too, I have no clue where it goes, but for now its sitting on my work bench in the garage.
 
Update 12/09.
I installed the engine on Friday, Dec.7, 2012. Well, we did. Big thanks to pmccumber!!!

The engine bay was finally clean enough.
http://i43.photobucket.com/albums/e353/Rhoderman/1996 FZJ80/BlkPrj80 Build Thread/DSC_6192Medium.jpg
The engine is ready to be installed. I wrapped the wiring harness and tucked it under the intake bracket
http://i43.photobucket.com/albums/e353/Rhoderman/1996 FZJ80/BlkPrj80 Build Thread/DSC_6208Medium.jpg

We transferred the engine from the stand to the hoist, scary for a moment when the engine tilted as the load shifted!
I bolted on the flex plate while it was in the air.
http://i43.photobucket.com/albums/e353/Rhoderman/1996 FZJ80/BlkPrj80 Build Thread/DSC_6232Medium.jpg

We raised it her up in the air
http://i43.photobucket.com/albums/e353/Rhoderman/1996 FZJ80/BlkPrj80 Build Thread/DSC_6233Medium.jpg
http://i43.photobucket.com/albums/e353/Rhoderman/1996 FZJ80/BlkPrj80 Build Thread/DSC_6235Medium.jpg

Then we raised the front of the transmission and lowered the engine into place. Getting the torque converter to align was a challenge, but once it all came together, it was worth the effort!
http://i43.photobucket.com/albums/e353/Rhoderman/1996 FZJ80/BlkPrj80 Build Thread/DSC_6239Medium.jpg
http://i43.photobucket.com/albums/e353/Rhoderman/1996 FZJ80/BlkPrj80 Build Thread/DSC_6244Medium.jpg
http://i43.photobucket.com/albums/e353/Rhoderman/1996 FZJ80/BlkPrj80 Build Thread/DSC_6248Medium.jpg

I started on the stuff at the back, like the heater.
http://i43.photobucket.com/albums/e353/Rhoderman/1996 FZJ80/BlkPrj80 Build Thread/DSC_6253Medium.jpg

I hooked up all the exhaust.
http://i43.photobucket.com/albums/e353/Rhoderman/1996 FZJ80/BlkPrj80 Build Thread/DSC_6258Medium.jpg

The A/C compressor is reattached (don't even know if it works...)
http://i43.photobucket.com/albums/e353/Rhoderman/1996 FZJ80/BlkPrj80 Build Thread/DSC_6261Medium.jpg

The new power steering hoses are all in place.
http://i43.photobucket.com/albums/e353/Rhoderman/1996 FZJ80/BlkPrj80 Build Thread/DSC_6263Medium.jpg

It's coming along real well I think. Still a lot of little things to do, but it is really nice to see it all coming together. Still no date on when she'll get started, but I think it might be close. Maybe even before next spring! :)

More to come, stay tuned!
 
I had these 4 gaskets left over from the rebuild kit. Dan did say there were parts I wouldn't use. Anybody recognize these as something I should have used??!?

I have the same gaskets left over from my build. I asked ToolsRUs and he mentioned they are for the pair valves (iirc?) on the OBDI vehicles.
 
Great job man!
 
Update 12/23.
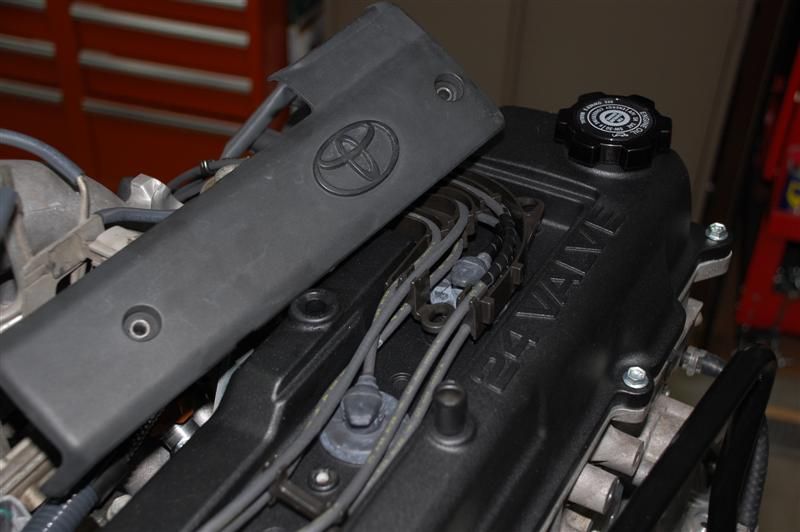
Today was the BIG DAY! It started, but I have issues. Cyl #2 and #6 are not firing, and I'm pretty sure it's the injectors. It is entirely my fault as I should have held onto them until I was almost ready to install them. I had them cleaned back in August, and installed them onto the rail/intake November 6.

She sounds very good for running on only 4 cylinders. Kind of shaky, but no bad noises from anything.


So, for the update, here's what I did the last couple weeks:

I built a tool to hold the front pulley of the crankshaft while I torqued it to 305 ft-lb.
I used 1/4" plate and a piece of 1/2 x 1 flat bar.
DSC_6266Medium.jpg


DSC_6267Medium.jpg


Once it was welded up, I bolted it to the front pulley and torqued away. The dollar bill is to show how huge the 3/4" drive torque wrench really was. The c-clamp on the left is to keep the bar from sliding up the slightly angled frame rail. I pulled at 250 ft-lb and then 305 ft-lb. I saw maybe a 10th or 12th of a turn at best between those pulls.
DSC_6271Medium.jpg


The fan blade was dirty as could be. That Zep Fast505 stuff amazes me. Spray, wait, wipe, rinse, blow, done, wow.
DSC_6278Medium.jpg

DSC_6279Medium.jpg


I settled for a normal quality air filter from Toyota rather than the "high quality" POS from thailand.
DSC_6298Medium.jpg


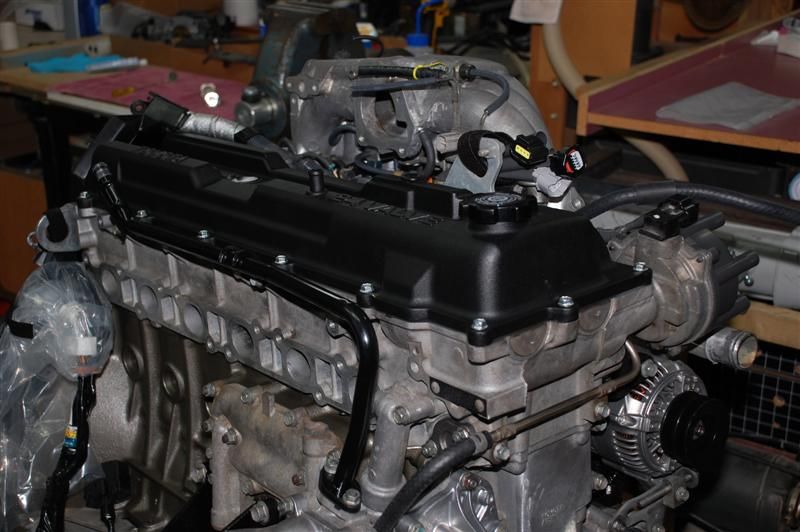
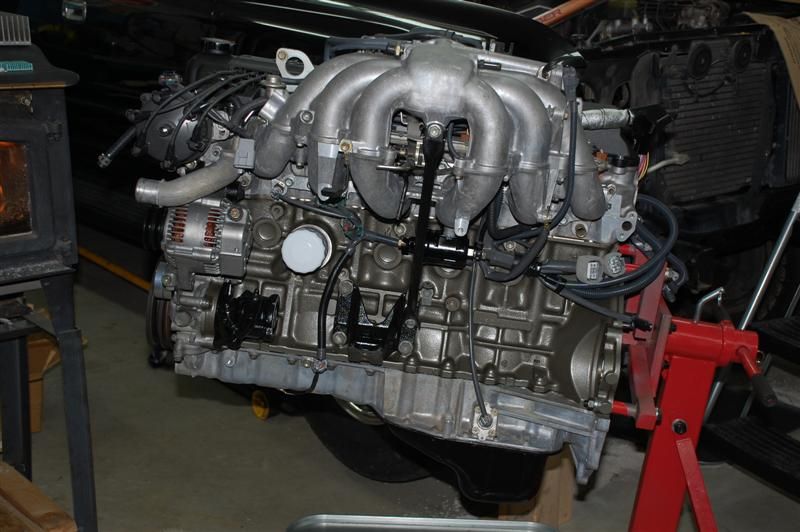
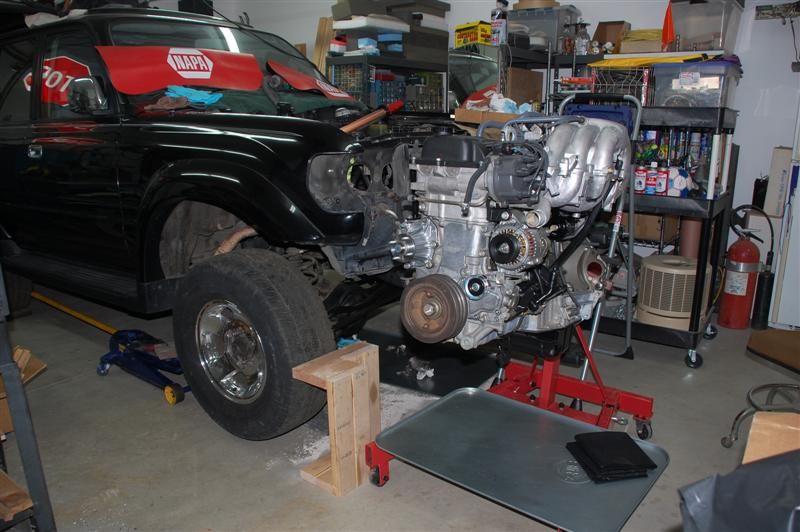
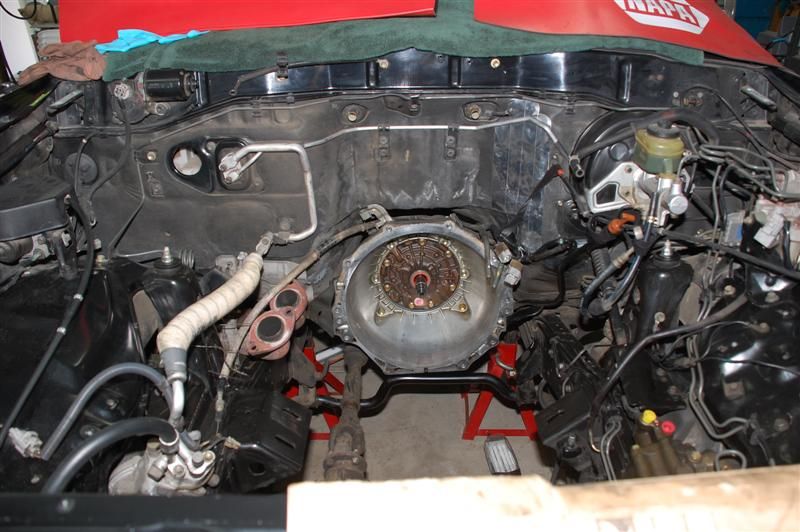
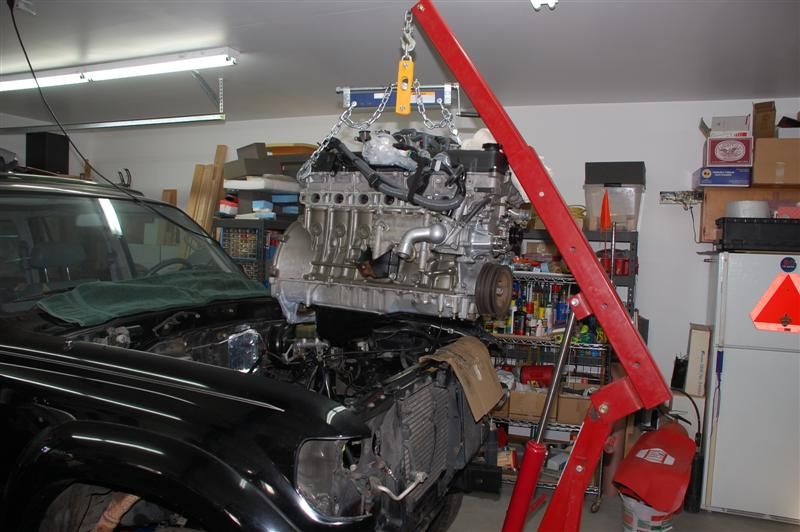
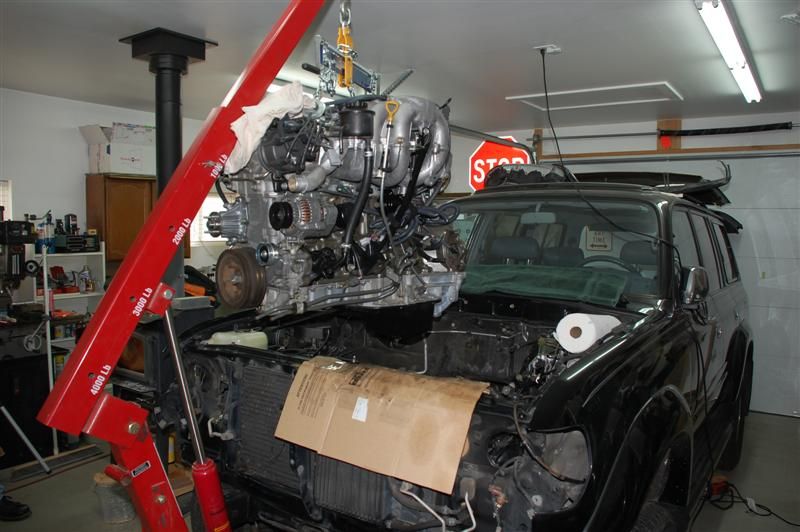
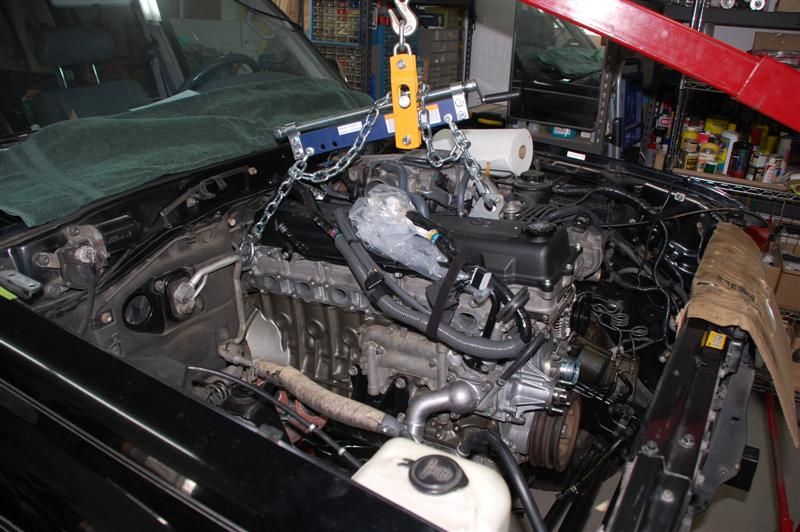
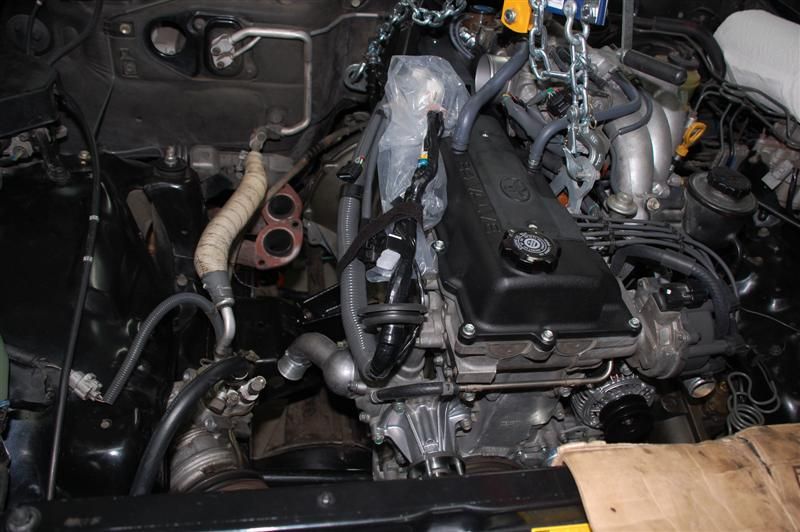
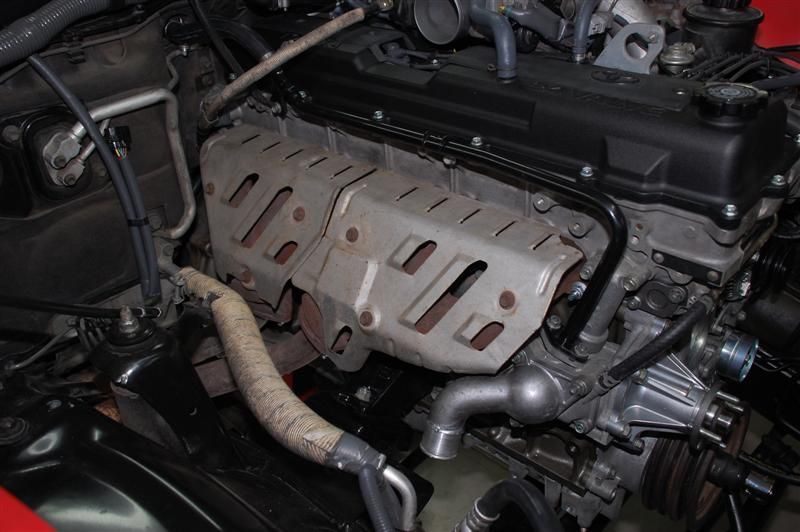
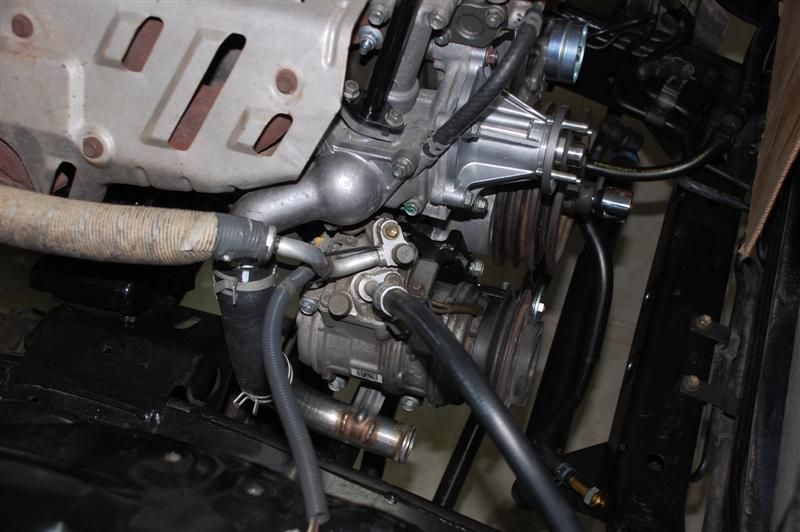
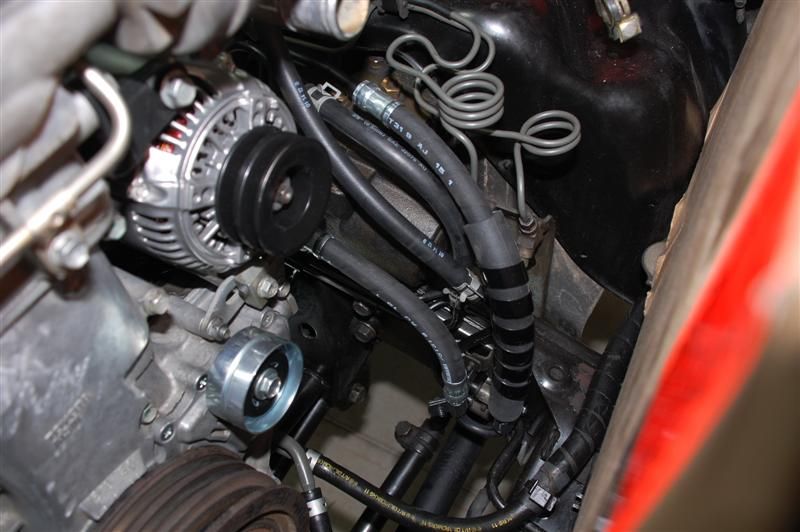
Here's a view from the right front of the completed engine installation.
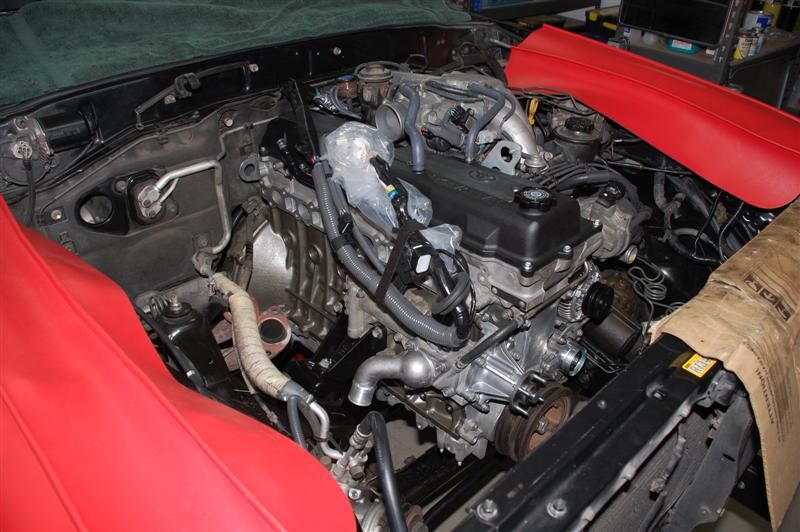
DSC_6310Medium.jpg


Left front.
DSC_6311Medium.jpg


From above. Everything but the battery in this shot.
DSC_6327Medium.jpg


I filled the power steering with Dexron III. I had a friend roll the steering wheel back and forth about a hundred times (if you ask him, really more like 90-ish). At first I thought it wasn't going to do anything, but each end of travel from lock to lock would blow a half dozen bubbles. Eventually, it quit bubbling, and I saw a gray cloud go through, which I believe was from what little was still in the gearbox after I purged it (wife steering, me sopping up old fluid with paper towels).
DSC_6359Medium.jpg


I added fluid to the tranny. I got to 6 quarts and it started to gurgle out from the fill neck. I expect to get up to 8 or so quarts total, so I'll keep topping her up between engine starts. This funnel is the schizzle. From Checker/Scnhucks/Kragen (or whoever they are this month).
DSC_6360Medium.jpg


I got 13 quarts of antifreeze mix in, and manual says dry fill for rear heater deleted is 13 and a half or something. I'll top her off after the heater flows and the thermostat cycles.
DSC_6361Medium.jpg


I put all the front end stuff back on it. I think my side marker lights (yellow lenses to the side of headlights) are bad. They are easy to get out, so I'll go after them later.
DSC_6367Medium.jpg


As always, thanks for coming along for the ride. I really wish I was going for a ride this afternoon, but it just wasn't to be. Damn sticky injectors!!!

Later.
 
Very nice job, thanks for the documentation. That clean engine makes me drool.
:cheers:
 
Thanks for the comments.

I forgot to mention, when we did the first wakeup today I cranked on the starter for quite a while before I saw oil pressure. It was a huge relief when the needle moved. I probably cranked a total of 2 minutes, 15 seconds at a time. I actually went and checked the connections at the sending unit about half way through the ordeal.

After I got oil pressure, I connected the EFI relay and the ignition coil and it fired after about 10 seconds of spinning the starter. A bit of oil smoke, and smoke from the exhaust, and she was running. Still, the injectors cursed me... dammit...
 
There is some sort of OCD satisfaction in seeing a worn dirty motor cleaned up, rebuilt, and repainted with lots of new parts. Thanks for this.

Everybody have an excellent holiday.
 
Did you get it running?

Man that crank pulley tool is awesome. I could have used that... I broke a bolt inside one of the service holes trying to torque down the crank bolt. I will have to drill it out or something next time the crank pulley comes off.
 

Users who are viewing this thread

Back
Top Bottom