81 BJ42 - I have to bring it home and pass inspection

This site may earn a commission from merchant affiliate
links, including eBay, Amazon, Skimlinks, and others.

I ordered these just before flying out to pick up the 42. At the time I was planning a "quick rust repair" and didn't think I had the time to build them from scratch. The floors in these late 40's have a few details that would be difficult to replicate even for me. The CCOT ones look much more like what I really wanted and I have bought a couple of other difficult pieces from them and "wasn't unimpressed" by them. The supports in the rear wheel wells for the rollcage were CCOT and were perfect copies of the original. Or rather what was left of the original. I had called 4wheelauto for those too but was told they "just weld in some scraps" and I should "fab your own" cuz the original design sucks. Well, yes, the original has flaws but I want original on this unit.
 
Forgot to mention... I put the dimple for the floor drain in myself as well. The panels had nothing there for that.
 
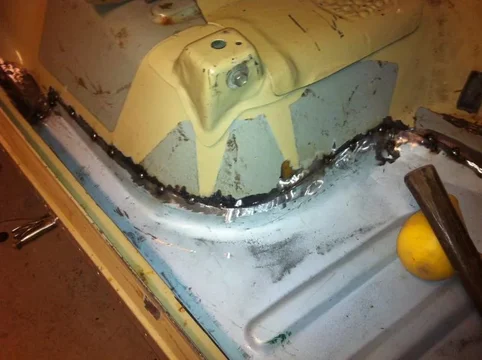
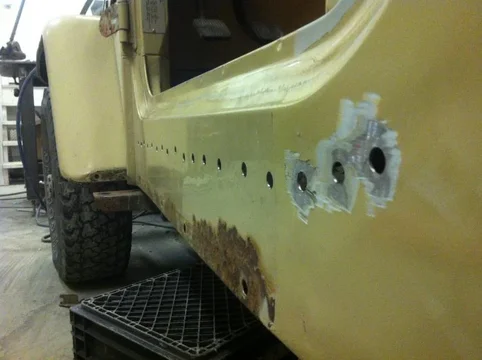
Here are some more shots of tacking it in place. I had to put it in and take it out several times to tweek this and that. I punched holes in the front edge for spot welds. I thought these might be helpful for someone in future.
IMG_2353.webp

IMG_2355.webp

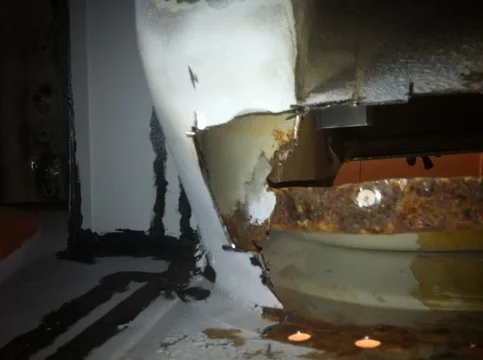
You can see where I cut out the inner rocker

IMG_2356.webp
IMG_2353.webp
IMG_2355.webp
IMG_2356.webp
 
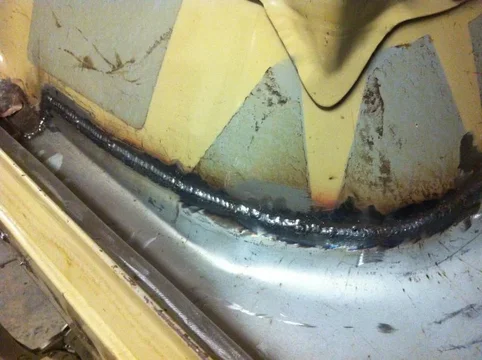
I think I will just take the spatter and the high spots of weld off and leave the rest of this weld rather than grind smooth. It is all covered under the mats and I would like to keep the strength.
IMG_2359.webp

IMG_2360.webp
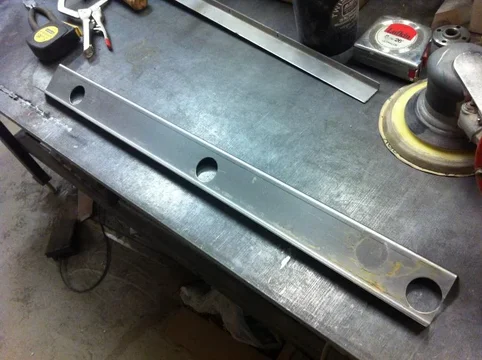
Here is the inner rocker patch I made. I just re-used the holes from the original... they weren't rusty at all.
IMG_2358.webp
IMG_2359.webp
IMG_2360.webp
IMG_2358.webp
 
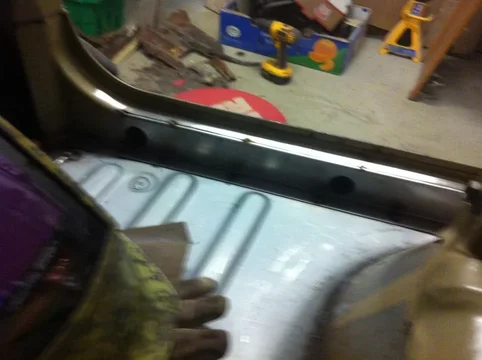
Sorry, my phone is too slow with the autofocus and it's hard to notice until I see it on a big screen. Psychedelic phlash too.

This is the inner rocker tacked in place. For all my complaining about the floor pans I must say they are rock solid when welded in. Very satifying to pound yer fist on and have a solid feel.
IMG_2361.webp

IMG_2362.webp

IMG_2363.webp
IMG_2361.webp
IMG_2362.webp
IMG_2363.webp
 
Looking good!

I bought a floor pan from edmonton as well, and returned it. It was nowhere near what I expected for the money. Cant remeber if I bought the one that's in the truck from pacol or ccot, but it was way nicer. Still had to massage it into place thought.

I went to see CCOT's metal shop when i was in TX. You can tell that it's been there a while. They didn't let me take pictures (understandable) of all their dies, but it was all home made. They stopped doing resto's a while ago and it was a little deceiving given that none of the staff , on the day I went, were cruiserheads.

Got your inspection appointment booked?
 
the other side
IMG_2368.webp

IMG_2369.webp

IMG_2371.webp
IMG_2368.webp
IMG_2369.webp
IMG_2371.webp
 
I had to cut further back on this side
IMG_2373.webp
And all the way back into the structure underneath
IMG_2374.webp
lotsa welds
IMG_2375.webp
IMG_2373.webp
IMG_2374.webp
IMG_2375.webp
 
I had to cut further back on this side

And all the way back into the structure underneath

lotsa welds

That looks familiar. I bought Pacol floor pans and welded them only to find layers and layers of rust in the mid-tub bridge of my '81 FJ40.

Is yours in good shape?

I ended up getting a Pilgrim 3/4 tub as my skills aren't anywhere near yours. I then sold the pans to another ih8mudder.

I am interested to see your final completion.
 
I figured I would paint the steps with the floors when the time came so I started bead blasting them. I will be removing the hat channel and welding on a new one. I think I'll do one better and plate the two parts separately before spot welding them back together.
IMG_2376.webp

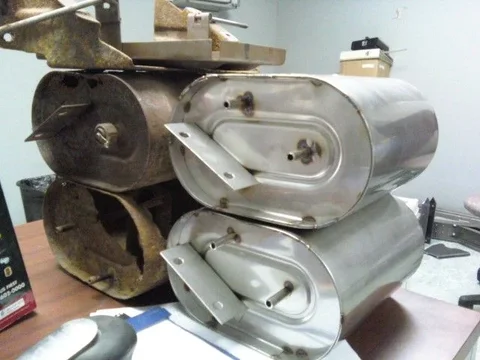
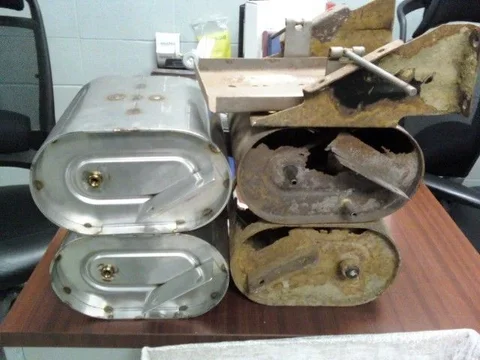
because I had to take it off for floor access I took the vacuum tank off the bracket and found a possible reason for the high/hard brake pedal. It had enough rust caked on it to likely seal it but the hole certainly wasn't helping matters :lol:
IMG_2377.webp
IMG_2376.webp
IMG_2377.webp
 
Been there, done that. I don't have any of my reservoirs in stock and don't feel like starting a batch from scratch. This tank is in the best shape I've ever seen for an original so I already blasted and patched the hole. It's at the powder coaters now. Here are a few shots of the stainless ones I've made before.

1014001223.webp

1014001224.webp

IMG_1009.webp
1014001223.webp
1014001224.webp
IMG_1009.webp
 
If you need to make it worth your while to produce one for yourself as a backup, I will need one or two eventually. I don't think mine is in the best condition.
 
I'll make some maybe in the spring. Right now I need to licence this rig and build tailgates and a couple beds. In fact I'm working on tailgates today but here are a coupla pics any way.
image-325887850.webp
image-690424195.webp
image-2976442358.webp
 
Summore
image-347926343.webp
image-3433945060.webp
image-2140228064.webp
image-4108710506.webp
 
And more
image-28880661.webp
image-122234638.webp
 
And the tank
Blasted, patched and final bead blast before powder.
image-1335196752.webp
image-1434343059.webp
image-1568661044.webp
 
No rush... My truck(s) is still in pieces.. Great looking work!
 
Awl_TEQ said:
I do admire you Kevin. That is so cool when you make the original parts look new. Too cool.
Josh
 

Users who are viewing this thread

Back
Top Bottom