81 BJ42 - I have to bring it home and pass inspection

This site may earn a commission from merchant affiliate
links, including eBay, Amazon, Skimlinks, and others.

Another Sunday swim class for the kids ( WIFI enabled at least )

Yesterday I brushed some tremclad onto the visible areas of frame in the engine bay. I think it looks like crap. Hope you guys are happy.

Wasn't expecting it but got my powder and plating back on Friday

image-3320321332.webp


image-1258789277.webp


image-613184405.webp
 
Random pics


I installed the:
side steps
Re webbed the drivers seat belt
Intalled both belts
Seats
Mats
Rear heater/ hoses
Door seals (fun!)
Misc other stuff

Need the plastic snap in headlight adjuster clips to do the rest of the bib

image-3258567553.webp


image-3314948366.webp


image-2295684487.webp


image-3215493654.webp


image-2966569687.webp
 
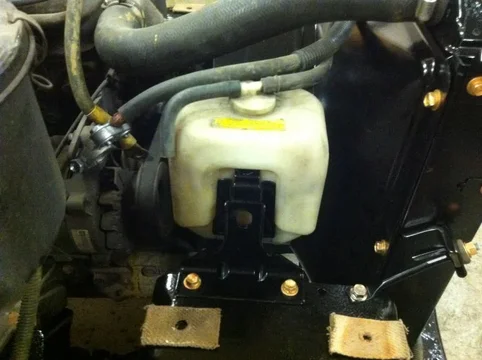
Only had an hour this morning but I got the battery towers, overflow, horn brackets and rad/shroud/support installed. Had to leave early for swim class. They are held in Okatoks (sp?), small town 15min south and we're in the middle of a heavy snowfall warning

image-1283351536.webp


image-4237445650.webp


image-2947008782.webp


image-31069331.webp


image-2388010464.webp
 
yep, agree, looks worse than before
pull body
pull drivetrain
sand blast and paint or PC
reinstall drivetrain and body

now looks better and to your quality standards ...
slacker
:grin:
 
Shoulda went with the flat black. Gloss just highlights all the pock marks from previos touchups and scratches.
 
Hmmm:hhmm:, might go for a hike today..:beer:.


Looking real good kevin....

Rob

Nice weather 001.webp
 
Just you wait. I got two words for you..... Earthquake and Tsunammi!

Hows the 42 doing?
 
Screw this! Im going back to the garage!

image-1200584124.webp
 
Poor old girl is sitting in the corner waiting for me to get at it then this happened..water leak in bathroom...side track for awhile..

Camerons BJ60 is getting a OME lift and some tie rods, good old body and frame wax oil...things mint...


Gathering of parts has started..air con parts? not sure I will use that on this truck..
Hyjack over..

Keep up the great work, hope to bump into you with that little rig one day soon..:popcorn:

Rob

turbo 002.webp


003.webp
 
All welded and ground

Then I made the piece to cover the rest

And welded it in

Great work! Just found this thread, going through it all...
What is your tool of choice for grinding down those spot and plug welds? Looks like you are using some little 3M discs on the die grinder?
Which discs are you using? Thanks!
J
 
Yup, 2" 80 grit unless the 5" flapper on the grinder seems more appropriate to the task.
 
Feels like an early spring here. Been pretty warm for the last month. I wouldn't be surprised if it all melted in the next week.
 
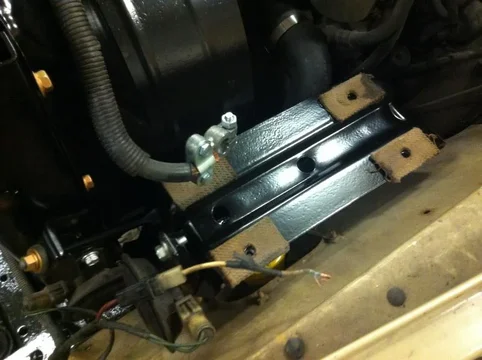
some pics of the rad and battery brackets

IMG_2822.webp

IMG_2825.webp

IMG_2827.webp

IMG_2822.webp


IMG_2825.webp


IMG_2827.webp
 
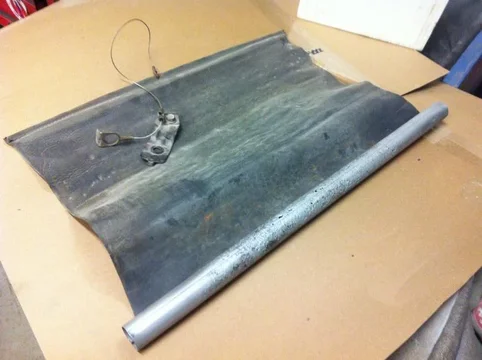
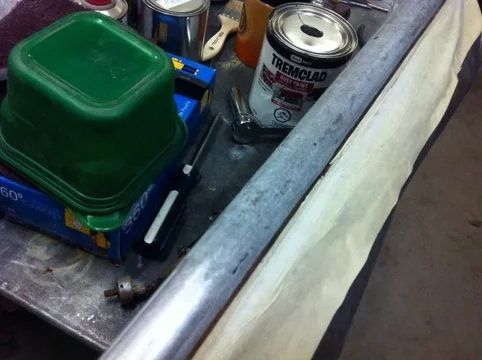
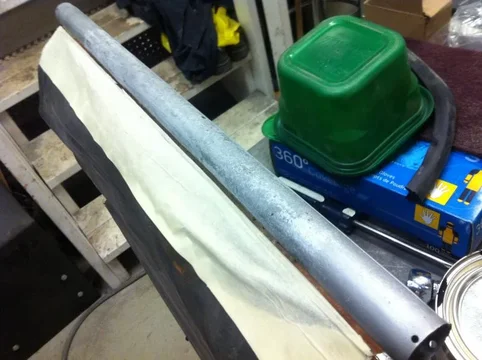
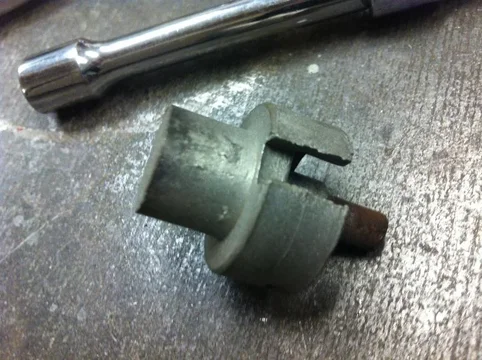
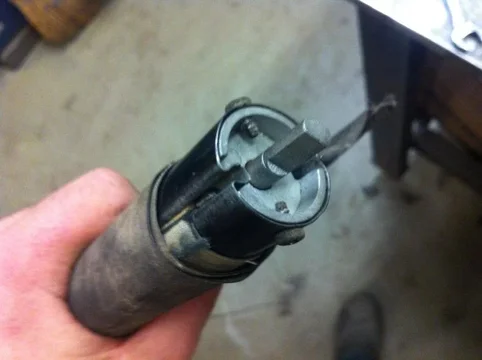
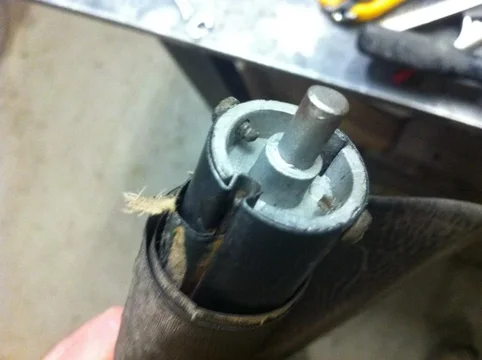
The following few posts will hopefully be helpful for those looking for info about the "winter front" as I refer to it. It is a cold climate option that the Canadian 42's got. Basically just a roll shade that blocks air flow to the rad in order to maintain a warm engine temp. This one was operational but rusty from trapped moisture in the roll. These are photos after blasting displaying the custom oxidation mod. The fabric is pinched into the tube with a rod and I couldn't get it out so I blasted carefully.
IMG_2829.webp

IMG_2830.webp

IMG_2831.webp

IMG_2829.webp


IMG_2830.webp


IMG_2831.webp
 
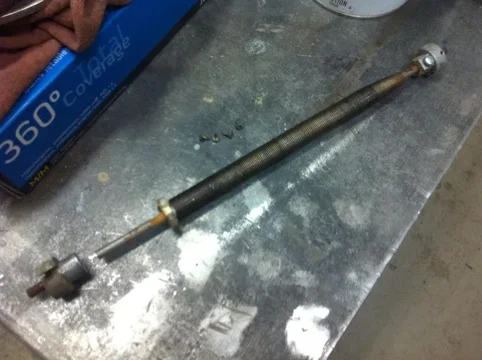
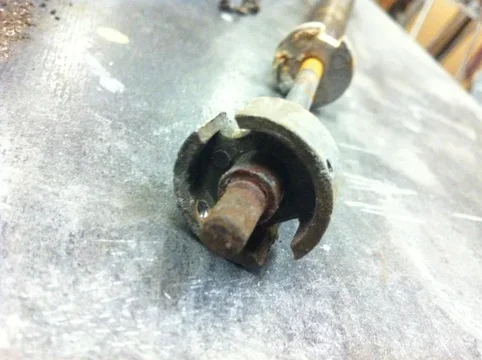
Here are the guts. One end is just a plug with a round stud that goes into a bracket on one side of the rad. The other end is flat and has a spring mechanism that winds it up as you might expect. Each end has two screws to retain them in the tube.
IMG_2832.webp

IMG_2833.webp

IMG_2834.webp

IMG_2832.webp


IMG_2833.webp


IMG_2834.webp
 
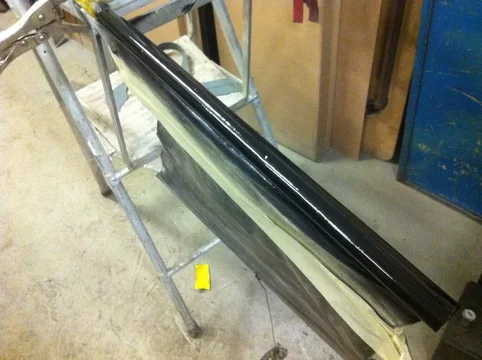
I contemplated making a new tube from scratch but it seemed like too much work. So I used a little trick I picked up somewhere along the way. I used JB Weld as a bondo to fill all the pitting, sanded it relatively smooth and painted it black. I wanted to kinda replace the lost metal but regular bondo would absorb water (the tube is not air tight so water will be inside and out). I wanted it to look smoothish after paint so thats why I painted it (EDIT: duh, thats why I filled the pits with jbweld). The first two pics are after sanding. I forgot to take a pic before sanding. I got the JB Weld trick from work where we use it before powder coating as a filler once in a while. Baking the JB Weld does not affect it.
IMG_2837.webp

IMG_2839.webp

IMG_2844.webp

IMG_2837.webp


IMG_2839.webp


IMG_2844.webp
 
Last edited:
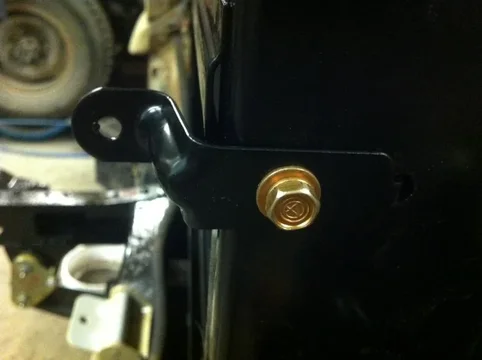
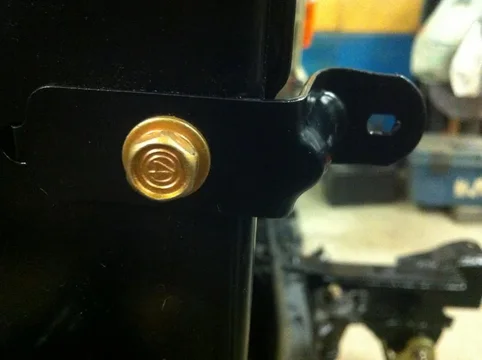
Brackets on the rad support.
IMG_2823.webp

IMG_2824.webp

IMG_2850.webp

IMG_2823.webp


IMG_2824.webp


IMG_2850.webp
 
the ends and mounted
IMG_2848.webp

IMG_2851.webp

IMG_2852.webp

IMG_2848.webp


IMG_2851.webp


IMG_2852.webp
 

Users who are viewing this thread

Back
Top Bottom