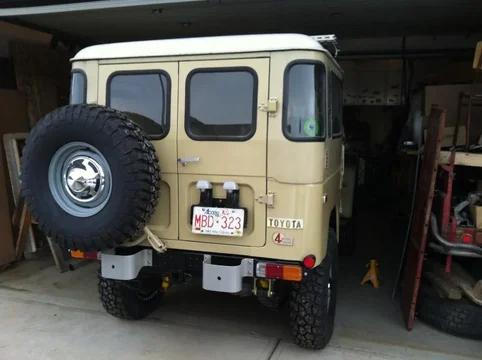
81 BJ42 - I have to bring it home and pass inspection

This site may earn a commission from merchant affiliate
links, including eBay, Amazon, Skimlinks, and others.

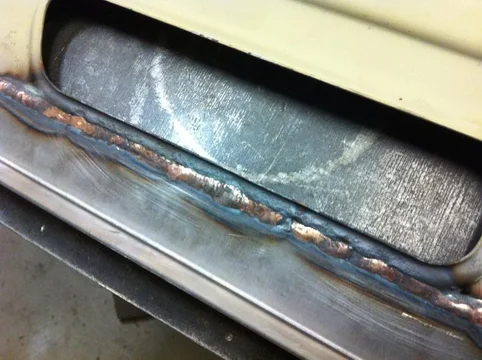
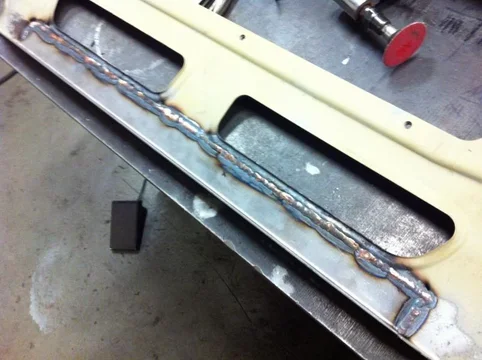
I clamped it down again and welded the entire seam with the bronze rod and the TIG. This stuff melts quick and varies from a ball on the surface of the material to spreading out flat depending on the amount of heat you give it. Its a challenge to make pretty welds with. These will be fine, I'm not planning to grind them.
IMG_2747.webp

IMG_2748.webp
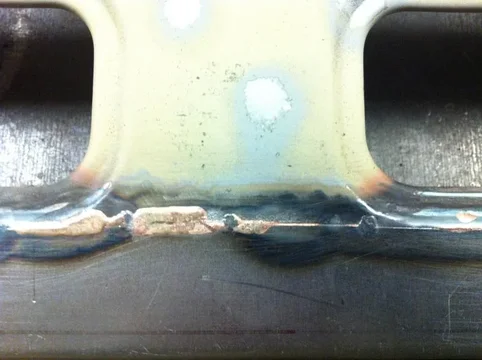
That chunk in the middle is that "worst spot" I mentioned above.
IMG_2744.webp

IMG_2747.webp


IMG_2748.webp


IMG_2744.webp
 
Welding from the backside was the only way I could clamp the part flat while welding. It creates a potential problem in that the other side is the cosmetic side and typically the backside of a weld is kinda not as pretty as the front. That was one reason I used the bronze rod. Given enough heat it will flow through and out the other side so that there is no pitting on the back. Which ends up being the front, so to speak.

Finished weld before grind and sanding
IMG_2744.webp
The flow through of the bronze
IMG_2745.webp
This is that blow out worst spot I keep typing about
IMG_2746.webp

IMG_2744.webp


IMG_2745.webp


IMG_2746.webp
 
After grind and sand. A couple of low spots but nothing a little spot filler and high fill primer won't hide. Not done yet anyway. I have to weld the inner piece in and that will mess up the face again.
IMG_2750.webp
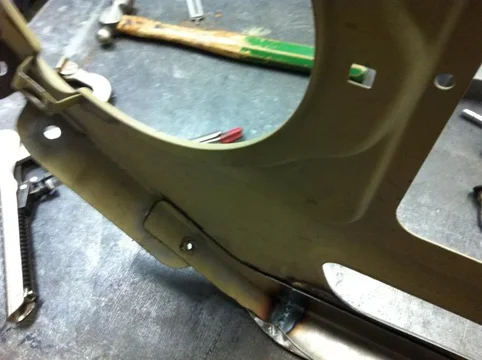
Tacking the original ends to my replacement angle
IMG_2754.webp
Welded up. I took it from here and punched holes on both sides of the angle to weld through to the bib.
IMG_2755.webp

IMG_2750.webp


IMG_2754.webp


IMG_2755.webp
 
Test fitting
IMG_2756.webp
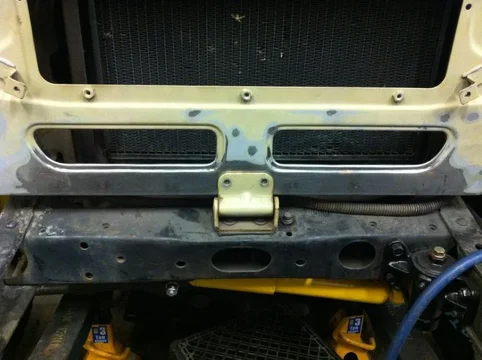
After welding in the inner angle I put the bib back on the truck to locate the hinge holes. I marked and drilled all three and then welded nuts on the inside.
IMG_2759.webp
Ready for bodywork tomorrow
IMG_2760.webp

IMG_2759.webp


IMG_2756.webp


IMG_2760.webp
 
Now, while I was busy making a lot of noise grinding and running the compressor, my son was getting his angry bird on
IMG_2752.webp

IMG_2757.webp

IMG_2758.webp

IMG_2752.webp


IMG_2757.webp


IMG_2758.webp
 
Thanks Gus, I'll let him know you approve. I always encourage creativity in my kids even though it usually cost me money at the craft store and makes a mess that I have to clean up.
 
Thanks Gus, I'll let him know you approve. I always encourage creativity in my kids even though it usually cost me money at the craft store and makes a mess that I have to clean up.

Your wife probably says the same about you and junkyards.

I KNOW mine does. But I keep her well stocked in fine wools for knitting, and a big pile of firewood to keep warm, and she puts up with it. :grinpimp:

I don't know what you're complaining about with that rod. The repair on the bib looks fantastic!

Dan
 
DanS HJ-45 said:
Your wife probably says the same about you and junkyards.

I KNOW mine does. But I keep her well stocked in fine wools for knitting, and a big pile of firewood to keep warm, and she puts up with it. :grinpimp:

I don't know what you're complaining about with that rod. The repair on the bib looks fantastic!

Dan

Not to mention the level of mechanical perfection to which you keep Dammit....(Dan's wife's 4 Runner)
 
Right side rear brakes are wet. Shoes look a little thin too. I'm taking the drums into the shop to measure them and see where they are at.
IMG_2761.webp
Frame painting for Cody
IMG_2764.webp

IMG_2765.webp

IMG_2761.webp


IMG_2764.webp


IMG_2765.webp
 
Unmasked
IMG_2766.webp
And prettied up
IMG_2768.webp
Installed the Vac tank - Did find the sending unit after searching everywhere.
IMG_2770.webp

IMG_2766.webp


IMG_2768.webp


IMG_2770.webp
 
Had to move it over to get more room to shoot the pass side so I let her run for while and took some poser shots
IMG_2771.webp

IMG_2772.webp
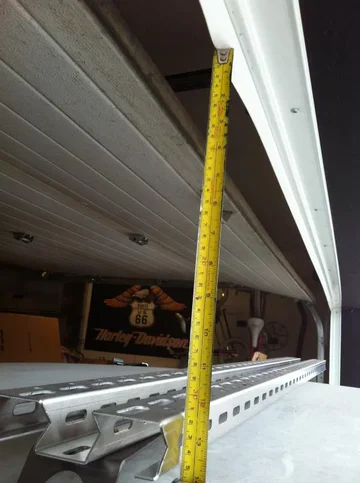
A little over 12". So the tent should fit but the ladder prolly won't
IMG_2773.webp

IMG_2771.webp


IMG_2772.webp


IMG_2773.webp
 
Right side rear brakes are wet. Shoes look a little thin too. I'm taking the drums into the shop to measure them and see where they are at.

Frame painting for Cody

Wayne was too smart to take me up on that bet. Are you sure you don't want to clean up the frame rails just past the bib? Everything else looks so new in comparison!
 
What did you paint the frame and bumpers with?
 
Stellar job......... let me know if you do that bumper and also if you are interested in building up an extra:beer::beer:

Rob
 
This is not a frame off.

image-2469482797.webp


image-3071816704.webp
 
Ha! The only difference is that you will enjoy every minute of "not a frame off". I will be using this thread as inspiration for when I have to tackle the body work on my 44.
 

Users who are viewing this thread

Back
Top Bottom