DSB345
SILVER Star
Nice work! I like those signs in your garage.
Follow along with the video below to see how to install our site as a web app on your home screen.
Note: This feature may not be available in some browsers.
This site may earn a commission from merchant affiliate
links, including eBay, Amazon, Skimlinks, and others.
Nice sinclair gas sign btw!Spare is on. Looks so much better with it. Also sorted out the throttle cable and got all new seatbelts in. Used humvee 3 points in the front and standard lap belts in the rear.

Nice Sinclair gas sign btw!
Got the top, hood and doors back on yesterday. Also got a fan control switch to operate the electric fan. Hopefully this weekend we can get all the wiring finalized.

More progress, mostly cosmetic.
The rear doors were missing a hinge but i had 2 of the older style hinges in the piles of crap that came with the truck so my dad was able to modify one to fit. Ugly but functional. It got sprayed black with some tough coat krylon.

Ambulance doors on!

No truck is complete without a Yeti sticker. Oh and a goat.

Rear jump seats installed.


And bumper is all mounted to. Need to find some cheesy offroad lights for it i think.

The final parts i need to get it driving have been ordered and will hopefully be here next week!
Thanks! its getting close!
Updates!
Got my new passenger side door handle on.

And we decided that we needed to do something with the giant holes in the body. Eventually I will be going through the tub and patching everything but thats a while away so for now we will band aid the problem.
The problem

The band aid. These were in the pile of parts that came with the truck. Had to do a little trimming to match up to the cuts on the rear wheel wells and then coated them in bed liner.

Decided the rear quarter panels would look best also being black for now.

First coat.

Then riveted the panels on and put on another coat of bed liner.


Tire carrier back on.


Paint also??With gummed up parts like that I found the easy way to do it was to make a little electrolysis bath and just stick them in that overnight. It removes all the crud, rust and paint with no damage to plastic bits. The part is like new after that.


that's awesome i really like how that turned outThanks!
Started on the hardtop today. Patched the hole in the rear.
Then stood it up and started cleaning up the old headliner remnants .
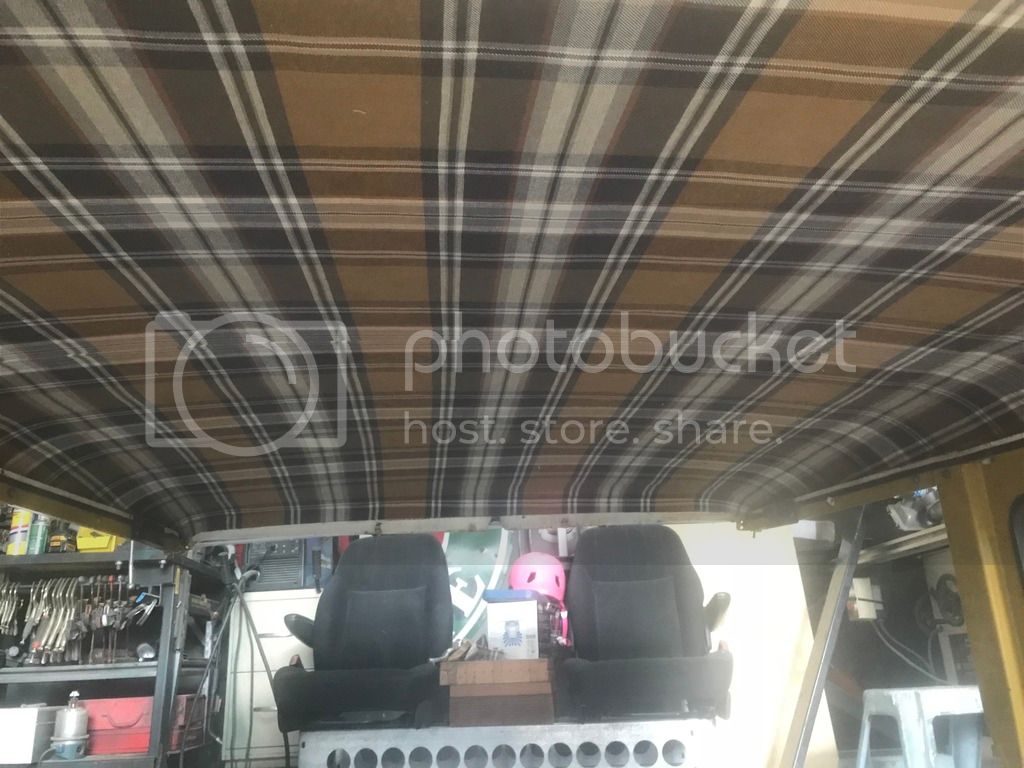
Then laid out the material after my wife stitched two pieces together to make it large enough.
And in for now. Still need to finish up the edges and such but I like it.


")
That plaid headliner is absolutely awesome.


@dirtywilks Thanks! I’m in Murray. This fabric came from JoAnns. I found it about a year or so ago. It is thick stuff made for outdoor furniture.


