Builds 1978 Mustard FJ40 Build (1 Viewer)

This site may earn a commission from merchant affiliate
links, including eBay, Amazon, Skimlinks, and others.

Joined
Oct 3, 2016
Threads
2
Messages
112
Location
Utah
Hey there! Ive been posting my build thread on another site and thought id post it over here too. This site has helped with a lot of work along the way by googling for answers haha. I will keep updating here as well. Ive copied all my old posts and will paste them here.


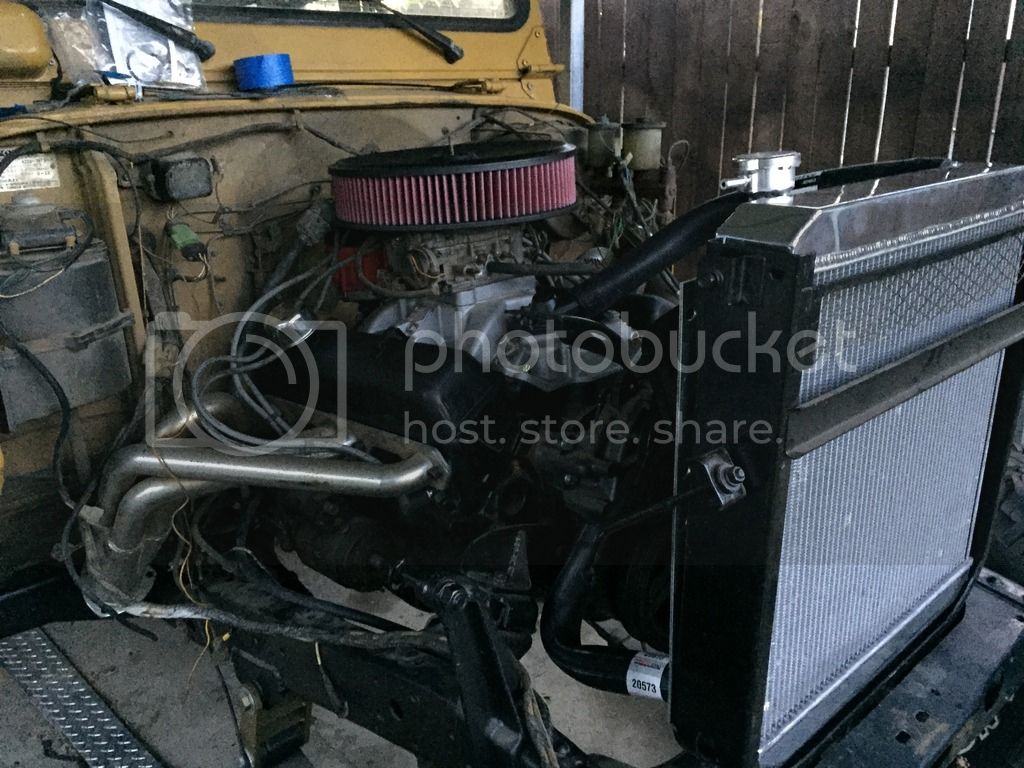
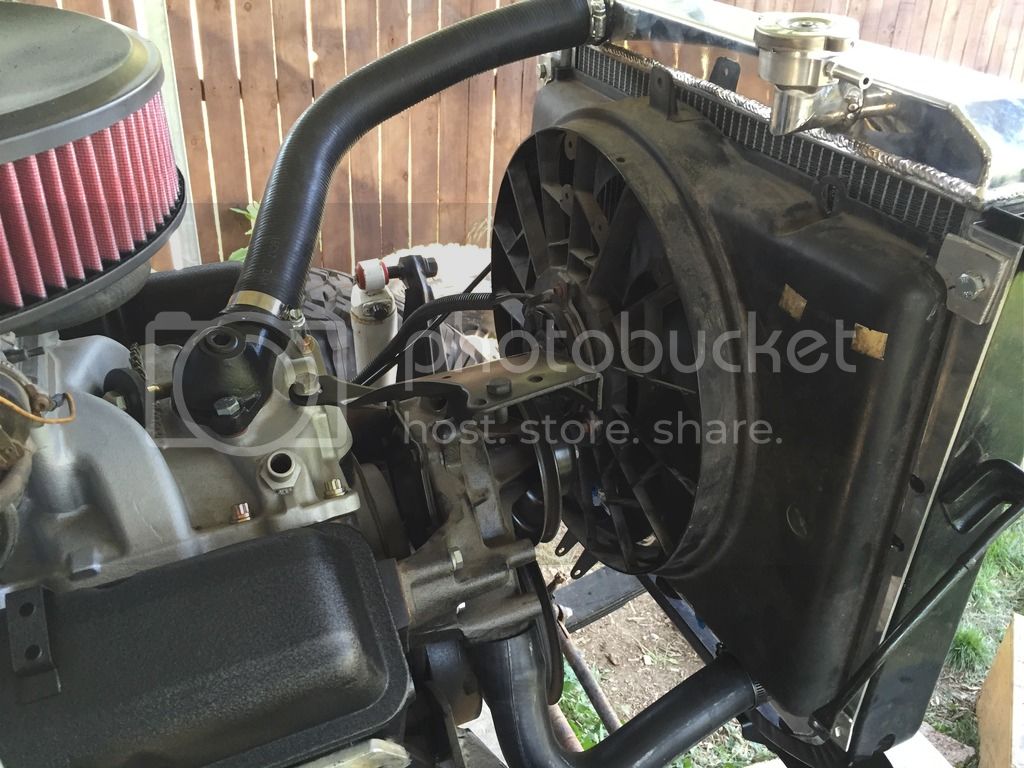
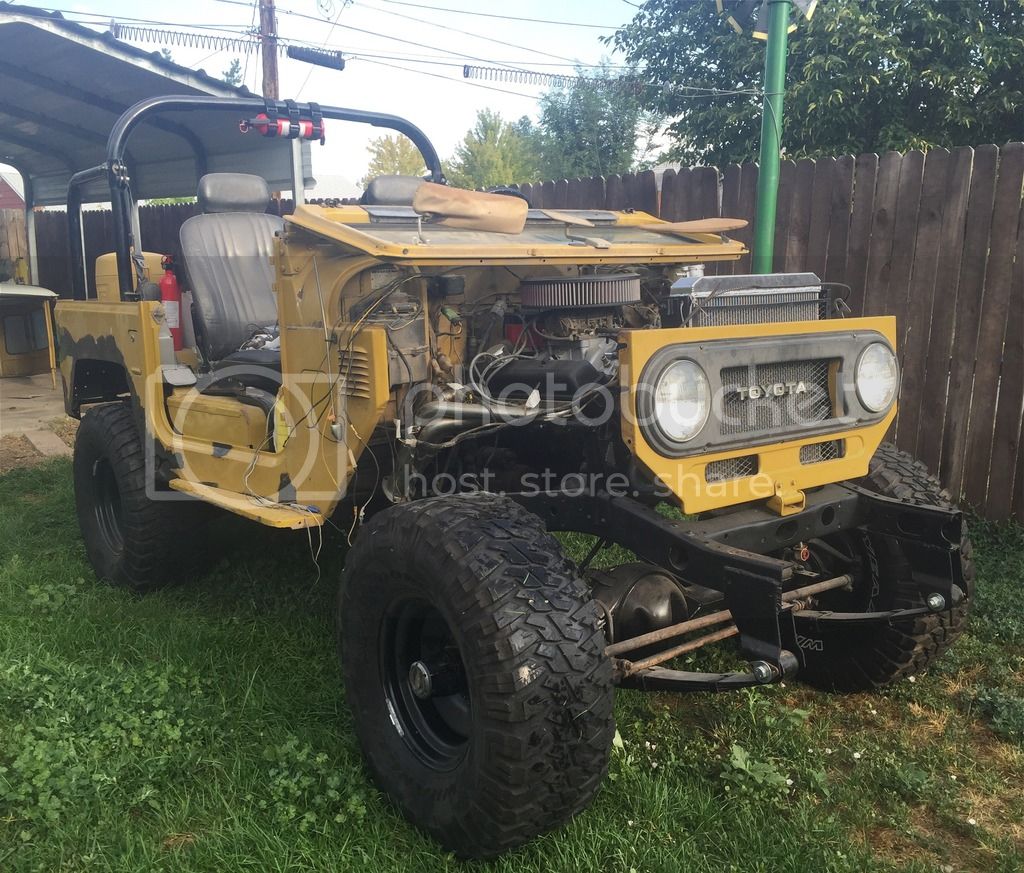
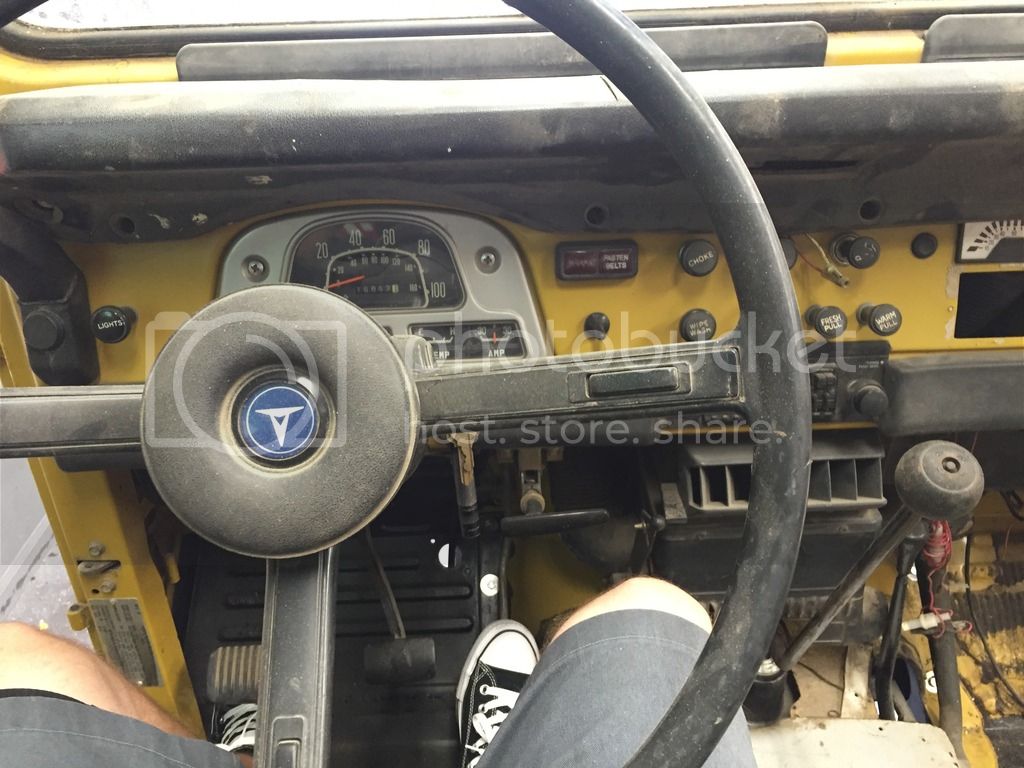
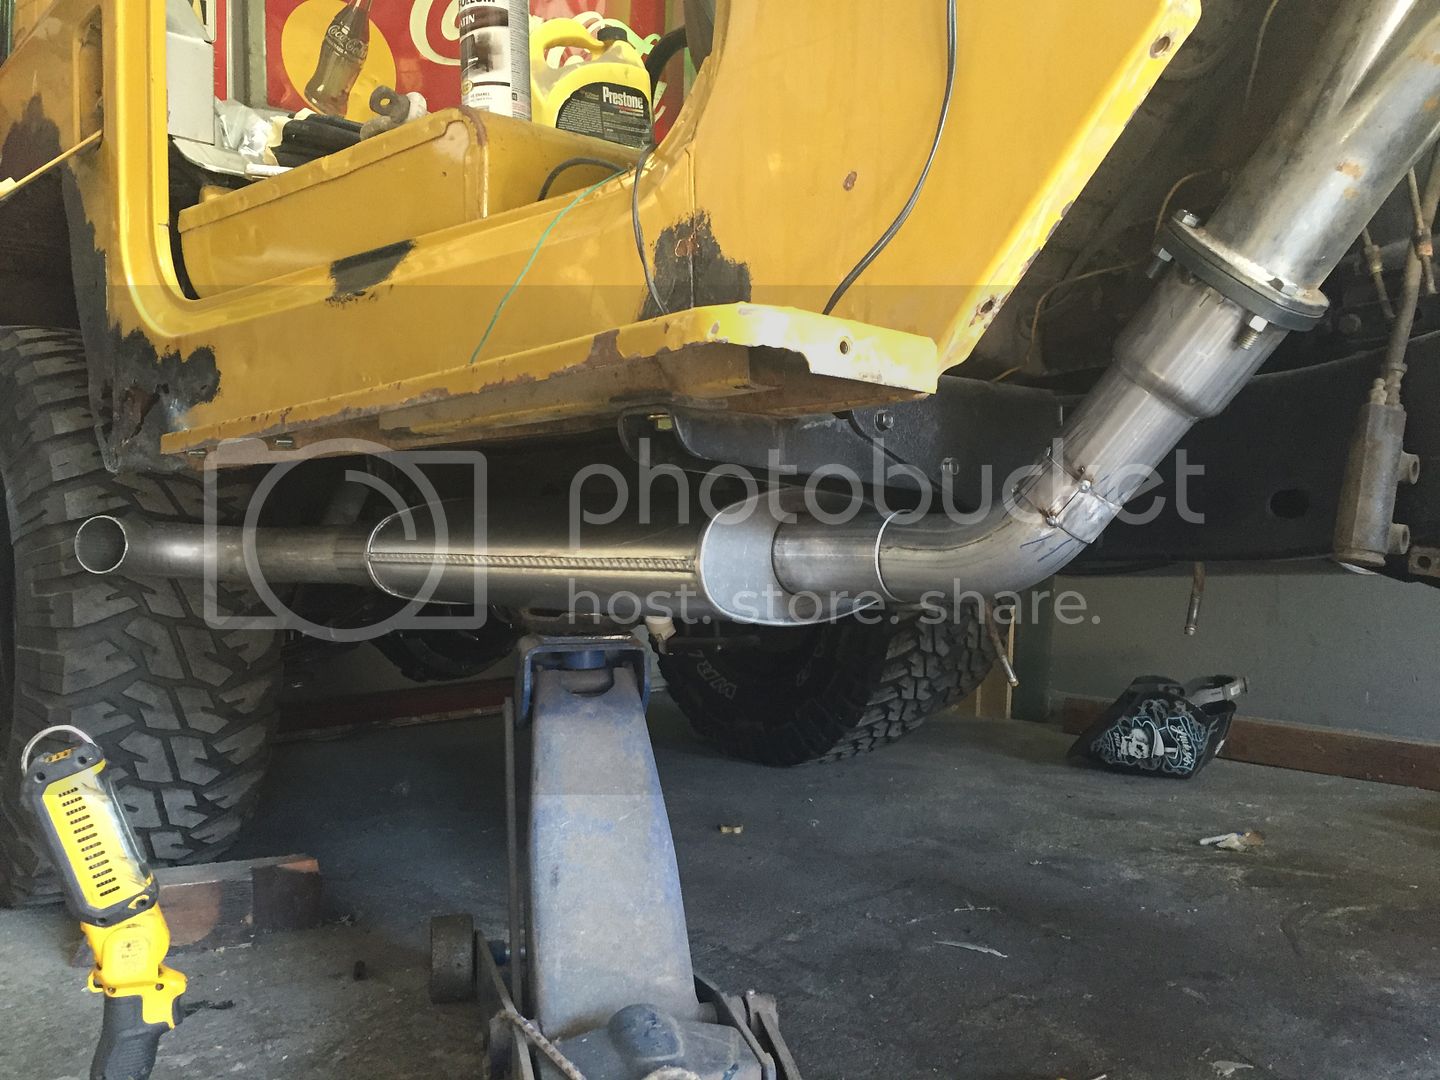
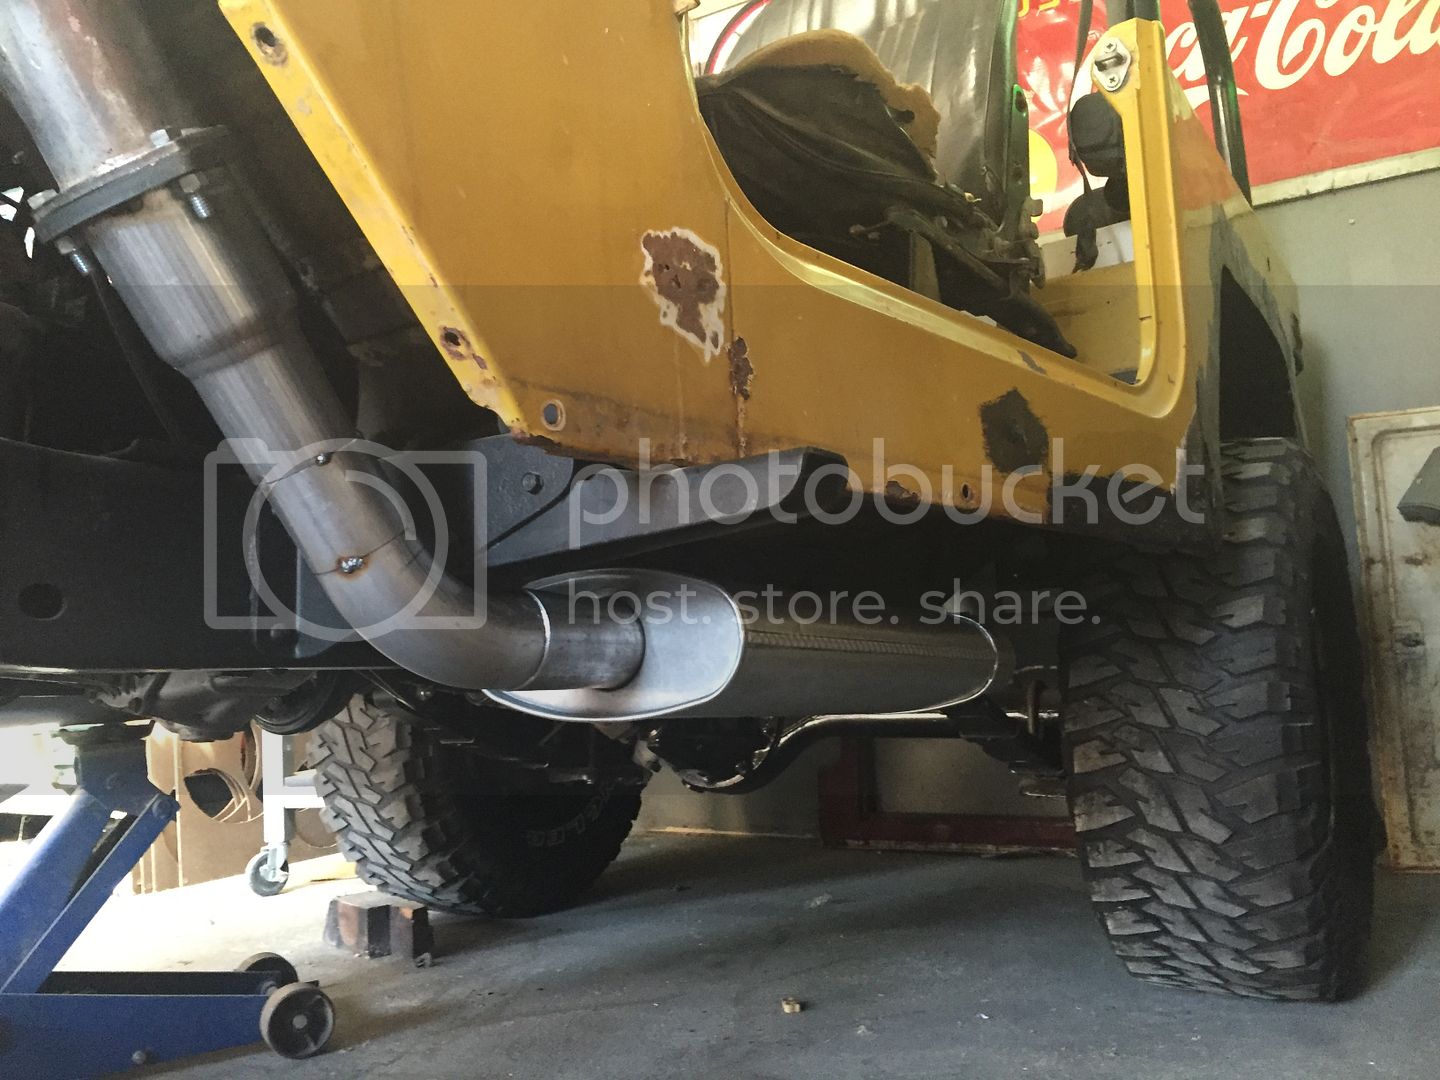
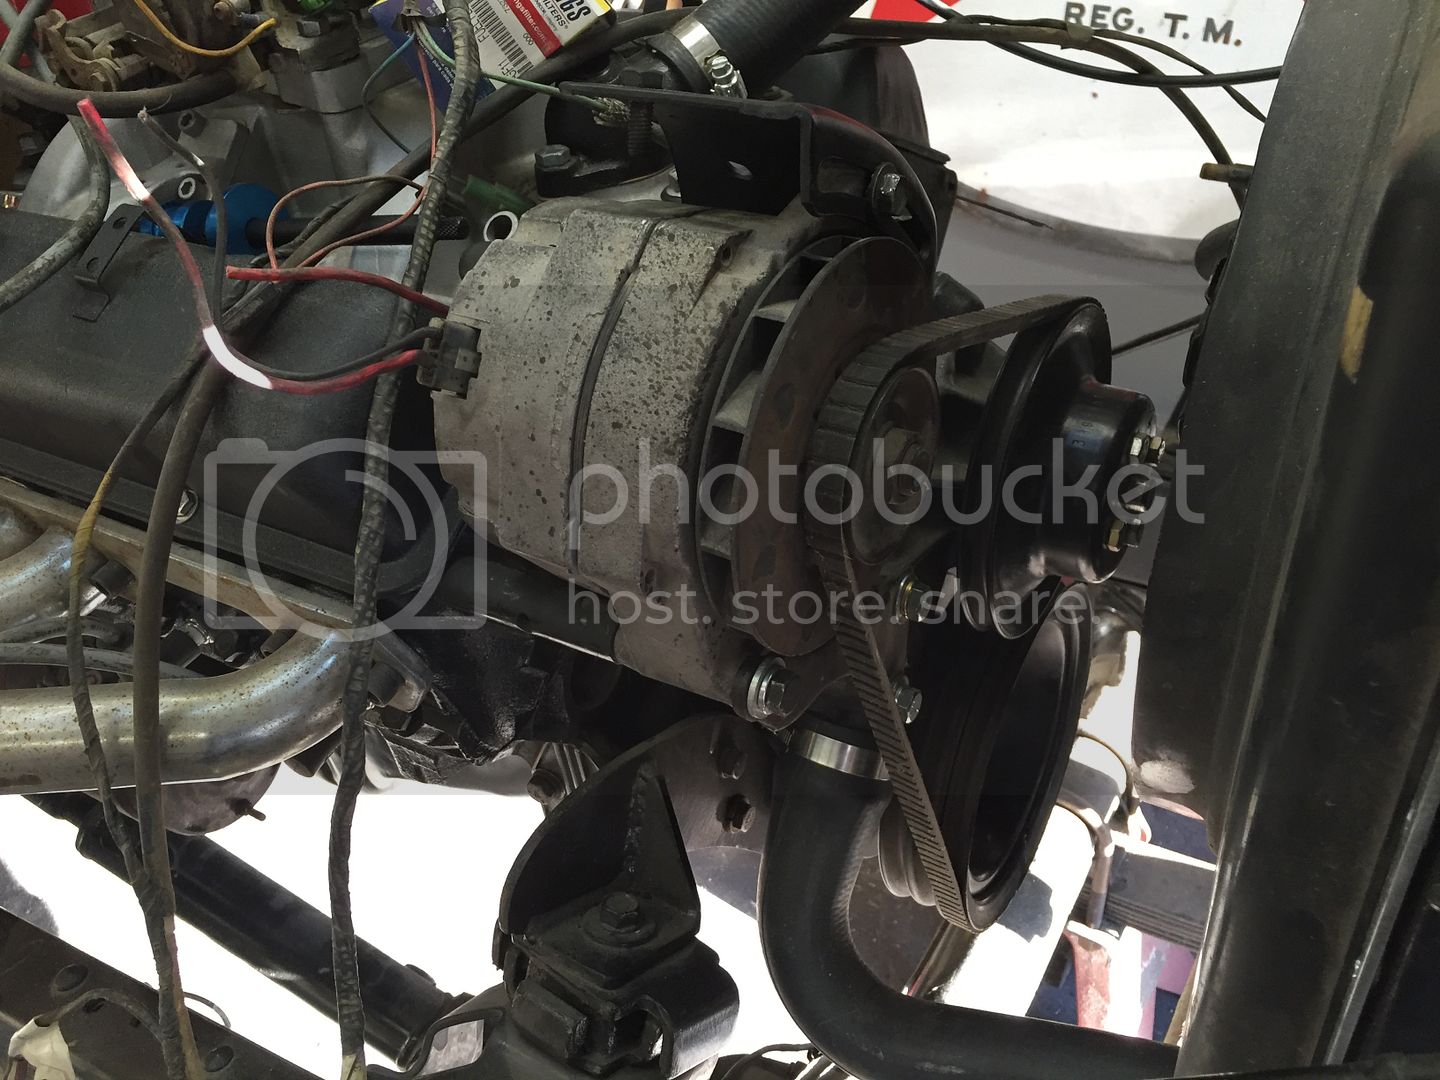
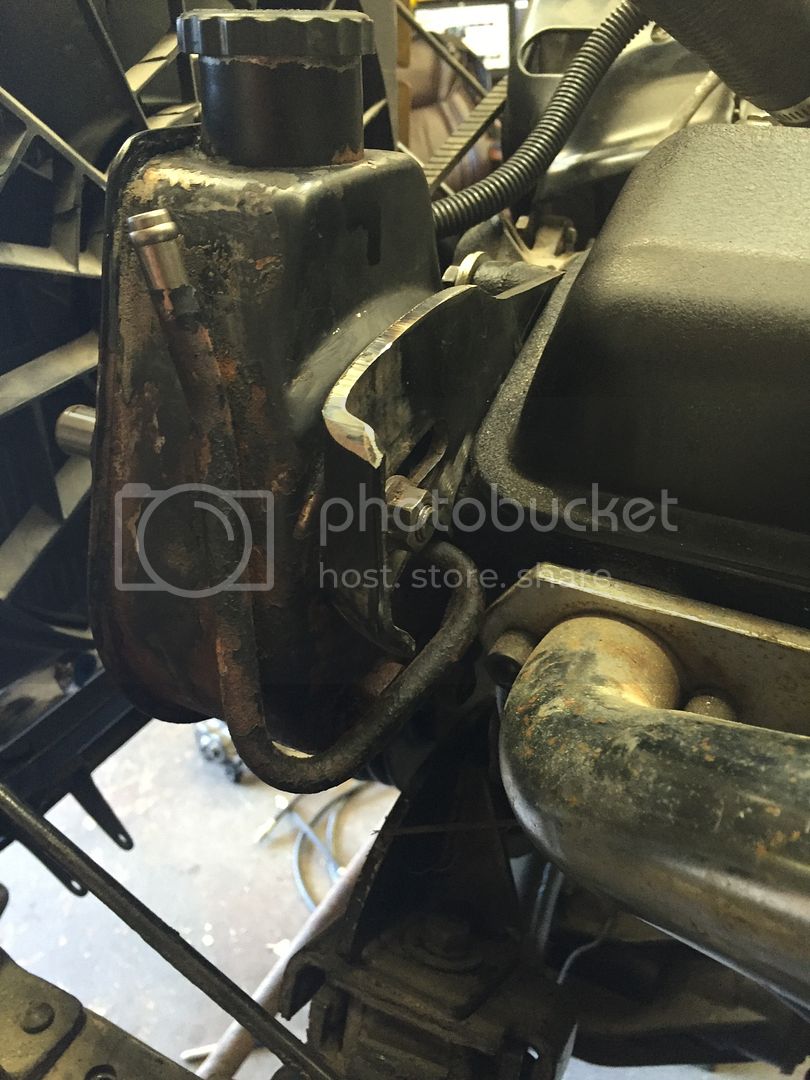
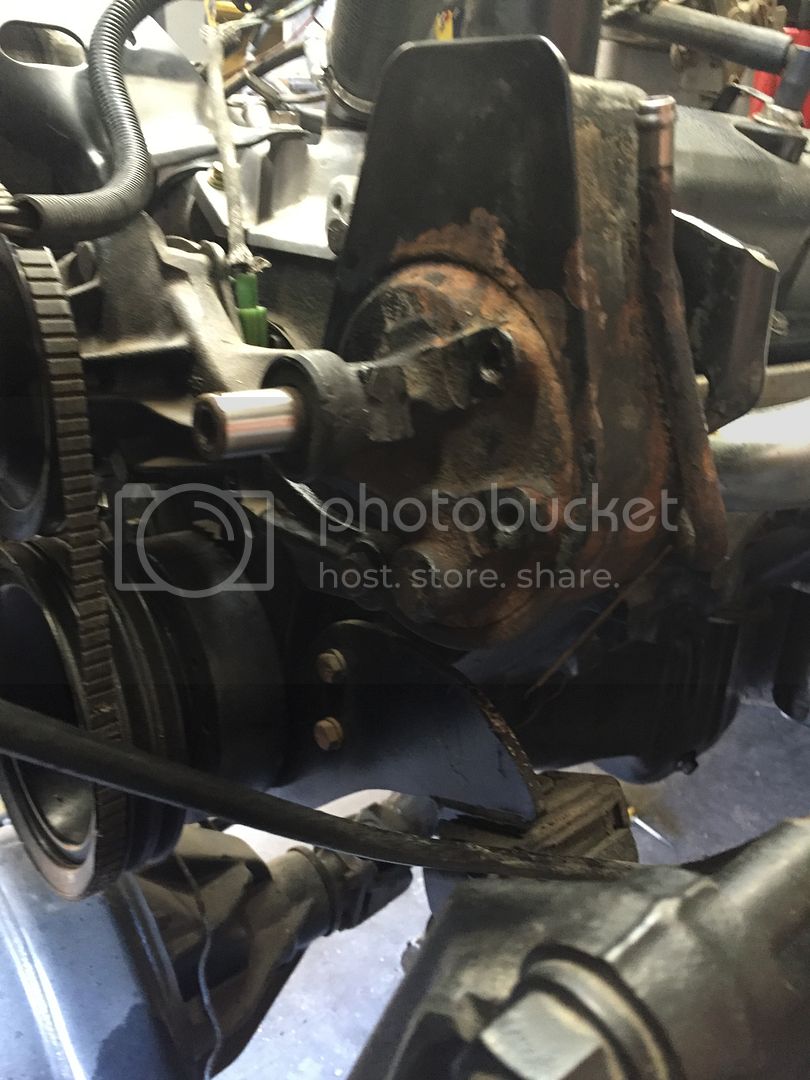
I just picked up a 78 Land Cruiser and I know very little about them, Ive always liked one and was looking for a project vehicle and stumbled across this. It needs a lot of work but I got it for what I feel is a decent price and am going to see what I can make out of it. Here are some pictures how it sits now. Looks like the frame has been coated, Engine and transmission are supposed to be freshly rebuilt which so far looks to be true. Car had a huge folder of paper work shoved under boxes of parts stored in it. It has a chevy 350 swapped into that was done by a toyota dealer in the late 80's and has some headers on it that i cant seem to find any info on, they dump out by the back of the fenders.


Here are the pics


DDBCF639-5DEB-4C36-A5A7-1239A1BEE020_zpsnz7ay1vd.jpg


C7B91F04-18C3-490A-85BC-2806D5B4350A_zps6t61wyfm.jpg


7D256F44-40FD-455F-A35D-906F3C3A67CF_zpspxqplerc.jpg


BCC162F3-0548-4320-928C-BDD0A3353E30_zpsuiai6ecb.jpg


78A04F08-FF2A-4396-9606-83510B904FB2_zpsxysw4scr.jpg


422869FF-43CA-4D24-A07F-1A38CE6B56A9_zpszg3zpcht.jpg


D0271957-9508-47F4-9BA3-145E60C10497_zpsnf33psoy.jpg


53C4F415-5988-4DDA-9031-DDBC834000DD_zpsm0cxloyw.jpg


DAAECF91-87AC-4AF8-B62C-055CF95C76C4_zpswyjme01y.jpg


3EBF1B9B-3D9C-4F48-94F4-17CC86FFFC59_zpsuq0cuzzh.jpg


37752F49-1F36-408E-91EA-F233C2FAAC6F_zpsmtrszaxz.jpg


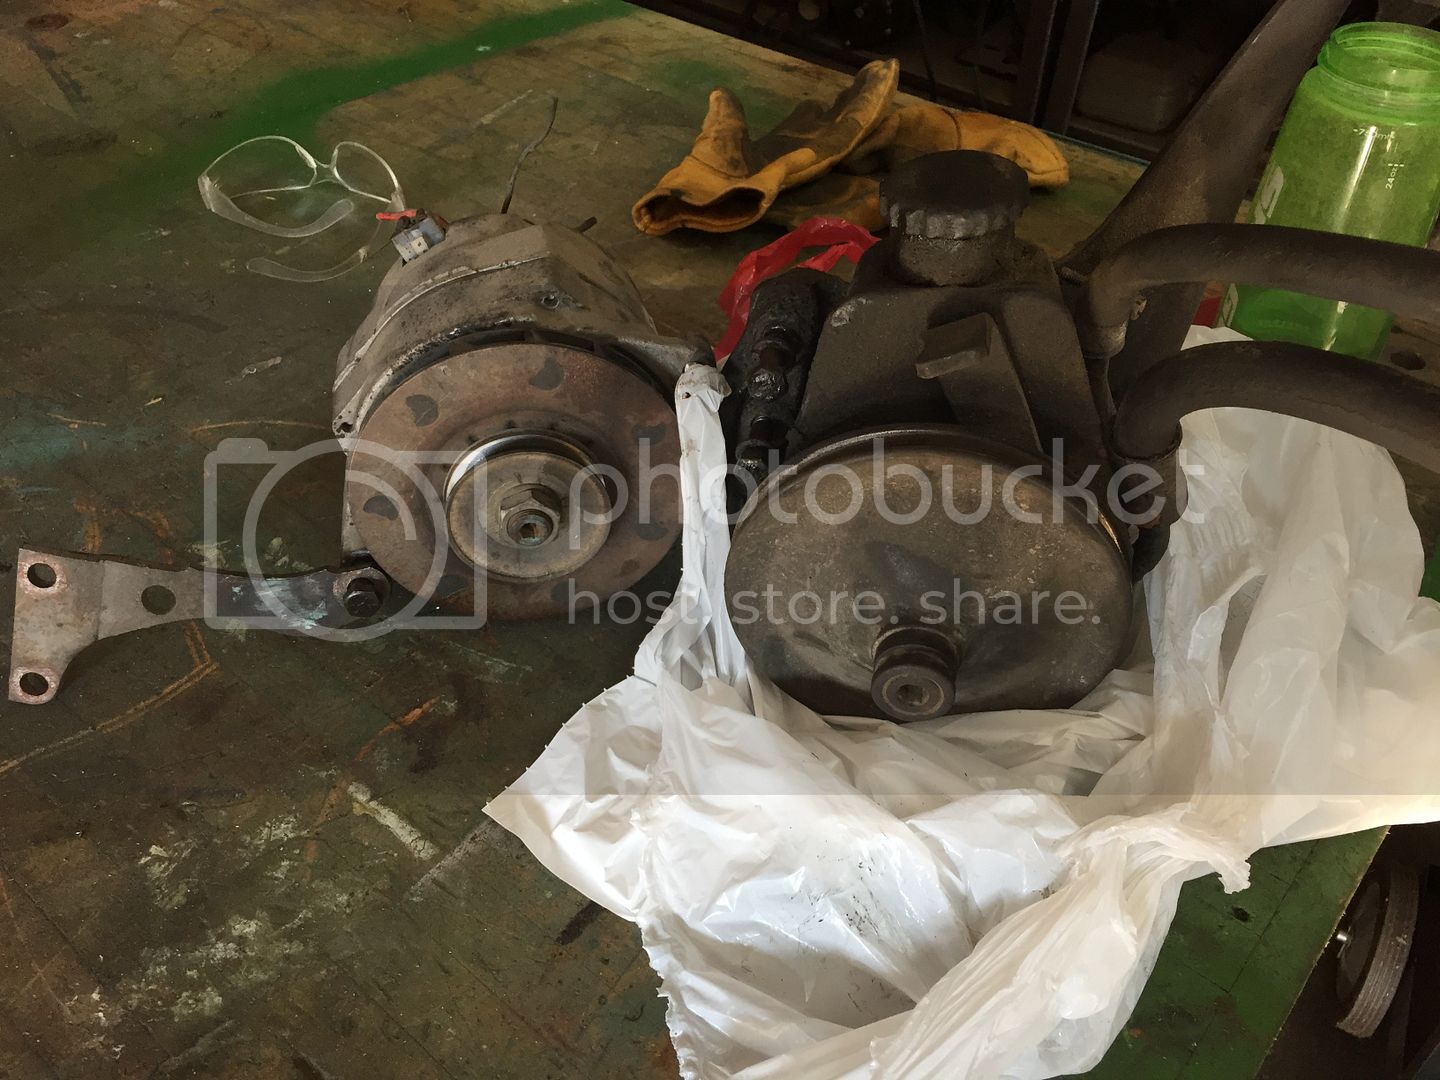
Pretty much every other part is in boxes that i pulled out of back, Hopefully I can get it on the road soon! I will try to keep this updated with pictures as I make progress.


Thanks for the info, Ive decided my plan for now is to just get it running and on the road as is and then decide what needs to be changed if anything. Here are some pictures of the last weeks work.


Previous owner left some items in the glovebox


0B61ED18-D529-4FEF-AEAB-62AA56E38E03_zpsgnla3nvp.jpg


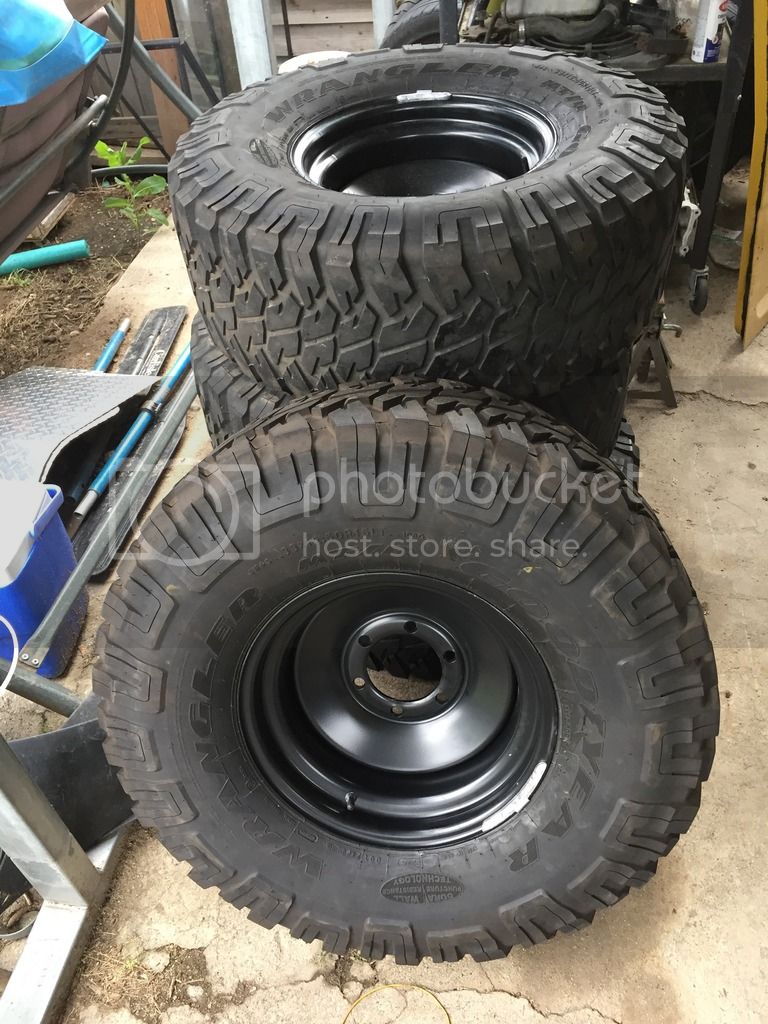
Bought a set of used tires 33x12.5 goodyears


E1CE2810-2DF1-4401-8DFC-5BC15AD03149_zpsefgvkmvb.jpg


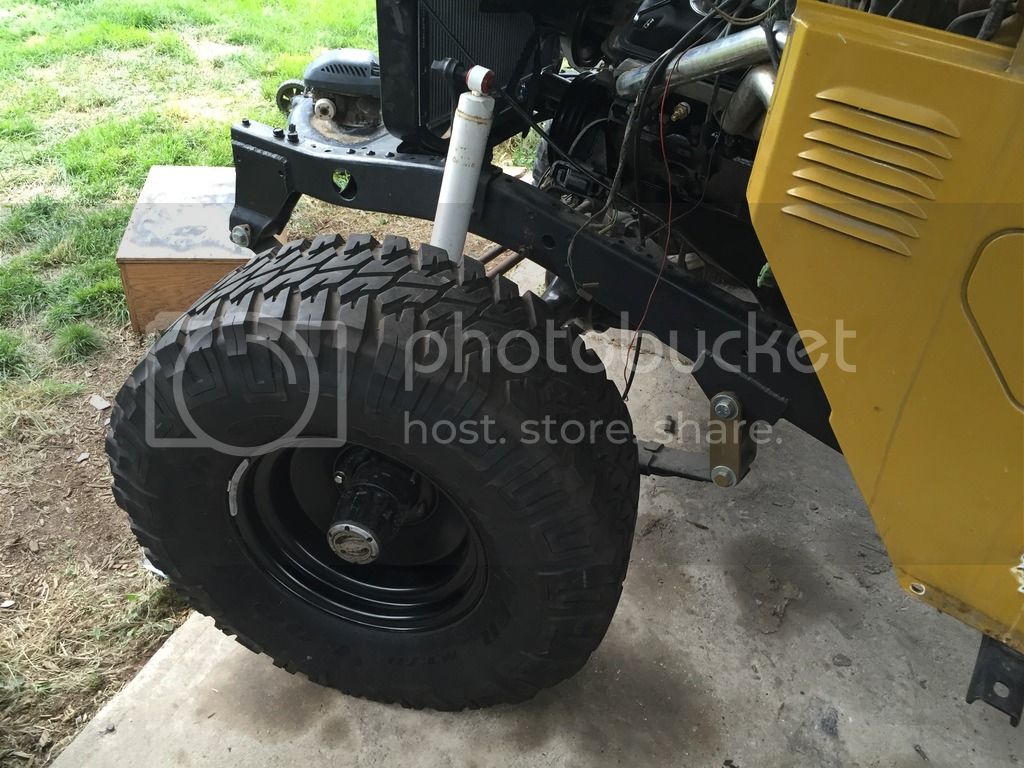
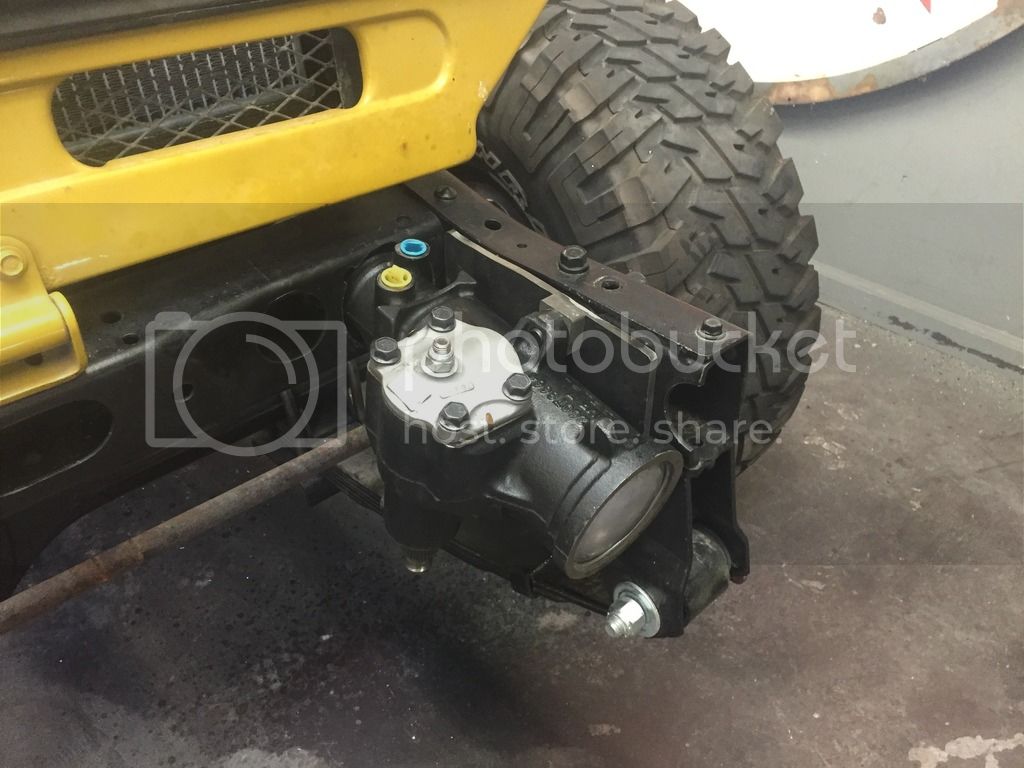
Test fitted my new wheels to make sure they will work before i have the tires put on. they fit perfect.


273D1A6E-67F2-477D-B04E-75F878AEEA5C_zpscqshsj2d.jpg


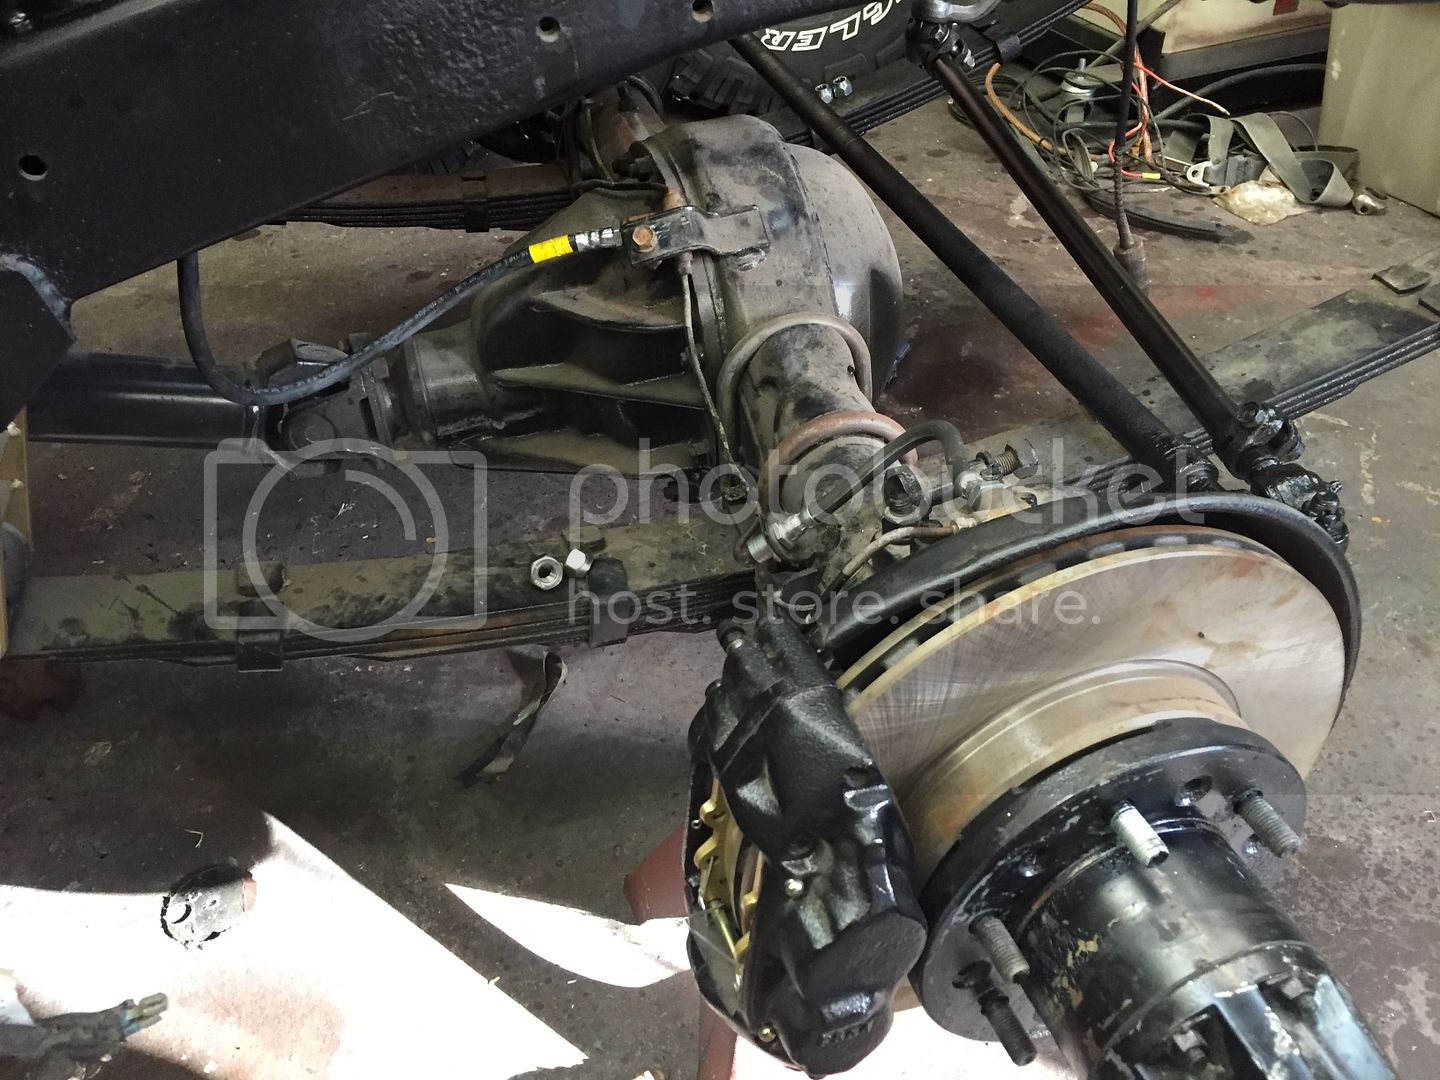
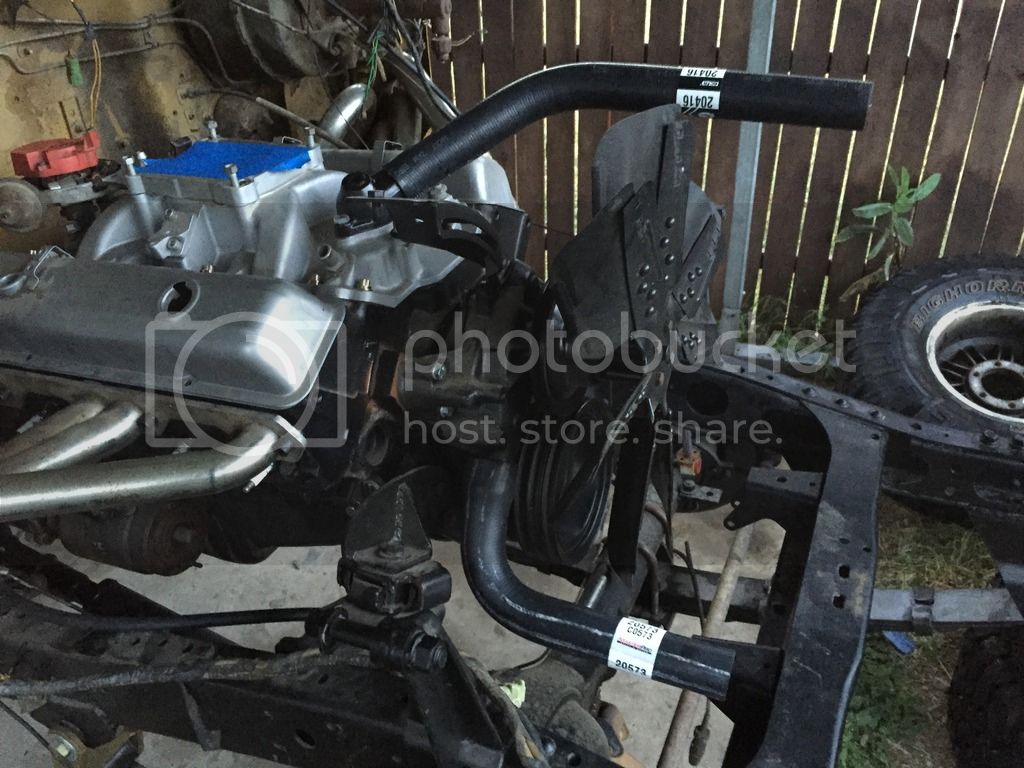
Pulled of the front end to access the motor, have been chipping away at it. Slowly getting ready to start


791DAB9D-3586-423F-B013-71495933EE10_zpscqntldzz.jpg
 
Ready for the radiator which arrived yesterday but has to be sent back. Ordered a Champion 3 row aluminum unit and it was warped when it arrived. Completely out of square and wont fit the housing. Emailed them to see what it will take to exchange it hopefully i can get that resolved easily.


07D8BDC0-9DFF-4E05-AE19-B7D055552F92_zpsmrb2axir.jpg


Thanks guys!


Got my tires mounted.


B6AFFFE5-200A-4671-95BC-82097148F1A6_zps5eyalhgb.jpg


Threw one on to see how they will look. After the brakes are all sorted il get them all bolted up.


E9B7A760-EAFD-423F-A742-E5BE210D70C3_zpsxque8h0s.jpg


Carb is all cleaned up and installed. new everything pretty much. almost ready to fire it up.


F467BEA1-5658-43A2-88B1-4D34FD27F14E_zpscamd2fah.jpg


Minor update:


Added an electric fan from a Taurus


AEC37F85-F79C-4456-B5EF-AF4A4AFC4FCC_zpsmu9ld2fk.jpg


Threw the new wheels on so i can move it to an enclosed garage to try and get it done for cruiserfest


543F499B-B521-4D84-83EA-424660B3C240_zps1nwr0l85.jpg


Pulled the top and doors off to see what it looks like and to help with cleaning it out.


848F6C6F-C366-4D9F-971C-9FF4CE06B9E9_zpsrnzzl5th.jpg


Hopefully will have the engine running soon!


Started figuring out my power steering conversion.


8FE12128-993D-47C1-A338-426045A92F86_zpsael0ry1j.jpg


Using a saginaw steering box. Still need a pump for the motor though.


Update time! Found the shift knob hidden in a corner of the glove box.


B508E8A3-B838-424D-9D3B-00F5F6195588_zpsurtbicts.jpg


My brother started on the exhaust too.


2C4674C2-FB34-4238-AEA0-0EE641E8F2FA_zpslwwdlz0a.jpg


2DC75954-5F3B-4223-9611-10553775C8F3_zpskchrwbkt.jpg


Junkyard score. Ps pump setup and alternator with all the brackets i needed. Will need to make a different power steering bracket though since the motor mounts to the area the ps pump would normally go.


BEA58BF1-5391-4DB8-A051-6BD7BEEC3B3E_zpslgzs51ov.jpg


Alternator on. Almost time to start it up!


E506AE5F-180A-4DD0-AB42-9D9E7601FB5C_zpsztmdzbb4.jpg


Thats all for now. Slowly getting closer.


My dad modified the power steering pump bracket and got it all mounted up. Need to get some lines made still but its progress.


E10A4608-6EBD-4D3F-95A0-C6B8A24038F6_zps4swm2dia.jpg


AA23DD51-C29D-4462-8226-860CC90CAC87_zpsrr0zu1l1.jpg


All cleaned and painted.


URL]]
 
My dad and brother both know how to weld, i however never really tried to learn. That is until now, one of my goals on this project is to learn how to weld so i attempted that with the exhaust.


My first attempts were less than pretty.


550DE9E3-E16F-43D7-980B-BE7476C57F2E_zpsni0djo2d.jpg


But after some guidance from my brother i was able to start to get the hang of it.


9524BF13-F61D-45EB-9D1E-6C5AAF4E8966_zpsxy7m7i9o.jpg


339B8A36-9176-42EA-950D-254BEBBCE300_zpscg9w3dwh.jpg


I was able to get both mufflers welded into place and will hopefully get the exits down today.


C6012ED7-8581-40B8-92CB-4B7147E3713F_zpsugxbrbso.jpg


Exhaust exits ready to be added.


DD542F39-BE57-4BF8-8561-823636EACCA6_zpszn0jrfvm.jpg


Little bit of high temp black


B2AE9CBD-9F99-475F-BDE7-7E635C1ED146_zpswhnsxkcj.jpg


and done! waiting on some bolt on exhaust hangers but other than that should be good to go.


08AFEBDD-FBC6-4B9F-99E5-D8E3760ADF64_zpsmaztzyhj.jpg


99211517-7B4D-4986-8E2D-2D6E15DCFBC1_zps7c1u39ar.jpg


336CF460-88CD-4D3C-9260-7DC08B42775C_zpsmlo0vdui.jpg


ordering the rest of the power steering components today. maybe get that all buttoned up next weekend!


Finishing up my power steering conversion now. Almost there! Luckily CruiserOutfitters is local to me and has all the power steering components i need. This was very helpful.


Box of linkage.


6BAFDD90-0E57-430C-AC80-4B2450861DD0_zpscy3wd8r4.jpg


Drop pitman arm, new draglink and gm conversion tie rod mocked up. Looking way better than with the pitman arm that was in the back of the truck.


AC24DCB1-6458-43E9-BA91-922F2B79FDB1_zpsb8g6hfro.jpg


1B1A9F2E-51C5-433F-9864-71DD2F8E56DD_zpsrslrkcpi.jpg


Im going to pull the other bar out and clean and paint it to match.


EEB81294-95E1-4BBB-931B-7AC1649FA008_zps0lvbeov4.jpg


My power steering kit had a yoke that was to big for my steering box but luckily a local company had the right piece in stock.


C61F8243-9A82-4239-958D-AD12BAFA2674_zps5c5suedw.jpg


And all ready to be installed for good.


E64E03DA-EBB6-4C5A-A120-3595FAE9F96D_zpsonvw4i4d.jpg


66C96E74-23DF-4758-B9C4-1CAABBC4FB47_zps9xshpcmu.jpg
 
Steering is completely done! Now onto the brakes. Everything was thrown into boxes so we have been piecing together everything starting from the front and working our way back. So far the fronts are complete and hopefully we will finish the rear end today.


4B3BD977-014A-49A4-BC42-CD3864330FAA_zpsvrxuglcs.jpg


36AA0F0E-3784-4B38-8A55-C21694C059F7_zpsyhb4lwbe.jpg


4AC12CBE-2E5E-412E-A856-54E1984B425F_zpswfslomjf.jpg


Update time!


Front end all together


586A3ACE-6D84-4F44-B6B4-16746B146217_zpsiqkquyos.jpg


Power steering lines all done.


B4F892AB-DBD2-4827-9B92-EE9A933775F8_zpsr4vracuh.jpg


Back on the ground. All the brakes are done and functional, clutch system all works, power steering is complete.


1E3FBB6A-98E7-477B-A3B3-9E769FC0BE31_zpsdefokcsh.jpg


New master cylinders, clutch system and brakes are 100% new


94BB8F62-1E23-4BA7-A2F5-4F273E461680_zpsvihge0zg.jpg


Just need to run the fuel lines and fix the wiring mess and we should be good to go!


1978BEAD-AF50-4513-97E4-DA786C0C90C6_zpsrzyhoxmb.jpg


Thanks i will take a close look at that!


Lots of progress today!! It ran and moved under its own power!


Got it started and ran it for 20 minutes at varying RPM to break in the cam. Made some awful noises and after breaking it in we pulled the valve covers to find i had adjust the rockers incorrectly. One of the pushrods decided to punch a hole through a rocker arm and they are one piece now. I need to keep it as art work or something haha.


I had bought a oil pump tool from summit that let us build oil pressure before starting and it worked perfectly.


8164A70A-B4C9-4F2A-82BC-66F0D9A38843_zpsk0unsegu.jpg


Pushrod and Rocker become one


3D636A23-123D-4419-9441-1B0309EE6C31_zpsf7l0cvkr.jpg


61580B07-7AE3-47B6-A3D9-BFF4BD21FAAC_zpsp5syqycp.jpg


Luckily since its a 350 all it took to fix was $7 and a trip to a local autoparts store.


Quick video of it idling.


[video]


Tomorrow we will get this drivetrain all filled with fluid and try driving it around the block!


Working on cleaning wiring up now, The factory harness that goes to the back of the truck has been cut out by the previous owner so we are replacing that now. Also started cleaning up the front bumper parts that came with it.


I think its a factory bumper with an aftermarket bolt on brush guard. Going to sand blast it and coat it black.


19CF4AF9-4CD0-4D26-BDD2-1C1CE509E769_zps0cnhekgk.jpg


Soon!!
 
41C580F0-A70B-411C-BAE0-57C01E239204_zpsih8qk1yp.jpg


Got the top, hood and doors back on yesterday. Also got a fan control switch to operate the electric fan. Hopefully this weekend we can get all the wiring finalized.


976A6965-F586-4ACF-965C-1B773EA8AB0B_zpsqwrcc5qp.jpg


More progress, mostly cosmetic.


The rear doors were missing a hinge but i had 2 of the older style hinges in the piles of crap that came with the truck so my dad was able to modify one to fit. Ugly but functional. It got sprayed black with some tough coat krylon.


D014CD38-7E64-4AE2-841F-038F8D495923_zps9wfqwz3m.jpg


Ambulance doors on!


3240FAC6-F3A2-4779-B10D-BACAC1933251_zpsvvqc7ewf.jpg


No truck is complete without a Yeti sticker. Oh and a goat.


0F93F004-5721-42E4-91B5-1E6CB8D22B60_zpsyuhp4bjr.jpg


Rear jump seats installed.


E433D29D-7101-4350-8E26-ECE3A09FA1D7_zpswjihohmd.jpg


8E532188-8C4A-4077-A4EE-D938F034C718_zps0tiwyap5.jpg


And bumper is all mounted to. Need to find some cheesy offroad lights for it i think.


7E29E12A-5D05-4F94-8310-95AA75047EA5_zpsippf5emi.jpg


The final parts i need to get it driving have been ordered and will hopefully be here next week!


Thanks! its getting close!


Updates!


Got my new passenger side door handle on.


061B2EB4-72FD-4EA5-A327-0E2D01F99C7A_zpsb1fquanw.jpg


And we decided that we needed to do something with the giant holes in the body. Eventually I will be going through the tub and patching everything but thats a while away so for now we will band aid the problem.


The problem


F56B0E9E-BA3D-4D14-BA95-49F2085821CC_zpspwmyiprm.jpg


The band aid. These were in the pile of parts that came with the truck. Had to do a little trimming to match up to the cuts on the rear wheel wells and then coated them in bed liner.


72B5A375-D192-4100-B2D0-08DCAB59410E_zps2no7425e.jpg


Decided the rear quarter panels would look best also being black for now.


B66111D3-2E32-4F3E-A279-F8B4A0F60B1D_zps0tbs882a.jpg


First coat.


3EDEC9F3-5225-47B9-ABCD-A1B5889F725A_zpseozr7ebn.jpg


Then riveted the panels on and put on another coat of bed liner.


3B71D845-5774-4ED1-A9AC-A47597950F6C_zps84gu0eck.jpg


89DFA055-D8CC-4810-B02F-847D5AB416DC_zpszputd8yx.jpg


D82625D4-ED5D-4AD7-B77D-7A5D71CD22BE_zpsgxuxm7ik.jpg


Tire carrier back on.


30AC21BE-A1FD-498E-8912-90732D39C8FE_zpsoa2dfbwp.jpg


686DA136-916E-4AB3-BA50-B656D4F2D804_zps4yi6um1i.jpg
 
Also got some weather stripping for the rear ambulance doors. Had my helpers stare at me the whole time trying to install it. They seem to like it in there.


D40A57EC-0C68-4BA6-ABF5-35D390C0209B_zpsqztmlkrl.jpg


Also found this little flag in my safe so i decided to stick it on the dash. Merica!


3CE27FCF-83A0-4449-BBEB-672AE8035D8F_zpsj1n6pnix.jpg


Thats it for now. The speedometer parts came in the mail yesterday so thats what il try to get done next. Then test drive time!


It drives!! Drive it around the block and so far everything's working like it should. You can see in the video the taillights aren't done but we are close.


[video]


Added the most important part, The bottle opener!


05A889F1-9E27-4912-ABF4-225F1F836515_zpsy8rlnpva.jpg


9B57ABAA-54FE-4366-99FE-C8FA026D35E9_zpsx50hpset.jpg


My kids got involved as well, They built me a new glove box tether.


C5B2D354-C58B-4C12-BFE8-852F4BB226D1_zpsuvxweicv.jpg


3E82D8C5-C2CC-4DC7-B92B-3966AAD78EF2_zpsrvut43zi.jpg


We are converting the rear taillights to LED so i don't get rear ended but someone not seeing the dull factory lights. We had to convert the flasher to a LED compatible one and then we welded these light boxes on the rear. We are waiting for our taillights to come in the mail. So far im liking them a lot.


8E10C38B-55BC-4C93-9609-D1D4C7FF9514_zpsbtsqv6e9.jpg


Corner lights popped in and boxes bedlinered.


23EA2918-476F-4D78-BA98-7CB0C7543C02_zps44bnpg80.jpg


Need to work on getting plates for it and insurance!
 
Thanks! Here is the wheels i bought. They seem to fit great.
https://www.summitracing.com/parts/crr-69586037

And i never removed the door hinges just drove the pin out and left the hinges on the truck. I greased all the pins when i put them back to help with removal if i decided to take them off in the summers.
 
The rear door latch had seen better days. it was very sloppy and barely worked. We pulled it apart and welded the back of the rivet in place. Works fine now and the price was right.

F522D676-3C5B-4409-9F10-F71170C3C563_zps1qizx26d.jpg


After this i moved the 40 back to my house. Drives good, needs an alignment and some minor leaks fixed. Now im waiting for funds to register and insure it. Then il start driving it more. I never realized how big this thing was til it was parked next to the expedition.

Have it sitting outside with all the vents and windows open today to try and air out the stale smell inside from sitting for so long.

B782E2CF-7BEF-4AE7-8665-94F4FA2AD974_zpsdl7oeedi.jpg


73ED0587-BCBC-423E-A882-E99762FB37E1_zpsgznbqssj.jpg


CAE23761-0321-4C07-BF9F-357D34372DCD_zpswbaf0nek.jpg


166E2E02-88D1-45C7-A581-45C74046CE91_zpsd5s0gvv5.jpg


68F280E7-9EF6-4974-A128-866394F7D4B1_zpsiq9qxoby.jpg
 
Thank you!

Found my original fuse box cover hidden in a box and covered in dirt. Cleaned up really nice though.

E23F4919-7376-4FA7-A321-431BB13BE9DB_zpsaj5mn5vx.jpg


I bought an ammo can to use as a arm rest. Had to convert it from both sides opening to just 1 and letting it swing up. And added a lock to it, will be nice to have a lockable space when the doors are off.

Mock up.

A9810DF2-58FB-463B-83A6-4B2163069474_zpsajrdyntx.jpg


Padlock added

77D7BEA7-0D62-40DC-A4A1-717E5351D822_zpsdk7ka2rx.jpg


And all bolted in.

80B09DD5-F8ED-4EB8-B85A-A24196C632E1_zpsxrv7zvvh.jpg


4B81EB5D-AC44-49E2-B54F-BF91F15D8035_zpsus0rye3m.jpg


I plan on making a padded top for it, and doing something about the seat bottoms.
 
Updates!

Dome light, Check!

5AAA0FFC-D307-4F78-9BD0-2E02573C50EE_zps9fmol6cx.jpg


Wired my rear heating fan to a switch so my kids can turn it on or off from the rear seats.

5B121012-6BAD-4A39-B7B1-B3F95F45A421_zpsscqxtdb3.jpg


Mounted my maglite by the door. Tried to keep it somewhat hidden for when the doors are off.

E9B242B9-069A-49C8-B092-0953E236D02E_zpsvbatna61.jpg
 
Always a fan of the Mustard Yellow 40's!!

Cheers and it's coming along nicely:steer:
 
Updates!

Truck is registered and insured!! have been driving it the last week or so to try and fine tune some things.

Plates on it!!

B85DBFEB-E0FB-450F-A0BD-5F6799952D3A_zpsp8eqd9p8.jpg


based on driving it we've figured out the throttle cable needs to be re-done. The almost 40 year old cable is not liking life so it will be getting replaced. The outer sleeve on it keeps ripping apart and slipping so yesterday we pulled a couple factory cables off some SBC motors at the junkyard. Should be a lot nicer when its all done.

Old cable setup that is being replaced.

9B6C2578-1FF3-4414-A71B-D49DAB718031_zpsmzaaptl1.jpg


Also found a spare 33" tire while there. Good enough for $16.99.

22404702-A6FD-4291-BF78-1C531CA78C01_zpsao4tqjfm.jpg


Now to get it mounted on my spare wheel. Hopefully today sometime.

5208DC03-D547-4151-A470-DEC907ACD68A_zpsfrinnltd.jpg


So far driving it has been fun, lots more noise and bumps than the new cars im used to but im loving it. Truck gets a lot of attention wherever it goes as well. :)
 
Good job on saving another - and yes, Mustard is cool. Next year, you can tackle the sheet metal. You actually found an FJ40 that works better with those diamond plate cover-up panels (since you had gaping holes), so this was a great use for those.
 
Spare is on. Looks so much better with it. Also sorted out the throttle cable and got all new seatbelts in. Used humvee 3 points in the front and standard lap belts in the rear.

1C64F8F3-5A02-437A-B3F7-35EBB9991249_zpslv28ecza.jpg
 
I have a set of Humvee 3-point belts for the front of mine. Any tricks I need to know about for install? I haven't sorted them out (they are new-in-box) yet but anyhelpful hints are appreciated!
 

Users who are viewing this thread

Back
Top Bottom