Navigation
Install the app
How to install the app on iOS
Follow along with the video below to see how to install our site as a web app on your home screen.
Note: This feature may not be available in some browsers.
More options
Style variation
You are using an out of date browser. It may not display this or other websites correctly.
You should upgrade or use an alternative browser.
You should upgrade or use an alternative browser.
1978 LPB Teardown and Rebuild
- Thread starter Awl_TEQ
- Start date
This site may earn a commission from merchant affiliate
links, including eBay, Amazon, Skimlinks, and others.
More options
Who Replied?DanS HJ-45
SILVER Star
De-rusting continued...
I decided that I wanted to shorten the last rib in order to accommodate the roll cage landing point so I chopped out a little section.
Good move. I'm really glad I did that on our floor. Sure, one could use spacers or just crush the rib, but when you can do a little sheet metal magic... why?
Looking good buddy!
Dan
Awl_TEQ
Supporting Vendor
- Thread starter
- #703
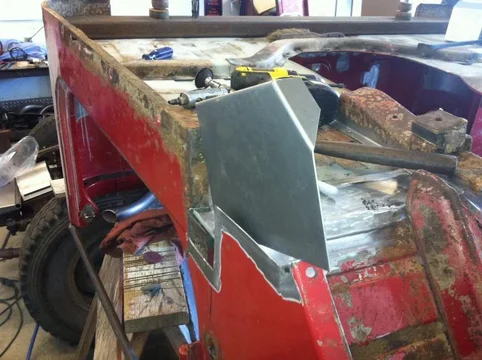
One area done - on to the next. At first I was going to just fix the hole under the "A" pillar but then I figured the tub is upside down and I'm in to it now, may as well do all the major rust and then I can blast the tub later and fix the minor stuff then before paint.
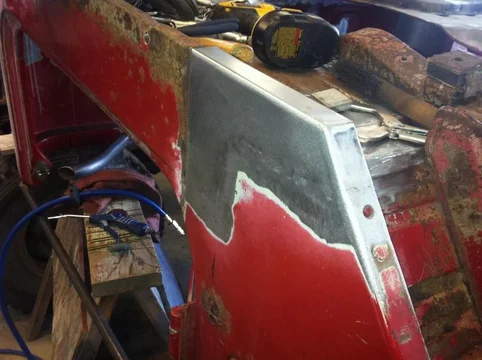
So next is the rockers and rear corners


So next is the rockers and rear corners


Nice job, did you use thicker metal?
crushers
post ho

DAMN!!
<drool>


Awl_TEQ
Supporting Vendor
- Thread starter
- #709
one could use spacers or just crush the rib, but when you can do a little sheet metal magic... why?
Exactly - I have long ago given up the purist outlook on this build. It will look stock to the untrained eye when done but the more experienced will see the little stuff.
Nice job, did you use thicker metal?
No, used the same material. It will be easier to make my welding invisible when done that way.
DAMN!!
<drool>

Thanks Wayne
Yeah, I'm just picking away at it right now - hour and a half each evening. I have to get it back on the frame to check fitment. And also to make room for all the bed parts I've been bringing home.
As always - nice work!
I noticed you're completing your welds before any grinding? Are you using a flapper or cut-off disc at the end to get all the heavy weld bead off and then blending to final with a small air grinder/Roloc pad?
I noticed you're completing your welds before any grinding? Are you using a flapper or cut-off disc at the end to get all the heavy weld bead off and then blending to final with a small air grinder/Roloc pad?
Awl_TEQ
Supporting Vendor
- Thread starter
- #711
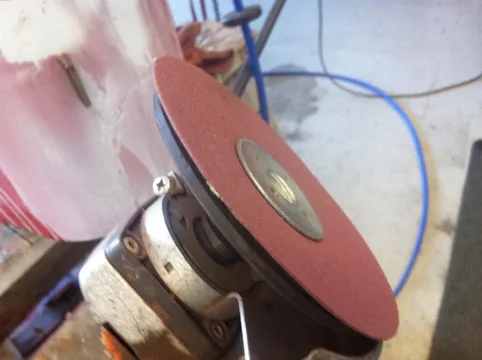
I generally use just the 2" Roloc in 80 grit for the whole thing. I would like to use the 5" flapper but unless it is a new disc it tends to put too much heat into the work. I will sometimes use an actual 5" grinding disc to take off the big stuff but it is tricky not to damage the material around the weld. Another option is an 80 grit sanding disc on the 5" grinder. Not sandpaper but a disc with a backing plate. You get more speed than the 2" and I can give the air compressor a break cuz its electric.
Looks fantastic. Are you using your TIG for this?
Awl_TEQ
Supporting Vendor
- Thread starter
- #713
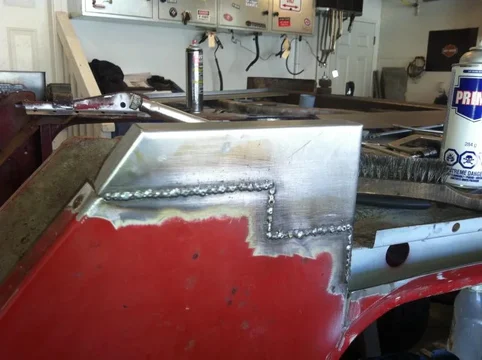
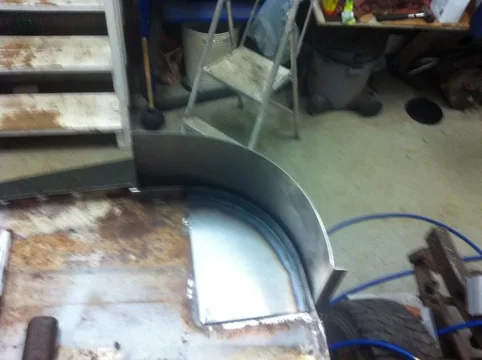
I did use the TIG for adding the spot weld flange to the patch in the rear corner floor. I wouldn't use the TIG for butt joints in a panel because I think it would put too much heat in the weld area. The advantage of tack welding with the MIG is you can go slow and keep the panel cold and therefore flat but still get penetration through to the other side. You could turn the amps way down and weld real cold with the TIG but then there is no penetration and the panel would not be fully welded. I'm not saying it can't be done but you would need more skill the I have, which is not to say I have a lot. Never said I was a ticketed welder  Only said I CAN weld

Awl_TEQ
Supporting Vendor
- Thread starter
- #718
Then I did the left rocker, right rear corner and right rocker. The rockers are not fully welded along the door sill because I want to flip the tub over to get a better angle on the weld. I might use the TIG for that too.


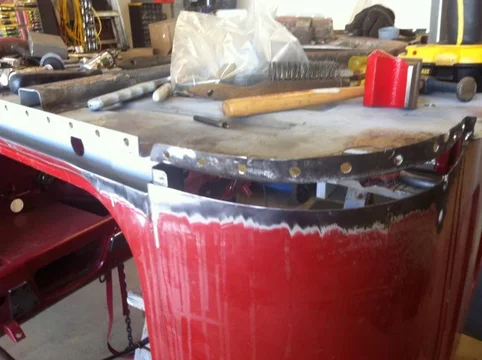
you'll notice the rear corners are left long. I was going to hammer them over but now I am going to cut them off with a jigsaw and TIG weld a flange onto them.


you'll notice the rear corners are left long. I was going to hammer them over but now I am going to cut them off with a jigsaw and TIG weld a flange onto them.

Looks Awesome!!! What grit(s) do you use for the larger pads and for the 2" pads?
Similar threads
Users who are viewing this thread
Total: 1 (members: 0, guests: 1)


