
The engine...
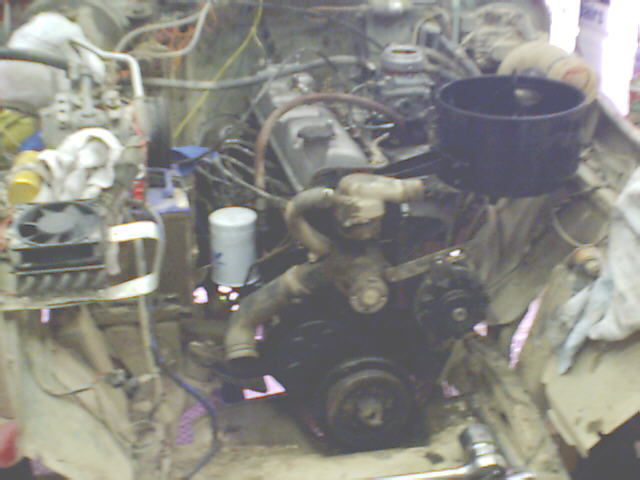
My FJ40, 1975, had in it the 1.5F motor. It ran well when I first got it, but always had oil pressure issues.
I replaced the bearings (crank in place) and put in a new oil pump and that helped a lot.
But I was getting a lot of blowby, and on long downhills (off road) there was so much smoke that I always had to go last
So I figured it was time to do a rebuild.
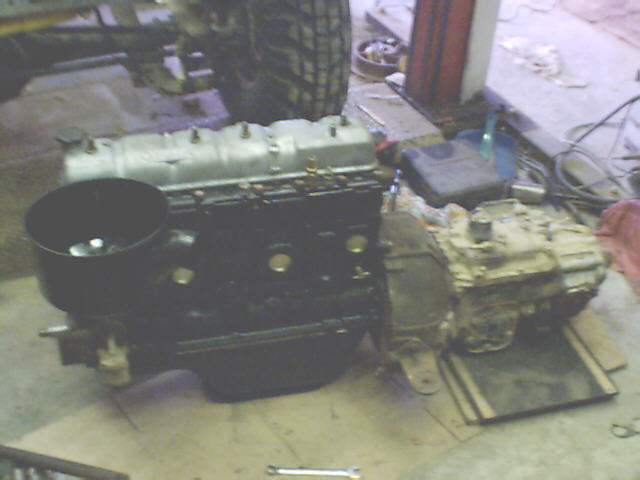
Rather than pull my motor and have the truck off the road, I found a dead 2F going cheap, and started to do that one up.
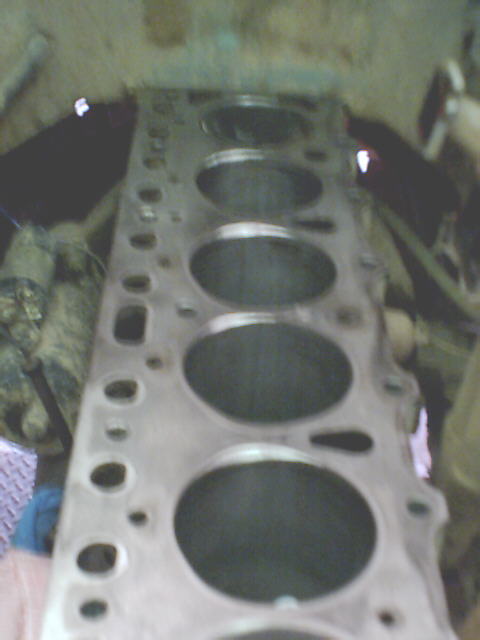
(this is NZ - all our motors have flat top pistons)
I also got a spare 1.5F head.
I had read a lot about oiling mods (mostly Mark Whatley's ideas) but could not do what he suggested because it needed a lot of parts from an 'old' F and I couldn't find one anywhere. So I went back to first principles and looked at what might be the issues.
Turned out the sum volume of the galleries to the mains was half of that of the gallery from the oil pump - so the oil pump was fighting a losing battle.
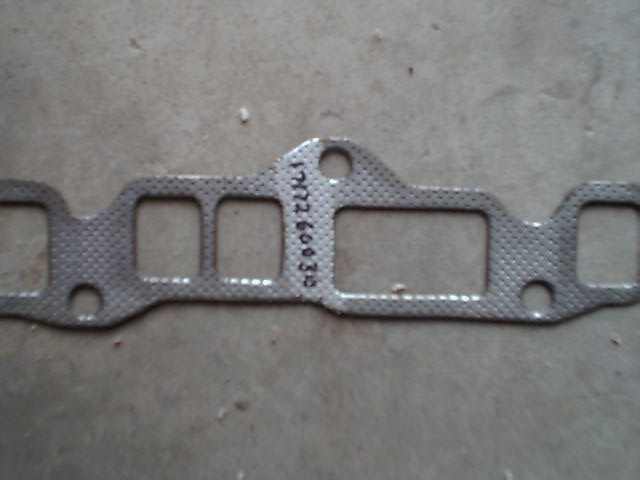
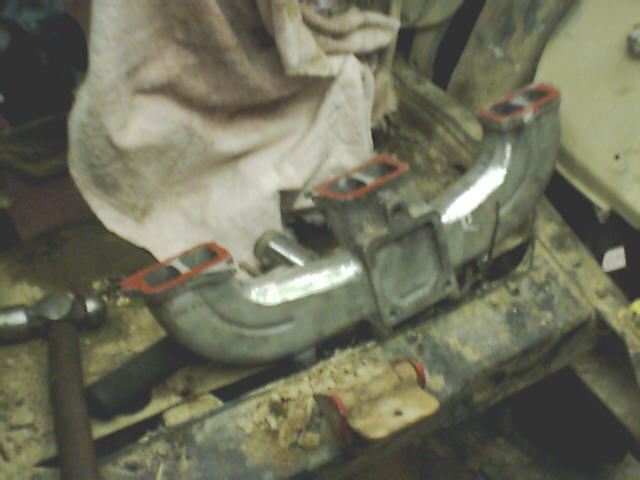
I enlarged galleries from the pump, through the filter housing. Ported and polished the pump. Replaced the pipe from the pump to the block.
This gave a good feed to the main gallery.
I then enlarged the galleries to the mains. The galleries to the cam were jetted down to prevent too much bleed off (keeping good feed to the bigends)
I also shimmed the releif valve at the pump.
The head was shaved and the block skimmed. Using the 1.5F head helped increas compression, but I was working hard to get up from std of 7.5:1.
Squish was set to maximum (this is the gap between piston and head) - normally the pistons finish flush with the block - on mine they proture above it, to fill the space made by the thickness of the head gasket...
I ended up with 10.5:1 compression, and this was after slightly enlarging the combustion chambers to allow better breathing.
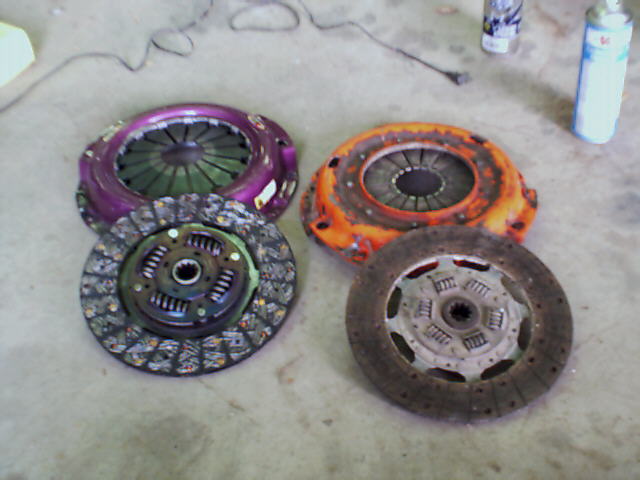
This may be why the old motor had so much blow-by - top ring on every piston was broken...
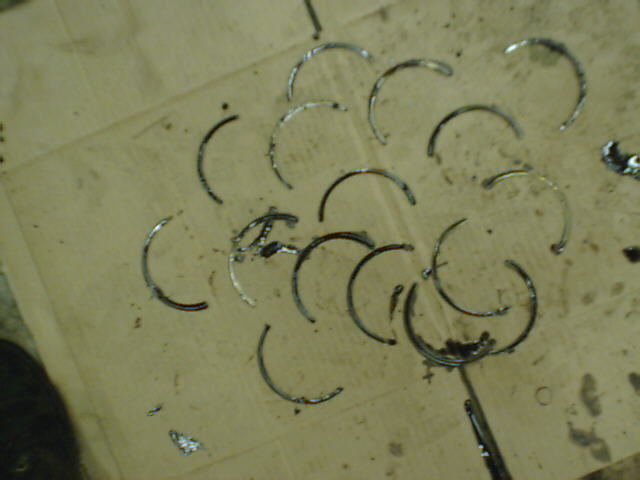
And on number 5 3 were broken, and the other ring seized in the groove!

The rebuild.................................
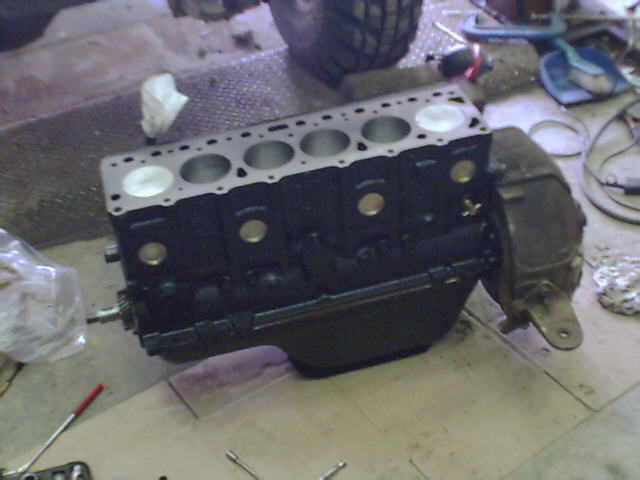
My shortblock has just arrived")

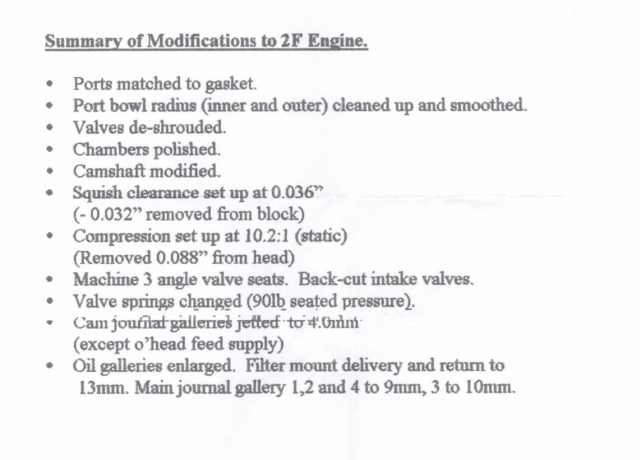
The pistons are set above the level of the block for maximum compression and most efficient combustion...
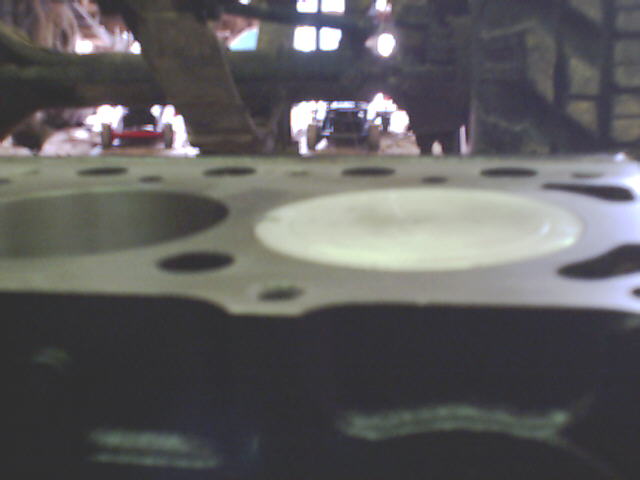
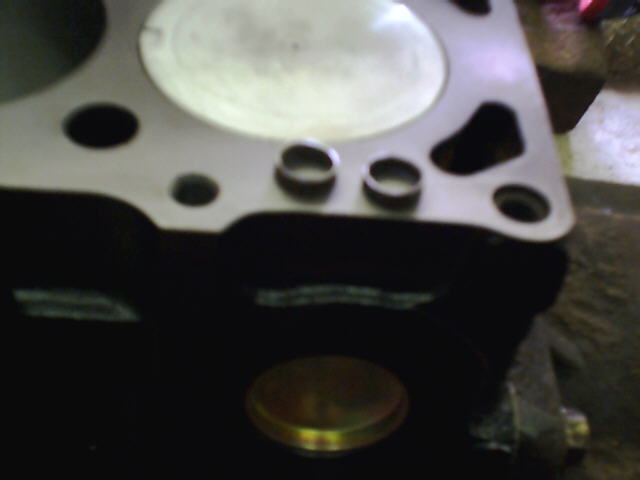
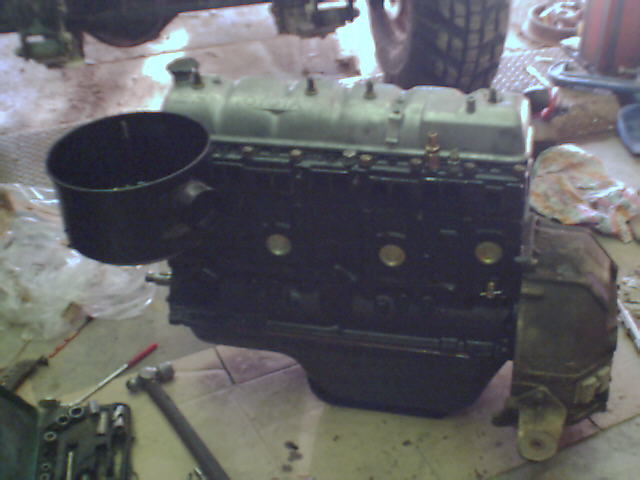
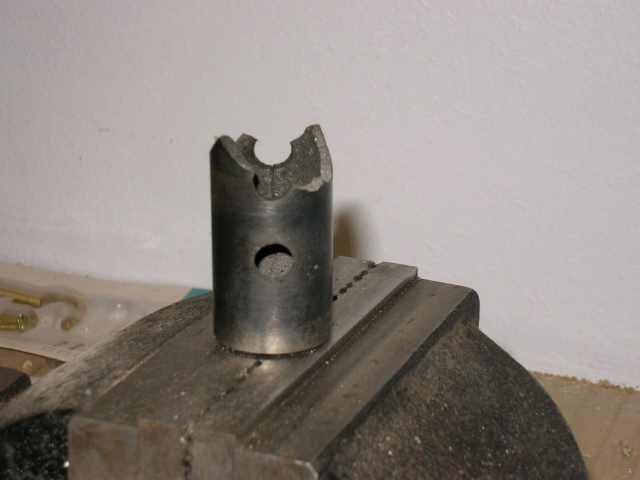
It's always the little things that cause problems - the total shave (block + head) was such that I couldn't reinstall the head - discovered the dowel rings were now too tall, so had to shave them 1mm - old left, shaved right. Then the head fit OK...
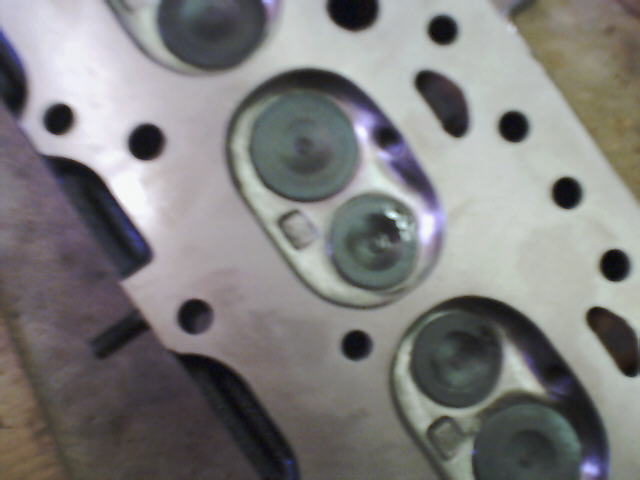
Reshaped and polished chambers. There was also work done behind the valves.
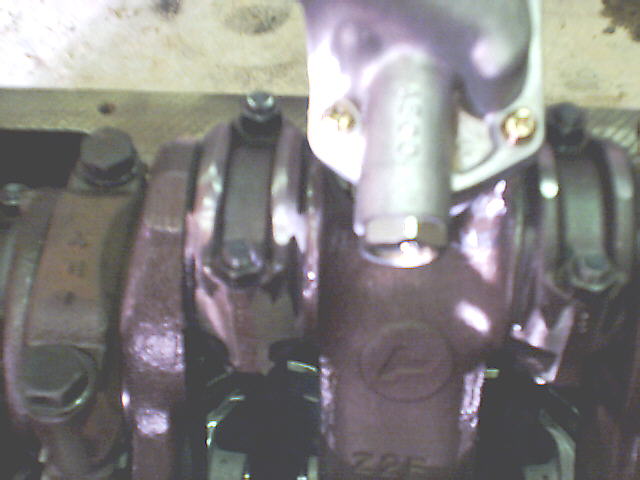
I had it all balanced - and I'm very pleased I did - obviously the PO had done some work on it at some stage - one conrod was from a different year and was 30grams heavier than the rest - at that point I decided to reuse the rods from my F - they were all the same. And I took a pic so you could see all the shiny bits where metal was ground off to balance it
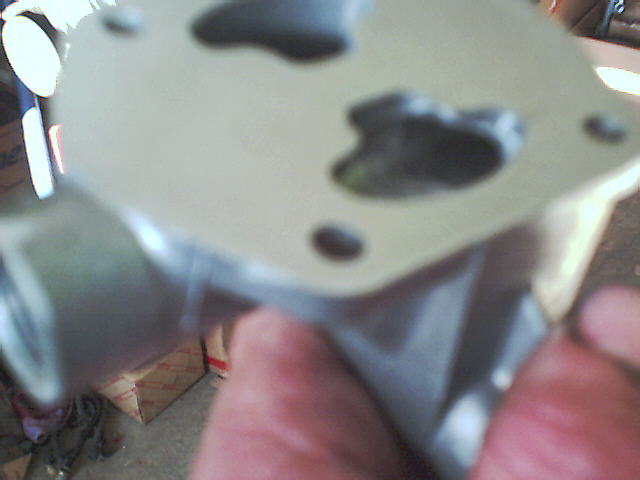
The new oil pump was ported for better oil flow - this is before

and this is after... all holes radiused and polished...
The final oil pump assembly. All fittings and elbows have been ported out to 13mm to match the feed galleries

The only problem was the sump wouldnt fit over the new feed pipe, so I started to beat it out to fit.
But I beat it too thin and got a hole, so I brazed a patch over.
The pesky hole that appeared in the sump

Having no confidence in my welds being oil tight, I flowed solder over the 'hole' area - two years now and no leaks...

My FJ40, 1975, had in it the 1.5F motor. It ran well when I first got it, but always had oil pressure issues.
I replaced the bearings (crank in place) and put in a new oil pump and that helped a lot.
But I was getting a lot of blowby, and on long downhills (off road) there was so much smoke that I always had to go last
So I figured it was time to do a rebuild.
Rather than pull my motor and have the truck off the road, I found a dead 2F going cheap, and started to do that one up.
(this is NZ - all our motors have flat top pistons)
I also got a spare 1.5F head.
I had read a lot about oiling mods (mostly Mark Whatley's ideas) but could not do what he suggested because it needed a lot of parts from an 'old' F and I couldn't find one anywhere. So I went back to first principles and looked at what might be the issues.
Turned out the sum volume of the galleries to the mains was half of that of the gallery from the oil pump - so the oil pump was fighting a losing battle.
I enlarged galleries from the pump, through the filter housing. Ported and polished the pump. Replaced the pipe from the pump to the block.
This gave a good feed to the main gallery.
I then enlarged the galleries to the mains. The galleries to the cam were jetted down to prevent too much bleed off (keeping good feed to the bigends)
I also shimmed the releif valve at the pump.
The head was shaved and the block skimmed. Using the 1.5F head helped increas compression, but I was working hard to get up from std of 7.5:1.
Squish was set to maximum (this is the gap between piston and head) - normally the pistons finish flush with the block - on mine they proture above it, to fill the space made by the thickness of the head gasket...
I ended up with 10.5:1 compression, and this was after slightly enlarging the combustion chambers to allow better breathing.
This may be why the old motor had so much blow-by - top ring on every piston was broken...
And on number 5 3 were broken, and the other ring seized in the groove!
The rebuild.................................
My shortblock has just arrived
The pistons are set above the level of the block for maximum compression and most efficient combustion...
It's always the little things that cause problems - the total shave (block + head) was such that I couldn't reinstall the head - discovered the dowel rings were now too tall, so had to shave them 1mm - old left, shaved right. Then the head fit OK...
Reshaped and polished chambers. There was also work done behind the valves.
I had it all balanced - and I'm very pleased I did - obviously the PO had done some work on it at some stage - one conrod was from a different year and was 30grams heavier than the rest - at that point I decided to reuse the rods from my F - they were all the same. And I took a pic so you could see all the shiny bits where metal was ground off to balance it
The new oil pump was ported for better oil flow - this is before
and this is after... all holes radiused and polished...
The final oil pump assembly. All fittings and elbows have been ported out to 13mm to match the feed galleries
The only problem was the sump wouldnt fit over the new feed pipe, so I started to beat it out to fit.
But I beat it too thin and got a hole, so I brazed a patch over.
The pesky hole that appeared in the sump
Having no confidence in my welds being oil tight, I flowed solder over the 'hole' area - two years now and no leaks...


")
 But it's very smooth.