For those that are interested, here's how I repaired my hinges using an off the shelf NAPA repair kit. Cheap and simple, the way I like it...
1. Seperate hinges- I did this by using a hacksaw to cut the old pin on both sides of the center section. You then have to take a punch and knock the two little pieces left in the upper and lower ears.
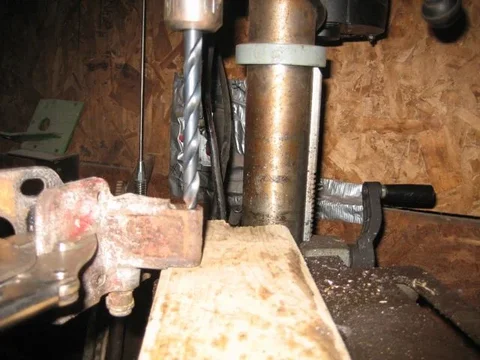
2. Drill out center section. Use 25/64 drill bit to size the center part of the hinge for the NAPA bushings.
3. Press in bushings. Bushings should start and go about 1/2 way in by hand. (If you have trouble getting the bushing started, drill the center section out again, wiggling the bit side to side a little to make the hole slightly bigger. It's important that the hole is not too tight, otherwise you'll break the bushing as you try to pess it in.) Once started, I used a vice to press the bushing fully into the hinge.
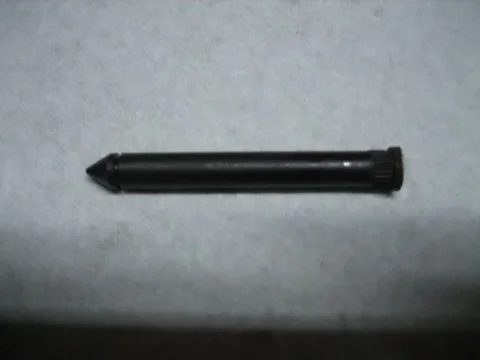
4. Cut 1/4" off top of pin. This is only necessary on the lower hinge. This will give the needed clearance for the spring. be sure to leave 1/16-1/8 of the shoulder on the top of the pin.
5. test fit. Make sure the center section with new bushings installed will fit in between the outer ears. One or both of the ears will probably need to be filed down a little to get the hinge back together. You want to only take off a little at a time so as to get a snug fit. Don't file the bushing-you want to leave as much there as possible because its the softer metal and will wear faster.
6. Intall new pin. Drive the pin in from the top, making sure the shoulder is firmly seated on the top of the hinge. It's important to drive the pin in the top because the pin is slightly too short to use the retaining clip that comes with the kit.
That's about it. Things to remember:
The bushings are brittle, if you try to force them, they WILL break! (I had to buy an extra kit because I broke a couple.)Some hinges may be worn to a different degree and the pins/bushings in this kit may be too small. Only drill the center part of the hinge; the pin should fit tightly in the outer part of the hinge.


