Took her for a trail ride with fellow mudders.

Navigation
Install the app
How to install the app on iOS
Follow along with the video below to see how to install our site as a web app on your home screen.
Note: This feature may not be available in some browsers.
More options
Style variation
You are using an out of date browser. It may not display this or other websites correctly.
You should upgrade or use an alternative browser.
You should upgrade or use an alternative browser.
What have you done to your 100 Series this week? (19 Viewers)
- Thread starter SHUSH
- Start date
This site may earn a commission from merchant affiliate
links, including eBay, Amazon, Skimlinks, and others.
More options
Who Replied?Dorkel?Cut a hole. Bigger than the 60 one, couldn't find the one from the 80.View attachment 2338774
Still waiting for delivery so I can see if I purchased the right one.
 ok It would be nice to remove the current hitch
Prepped up my corroded wheels...


Purchased an incredible 2005 Land Cruiser. White with 215K well documented miles on it. The vehicle was kept in a climate controlled garaged, meticulously maintained, bathed often and hand dried before being put away for the night. Drives like a dream! And so the build begins.
View attachment 2338645
First things first, went with Dobinsons < 2" lift with torsion bars and the latest and greatest IMS shocks. Install went great this morning. 4 hours later and she's ready for one of a kind wheels and some beautiful Cooper 33's.
Inside she's nice & clean though I think I'll put in the new cushions all around and some nice new leather too. Perhaps two tone, we'll see.
Great looking rig...but I might be partial...
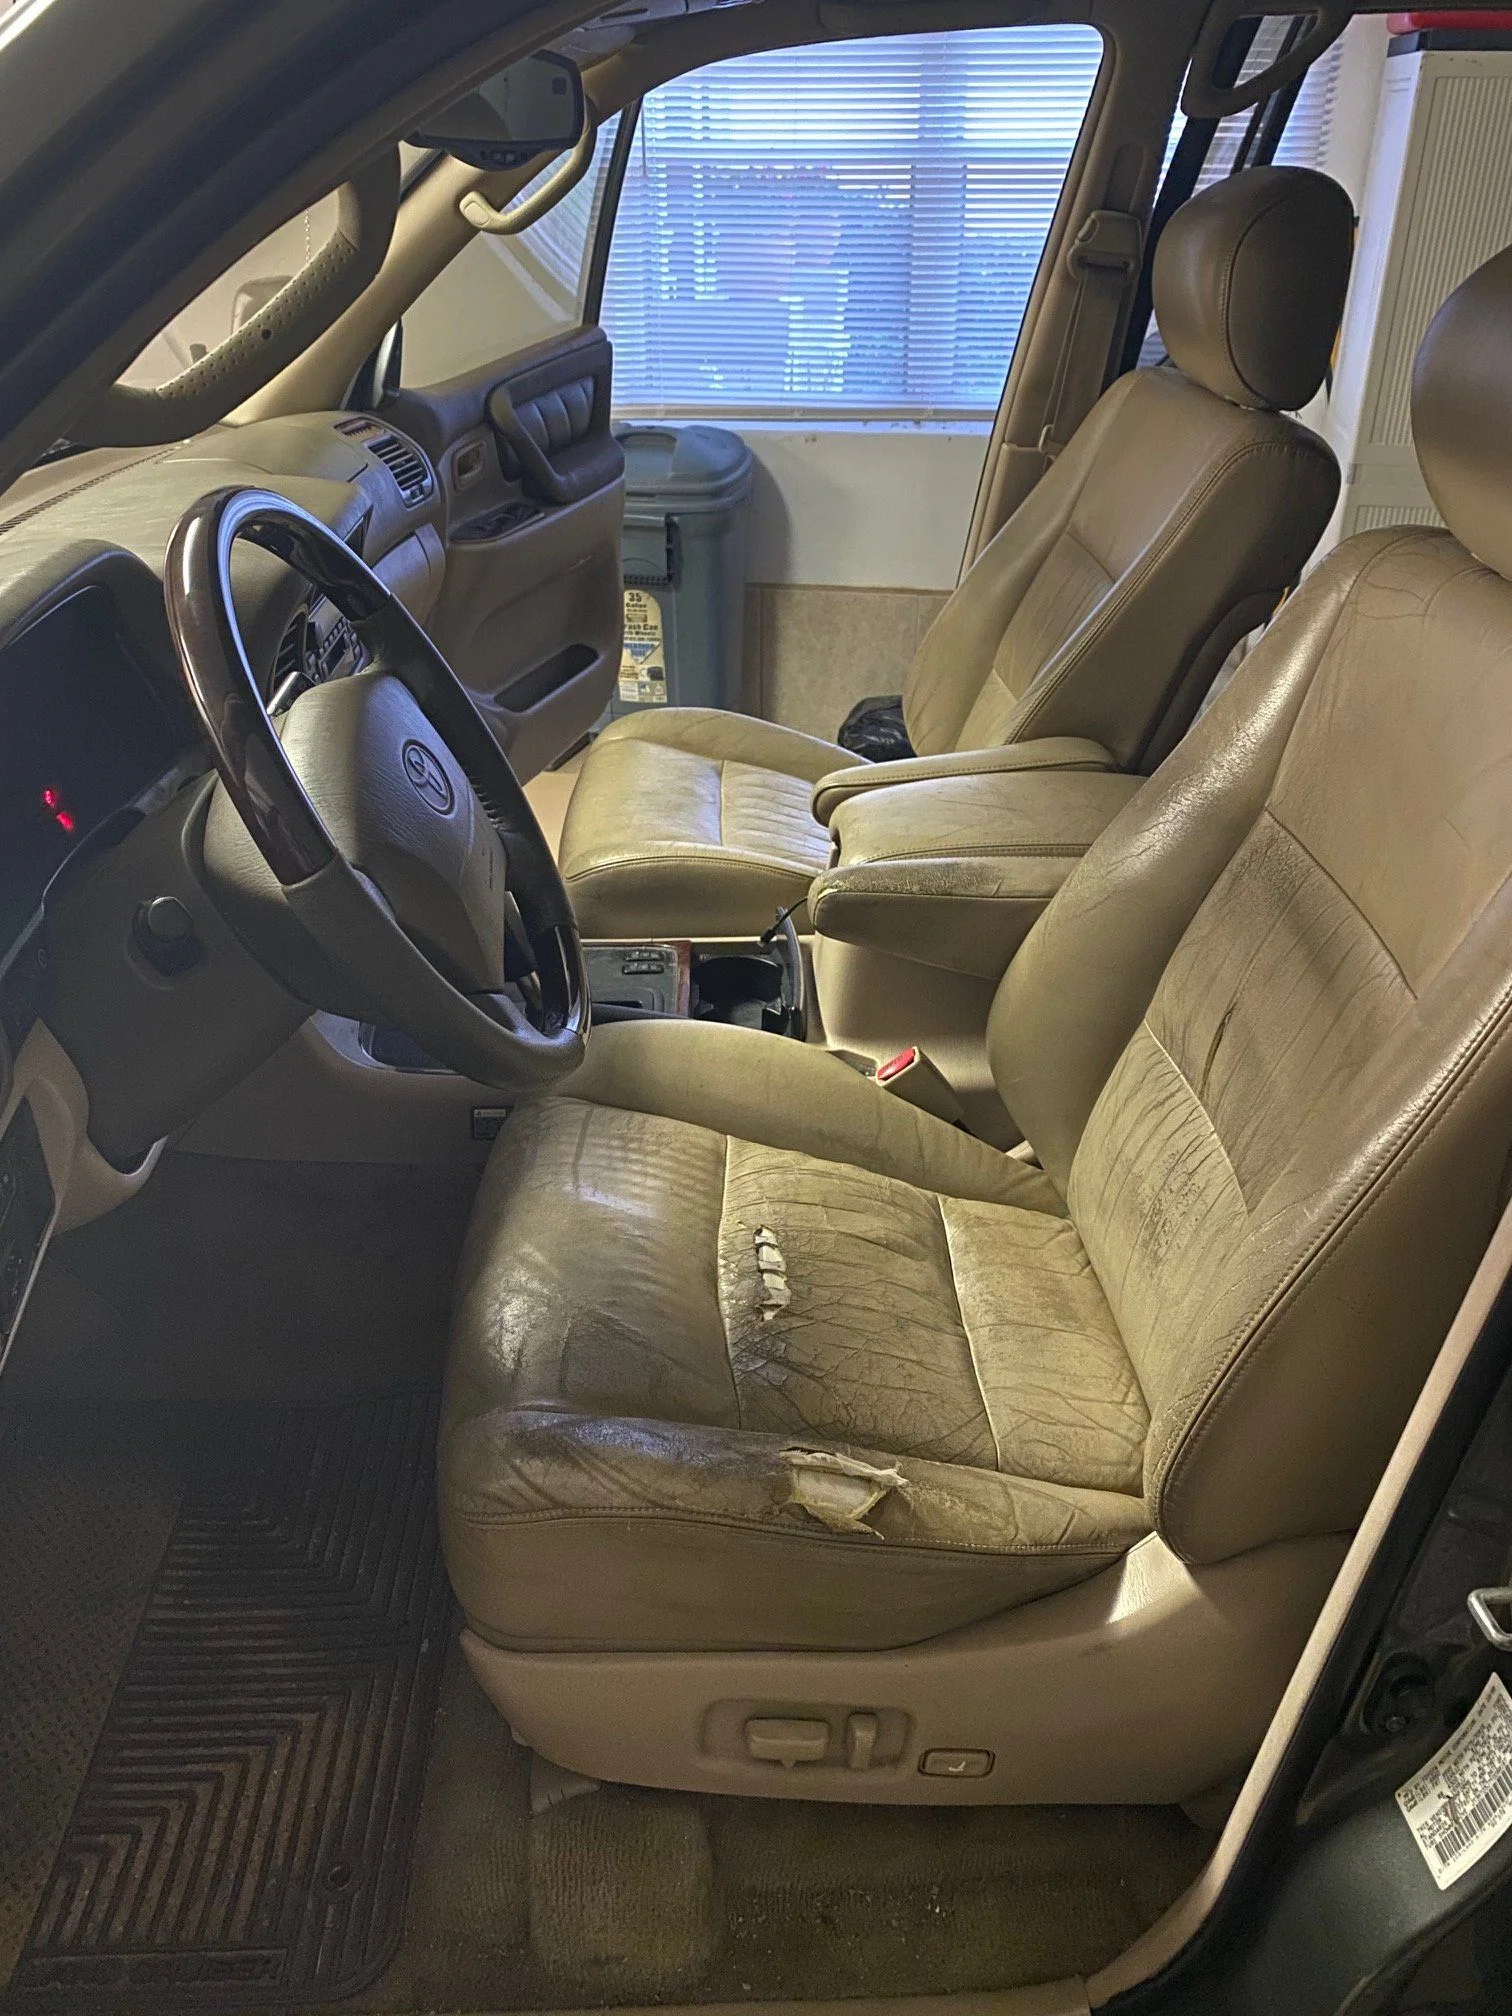
Old seats are getting tired

Installed new SOR tuff duck seat covers. I had these on my 80 and loved the quality and fitment. Install was simple and they fit great.
Also installed a RAM mount for my phone:

Finally started my door actuator project with the tailgate since it's the easiest one to access. You really have to pry it open to break the seal. After installing the new one, I just snapped it back in place but the motors torque easily broke it apart. Currently applied some super glue and letting it set before trying again.
Old motor on the left.


Old motor on the left.
Eyedaho
SILVER Star
Replaced my fuel filter, since I didn't know its age. Also changed the hose from the filter to the rail, since it was 21 years old and exposed to heat. I was shocked to find that both of the aluminum gaskets on the connection at the fuel pressure dampener were stacked on the top side, and there was no gasket between the banjo fitting and the fuel rail. I have no idea how it wasn't leaking fuel onto the engine block. Luckily my local dealer had both gaskets in stock for $5 total, since I had neglected to buy them with the hose. I'm glad I decided to replace it, so I found that before it torched my rig.
While I was in there, I pulled my transmission dipstick tube to check the differential breather for blockage. That is a weird setup, with the breather hoses attaching to the dipstick tube but being open to atmosphere. I didn't find any blockage, but did replace a missing bolt securing the top end of the tube, and a missing bolt on a heat shield down below. I'm pretty sure that heat shield was causing my occasional rattling under acceleration.
While I was in there, I pulled my transmission dipstick tube to check the differential breather for blockage. That is a weird setup, with the breather hoses attaching to the dipstick tube but being open to atmosphere. I didn't find any blockage, but did replace a missing bolt securing the top end of the tube, and a missing bolt on a heat shield down below. I'm pretty sure that heat shield was causing my occasional rattling under acceleration.
Hundo in the High Country  🏔
🏔

🏔Am very intrigued by this as well. Would love the cleaner look and additional departure angle this would allow (though minimal)... Not to mention I could get rid of the current hitch that's all rusted outGot off my butt and did a couple things.
-Found some old rack bushings and used the sleeves inside with the washers for the spare Tire mod. Perfect length!
-Ended up having the pintle pattern holes in my rear bumper frame. Ordered the receiver and need to drill the last two holes In the plastics to expose the captive nuts just above.
-Painted my wheels flat black.
View attachment 2338150
View attachment 2338151
View attachment 2338152
View attachment 2338153

I assume this would limit the towing capacity and max tongue weight a bit?
Alright you gotta come clean, how much post processing did you do here? great picture.
Eyedaho
SILVER Star
I need to do this on my tailgate. It intermittently doesn't unlock, and it sucks crawling through to unlock it from the inside.Finally started my door actuator project with the tailgate since it's the easiest one to access. You really have to pry it open to break the seal. After installing the new one, I just snapped it back in place but the motors torque easily broke it apart. Currently applied some super glue and letting it set before trying again.
Old motor on the left.
View attachment 2339797
View attachment 2339798
Updated the front console with a new OEM 80 series gear shift handle (followed @Ayune directions); New OEM t-case shift knob; new OEM shifter face plate; new OEM panel.
New RAM Mount from @BenCC and new ash tray mount from @CruiserGarage to mount Scangauge 2.
My 1999 Cruiser front console looks showroom new again!


New RAM Mount from @BenCC and new ash tray mount from @CruiserGarage to mount Scangauge 2.
My 1999 Cruiser front console looks showroom new again!
Simply put on a receiver mounted to the cross member. Then while trying to get my spare out of the way discovered I HAD an anti theft key in there. Wtf!
 ! Who the hell staels spares... anyway, Glad I found it. Would have sucked to discover that anywhere else. It’s through the bumper . While not beautiful it is functional.


! Who the hell staels spares... anyway, Glad I found it. Would have sucked to discover that anywhere else. It’s through the bumper . While not beautiful it is functional.Just an FYI, I used Loctite Superglue (aka C-A glue) on mine and it eventually came apart after 6 months or so. I ended up taking it apart again and using 5-min epoxy, very careful not to get it on the arm mechanism. I let it cure overnight before actuating the motor. Been solid ever since.Finally started my door actuator project with the tailgate since it's the easiest one to access. You really have to pry it open to break the seal. After installing the new one, I just snapped it back in place but the motors torque easily broke it apart. Currently applied some super glue and letting it set before trying again.
Motor mounts, ASFIR front skidplate
Had a friend help with some cleaning and polishing.
Before:


During:


After:


Feels good, doesn't it?

How many times have you gone out to the garage to just look at it and touch the paint? Don't lie.
bro you have no idea. I haven't actually driven it anywhere this week cause I don't want to mess it up. And the AC is broken, but at least I would look great while sweating to deathFeels good, doesn't it?
How many times have you gone out to the garage to just look at it and touch the paint? Don't lie.
Thank you for that tip. I was hoping the glue and then screwing it in the bracket would do the trick.Just an FYI, I used Loctite Superglue (aka C-A glue) on mine and it eventually came apart after 6 months or so. I ended up taking it apart again and using 5-min epoxy, very careful not to get it on the arm mechanism. I let it cure overnight before actuating the motor. Been solid ever since.
spdwaver
Formerly Kalifornistanian
What did I do to my 100-series today? I bought it.
