I did the same thing... sold both to get mine...
Navigation
Install the app
How to install the app on iOS
Follow along with the video below to see how to install our site as a web app on your home screen.
Note: This feature may not be available in some browsers.
More options
Style variation
You are using an out of date browser. It may not display this or other websites correctly.
You should upgrade or use an alternative browser.
You should upgrade or use an alternative browser.
What have you done to your 100 Series this week? (15 Viewers)
- Thread starter SHUSH
- Start date
This site may earn a commission from merchant affiliate
links, including eBay, Amazon, Skimlinks, and others.
More options
Who Replied?Installed lights in the rear hatch!
Used the same LED's and housings from this video, used more or less the same method except that I riveted the LED housing to the plastic panel:
Also installed a 2-way switch to alternate between: door light - off - constant on. Door ground goes to cargo light ground, constant ground goes to body, power comes from the cargo plug. All wires fished through the OEM wire channel for a clean install. I got the idea to install the 2-way switch in that location from seeing someone on here do the same thing, but can't find the thread or remember who to give credit! Great because my dogs lay back there and I don't want them turning it on by accident.
Also installed a dimmer knob which will be perfect in camp when we want constant low-light.
https://www.amazon.com/gp/product/B01C4UBMY6/ref=oh_aui_detailpage_o06_s02?ie=UTF8&psc=1
Very happy with how this project came out!
Last edited:
They do sell the same LED strips in a warm light version:
https://www.amazon.com/gp/product/B...&linkId=a78749ebac0254d1ce70ea7ceb31206b&th=1
https://www.amazon.com/gp/product/B...&linkId=a78749ebac0254d1ce70ea7ceb31206b&th=1
@SouthJerseyJim I'm guessing by the FB post it doesn't fit the 100?
Congrats, you two! Great pics!Married the love of my life.

She married the LandCruiser MAN!
Congrats!
Congrats!
Last edited:
Married the love of my life.
No offense to the Hundy but please tell me there are some wedding pics with the ragtop 70...
Congrats to both of you!
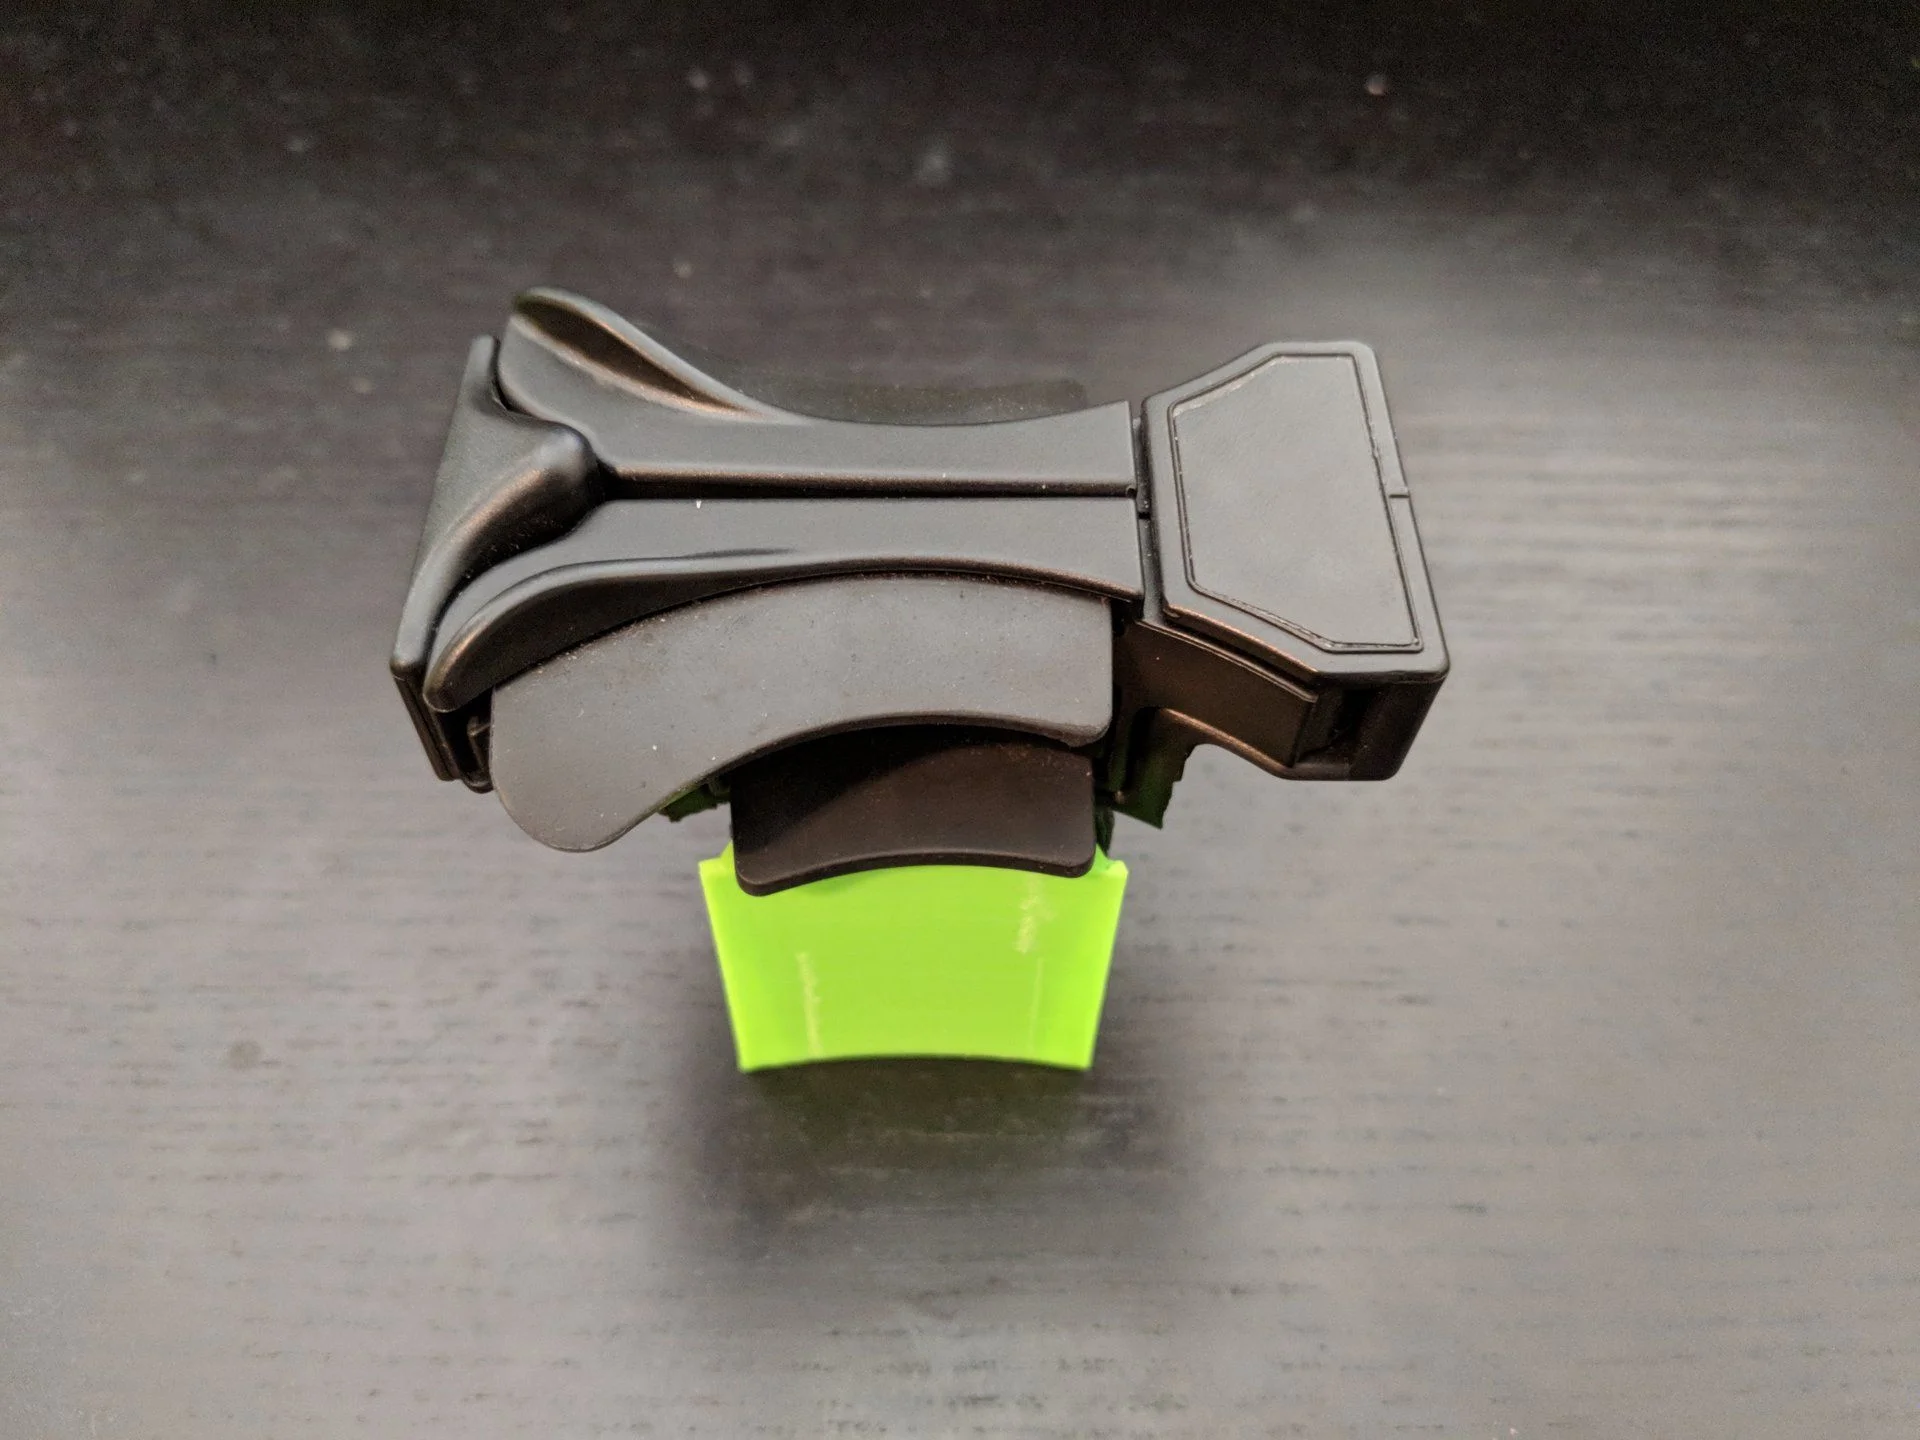
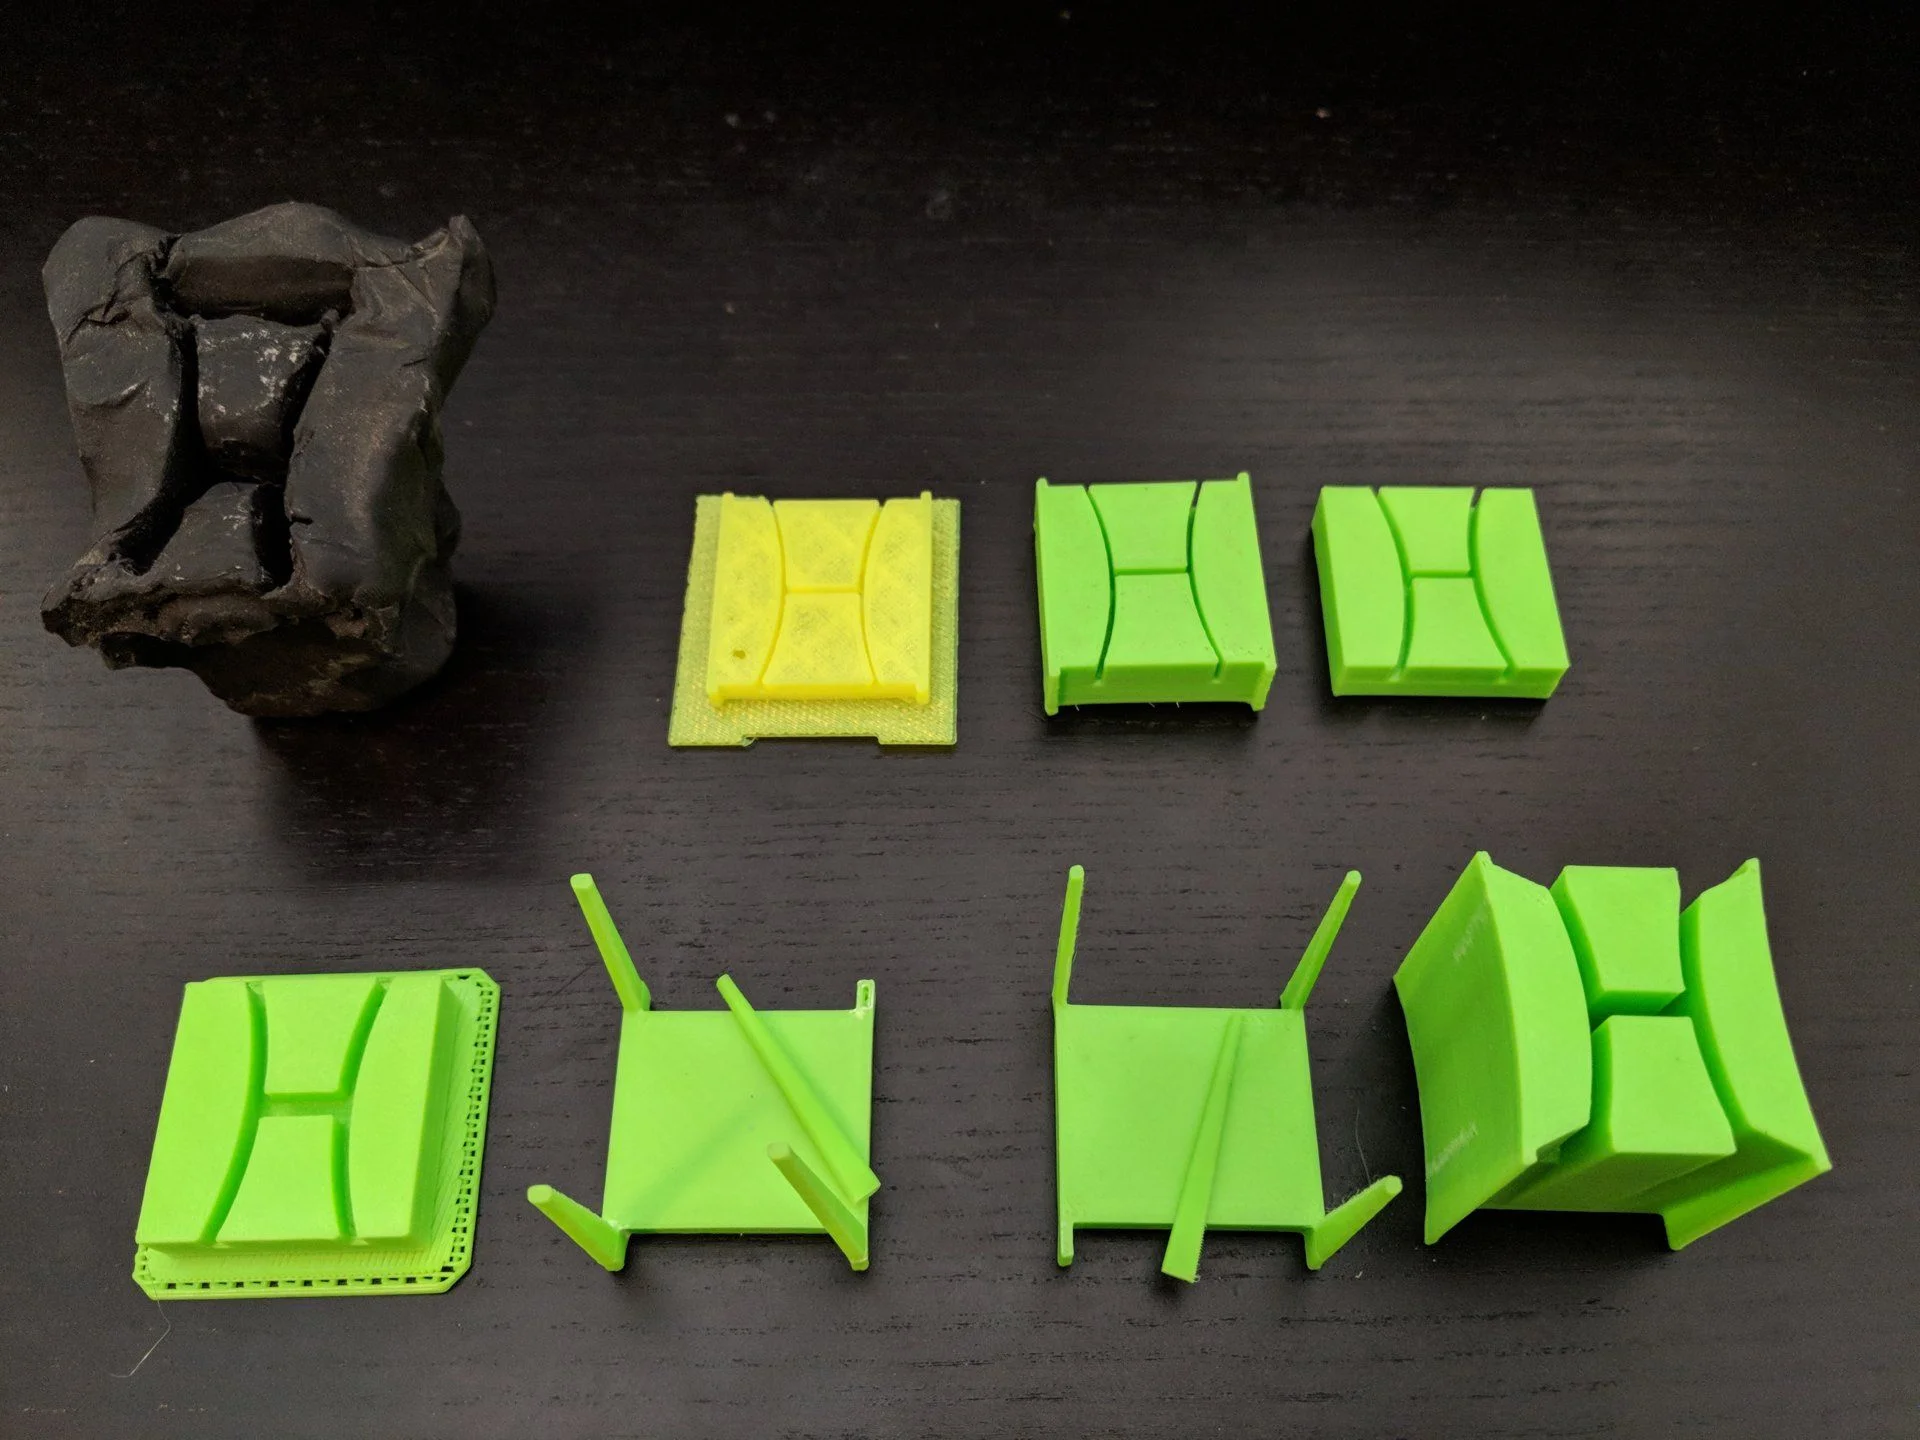
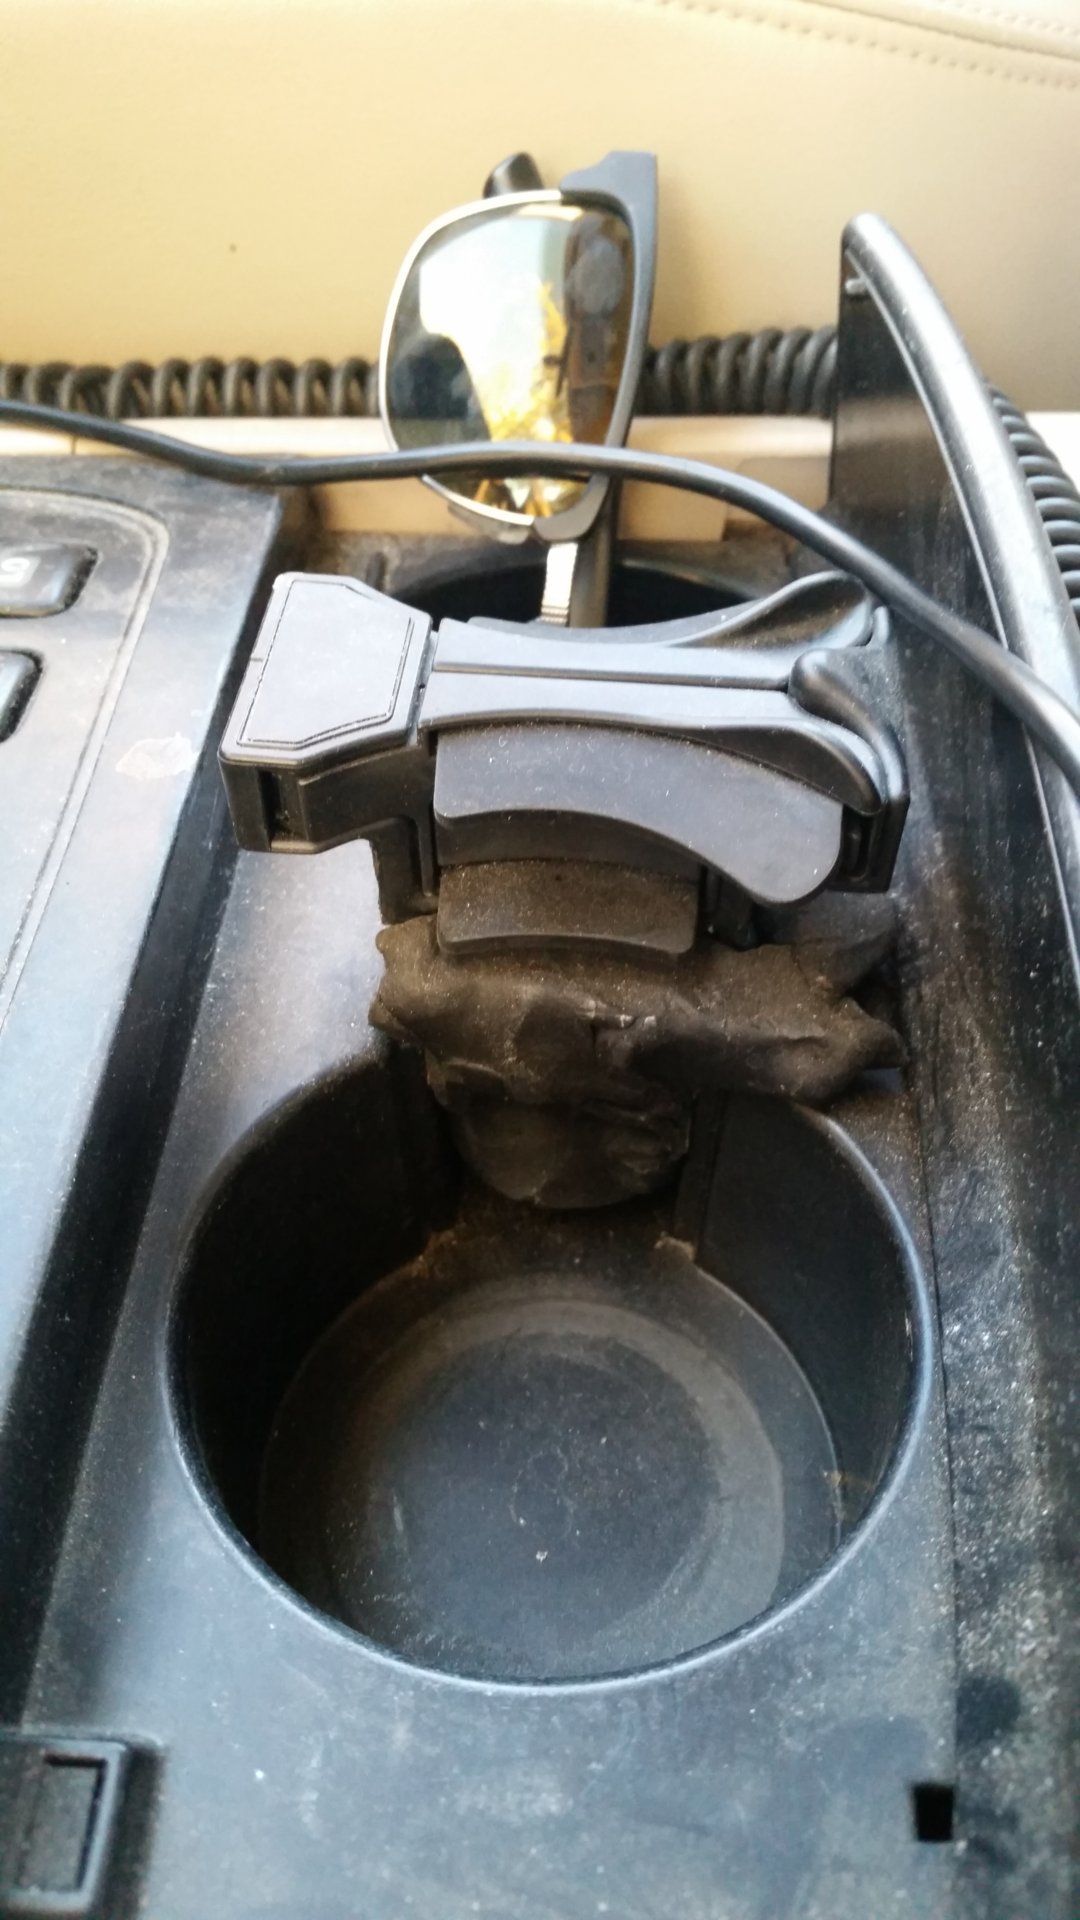
Finished converting my cupholder holder to a 3d print. What'd happened was: I couldn't find a 98 cupholder insert so bought a newer year's insert and modified it to fit. I had to make something to hold the cupholder thing so made a clay holder. It "worked" but was too big to hold my water bottle and bigger items on the passenger's side. I had wanted to learn some 3d printing so this seemed like a good place to start. I have the stl file if anybody wants to print their own.
No offense to the Hundy but please tell me there are some wedding pics with the ragtop 70...
Congrats to both of you!
Forthcoming, I promise!
@SouthJerseyJim I'm guessing by the FB post it doesn't fit the 100?
What are we talking about here? Awning?
Cooler rack, should have mentioned it.What are we talking about here? Awning?
Cooler rack, should have mentioned it.
Ahh yes. It will fit but it will be slightly smaller. Going to get my buddy to fab mounts for it this week.
Congratulations!Married the love of my life.View attachment 1672590 View attachment 1672591 View attachment 1672592
View attachment 1672594

Replaced my gear shift light.
Good lord. This is the stuff I didn't know I needed until I see it. stooooooop.
Installed lights in the rear hatch!
Used the same LED's and housings from this video, used more or less the same method except that I riveted the LED housing to the plastic panel:
Also installed a 2-way switch to alternate between: door light - off - constant on. Door ground goes to cargo light ground, constant ground goes to body, power comes from the cargo plug. All wires fished through the OEM wire channel for a clean install. I got the idea to install the 2-way switch in that location from seeing someone on here do the same thing, but can't find the thread or remember who to give credit! Great because my dogs lay back there and I don't want them turning it on by accident.
Also installed a dimmer knob which will be perfect in camp when we want constant low-light.
https://www.amazon.com/gp/product/B01C4UBMY6/ref=oh_aui_detailpage_o06_s02?ie=UTF8&psc=1
Very happy with how this project came out!
View attachment 1672454 View attachment 1672452 View attachment 1672453 View attachment 1672455
Good lord. This is the stuff I didn't know I needed until I see it. stooooooop.
replaced my 8-year-old Pioneer head-unit with a new Pioneer head-unit with Apple Carplay and all the latest bells and whistles.
Realized my rear speakers aren't outputting any bass whatsoever. Replaced rear speakers. Still no bass. Posted thread for help.
Realized my rear speakers aren't outputting any bass whatsoever. Replaced rear speakers. Still no bass. Posted thread for help.
- Joined
- Apr 24, 2008
- Threads
- 188
- Messages
- 2,871
- Location
- Conway, SC
- Website
- www.lowcountrylandcruisers.com
Congrats to the happy newlyweds!!
Similar threads
Users who are viewing this thread
Total: 16 (members: 0, guests: 16)