I've hit 20MPG before averaging 40mph, so not shocking to see that number when you're averaging 33mph.
I agree but prior to doing the plugs best I saw was 14.5 at any speed. Either way I'm happy about it.
Follow along with the video below to see how to install our site as a web app on your home screen.
Note: This feature may not be available in some browsers.
This site may earn a commission from merchant affiliate
links, including eBay, Amazon, Skimlinks, and others.
I've hit 20MPG before averaging 40mph, so not shocking to see that number when you're averaging 33mph.
I believe that is the exact set he bought.
")
Would you consider this a one banana job?Changed the spark plugs to denso iridium's and clean the Maf sensor a few days ago, the original owner put in some ngk's that didn't look too bad when I took them out. I was getting between 12-14.5 mpg before. Made my wife snap a pic on our way home from the beach the other night, mostly highway, down to 16.5 now after some round town driving. View attachment 1526867
Sweet! Wish I could justify buying a set of these! !Got to my KISS drawers finally! Had some shipping and parts issues but @cruzerDave was great. Ridiculously well designed, love them. Planning on some outdoor Home Depot style carpet on just the top and maybe some thin rubber mat in the drawers, not sure yet, going to use them a bit first.
I guess my other mod would be the rear seat belt delete too.
View attachment 1528910
Not fully tight yet.
View attachment 1528911
A bit dusty, should've taken the picture after the wipe down...
View attachment 1528912
Cheers!
rjones
Would you consider this a one banana job?


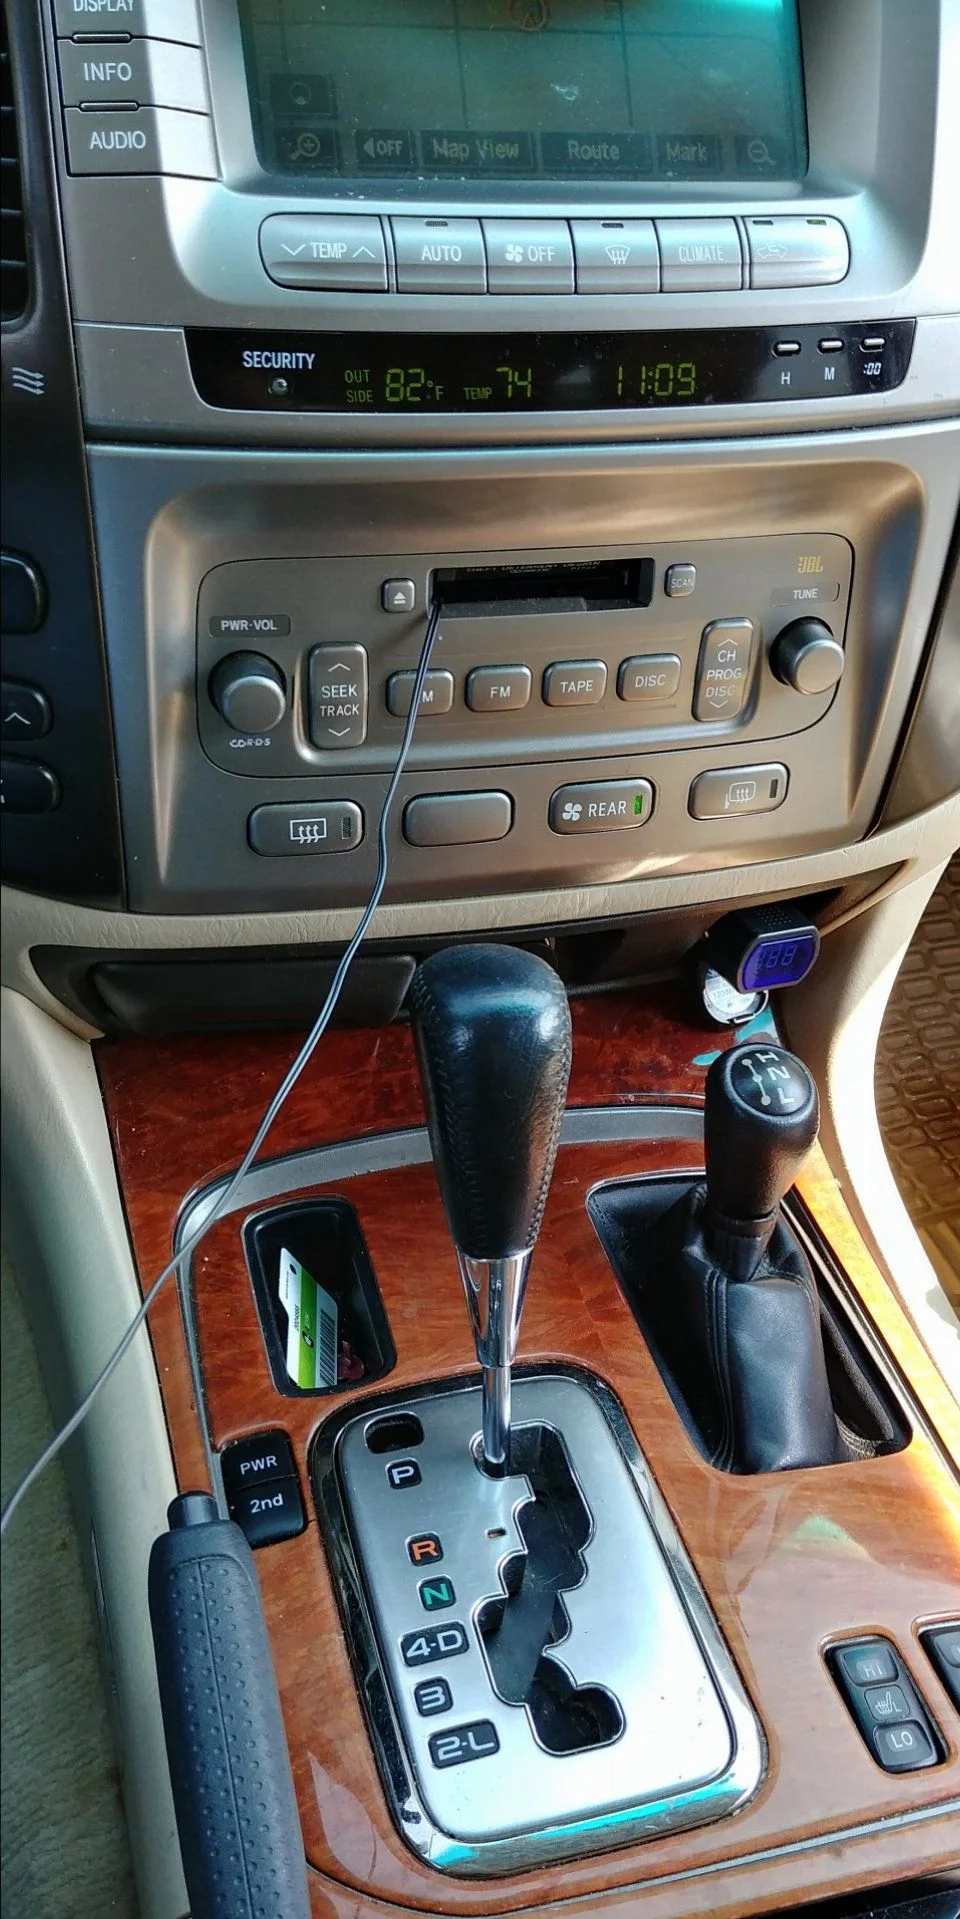
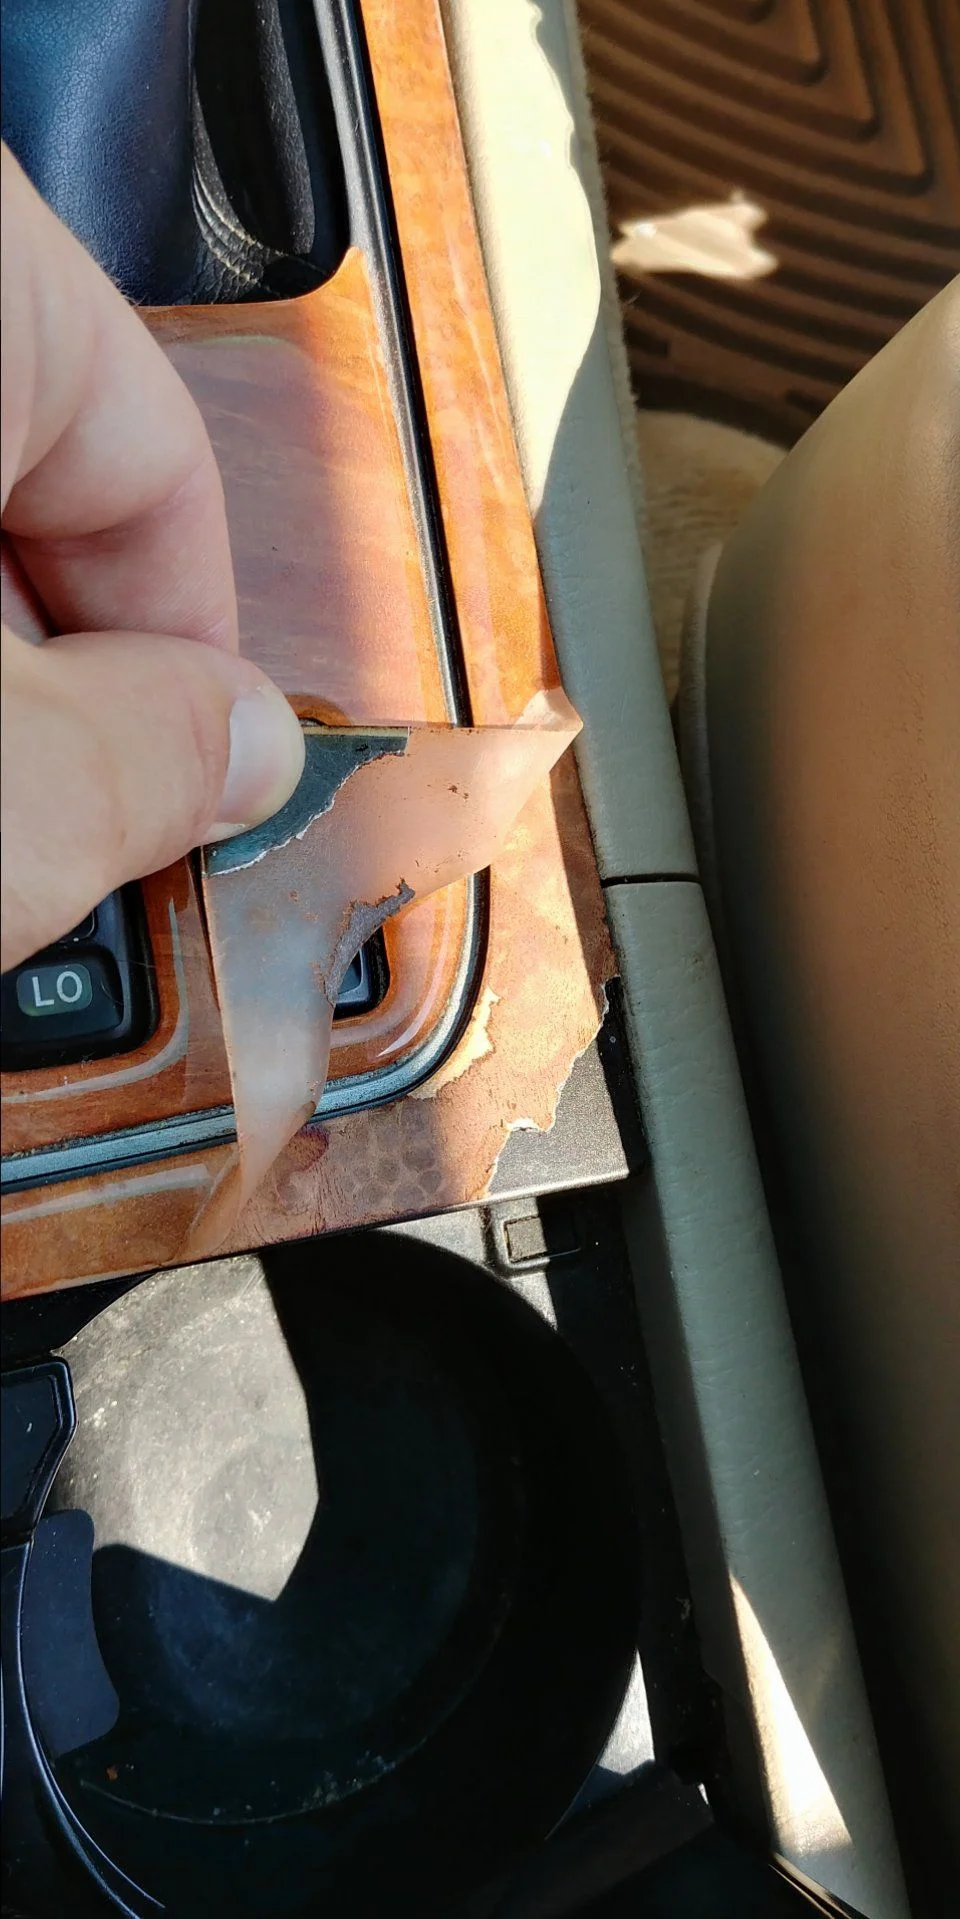
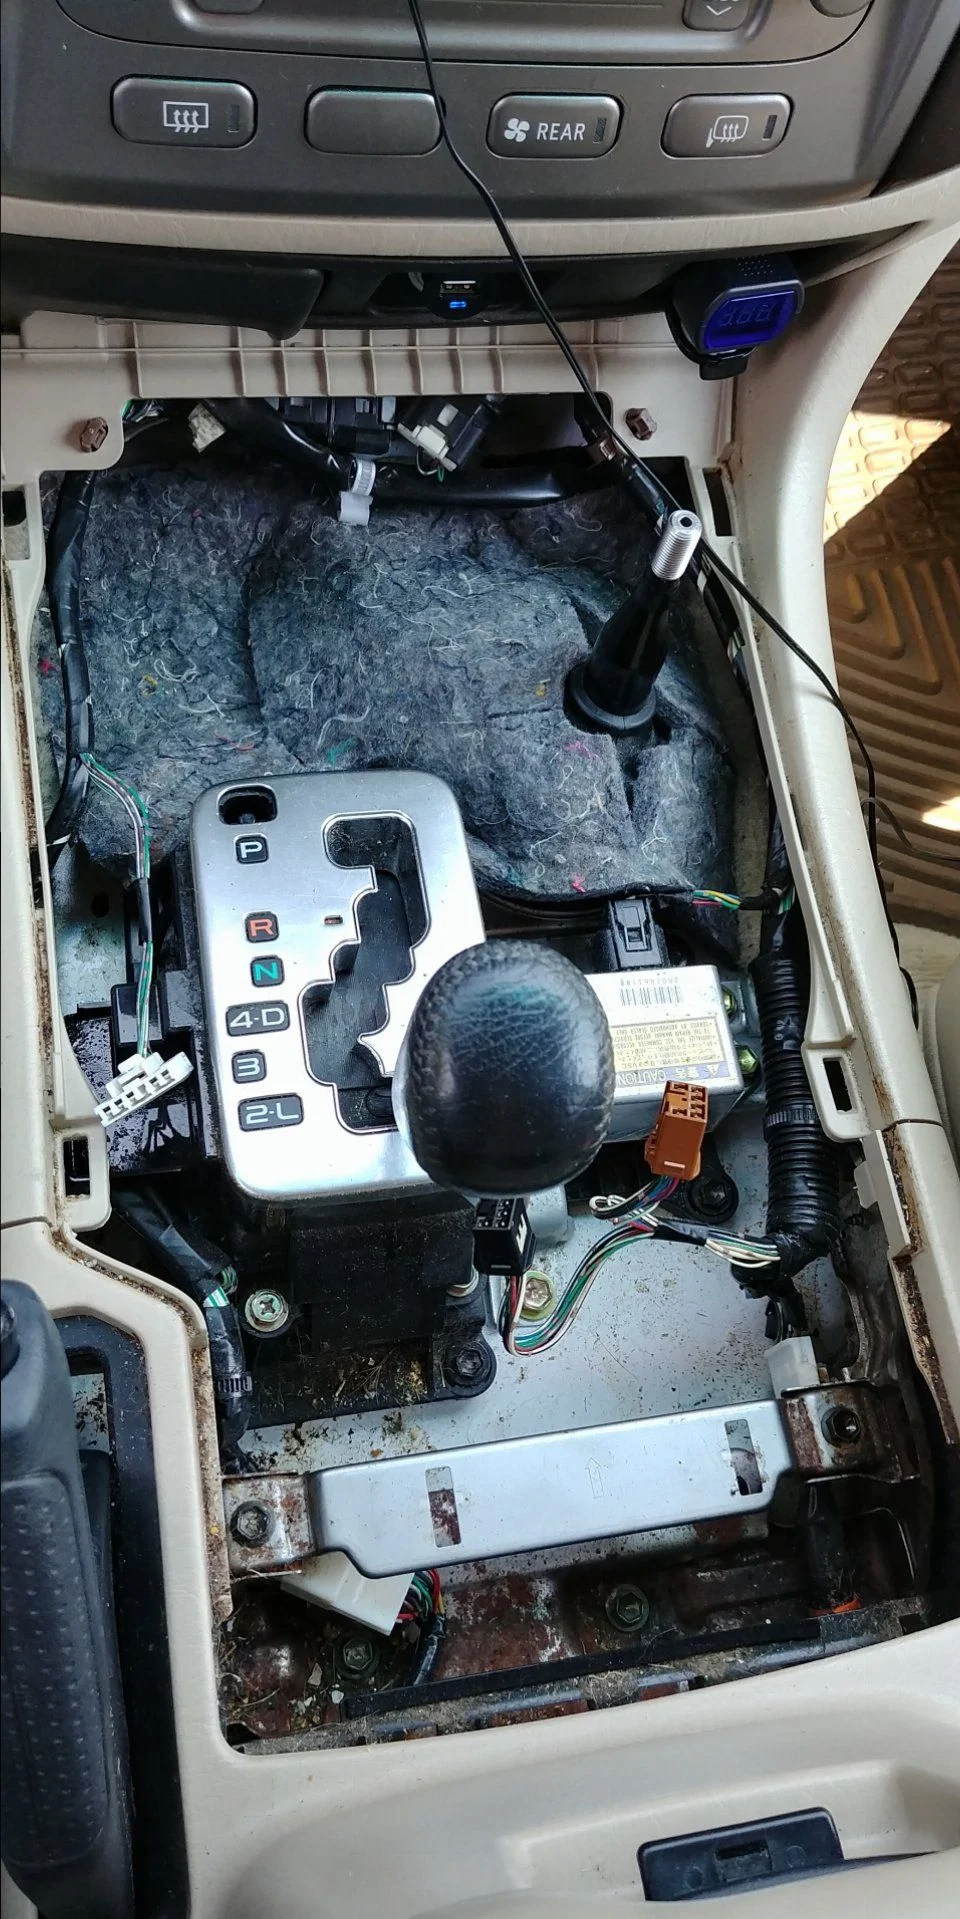
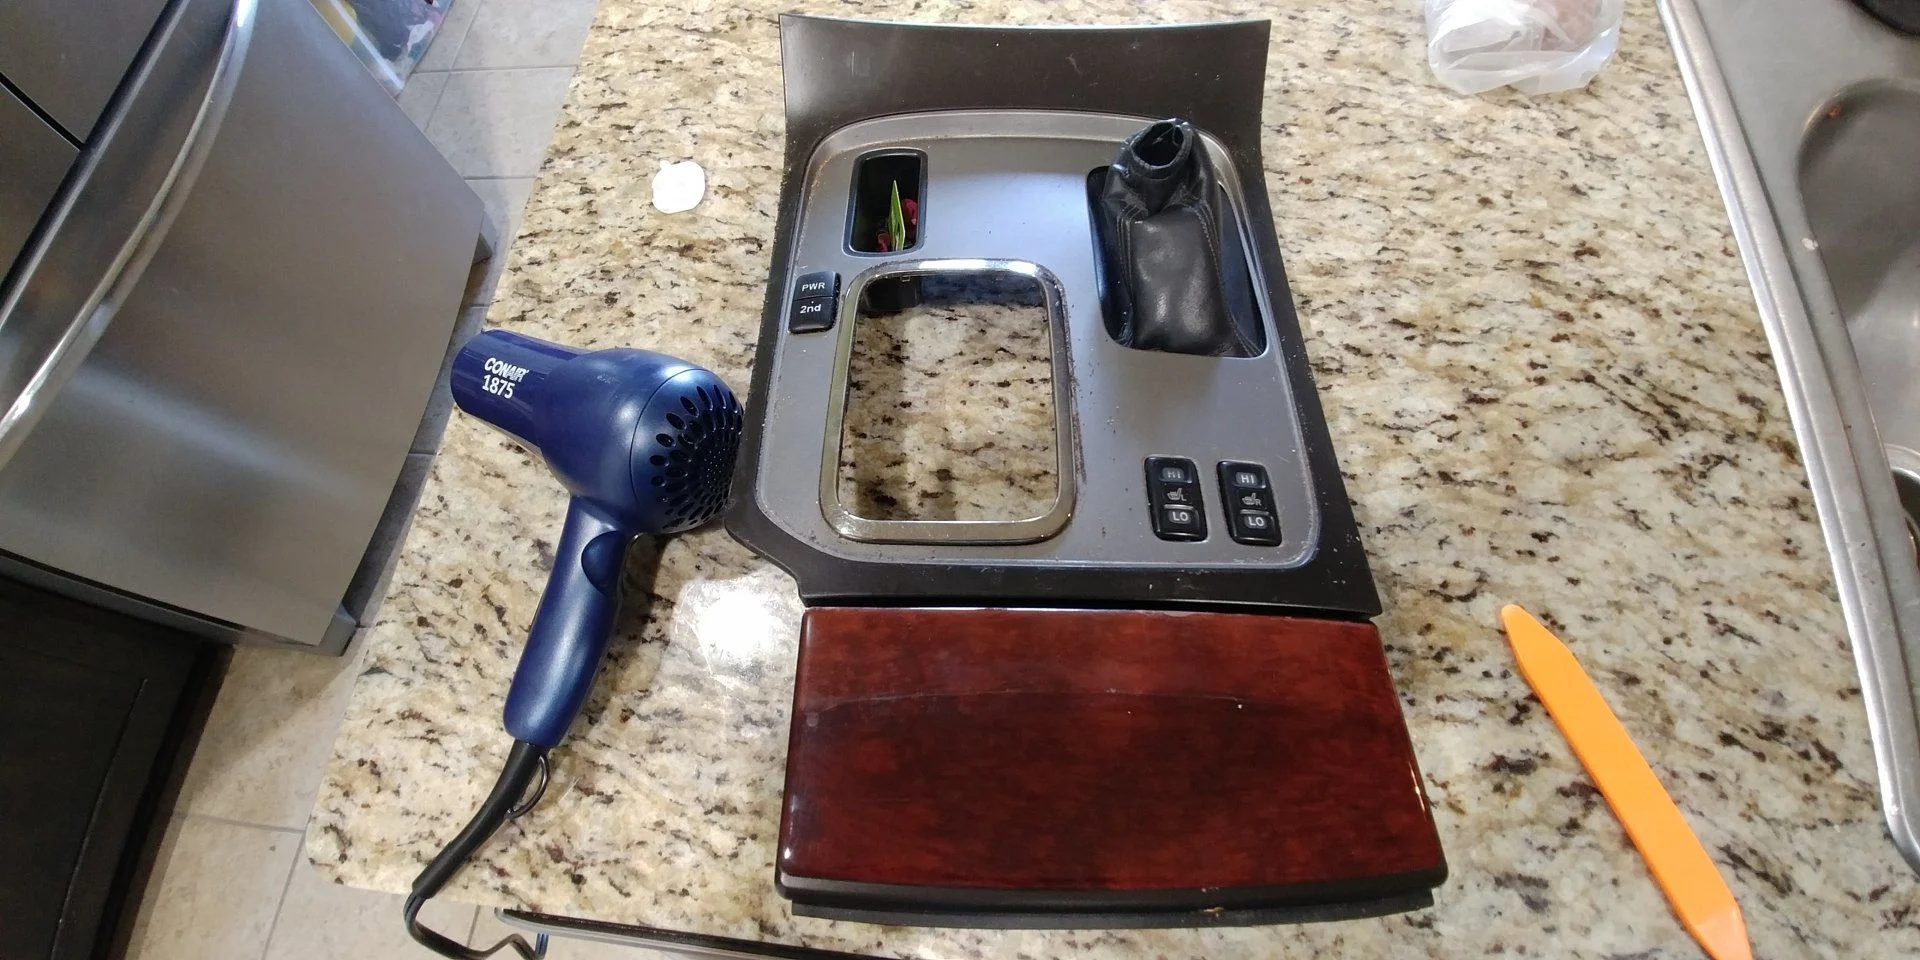
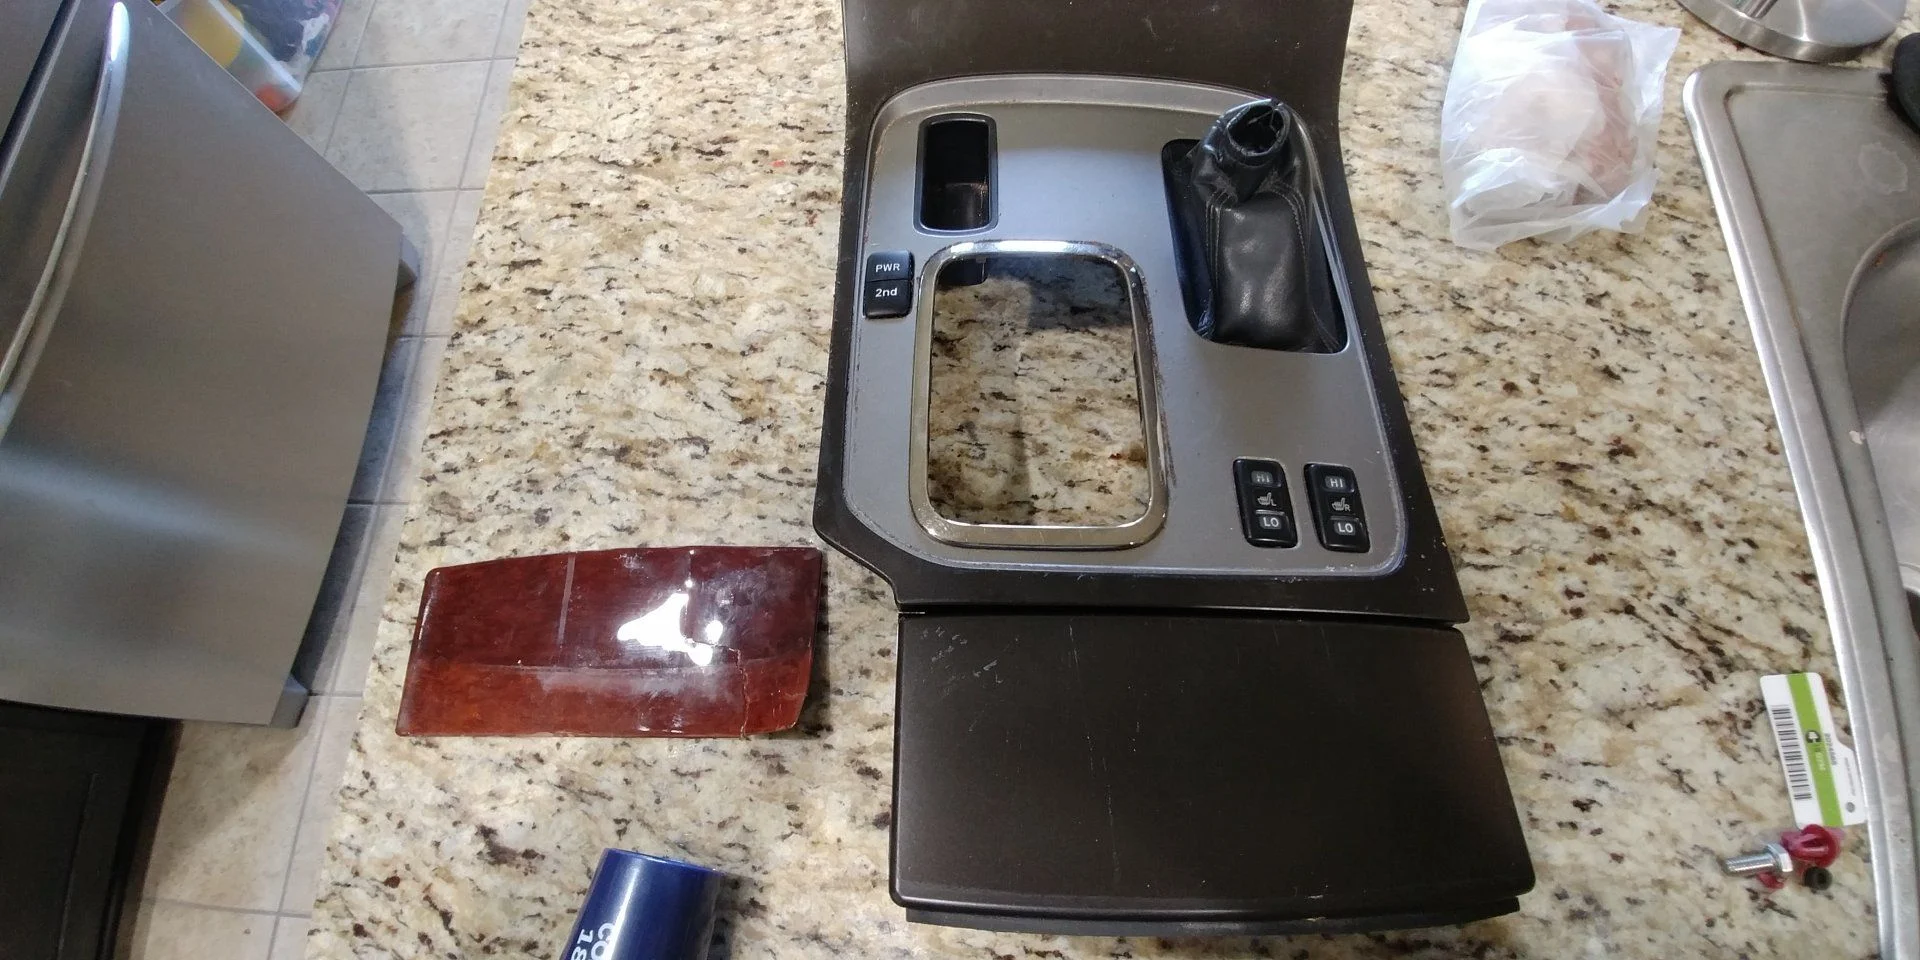
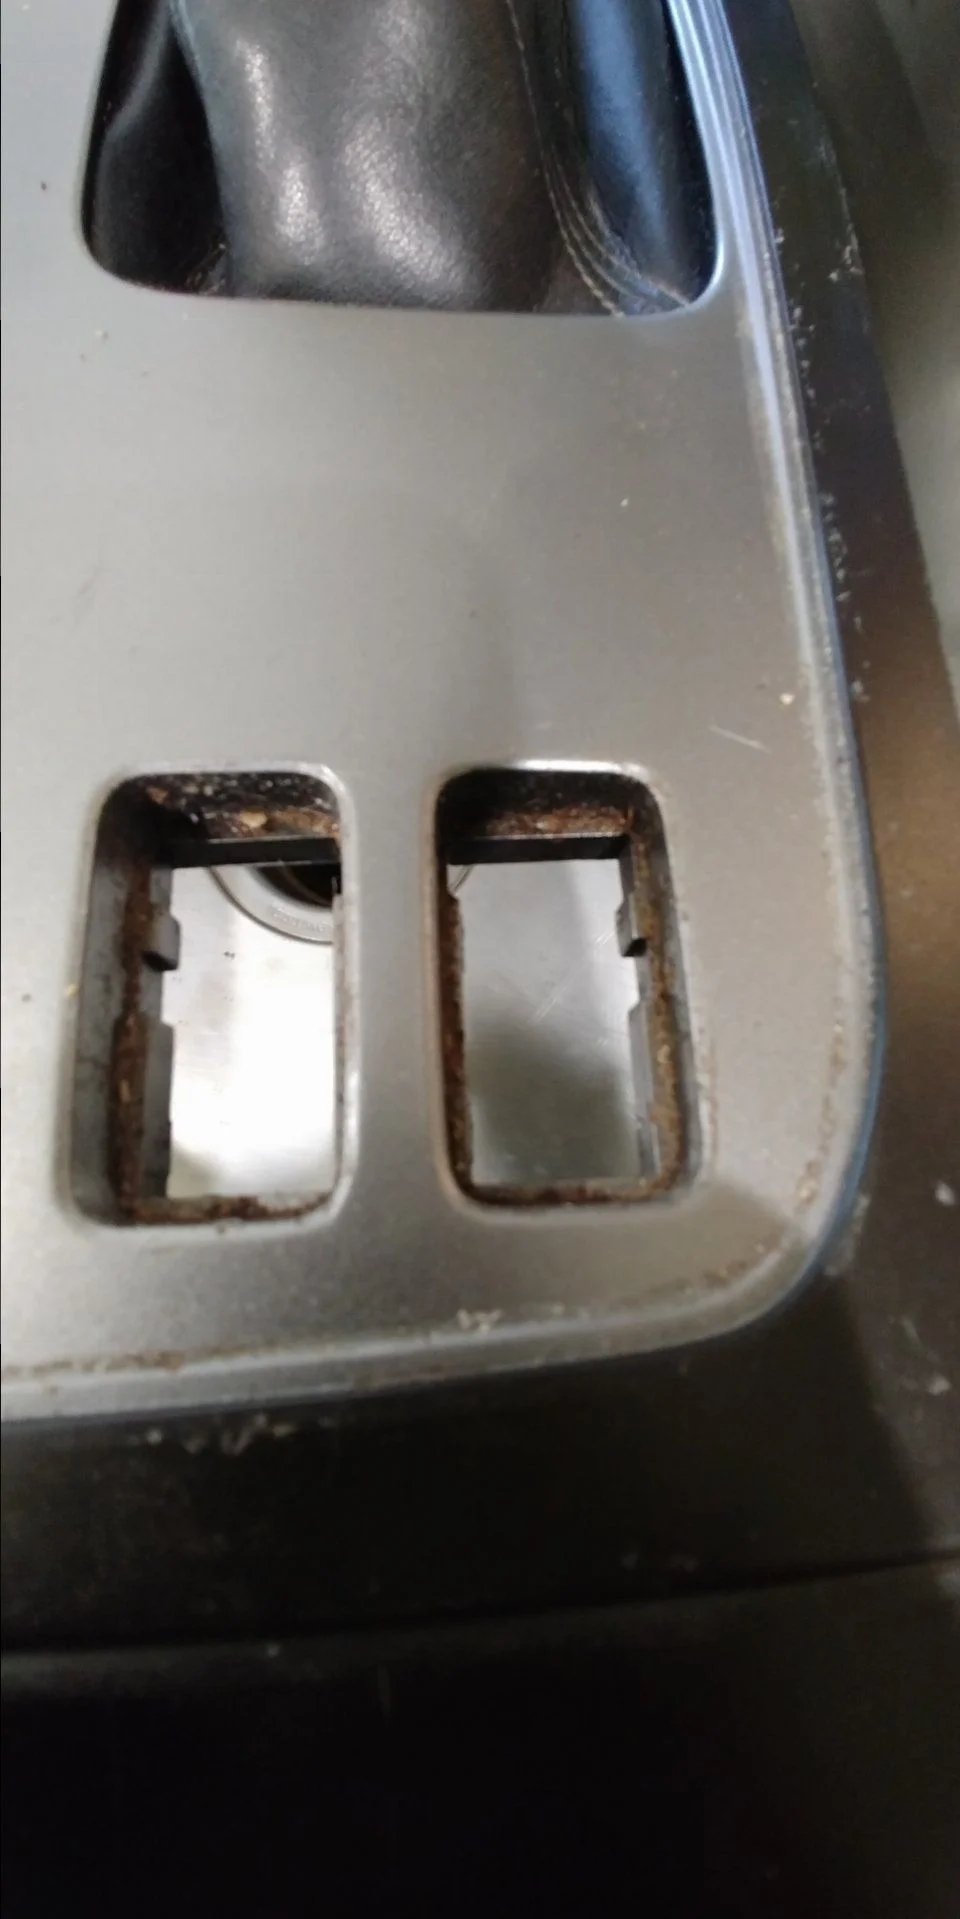
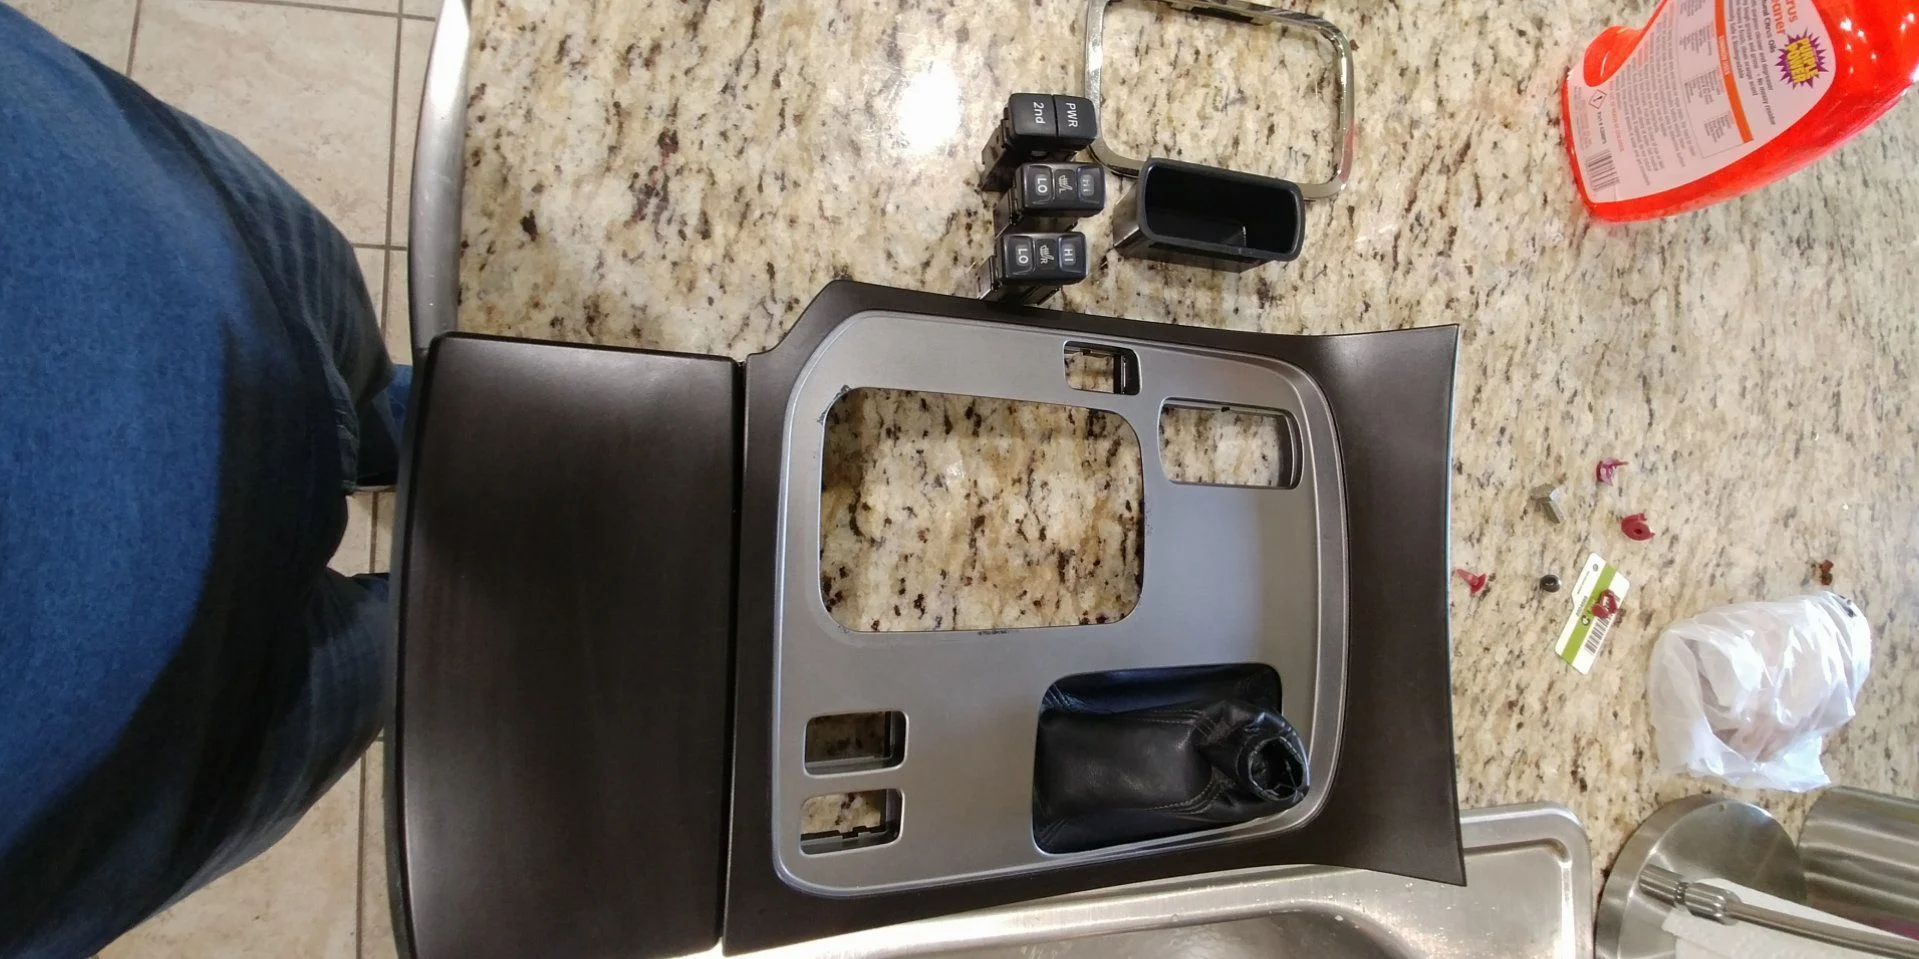
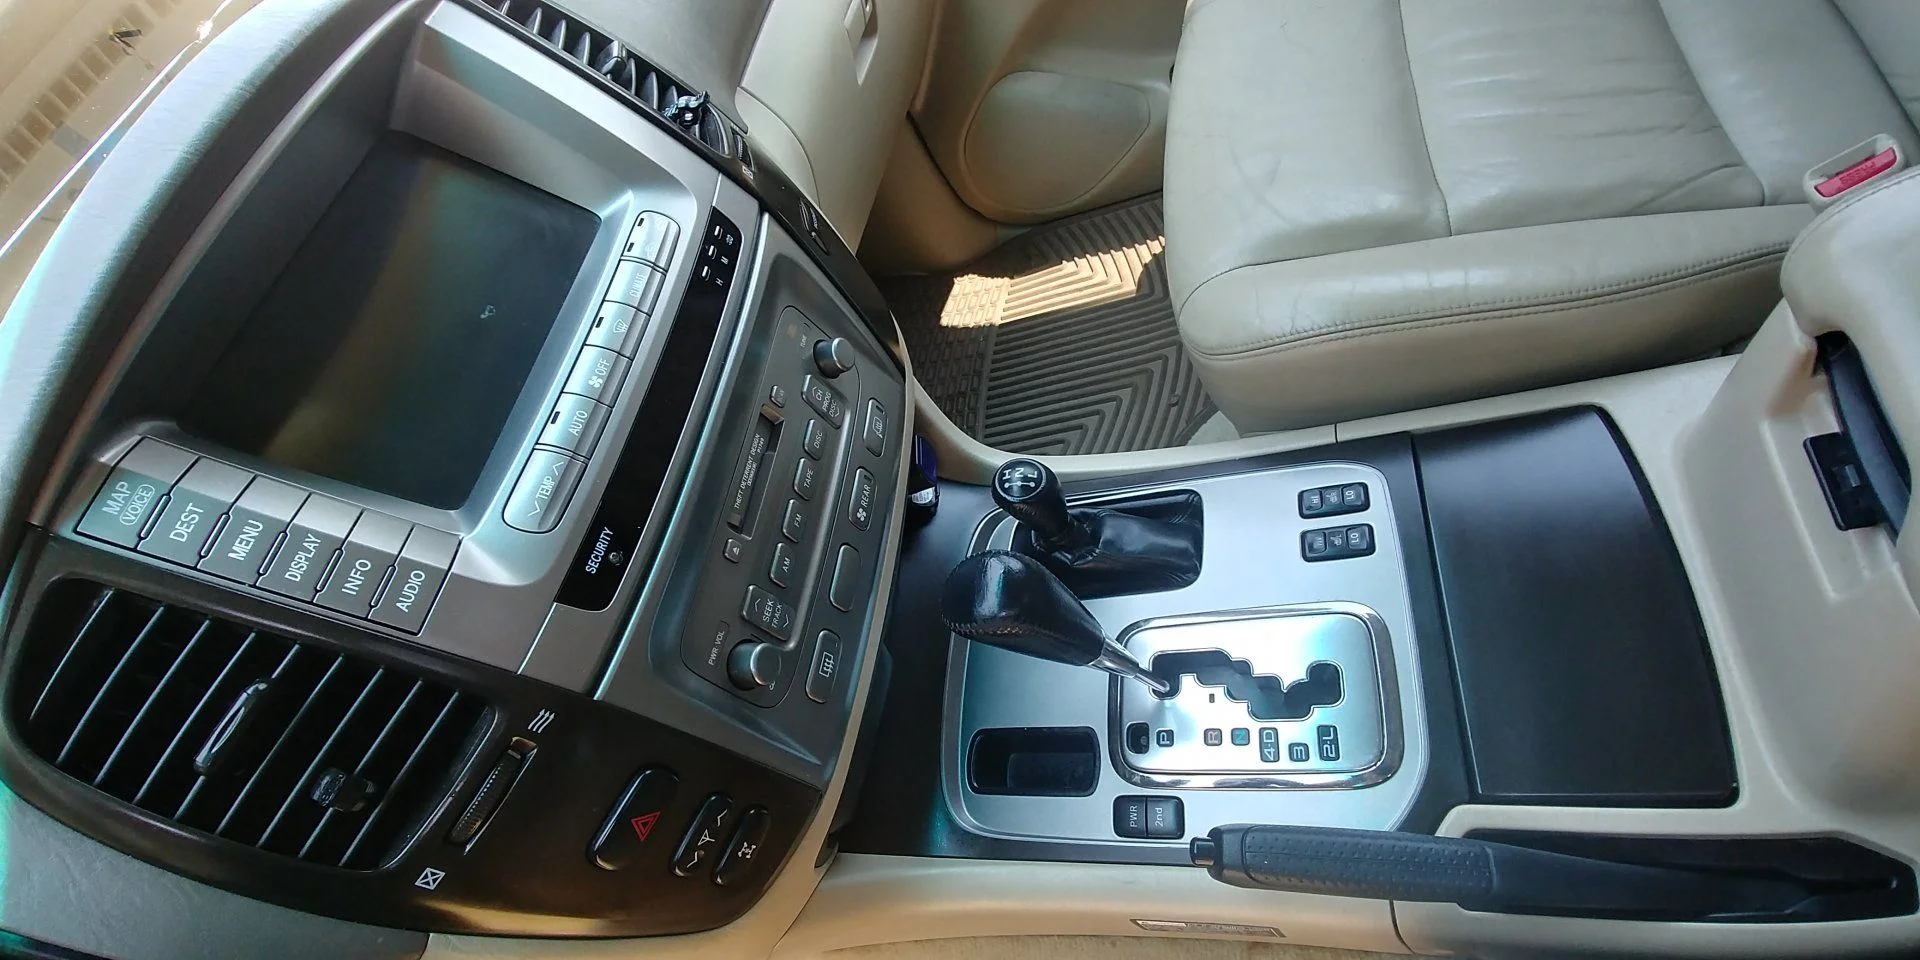
Decided today was the day to punish myself by removing the remaining wood grain, from previous owner, on interior. I began this job when i first got my cruiser but once my fingers began to go numb I cave up at the console. today was the day to finish though! I could stand to look at this hideousness no longer.
FWIW, the hot sun usually softens up the glue enough to let you peel the fake wood trim off pretty easily. Of course, you soften up pretty quickly too working in a hot truck in the sun.
Good job.
Trail Tailor ran a moving special and had a great price on sliders so I ordered a set. That weekend I had a blowout and had to buy a new set of BFG KO2s. The LC chewed up my monthly budget. @reevesci
Before
View attachment 1530689 AfterView attachment 1530690