What have you done to your 100 Series this week? (44 Viewers)

This site may earn a commission from merchant affiliate
links, including eBay, Amazon, Skimlinks, and others.

Spent Halloween doing a scary easy install of a dual Optima Painless Digital Manager with A RuffStuff Box.
Box needed a little modification so I can change headlamps.
To fit, had to grind out the old battery hold-down bump and take off part of the fusebox.
Didn't install the status indicator lamp on the cuz I had to do a candy for kids and beer for parents run.
Might still add the jumpstart solenoid, but with ski season and no-see season coming, just glad to get it done.
Painless%20DigitalMngrSeup.jpg
 
Have never been thrilled with where I'd originally mounted the winch control box and decided to do something about that today.

Because of the light bar I couldn't simply bolt the control box to bumper, so I "temporarily" mounted it on the grill (2 years ago).
winchcontrolboxbefore.png


Today, I pulled the box apart, made a small mounting plate, and bolted the innards behind the grill/horn.
winchcontrols1.jpg


Since power to the winch is controlled by a switch under the hood, I figured it would make sense to mount the connector for the handheld controls under the hood as well. Found a suitable spot near the hood latch and went at it with my drill/step bit.
winchcontrols2.jpg


Plugged in and ready to winch!
winchcontrols3.jpg
 
Put on parts to (try to) remedy some issues present since purchase.
Not pictured: DS door-mounted weather stripping, failed to fix the wind leak right next to my head. I should actually bother to diagnose the source of the leak before ordering more parts...

Replaced my only "ok" repainted center console with a new part after seeing a source listed earlier in this thread.
Old:
image_1.jpeg

image_2.jpeg

Side-by-side (old / new):
image_4.jpeg

All shiny and chrome again:
image_5.jpeg

Replaced the instrument cluster "lens" (i.e. the clear plastic window over the gauges) since it had two small cracks in it. Not sure why it was out to get cracked, but once you deal with getting that piece into its slots you'll understand how it gets cracked.
image_3.jpeg


- Dan
 
Changed spark plugs (mistakenly saved #7 for last, that is a real PITA, lots of cursing/knuckle busting)
Changed air filter
Changed oil (have sample to send to Blackstone for a UOA)
Lubed driveshaft
Cleaned MAF
Cleaned throttle body (was already pretty clean)

Oh and did this on the way back home...

20151101_142948_zpsslq033se.jpg


This thing just won't quit! Still runs like a top. Next weekend is the semi-annual polish/wax to get it protected for winter.
 
Hurry and post it for the love of god man!

Sorry bud I've been super busy and I don't have the Internet so I have to make a separate trip into town, I'll get it up before Wednesday! Also wanted to get a fair amount of time behind the wheel with them as this truck is not my dd... I'm really happy with them thus far!
 
I used one of these on mine. Meguiars DA Microfiber Correction System. It's pretty much a beginner kit. It made a world of difference even on my white paint which wasn't in bad condition to start with. You have to look really hard, with a light, to see any swirls at all. Next year, I'll do it again with a little more aggressive compound, but this was my first try and wanted to make sure I didn't mess it up. You'll also need a clay bar kit and of course the DA polisher.

Toyota uses single stage paint for its non metallic white and requires more protection for a lasting shine. It will oxidize easier, but cleans up easy as well.
 
Took off one lift support for the rear hatch: couldn't get the little ring out to release the ball and socket on the bottom end :doh: I'll have to take a Dremel to it :doh:

But, I did put in a new battery. DieHard 34R AGM starting battery.
 
Took off one lift support for the rear hatch: couldn't get the little ring out to release the ball and socket on the bottom end :doh: I'll have to take a Dremel to it :doh:

.

Same thing happened to me on the front hood struts.... I solved it the same way. :)


-G
 
Took off one lift support for the rear hatch: couldn't get the little ring out to release the ball and socket on the bottom end :doh: I'll have to take a Dremel to it :doh:

But, I did put in a new battery. DieHard 34R AGM starting battery.

I had to grind my hood ones out last week...
groundout.jpg
 
Fixed my wobbly rearview mirror. It was pretty annoying, especially at night.
 
I need to get around to that but haven't really looked into it. I tried tightening the screw but that's not where it is loose.

Sent from my HTCONE

Pull downward on the mirror to remove it from the black metal base that's on the windshield. It slides off. You'll see 2 gold screws on the base. Tighten those up because they're probably also loose. See the metal clip attached to the mirror mount? Remove it and attach it the metal base on the windshield. Might have to use something to keep it in place. I used a tiny piece of sound deadener. Don't lose that black screw that attaches to it. I then cut thin pieces of more deadener (about 1/8" so it doesn't show) and stuck it on the mirror mount where it mates against the metal base. Remount the mirror and it should be tight.

It's what I did to mine and it's solid like it's supposed to be. No gap and looks like I did nothing to it. Took less than 10 min. If you don't have any deadener, a washer or gasket material might work. Clear as mud?
 
Last edited:
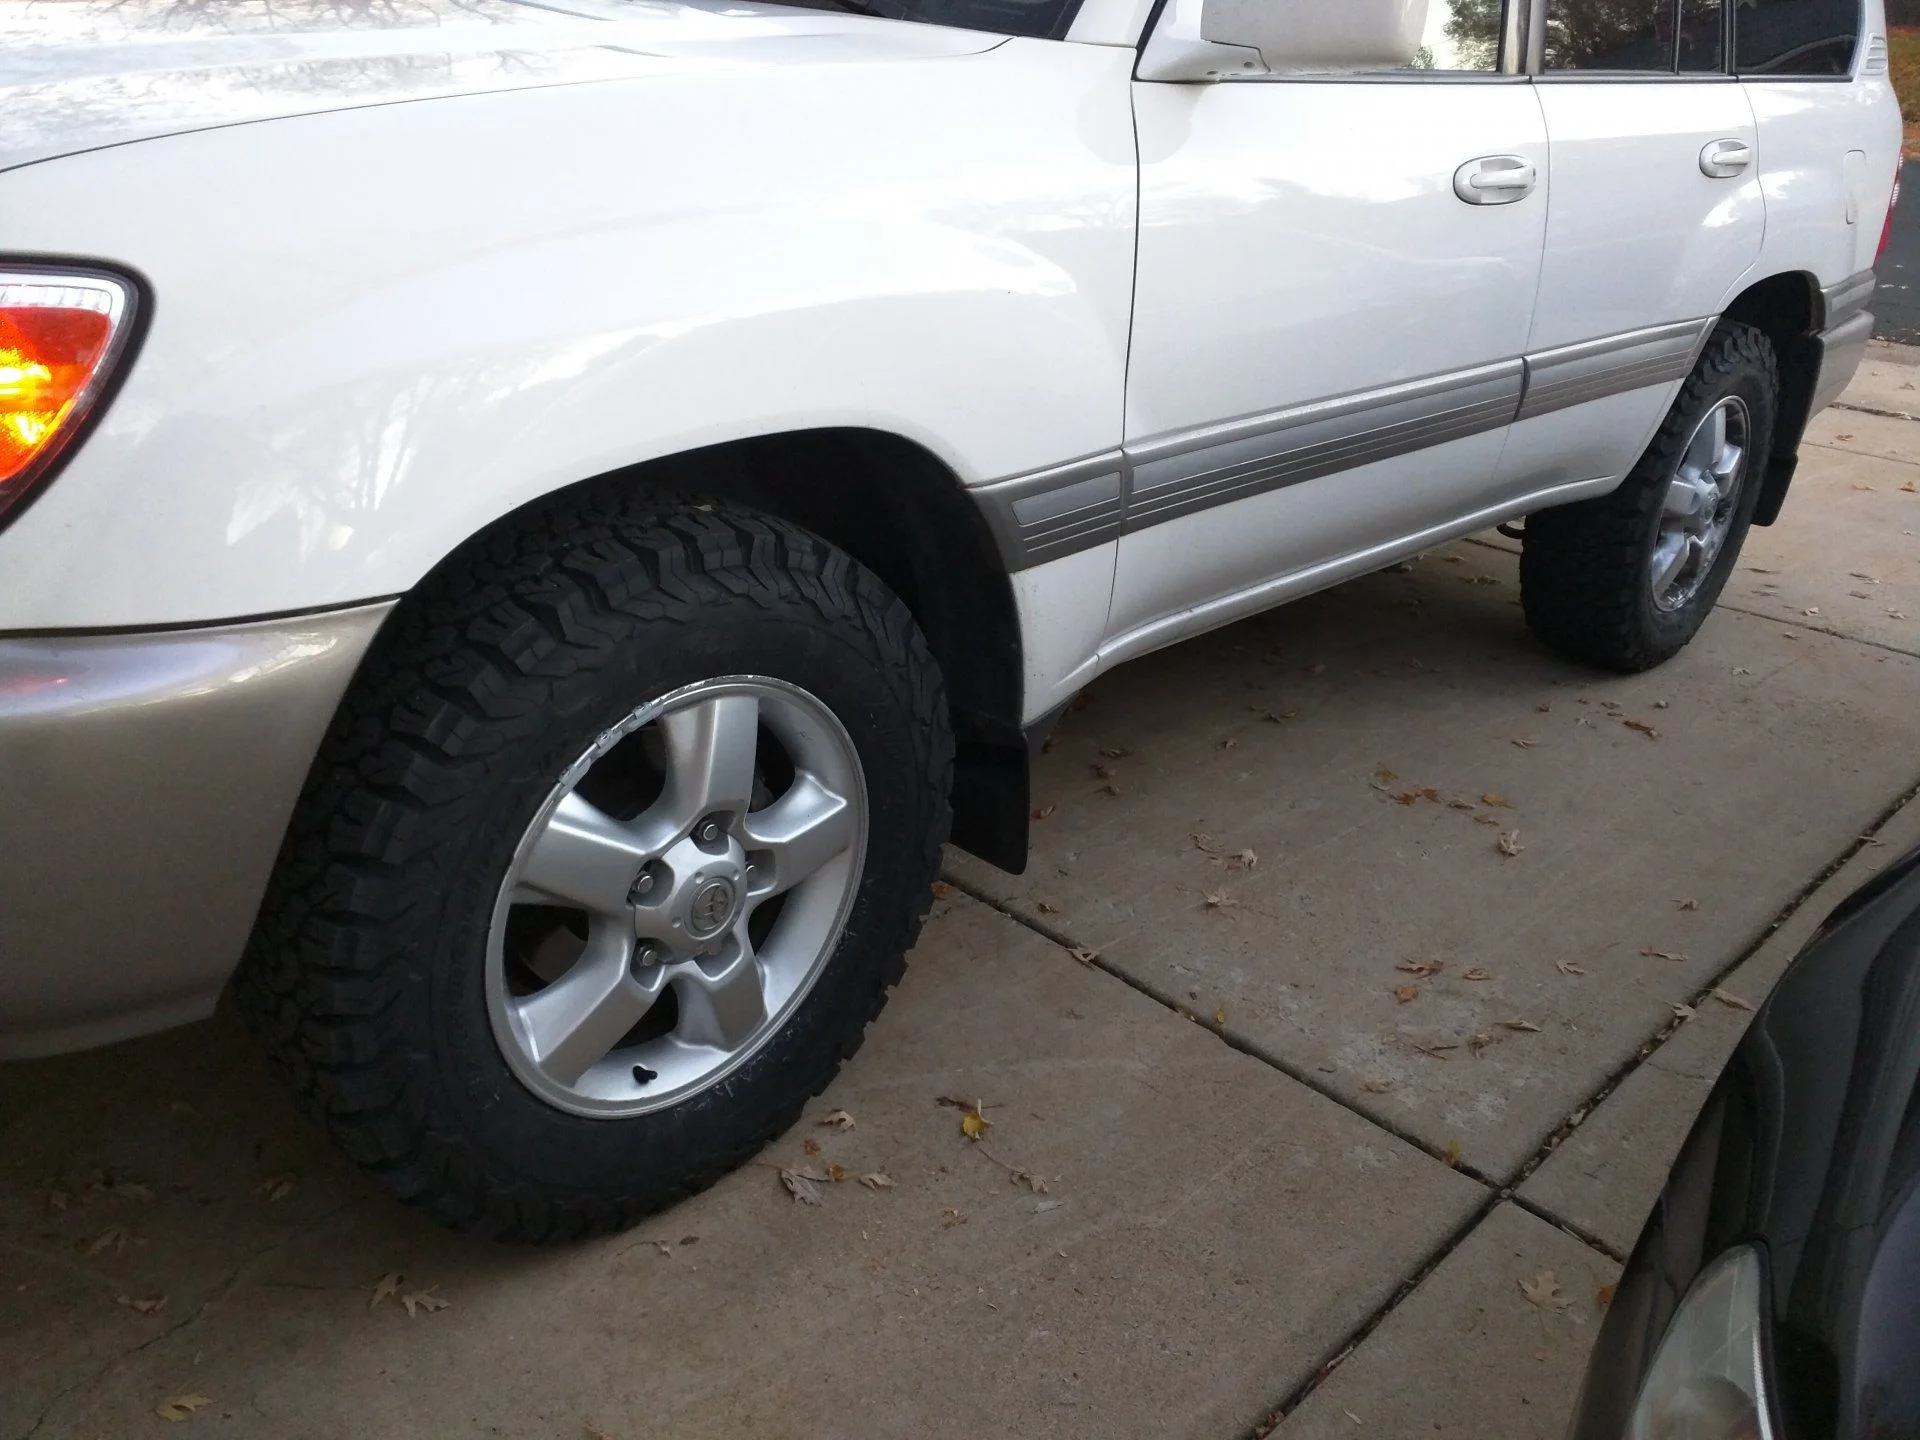
Replaced the fuel filter at 178,000 and picked up new tires for the LC:

 
I started painting the side trim. I wanted a match...got it pretty close but it's still not perfect. I only painted the fender and rear quarter so far.


CA_11071516362580-XL.jpg


CA_11071516361079-XL.jpg
 

Users who are viewing this thread

Back
Top Bottom