
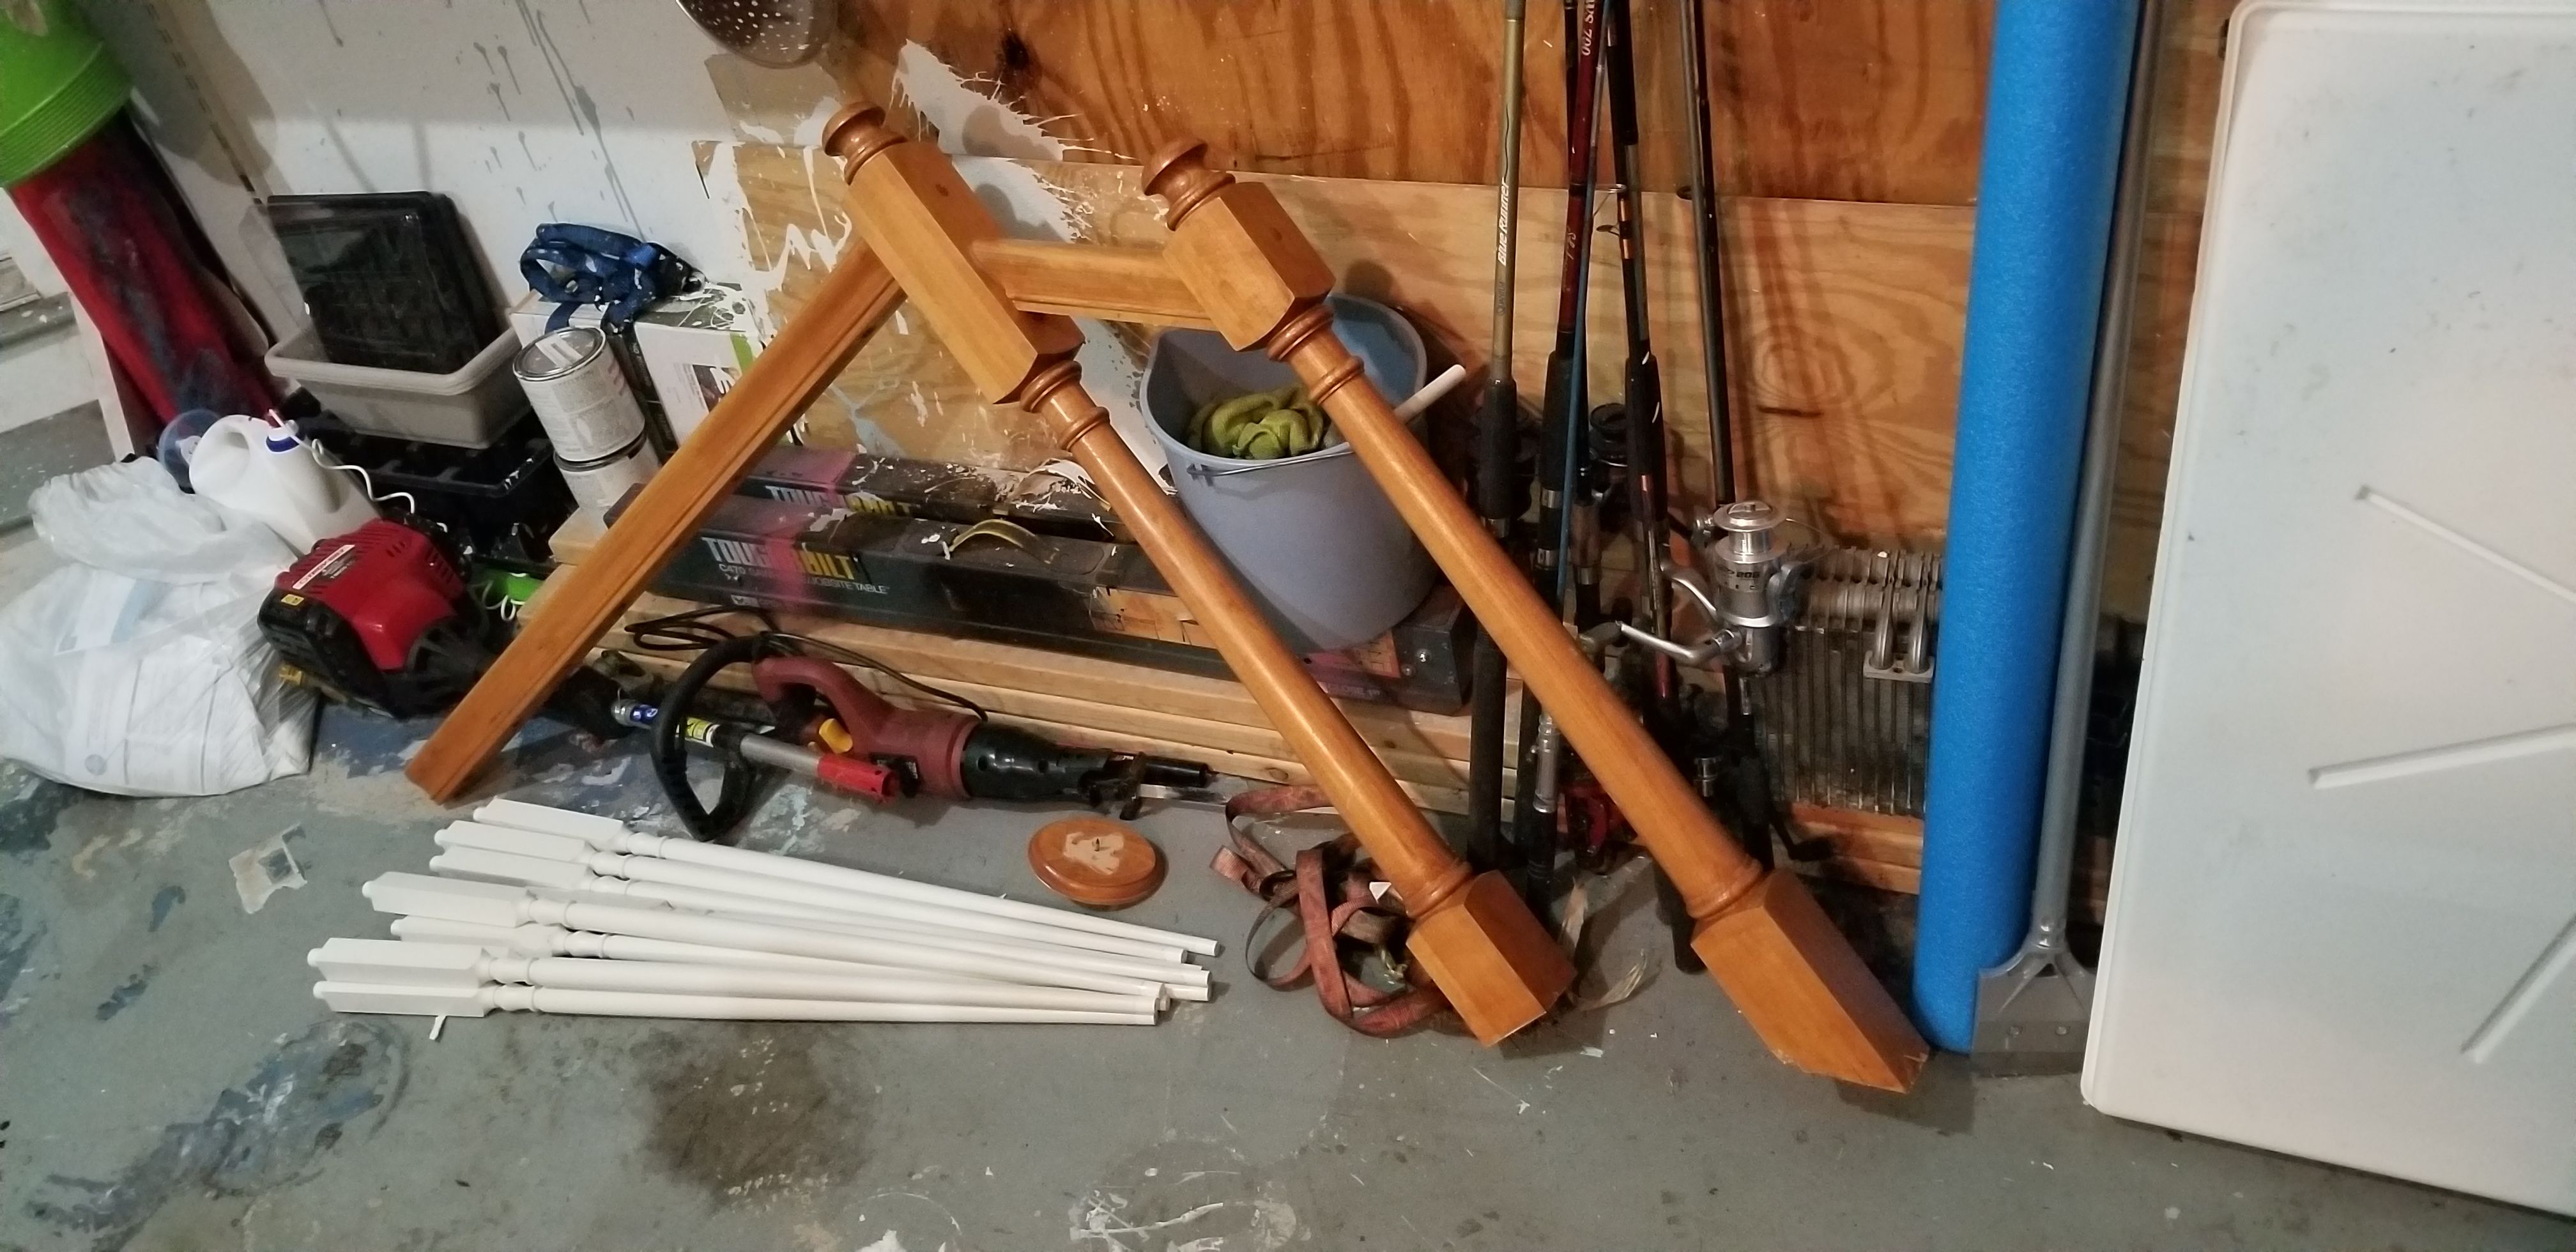
Needed a wood block, dead-blow hammer and 2 morning beers to get these loose and then file and wire brush the rust off.
-
North American Clubhouses - East RegionCA.ON- SOTEC CA.ON- Upper Canada Land Cruisers CA.QC- Club TORQ CA.QC- Quebec Cruisers AL- DixieLand Cruisers AL- Hot South Cruisers FL- Florida Land Cruiser Association FL- Northwest Florida Toyota 4WD FL- Tampa Bay Land Cruiser Association GA- Pavement Pounders GA- Georgia Cruisers GA/FL/AL- Red Hills Land Cruiser Club GA- YOTA IL- Windy City Land Cruisers IN- Hoosier Cruisers IN- Indiana Land Cruisers KY- Kentucky Landcruiser MA/NH- Yankee Toys MI- Lake Michigan Land Cruisers MS- CottonLand Cruisers NC- Olde North State Cruisers NJ- Garden State Land Cruisers NY/CT/MA- FJNortheasters NY- Gotham City Land Cruisers OH- The Buckeye Birfield Syndicate PA- Keystone Cruisers PA- Steel City Land Cruiser Club SC: Land Cruisers: Charleston SC- Palmetto State Land Cruiser Association SC- Upstate Cruisers SC- Swamp Fox Land Cruisers SC- Low Country Land Cruisers TN- Appalachia Cruisers TN- Bluff City Cruisers TN- STLCA VA- Bay to Blue Ridge Cruisers VA- COVA CRUISERS VA/DC/MD- Capital Land Cruiser Club VA/NC- Mid-Atlantic TLCA VA- Star City Land Cruisers VT/NH/MA/ME Acadian Overlanders WI- Land Cruiser Legends WV- Mountaineer Cruisers
-
North American Clubhouses - Central RegionCA.AB- Oil Country Cruisers CA.AB- Rocky Mountain Land Cruiser Association CA.AB- Toyota Ghost Wheelers AR- Razorback Land Cruisers AR/MO- Ozark Mountain Cruisers CO- BookCliff Cruisers CO- Colorado Land Cruisers CO- Derailed Cruisers CO- Rising Sun 4WD Club CO/WY- Horsetooth 4 Wheelers Cruiser Club IA- Tall Corn Cruisers KS/MO- Tornado Alley Cruisers LA- Bayou State Land Cruisers LA- Louisiana Land Krewesers MO- Gateway Cruisers MT- 406 Cruisers MT- Big Sky Cruisers NE- Flat Land Cruisers NM- High Desert Cruisers OK- Green Country Cruisers SD- Dakota Territory Cruisers TX- Alamo City Land Cruisers TX- Bayou City Land Cruisers TX- Lone Star Land Cruisers TX- Lone Star Land Cruisers - Austin Chapter TX- The White Trash of the Elwood Chapter TX- Toyota Trail Riders
-
North American Clubhouses - West RegionCA.BC- Coastal Cruisers CA.BC- Okanagan-Similkameen Land Cruisers CA.BC- Peace Canyon Toyota Swamp Donkeys CA.BC- Calgary Chapter: Swamp Donkeys
CA.BC- Vancouver Island Cruisers AZ- Copper State Cruisers CA- Beach-n-Toys CA- Central Coast Land Cruisers CA- Central Valley Crawlers CA- Gold Country Cruisers CA- Inland Empire Cruisers CA- L.A. County Trailcrew CA- Mountain Transit Authority CA- Pacific Mountain Cruisers CA- San Diego Cruisers CA - Santa Cruz Land Cruisers CA- SoCal 80's CA- Southern California Land Cruisers CA- Toyotally Awesome Cruisers HI- Hawaiian Island Land Cruisers ID- Treasure Valley Land Cruisers NV- Battle Born Cruisers of Northern Nevada NV- Southern Nevada Land Cruisers OR/CA- Jefferson State Cruisers OR- Cascade Cruisers OR- Central Oregon Cruisers OR- Portland Metro Cruisers UT- Red Rock Cruiser Club UT- Wasatch Cruisers WA- Central Washington Cruisers WA- North Sound Cruisers WA- South Sound Cruisers WA- Spokane Land Cruisers
Navigation
Install the app
How to install the app on iOS
Follow along with the video below to see how to install our site as a web app on your home screen.
Note: This feature may not be available in some browsers.
More options
Style variation
You are using an out of date browser. It may not display this or other websites correctly.
You should upgrade or use an alternative browser.
You should upgrade or use an alternative browser.
What are you working on?
- Thread starter crawlin40
- Start date
This site may earn a commission from merchant affiliate
links, including eBay, Amazon, Skimlinks, and others.
An early '64 C.
The owner's intent is for a "derelict" restoration - basically to have it look like that but have all the mechanicals immaculate. Like ICON is doing (LINK).
Personally, we think the guy is insane. We've tried to explain how much is going to have to be done to keep it from falling apart just getting in it and slamming the door closed, much less driving it down the road. Just trailering it to the shop, he lost the windshield. He pulled up and we went out to look at it. We're all talking for awhile and all of a sudden he stops and just stares at the car. We ask what's up and he says "it had a windshield when I left my place..."
Sounds nuts to me. I don't get it. I can understand keeping a car original, and I can understand restoring a vehicle, but spending money to to make sure it looks like it is falling apart?
I can appreciate a good patina job with solid mechanicals underneath - just check out Nolen Grogan's Land Cruisers or the ICON Derelict link. But this is literally falling apart.
Full house!!
Wish I could’ve built a bigger garage.

Wish I could’ve built a bigger garage.
I drove down Market the other day and wondered where all your toys went. I usually see a few outside the garage every time I pass by.
Been busy with little things and some unfortunate family issue but was able to wrench a little too.
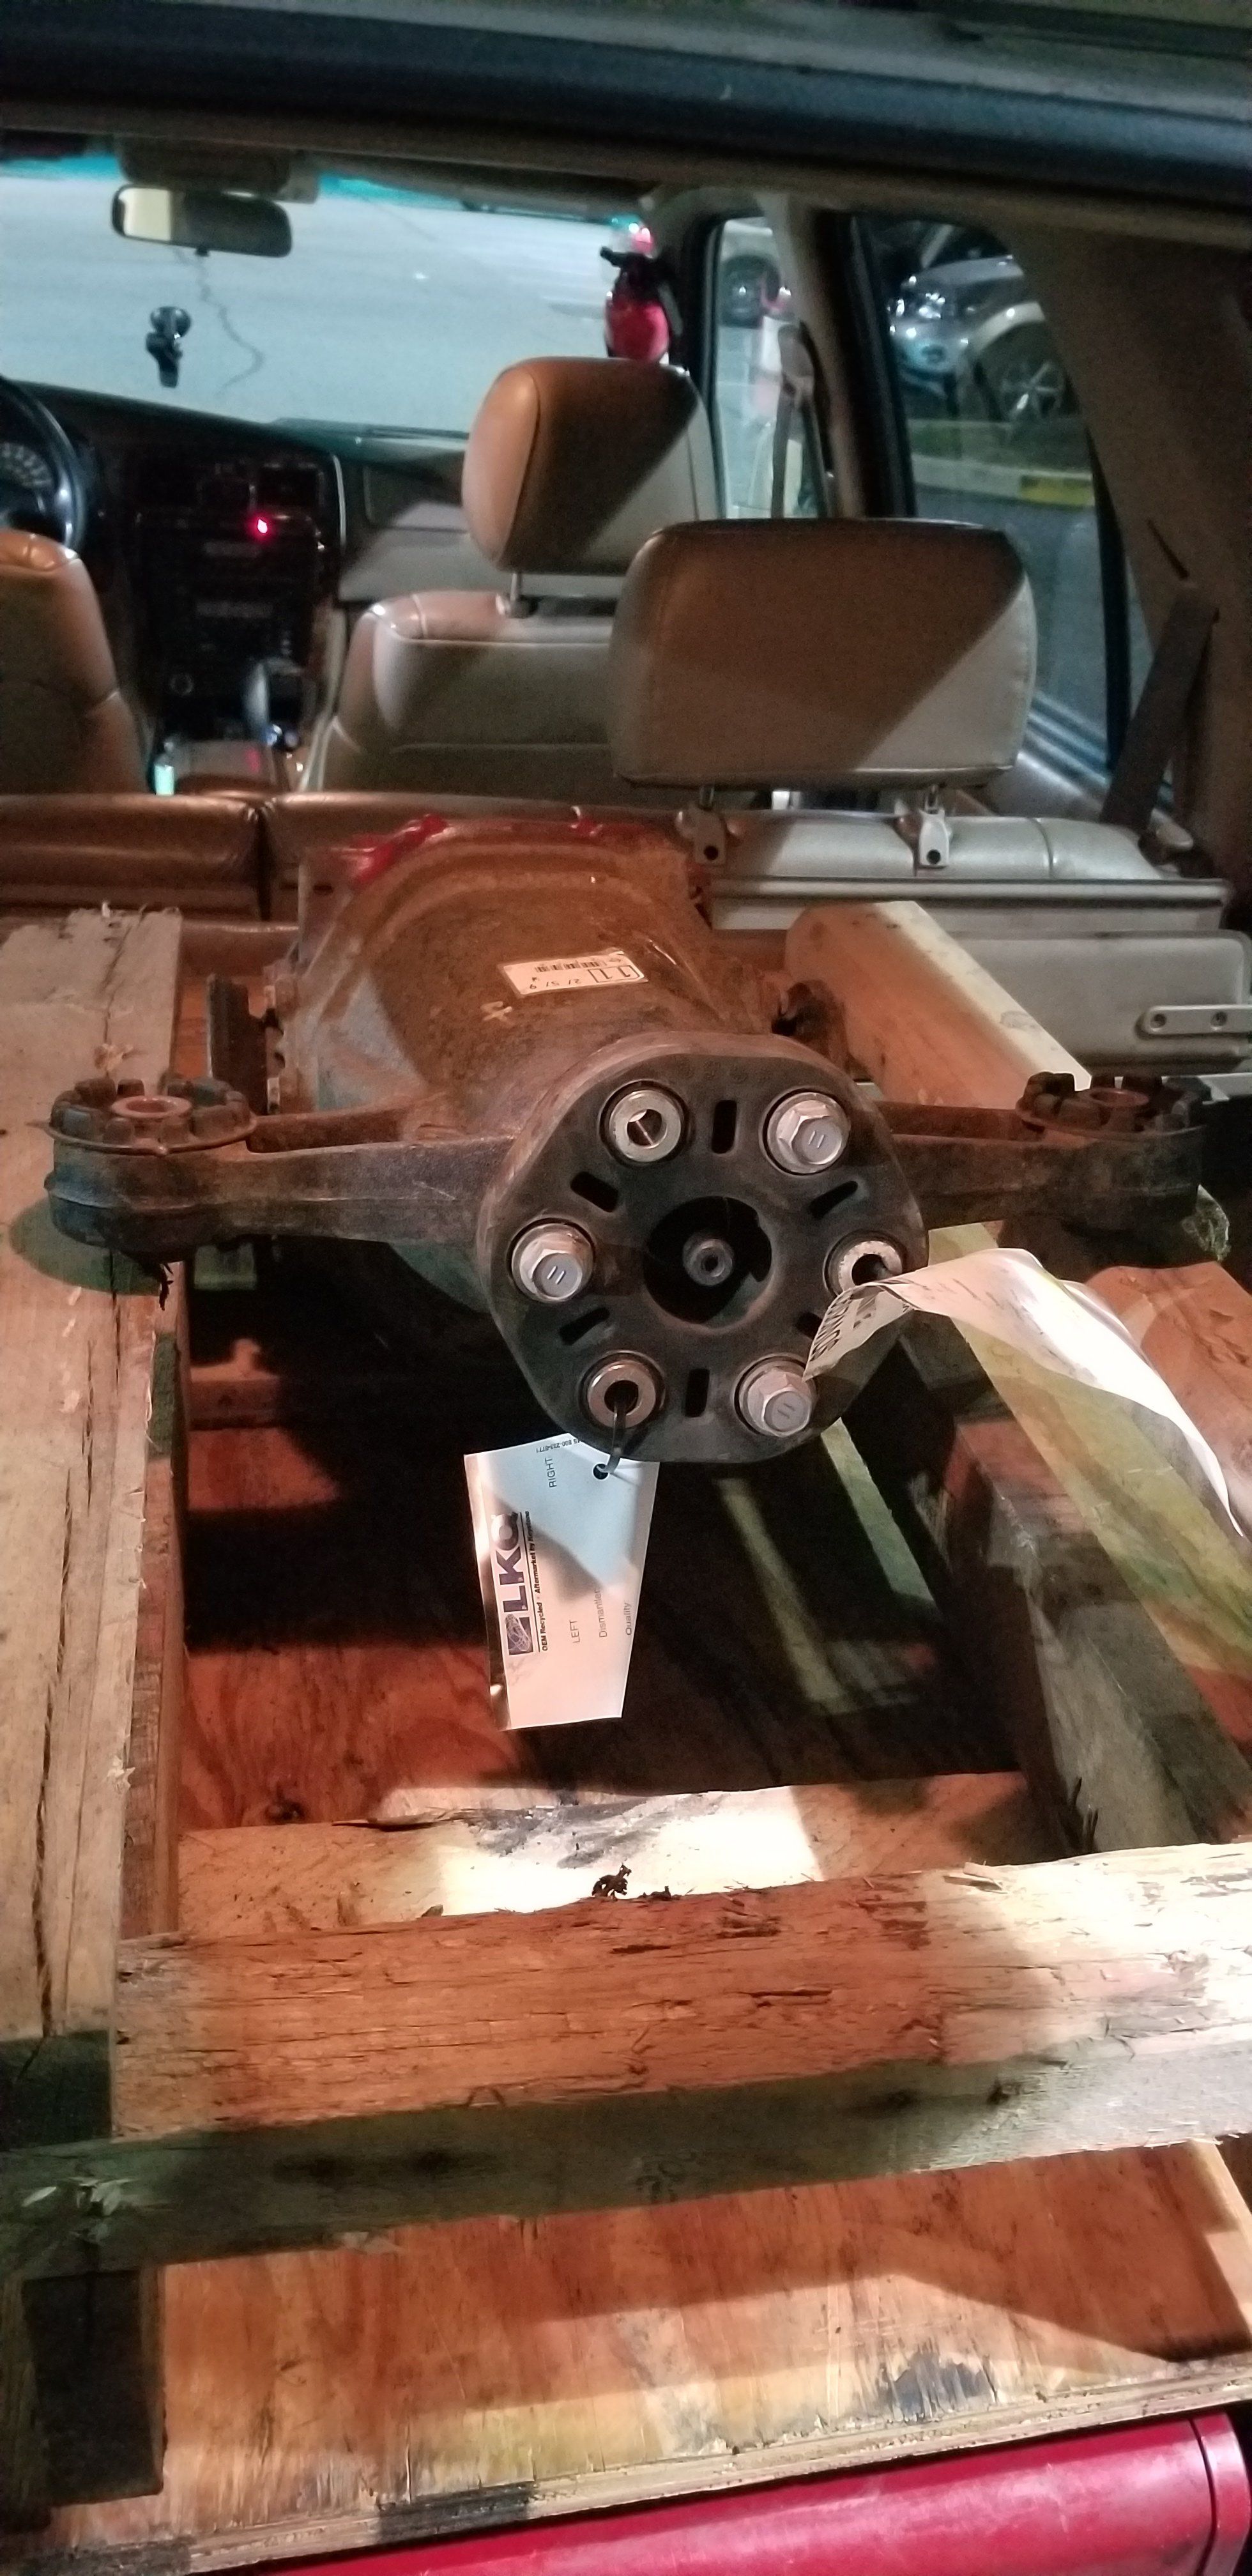
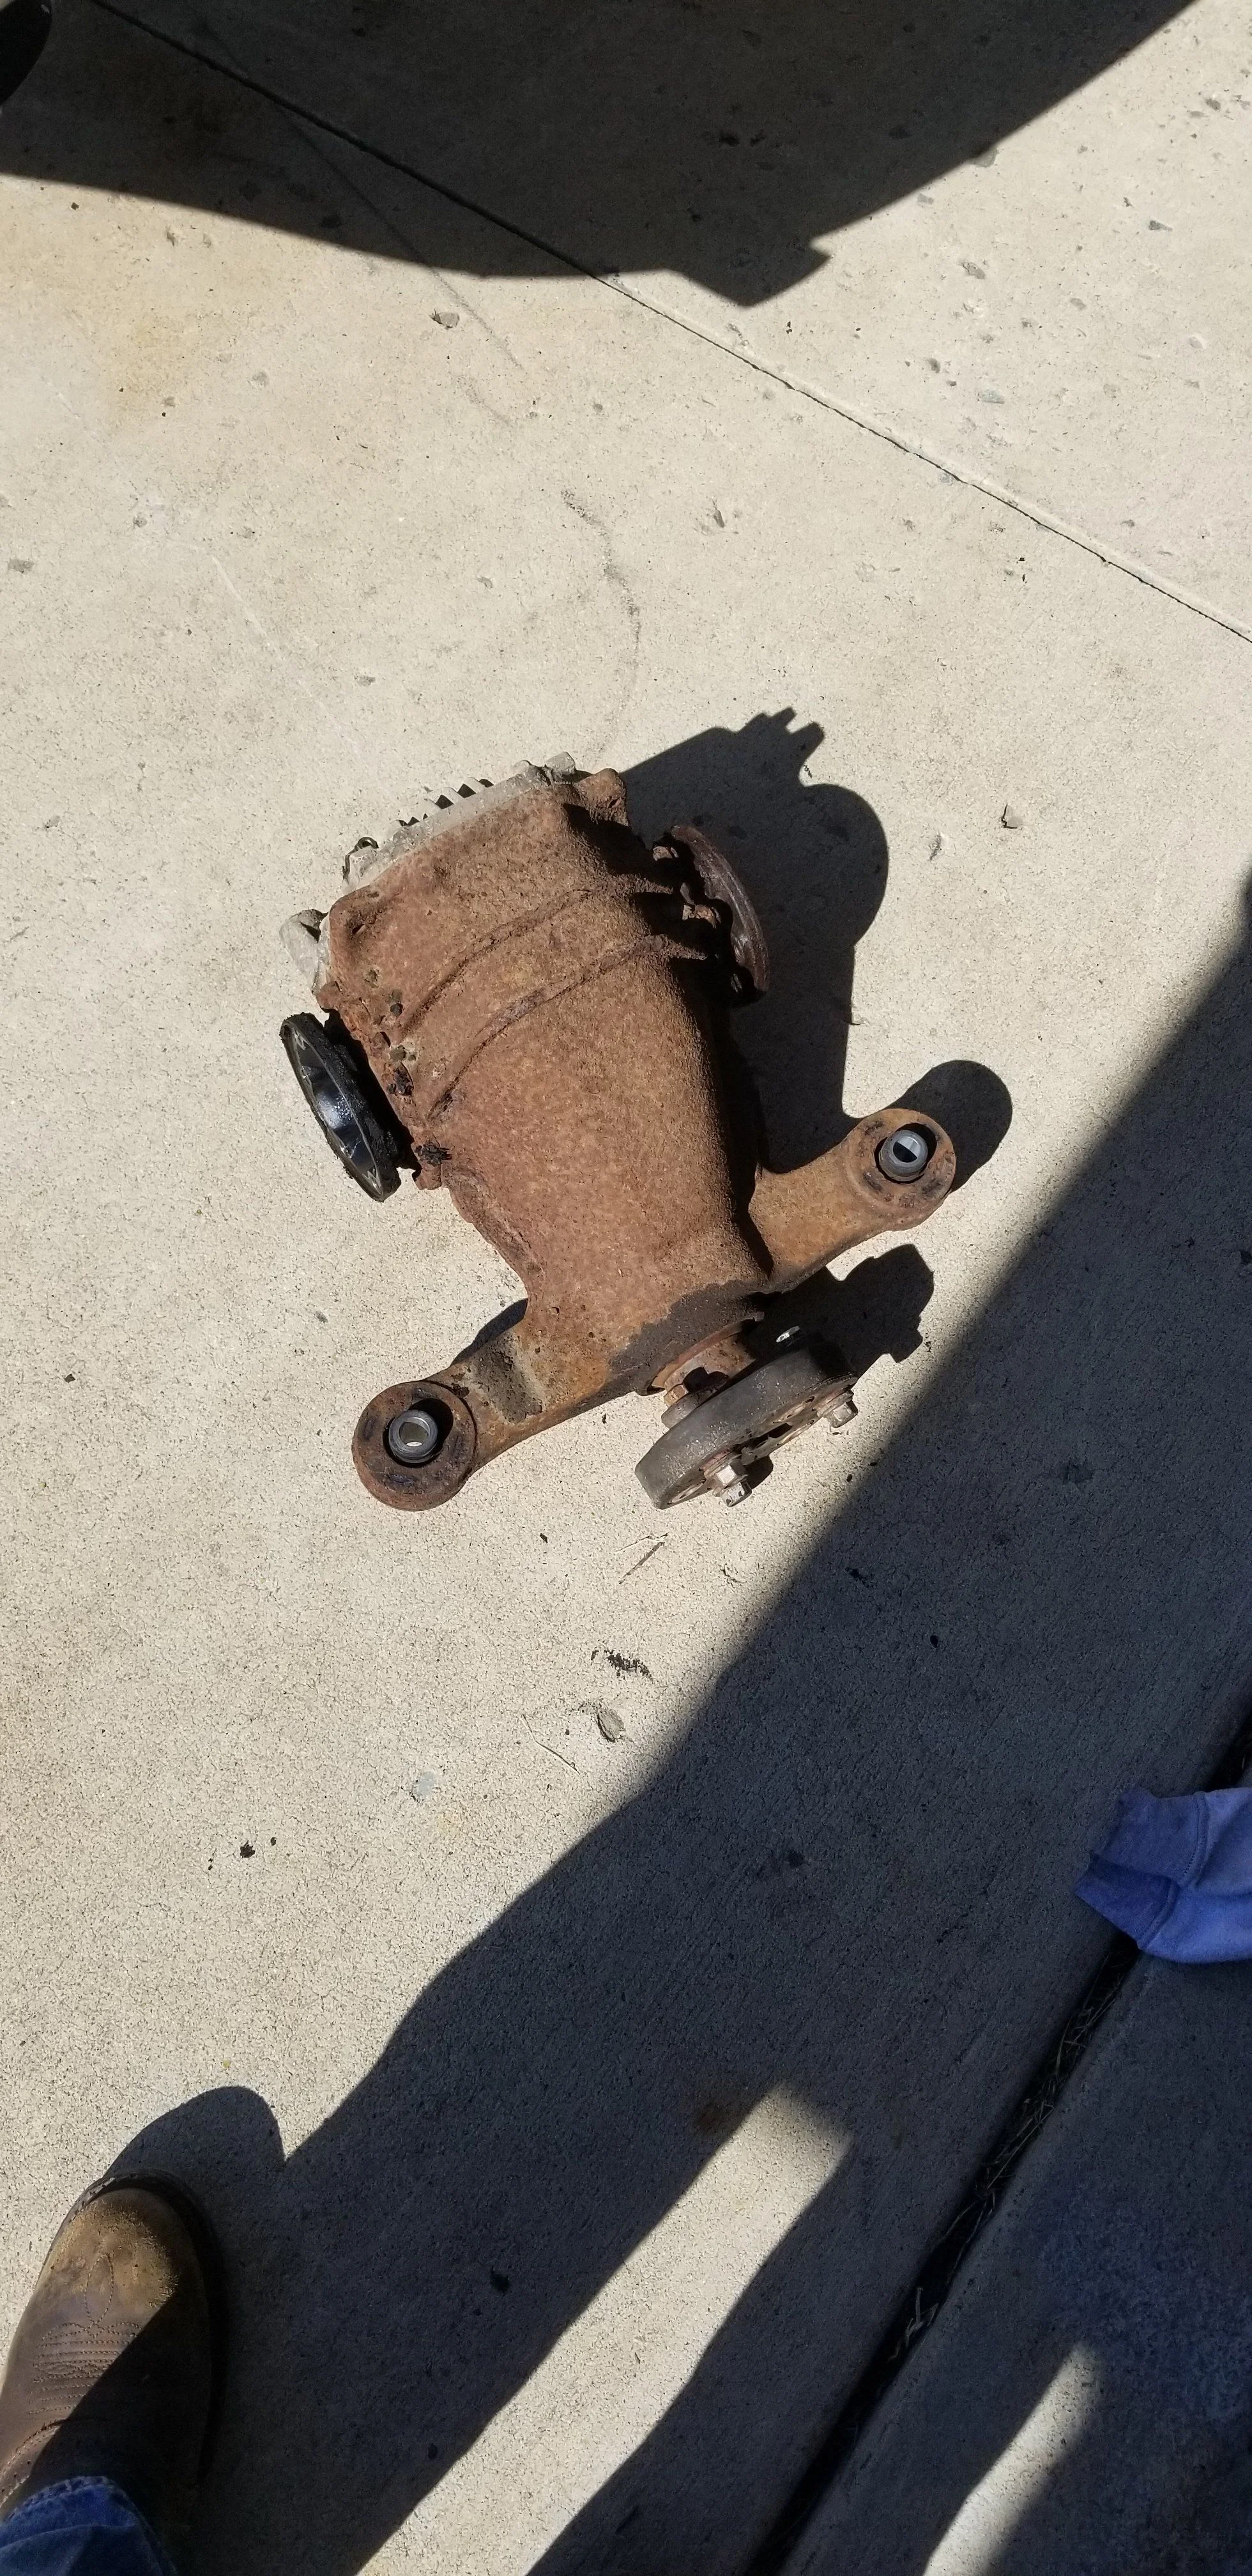
Two weeks ago on my way back from lunch to work I started to hear a whine in the rear of the SC400. The car has 218k, and considering it's history that I have been uncovering, I'm not surprised the diff was low with very burnt fluid. I was able to source a new 3rd with 89k on it from LKQ and installed it in a matter of an hour or so:
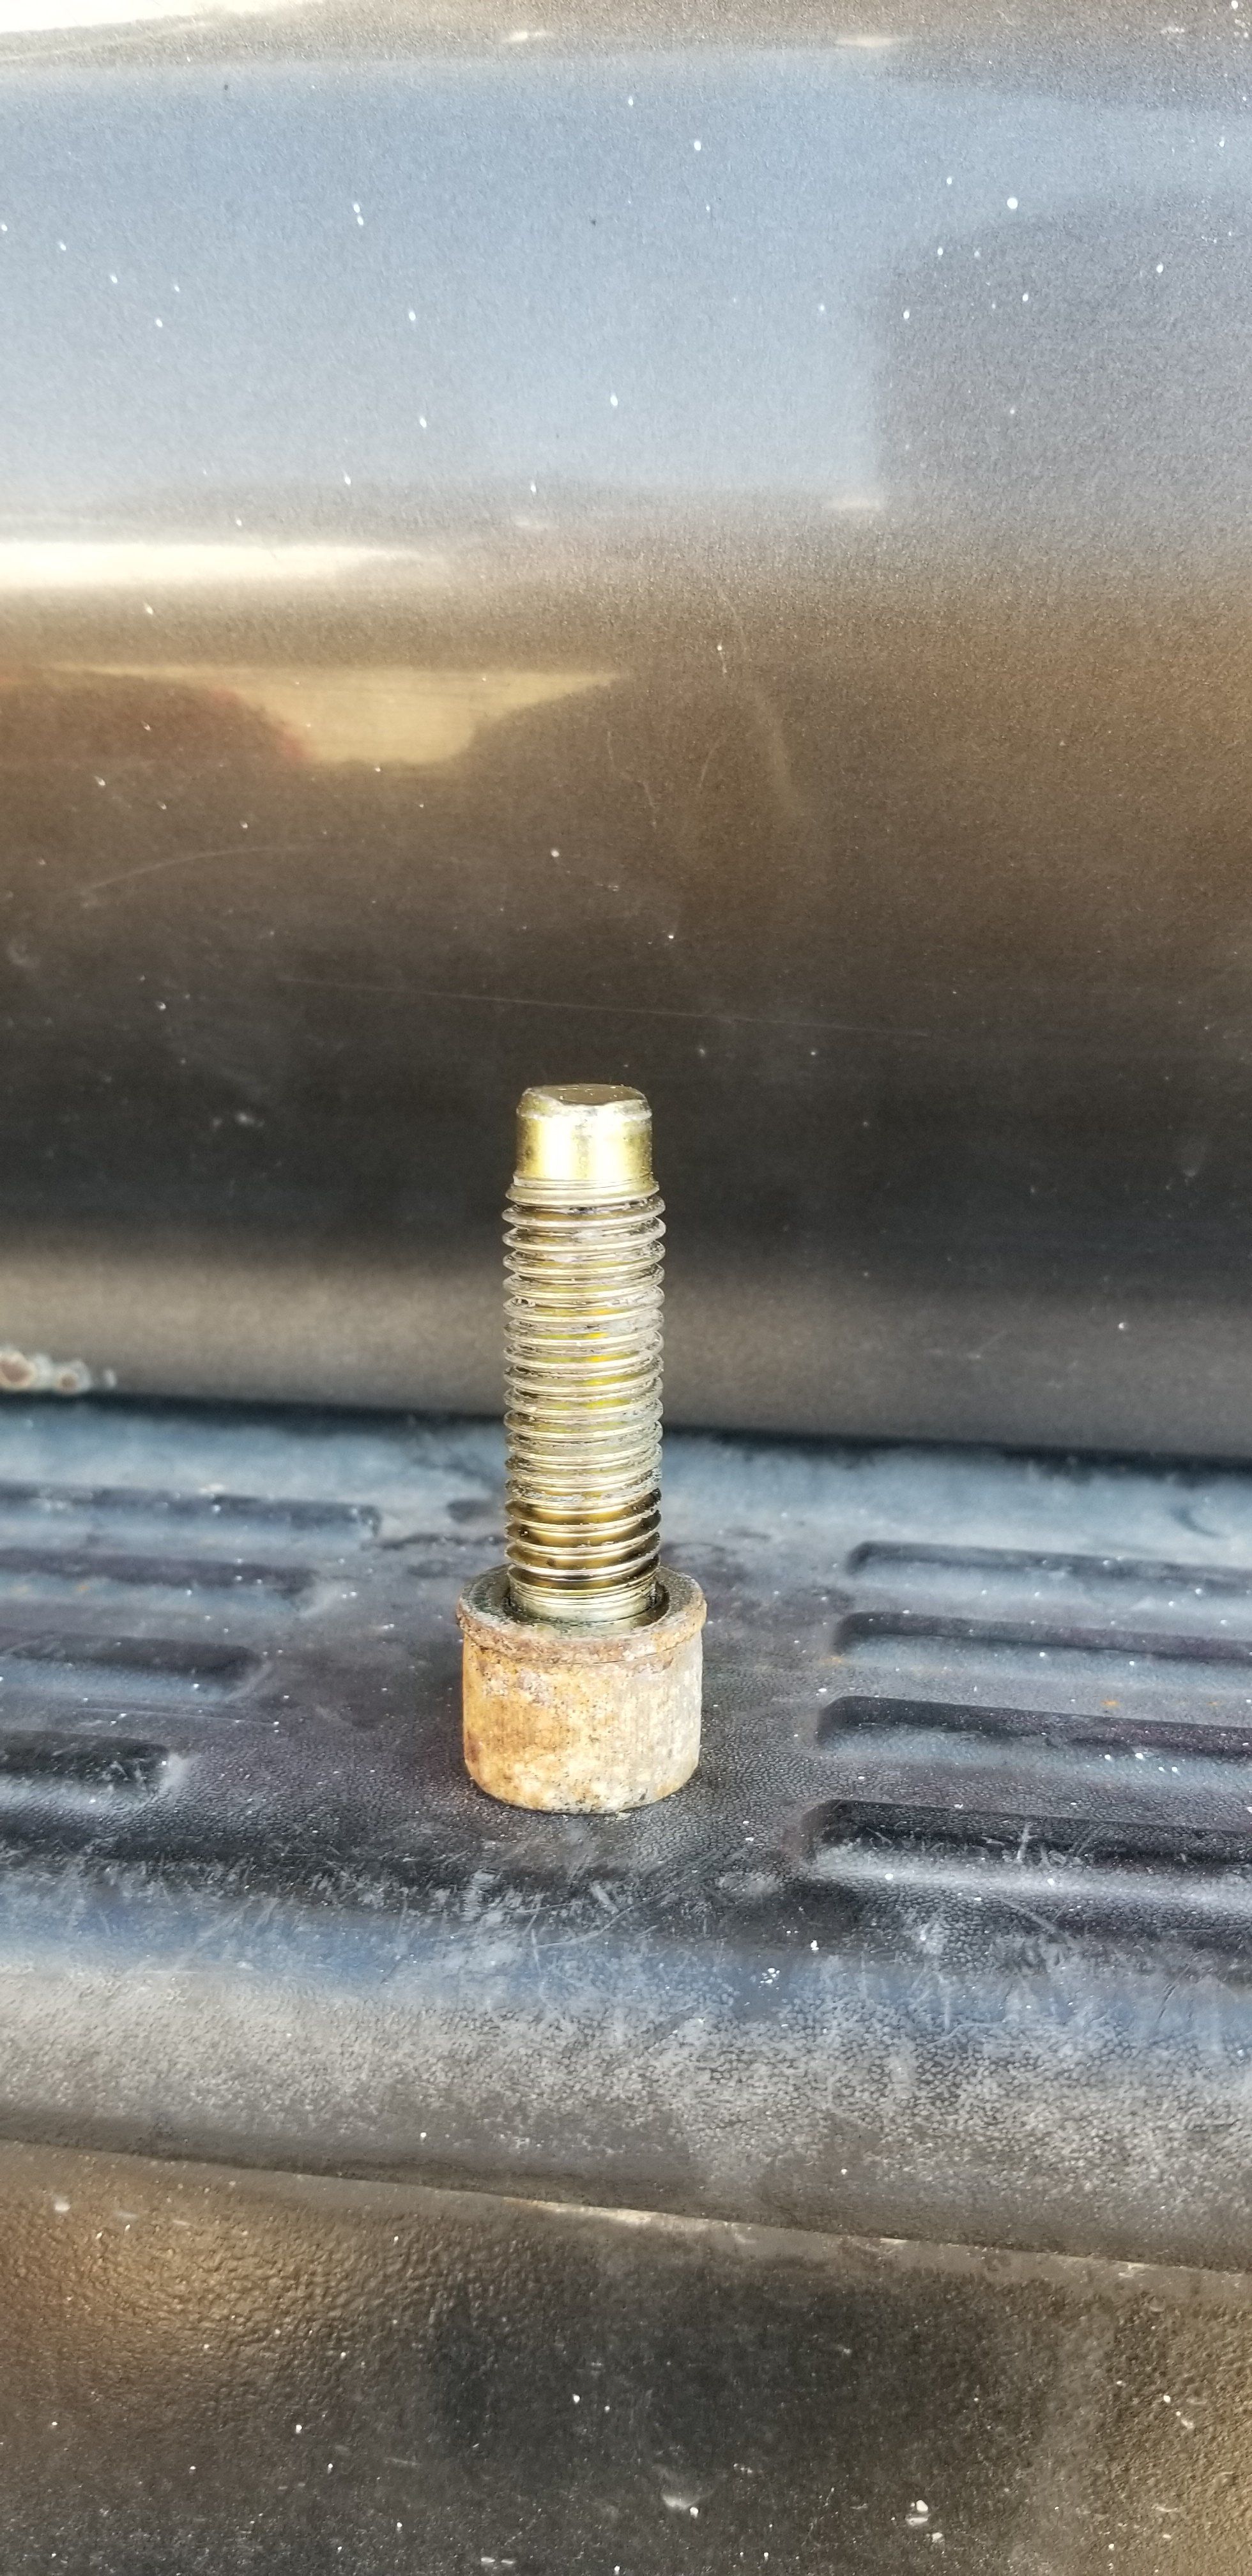
What I found interesting of this whole process was the bolts that hold the rear of the diff to the bushings in the subframe, they are course thread, first Toyota bolt I've come across with such course threads:
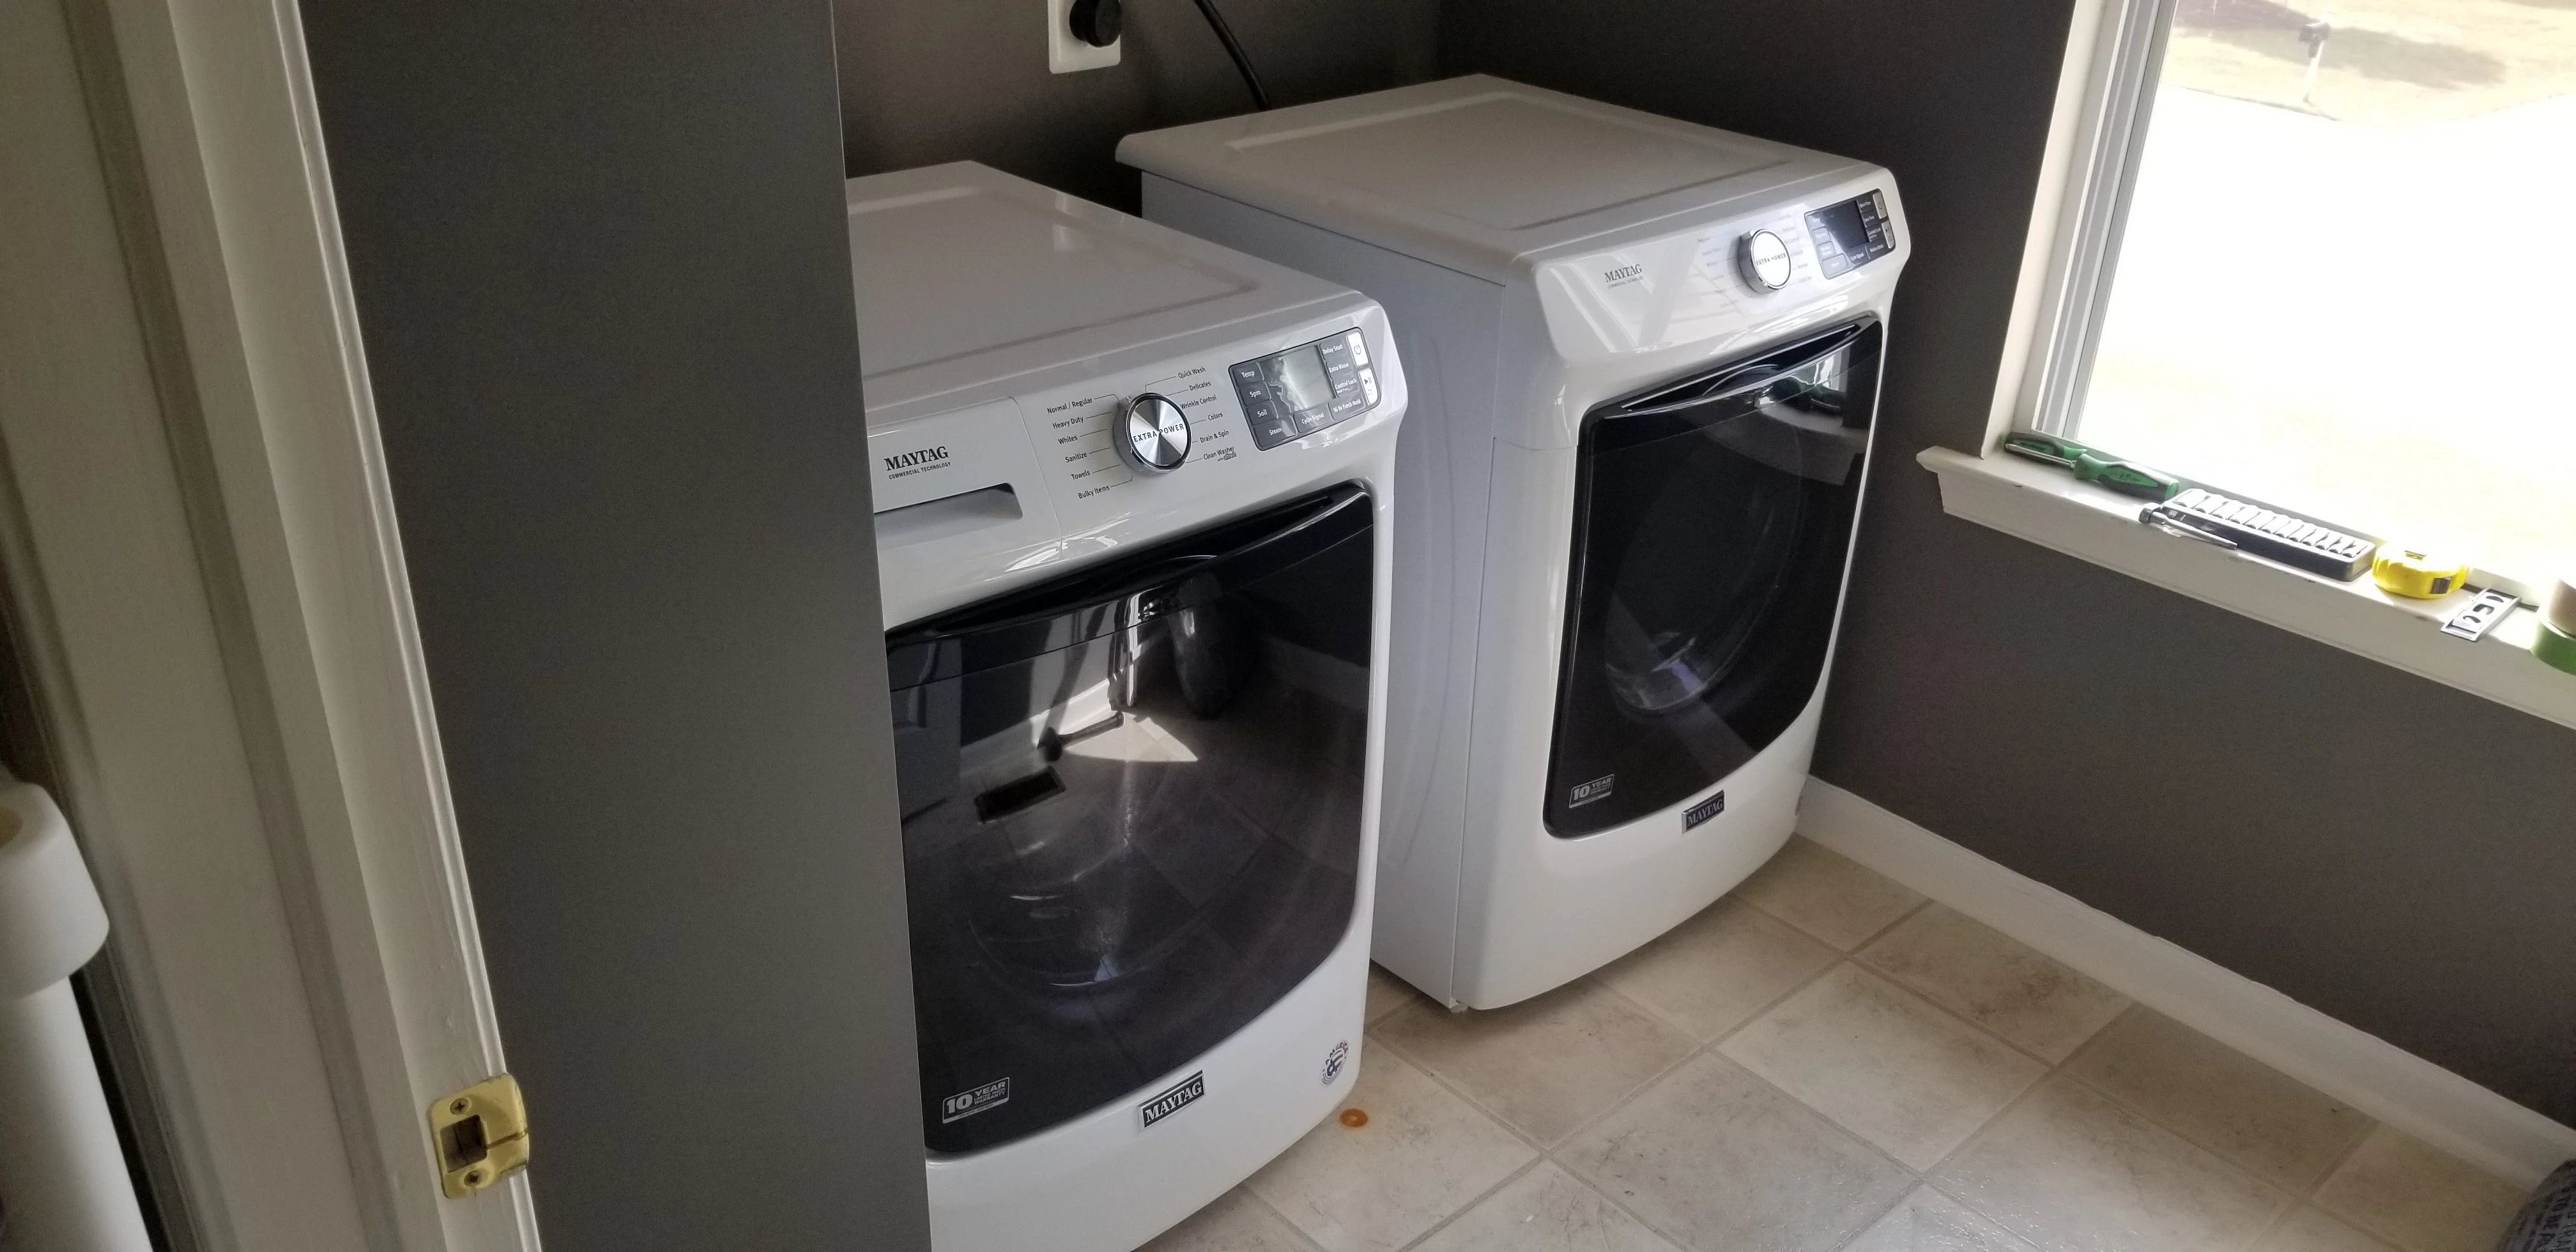
Lastly, the homeowner adult in me felt like ankid on Christmas this week, I painted our laundry room and installed our new washer and dryer:
Very please with myself except for one thing... we went from a top load to a front load, and I didn't measure. The bottom of our stair ls has a banister, and I couldn't make the corner because the front load is 3" longer so:
This lexus is coming along nicely, I also installed a new transmission mount that lifted the trail shaft a full inch! Driveline vibration has been reduced significantly. Instill have a vibration that I believe is my wheels, still keeping my eyes peeled for some 16" or 17" Highlander or Rav4 wheels for cheap since they tend to be stronger then the ones on the car.
Two weeks ago on my way back from lunch to work I started to hear a whine in the rear of the SC400. The car has 218k, and considering it's history that I have been uncovering, I'm not surprised the diff was low with very burnt fluid. I was able to source a new 3rd with 89k on it from LKQ and installed it in a matter of an hour or so:
What I found interesting of this whole process was the bolts that hold the rear of the diff to the bushings in the subframe, they are course thread, first Toyota bolt I've come across with such course threads:
Lastly, the homeowner adult in me felt like ankid on Christmas this week, I painted our laundry room and installed our new washer and dryer:
Very please with myself except for one thing... we went from a top load to a front load, and I didn't measure. The bottom of our stair ls has a banister, and I couldn't make the corner because the front load is 3" longer so:
This lexus is coming along nicely, I also installed a new transmission mount that lifted the trail shaft a full inch! Driveline vibration has been reduced significantly. Instill have a vibration that I believe is my wheels, still keeping my eyes peeled for some 16" or 17" Highlander or Rav4 wheels for cheap since they tend to be stronger then the ones on the car.
Avi - you could stack them or buy the drawer stands that go under them?
Avi - you could stack them or buy the drawer stands that go under them?
They have the option to do both. We eventually will be stacking them and putting either a sink or dog wash station next them. I may just build a platform for now to raise them up a bit
Endless welding cart/table build continues...
I took a super warped piece of steel

And made it a slightly less warped (but still warped) saw table top:

Perfect flatness isn’t key here because:
1. It will house an abrasive saw - which couldn’t cut straight to save its life to begin with.
2. The table is on jack bolts - so as long as the saw sits level enough that it doesn’t rock (it does) I can level the pull-out saw table relative to the top. This will mount the saw flush with the table top.

The saw will pack up underneath when not in use and the table slides in to save very limited garage space. Even the extension is on jack-bolts and also locks into position so I can also level it and use it as an extension to the table for larger projects.

I still need to find a way to cleverly mount a small vice (maybe) and house all the cords/cables. I’m debating adding an outlet that I can run off an extension cord for the saw/grinders etc. but I also worry the welder will backfeed it when I’m welding if I don’t isolate it properly. Not sure the juice is worth the squeeze on that one. I also need to finished building the two small drawers that go under the welder/saw to house all my celcos, plyers, and other small metalworking things.
Once accessorized I can weld in all the stuff that is currently clamped, clean up my B-squad welds and paint it - but I probably missed my paint window for this year.
I took a super warped piece of steel
And made it a slightly less warped (but still warped) saw table top:
Perfect flatness isn’t key here because:
1. It will house an abrasive saw - which couldn’t cut straight to save its life to begin with.
2. The table is on jack bolts - so as long as the saw sits level enough that it doesn’t rock (it does) I can level the pull-out saw table relative to the top. This will mount the saw flush with the table top.
The saw will pack up underneath when not in use and the table slides in to save very limited garage space. Even the extension is on jack-bolts and also locks into position so I can also level it and use it as an extension to the table for larger projects.
I still need to find a way to cleverly mount a small vice (maybe) and house all the cords/cables. I’m debating adding an outlet that I can run off an extension cord for the saw/grinders etc. but I also worry the welder will backfeed it when I’m welding if I don’t isolate it properly. Not sure the juice is worth the squeeze on that one. I also need to finished building the two small drawers that go under the welder/saw to house all my celcos, plyers, and other small metalworking things.
Once accessorized I can weld in all the stuff that is currently clamped, clean up my B-squad welds and paint it - but I probably missed my paint window for this year.
Last edited:
Could mount a vise to a trailer hitch type receiver and then be able to change it out for other accessories later.Endless welding cart/table build continues...
I took a super warped piece of steel
View attachment 2110724
And made it a slightly less warped (but still warped) saw table top:
View attachment 2110725
Perfect flatness isn’t key here because:
1. It will house an abrasive saw - which couldn’t cut straight to save its life to begin with.
2. The table is on jack bolts - so as long as the saw sits level enough that it doesn’t rock (it does) I can level the pull-out saw table relative to the top. This will mount the saw flush with the table top.
View attachment 2110726
The saw will pack up underneath when not in use and the table slides in to save very limited garage space. Even the extension is on jack-bolts and also locks into position so I can also level it and use it as an extension to the table for larger projects.
View attachment 2110727
I still need to find a way to cleverly mount a small vice (maybe) and house all the cords/cables. I’m debating adding an outlet that I can run off an extension cord for the saw/grinders etc. but I also worry the welder will backfeed it when I’m welding if I don’t isolate it properly. Not sure the juice is worth the squeeze on that one. I also need to finished building the two small drawers that go under the welder/saw to house all my celcos, plyers, and other small metalworking things.
Once accessorized I can weld in all the stuff that is currently clamped, clean up my B-squad welds and paint it - but I probably missed my paint window for this year.
Could mount a vise to a trailer hitch type receiver and then be able to change it out for other accessories later.
This thought has crossed my mind - the trouble has been finding a spot to mount the receiver that 1. fits within the space available without conflicting with anything and 2. mounts the vice in a location that is actually useful.
I'm not sure I would mount a vice to your cart. I crank mine so hard I move a work bench full of tools somtimes.This thought has crossed my mind - the trouble has been finding a spot to mount the receiver that 1. fits within the space available without conflicting with anything and 2. mounts the vice in a location that is actually useful.
I'm not sure I would mount a vice to your cart. I crank mine so hard I move a work bench full of tools somtimes.
I have a huge old 1930’s Erie vise on my work bench for THAT kind of work - and I have moved that bench using the vice as well. This would be a very small 4-inch vice - mostly for holding bar stock or tube I’m grinding through and for positioning things.
Plus - by my estimation this cart will weigh in around 200lbs before I load it down with the welder, tanks, saw, etc. It’s not HEAVY but it’s not that light either.
New shop for the company


Ooo that's pretty! New workspace smell
I finally dug into the 8284 winch problem on my 40. The motor failed when we were in CO (thanks to Stump, Tracy, and Pacer for getting me out of that jam... and Pacer’s 200 was AWESOME at getting me up the last couple hundred yards of Imogene). While I was in there, I greased everything, changed the oil out, replaced the solenoids with a heavy duty Albright/Warn contactor, replaced the motor with the 9.5, and got a new controller. Pacer helped me finish up the wiring today. We also replaced a few leafs 
Last edited:
Over the last few weekends, replace the drag link and tie rod ends, bypassed the rear heater, and replaced the front diff lock actuator.
Also made a deal on a '93 triple locked 80. Should be picking that up Sat. Not sure what I am going to do with it, but the price was right!
Also made a deal on a '93 triple locked 80. Should be picking that up Sat. Not sure what I am going to do with it, but the price was right!
Had our national board joint review today.
The review team has recommended that Wheelhouse Mechanical be accredited to use the "R" symbol, in accordance with the most current edition of the National Board Inspection Code, to perform shop and field repairs and alterations to metallic pressure retaining items.
I'm back in the code welding business!!
Over the last few weekends, replace the drag link and tie rod ends, bypassed the rear heater, and replaced the front diff lock actuator.
Also made a deal on a '93 triple locked 80. Should be picking that up Sat. Not sure what I am going to do with it, but the price was right!
Where and how much did you get the front actuator for?