Builds The Guzzler - 2009 LX570 (2 Viewers)

This site may earn a commission from merchant affiliate
links, including eBay, Amazon, Skimlinks, and others.

Helluva a price for that!
I am hopeful it's a serviceable unit. That cheap fridge is getting quickly expensive between this battery and the 5 lb propane bottle and griddle to cook up the eats.
 
Added a griddle based on the discussion over in 1World's thread. I had a Lowe's gift card from christmas that covered most of it.


I got this one because the cleanout is up front, and the propane feed is on the left. I have plans to add a swing down table to my swingarm, and that left feed should make routing from the propane bottle easier. At least that's how it is drawn up.
 
My MIL just overnighted me a 2000W DCAC inverter. I had it in my Amazon wishlist for a hot minute before I decided to go all-in-one. I wish she'd randomly picked the DCDC/MPPT instead.

I guess I might grab a LiFePo4 100AH? They have a 10 week lead time, so I'd get it in time to build over the winter.
 
In other news MT has announced the LX570 slider, which I've had installed for a couple months. My truck did the initial modeling last fall, and I am grateful to MT for creating some more options for our rigs. It's super solid kit and I highly recommend it. A bit more burly than some other options for the LX570. No compromises for the win!

I fully support the product and run it on my rig. I paid for it, in both time and money, and will try to give an honest assessment. However, I admit (having children) that we all love our own children best . . .
 
Awesome grinchy. Thanks for your time and investment in helping the community move forward with more options!
 
Added a griddle based on the discussion over in 1World's thread. I had a Lowe's gift card from christmas that covered most of it.


I got this one because the cleanout is up front, and the propane feed is on the left. I have plans to add a swing down table to my swingarm, and that left feed should make routing from the propane bottle easier. At least that's how it is drawn up.

Make sure you break it in with bacon. And every meal with bacon. No real reason other than camping and bacon go hand in hand for me. No better way to start a day than with a thick crag of bacon and a strong brew of coffee.
 
Awesome grinchy. Thanks for your time and investment in helping the community move forward with more options!
Thanks much. :) Mud has been awesome to me and I hope to make contributions where I can.

I was ASTOUNDED when I logged on to the Dissent site in my first week of LX570 ownership (March 2018) to buy a set of sliders to find out that they didn't have them. Or any other products for 200s. I had shopped 100s very aggressively (test drives, negotiations breaking down, 500+ mile range searches, and had a full build planned out. Love that stinger bumper. I digress . . .) Then I dug around here and heard that Slee had them. But they didn't have any stock, so I got on the 'list' (was name #1 or #2) So this has very much been a 2+ year passion project for me. We all have @tbisaacs to thank, as he made the first contact with MT.

I missed a set of Slee's in July of 2018 due to some 4th of July VMs and my email routing theirs to Junk (all totally my fault, btw), and then we all entered the slider desert until December 2019, when Slee came back on line. By then MT's product was mature enough that I knew it was the solution for me, so another four months went by while they prepped for production.
 
Last edited:
Note, it is NOT April 1st


I'm probably getting a set. I have a bunch of rotopax and mounts, and need a 3rd and 4th board (no winch here).
 
Working on getting this little 5 lb bottle settled. Ig round clamp coming tomorrow, but I've about got it hooked. Also a hook under it.

1ABC100E-83F4-4AEC-9297-0FCAE07D7C49.jpeg
 
This one rlca skid only took me five hours or so. Lots to learn on the install. The bolt hole on the outside was right on the weld. Broke two each of every drill size up thru 1/8. What a headache. Lots of install scuff marks, so on repaint decided to go full red on the bolts too. I could crank down more on the bolts but I'm A bit leary of the self tappers. They aren't going anywhere....

Install notes: rlca can be pivoted around by jacking under the pinion flange.
Torque is 111#
Install with straighter of the sides "In" on the skids.

21EAABA1-B1AE-4239-B521-335D9AC556BD.jpeg


EF28726C-3A0F-45BE-9E3B-3B2482088340.jpeg
 
This one rlca skid only took me five hours or so. Lots to learn on the install. The bolt hole on the outside was right on the weld. Broke two each of every drill size up thru 1/8. What a headache. Lots of install scuff marks, so on repaint decided to go full red on the bolts too. I could crank down more on the bolts but I'm A bit leary of the self tappers. They aren't going anywhere....

Install notes: rlca can be pivoted around by jacking under the pinion flange.
Torque is 111#
Install with straighter of the sides "In" on the skids.

View attachment 2337345

View attachment 2337346
Good thing you didn't torque down on the self tapping bolts, I snapped one pretty easily. Figured just a 1/4 turn more to make it real snug... until it only got loose and snapped.

I also had mine line up where one of the bolts was going to require drilling thru the weld. Decided 1 bolt is better than none and didn't bother drilling thru the weld. Looks like that was a smart idea.

I'm no speed demon on stuff but it was definitely more time consuming than I ever thought it could be. I probably spent a whole hour deciding which side would go where.

And drilling out the weld, snapping off drill in the hole several times, just ugh.

I think I'll take a deep breath on the other side for a couple weeks and then give it a go. If it doesn't end up on a seam I think it's only an hour work . . .
 
Save yourself some frustration, you jack from passenger side LCA Mount (axle side) to line the bolt holes up on both sides of the LCA frame mount
 
Went on a trip this weekend, so some learnings and prep stuff was done.

Tried the JB Weld Plastic Bonder 'fix' on my radiator, which has had the tell tale crack for quite some time.

IMG_8542.JPG


IMG_4232.JPG
 
For the trip, shipping was slowed by the protests last week, so the fridge, grill, and chairs I had planned to have for the weekend all came after we left on Saturday. That's a bummer, but the woods were still there and a good time was had by all.

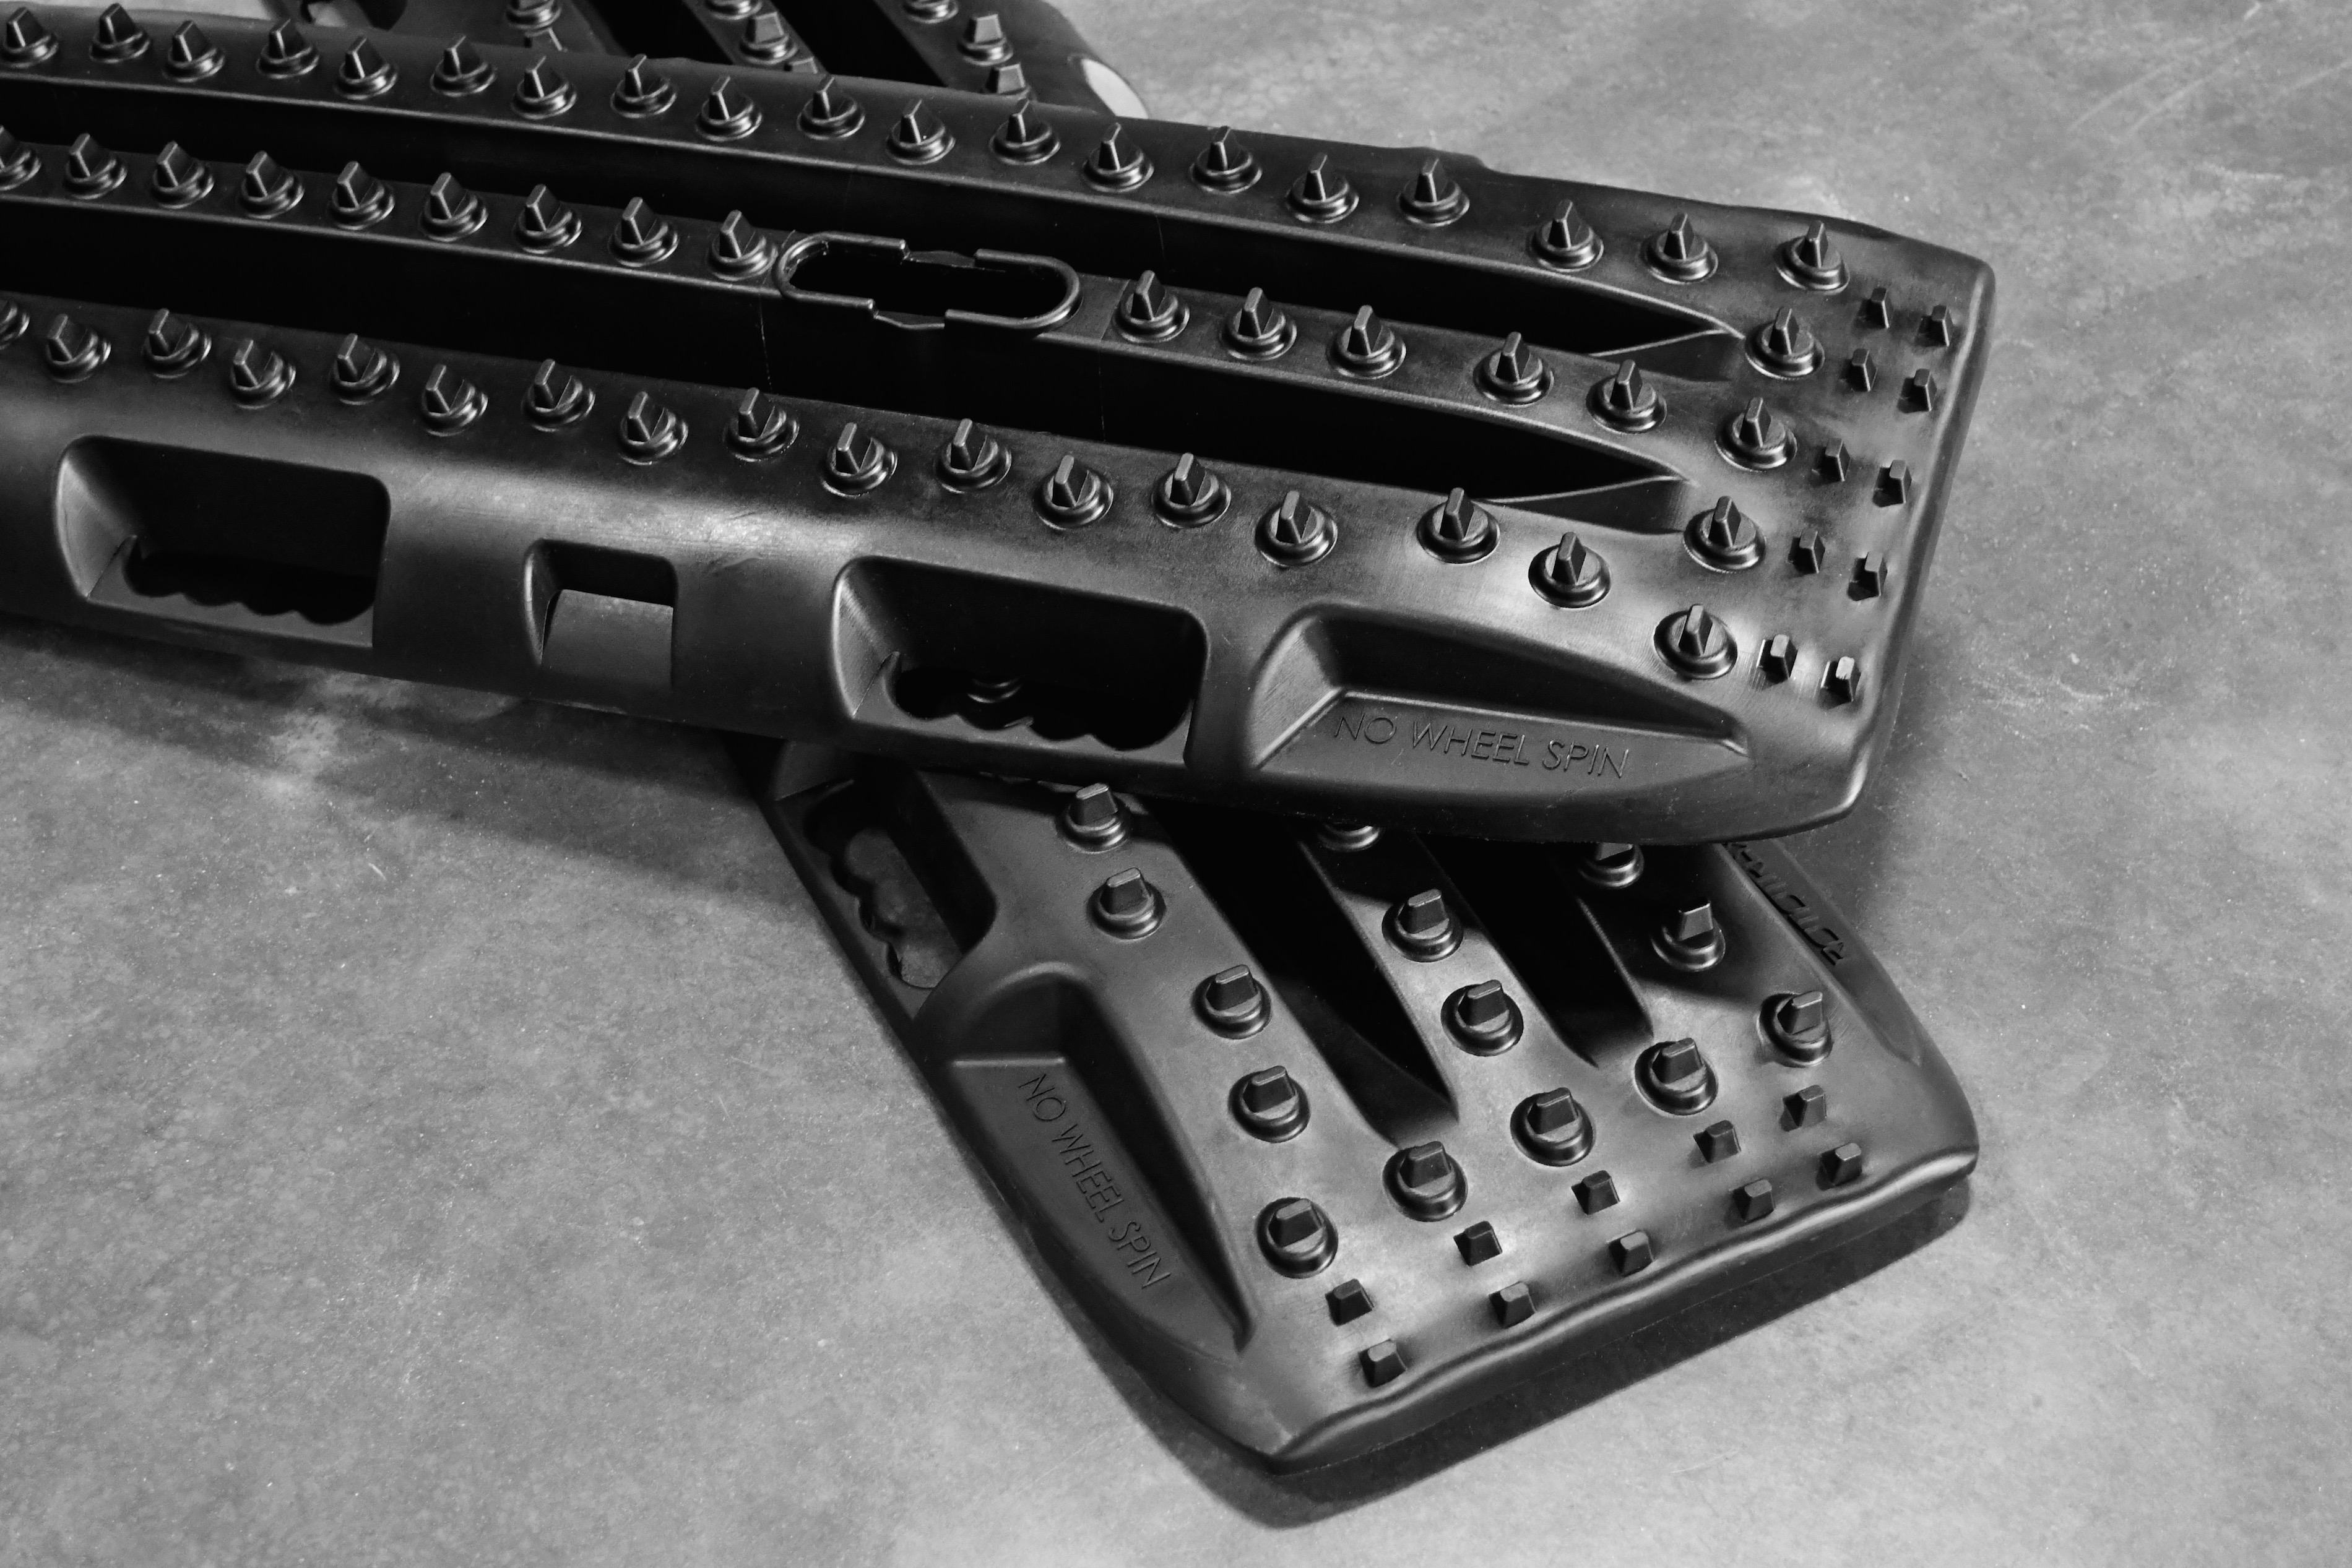
Trax mount using the standard roof bars. You'll want Yakima part 23H. It's out of print, but can still be found occasionally. Just run a four inch bolt up thru, with a nut to hold the mount tight, and then one of those plastic knobs that are used for tool adjustments on top of a fender washer. I used 1/2" copper pipe as a sleeve for the trax. I had previously built this on a vertical mount for my rear rack, so 30 min of fiddling and the trax were roof bound.

We used two of these water containers (WaterBrick), and they worked out great. They are easy to stack, easy to carry, easy to use. Most important, no leaks. I like that they're completely rectangular, and strong enough to put other items on top easily. They also tend to fit nicely in the floorboard area or seats, though we didn't put them there on this trip.


Most of my trips are backpacking focused, so having the car camping luxuries was very interesting, and we were not at all prepared for the containing all the many small things with load management. Too many bags and duffels, not enough containers and boxes to hold them.

F0760AF0-50E1-438C-8EDC-B2676DF3576E.jpeg


D724AEE5-4282-4613-81B7-2CC8149C9A3E.jpeg


77FE8FCC-6F45-492D-B748-3334911B3020.jpeg
 
We went to the Table Mountain area, between Wenatchee and Ellensburg. This area had been in a fire 3 or 4 years ago, and most of our driving was the result of looking for an unburnt area with a creek to set up camp at. In the end we couldn't improve on the location and conveniences of the Haney Meadow area, at the Ken Wilcox horse camp. There was one other party there, out of about 15 spots. Aside from taking some interesting looking spurs, all driving as on the FS roads.

In general conditions were good, with mud only in a few areas and the longest mud stretch only about 100 feet. All with lots of trees around, so I wasn't worried about getting stuck as I had the Bog Outs and enough line to pull out with. Most of the time in 4H, with maybe one mile in 4L, and maybe a 1/4 mile with the center diff locked. No need for the rear locker. Just a hint of traction needed on the one washout obstacle.

So headed down NF 9712 about five miles N of Haney Meadow, the road which was paralleling the mountain edge had a set of washouts right near the summit, before it headed down to Wenatchee. The total obstacle might have been 1/8" mile and had four separate washouts. Sketchy because the road, which was already cliff edge, was now off camber quite a bit and narrowed significantly. This area sees primarily motorcycle traffic I think . . . anyhow, we drove it and found this on the other side.

Good to know!

IMG_8323.JPG
 
Pictures never do it justice, and I don't have any from the really tight ones as I was focused on the road. Used the front and side cam to make sure I was on the road. Side cam in particular was useful to keep the tire well away from the edge.

The pics were from the steepest, but not the most exposed. At this point I was comfortable setting the brake and getting out.

IMG_0917.JPG


IMG_2539.JPG


IMG_3995 2.JPG
 
Haney Meadow. After exploring this whole drainage we are interested in going back and having a look at tthe next drainage east. The creeks look to be a bit larger in that direction.

Also my two oldest wanted to try hammock camping. Worked out OK.

321984AF-E575-4108-80D1-858A9A84178D.jpeg


BA9CFE60-DF60-4D70-A2C3-B0687DD9BADE.jpeg
 

Users who are viewing this thread

Back
Top Bottom