Split Case Rebuild (1 Viewer)

This site may earn a commission from merchant affiliate
links, including eBay, Amazon, Skimlinks, and others.

I HAVE H55 ACTION!!

I'll post picks at the weekend but I got a call that the H55 came in from Chris Wurtz at Toyota of El Cajon - 619-440-0225. Happened to be near the shipper service facility so I grabbed it. Best price going. Also got the shifter with a boot and he thru in an oiler (which I had). So once the next CDan box gets here, it's on!
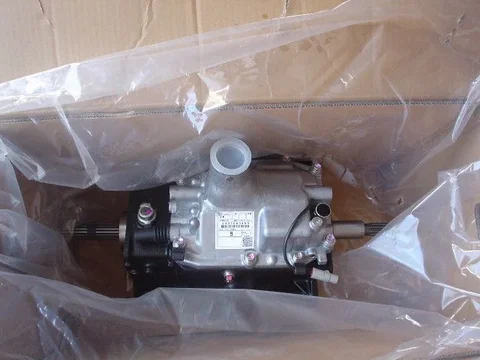
H55.jpg
H55.jpg
 
Last edited:
OKay.
Finally got a chance to get back at it.

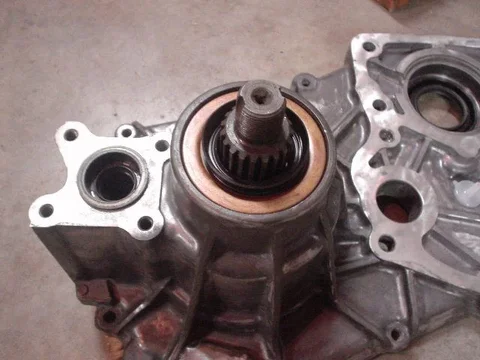
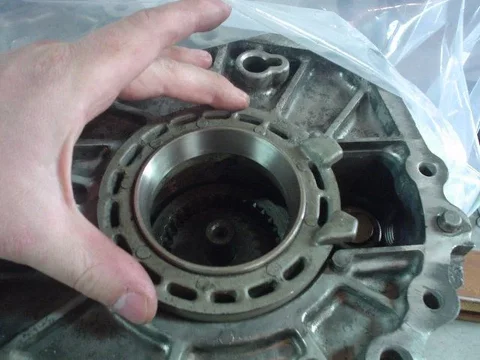
I installed the oilslinger on the front output shaft. It just slides in place. The FSM forgot to tell me about that.

02-12-08 003.jpg

Then I drove the new seal in place. It was a very nice fit compared to the aftermarket rubber covered seals.

02-12-08 004.jpg

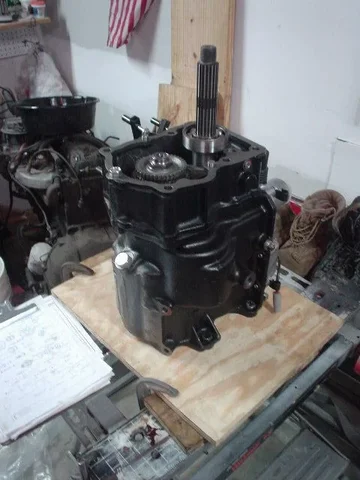
Next, I made a 3/4 inch plywood mount for the H55 so I could stand it on end and work from the top. I C-clamped it to my Black and Decker Workmate.

02-12-08 001.jpg
02-12-08 003.jpg
02-12-08 004.jpg
02-12-08 001.jpg
 
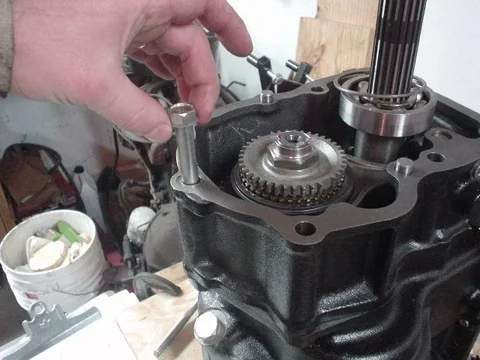
The H55 has a bolt in it holding the adapter in place to the tranny. I learned a few things over the past weeks. The adapter is simply a place holder and in USA FJ60s it was nothing but an empty housing. That is why in the later FJ60s the H55 is a straight fit.

I took the bolt out:

02-12-08 005.jpg

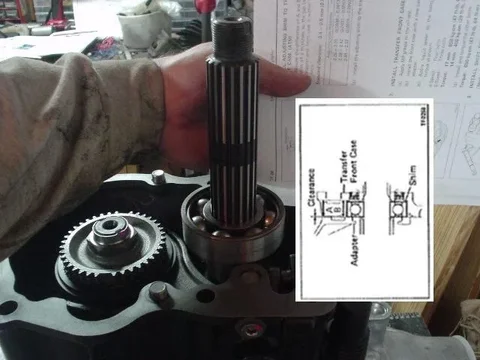
Back in post 52 I was asking WTF the manual was trying to tell me with that very bad sketch. After I talked to Poser and got to look at everything with the H55 it is oriented like this:

02-12-08 Clearance.JPG

What it is telling me is that there should exist a gap of .4 to .5 mm between the split case and the adapter (the place holder I mentioned above). To get that gap you should use one of the three shims listed. Mine had a 2.28mm when I dissasembled it. That does not appear to be enough. As a matter of fact it really looks like I need about 3mm (really about 2.9)!

Again looking for help here. I don't want a shim rattling around in there but the largest shim available seems to be a 2.52 although I have not been able to find the part numbers for the thicker ones just the transfercase output shaft ones (which I continue to be borrowing from a Mud member). My transfer case sits flush right down on the adapter. Do I need to seek out a larger shim or should I just put that 2.28 back in there and go? Anybody got part numbers? Even a word search in my sweet new EPC does not come up with such an animal.

That is where I left off. I did cover the H55 to keep junk out.
02-12-08 Clearance.JPG
02-12-08 005.jpg
 
Last edited:
I figured it out. You don't need a shim at all. That's only for the auto. If you look in the manual, step 6 where it shows your drawing it says (ATM). That means automatic specific instructions.

Good luck.


edit-just to clarify: In the H55 set up, it runs zero clearence. The bearing fits into the machined cavity in the case and supports the shaft. I did not put a shim in mine.
 
I figured it out. You don't need a shim at all. That's only for the auto. If you look in the manual, step 6 where it shows your drawing it says (ATM). That means automatic specific instructions.

Good luck.
Well for f*cksake!!! For those following along Drew is 100% right!

Thanks brotha! I owe you a cold one!:cheers:
 
I went ahead and mounted the front of the split case to the tranny tonight. Took just a couple minutes. I used some of the paint on flexible gasket sealer on either side of the paper gasket and the tranny adapter and split case. The three bolts with locktite were torqued to 47 ft lbs in accordance with the FSM.

02-14-08 001.jpg

I also updated post 33 with all the correct bolt Toyota part numbers, measurements and descriptions.

I am waiting for a little box from Poser for the next step. He saved me with a transfer front drive shift shaft so I do not have to modify the one I have for manual shift after I posted in the wparts wanted thread. Less guess work.
Thank you sir:cheers:
02-14-08 001.jpg
 
90119-08353 x 2 Discontinued *Can use 91651-60830 (Split case inspection cover)
91651-60830 x 4 Bolt w/washer and split washer 8mm - 1.25P x 30mm (Split case inspection cover)
91611-60610 x 6 Bolt w/washer and split washer 6mm - 1.00P x 10mm (Oil receiver bolts)
90119-10262 x 6 Bolt w/washer and split washer 10mm - 1.25P x 40mm (Speedometer gear housing to split case)
90119-12047 x 4 Bolt w/washer and split washer 12mm - 1.25P x 170mm (Split Case to 5 Speed)
90119-12235 x 3 Bolt w/washer and split washer 12mm - 1.25P x 170mm (Split Case to 5 Speed)
91611-61020 x 6 Replaced with:
90080-11445 Bolt w/washer and split washer 10mm - 1.25P X 20mm - 20 threaded (PTO Cover)
91651-61030 x 3 Bolt w/washer and split washer 10mm - 1.25P x 30mm all thread (t-case halves)
91651-61040 x 8 Bolt w/washer and split washer 10mm - 1.25P x 40mm - 30 threaded (t-case halves)

I'm a little confused on the part numbers. . . Which is the part number for the (4) four bolts that bolt through the front half of the case and into the back of the tranny. Thanks dude. . .

Dylan
 
I'm a little confused on the part numbers. . . Which is the part number for the (4) four bolts that bolt through the front half of the case and into the back of the tranny. Thanks dude. . .

Dylan

Sorry - I made a typo:

90119-12047 x 4 Bolt w/washer and split washer 12mm - 1.25P x 125mm (Split Case Front to 5 Speed)

Not 170mm
 
02-24-08 005.jpg

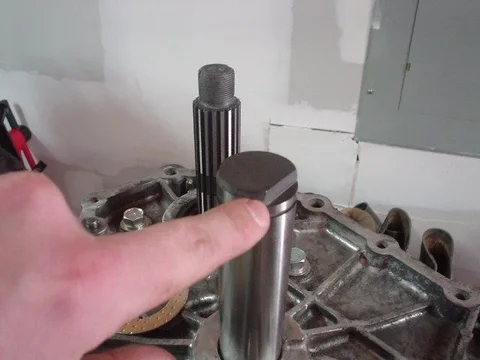
Here is a pic of the transfer shaft. The bottom one is from the 62 and the top one from the FJ60. I read where some guys would use the FJ62 one and put the notches in it. I do not quite understand that as you see it is different for the vaccum shifter; even in length. You note the difference is extensive but ideally for this, the top one with the correct notches is preferable.

Before I installed the one from Poser I went ahead an measured the clearance between the fork and the hub sleeves. The FSM wants less then 1.0mm.
02-24-08 005.jpg
 
Next I installed the clutch sleeve with the fork around it, careful, when I did it I buggered my seal a bit from the inside.

02-24-08 006.jpg

Then the rear output shaft front bearing retainer. It slid in easily with some coaxing from a small wooden mallet.

02-24-08 007.jpg

Then was the Idler shaft. The notch goes away from the splitcase front and do not forget the O-Ring. Mine fit very well.

02-24-08 008.jpg
02-24-08 006.jpg
02-24-08 007.jpg
02-24-08 008.jpg
 
Here is a pic of the top of the idler shaft with the notch. it is best to have this positioned correctly (toward the lock plate) when you seat it. Although it can be easily turned with an adjustable wrench.

02-24-08 009.jpg

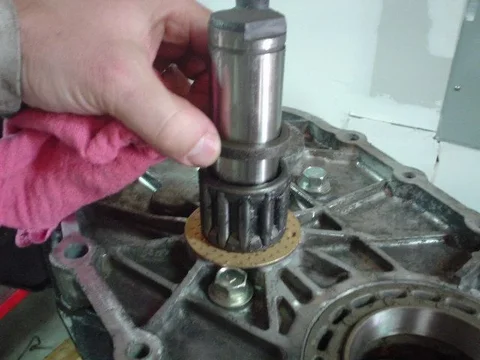
Next, a thrust washer was slid into place with the holes up.

02-24-08 010.jpg

Note that there is a small protrusion on the back that fits into a groove in the case.

02-24-08 011.jpg
02-24-08 009.jpg
02-24-08 010.jpg
02-24-08 011.jpg
 
Next, I greased and installed one encased needle bearing to the idler shaft, then the spacer.

02-24-08 012.jpg

I then attached the oil slinger to the idler gear using three 6mm bolts. The ones that I took out were 20mm long and theones the EPC showed were only 10mm so I cleaned up the originals and used them. My oil slinger was in bad shape and I had to ensure it did not rub. They are very flimsy and I think this one suffered some damage when the old bearings came apart. These are cheap and a replacement would have been nice but I did not realize that this was so mis-shapen. It seems fine now with a bit of shade tree straightening.

02-24-08 013.jpg

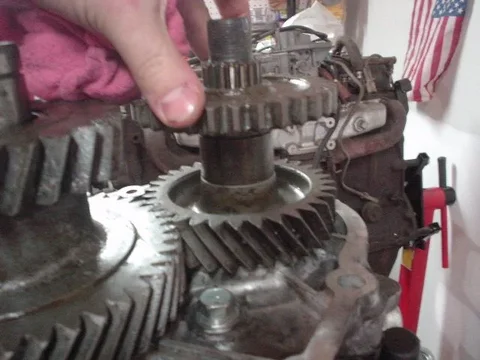
I then slid the idler gear in place and slid the second encased needle bearing inside with some grease.

02-24-08 014.jpg
02-24-08 012.jpg
02-24-08 013.jpg
02-24-08 014.jpg
 
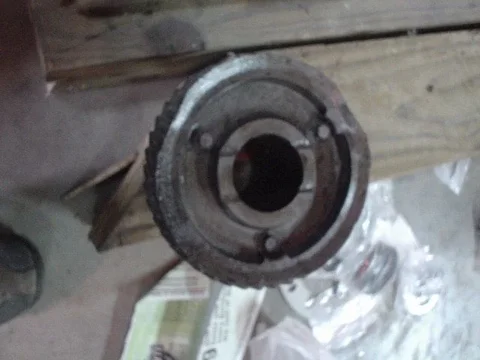
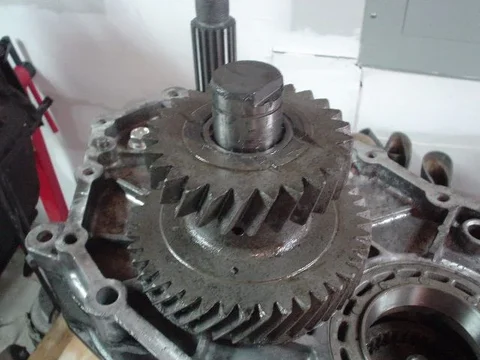
Next is the transfer input gear. It slid on easily with a pit of coaxing. Ensure it is on in the right direction.

02-24-08 017.jpg

Then went the spacer and power take-off gear.

02-24-08 018.jpg

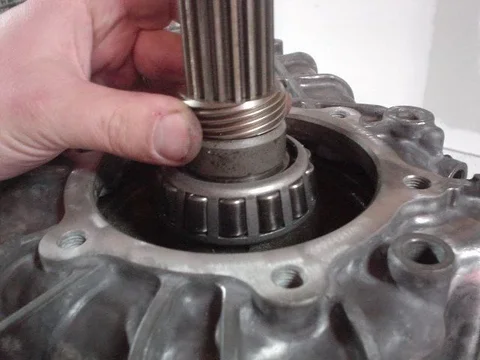
And finally, the output shaft bearing was driven on.

02-24-08 019.jpg
02-24-08 017.jpg
02-24-08 018.jpg
02-24-08 019.jpg
 
Next, the the rear output shaft and shift fork and shaft were slid into place.

02-24-08 020.jpg

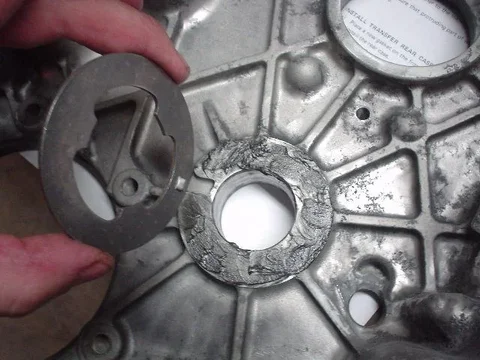
Then, the top thrust washer was stuck to the back half of the splitcase with grease and set in place. Again there is a protrusion that fits in a casting.

02-24-08 021.jpg

Now I put the thing together and discovered that the notch for the o-ring in the idler was not up enought to get the o-ring on it. The FSM says the next step is to put the o-ring on and drive the shaft down. I had to take my junk apart and push the shaft up then put the whole mess back together with the idler in the back half of the case. It was easier.

Here it is where it needs to stick up to get the o-ring on and then gets driven down into the case.

02-24-08 022.jpg
02-24-08 020.jpg
02-24-08 021.jpg
02-24-08 022.jpg
 
Now the spacer and speedo gear on the rear output shaft.

02-24-08 024.jpg

It was time to put on the bearing retainer and check preload.

NOTE:
YOU HAVE TO PUT THE TRANSMISSION IN NEUTRAL FOR THIS BUT IF IT IS A NEW H55, DO NOT MOVE IT AGAIN! YOU CAN BUGGER IT BADLY!!!!


Ensure this oil slinger is in place and tight:

02-24-08 025.jpg

Then align the rib on the retainer with the rib on the case and tighted the bolts to 25 foot pounds.

02-24-08 026.jpg

This took me a couple tries but I ended up with a number 5 shim in there (.5mm). My preload was about 12 inch pounds with the number 4 until I put the gasket in and it fell to 6 so I took it apart and put in the 5 and torqued everything and it is within spec.

That is where I am at. So I am waiting for a couple small bits from CDan as well as the shim to replace those I borrowed from the mud member.

:cheers:
02-24-08 024.jpg
02-24-08 025.jpg
02-24-08 026.jpg
 
I HAVE H55 ACTION!!

I'll post picks at the weekend but I got a call that the H55 came in from Chris Wurtz at Toyota of El Cajon - 619-440-0225. Happened to be near the shipper service facility so I grabbed it. Best price going. Also got the shifter with a boot and he thru in an oiler (which I had). So once the next CDan box gets here, it's on!

View attachment 208976

This is a great thread!

I am curious why you went Toyota El Cajon for the H55 but go to CDan for everything else? Are you right there in El Cajon?
 
This is a great thread!

I am curious why you went Toyota El Cajon for the H55 but go to CDan for everything else? Are you right there in El Cajon?
No, I did some shopping around as well as searching here on Mud and they actually have the best price (sorry Dan:cheers:) they include shipping and source it right out of Japan. I talked about the pricing with Chris Wertz a bit and I don't think even he could explain the cheaper price that he gets via his source.
 
Wow... amazing thread.... Enjoyed reading it.
 
Can you help :D

100_3941.jpg
 

Users who are viewing this thread

Back
Top Bottom