Builds Reddog90's 40 Thread (1 Viewer)

This site may earn a commission from merchant affiliate
links, including eBay, Amazon, Skimlinks, and others.

Work day at @FARMAN33 epic garage. The guys helped me with a valve adjustment, new OME steering stabilizer and some other odds and ends. Great day with great guys.
9LhznlC.jpg

xj2Snjg.jpg

M3XnpgC.jpg

qY6I22z.jpg

LMes9DX.jpg


That's a Very Nice OEM Toyota oil pressure sending unit & subsequent Sender / Switch repair Button connector Kit

w/ the correct Yellow w/ black color coded Tracer stripe wire attached to it :)
 
so Reddog ,

- Did u notice any improvements or negative effects of any kind as a result of adjusting your valves ?


- if so can u describe them in detail


- Thanks
 
so Reddog ,

- Did u notice any improvements or negative effects of any kind as a result of adjusting your valves ?


- if so can u describe them in detail


- Thanks

The truck idles smoother and quieter now. I didn't notice an improvement in acceleration. I have noticed it sounds different inside the cab when idling at a stop light or something like that. I guess now it sounds how an old 2F is supposed to sound and I'm just not use to it yet.
 
Great year and awesome cruiser you found. It was always cool traveling I35 past Wimberly4x4 and looking at the yard full of 40's before it closed. Daniel had one main restorer named Grant that was a member here (Grant5127) but moved to the hill country when the shop closed. Wealth of knowledge and most likely would remember what was done to your rig if you needed help. Looks like he hasn't logged in since 2017 though.

Looking forward to seeing your progress.

That's pretty cool you used to drive by Daniel's shop. What part of TX are you in? And what skiff is that in your profile picture?
 
brxjQO8.jpg

Rebuilt my center arm last night with a kit from @cruiseroutfit. Very easy job, especially after watching the Otramm youtube video. I cleaned the housing and arm well with simple green, reassembled, taped and then treated with rust converter. I'll paint with Rustoleum Pro in a day or two and then get it back on the truck.

I also sprayed rust converter on some surface rust areas on the frame rails where my old winch was and where the center arm mounts. I'll paint those when I paint the center arm. I have some fluid film to spray inside the front cross member where I can't get with rust converter and paint.

I'm having a hell of a time getting the PS TRE off my relay rod. It's been soaking in PB Blaster for a couple days and I can't get it to budge. I was going to reinstall it on the tie rod and try to turn the relay rod with a pipe wrench next. Is that kosher?
 
That's pretty cool you used to drive by Daniel's shop. What part of TX are you in? And what skiff is that in your profile picture?

Live outside of Waco and the boat was a 18 shallowsport classic. Running a 24 now.
 
yffR6nF.jpg

MvciTgQ.jpg

This screw in the drag link end was frozen. Some heat did the trick. I used a large chisel turned by a box wrench.

A5yBP6C.jpg

tNOaEZ7.jpg

Out of the "parts washer"

B1Gk5Ie.jpg

Cleaned up, sprayed with rust converter, then a couple coats of Rustoleum Pro

lKh7eJQ.jpg

All the rods and clamps got scraped, wire brushed, scrubbed with simple green, scrubbed with CLR & green scotchbrite, sprayed with rust converter, then painted with Rustoleum Pro. I sprayed a bunch of fluid film inside each rod before threading the TREs on. New hardware from Lowe's. They are ready to go when I finish the knuckles.

R9Tb7XU.jpg

I got the center arm back on. I can't snug either of these gaps any more though. Are they ok like this?
 
Cruiser Outfitters told me the two gaps in the last pic are fine.

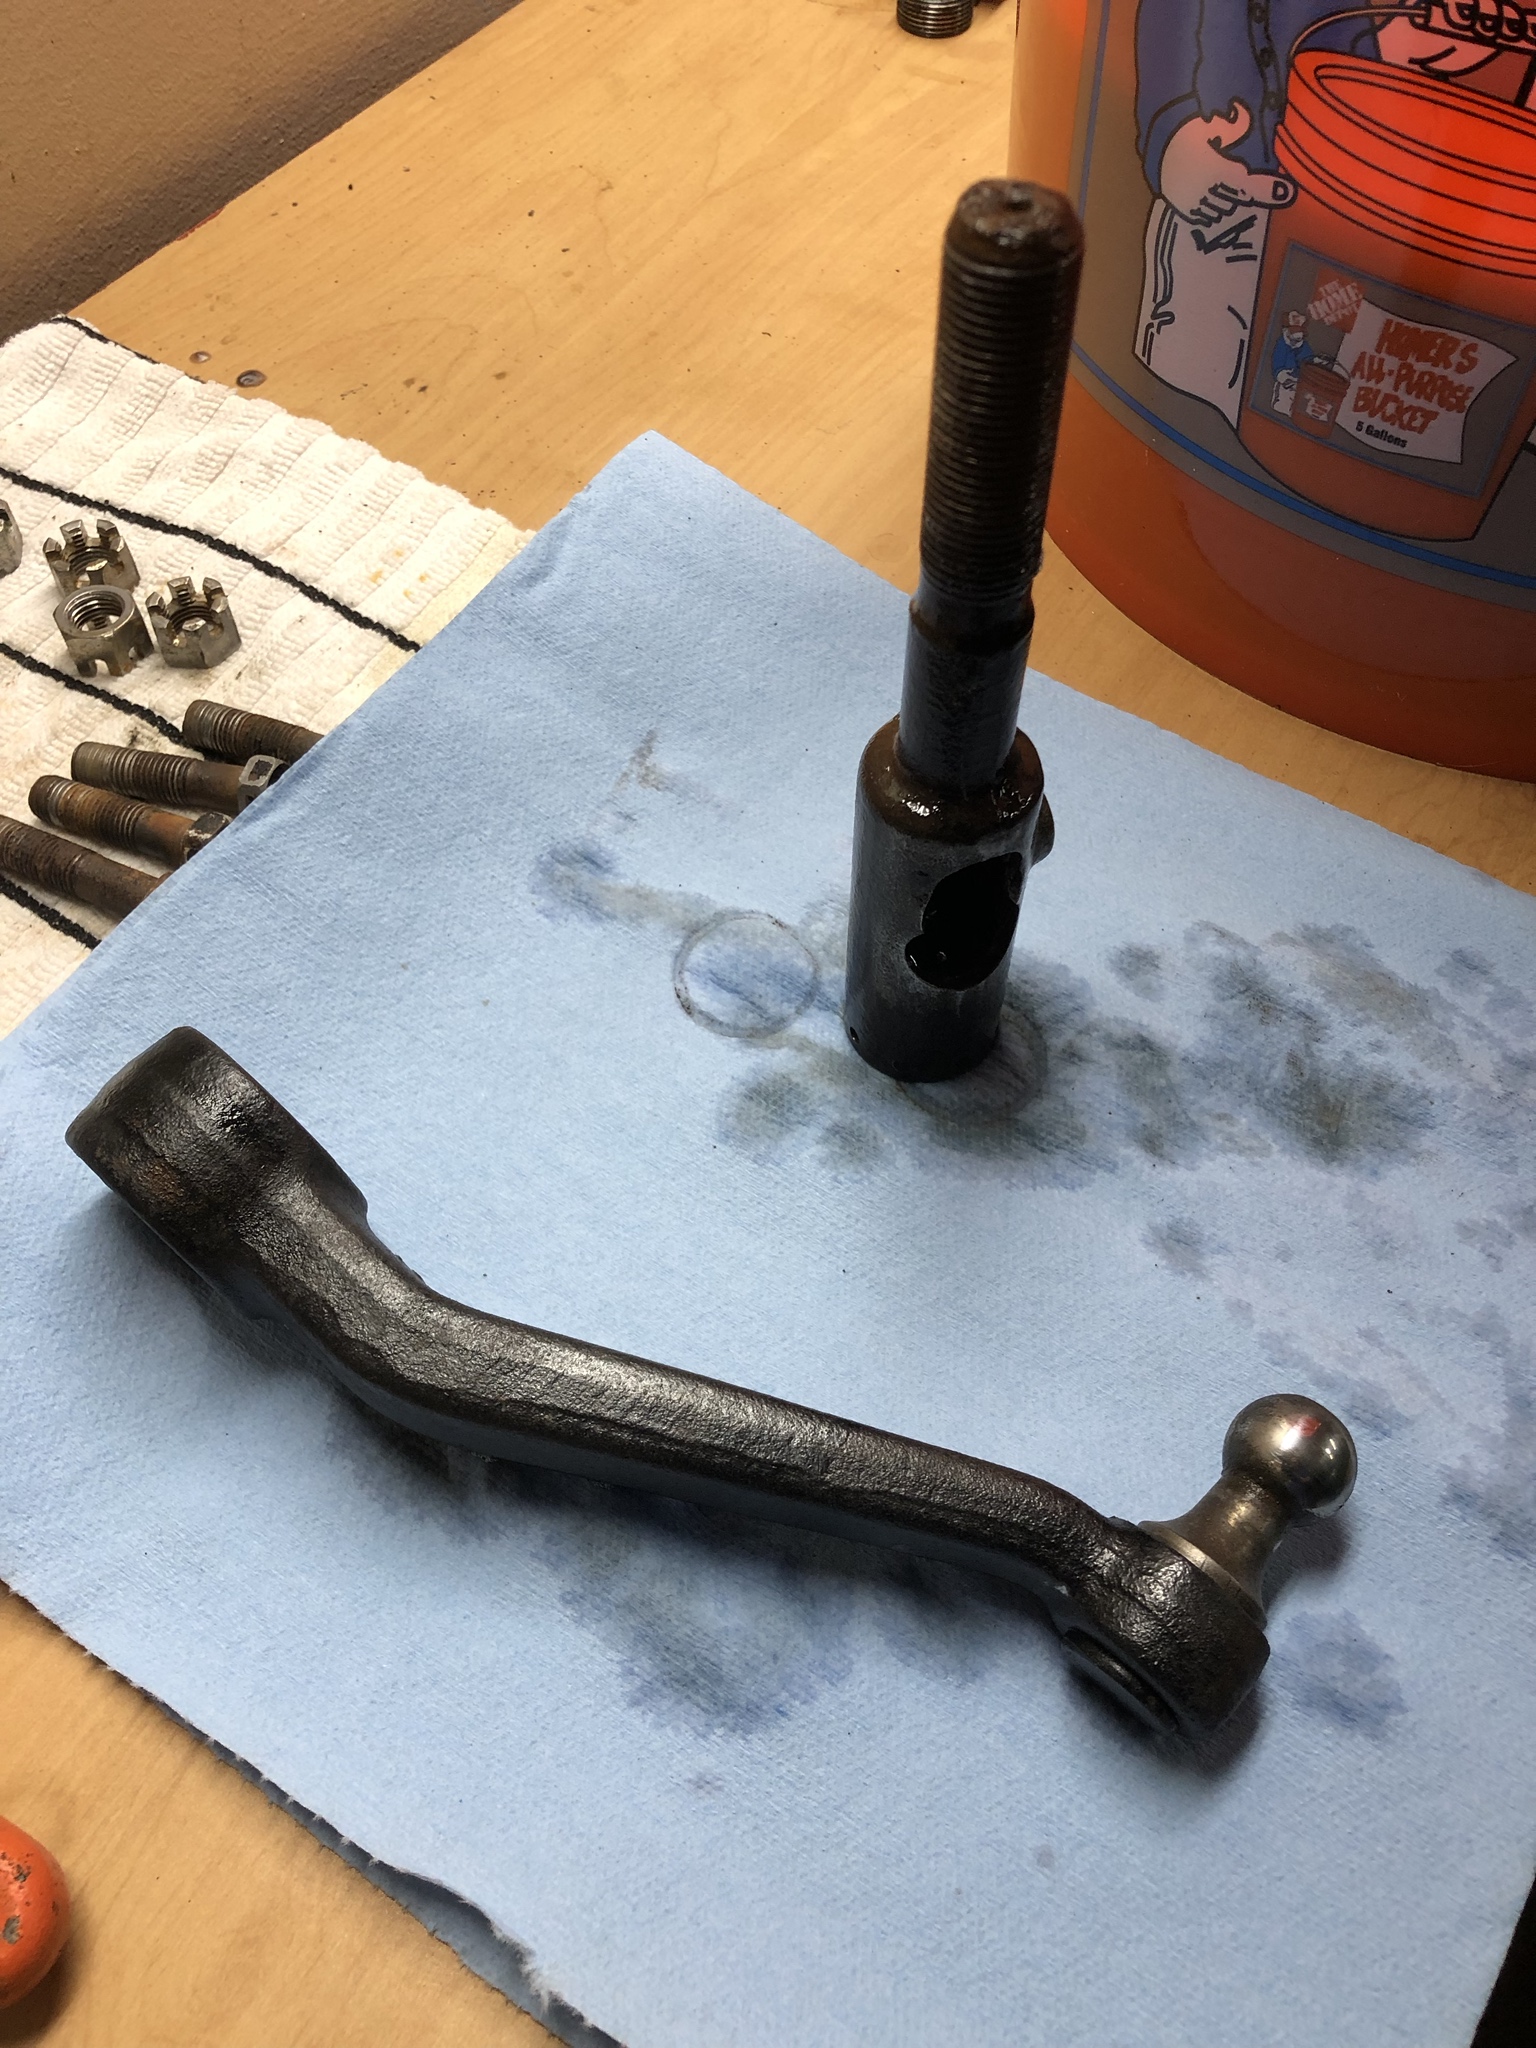
I accidentally didn't fully disassemble my drag link end before cleaning and painting. I stole this picture from the web, but the circled piece is what is stuck in the link end. Any ideas on how to get it out? There is a small hole in the middle of it, and I've sprayed PB blaster and let it soak for a week. I've tried pulling from that hole with a pick and banging the link end opening down. It budges about 1/8" inch but will not rotate. I've considered tapping the hole, putting a screw in it, then pulling on the screw. Thoughts? Other options are to just leave it and reassemble, or buy a new link end.

IbRjnRi.jpg
 
Haven't been able to do much lately besides work on rebuilding my warn hubs with their 7309 rebuild kit.

Q4TYhLf.jpg

gXBIgcy.jpg

ExyAg9X.jpg


They didn't look that bad on the inside to me, but the gaskets were definitely bad. Once I get them both done, I'll start my knuckles. I'll refresh the brakes while I am in there too.

I still haven't been able to get that little cup piece out of my drag link end...
 
Both hubs rebuilt. I got 3 Wilde lock ring and snap ring pliers from Harry Epstein. By far the best price I could find online. Pliers have worked great so far.
0ODaLhl.jpg


AniFqvp.jpg

Started on my driver side knuckle over the weekend. Looks like the last person to do them did not use moly grease. Also looks like the inner axle seal was ok? I'm doing one side at a time. I know it will be slower this way but I haven't done this before. @OTRAMM knuckle rebuild videos on youtube have been very helpful.

I'm using a knuckle rebuild kit with koyo bearings and Marlin Crawler heavy duty inner axle seals from @cruiseroutfit. Replacing hub studs with new ones from Marlin Crawler. OEM reman calipers, new OEM pads, and new OEM rotors coming in the mail from @RAGINGMATT. Backing plate eliminator kit and stainless hoses coming in the mail from @65swb45.

YDvKyEF.jpg

MIu6x7w.jpg

1ZooOCt.jpg
 
hey Reddog ,

In order to get that Frozen Cup-Bearing out of the Drag link end , u will need a conventional Oxy-Aceteline torch , heat up the Tubeular section Cherry Red , then quickly grab it with a large set of Pre-adjusted vice grips , and smack it face down on a flat concrete floor or Vise
hammering surface

it should simply Pop out or fall out after a few good vertical drops , u will be driving down like a pile driver if that makes sense , the hand held impact will JOG it loose as the outer drag link tube it Cherry red

DO NOT Quench in water , Let is slowly Air cool naturally , u will affect the temper if u use water

this is a method i have used a few times for same exact problem Ditto

wear safety glasses as well
 
@RAGINGMATT I don't have an oxy torch unfortunately, but I do have a propane torch. What about taping the small hole in the center of that cup, putting a small bolt in it, then pulling on the bolt?
 
thhat cup is like 4-5 inches in there if memory serves me right ?


but more importantly , those Cups a like Harder the Grade 10+ steel , like a Pad lock shackle Case Hardened , i dont think u can drill it

with a drill bit , i could be wrong but the Metallurgy might be Not in your favor

take the drag like end to your local machine shop or a welding shop , for like $20-$25 tops they should be able to extract is for u using

the Cherry RED heat method i described above
 
Hello @reddog90 ,

the final pieces of the puzzle arrived off Back-Order this afternoon , Will ship out first thing in the morning to Ya .......

I Fully Loaded 1 caliper as a example to illustrate the proper positioning of all the brake caliper Hardware , pins , clips etc.

Toyota Genuine Parts Re-manufactured brake calipers come SILVER ZINC PLATED , this is UN-Heard of in the aftermarket

world . The only part i could not source was the small Z shape Metal brake line that goes from the caliper to the soft brake

line , Toyota has discontinued them ? u will find this is a essential part to replace especially after 40+ years of use ,

i happen to have a case of late model Tacoma / Tundra ones , that are Very close in shape & size , the fittings are the same

i included a left and a right in your Box at No Cost as Samples , let me know how they work out for u , Also a pint of

Toyota Genuine Parts DOT 3 brake fluid to wrap up the project in OEM Style ................:)


Let me know if u have any Questions
 

Users who are viewing this thread

Back
Top Bottom