Project Duragoat: My 1974 FJ40 Build Thread (1 Viewer)

This site may earn a commission from merchant affiliate
links, including eBay, Amazon, Skimlinks, and others.

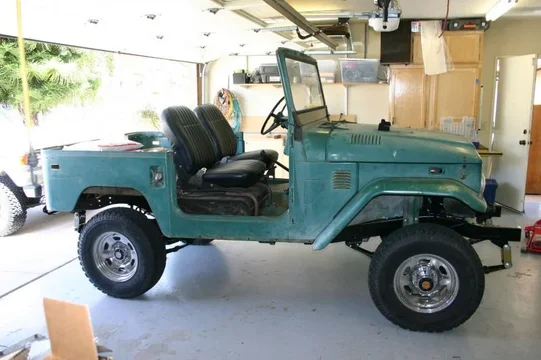
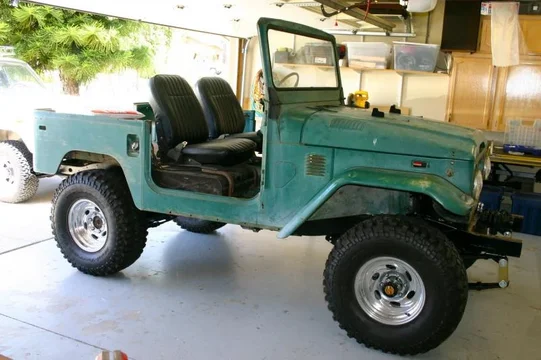
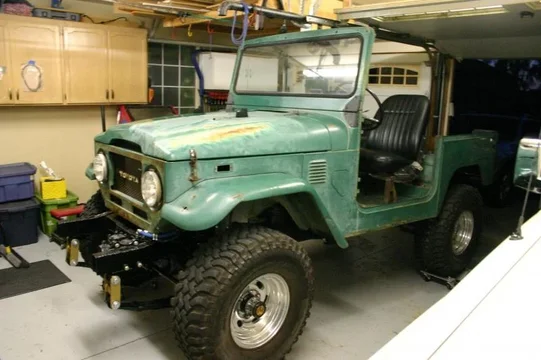
First test drive after 7 months of 5.3L conversion

yes, there are still a few parts that need to be bolted on, and I already got chastised for two apparent rookie mistakes.

1. no token shots of hot wife..
2. sitting on an actual seat instead of a milk crate..


holy cow, it sounds good.

FJ 40 first drive.m4v - YouTube <--- Video Link


:beer::beer::beer::beer::beer::beer::beer::beer:
 
Hey guys, as good as it sounds to run with open exhaust manifolds, I gotta get an exhaust system. Those of you that have done the 5.3 conversion, what are you running?

would love to hear your preference on mufflers and how you routed the tubing.
 
Bsquared said:
Hey guys, as good as it sounds to run with open exhaust manifolds, I gotta get an exhaust system. Those of you that have done the 5.3 conversion, what are you running?

would love to hear your preference on mufflers and how you routed the tubing.

You can Run a y pipe to a borla f body rear muffler. It will fit well back there and sound great.

For a smoother sound, go magnaflow. Whatever you do, don't go with crapmasters.
 
New Shoes. Before and After

What do you guys think about these 33 x 12.5s A friend has this used set for sale and they look like a great fit. BFG Mud Terrains. hopefully they are not too loud on the pavement. ultimately i would like to go with a different tread pattern, but these might work for a while.

Opinions?


Before

wheels before.jpg

After

wheels aft.jpg
wheels before.jpg
wheels aft.jpg
 
Great tires, one of my all-time favorites.

Georg
 
Patina; awesome or not awesome??

Hey Guys,
looking for some opinion here. since I have been working on this project I have been convinced that a full re-paint is going to happen at some point. since it has started coming together, the stock paint has begun to grow on me.

i took a few minutes tonight to try to knock off some of the oxidation and see what it would look like if it was cleaned up a bit, and i think it is looking much better.

what do you guys think? would it be a shame to blast it all off and repaint. I think it may have a little more character as it is.

The biggest question on my mind: is there any way to stop the surface rust from spreading? it's not likely that it will spend much time in the rain other than the occasional back country trip if we get caught out.

here are some pics. Opinions welcome!

before
patina1.jpg


after
patina2.jpg


side by side

patina 3.jpg
patina1.jpg
patina2.jpg
patina 3.jpg
 
I saw in another post a guy used CLR to clean his rig. It was AMAZING! Perhaps try that out, then shoot a satin clear over the top to preserve it. ???

:beer:
 
A purist would tell you to keep the petina, but since this isn't a purist's dream I would go for the repaint. You have a lot of time and effort into this rig so why not take every precaution to keep it preserved? I would completely strip it, treat all the seams you can get to then repaint in your favorite OEM color. I would also drill a small hole in the inside of your rocker panels and spray some frame saver in there as well as your main tub spar. Since you wont have the panels off you can access the spar from underneath. There are several holes there for draining that you can insert the sprayer through. BTW I love the build. I have been watching for some time now and it makes me want a vortec for mine. Keep it coming and more pics please! Nice work!:popcorn:

Here is a few pics to show you what I am talking about and a good look at what kind of rust can be back inside those rockers. Wouldn't want them to bubble through and wreck your new paint:doh:

Cheers,:beer:
Brian
IMG_0883.jpg
IMG_0885.jpg
IMG_0898.jpg
 
About the Vortec:

I have to say, it really is an awesome engine. there is never a question of what it's going to do, it is very consistent. it is really cool to be able to plug in the lap top and see exactly what it's doing. from monitoring the temperature to watching it adjust its own timing to being able to know why it's not happy or if you hooked up a sensor wrong.

after seeing it run and a few test drives, i would do it again in a heartbeat. no question. This think is a monster. The one thing that i have to note is. The engine is the least expensive part of the process. its everything else that kills the budget.

that reminds me, i need to order a new oil pan that will clear the front drive shaft....
 
A little brake help

Hey Guys,
have a question for you brake guru's out there. so, here is the setup.

1. stock drums in the back
2. disk brake conversion in the front, new rotors, calipers, pads, lines, etc.
3. early 90's 4 runner brake booster and master cyl.
4. summit racing proportioning valve.

First of all, the brakes have tons of stopping power, its amazing how much force they generate even with 33" tires.

i am currently limited to the high school parking lot (still no exhaust yet) but i am finding that even with max reduction in pressure to the rear with the proportioning valve, the rears are still locking up before the front. without the prop valve, the rear would lock up with the slightest touch of the pedal.

possible causes:

1. little to no weight in the back.
2. rotors/pads are not broken in (i probably have less than 1 mile driven on it yet)
3. drums are not adjusted correctly (is there an adjustment for this, or are they self adjusting?)
4. something else??? Opinions welcome. Thanks.

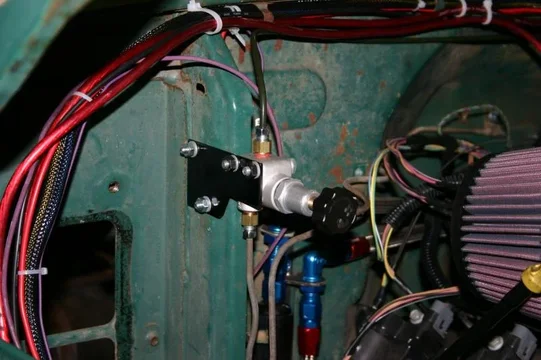
Proportioning valve

brake1.jpg

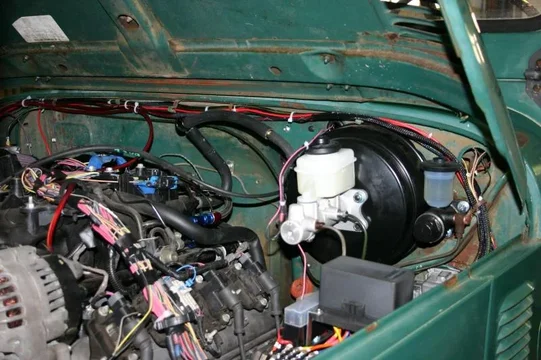
booster/master. booster is reman, MC is new
bradk2.jpg


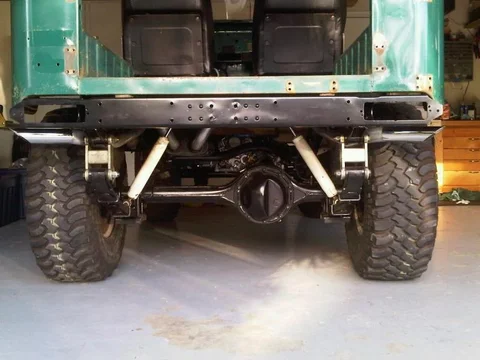
no weight in the backend
brake3.jpg
brake1.jpg


bradk2.jpg


brake3.jpg
 
Sounds like a drum cyl adjustment issue. U can adjust them from the backside with a screwdriver.
First check to see if u can freely turn the drum by hand with the wheel off. I would guess u can't. U should feel a very slight resistance when spinning the drums. Adjust the cyl until u achieve a slight resistance.
If they feel fine right now, then maybe the prop valve is not working as fully as it should.
 
some updates- exhaust

It's been a while, have been making some headway, but have not had time to post results. have a little time so ill post some pics of several things i have been working on.

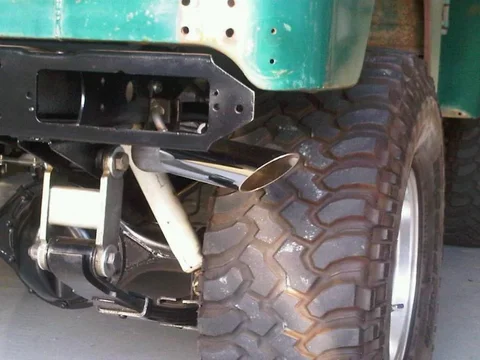
Got the exhaust squared away a few months ago. Took it to Ed Hansen in San Diego. his guys did an awesome job.

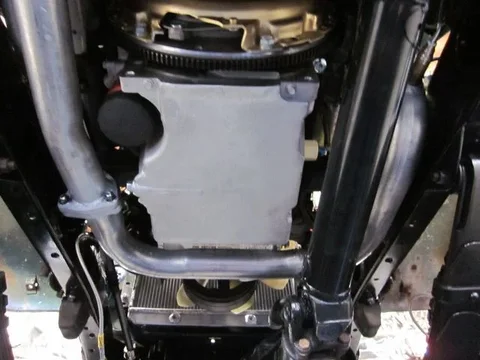
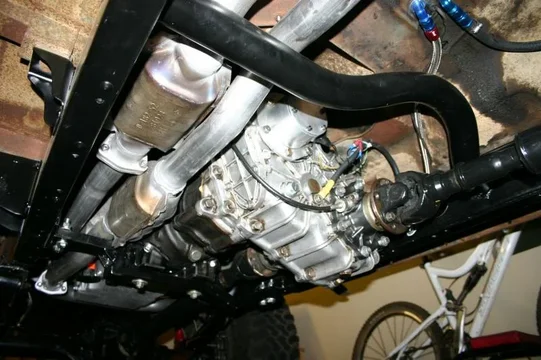
Had to route the pass. side exhaust around the oil pan and back down the driver side.

exhaust0.jpg

two cats under the cross member.
exhaust1.jpg


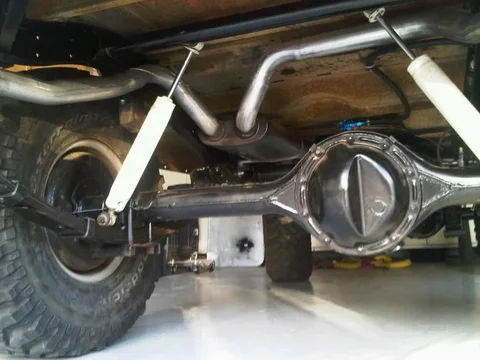
magnaflow, 2 in, 2 out with x-pipe inside
exhaust2.jpg
exhaust0.jpg
exhaust1.jpg
exhaust2.jpg
 
Air cleaner details

Here are a few shots of the final air cleaner configuration. Got the rubber 90 from a buddy here on Mud, i think its call the Cobra. The white 90 is from home depot. and the flex line is part of the OEM chevy setup. cut it down and make a bracket that mounts off the valve cover.

airclean.jpg

airclean1.jpg
airclean1.jpg
airclean.jpg
 
Vehicle Speed Sensor (VSS)

I was getting a pending engine error code. P0507, could not get it to clear. finally realized that i had the wrong VSS hooked up. i was running one that generated a signal off the speedo cable.

Needed a 40 tooth reluctor ring setup. Found it at Jags that Run.com. it mounted up very easily and solved the pending error code. Now, i am officially error free with the pcm.

vss1.jpg
vss1.jpg
 
Shoulder Seat Belts. x4

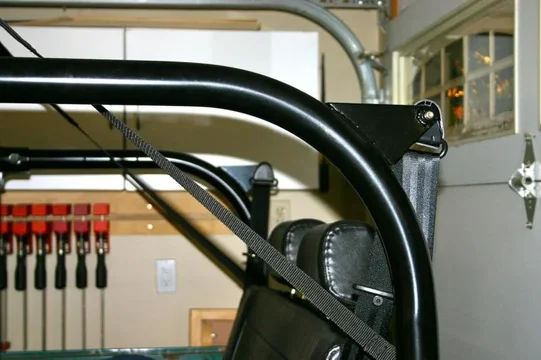
Finally got all the parts together to convert to shoulder belts all the way around.

the fronts were a piece of cake. 2 of the 3 bolts fit the oem brackets, the third (to mount the box) only took a few minutes to fab a 90 with a couple holes.

seatbelt3.jpg

seatbelt2.jpg


i ended up welding a small section onto the roll bar to make the belt sit in the right spot. The bolts are a wierd size. 11mm. i think i ended up welding on some nuts from the front knuckle rebuild. i replaced them with new.


seatbelt1.jpg
seatbelt1.jpg
seatbelt2.jpg
seatbelt3.jpg
 
more seatbelt details and rear seat

seatbelt4.jpg

seatbelt5.jpg

The rear seat is a bestop trailmaxII i think. got it from amazon for about 250 iirc.

since the frame is made of steel, i mounted the end of the belt directly to the metal frame. worked perfectly.

reat seat.jpg
seatbelt4.jpg
seatbelt5.jpg
reat seat.jpg
 
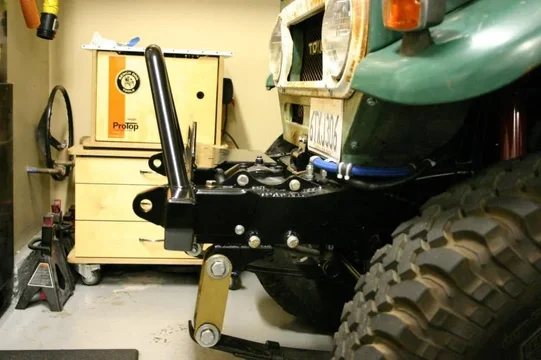
Front Bumper

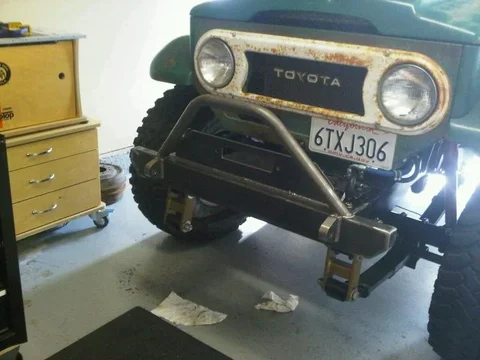
I saw an article on this bumper several months ago in Toyota 4wd owners magazine.

http://www.redlinelandcruisers.com/assets/documents/RedLine40Bumper.pdf

I really liked the simplistic and strong stance this thing has. i though the price was really reasonable too. if i recall shipping was only about 30 bucks.

Here is a shot of it un-finished

bumper1.jpg

With a couple coats of rattle can.

bumper2.jpg

I did have to make an "adjustment" i specified the width exactly, but it was about 1/8" off, (too narrow) so i had to slice off one frame mount and re-weld it back on. no big deal, solid as a rock, and it fits perfectly now.

bumper3.jpg
bumper1.jpg
bumper2.jpg
bumper3.jpg
 

Users who are viewing this thread

Back
Top Bottom