Builds Lexie/Land Bruiser Restoration Thread

This site may earn a commission from merchant affiliate
links, including eBay, Amazon, Skimlinks, and others.

My mirror base is chipped on one side but I was just leaving it be saying to myself, "it's a truck" but now I think this is on my springtime list once it warms up again. Very impressed how well the section where the mirror body meets the base, not all gummed up with paint. I guess the trick is to go light in that area?
Yes, light coats in general are best - I didn't tape up that joint, just painted as is.
 
A few updates for y'all

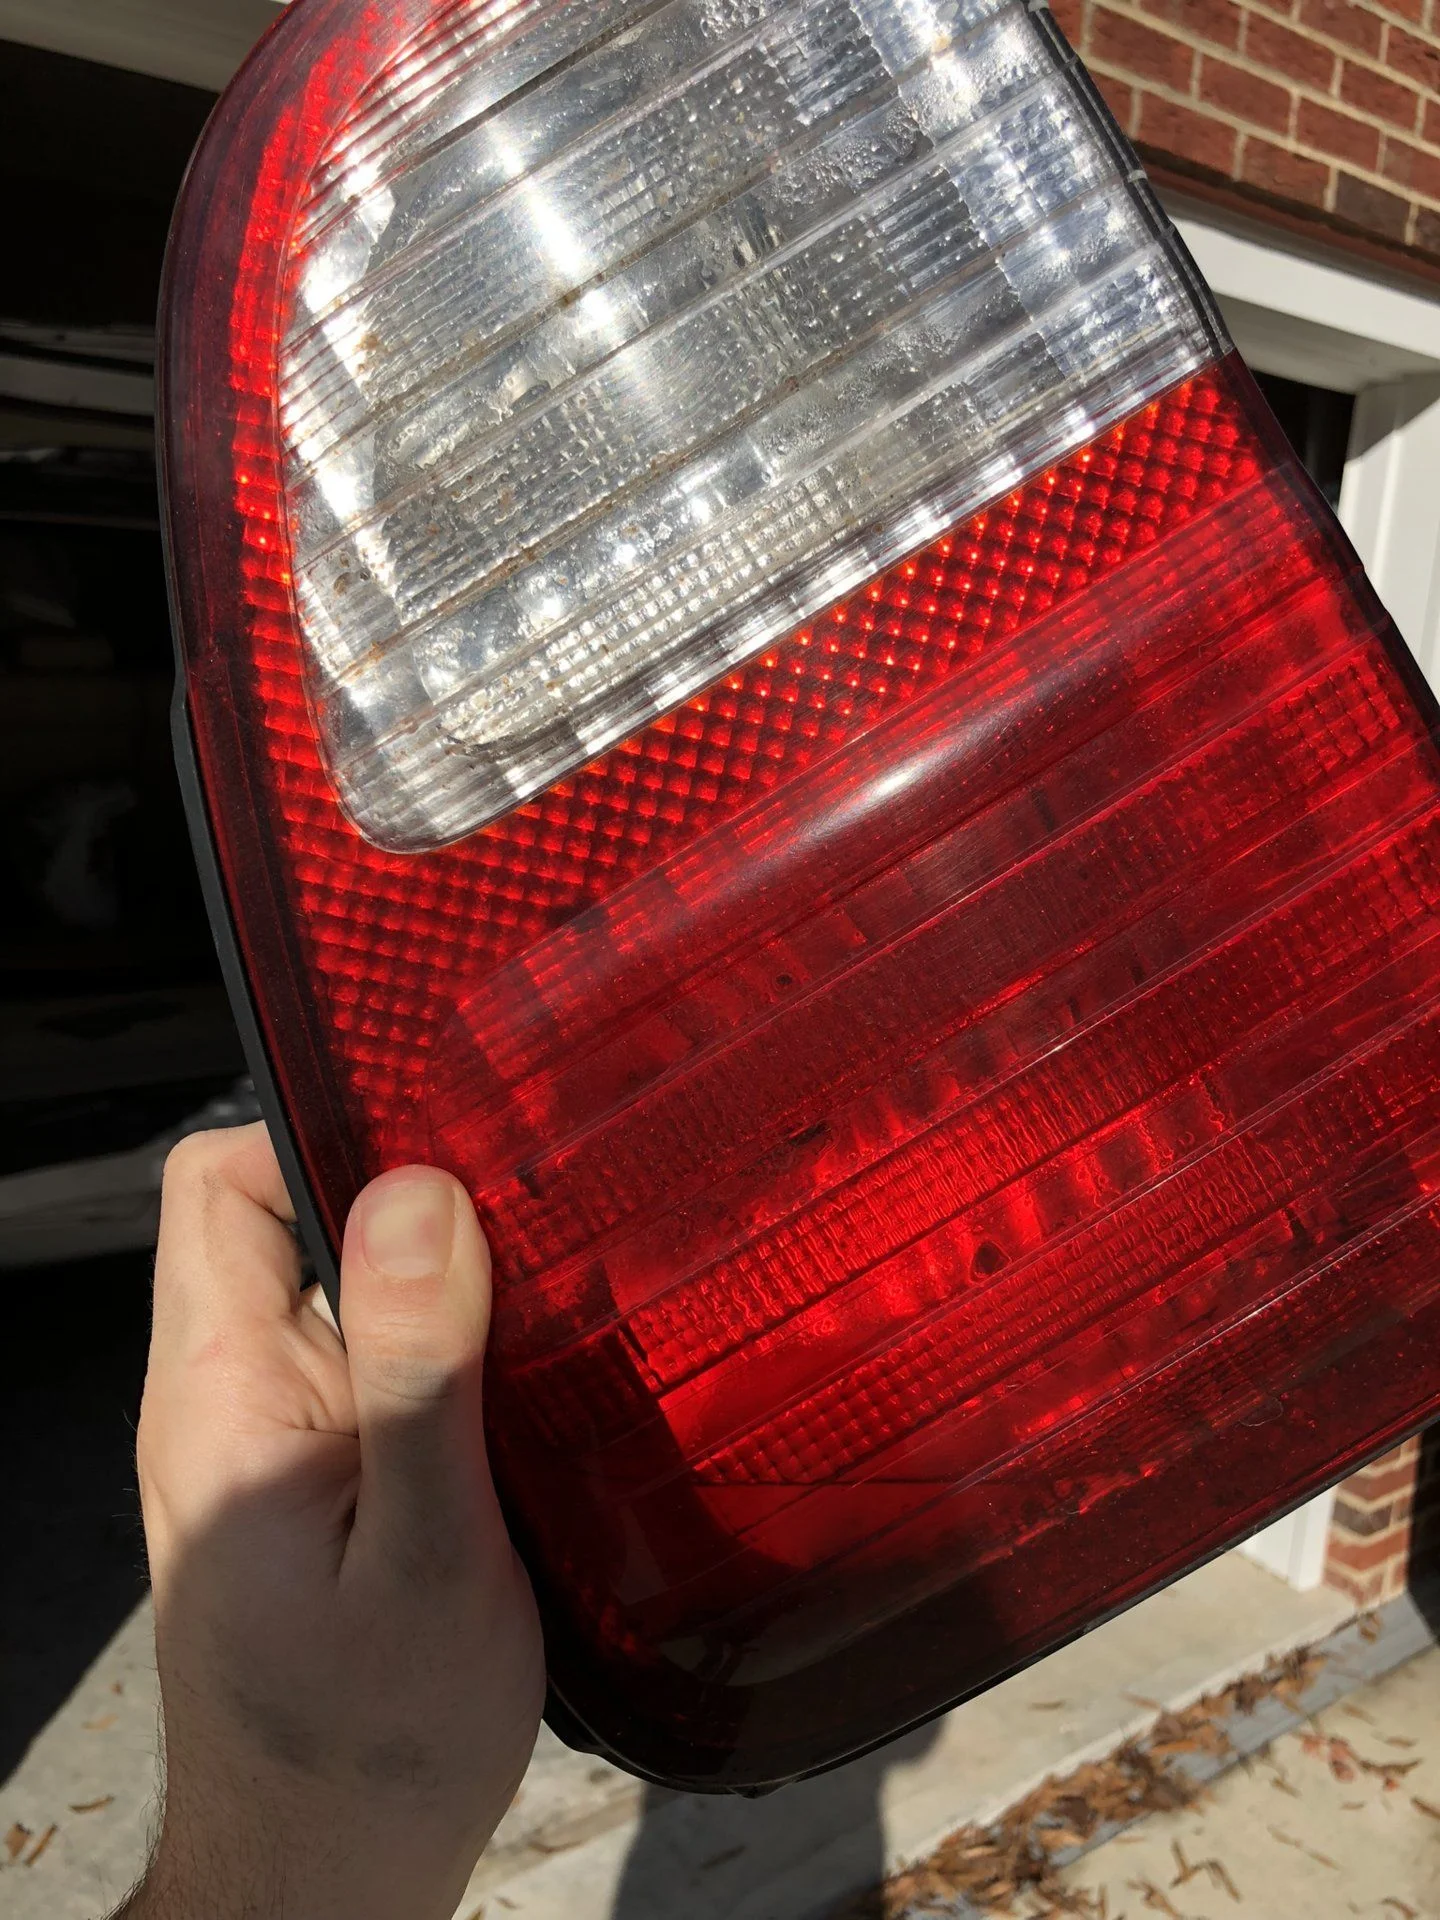
After a 3 hour drive heading to my parents for Christmas in the pouring rain, we went to unload our stuff and noticed the rear carpet closest to the tailgate was soaked. After some poking around, I figured out my tail light was leaking from where the lens meets the housing


So I yanked it off, cleaned it out, and put some clear caulk on it. No more leaks!

 
Pretty much all my gifts were car related (my family knows me so well...) so I had lots of time to play around with some new toys:

New LED tailgate lamps - found these on Amazon and they're seriously worth the $12, and so easy to swap! They're really useful when camping too.


Got a Carsoft TYT II reader as well

 
I also had some time to r&r my roof rack - thanks for the idea @95Fantasma80 !


While I was in there, I've got a small leak that I suspect is from the roof rack bolts. I replaced the really thin paper washers with thick rubber ones and slathered the bolts in clear caulk to prevent further leaks.

 
Last but not least were today's projects:

I've had that awful driveline clunk since I bought the truck. Regular greasing helps a lot, but it quickly returns. I recorded the undercarriage while shifting in the garage and noticed how much my badly worn front differential bushing moved between shifts, so I replaced it. Do yourself a favor and wait to do this job when you have access to an air hammer!


All in all I spent about 5 hours on this, most of which was spent banging on things with a 3 lb hammer. The clunk is about 30% better - not really the result I wanted, but I won't complain for $20 worth of parts.

EDIT - after driving a few more miles, it feels like maybe the bushing needed to settle a bit because now I'd say the clunk is 98% gone! Very happy with the results now.

And the very last thing was to replace my torn bottle jack strap

 
Last edited:
Last but not least were today's projects:

I've had that awful driveline clunk since I bought the truck. Regular greasing helps a lot, but it quickly returns. I recorded the undercarriage while shifting in the garage and noticed how much my badly worn front differential bushing moved between shifts, so I replaced it. Do yourself a favor and wait to do this job when you have access to an air hammer!


All in all I spent about 5 hours on this, most of which was spent banging on things with a 3 lb hammer. The clunk is about 30% better - not really the result I wanted, but I won't complain for $20 worth of parts.

And the very last thing was to replace my torn bottle jack strap

Can you post your recording of your worn bushing? I have a "clunk" when, and only when shifting from "R" to "D". Trying to track down possible culprits. Thanks
 
Can you post your recording of your worn bushing? I have a "clunk" when, and only when shifting from "R" to "D". Trying to track down possible culprits. Thanks

Here you go - it's not a great recording, but for perspective, I'm lying underneath the front end, recording from the passenger side
 
Pretty much all my gifts were car related (my family knows me so well...) so I had lots of time to play around with some new toys:

New LED tailgate lamps - found these on Amazon and they're seriously worth the $12, and so easy to swap! They're really useful when camping too.


Got a Carsoft TYT II reader as well


Do you have a link to the tail light? Looks perfect to me!
 
Cant play video. We went to North GA and got lost going to Anna Ruby Falls. Great offroad adventure lead us to a beautiful lake.
 
Got a Carsoft TYT II reader as well

As a fellow Pleaides sphere owner, I haven't really run to ground if we can use the same pressure specs as OEM spheres. I have messed with my pressures a little bit, but not completely happy with the ride. Also the roads here suck, so that is not helping my calibration.

Are you using the OEM specs as guide to tweak the suspension?
 
Last edited:
As a fellow Pleaides sphere owner, I haven't really run to ground if we can use the same pressure specs as OEM spheres. I have messed with my pressures a little bit, but not completely happy with the ride. Also the roads here suck, so that is not helping my calibration.

Are you using the OEM specs a guide to tweak the suspension?
Yes I’m going off OEM specs but that’s a good point - I think the Pleiades spheres are a little smaller than OEM. Im not sure if I’ve seen published pressure targets for them.
 
Yes I’m going off OEM specs but that’s a good point - I think the Pleiades spheres are a little smaller than OEM. Im not sure if I’ve seen published pressure targets for them.

I haven't been able to find anything in writing. I'll get my specs in the near future and maybe we can compare notes?
 
I haven't been able to find anything in writing. I'll get my specs in the near future and maybe we can compare notes?
So I reached out to Pleiades today, and already got a response back. I've pasted it below, but long story short, they don't deal with pressures, just fabrication. I've noticed that setting them to the Toyota spec makes the front end feel a little disconnected. They felt better at slightly higher pressures.


Hi Daniel,

Is this related to using the Toyota software the check system pressures? We don’t really get involved in that side of things.
Our spheres were designed to fit the vehicles and provide a comfortable ride.
The pressures inside the spheres are different to the OE spheres to accommodate the size difference. I would imagine this would cause some variations to the factory pressures.
Unfortunately we haven’t got the Toyota software here as it is not needed for sphere changes as this is a straight forward job.
It might be worth checking the forums to see if anyone else has used the Toyota software on a system with our spheres so you can compare pressures.
If you have any other questions, don’t hesitate to ask.

Regards.

Phil.
 
Quick question Dan. If you don't mind me asking, how much did you pay for all 4 accumulator spheres + shipping?

Thanks.
 

Users who are viewing this thread

Back
Top Bottom