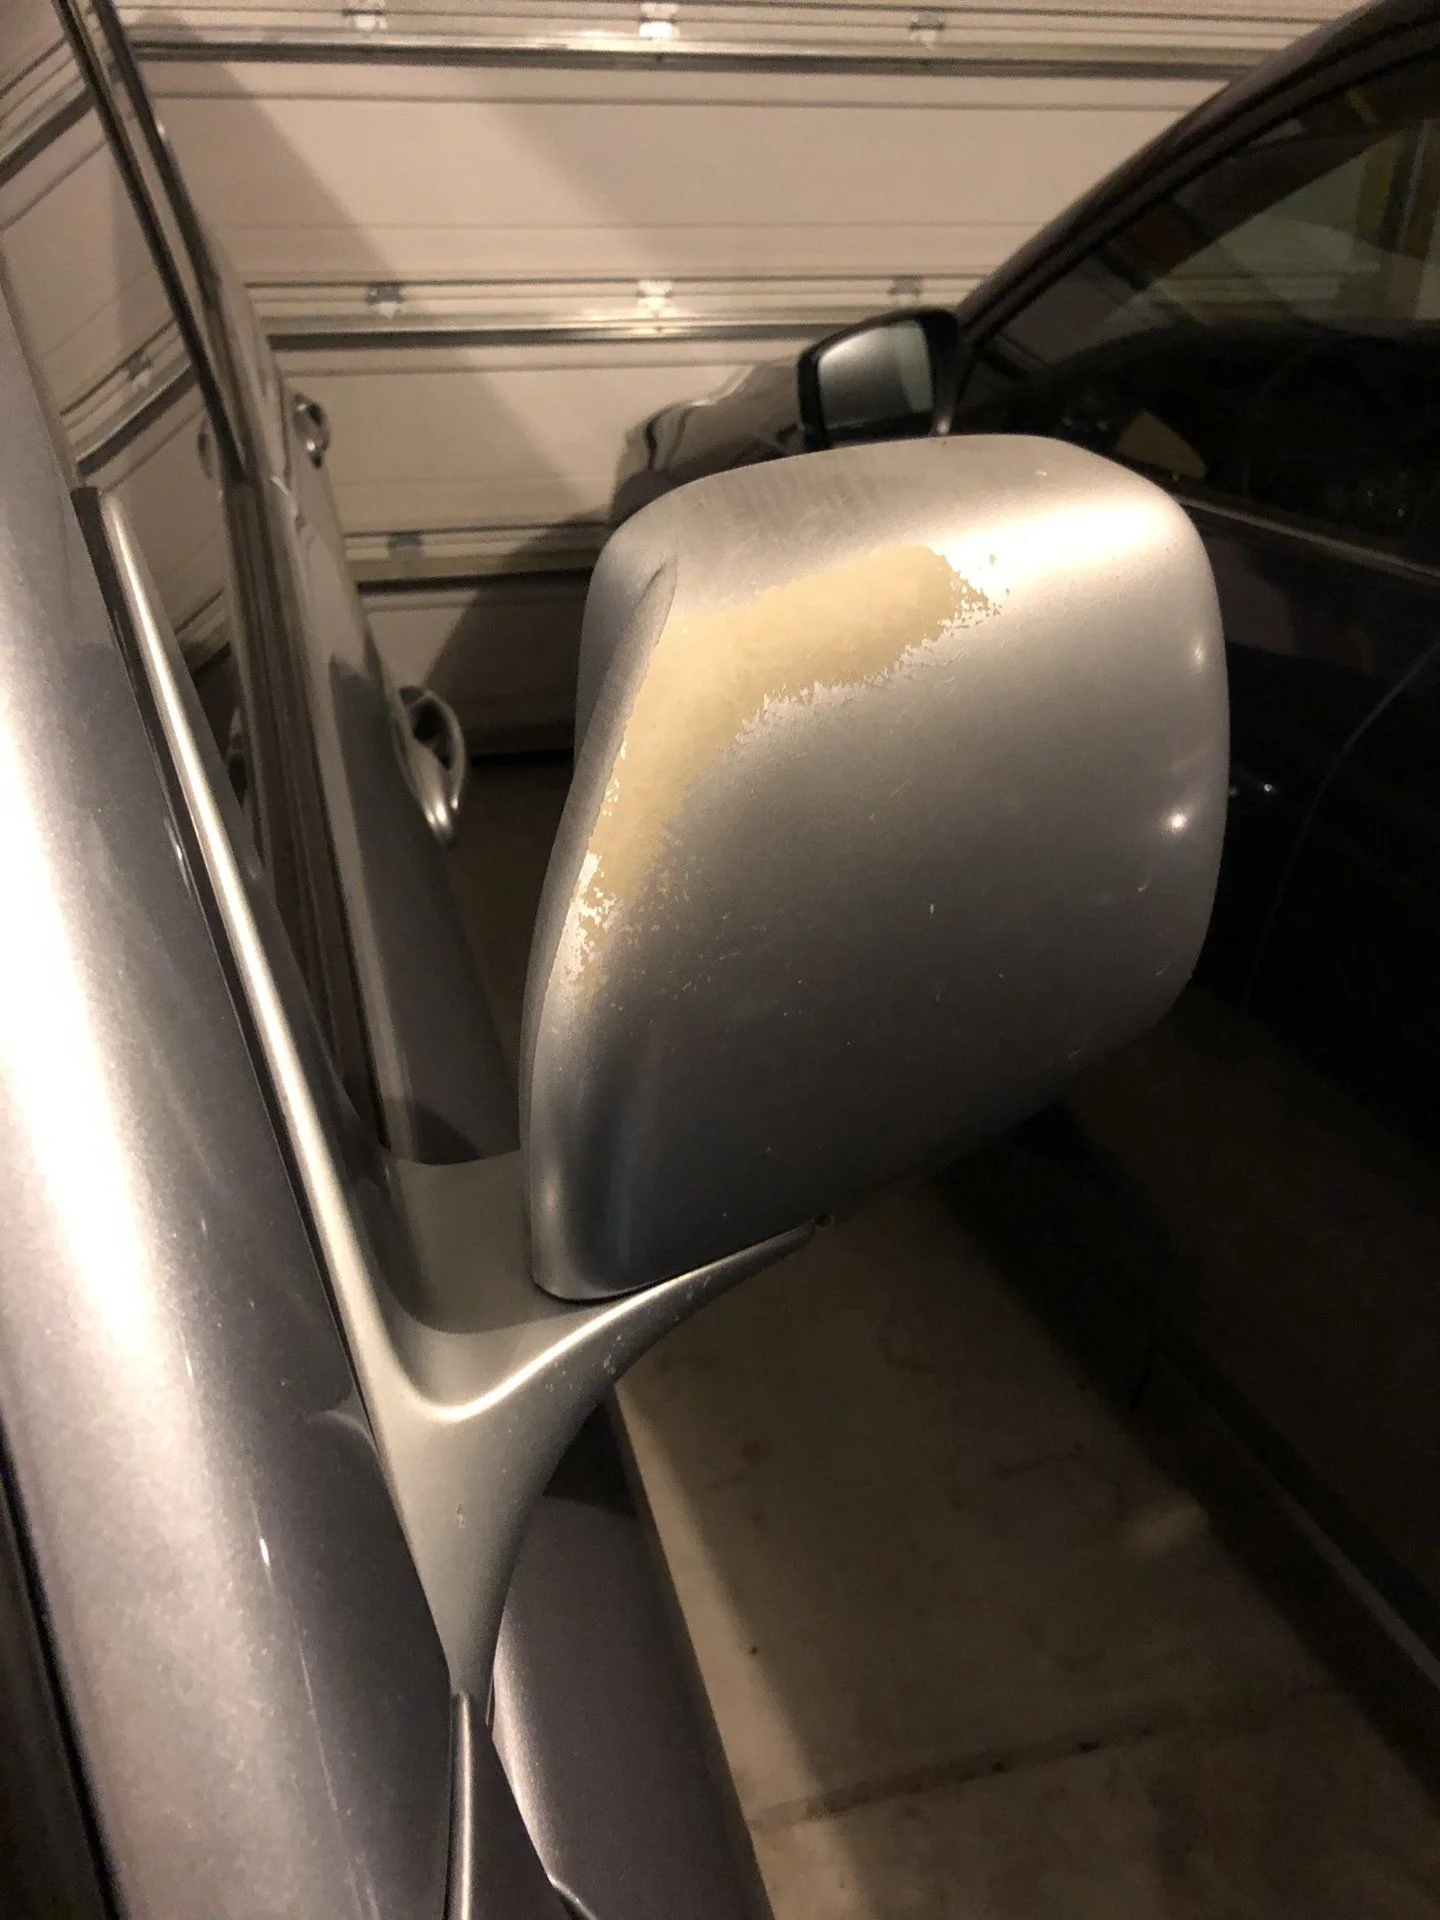
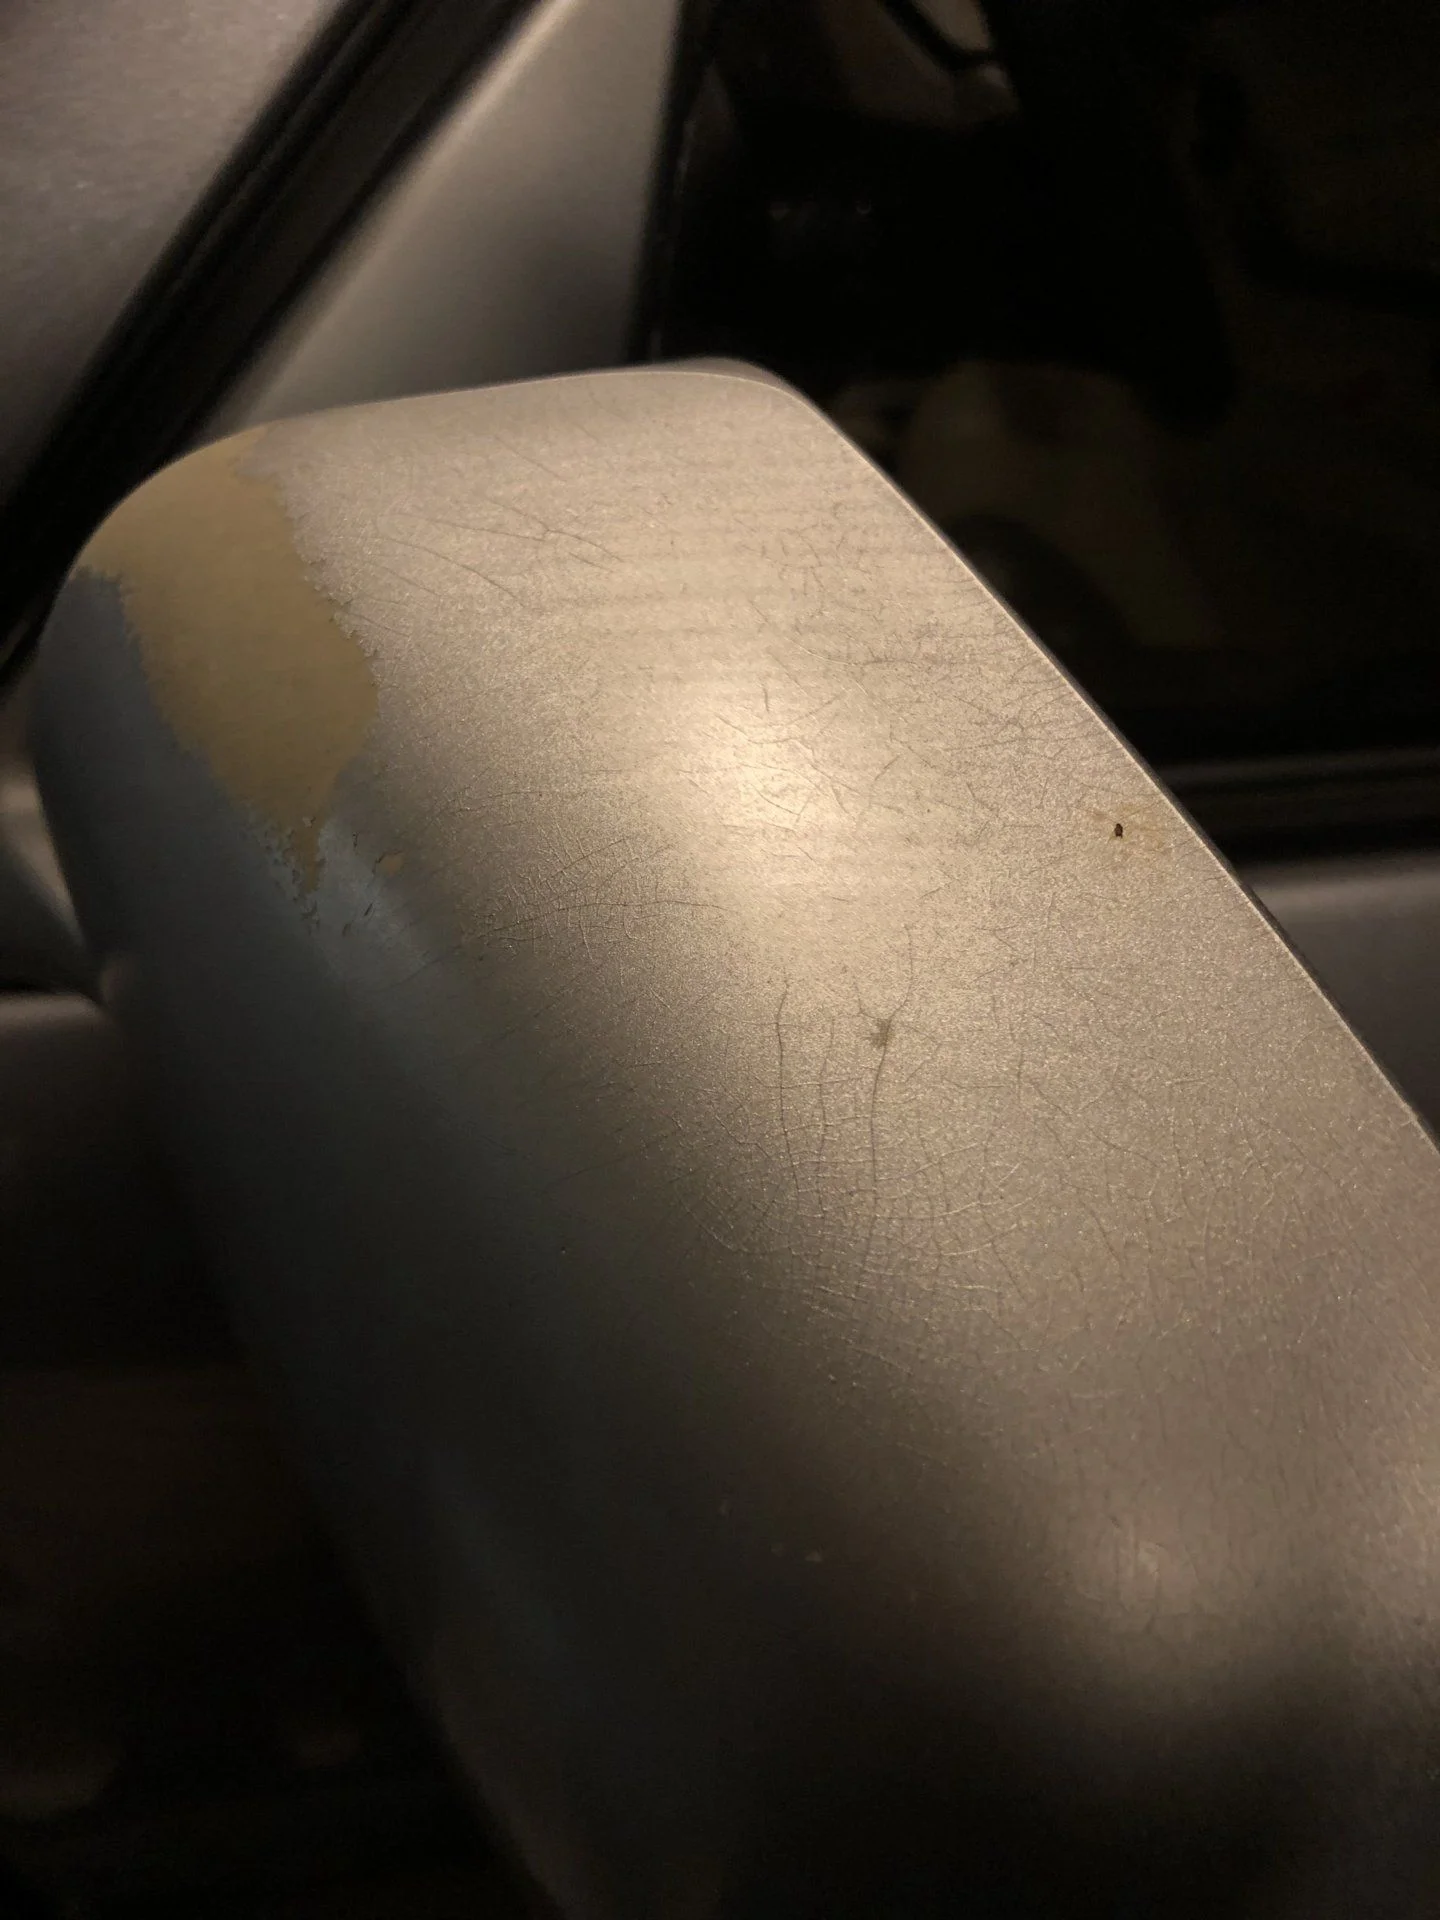
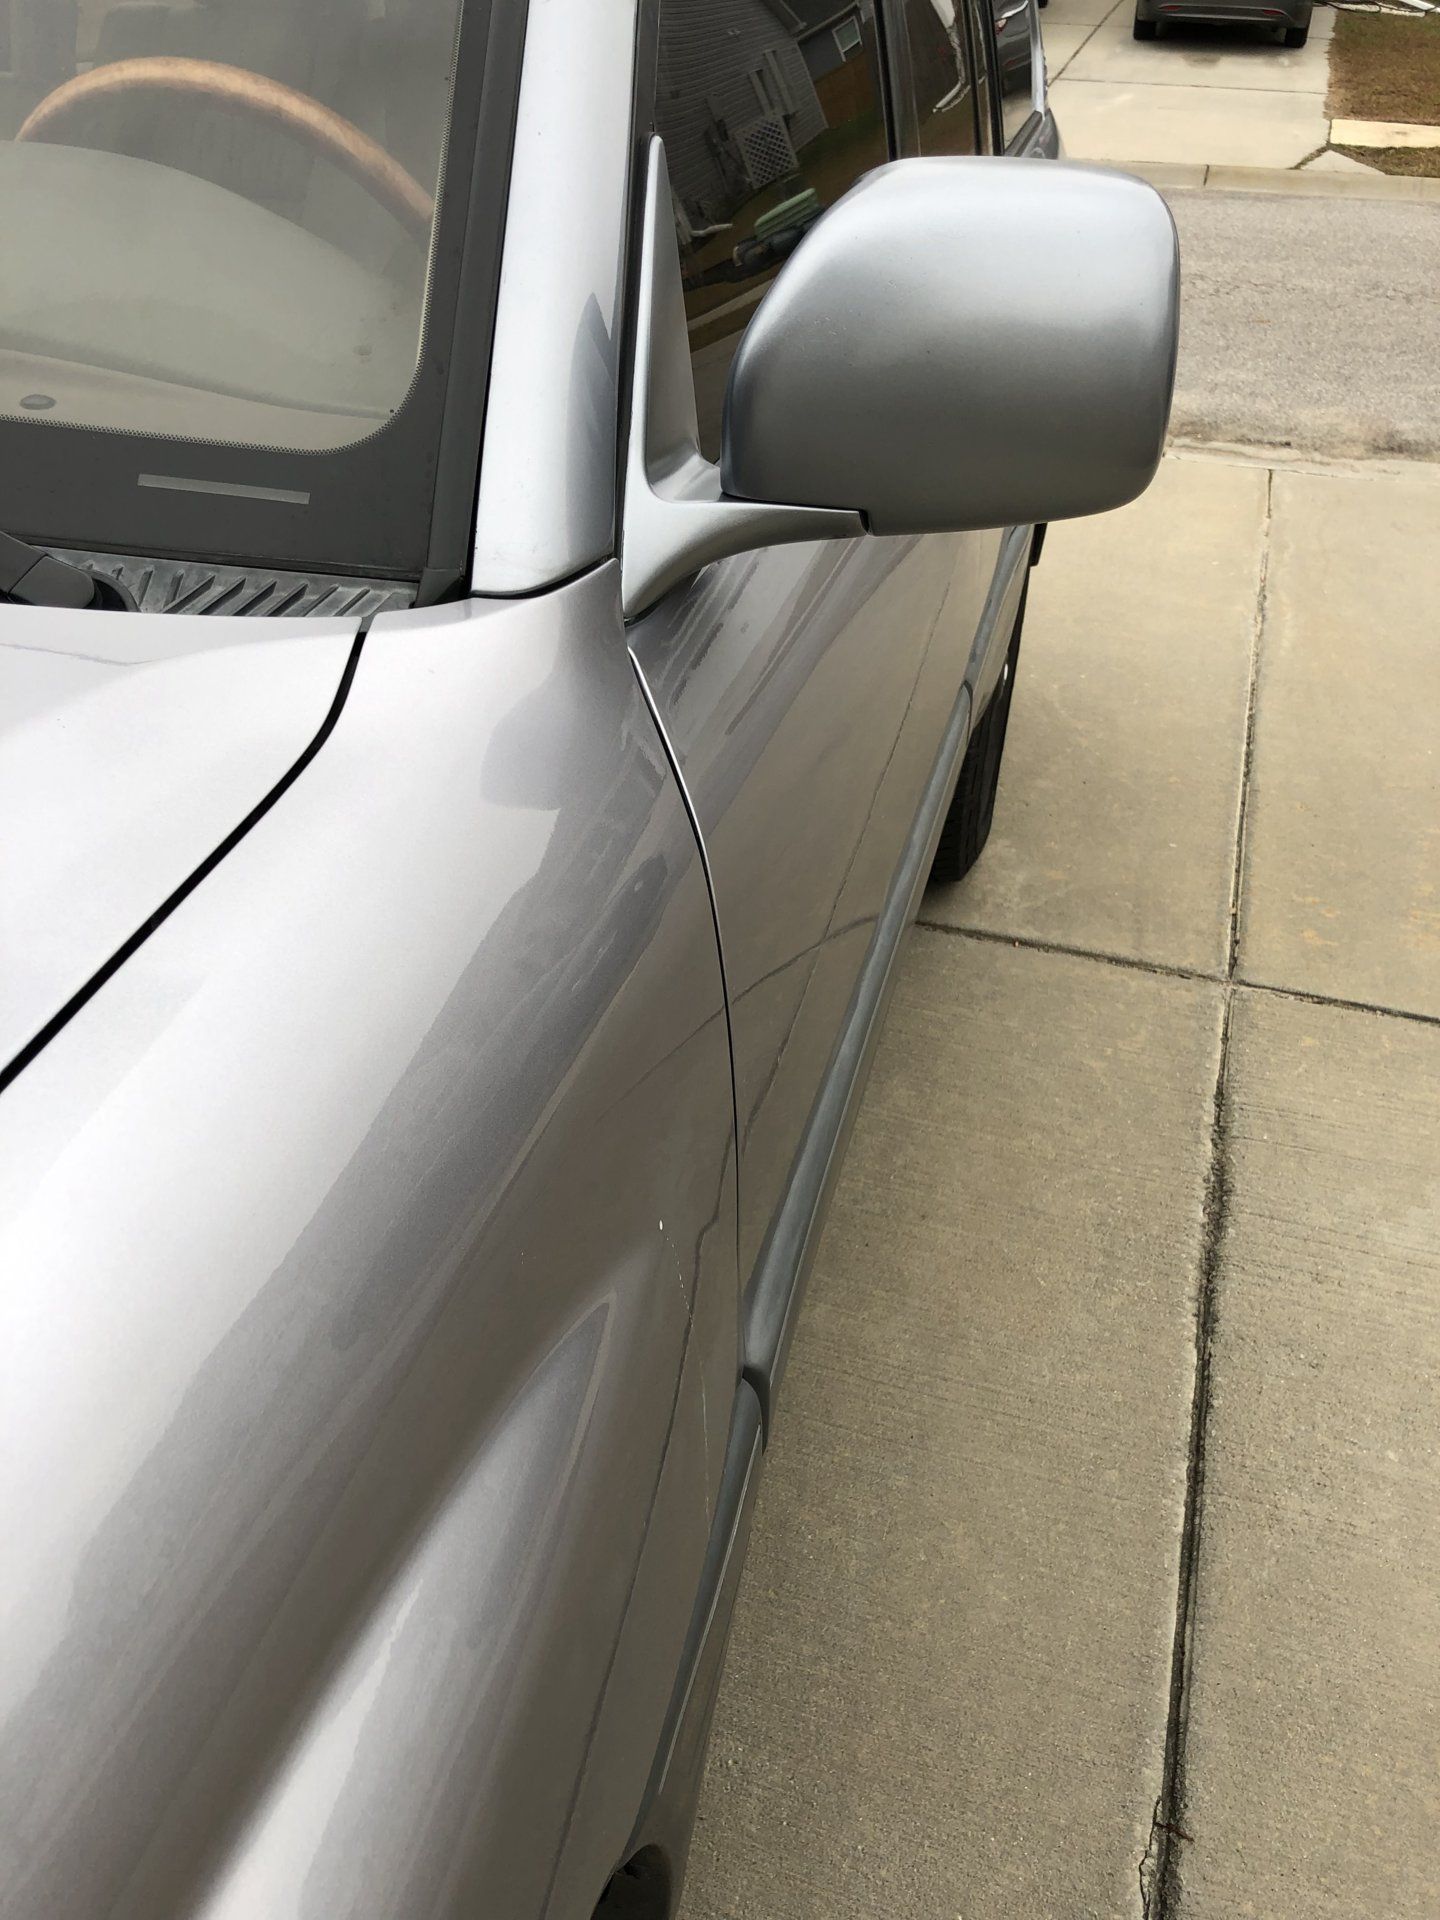
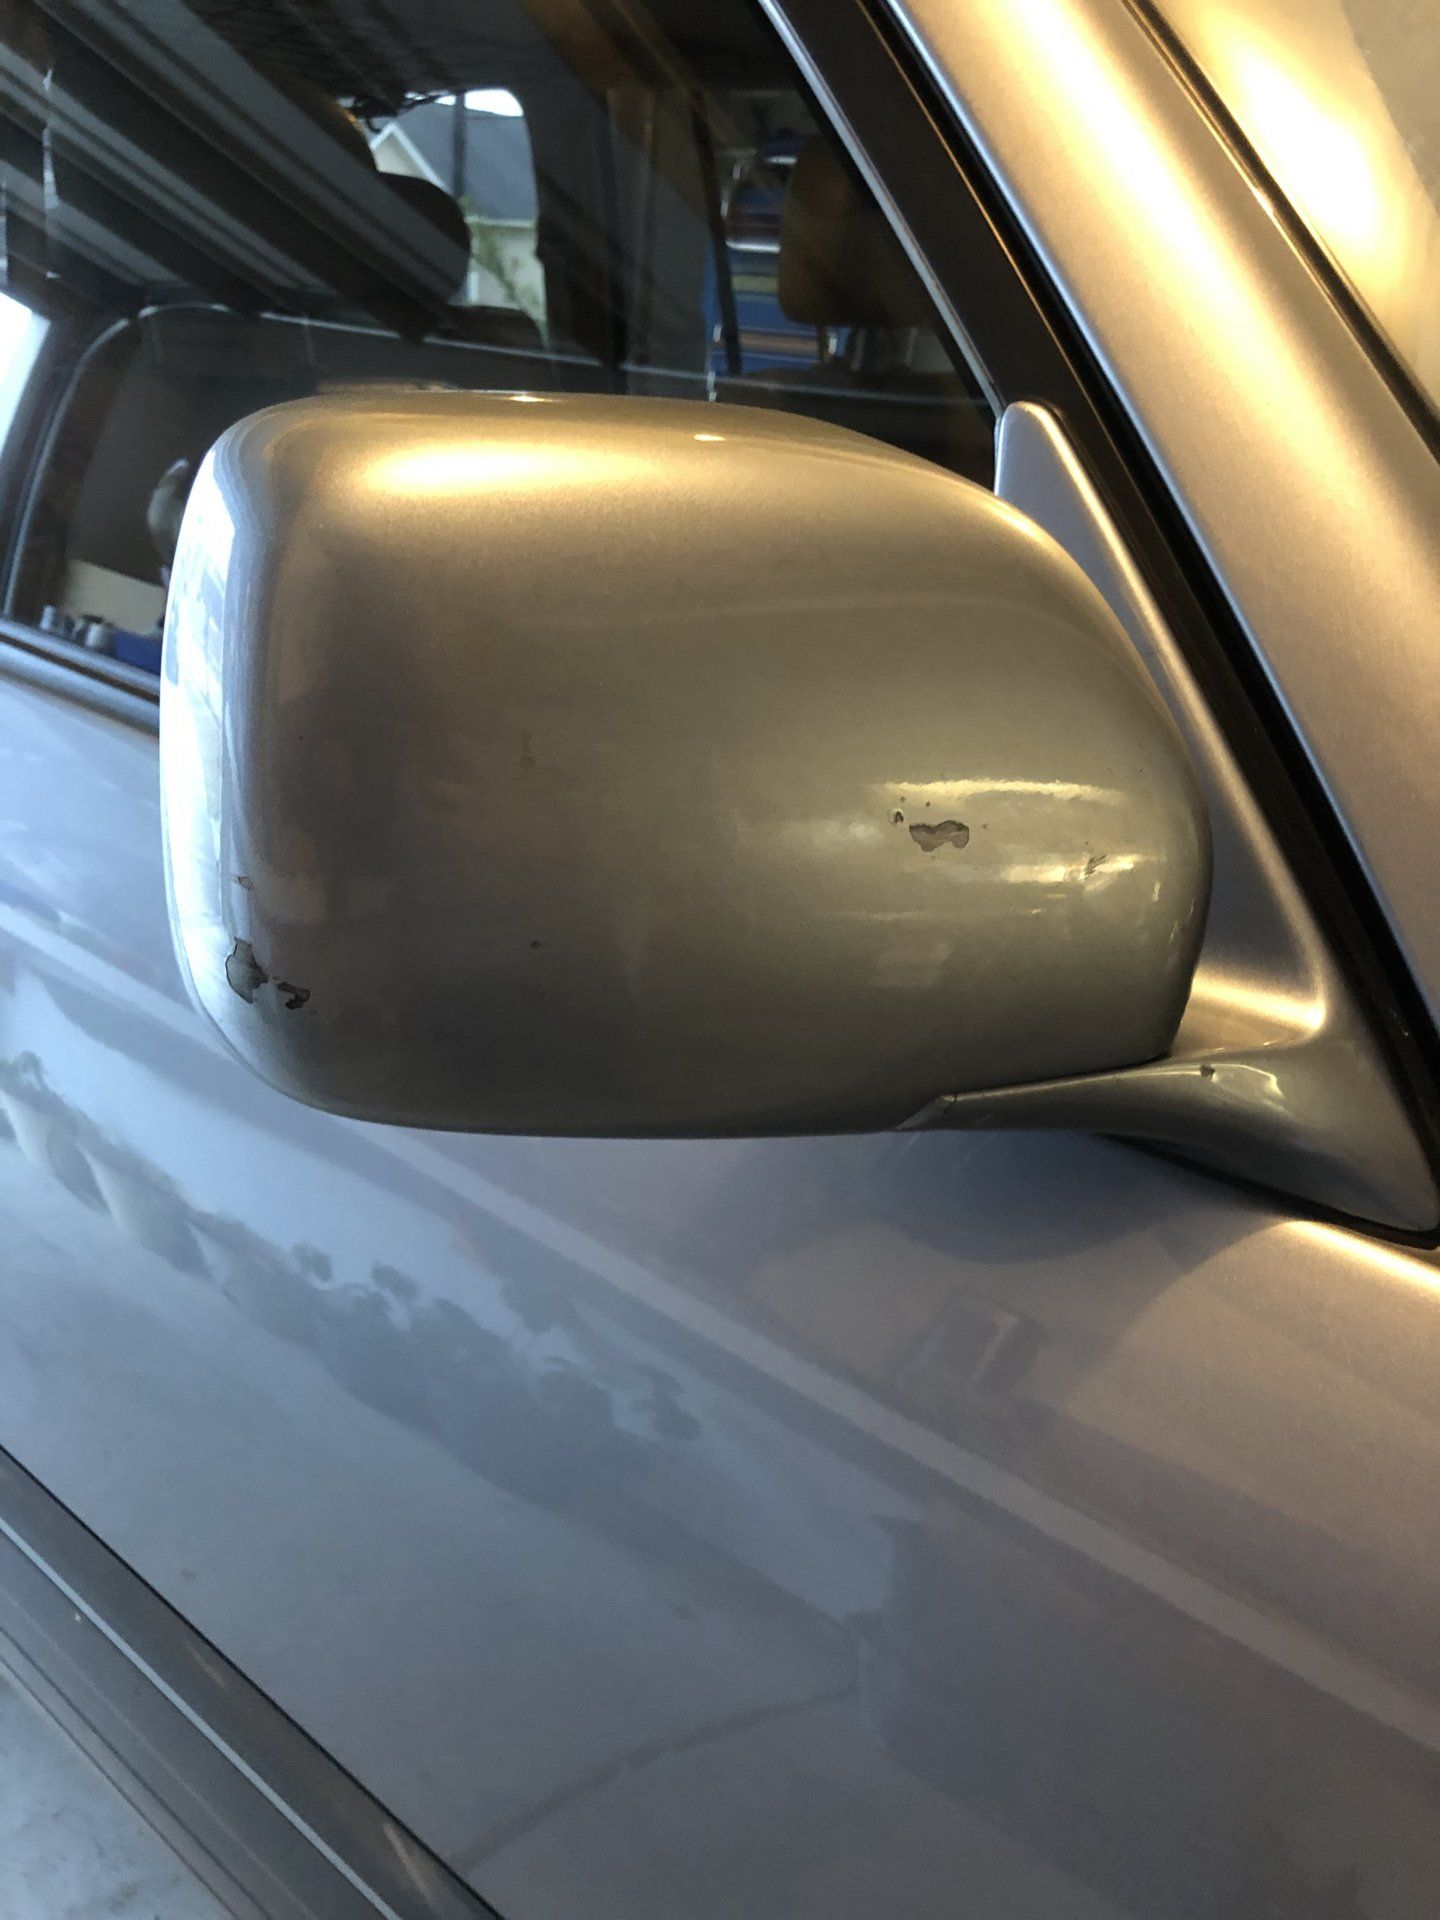
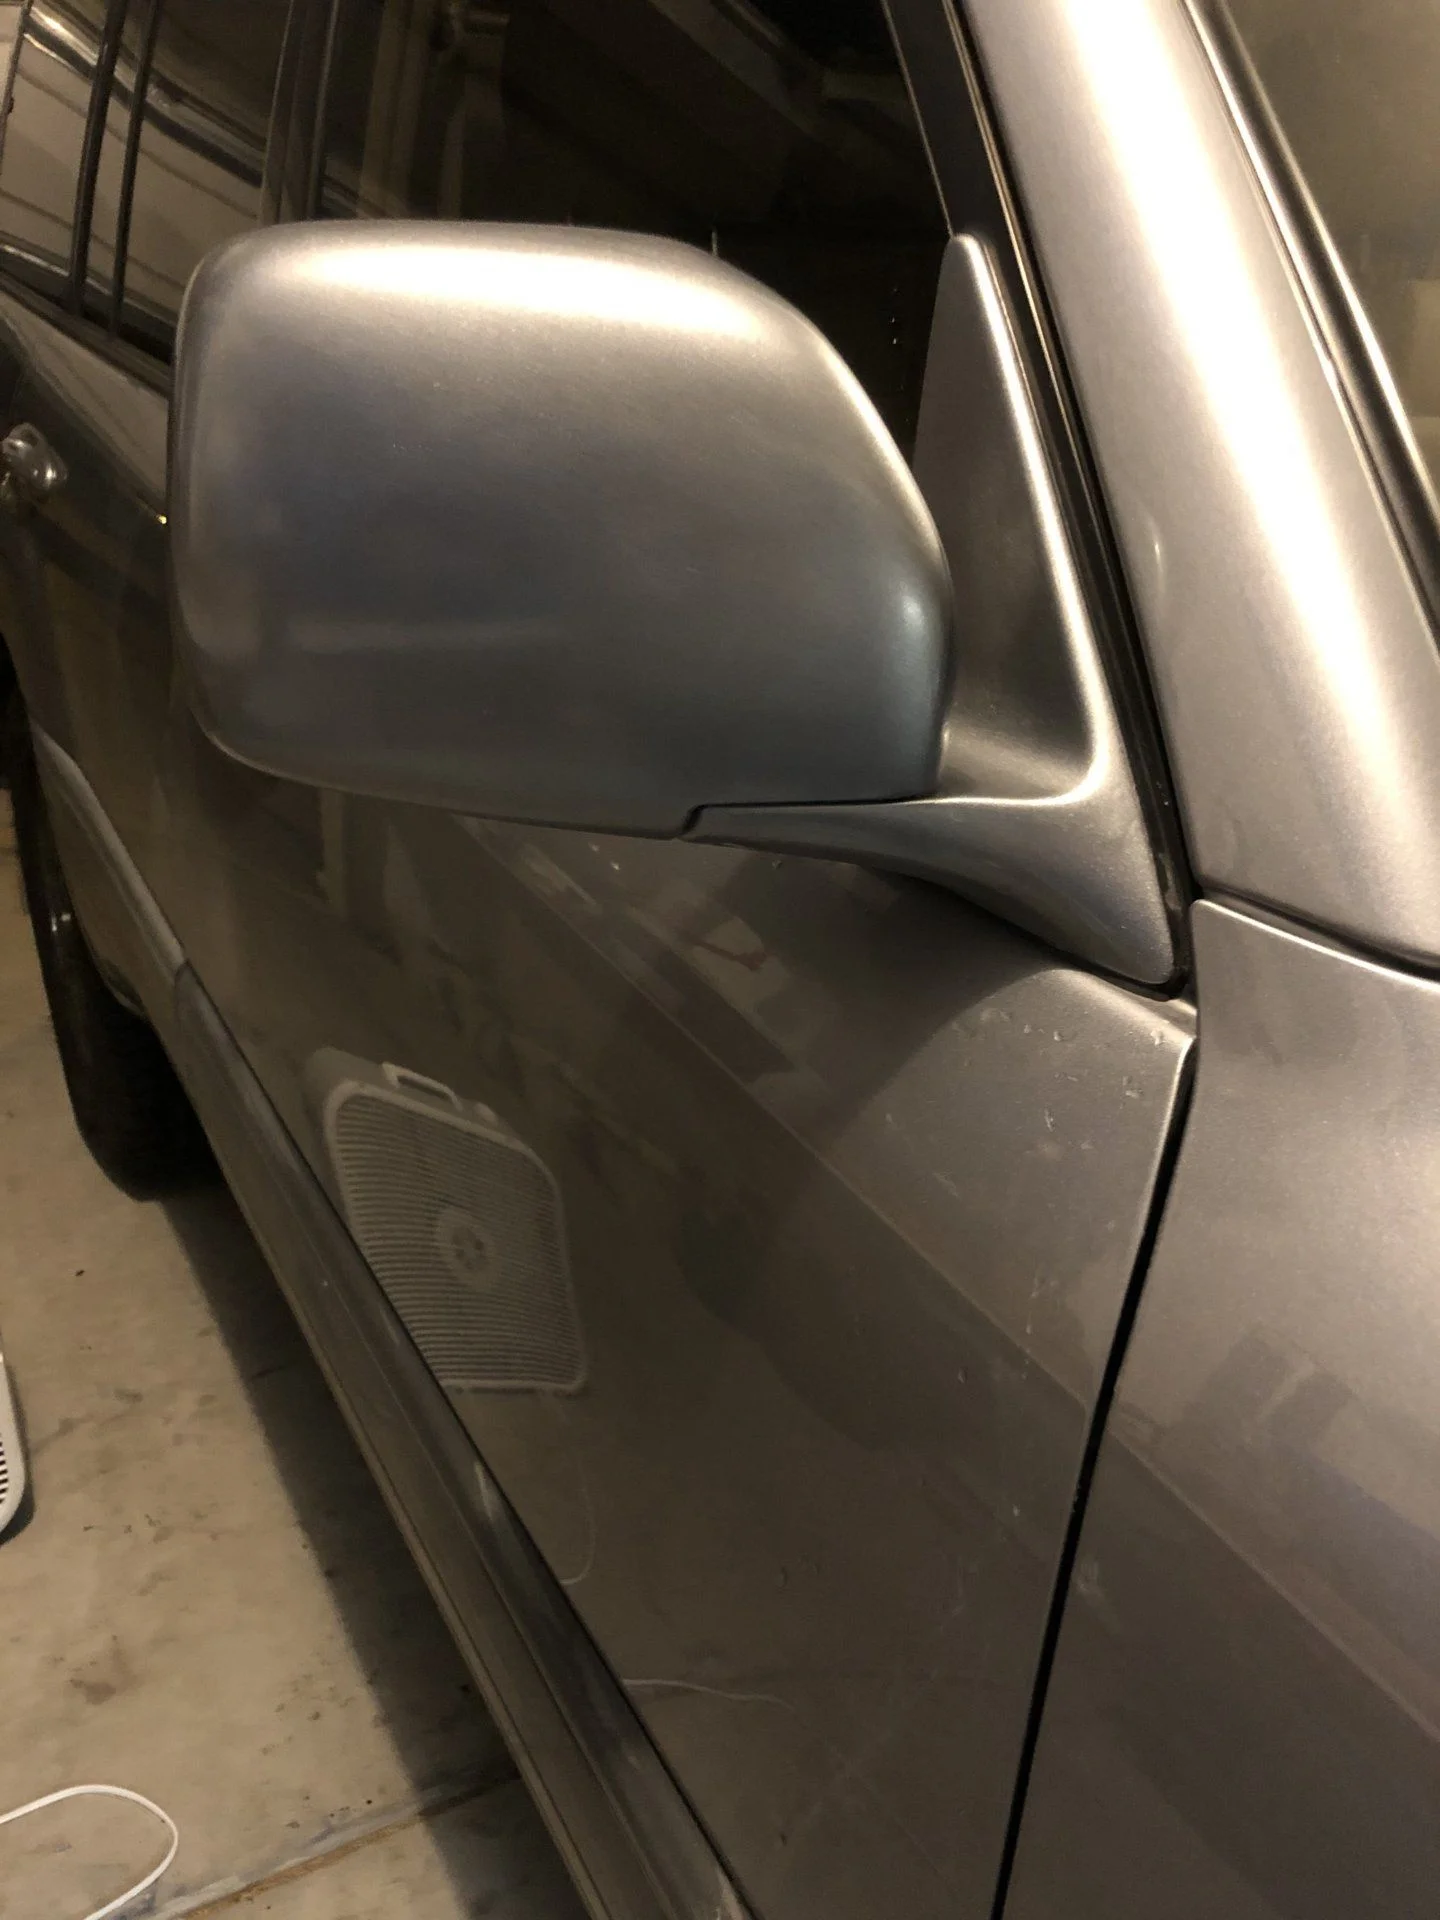
I've had the old girl for a year today, so I thought it was fitting to repaint her sad looking side mirrors. Used paint matched by automotivetouchup.com code 8P6 for Vapor Blue Metallic. I was hesitant because silver is a hard color to match, but I'm thoroughly impressed with the results! A rundown of my process for anyone interested in doing something similar is at the end of this post
To paint the side mirrors:
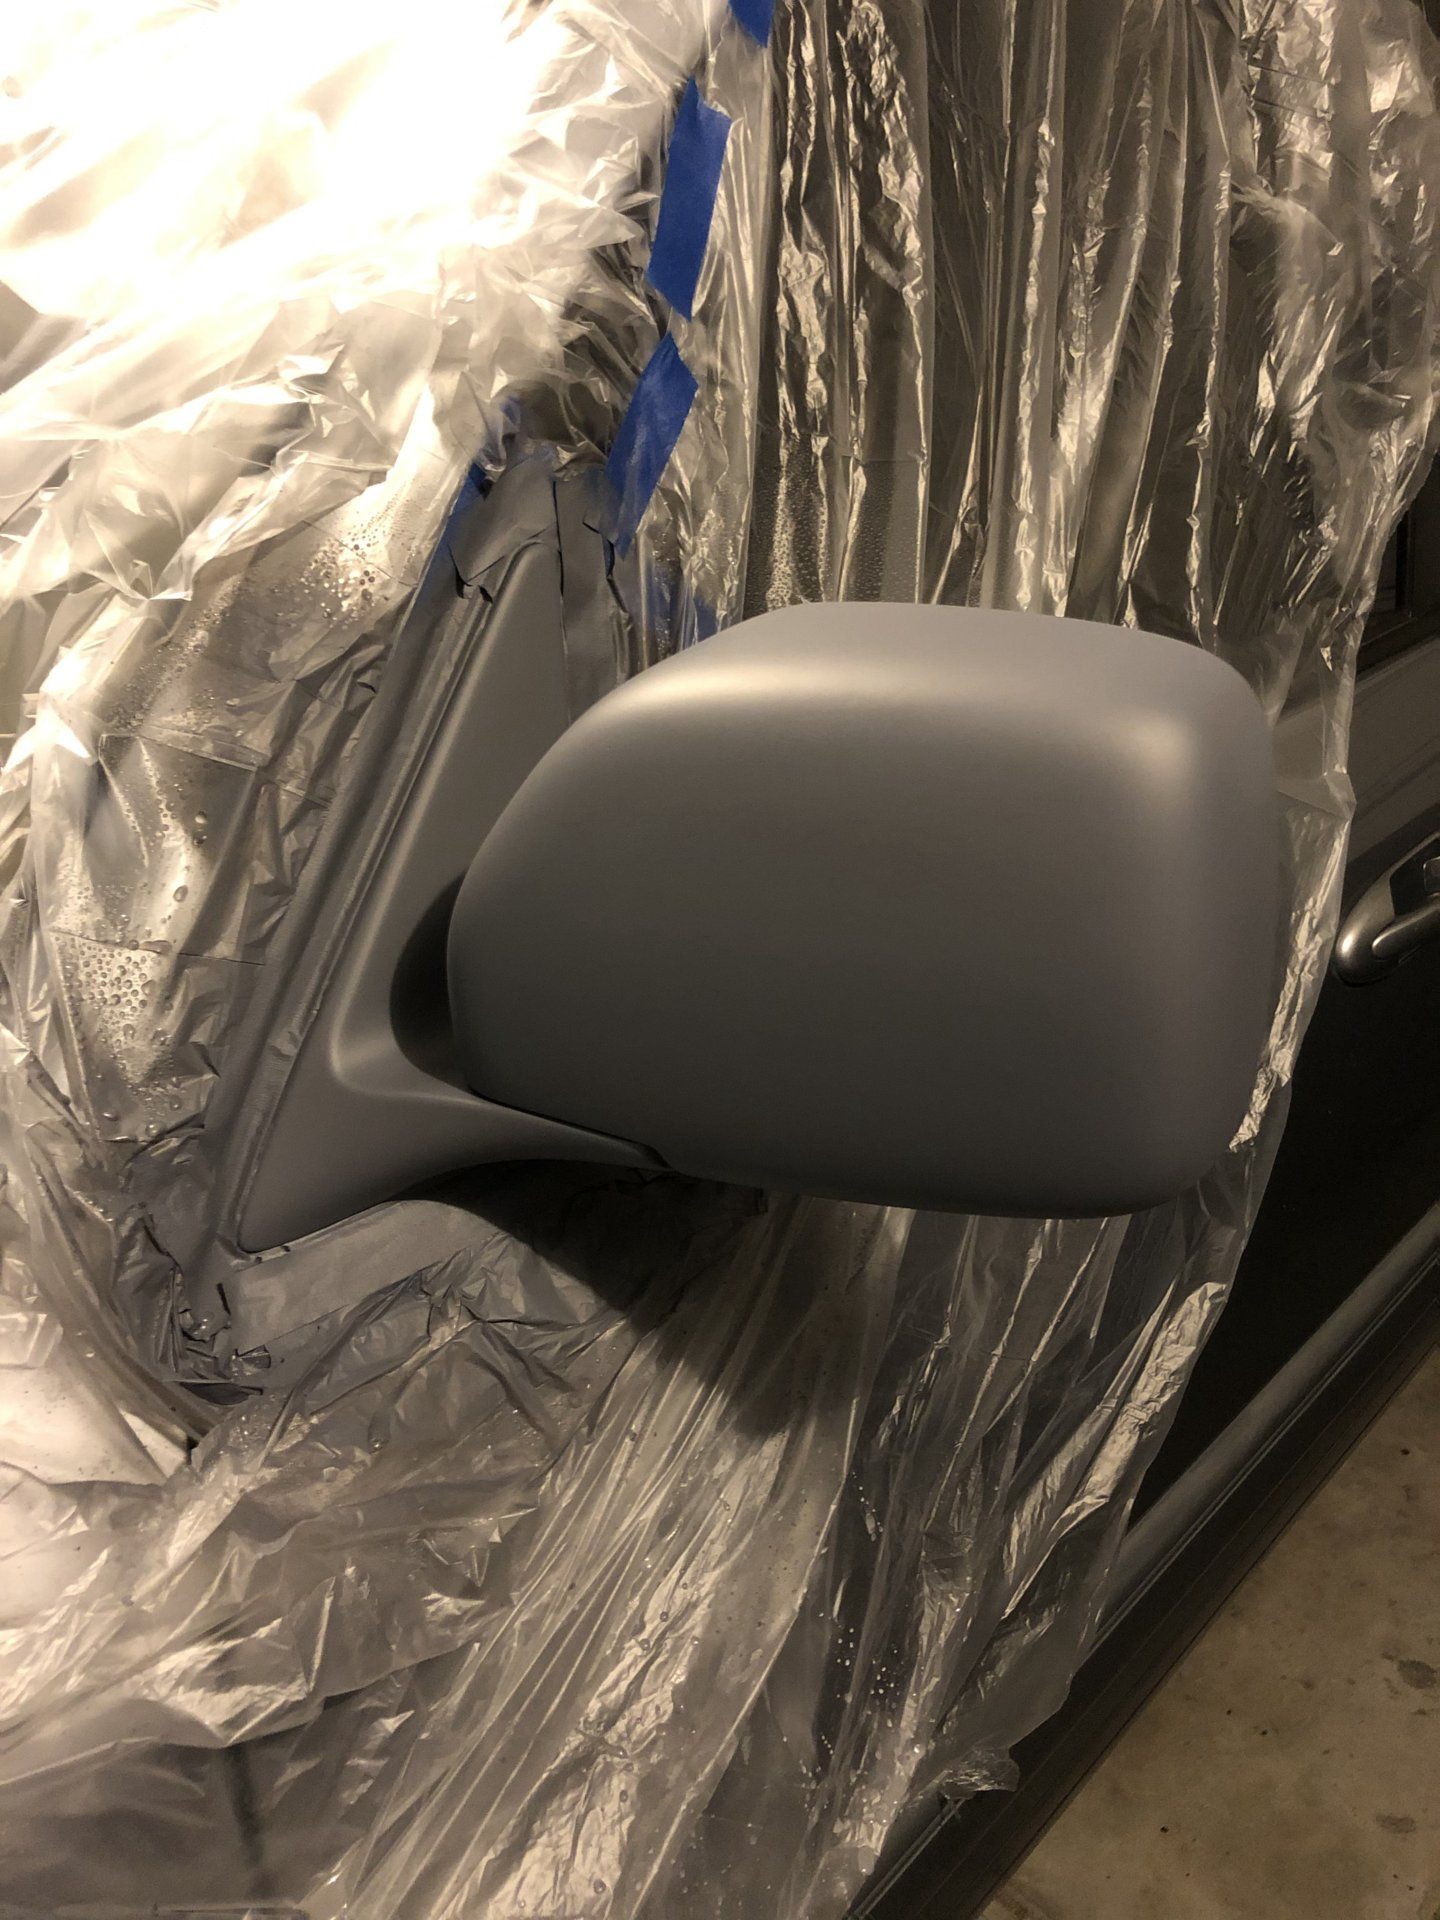
1) Mask off the area really well. I decided this would be easier than removing the mirrors from the truck.
2) Wet sand the mirrors with 600 grit paper
3) Dry with a microfiber towel, then wipe with alcohol to dry thoroughly, and follow up with tack cloth to ensure no dust particles are left.
4) Spray with 2-3 coats of primer, waiting 10-15 minutes between coats (it was about 40 degrees outside so my wait time was a little longer)
5) Waiting an hour after the last coat of primer, wet sand again with 600 grit.
6) Wipe with alcohol and tack cloth again
7) Apply 3-4 coats of paint, waiting 10-15 minutes between applications.
8) Let dry for 30 minutes to an hour
9) Apply 3 coats of clear coat, waiting 15-20 minutes between coats
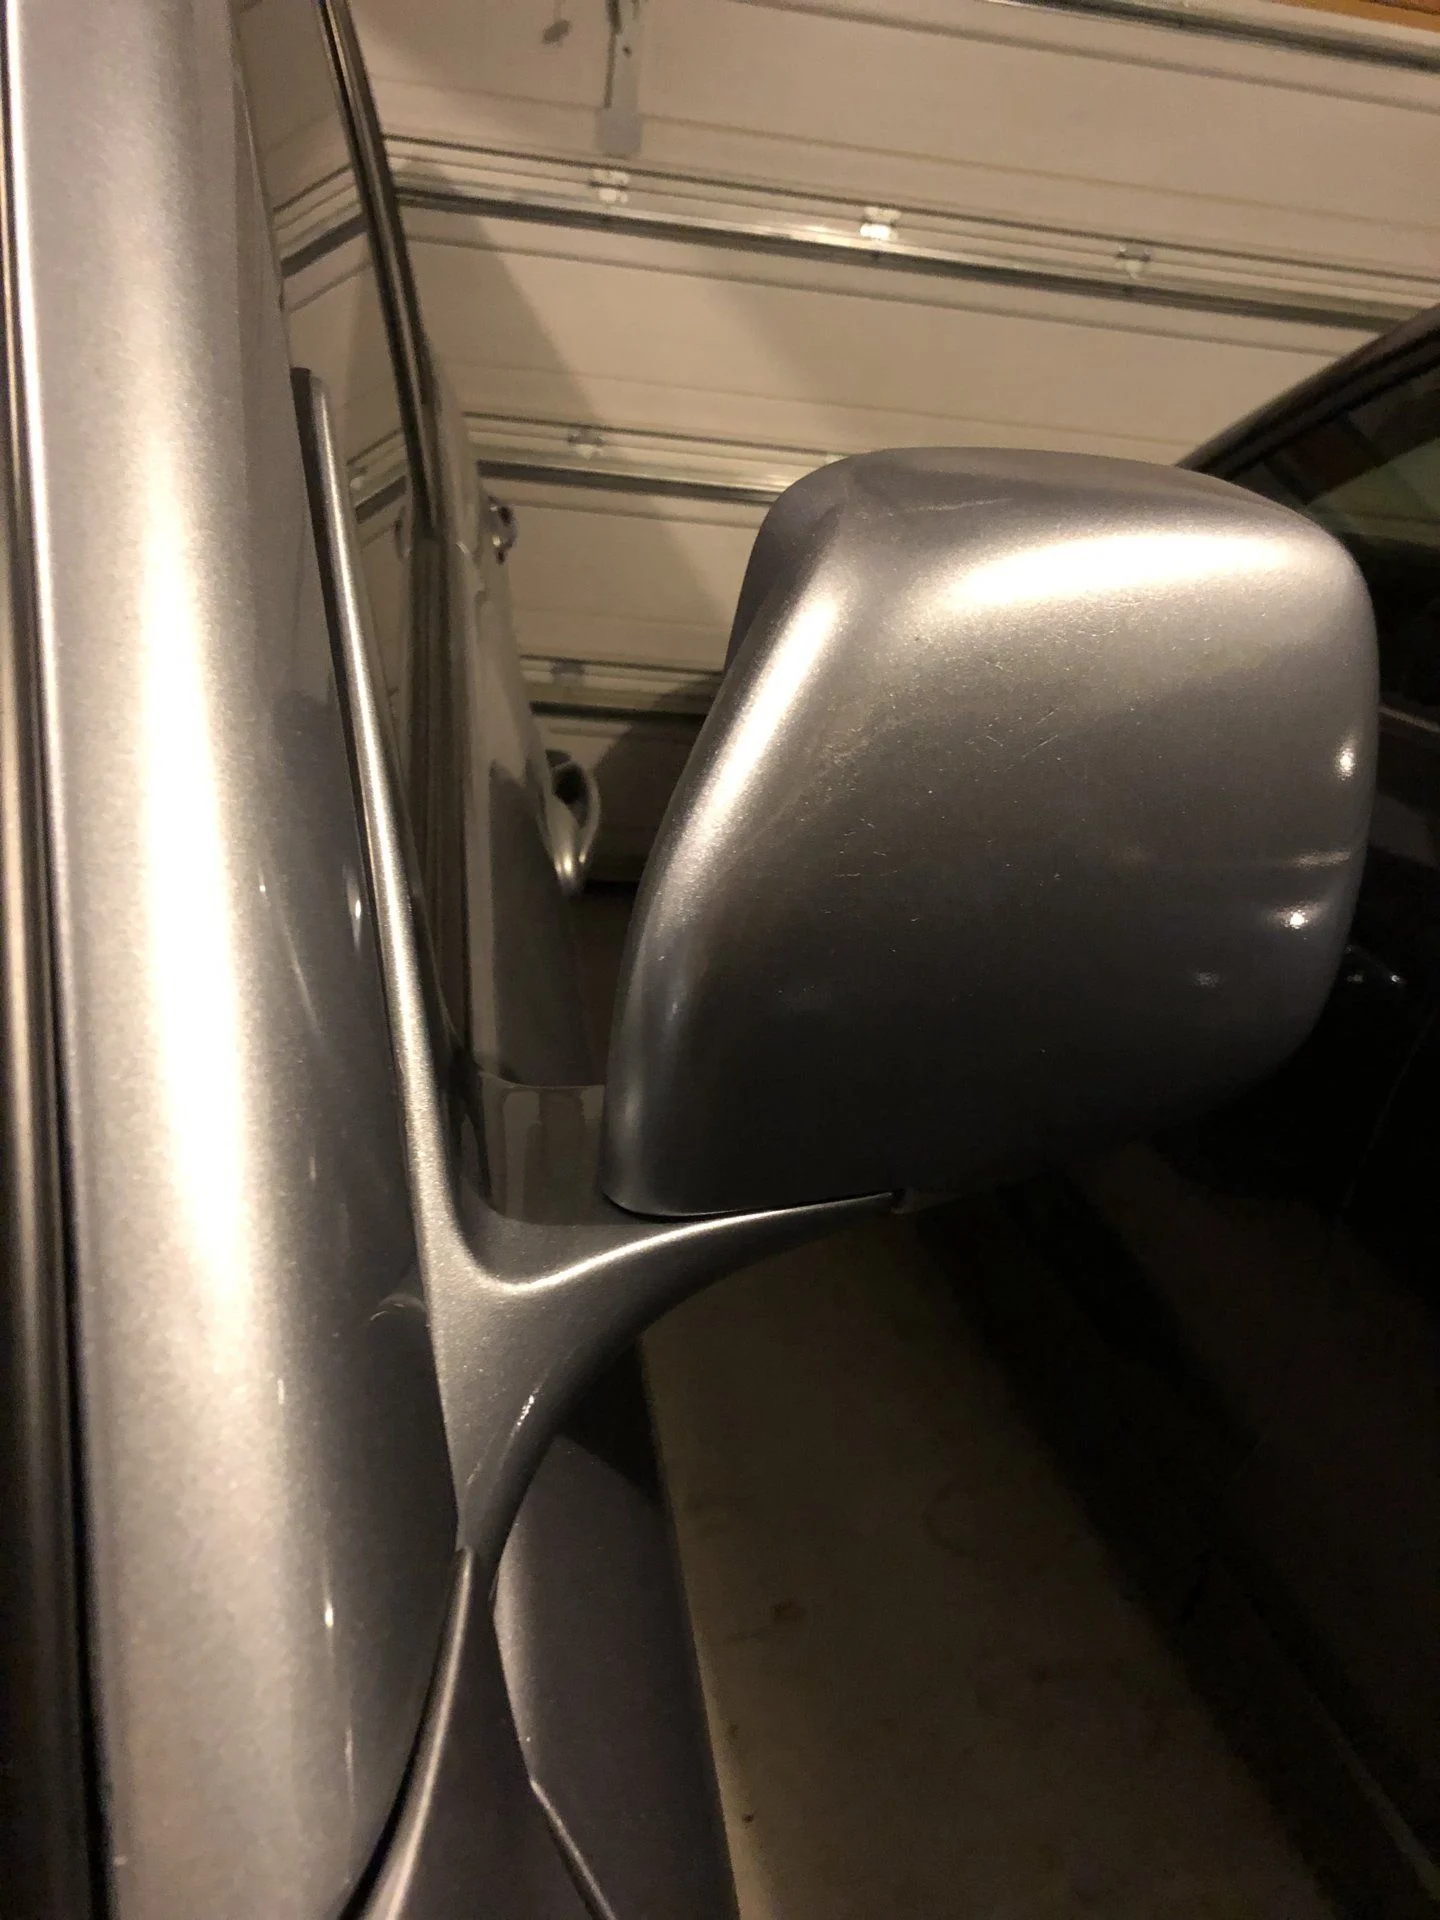
10) Let the final coat dry for an hour, then remove your tape and admire your new mirrors for less than $50!
") reading is fundamental. Thanks
reading is fundamental. Thanks