Hey guys/gals:
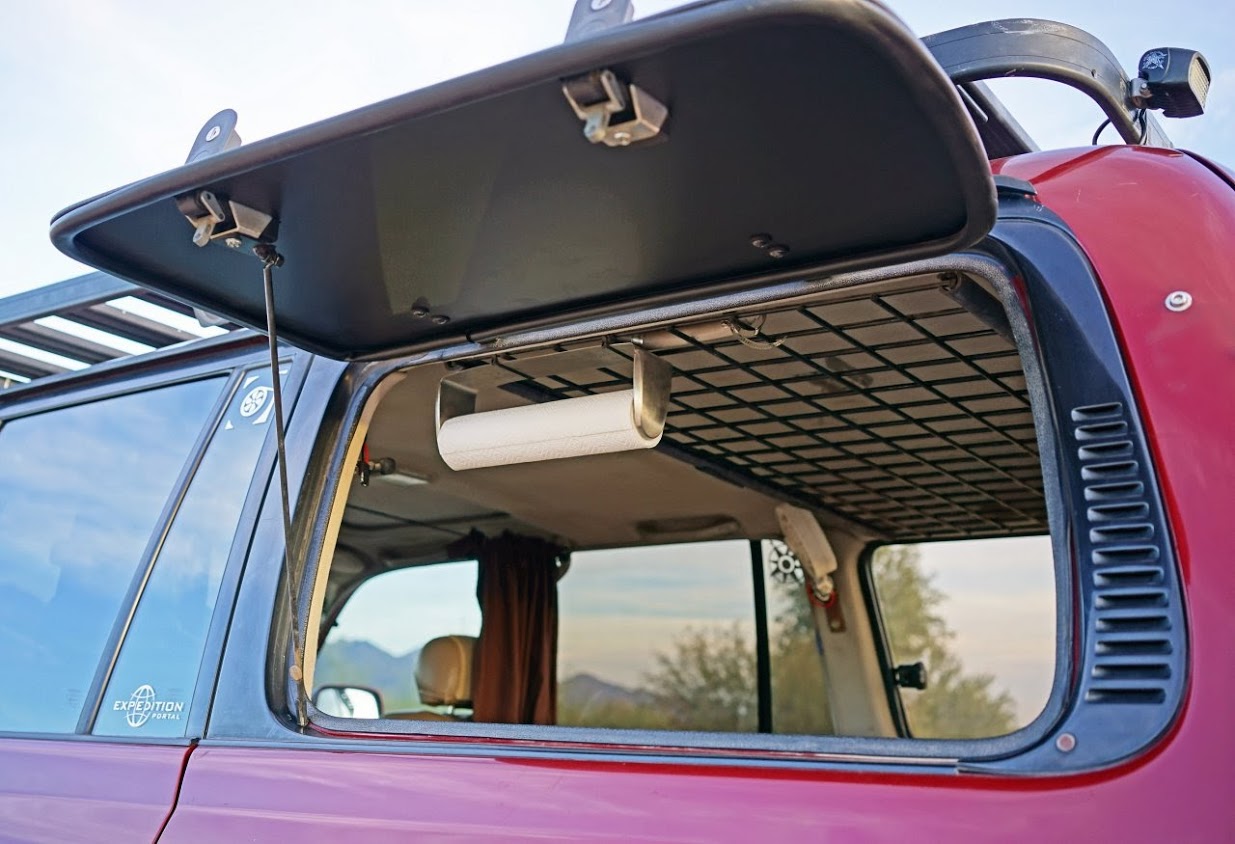
I've been pretty busy lately and haven't really been a contributor on Mud as much as I would like. My work schedule has slowed down due to the spring season and I've been hammering out the mods and maintenance on my 80. One of those items was the replacement of the rear sliding window seals. Mine were not leaking, but it was something I wanted to PM with my Arizona Original rust-free LX450. I will apologize in advance, I forgot my SLR at home this day, so your blessed with some under-exposed cell phone photos instead.
Here is a photo of the part #'s that I ordered:
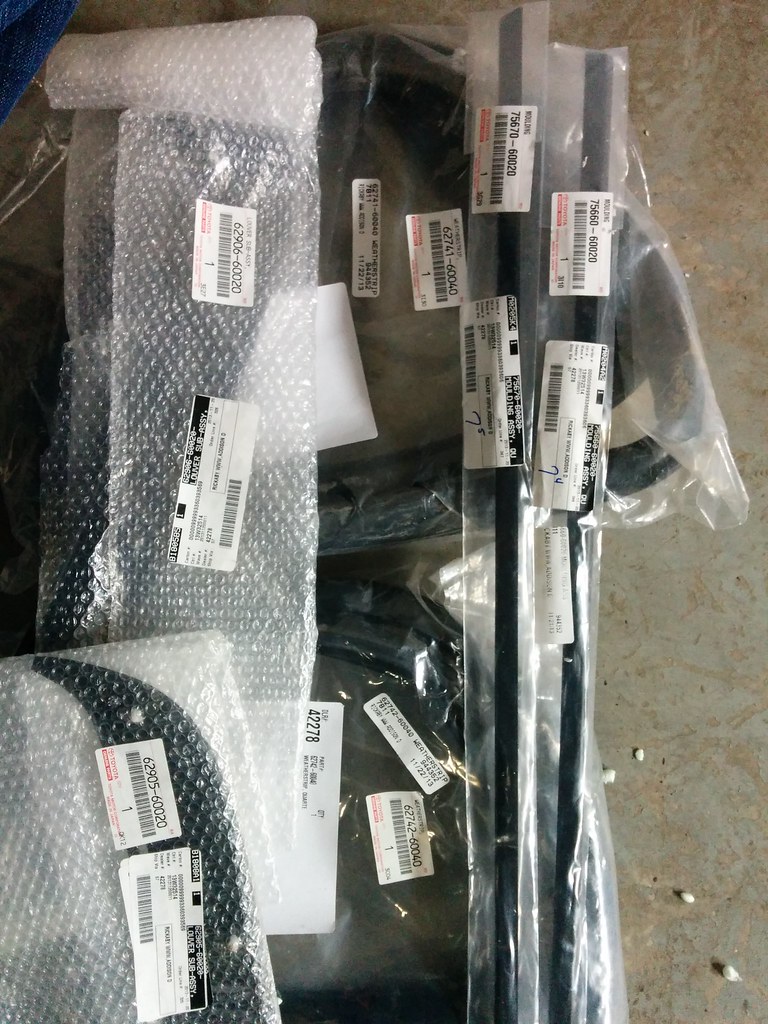
These parts include:
2x Vent Louver (L and R)
2x Belt Moulding (L and R)
2x Rear Window Seal (L and R)
1. Remove the rear interior panels around the wheels wells. Unscrew the silver lip moudling holding the carpet down near your tailgate, then gently pop out the two (L and R) interior panels. They are attached with several typical toyota clips. A little pull and they should pop out. No photos of this...
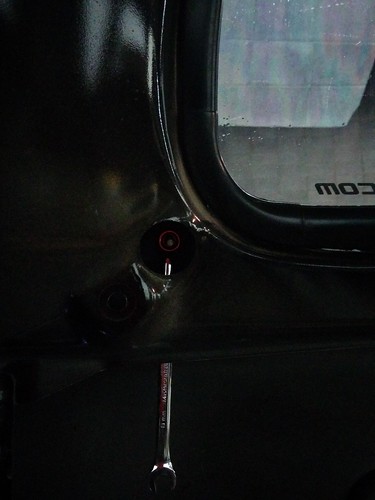
2. Next up, unscrew the bolt on the inside of the rear pillar (D-pillar) that holds the rear "vent louver" in place (at the bottom). I believe it was an 8mm nut. You will also need to pop the two plastic clips free (middle and top).
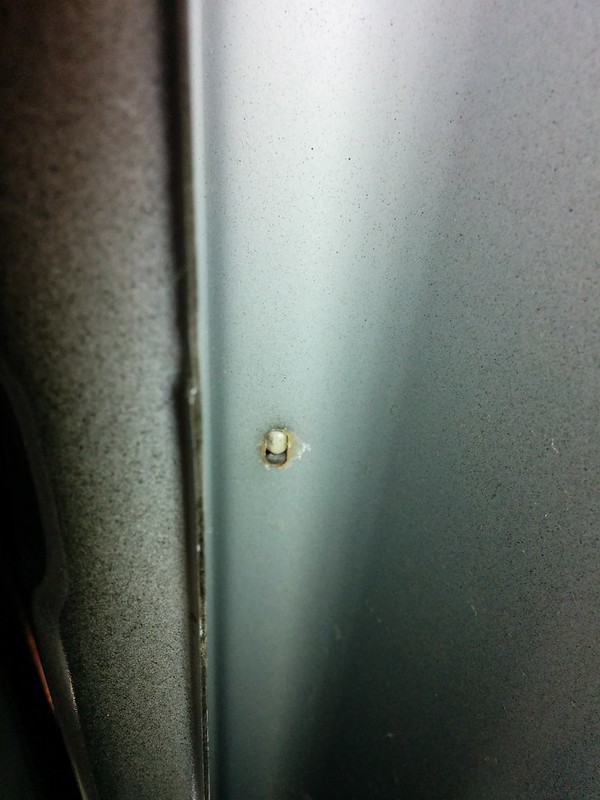
3. Now remove the "Belt Trim" that runs horizontal on the exterior of your 80, under the rear window. It has 3 or 4 pressure clips that hold it on the body. With your interior panels now out you can reach inside and squeeze them with some plyers to remove the belt strip without breaking the clips (if your re-using the belt strip). Notice the small rubber grommet around each hole, this is what commonly fails with age, causing water to drip into your body panels and rust out your floor jack and/or panels themselves.
Underside of the clips:
Belt Strip/Moulding Removed:
4. Now with everything out of the way, it's time to remove the glass. Start on the inside of the vehicle and use a flaphead screwdriver to pry the window seal to the inside of the seam on the body. See below:
This can be a real PITA so take your time and avoid scratching your window tint like I did. In retrospect I would even wrap the end of my screwdriver in tape to dull the edges. I used two screwdrivers and worked the window seam much like trying to seat a MTB bicycle tire on a rim.
Another photo:
5. Once you get the seal over that body seam, the window will begin to unseat itself towards the outside of the vehicle. I worked the seal around about 3/4 of the way, then went and pulled the whole window and seal outwards, standing on the outside of the vehicle. I was able to pull the glass right out.
Glass out:
6. I should mention that I did not replace the inner seal that the glass actually sits on. This would be the time to do this. You would simply remove the old outer seal, exposing the metal frame or track that the glass sits in. Then you would work the glass out of this track before replacing the internal track seal.
At this point I cleaned everything thoroughly and did my best job at cleaning the existing rubber track seals and also the metal glass frame. Once finish I installed the new window seal on the metal frame and prepared to re-install.
7. Here is where a cool trick comes in. Get a small diameter rope maybe 1/4" to 3/8" diameter. I had this nylon rope lying around and it worked quite well. Insert the rope into the slot in the rubber window seal that you want to seat on the body seam, as pictured:
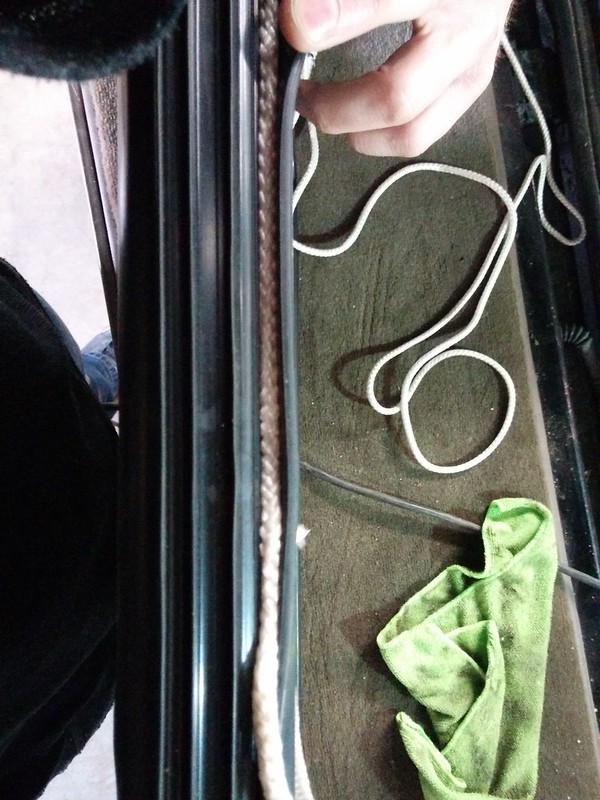
Leave the two ends of rope exposed, so that you can grab hold of them. Pictured below:
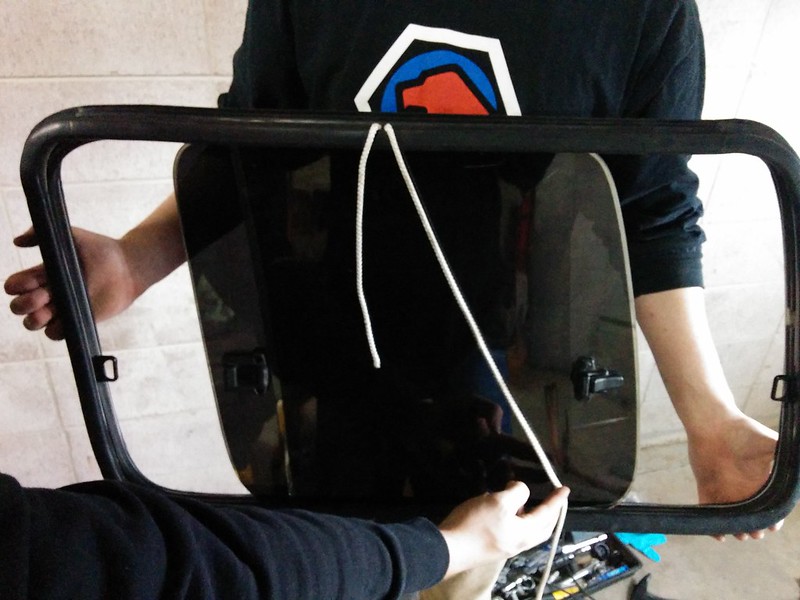
8. Now seat the glass back on the body where it needs to go. The rope should be facing the inside. Get someone to apply pressure and hold the window from the outside, pushing the window perpendicular towards the interior. From the inside grab the rope ends, holding one side, pull the other side of the rope to lift the edge of the rubber window seal back over the body seal. Think reversal of how you removed the glass initially, just the rope is now doing the work instead of the screwdriver. Word of caution, you may need to help the rope along when pulling around the corners of the glass. Do this very carefully to avoid the body seam from cutting your new rubber seals.
Pull the rope around:
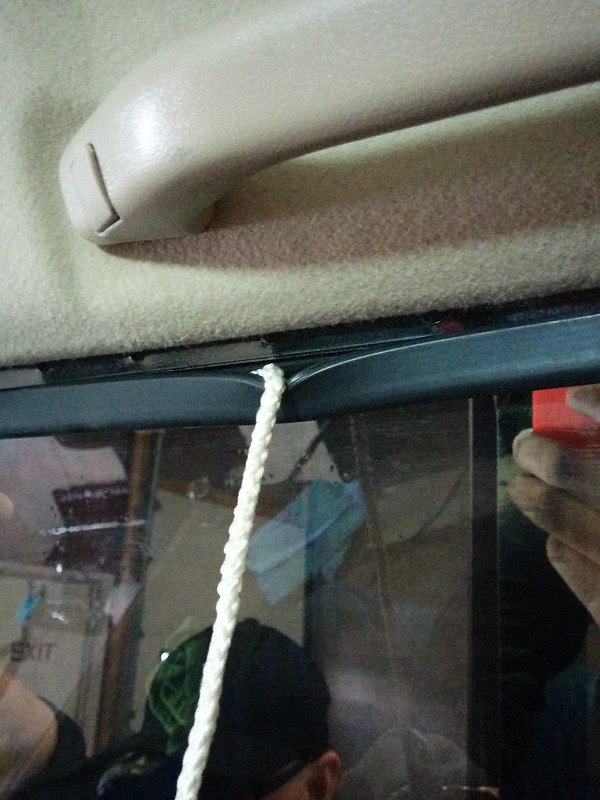
9. With the glass re-installed, install the vent louver and the accompanying bolt on each side. Be careful with the small rubber seal that runs along the edge of the plastic vent louver. Mine was brand new and was almost fully hanging off out of the box, which made seating the tiny seal a huge PITA.
10. Finally install the belt mouldings. I used a dab of black RTV sealant on each of the plastic clips that hold the belt moulding to the edge of the body, in hopes of eliminating future leaking into the rear quarter panels.
All in all, the job took me 2.5 hours with the help of a friend. Hope this helps someone else out there tackle the project. It's really not bad, just be patient when getting the glass out.
I've been pretty busy lately and haven't really been a contributor on Mud as much as I would like. My work schedule has slowed down due to the spring season and I've been hammering out the mods and maintenance on my 80. One of those items was the replacement of the rear sliding window seals. Mine were not leaking, but it was something I wanted to PM with my Arizona Original rust-free LX450. I will apologize in advance, I forgot my SLR at home this day, so your blessed with some under-exposed cell phone photos instead.
Here is a photo of the part #'s that I ordered:
These parts include:
2x Vent Louver (L and R)
2x Belt Moulding (L and R)
2x Rear Window Seal (L and R)
1. Remove the rear interior panels around the wheels wells. Unscrew the silver lip moudling holding the carpet down near your tailgate, then gently pop out the two (L and R) interior panels. They are attached with several typical toyota clips. A little pull and they should pop out. No photos of this...
2. Next up, unscrew the bolt on the inside of the rear pillar (D-pillar) that holds the rear "vent louver" in place (at the bottom). I believe it was an 8mm nut. You will also need to pop the two plastic clips free (middle and top).
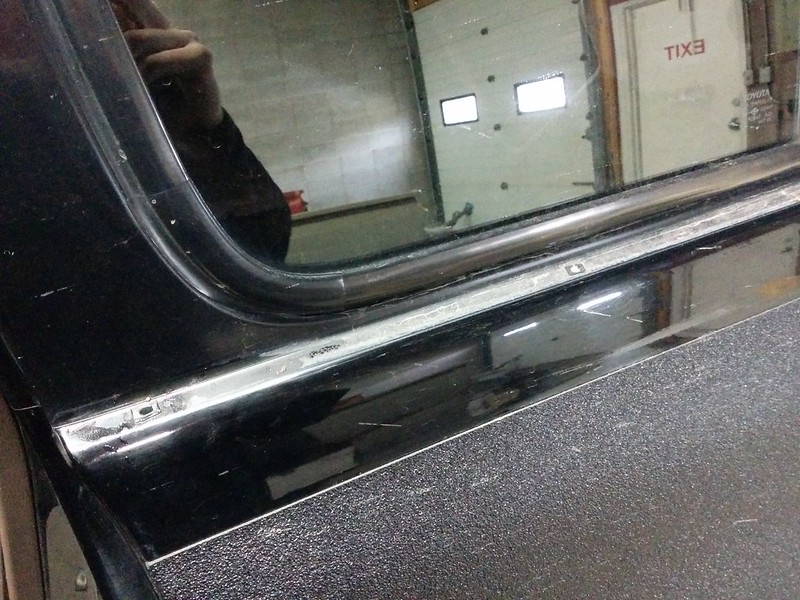
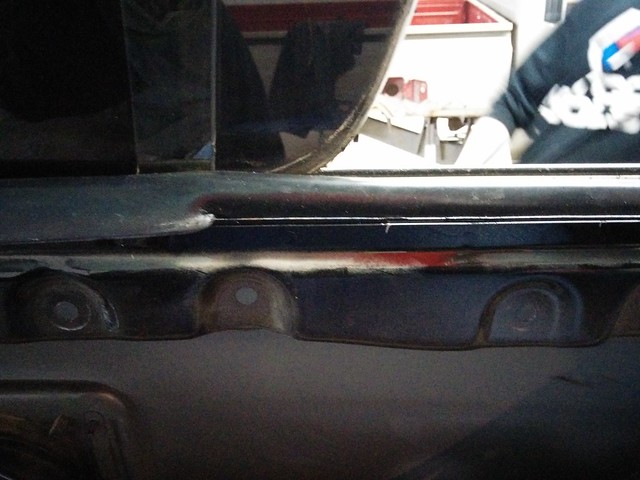
3. Now remove the "Belt Trim" that runs horizontal on the exterior of your 80, under the rear window. It has 3 or 4 pressure clips that hold it on the body. With your interior panels now out you can reach inside and squeeze them with some plyers to remove the belt strip without breaking the clips (if your re-using the belt strip). Notice the small rubber grommet around each hole, this is what commonly fails with age, causing water to drip into your body panels and rust out your floor jack and/or panels themselves.
Underside of the clips:
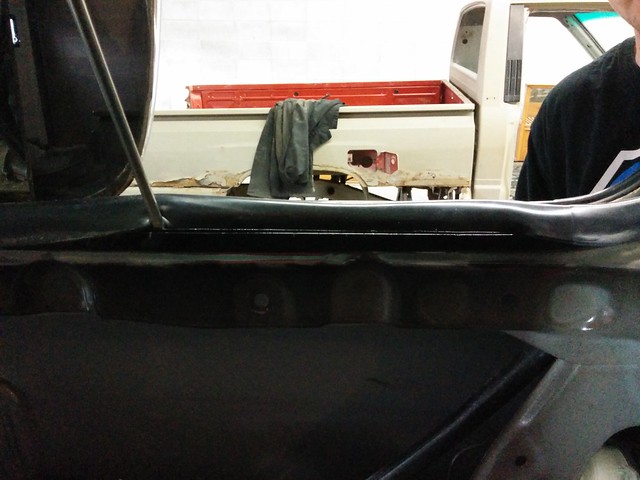
Belt Strip/Moulding Removed:
4. Now with everything out of the way, it's time to remove the glass. Start on the inside of the vehicle and use a flaphead screwdriver to pry the window seal to the inside of the seam on the body. See below:
This can be a real PITA so take your time and avoid scratching your window tint like I did. In retrospect I would even wrap the end of my screwdriver in tape to dull the edges. I used two screwdrivers and worked the window seam much like trying to seat a MTB bicycle tire on a rim.
Another photo:
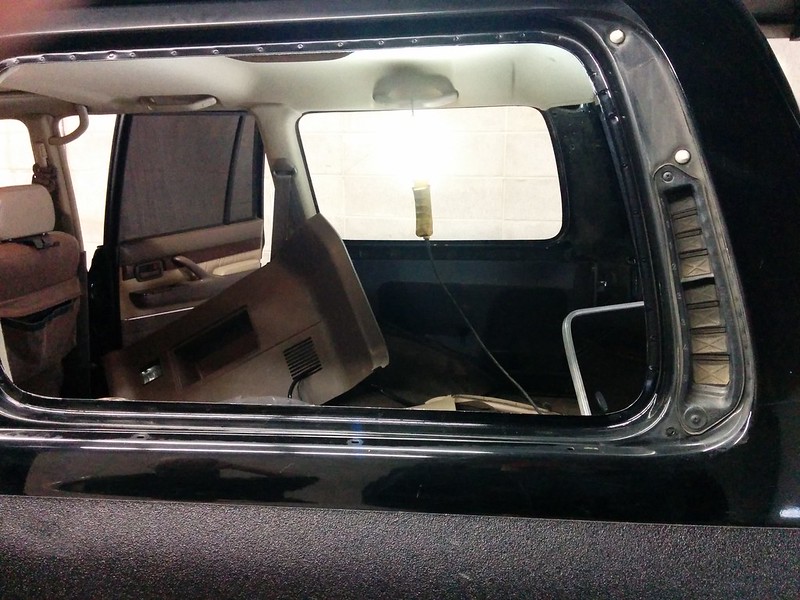
5. Once you get the seal over that body seam, the window will begin to unseat itself towards the outside of the vehicle. I worked the seal around about 3/4 of the way, then went and pulled the whole window and seal outwards, standing on the outside of the vehicle. I was able to pull the glass right out.
Glass out:
6. I should mention that I did not replace the inner seal that the glass actually sits on. This would be the time to do this. You would simply remove the old outer seal, exposing the metal frame or track that the glass sits in. Then you would work the glass out of this track before replacing the internal track seal.
At this point I cleaned everything thoroughly and did my best job at cleaning the existing rubber track seals and also the metal glass frame. Once finish I installed the new window seal on the metal frame and prepared to re-install.
7. Here is where a cool trick comes in. Get a small diameter rope maybe 1/4" to 3/8" diameter. I had this nylon rope lying around and it worked quite well. Insert the rope into the slot in the rubber window seal that you want to seat on the body seam, as pictured:
Leave the two ends of rope exposed, so that you can grab hold of them. Pictured below:
8. Now seat the glass back on the body where it needs to go. The rope should be facing the inside. Get someone to apply pressure and hold the window from the outside, pushing the window perpendicular towards the interior. From the inside grab the rope ends, holding one side, pull the other side of the rope to lift the edge of the rubber window seal back over the body seal. Think reversal of how you removed the glass initially, just the rope is now doing the work instead of the screwdriver. Word of caution, you may need to help the rope along when pulling around the corners of the glass. Do this very carefully to avoid the body seam from cutting your new rubber seals.
Pull the rope around:
9. With the glass re-installed, install the vent louver and the accompanying bolt on each side. Be careful with the small rubber seal that runs along the edge of the plastic vent louver. Mine was brand new and was almost fully hanging off out of the box, which made seating the tiny seal a huge PITA.
10. Finally install the belt mouldings. I used a dab of black RTV sealant on each of the plastic clips that hold the belt moulding to the edge of the body, in hopes of eliminating future leaking into the rear quarter panels.
All in all, the job took me 2.5 hours with the help of a friend. Hope this helps someone else out there tackle the project. It's really not bad, just be patient when getting the glass out.


")