- Thread starter
- #21
Navigation
Install the app
How to install the app on iOS
Follow along with the video below to see how to install our site as a web app on your home screen.
Note: This feature may not be available in some browsers.
More options
Style variation
You are using an out of date browser. It may not display this or other websites correctly.
You should upgrade or use an alternative browser.
You should upgrade or use an alternative browser.
Help with 3-link on '99 4-Runner (1 Viewer)
- Thread starter JLHEEPETR
- Start date
This site may earn a commission from merchant affiliate
links, including eBay, Amazon, Skimlinks, and others.
More options
Who Replied?EWheeler
GOLD Star
Looks like you have a solid pile of parts there. Nice documentation, look forward to watching the rest of the build.
- Thread starter
- #24
Yeah, didn't get the Marlin seals. I have another set of inner seals already so after two sets fail I'll finally get the Marlin stuff.
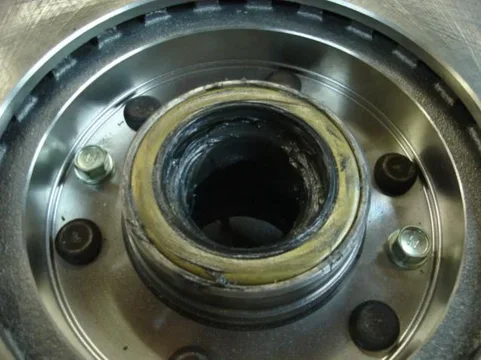
And yes, the Diamond housing has a second set of seals just either side of the 3rd to keep gear oil out of the axle tubes. The shafts are from Longfield but cut to length and splined by Diamond to custom length.
And yes, the Diamond housing has a second set of seals just either side of the 3rd to keep gear oil out of the axle tubes. The shafts are from Longfield but cut to length and splined by Diamond to custom length.
Last edited:
- Thread starter
- #26
si senor, hopefully that will not prove to be a problem. The axles will be warrantied but finding trail spares will be near impossible.
- Thread starter
- #27
- Thread starter
- #28
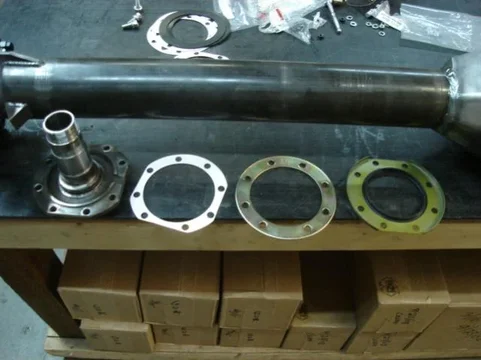
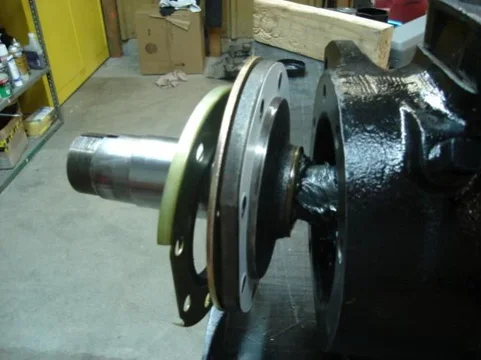
Next step is to test fit the new Longfields to make sure there are no clearance issues. Slide the Longfield into the spindle.

Go ahead and mount the spindle on the knuckle with a few bolts. Spin the Longfield back and forth and feel/listen for any contact inside the knuckle.
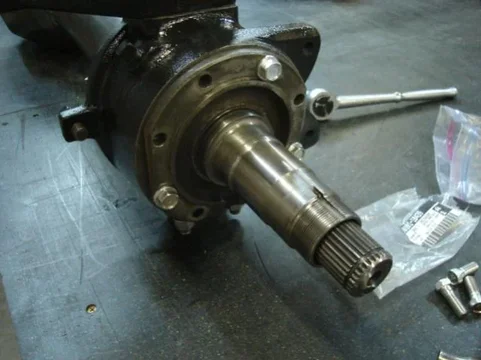
I got lucky with mine and had no contact either side. If you did you would have to grind some material from inside the knuckle ball. Here are the new Longfield inners.


Go ahead and mount the spindle on the knuckle with a few bolts. Spin the Longfield back and forth and feel/listen for any contact inside the knuckle.

I got lucky with mine and had no contact either side. If you did you would have to grind some material from inside the knuckle ball. Here are the new Longfield inners.

- Thread starter
- #29
After checking the fit, I joined the Longfield outers and inners. The retaining clip fought a bit but nothing a few drops on a block of wood didn't cure.

Here are the new inners and outers complete.

Before I put the axles in I went ahead and packed a little grease into the knuckle because I wouldn't be able to get back there with the axles in.


Here are the new inners and outers complete.

Before I put the axles in I went ahead and packed a little grease into the knuckle because I wouldn't be able to get back there with the axles in.

- Thread starter
- #30
Before sliding the axles in go ahead and grease the splines. You wouldn't want it dry and neither do your seals.

From here I went ahead and slid the axles in.

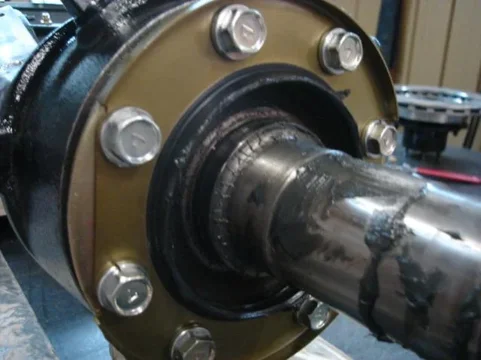
I didn't put the axles in all the way because I hadn't installed the 3rd yet but I wanted to be able to support the end of the axle shaft coming through the inner seal. After it got through I stopped just inside.


From here I went ahead and slid the axles in.

I didn't put the axles in all the way because I hadn't installed the 3rd yet but I wanted to be able to support the end of the axle shaft coming through the inner seal. After it got through I stopped just inside.

- Thread starter
- #31
- Thread starter
- #32
- Thread starter
- #33
- Thread starter
- #34
- Thread starter
- #35
- Thread starter
- #36
- Thread starter
- #37
- Thread starter
- #38
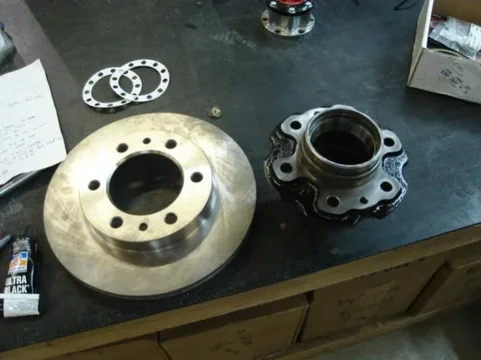
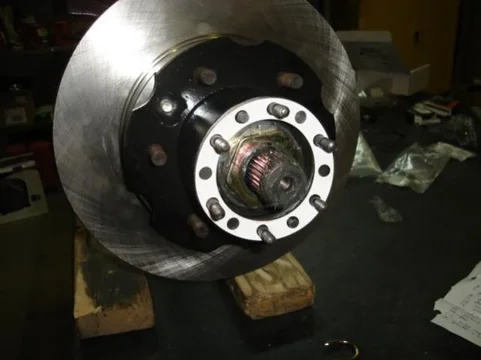
First the spindle washer and then a nut.

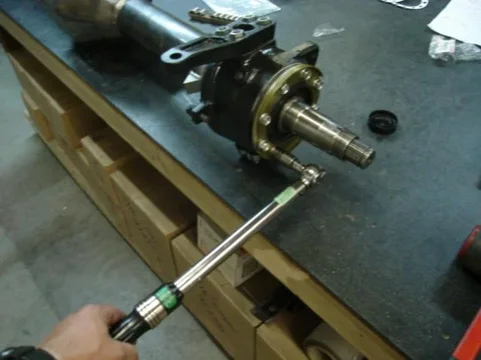
I used a method I read about online. I torqued the spindle nut to 43 ft/lbs and then spun the hub forward and backward about five times each. After every set of spins I would re-torque the spindle nut. Afer about three cycles, I loosened the spindle nut and re-torqued again, this time to 23 ft/lbs. This should give you a preload between 3 and 8 lbs.

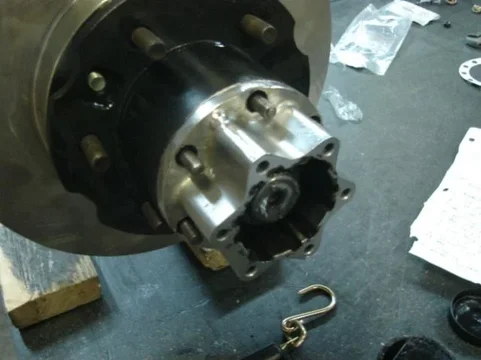
I measured the preload from a wheel stud. Again using the pull scale I got a preload pull of just over 8lbs. I called it good as I want to be on the higher end of tolerance for large tires.


I used a method I read about online. I torqued the spindle nut to 43 ft/lbs and then spun the hub forward and backward about five times each. After every set of spins I would re-torque the spindle nut. Afer about three cycles, I loosened the spindle nut and re-torqued again, this time to 23 ft/lbs. This should give you a preload between 3 and 8 lbs.

I measured the preload from a wheel stud. Again using the pull scale I got a preload pull of just over 8lbs. I called it good as I want to be on the higher end of tolerance for large tires.

- Thread starter
- #39
- Thread starter
- #40
Similar threads
- Replies
- 0
- Views
- 549
- Replies
- 82
- Views
- 13K
Users who are viewing this thread
Total: 2 (members: 0, guests: 2)


