Gudmundur 3.0 - Build (1 Viewer)

This site may earn a commission from merchant affiliate
links, including eBay, Amazon, Skimlinks, and others.

Joined
Feb 18, 2016
Threads
13
Messages
238
Location
Denver, Colorado
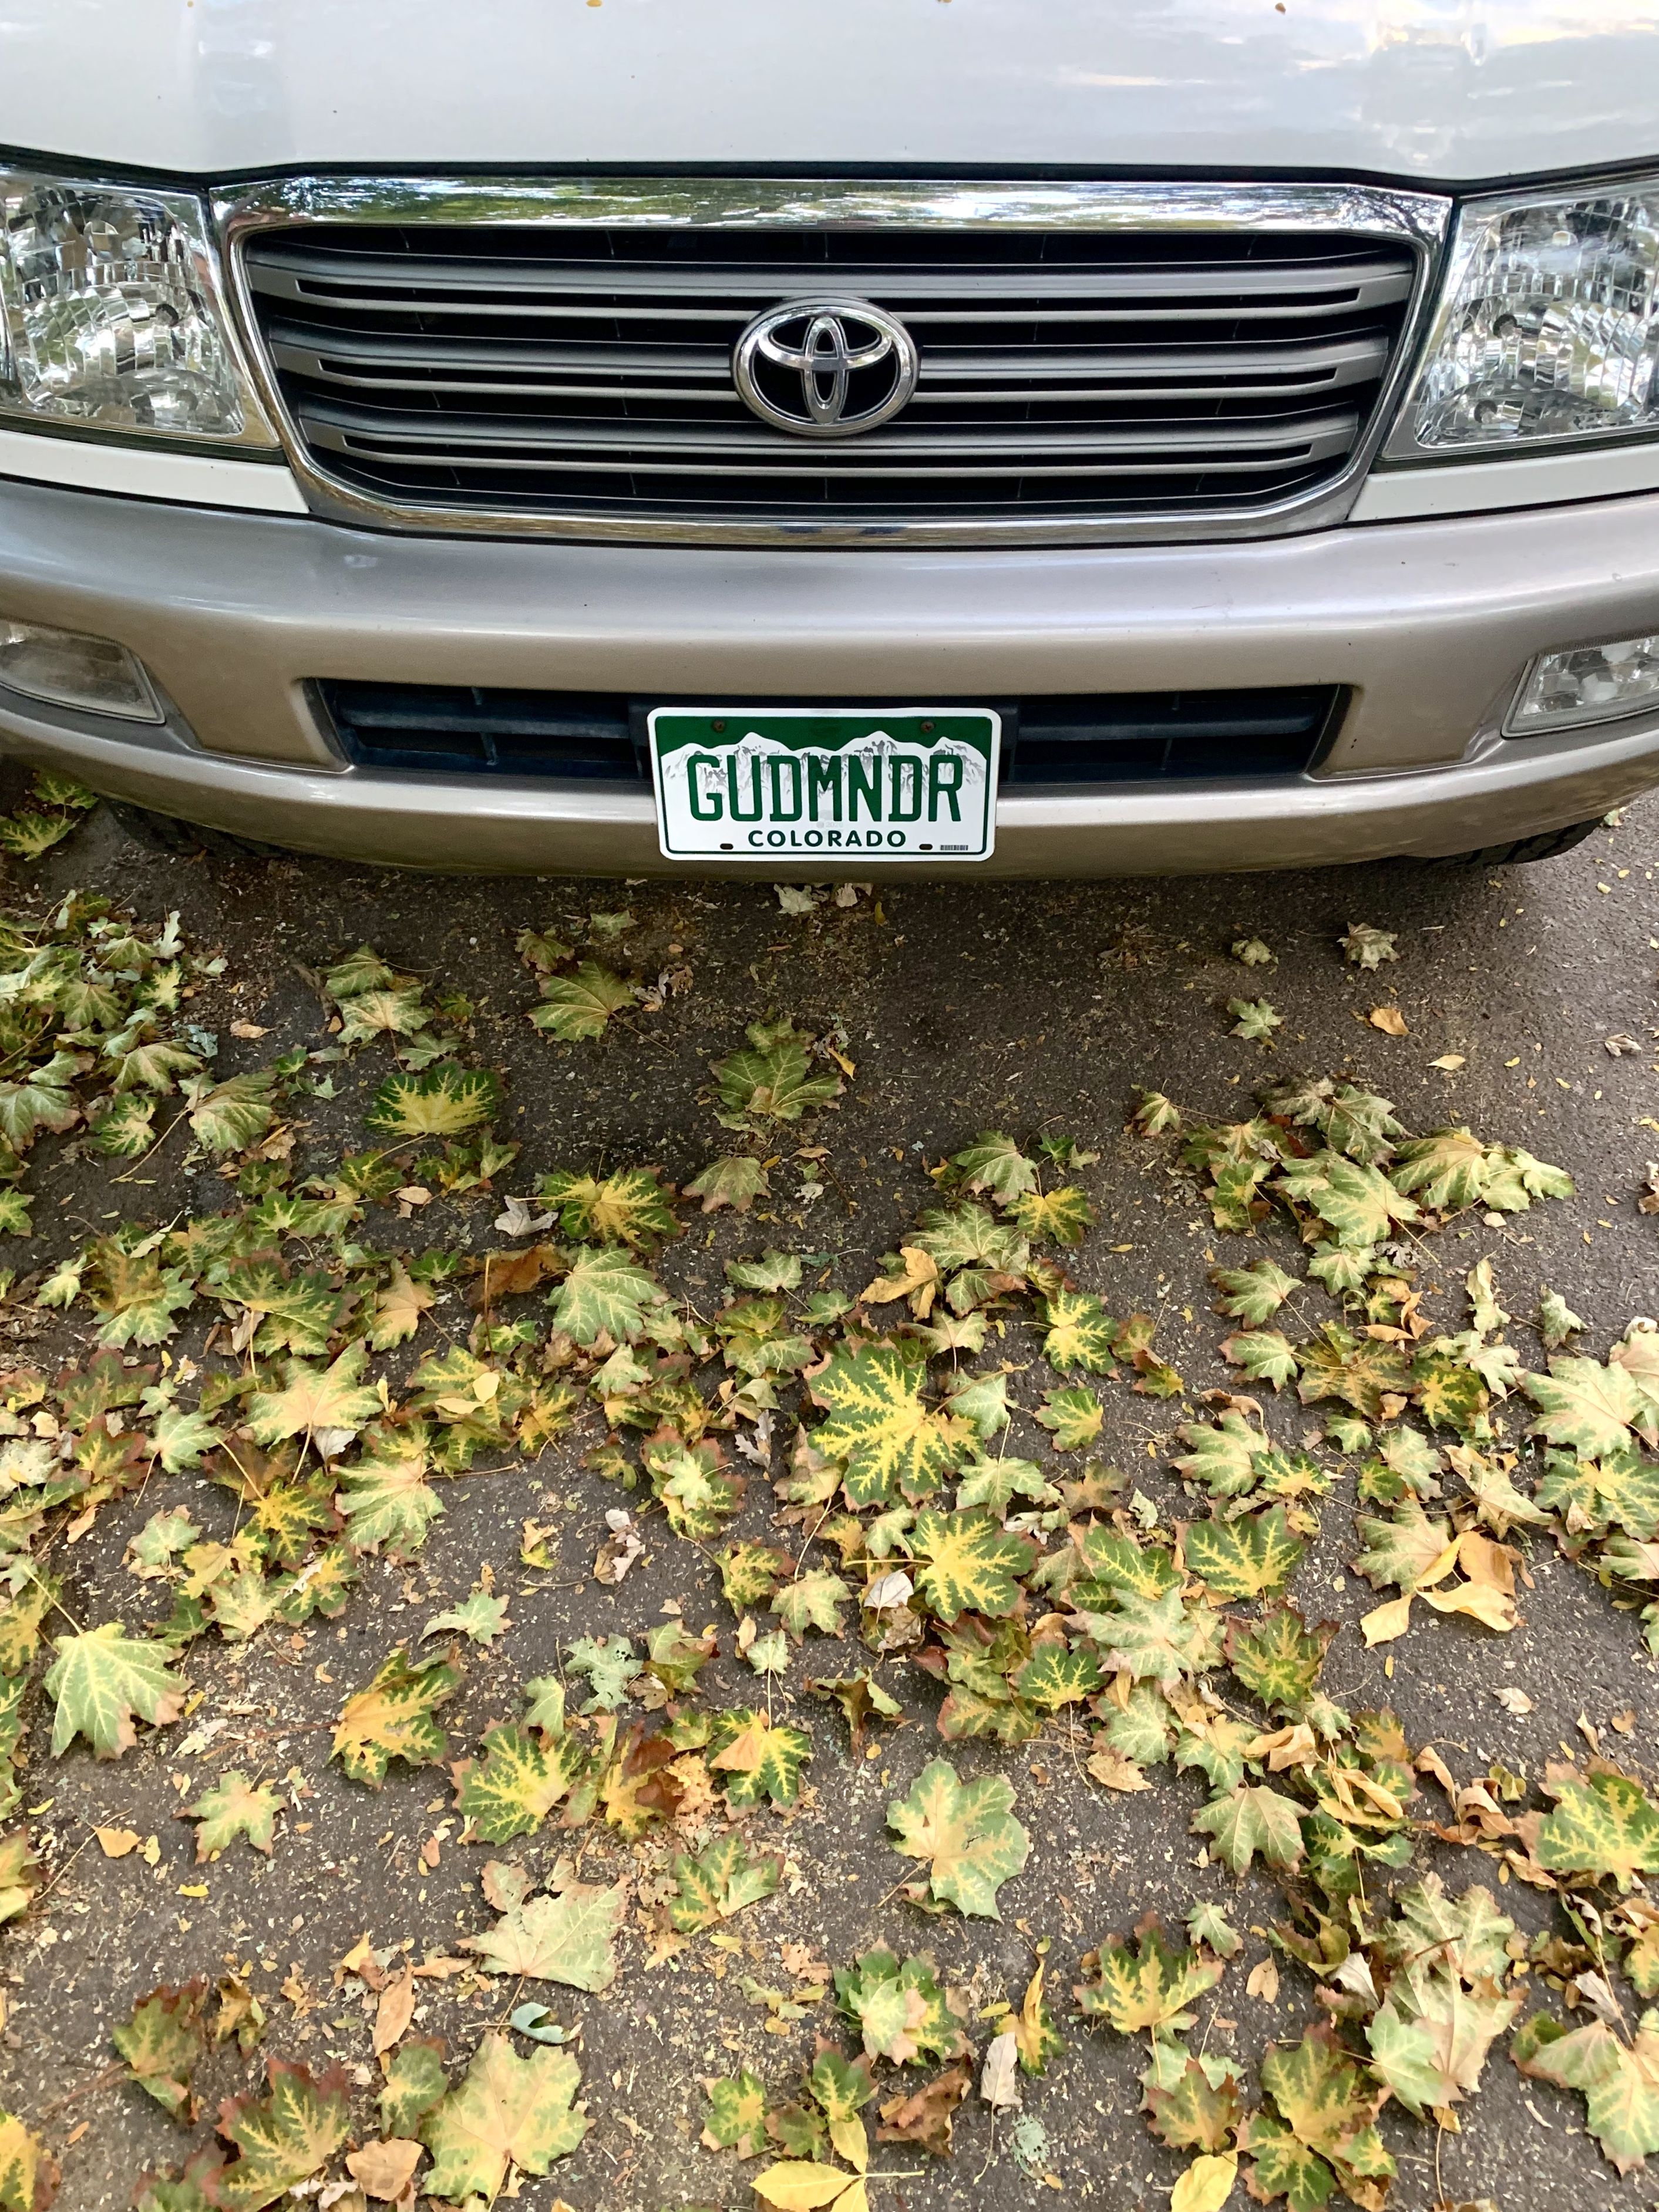
Introducing Gudmundur 3.0

full


This is our 3rd 100 series (hence 3.0). By random luck they have all been white. Our first one was a 2001 we purchased from a guy from Iceland named Gudmundur. So we just always called it that as a nickname. Slowly started building up Gudmundur 1.0 and planned to do a full build. Fast forward 2yrs and I was surfing Craigslist and found a guy selling a fully built 2001 100 for a really good price. Bought it that day. Sold off Gudmundur 1.0 and now had Gudmundur 2.0. Was pretty built out with OME lift, diff drop, UCAs, Slee front and rear bumper, drawers, 2nd battery with BlueSea ACR, in cab voltage monitoring, full stereo upgrade, Scangauge, and rear power/fuse block. We added a Frontrunner roof rack, Foxwing awning, ARB fridge, Speski barrier, snorkle, RTT, sliders, solar, DT headers with exhaust, and some other odds and ends. Was pretty perfect for the type of trips/overlanding we do. Had Gudmundur 2.0 for about 1.5yrs until I was hit head on waiting at a red light. Slee bumper saved me from any injury. Lucky to walk away with only a bruise on my arm from the airbag going off.

Here is a thread of the whole ordeal

full


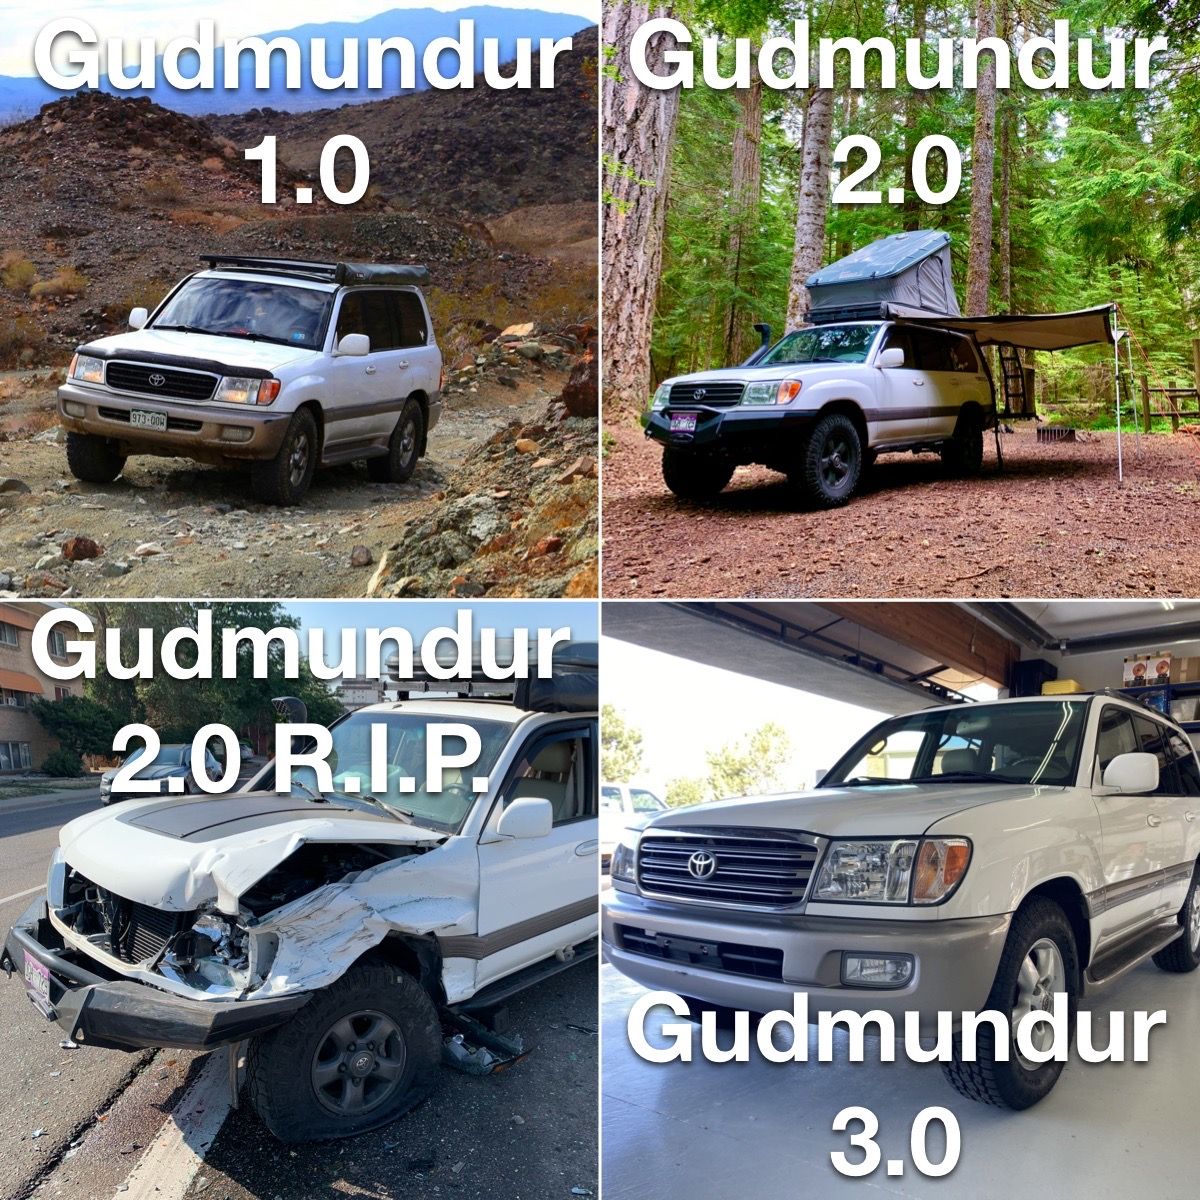
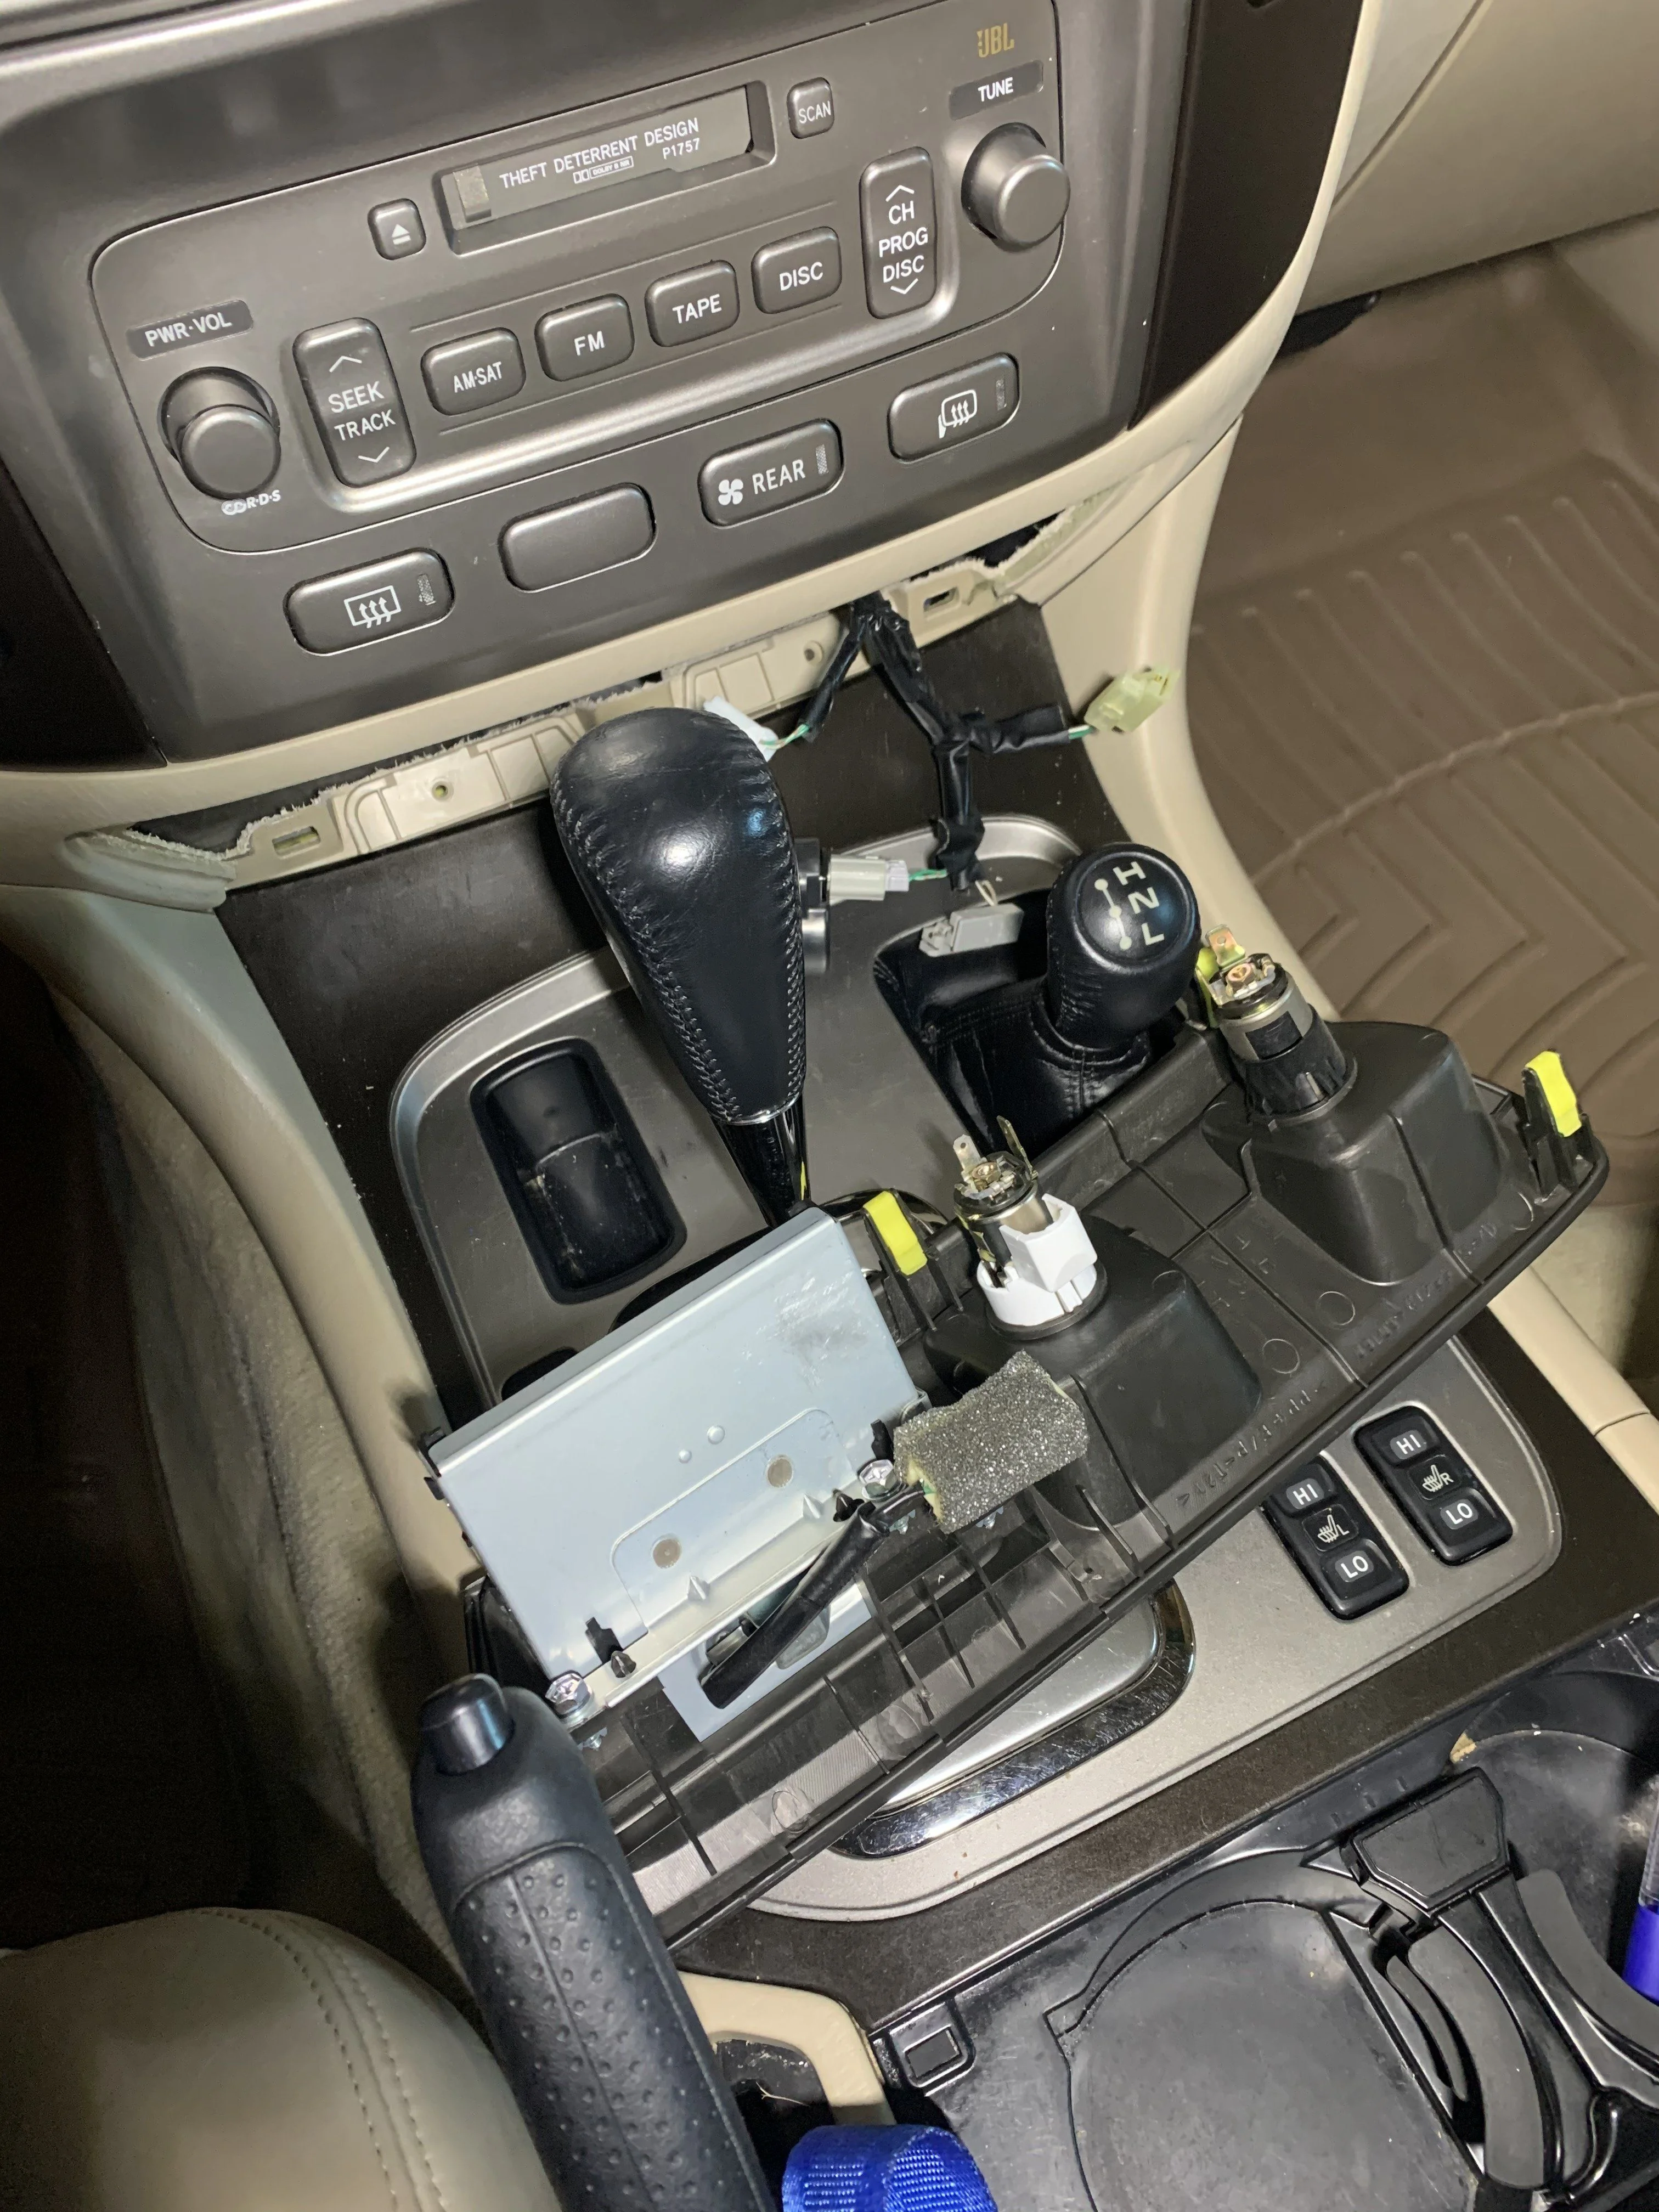
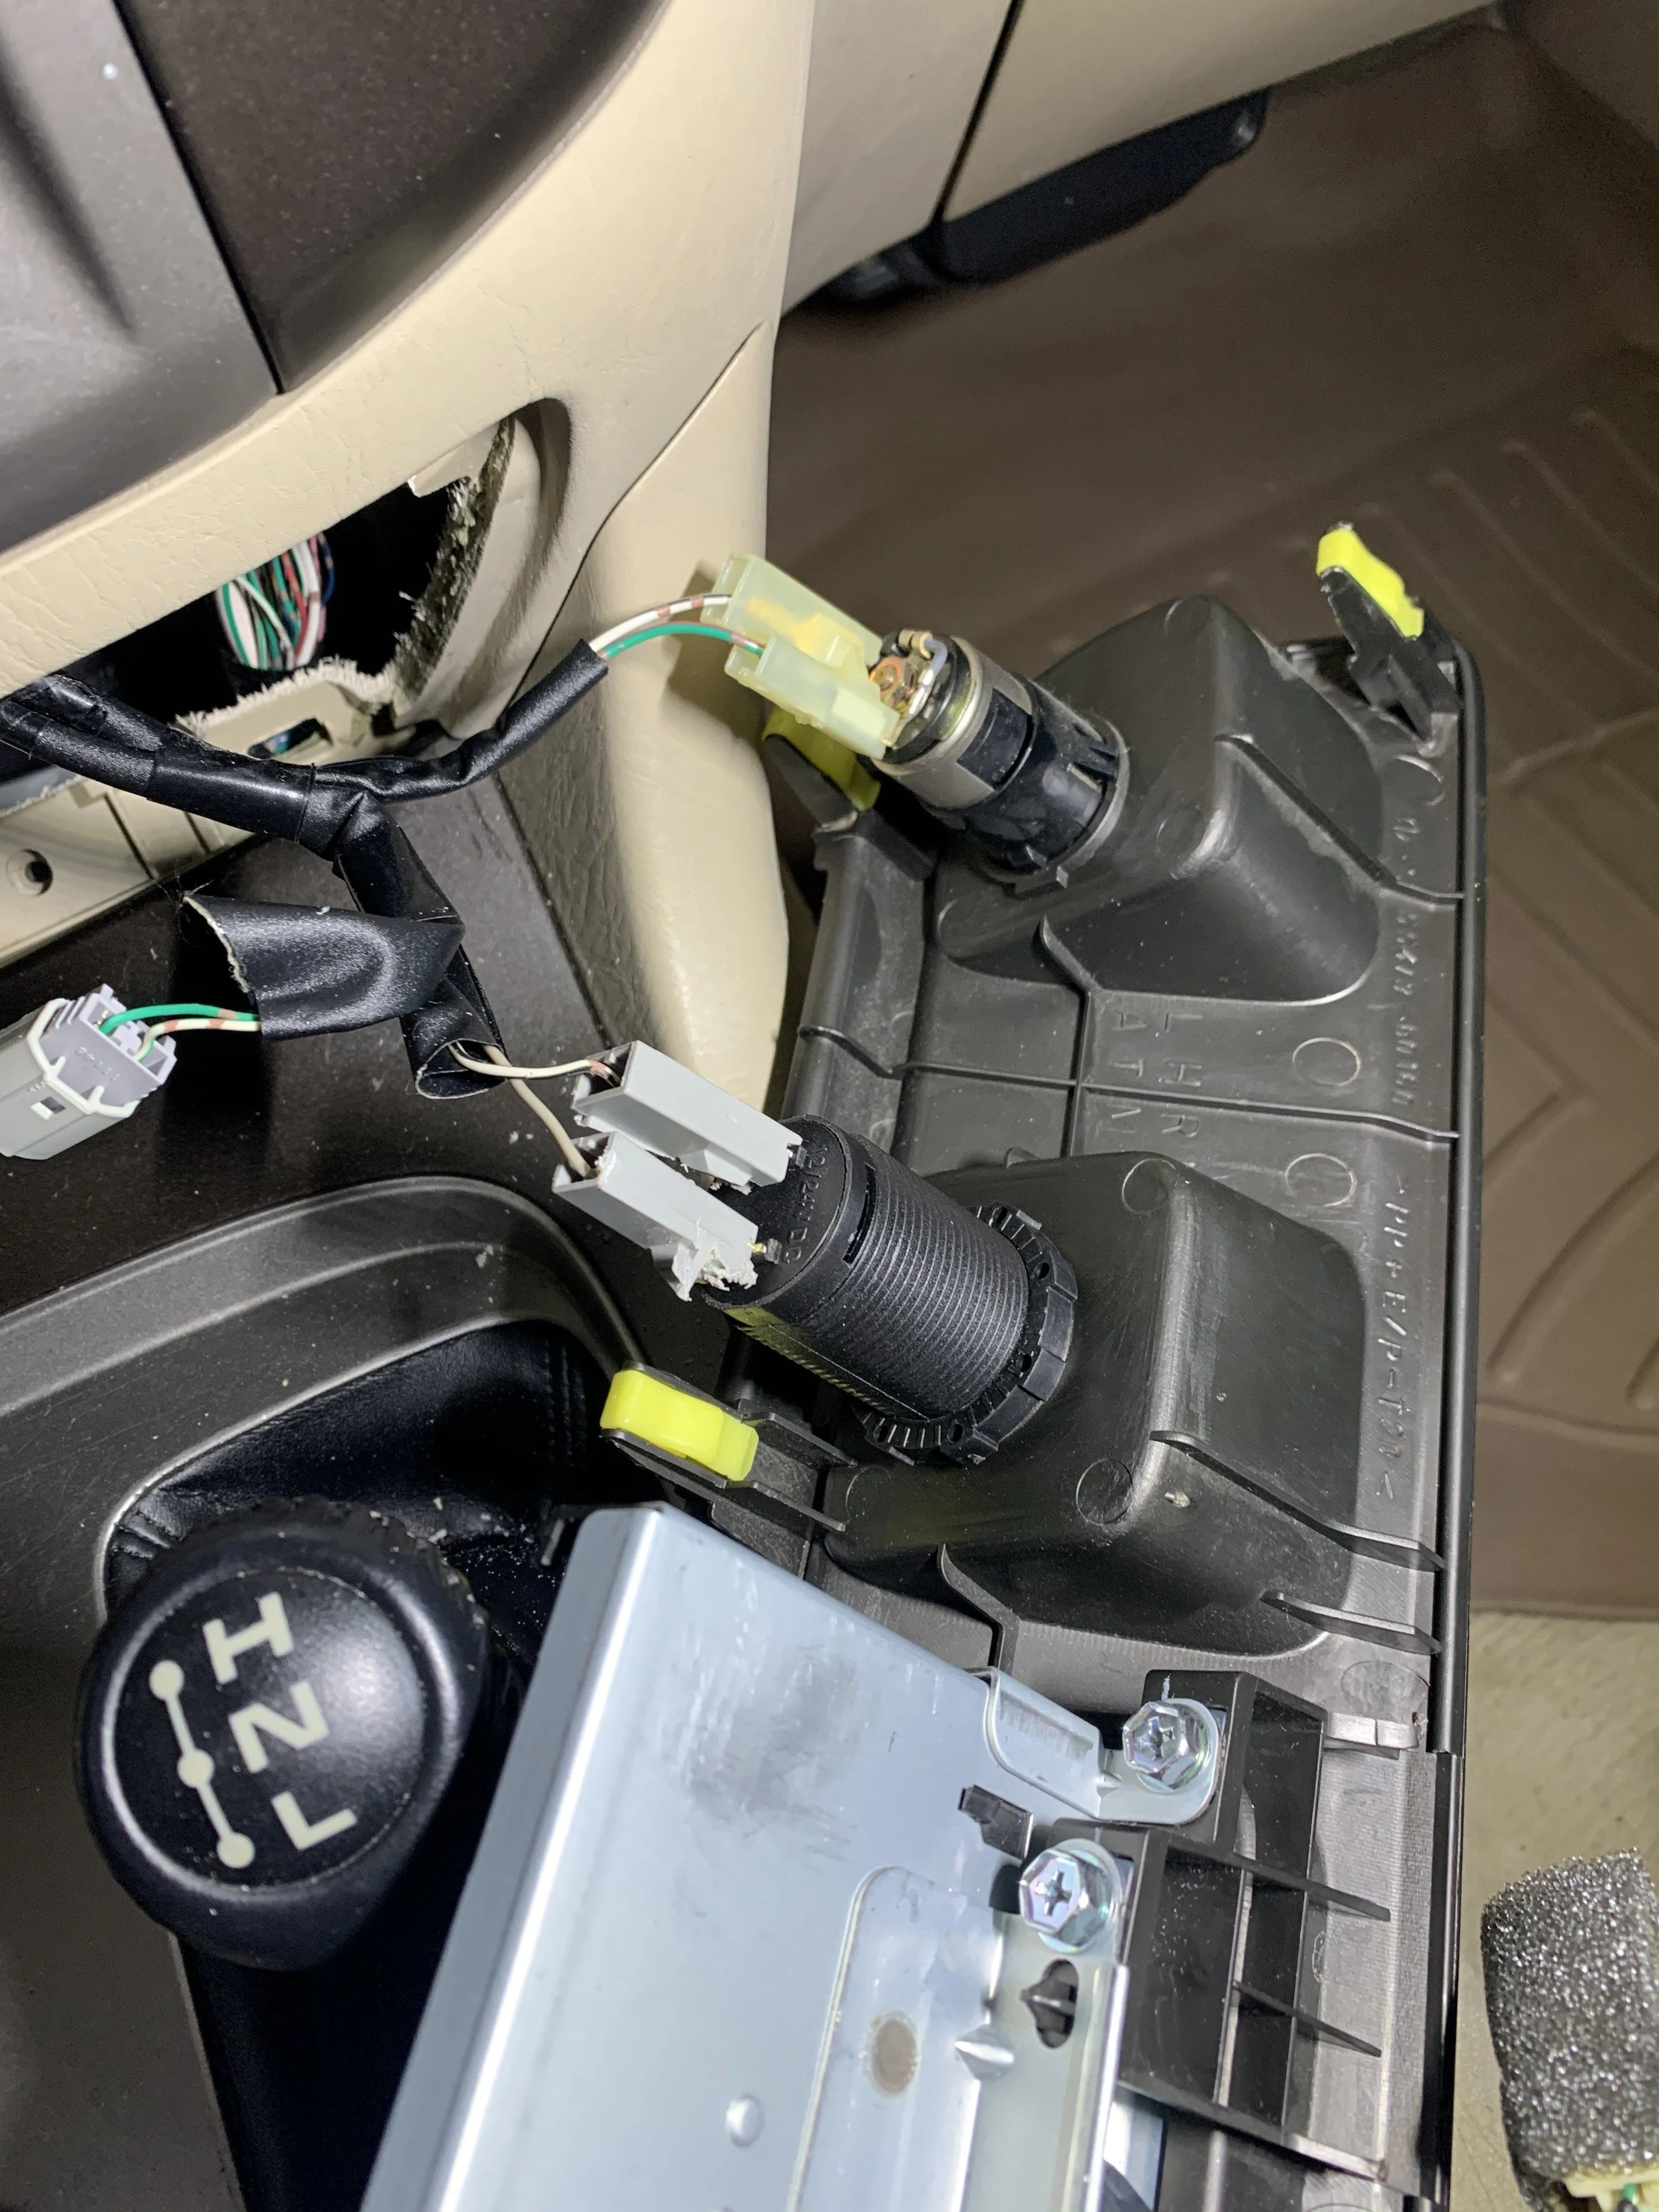
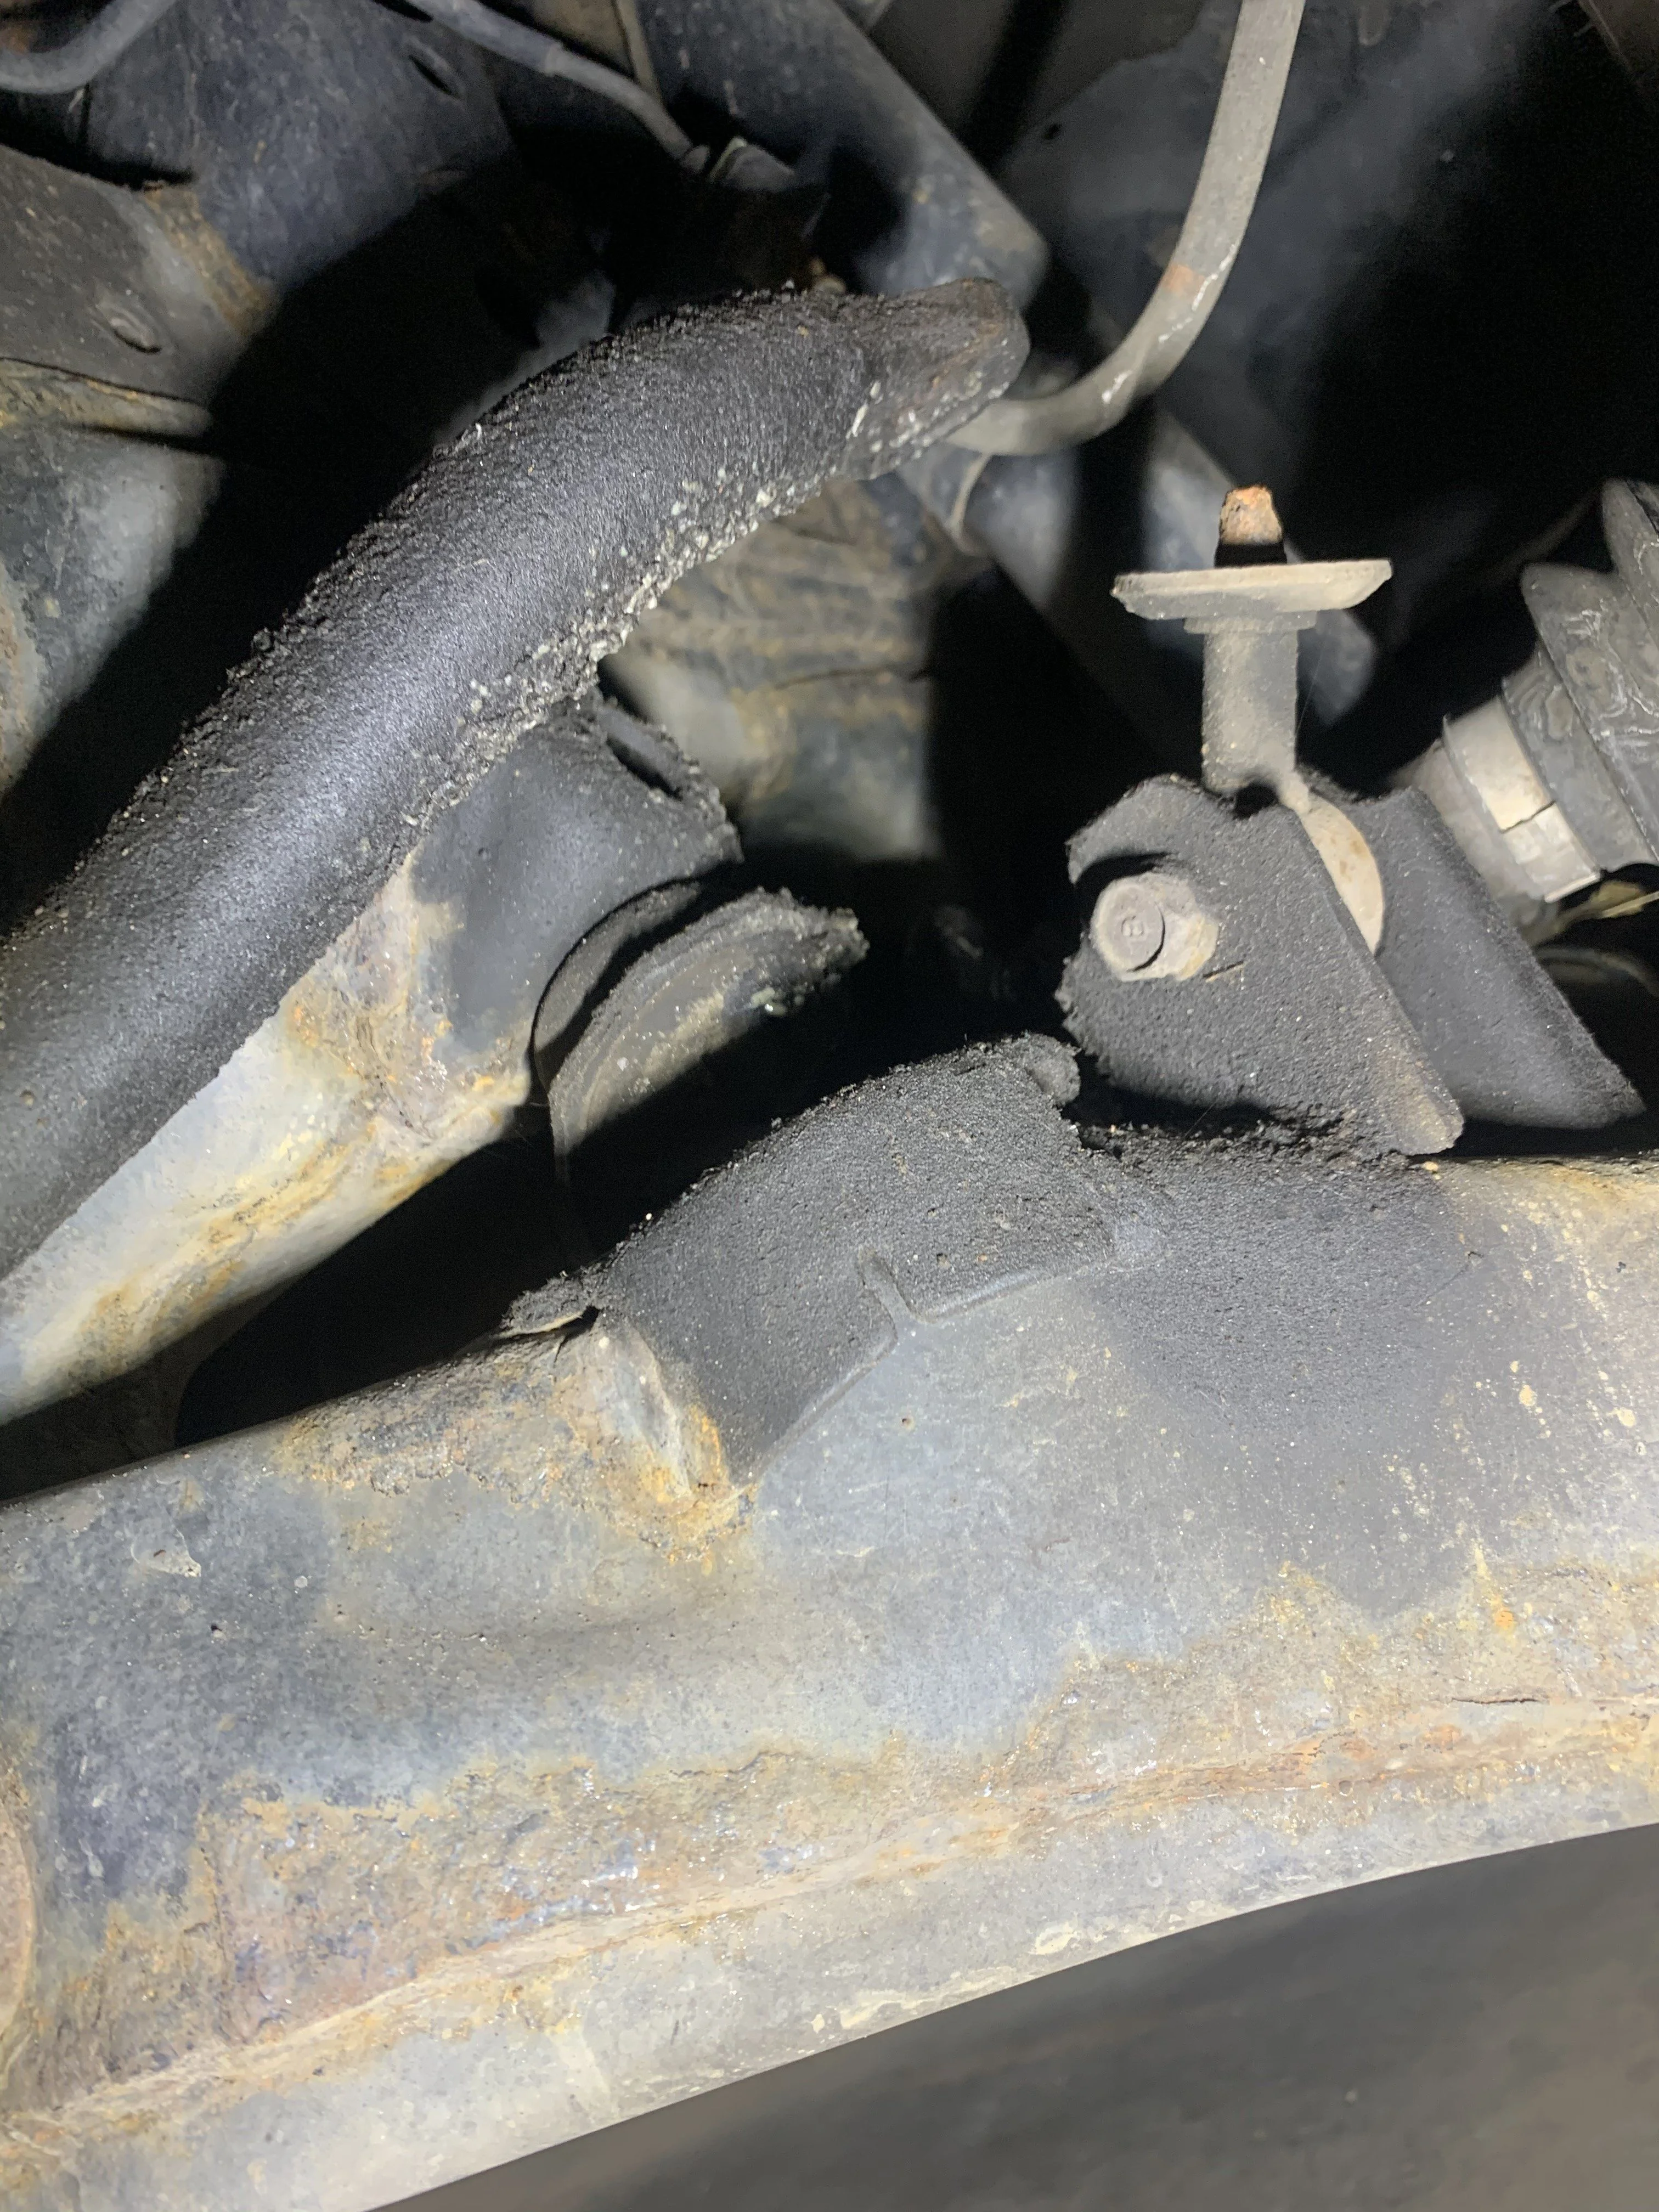
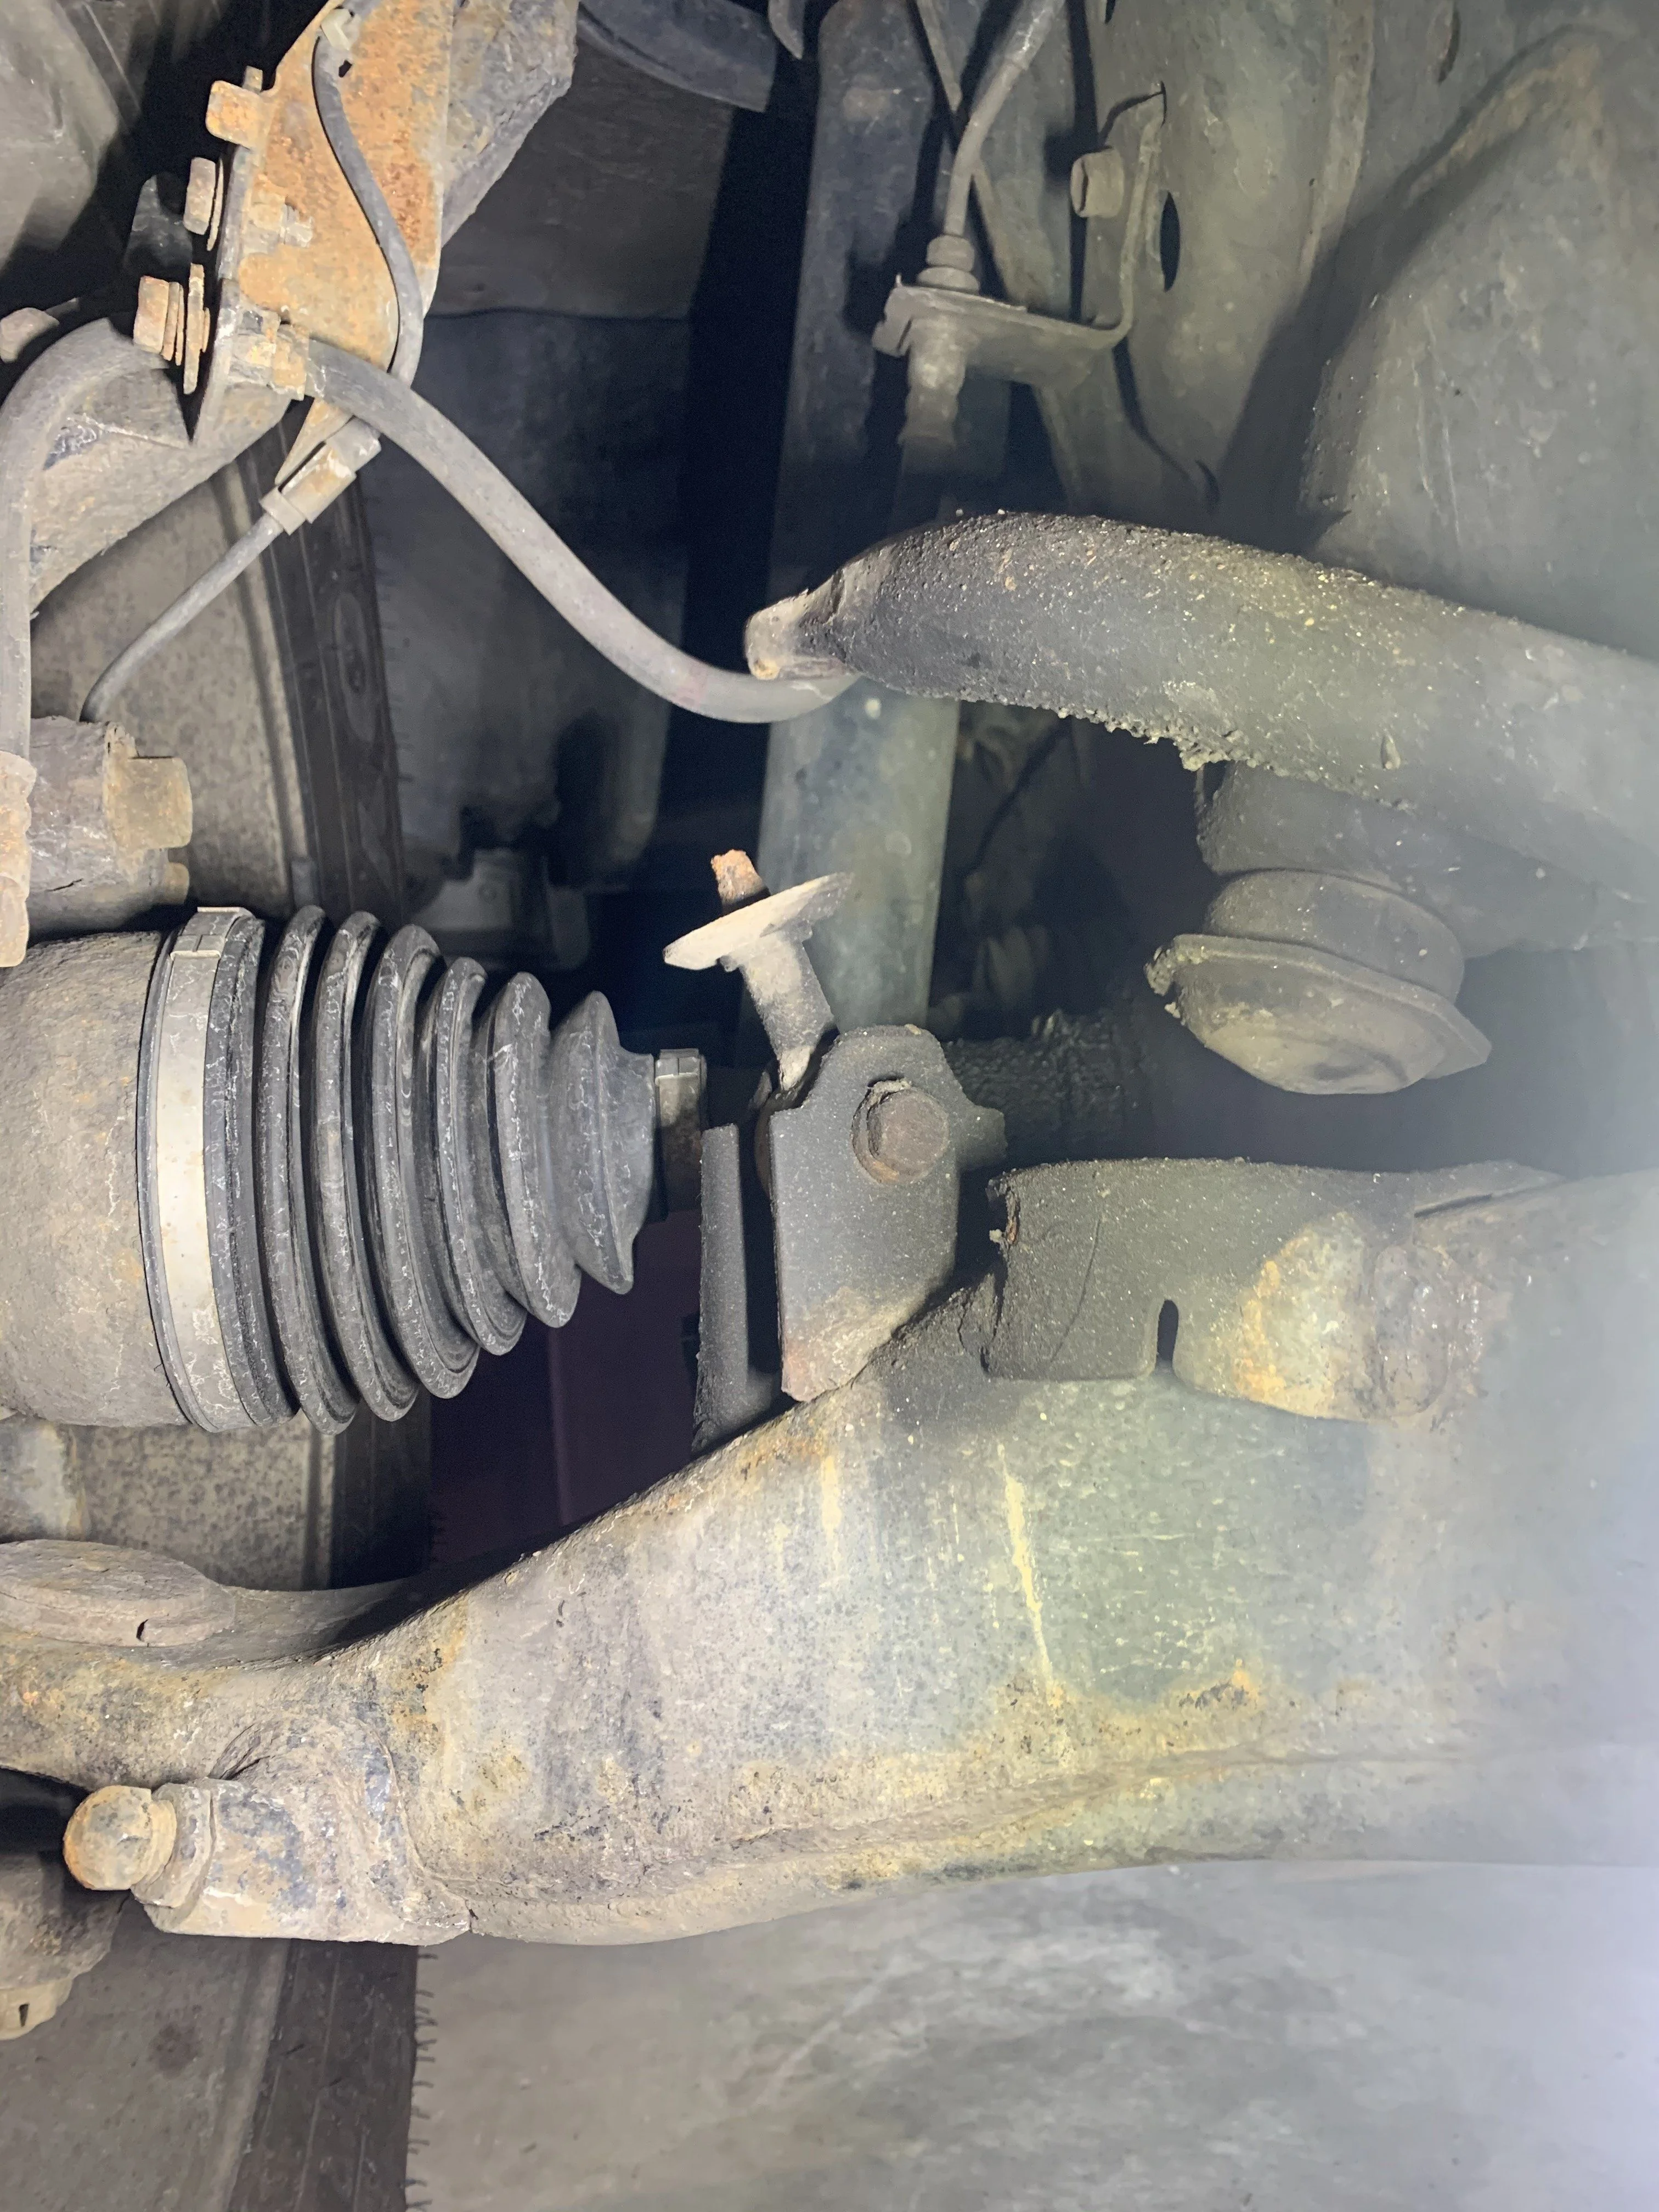
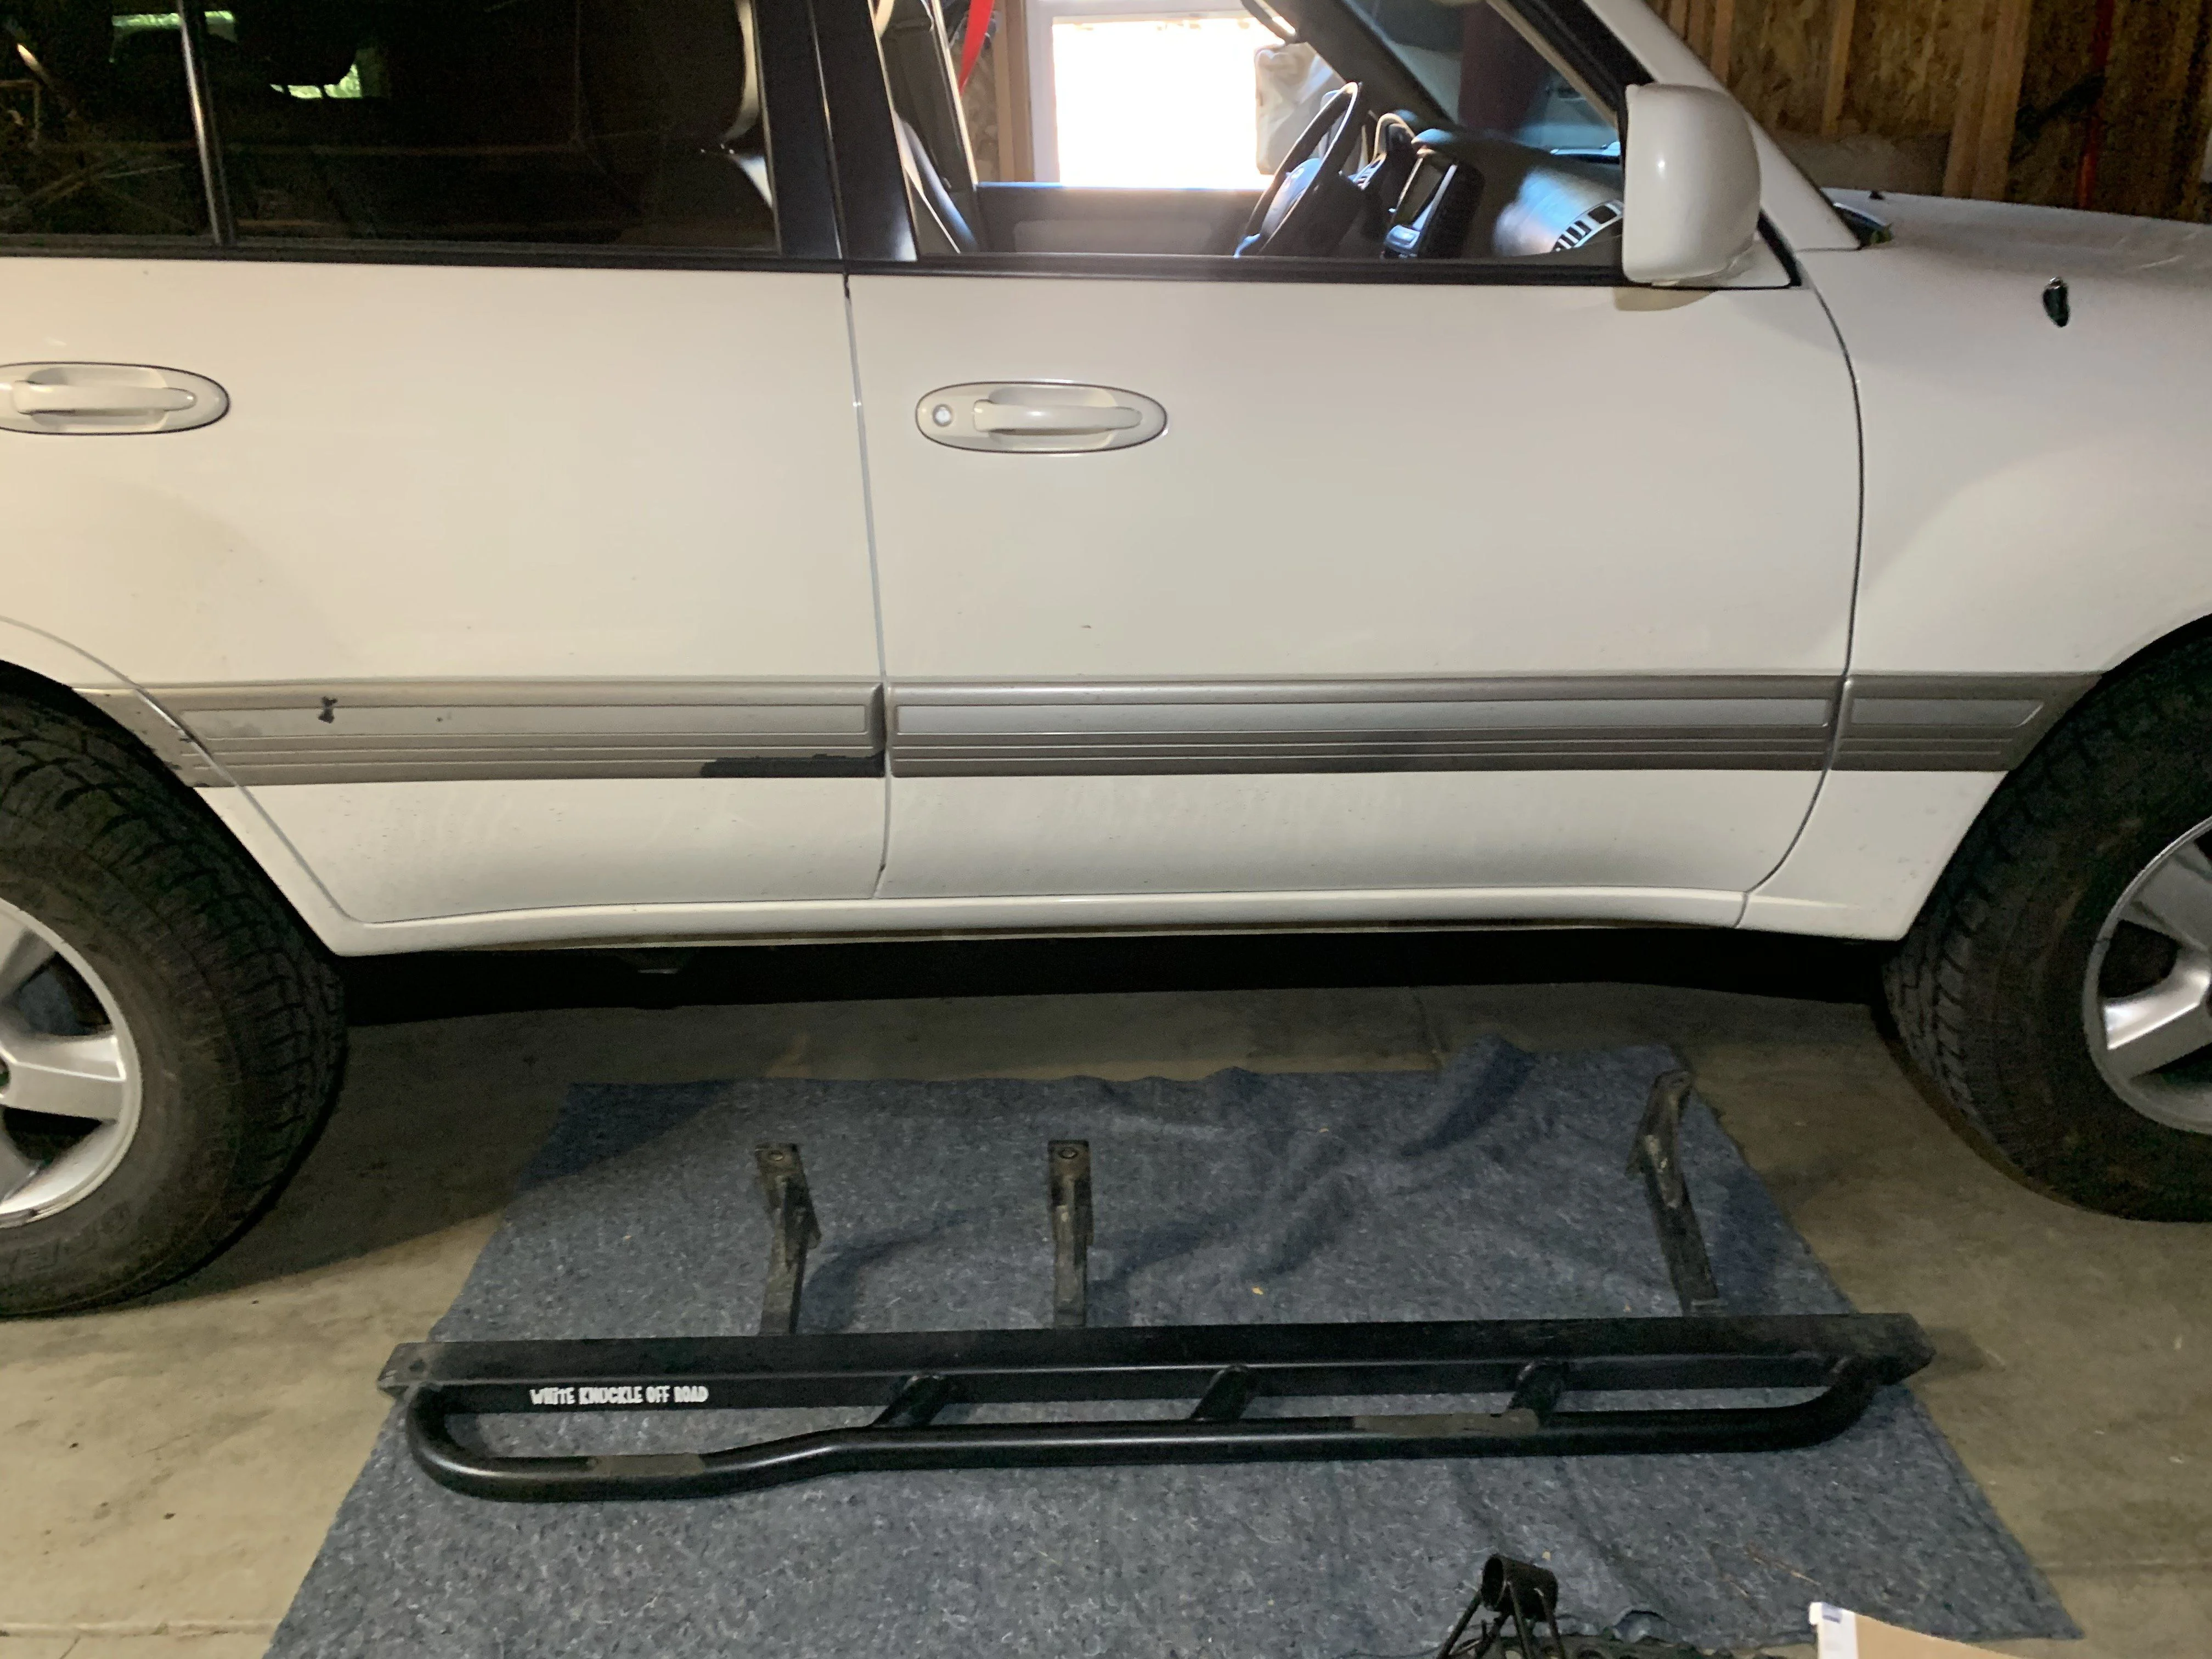
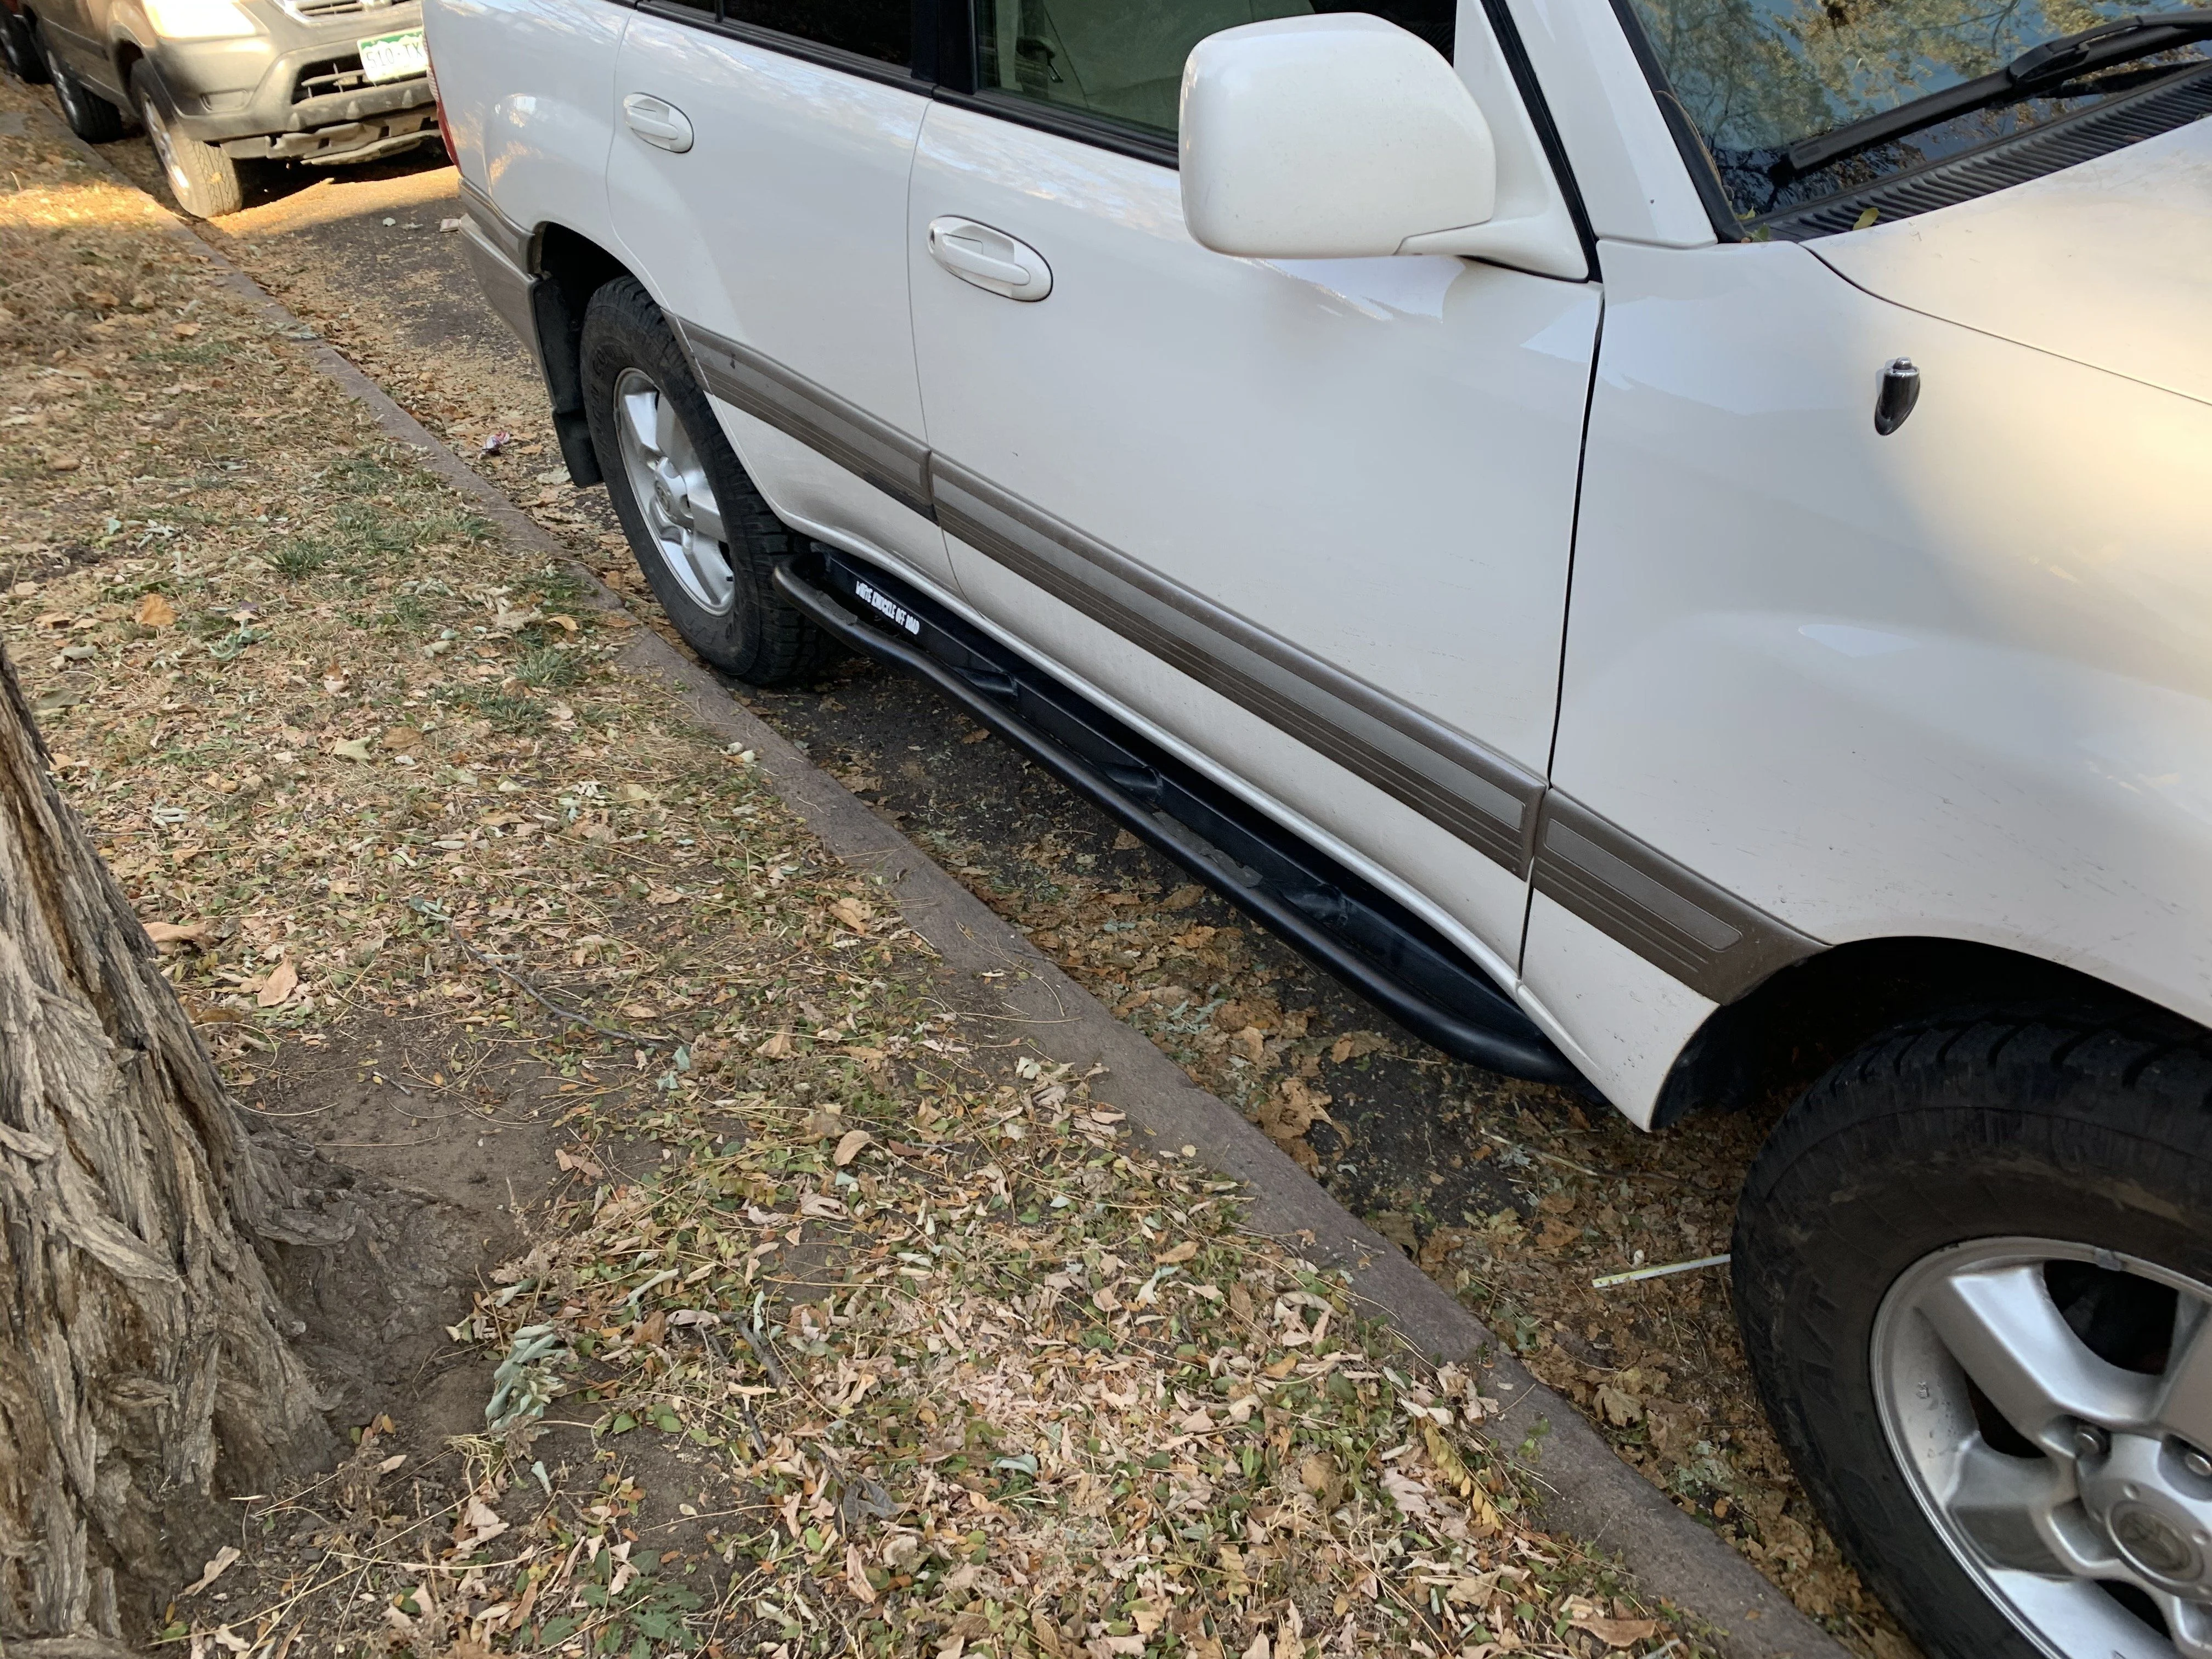
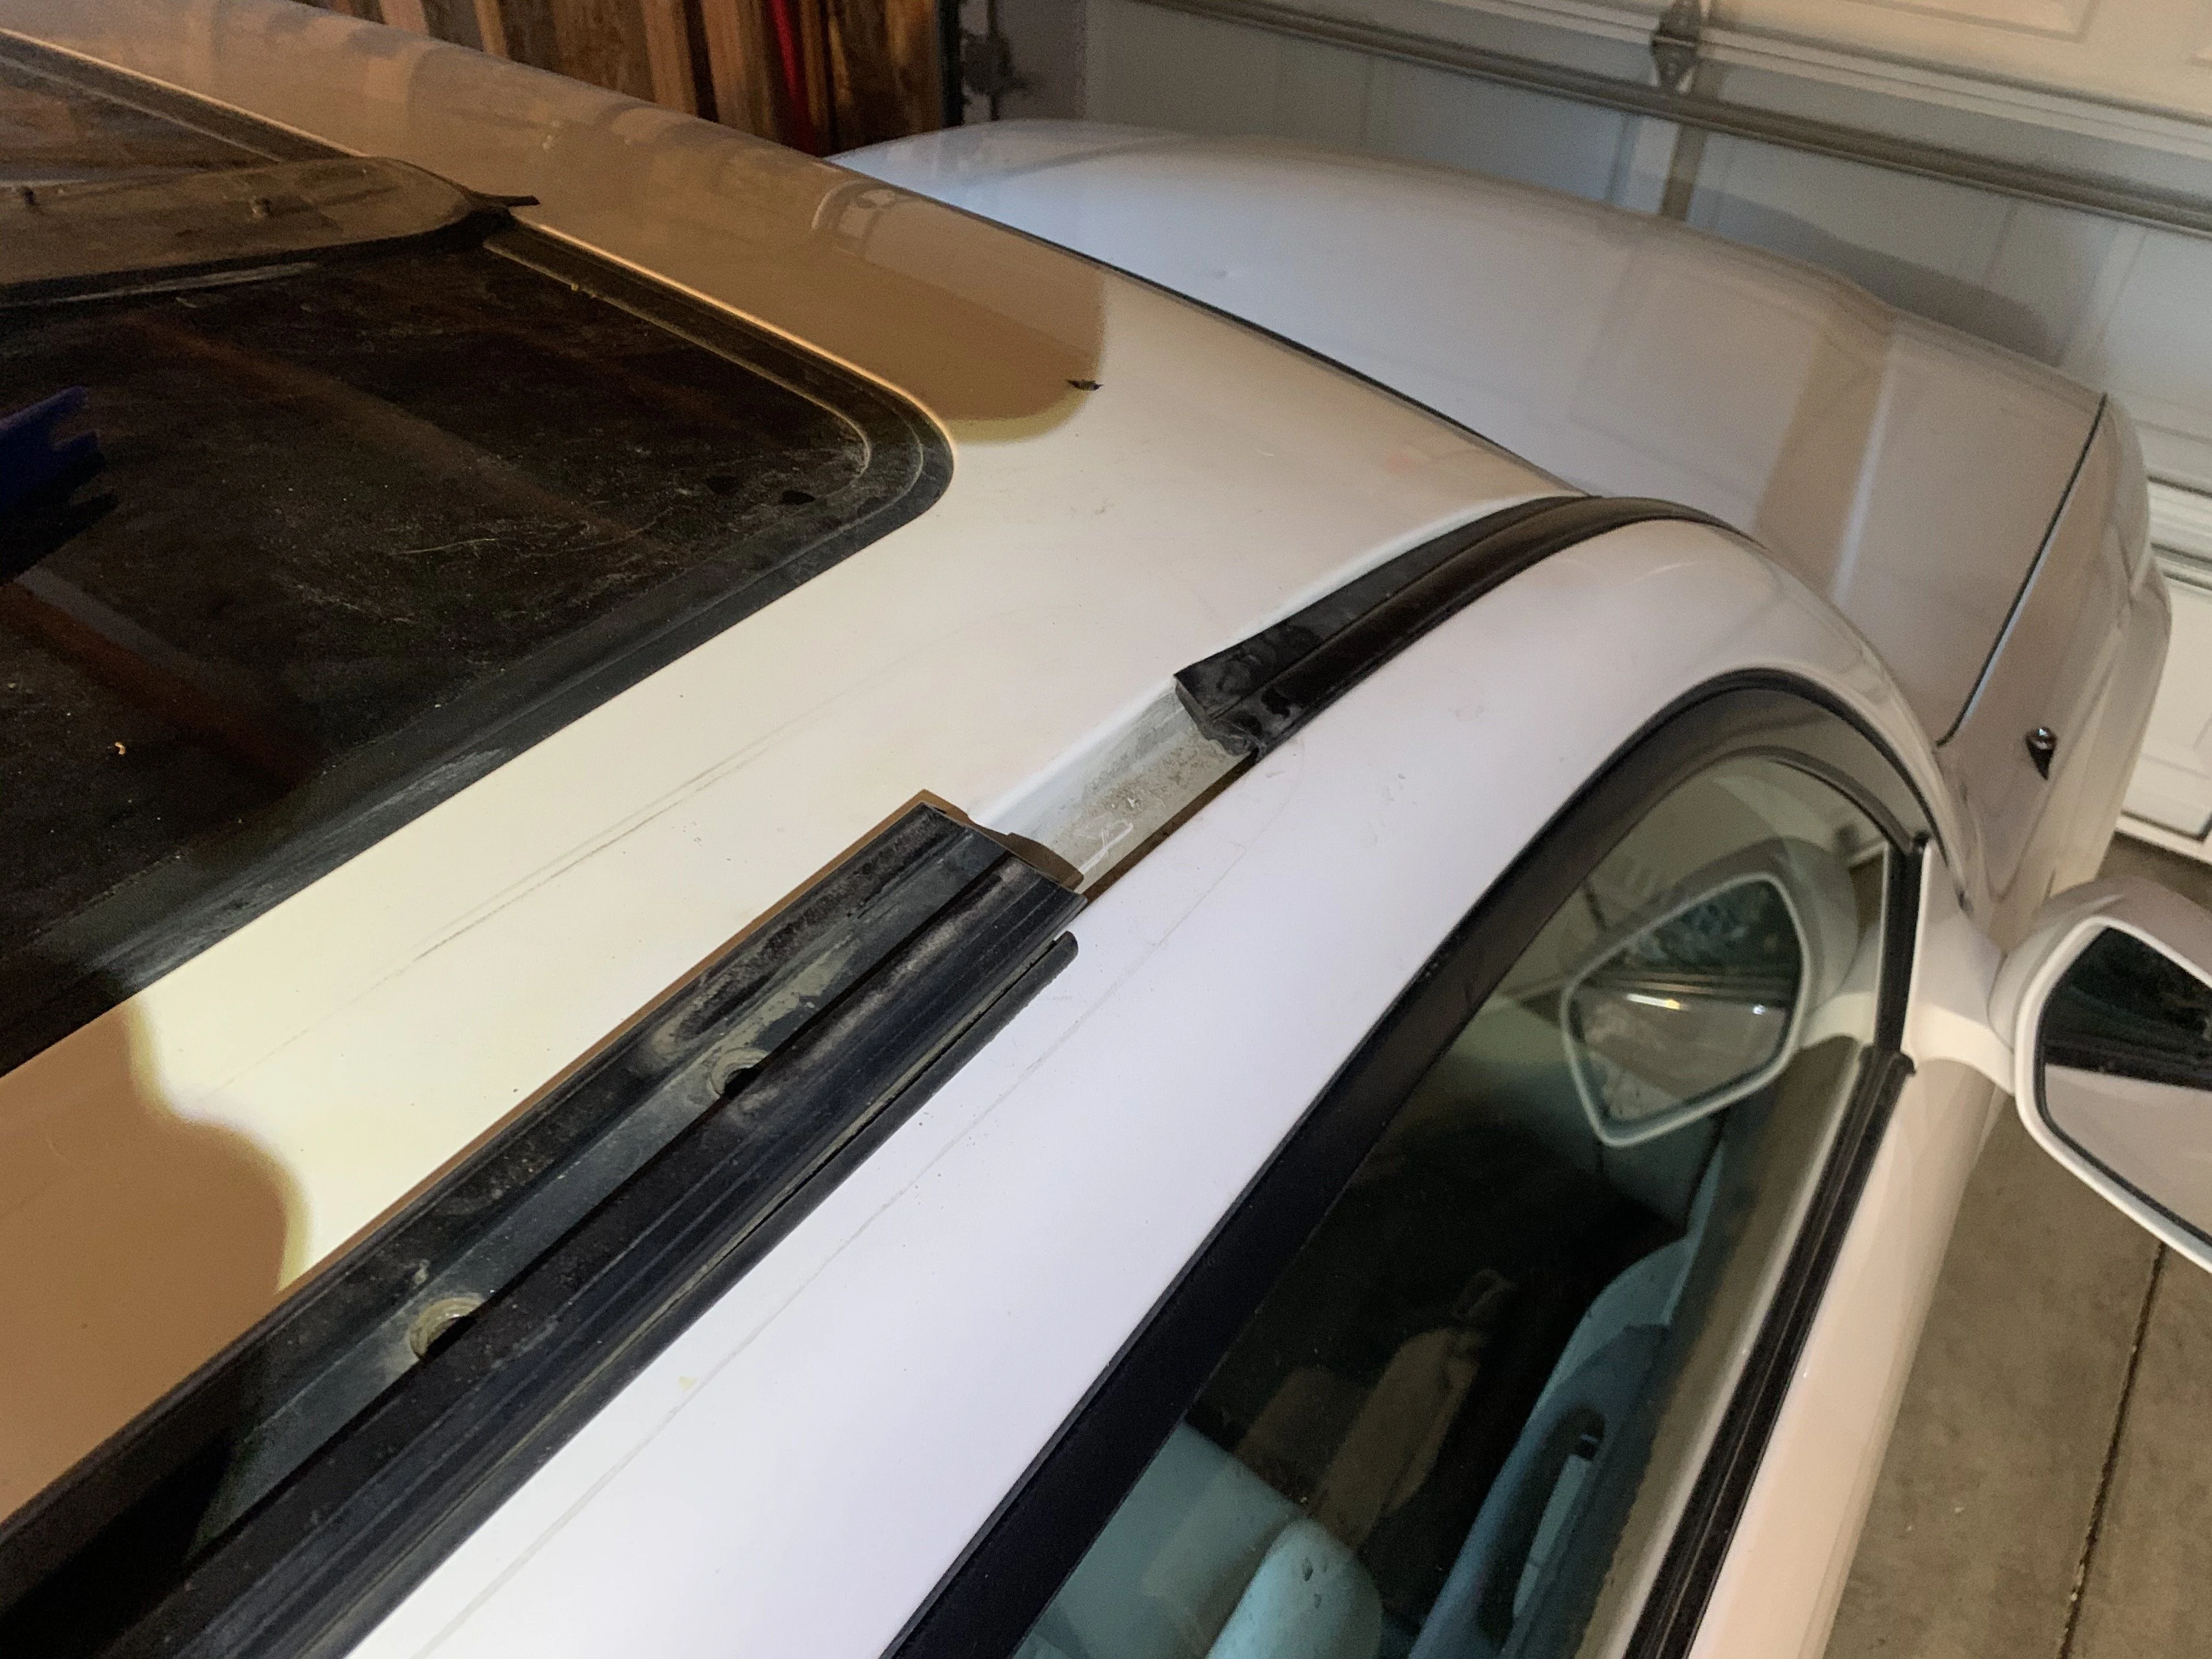
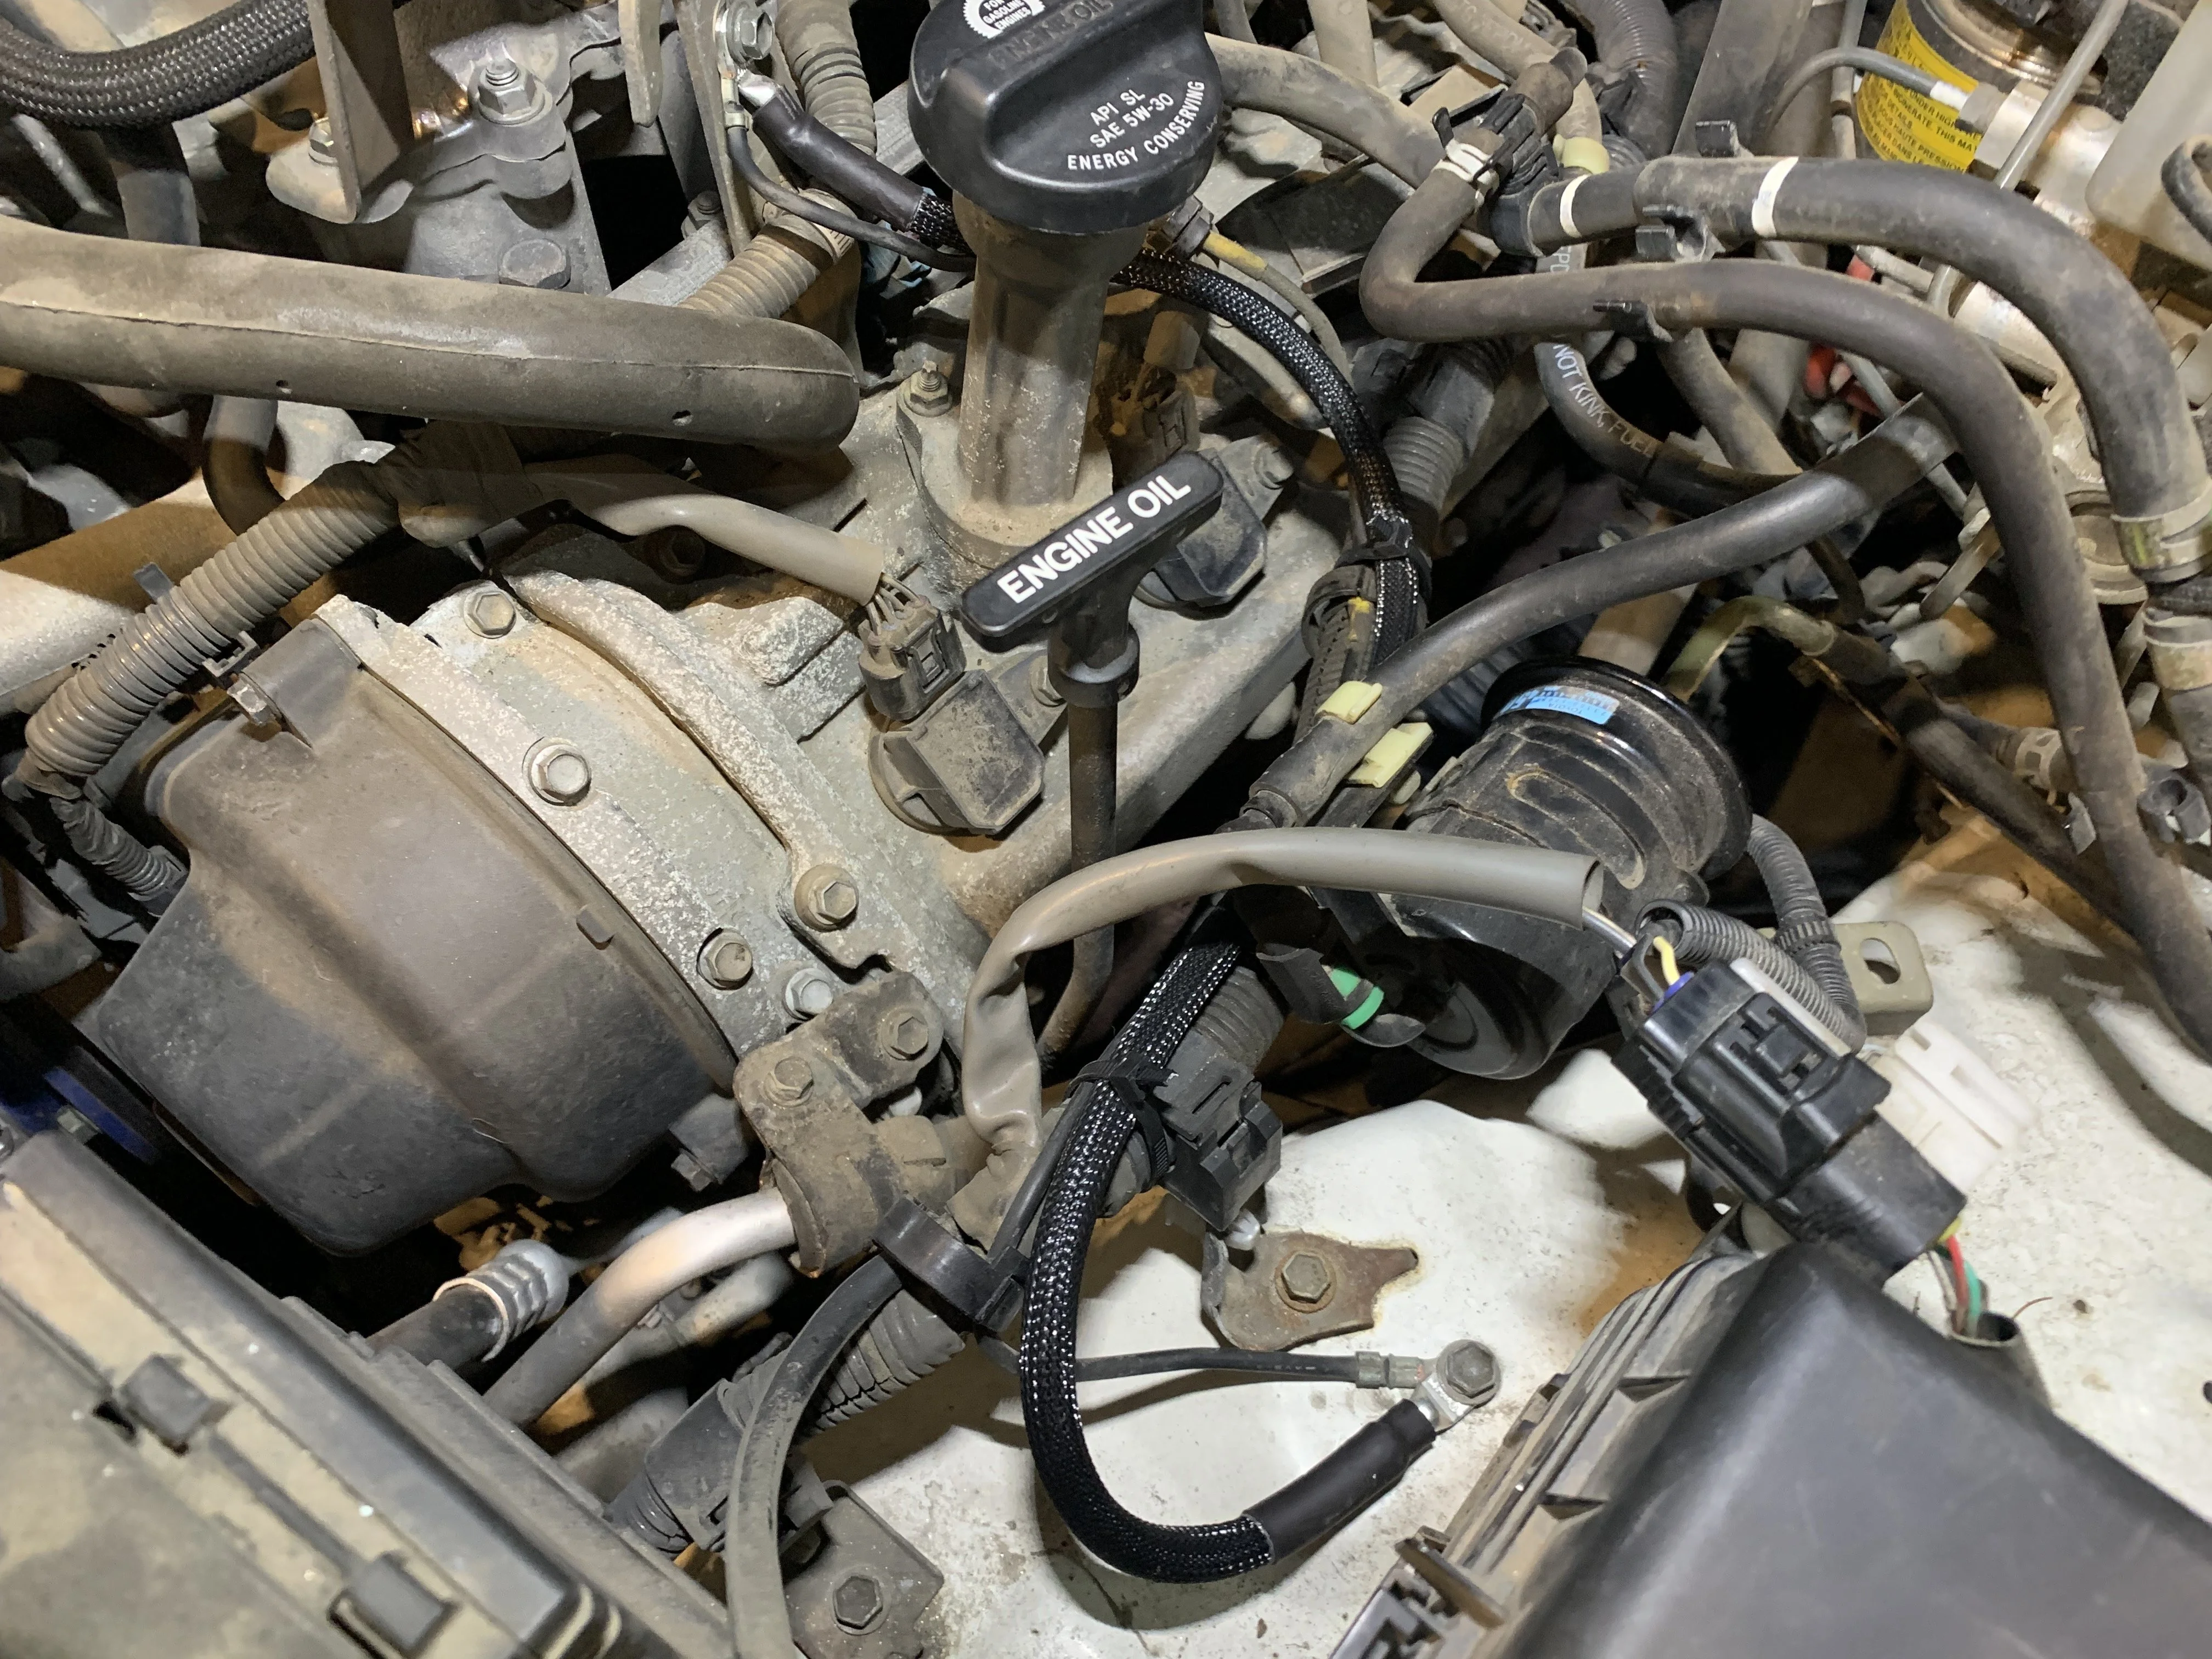
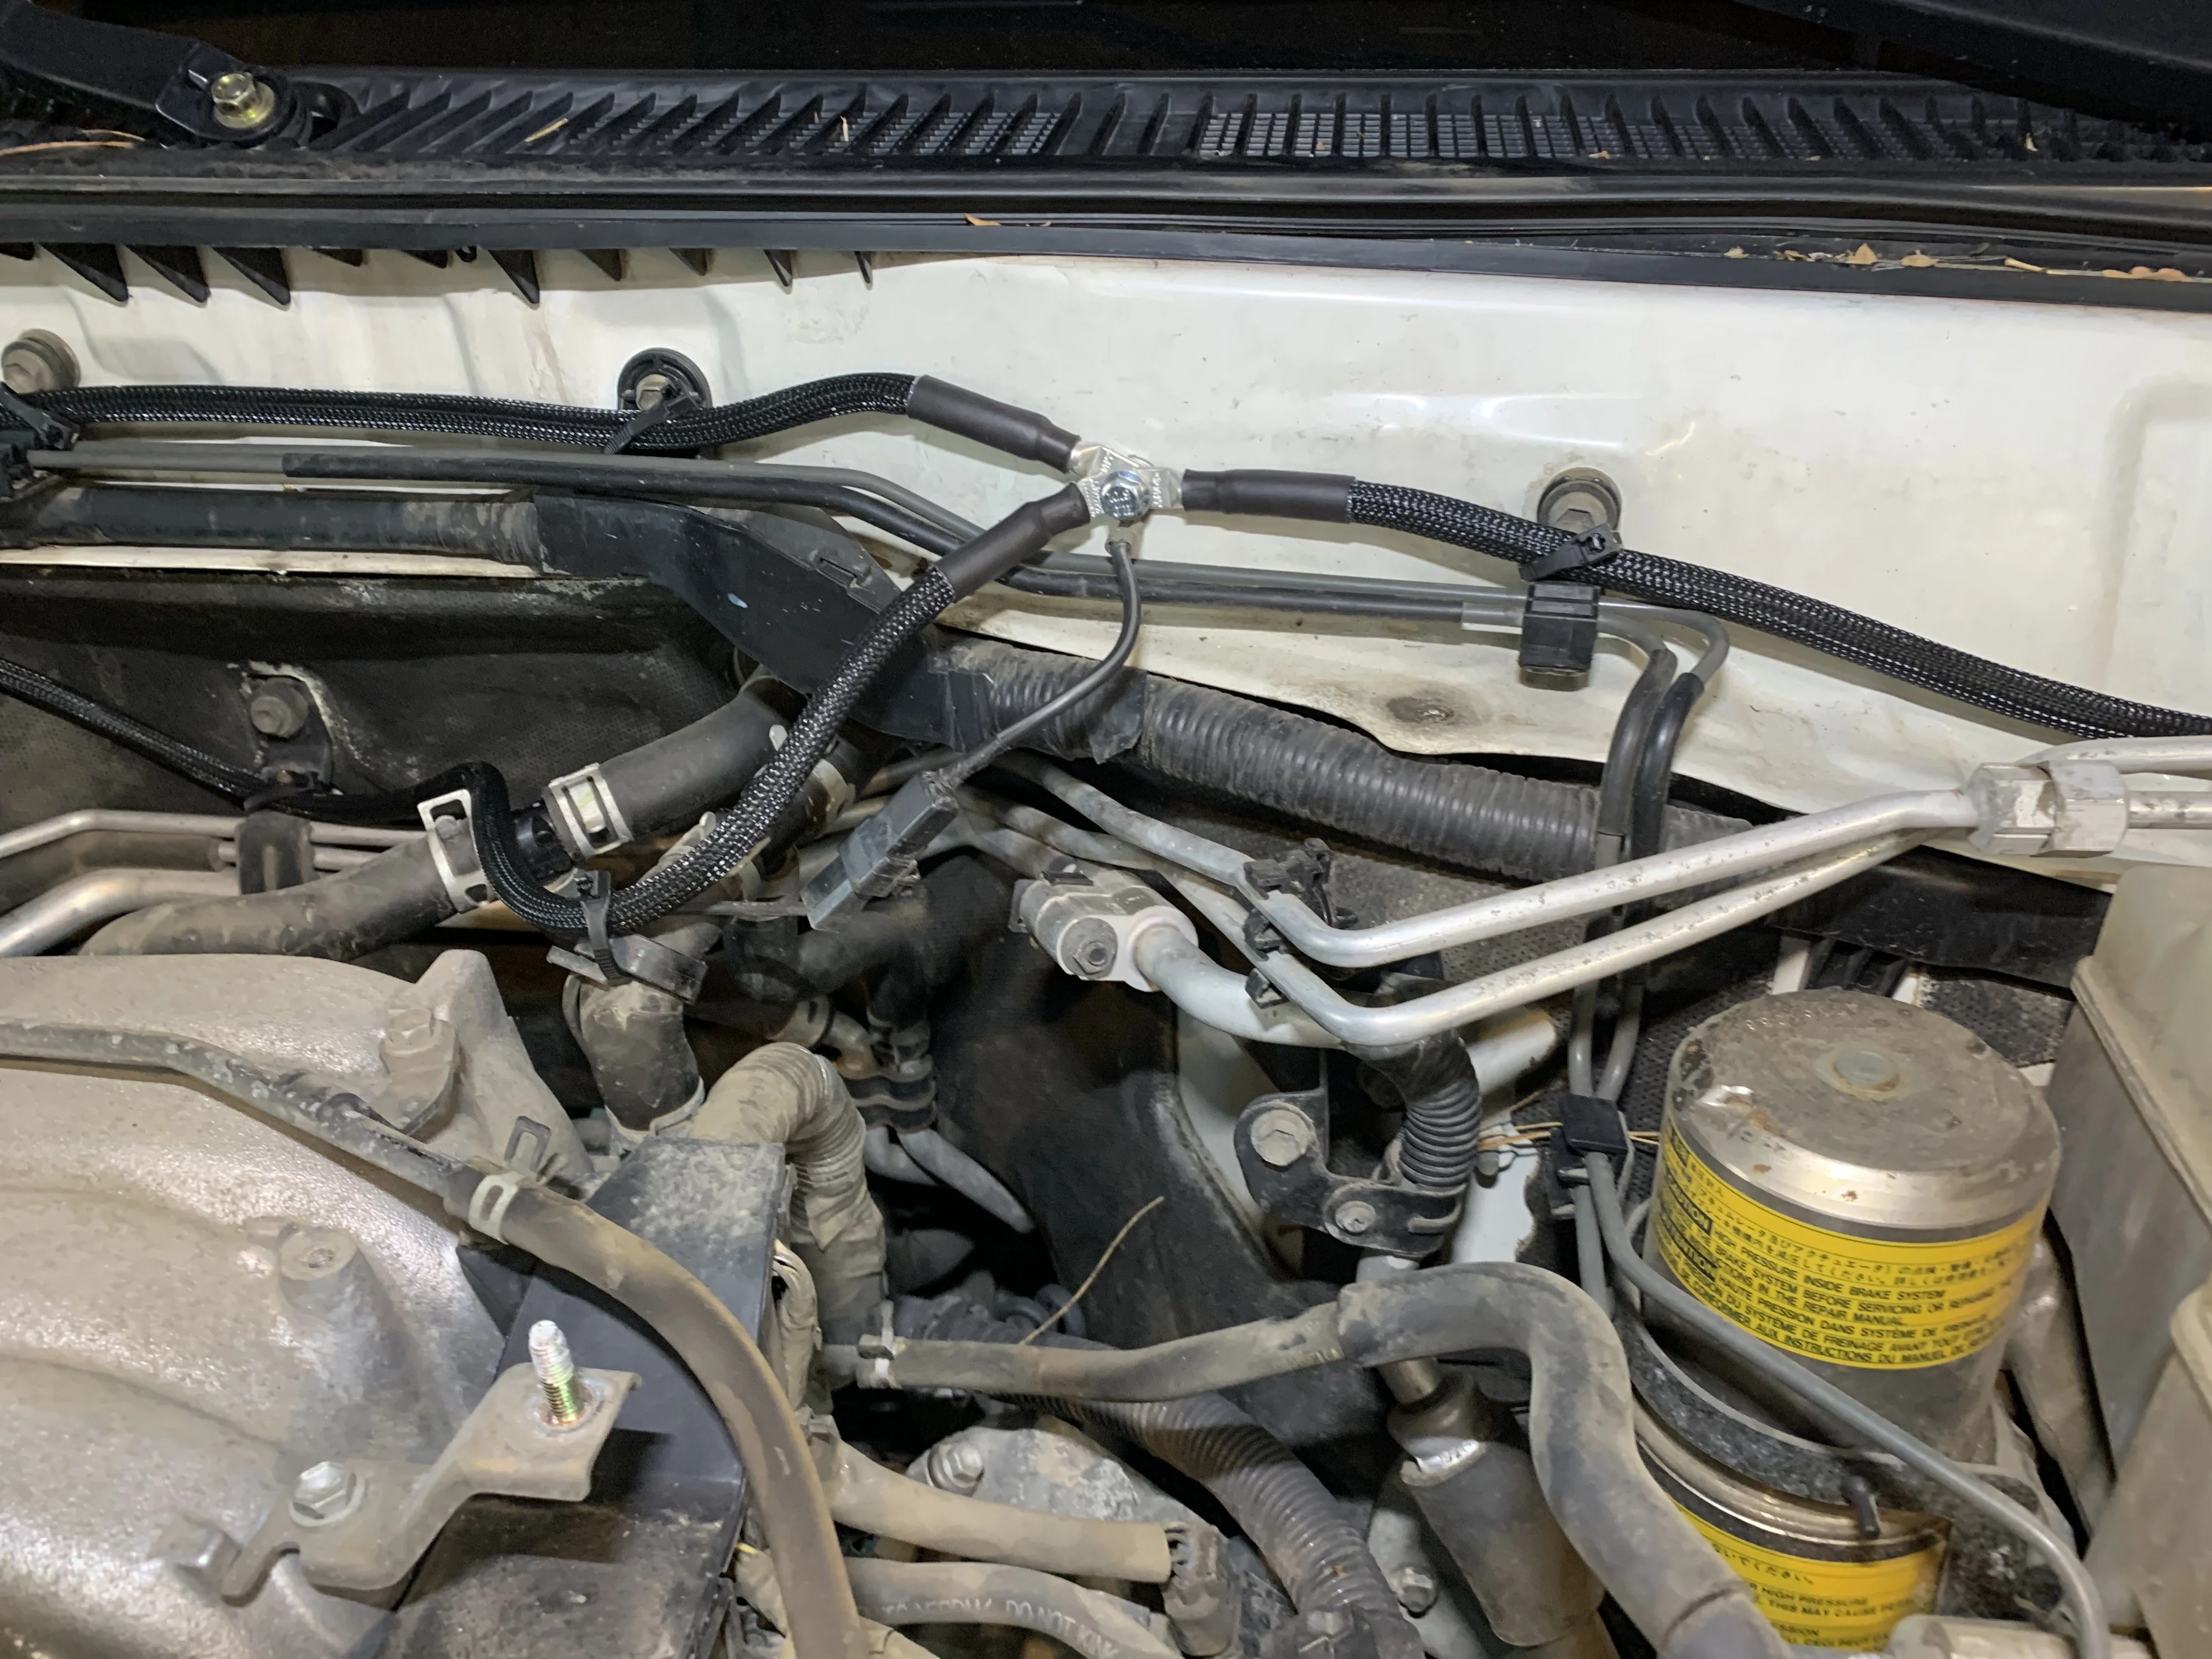
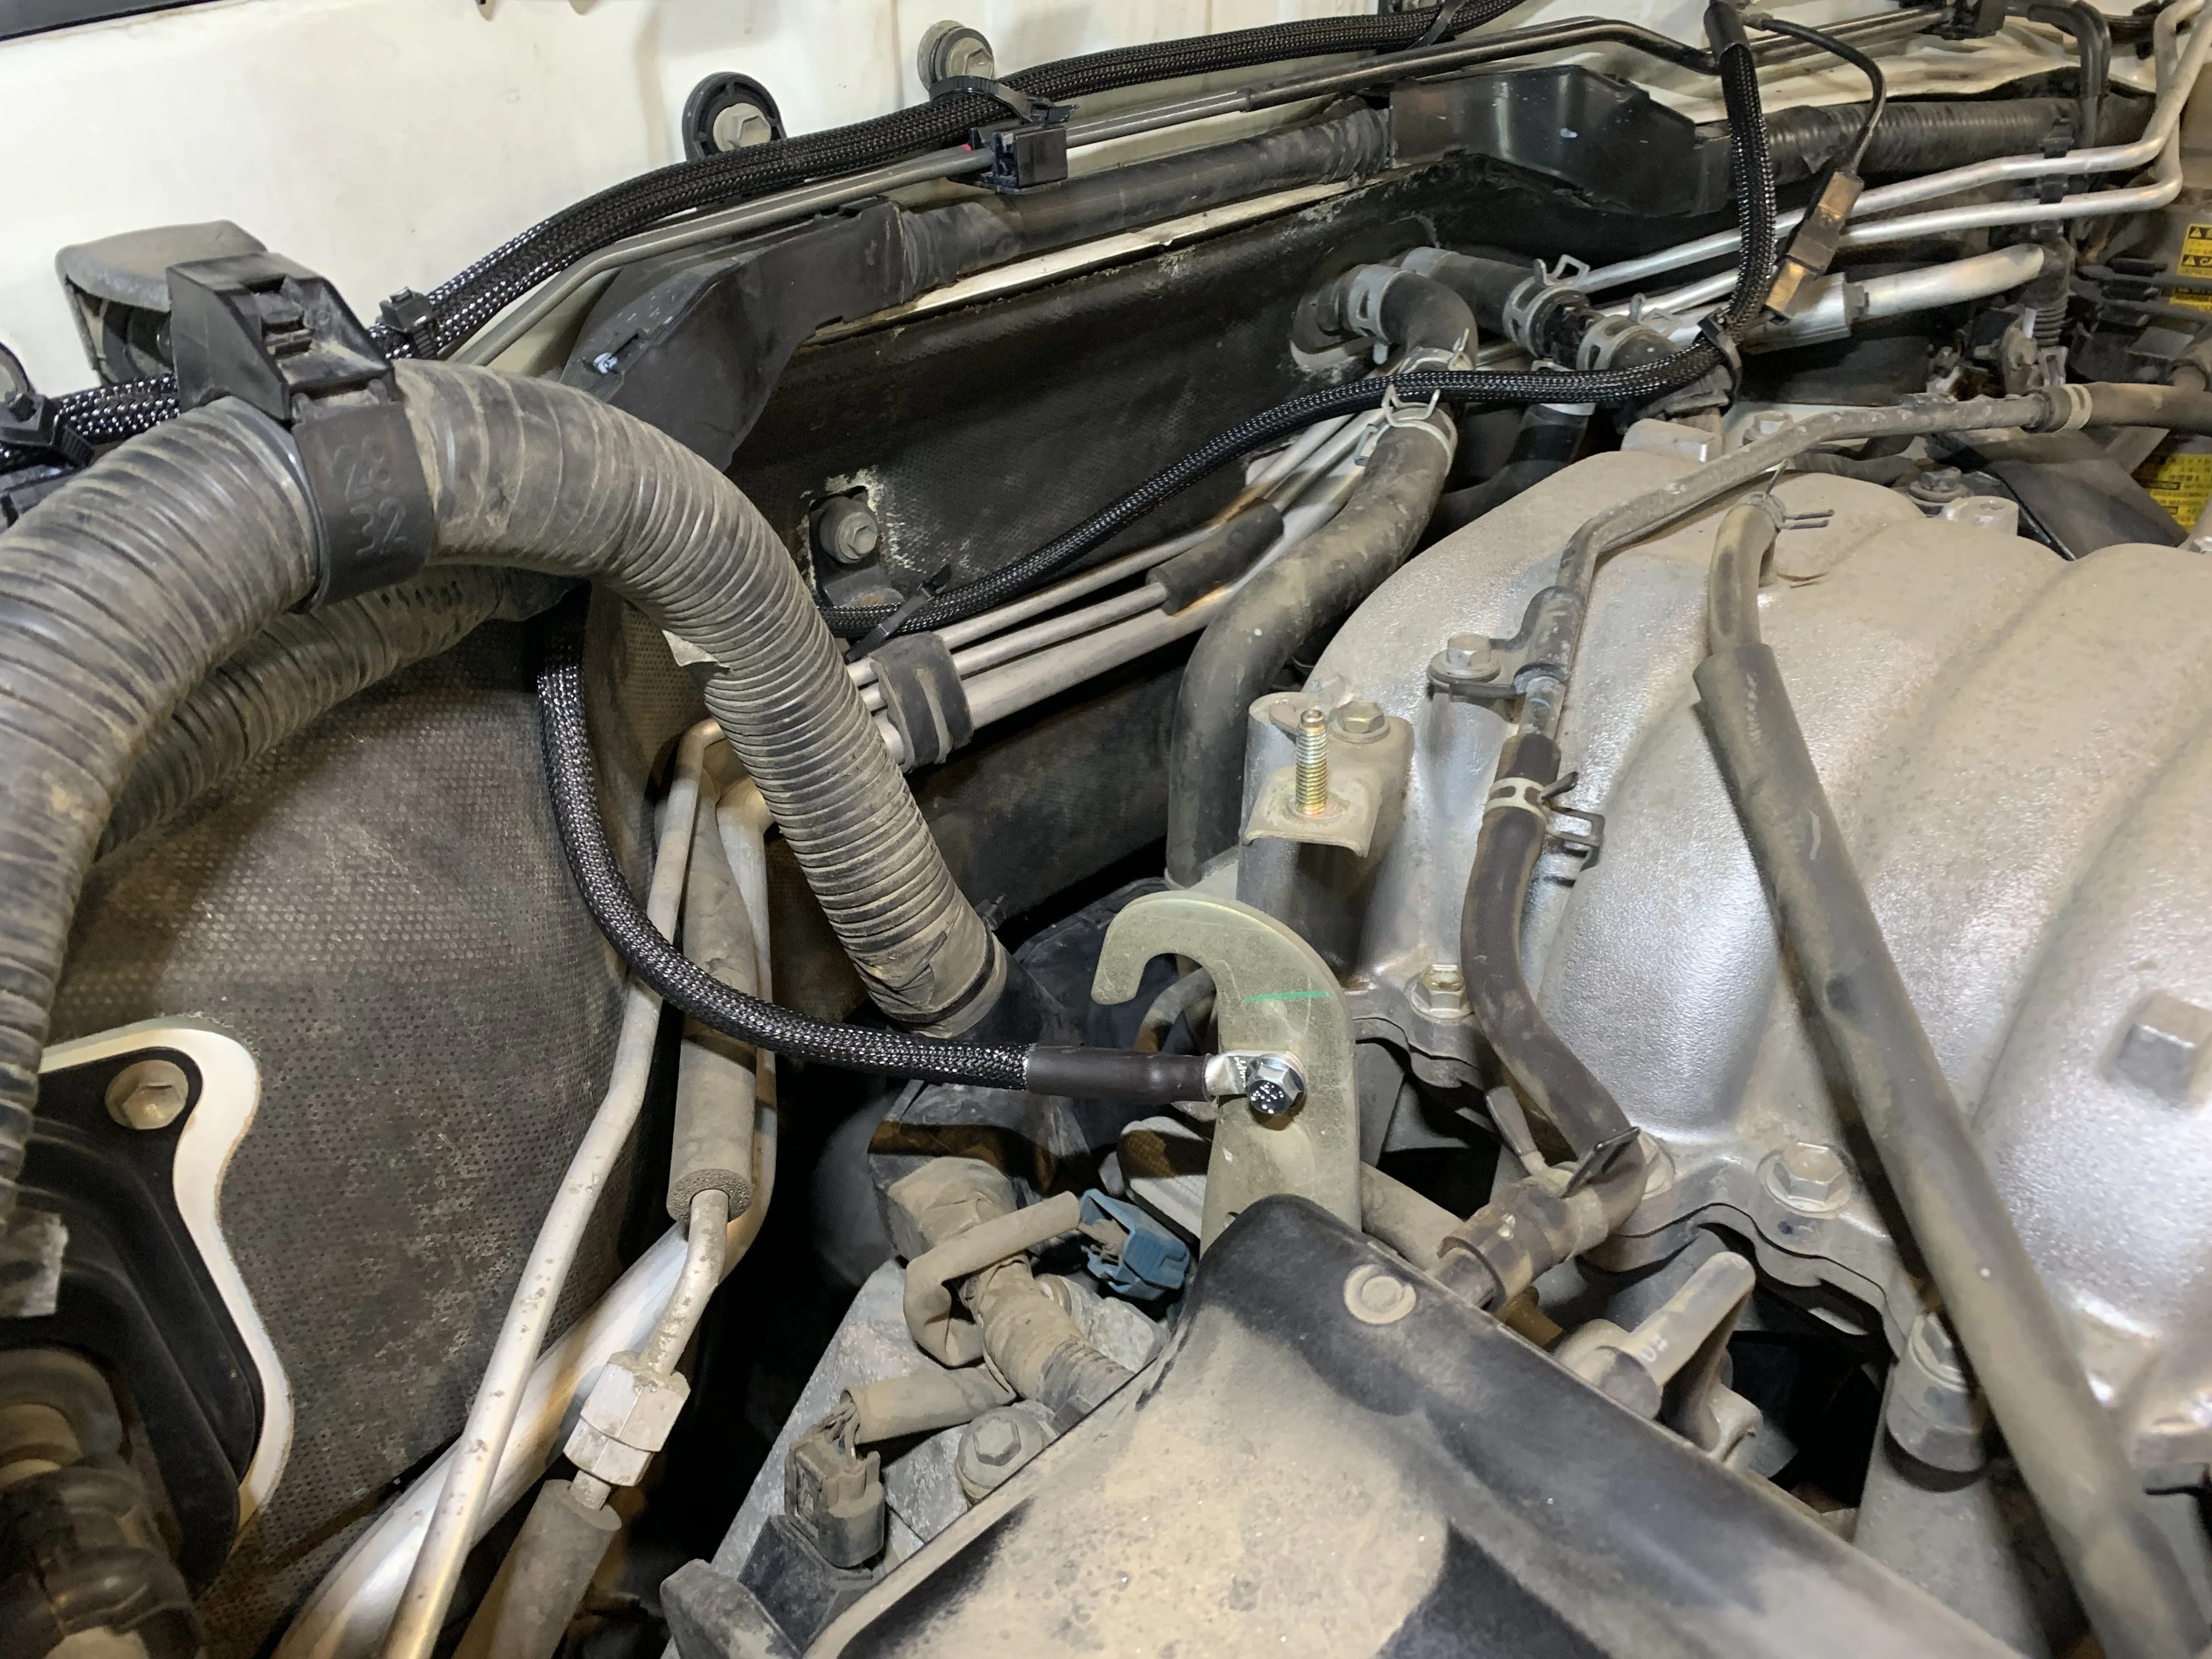
Pulled a good amount of parts off of Gudmundur 2.0. Sliders, RTT, roof rack, drawers, awning, 2nd battery, rear bumper, and barrier. Plan was to eventually find another 100 series. Didn't have a lot of hope since prices have gotten so high and good ones are few and far between. Dumb luck and I was looking at the MUD classifieds one morning and a new listing for a stock 2005 100 series popped up locally. Went up that afternoon and bought it. So now have Gudmundur 3.0. Really clean and only 150,000 miles.

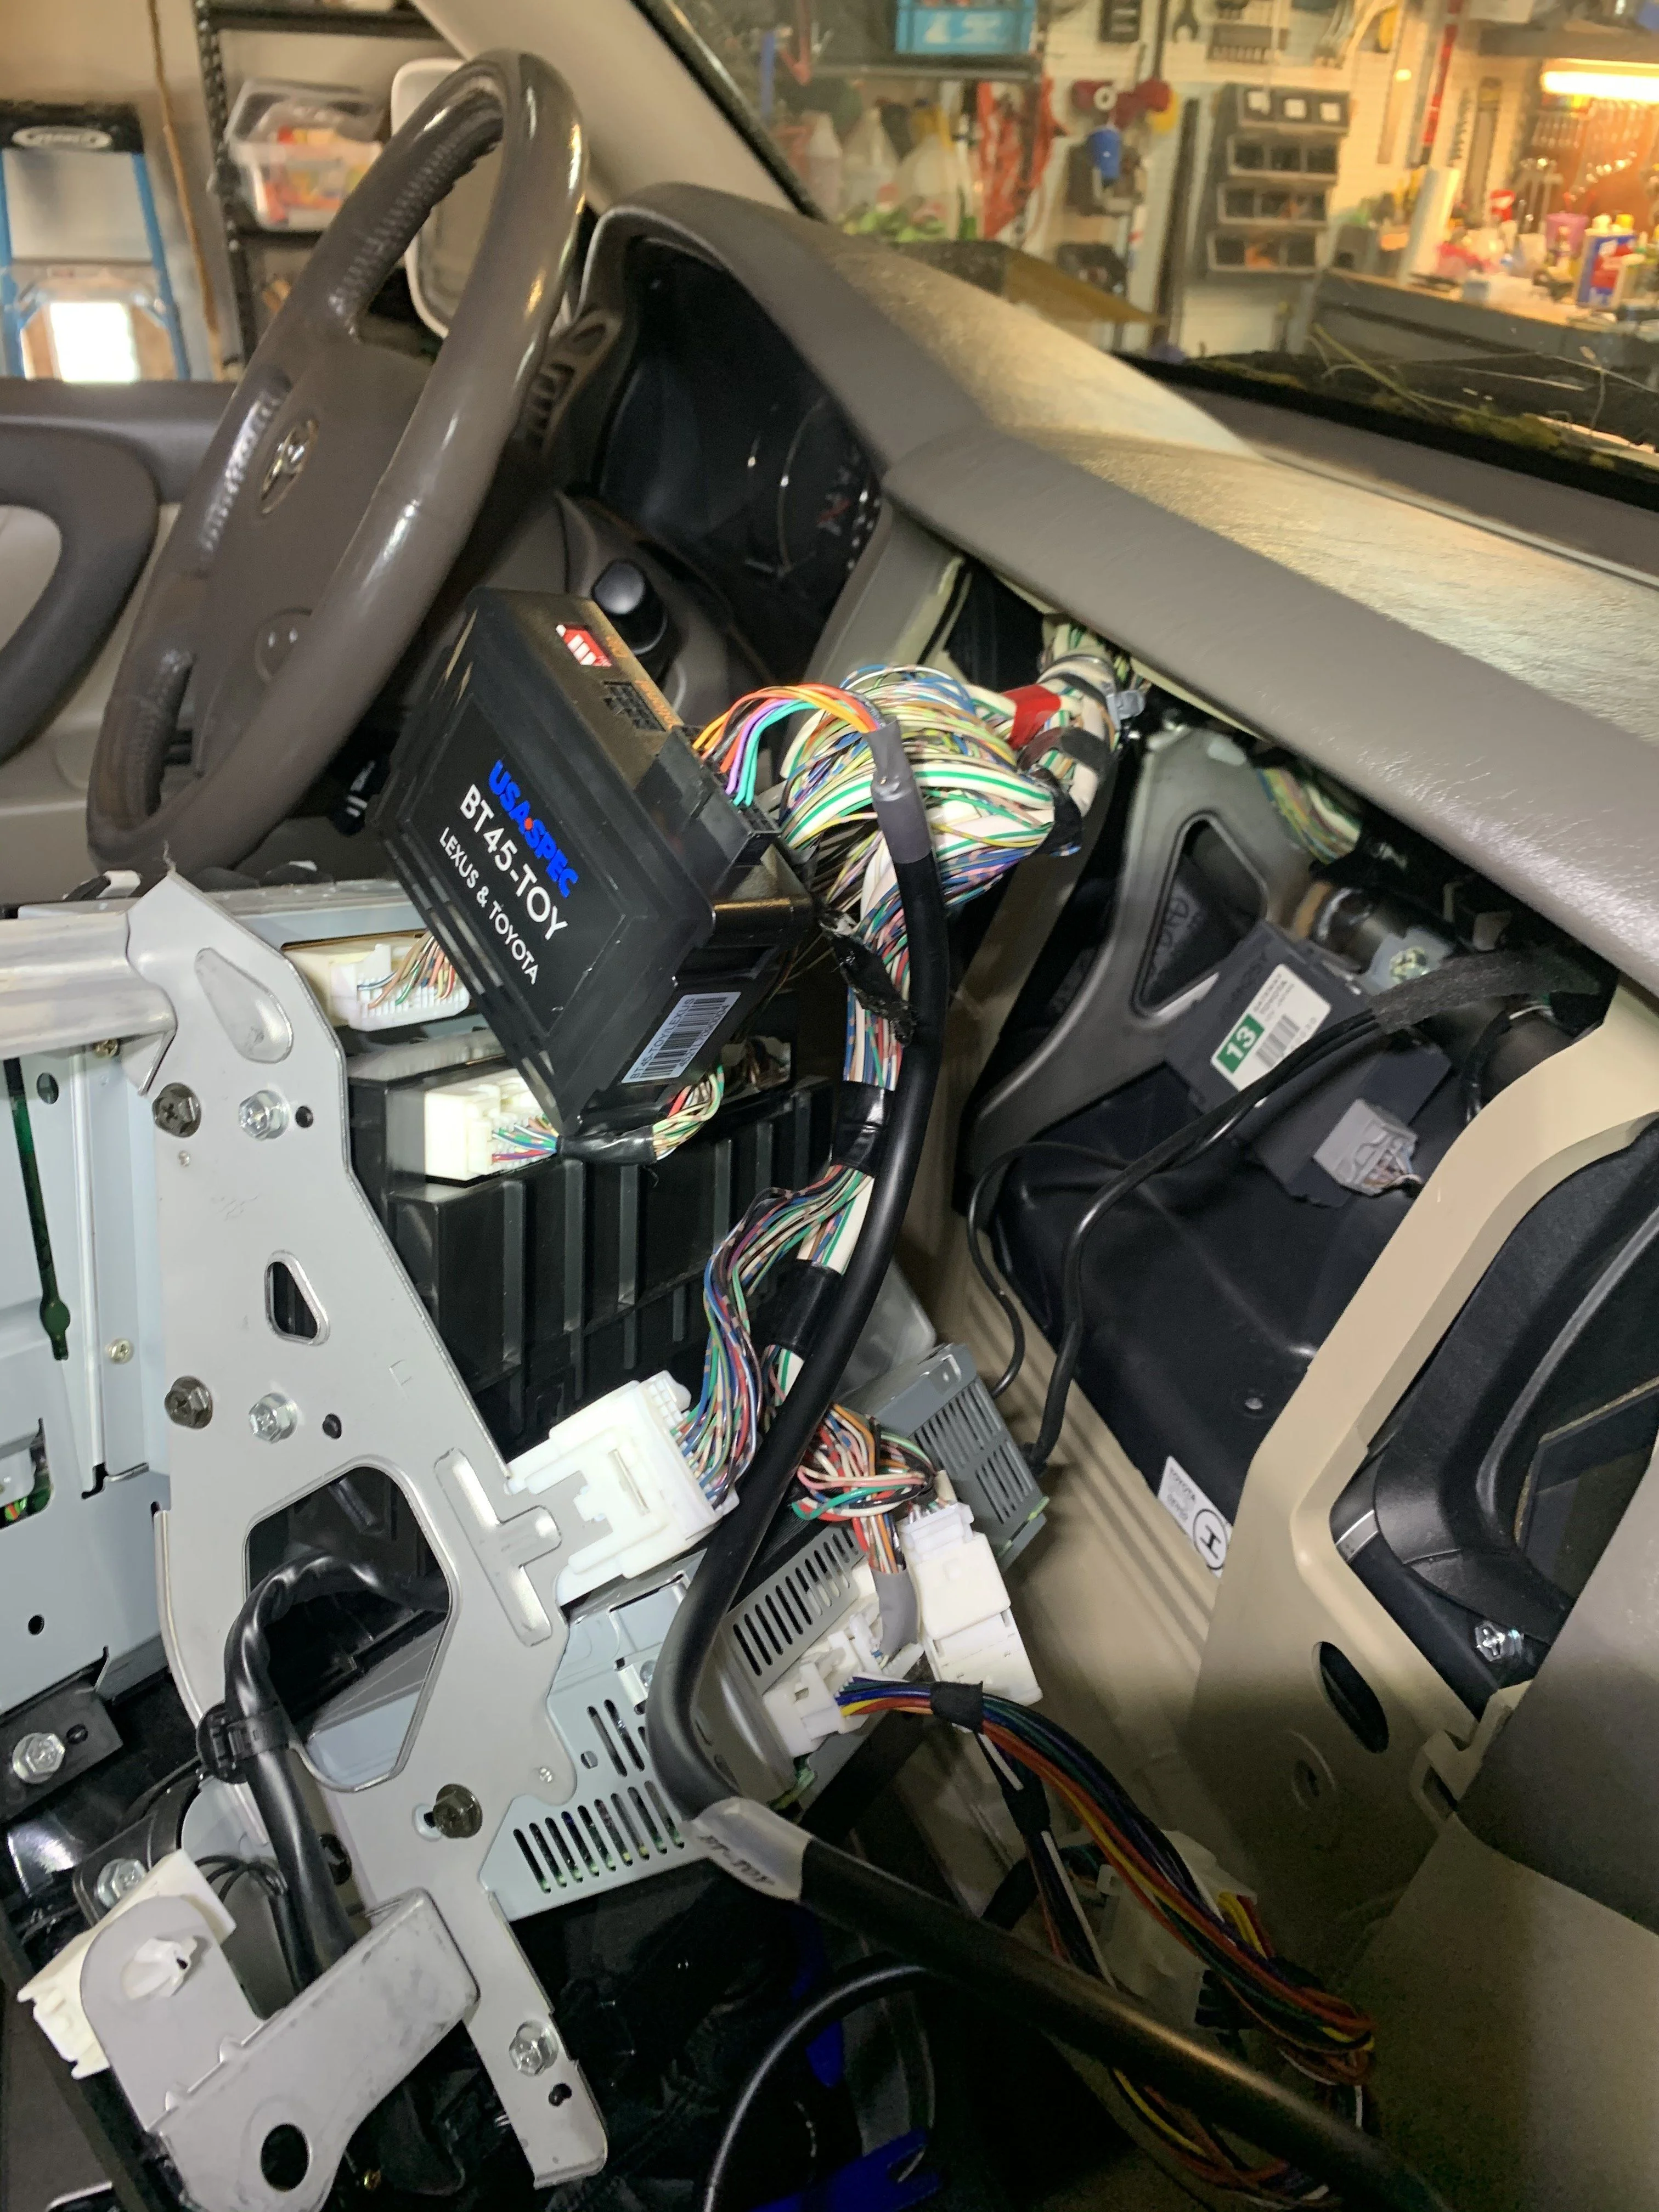
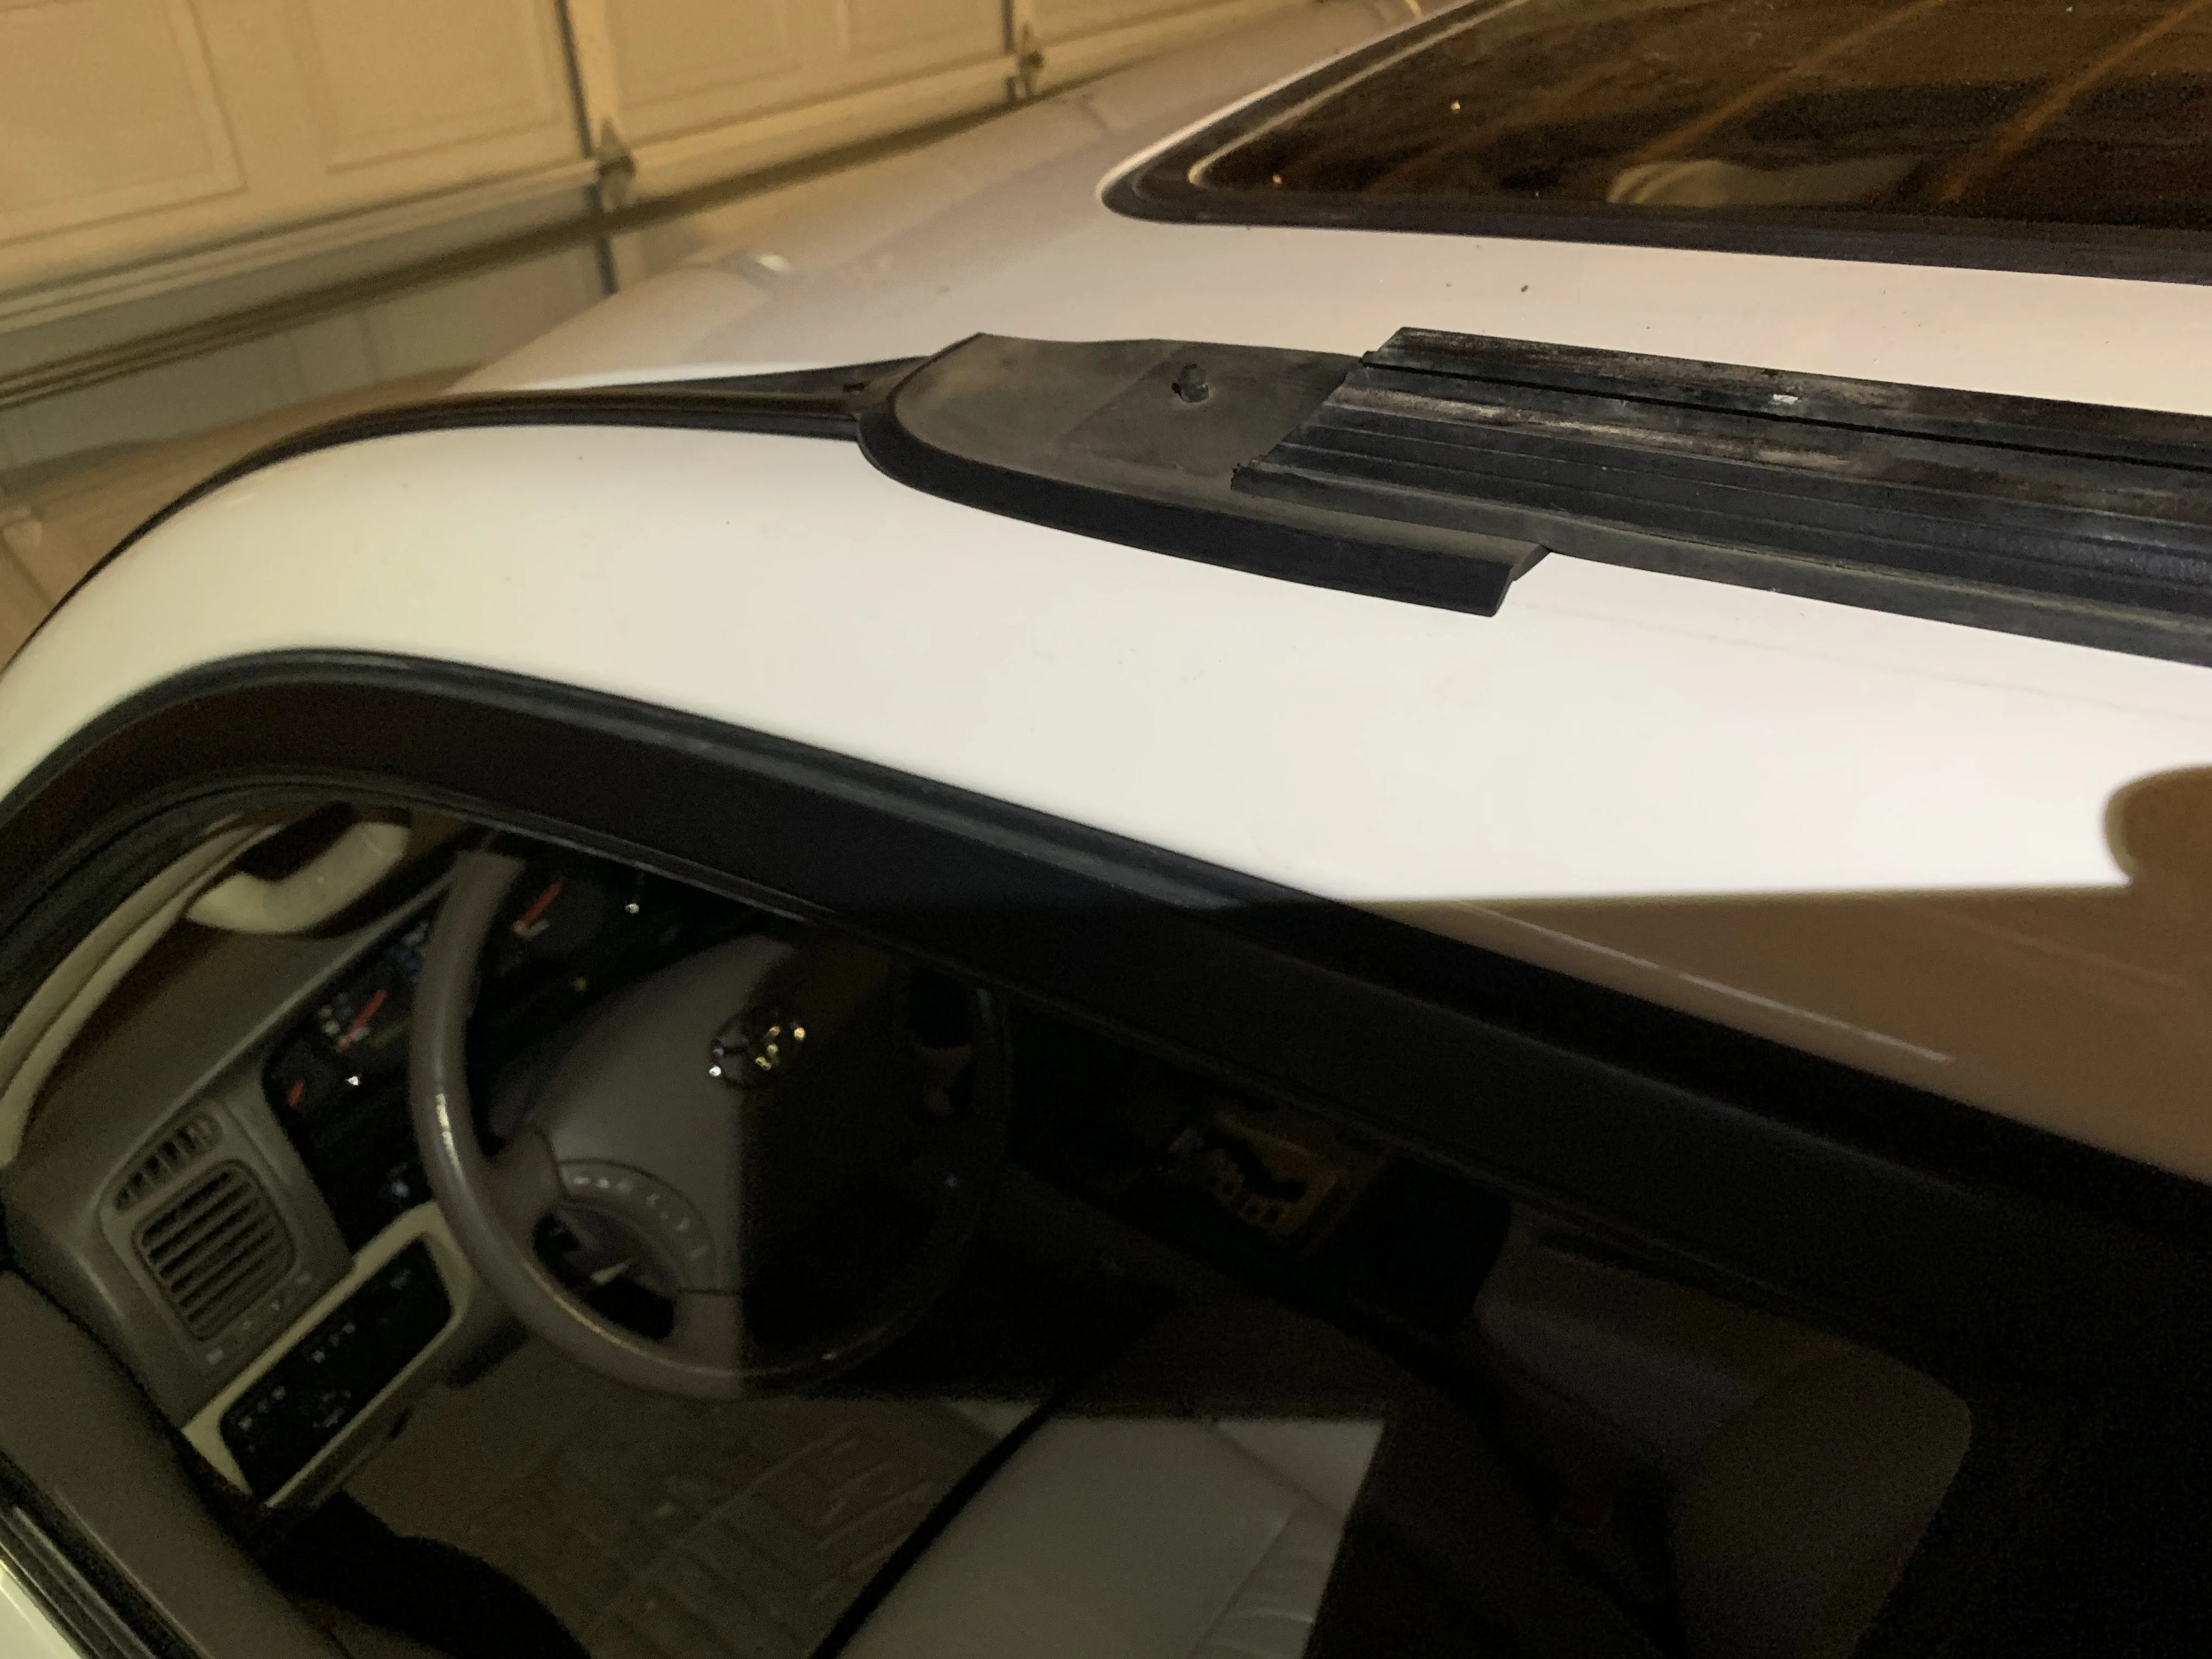
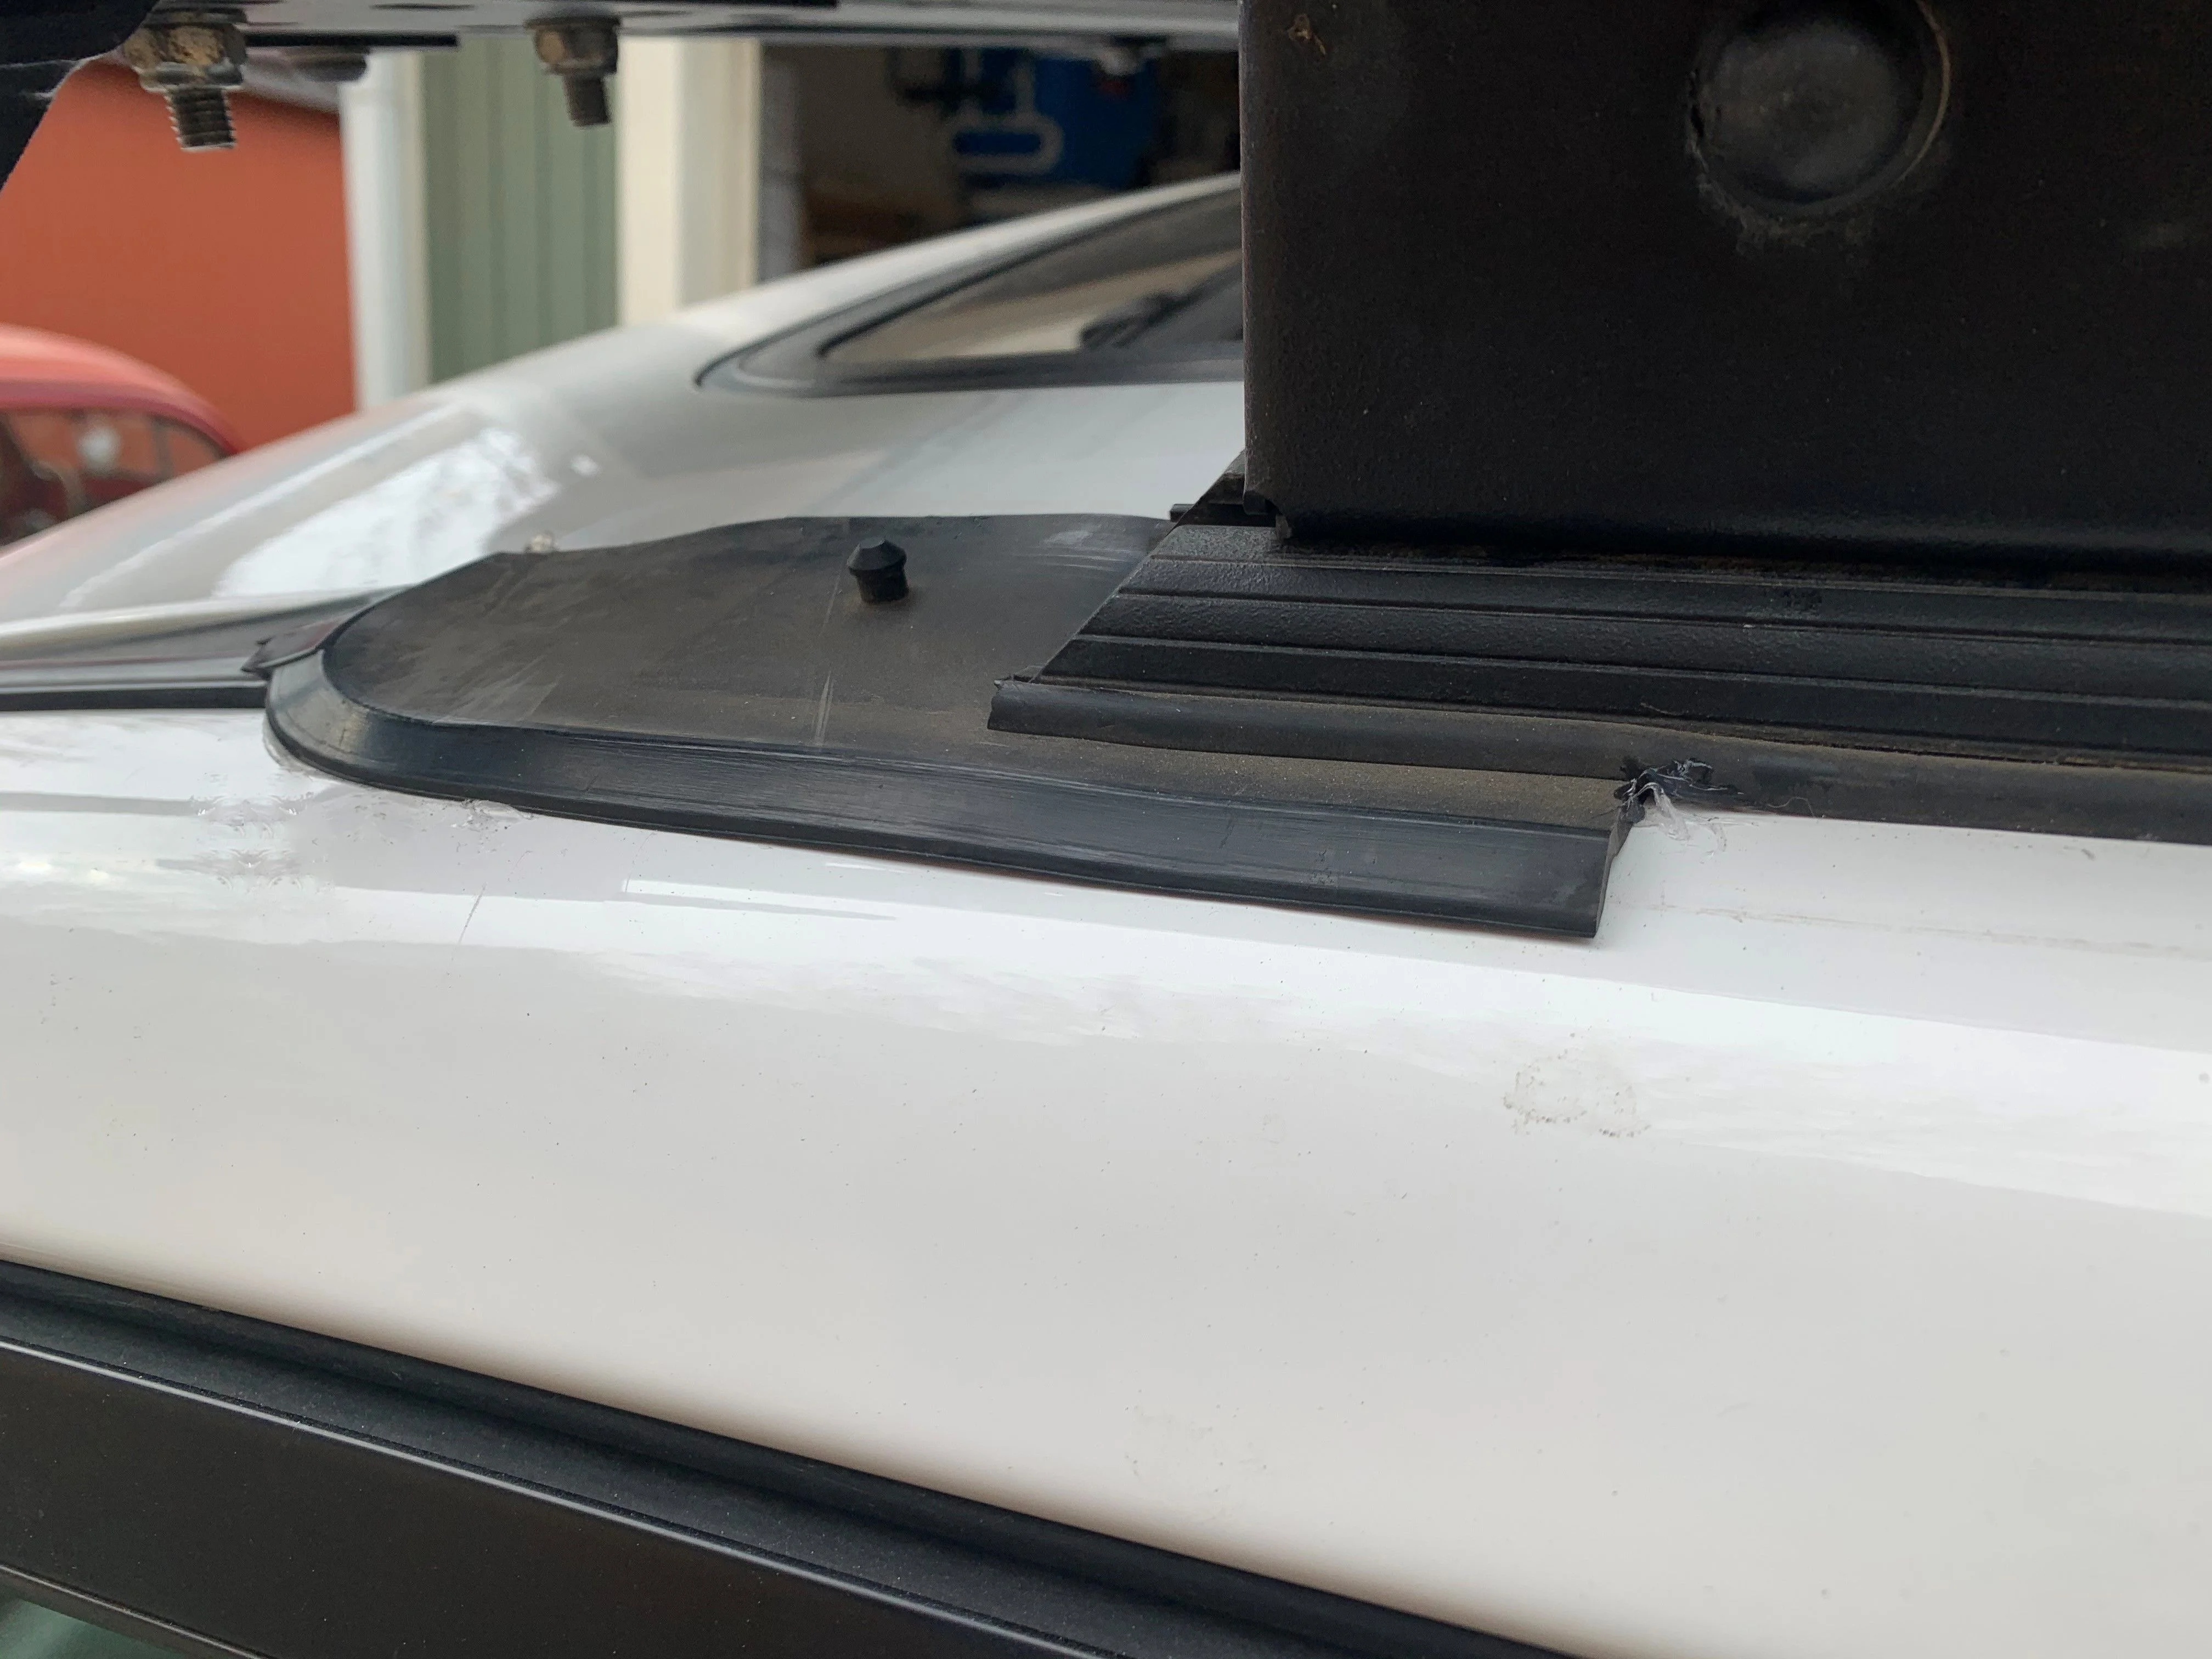
So now the fun starts all over again. In the coming weeks I'll be putting all the old parts on and installing a lift.

For the lift, planning on (unless anyone has any other suggestions):
- OME torsion bars
- OME 2864 rear springs
- Slee diff drop
- SPC UCAs
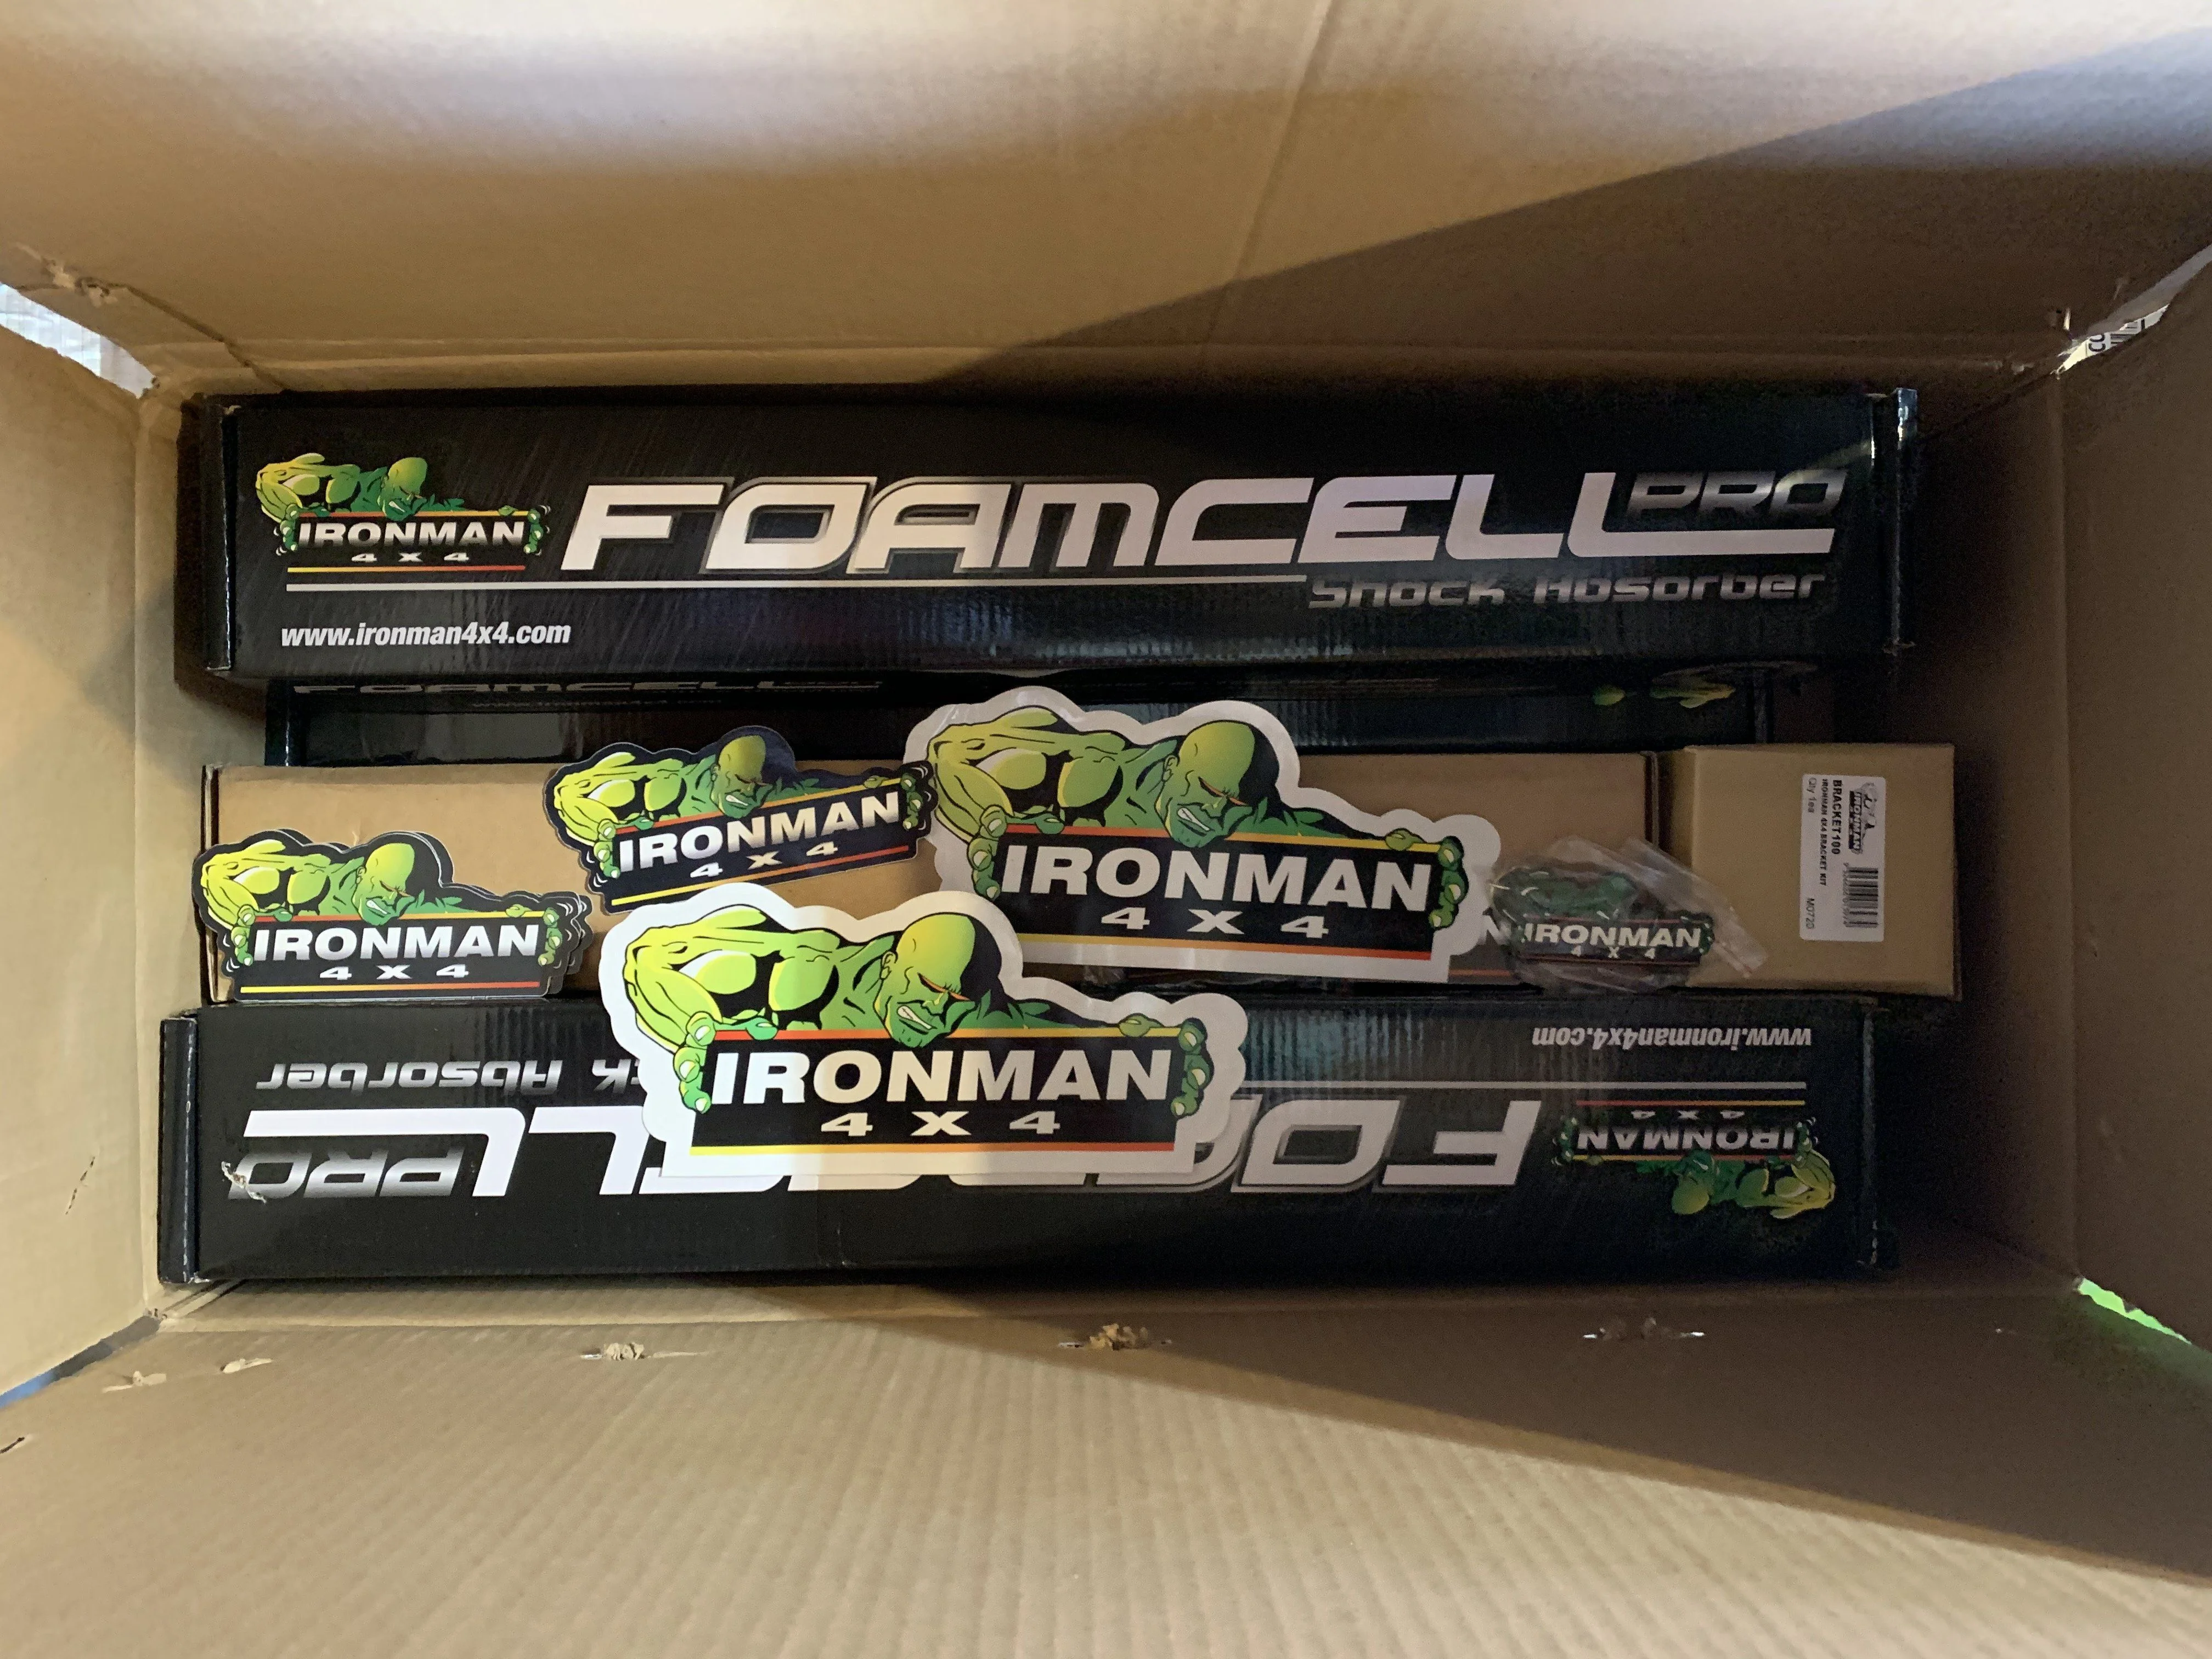
- Ironman foam pro shocks
- Extended sway bar links?? (I didn't have them on 2.0. Anyone have positives or negatives on the need for them?)

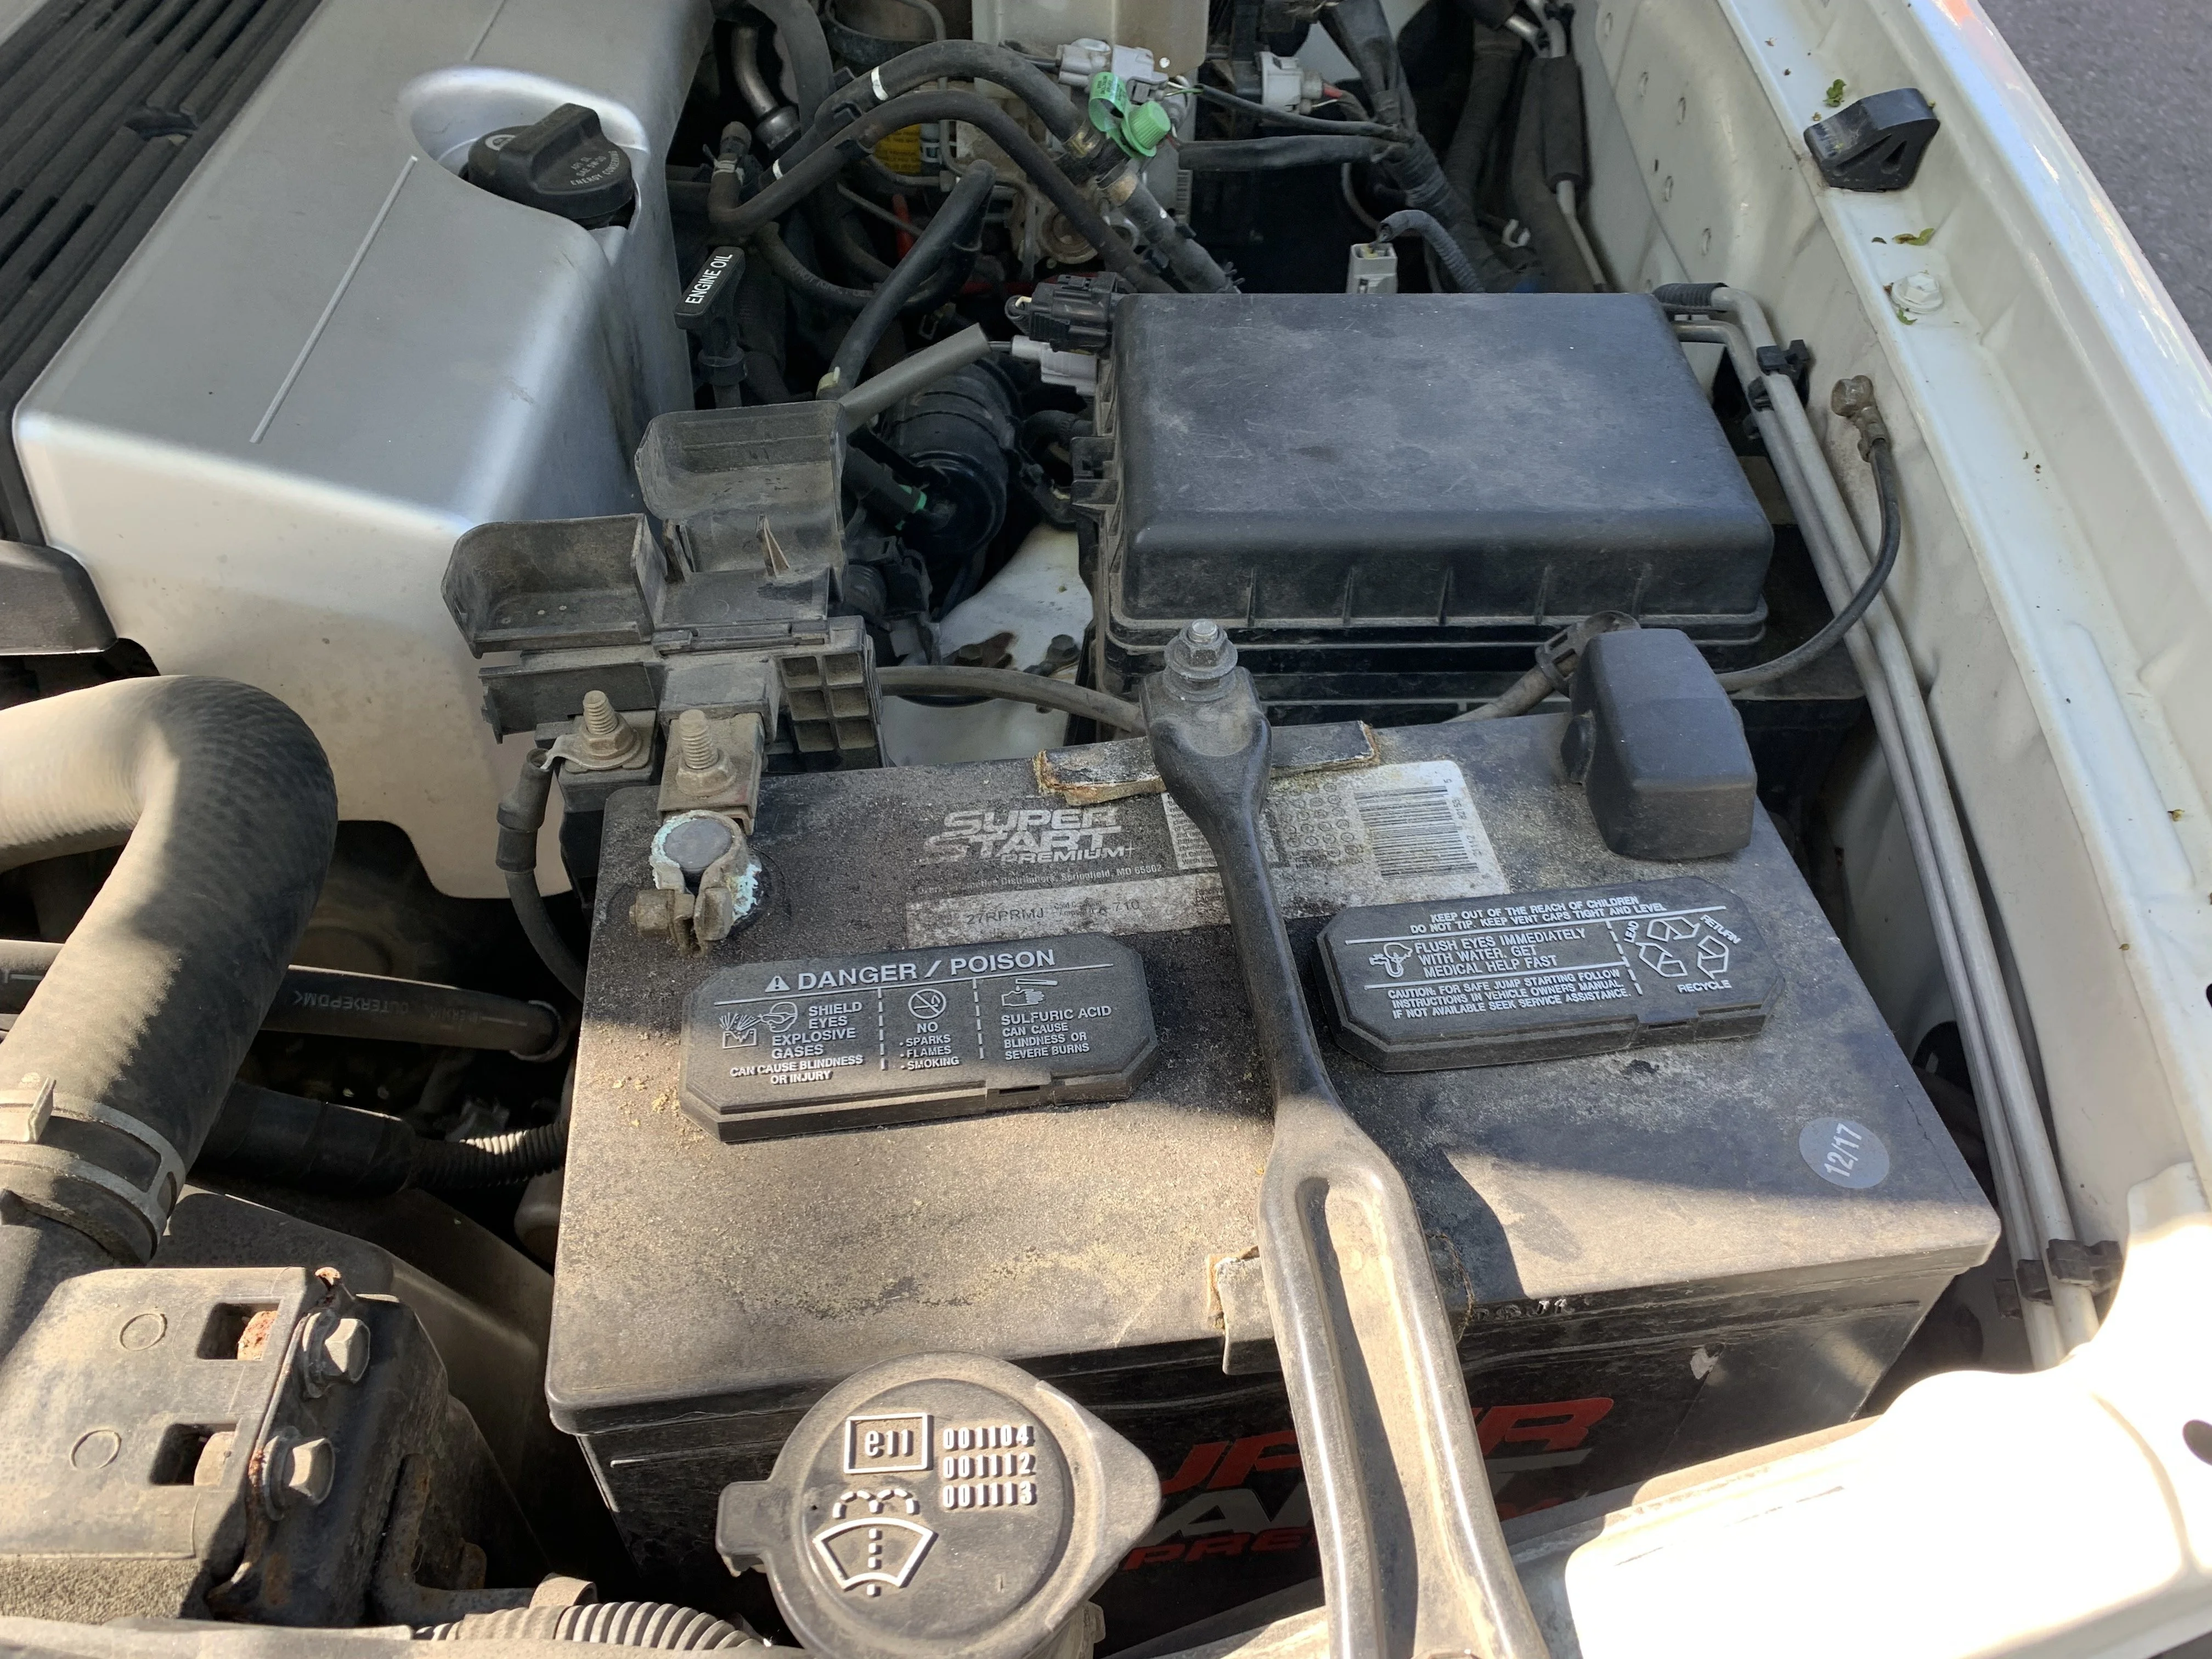
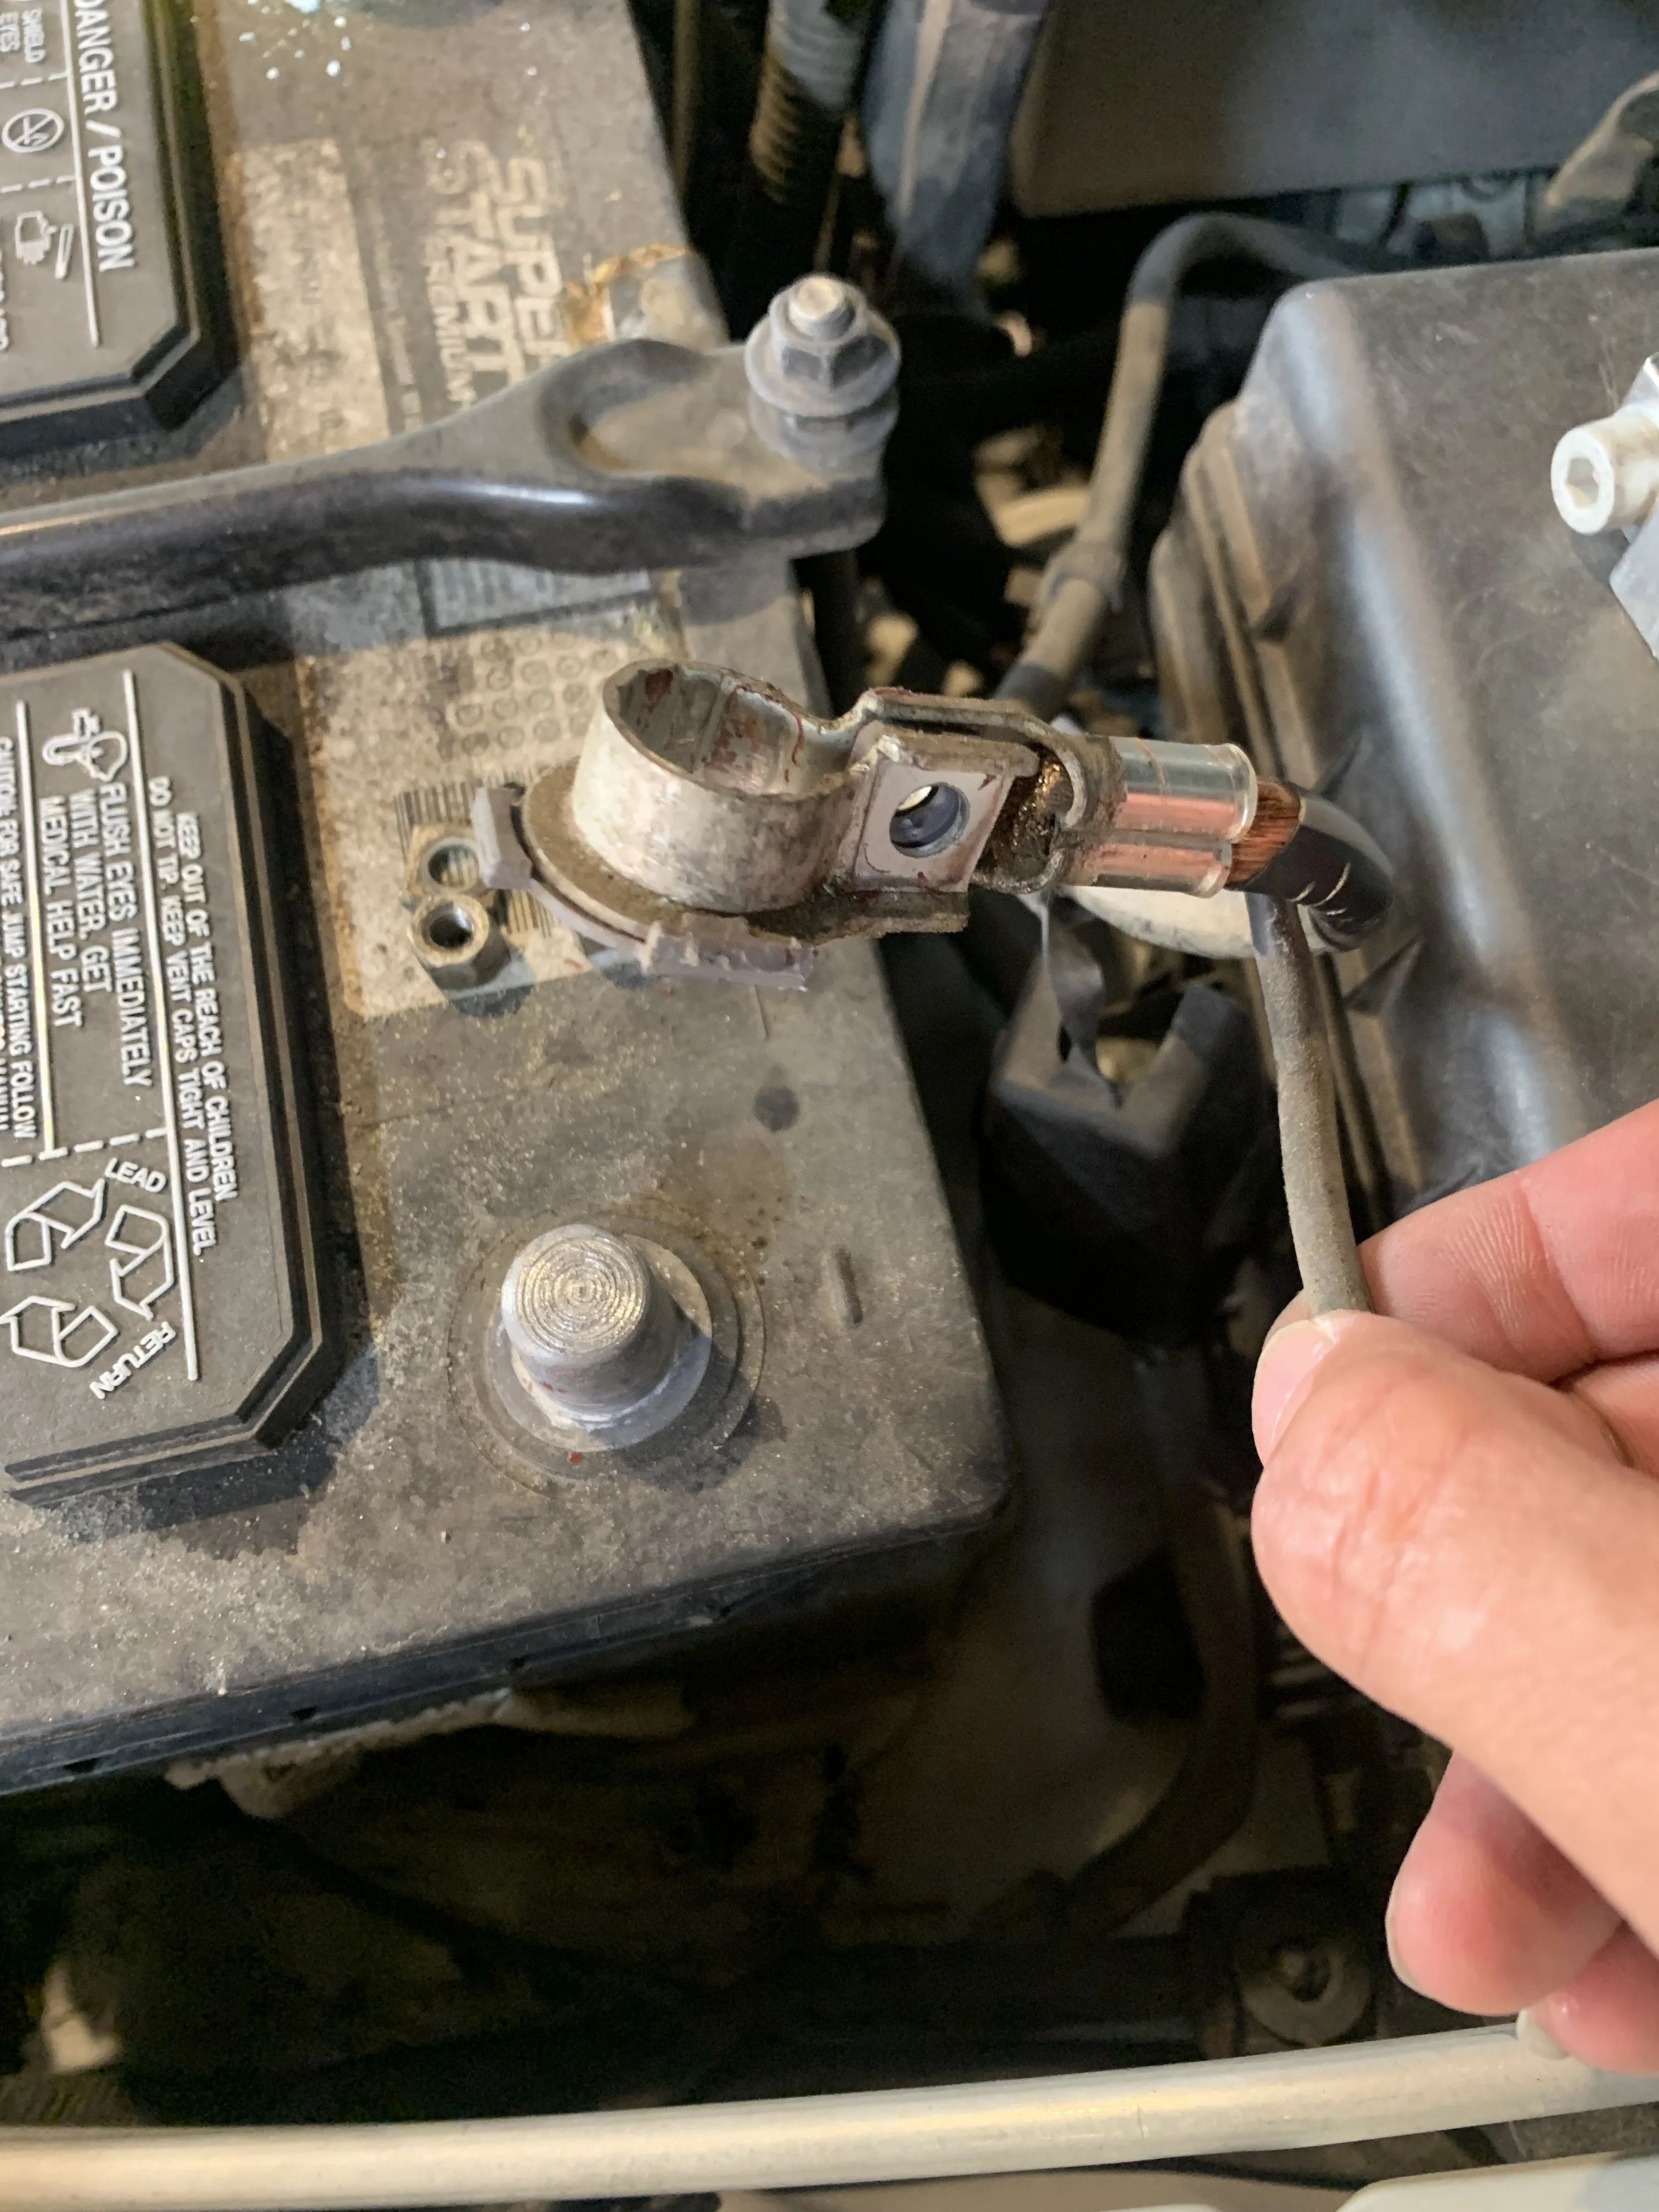
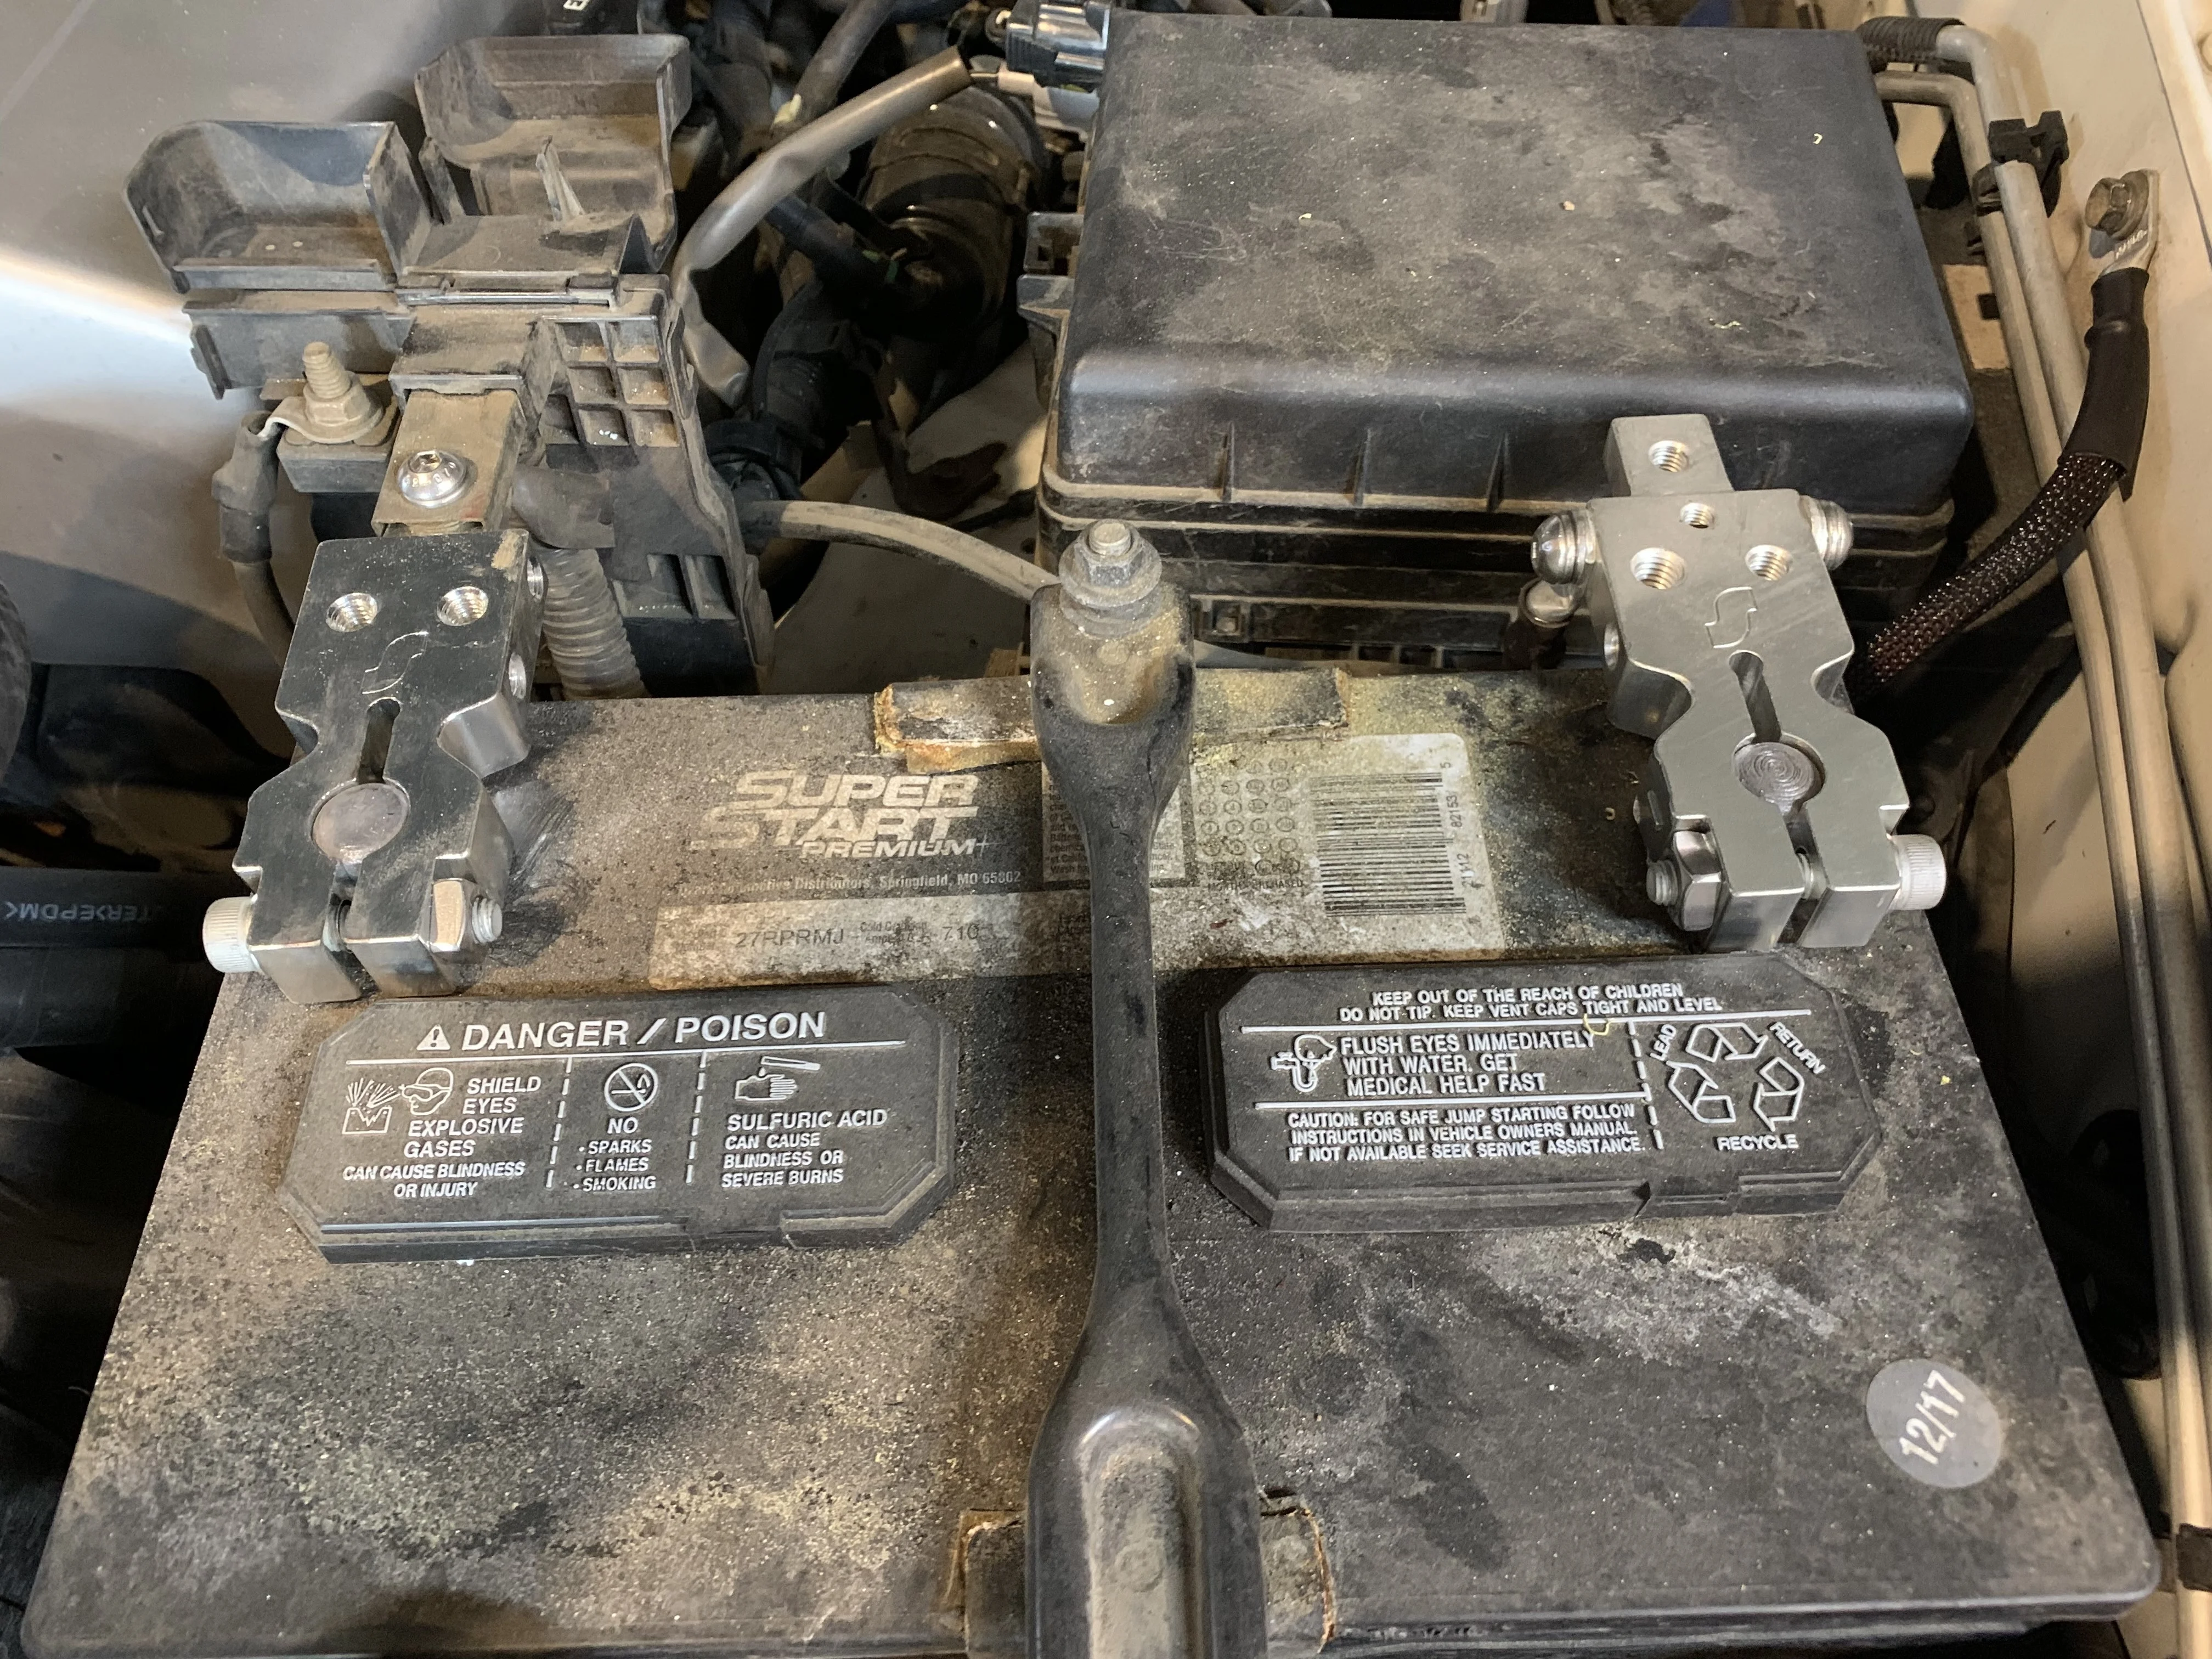
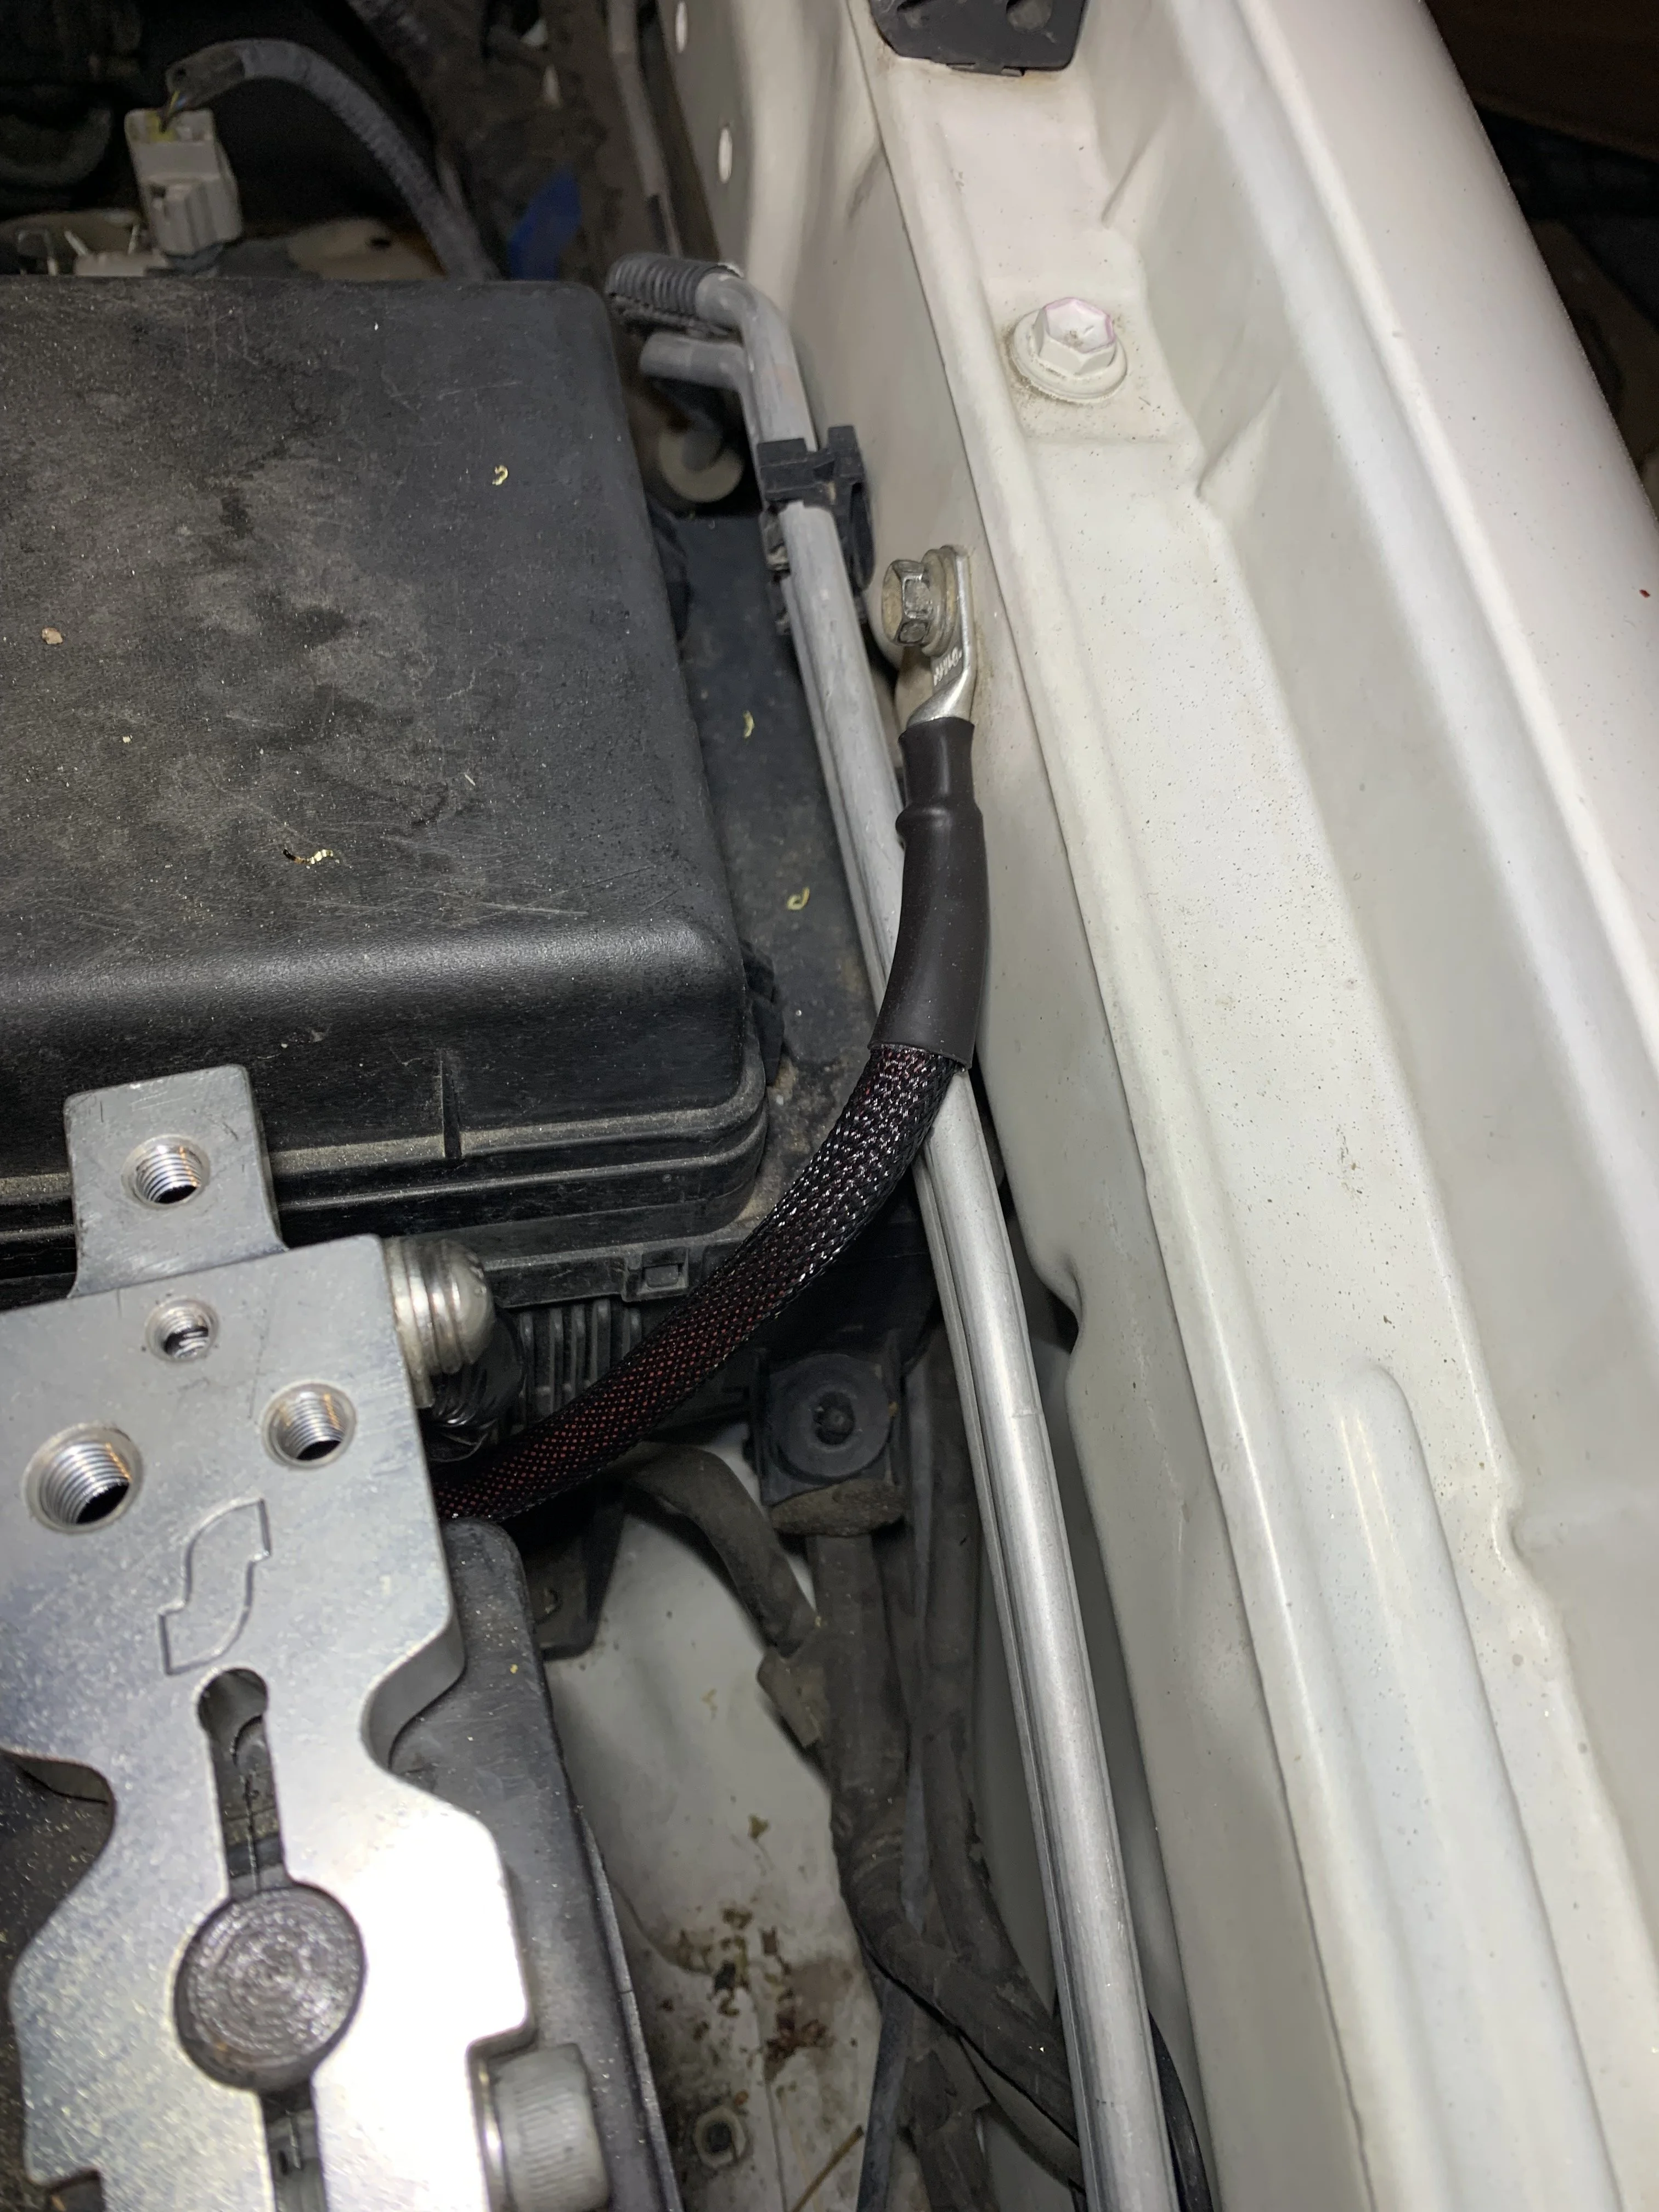
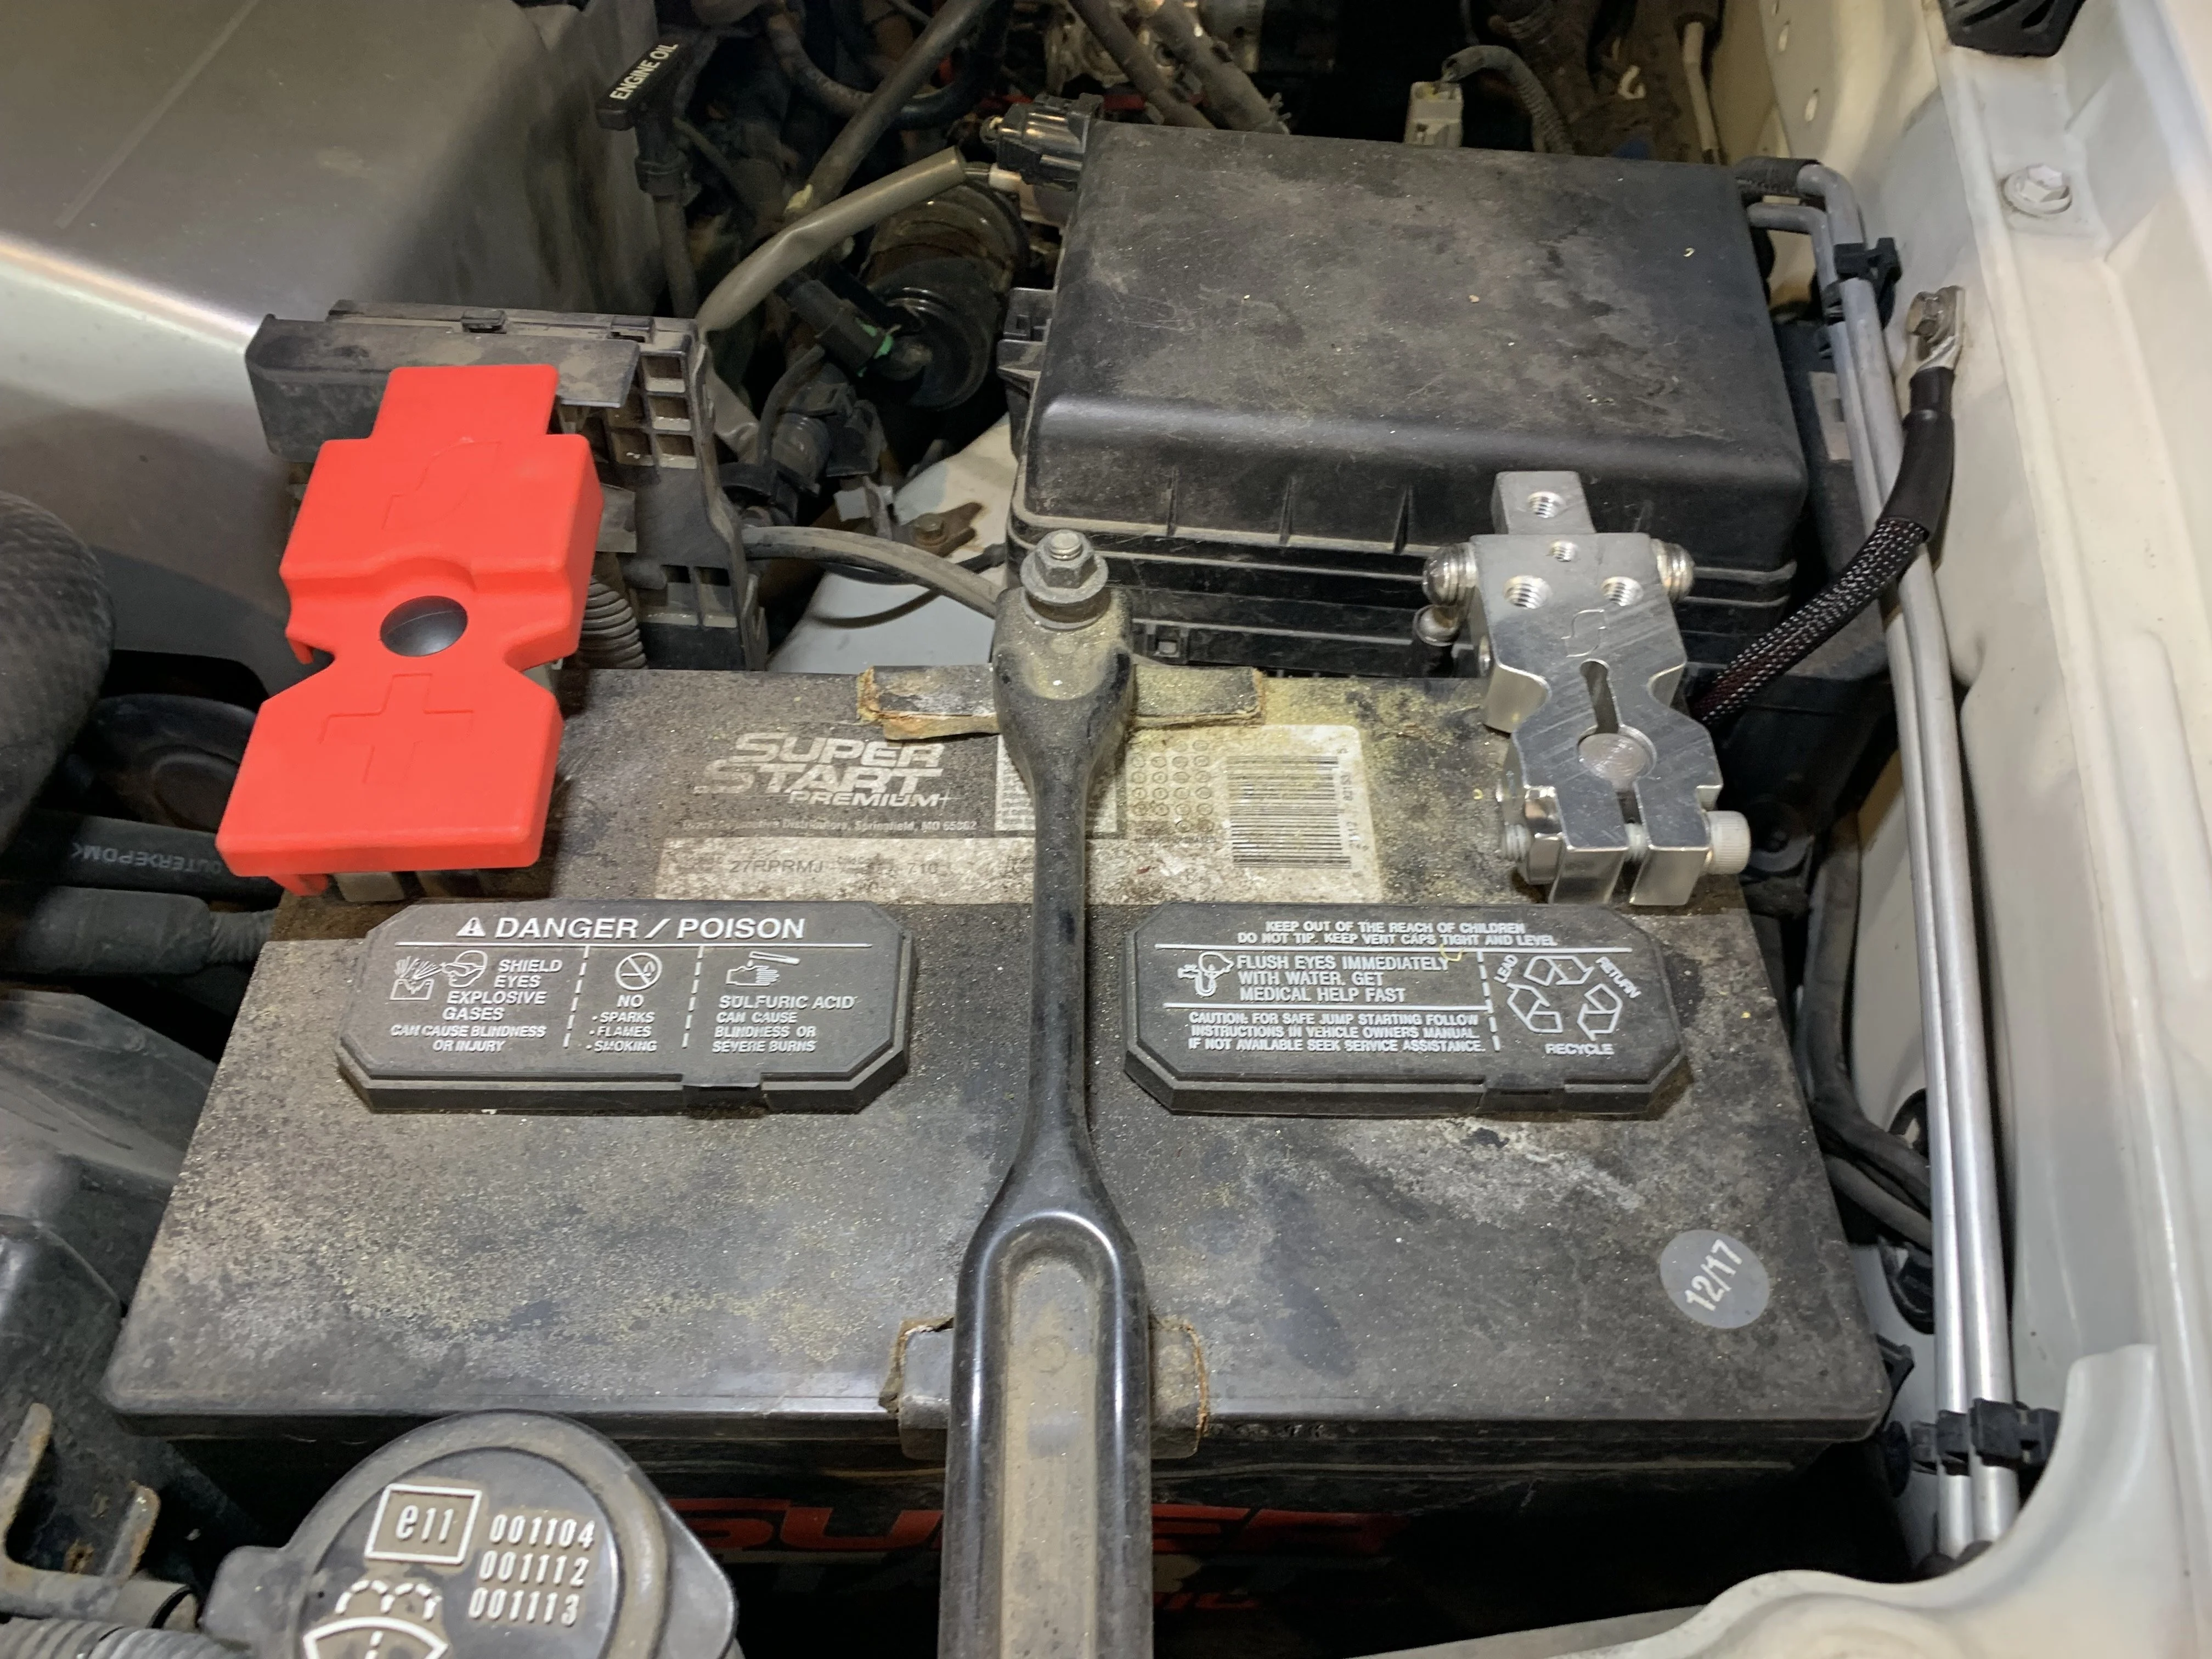
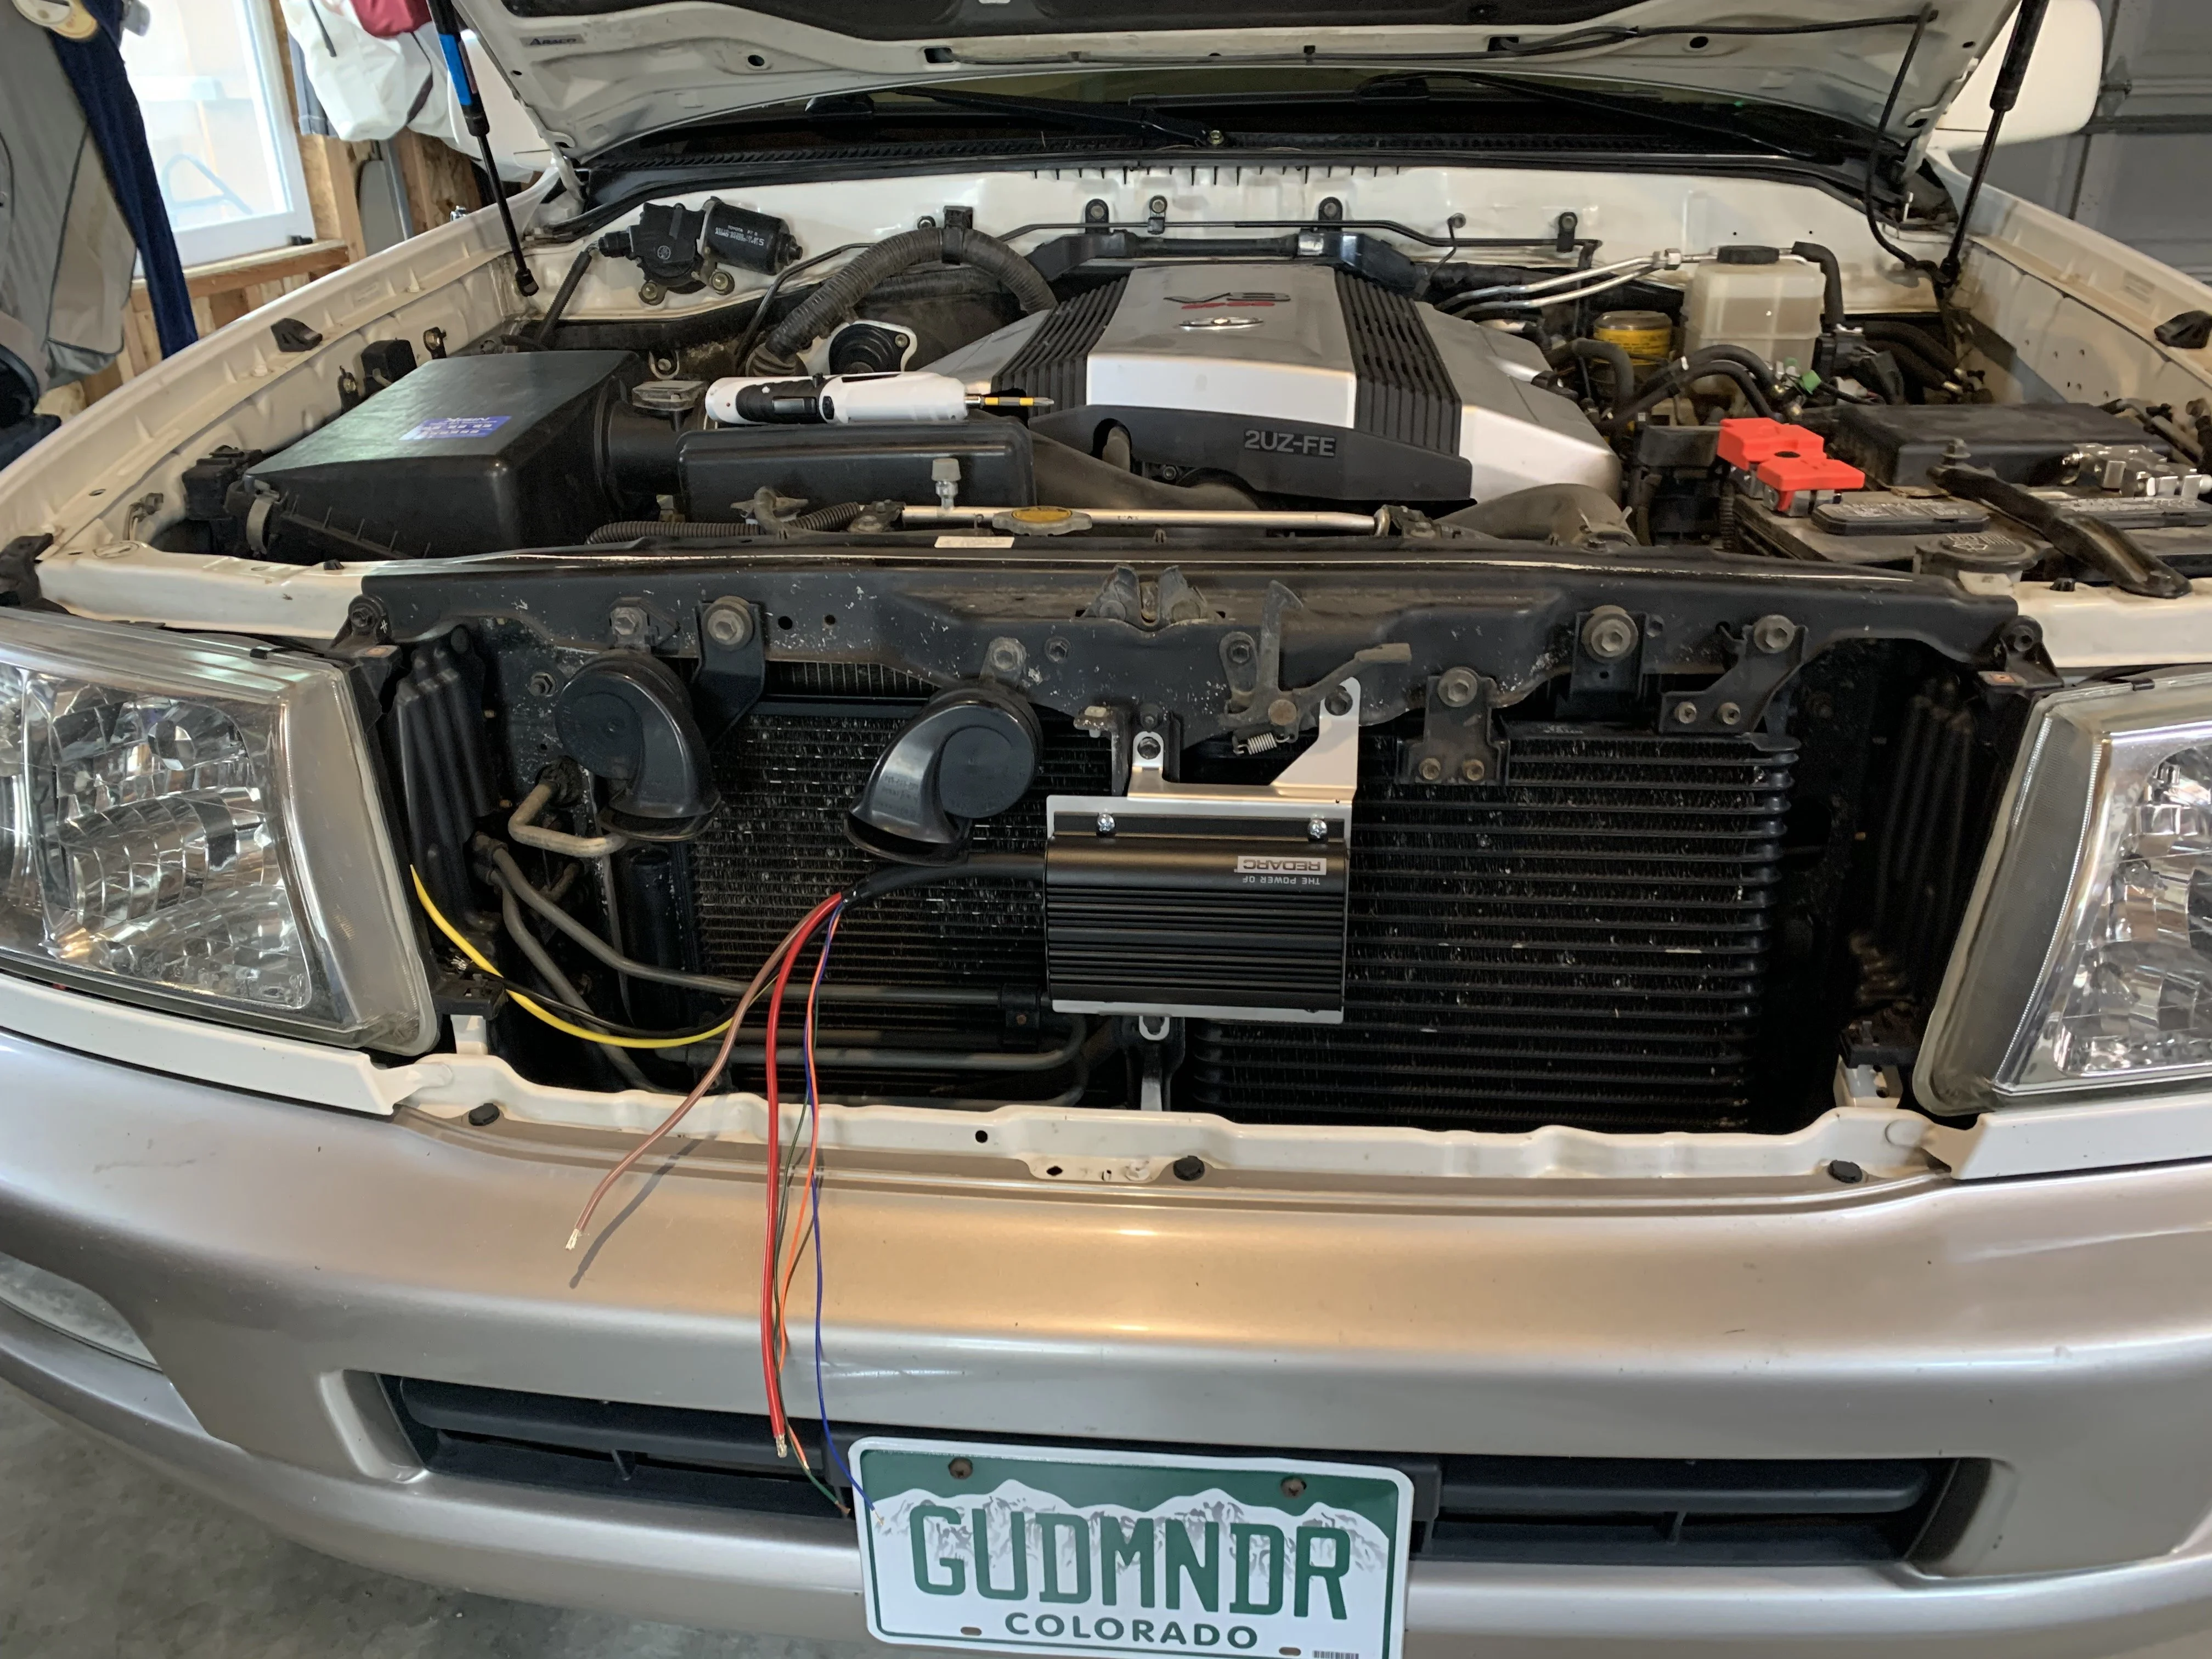
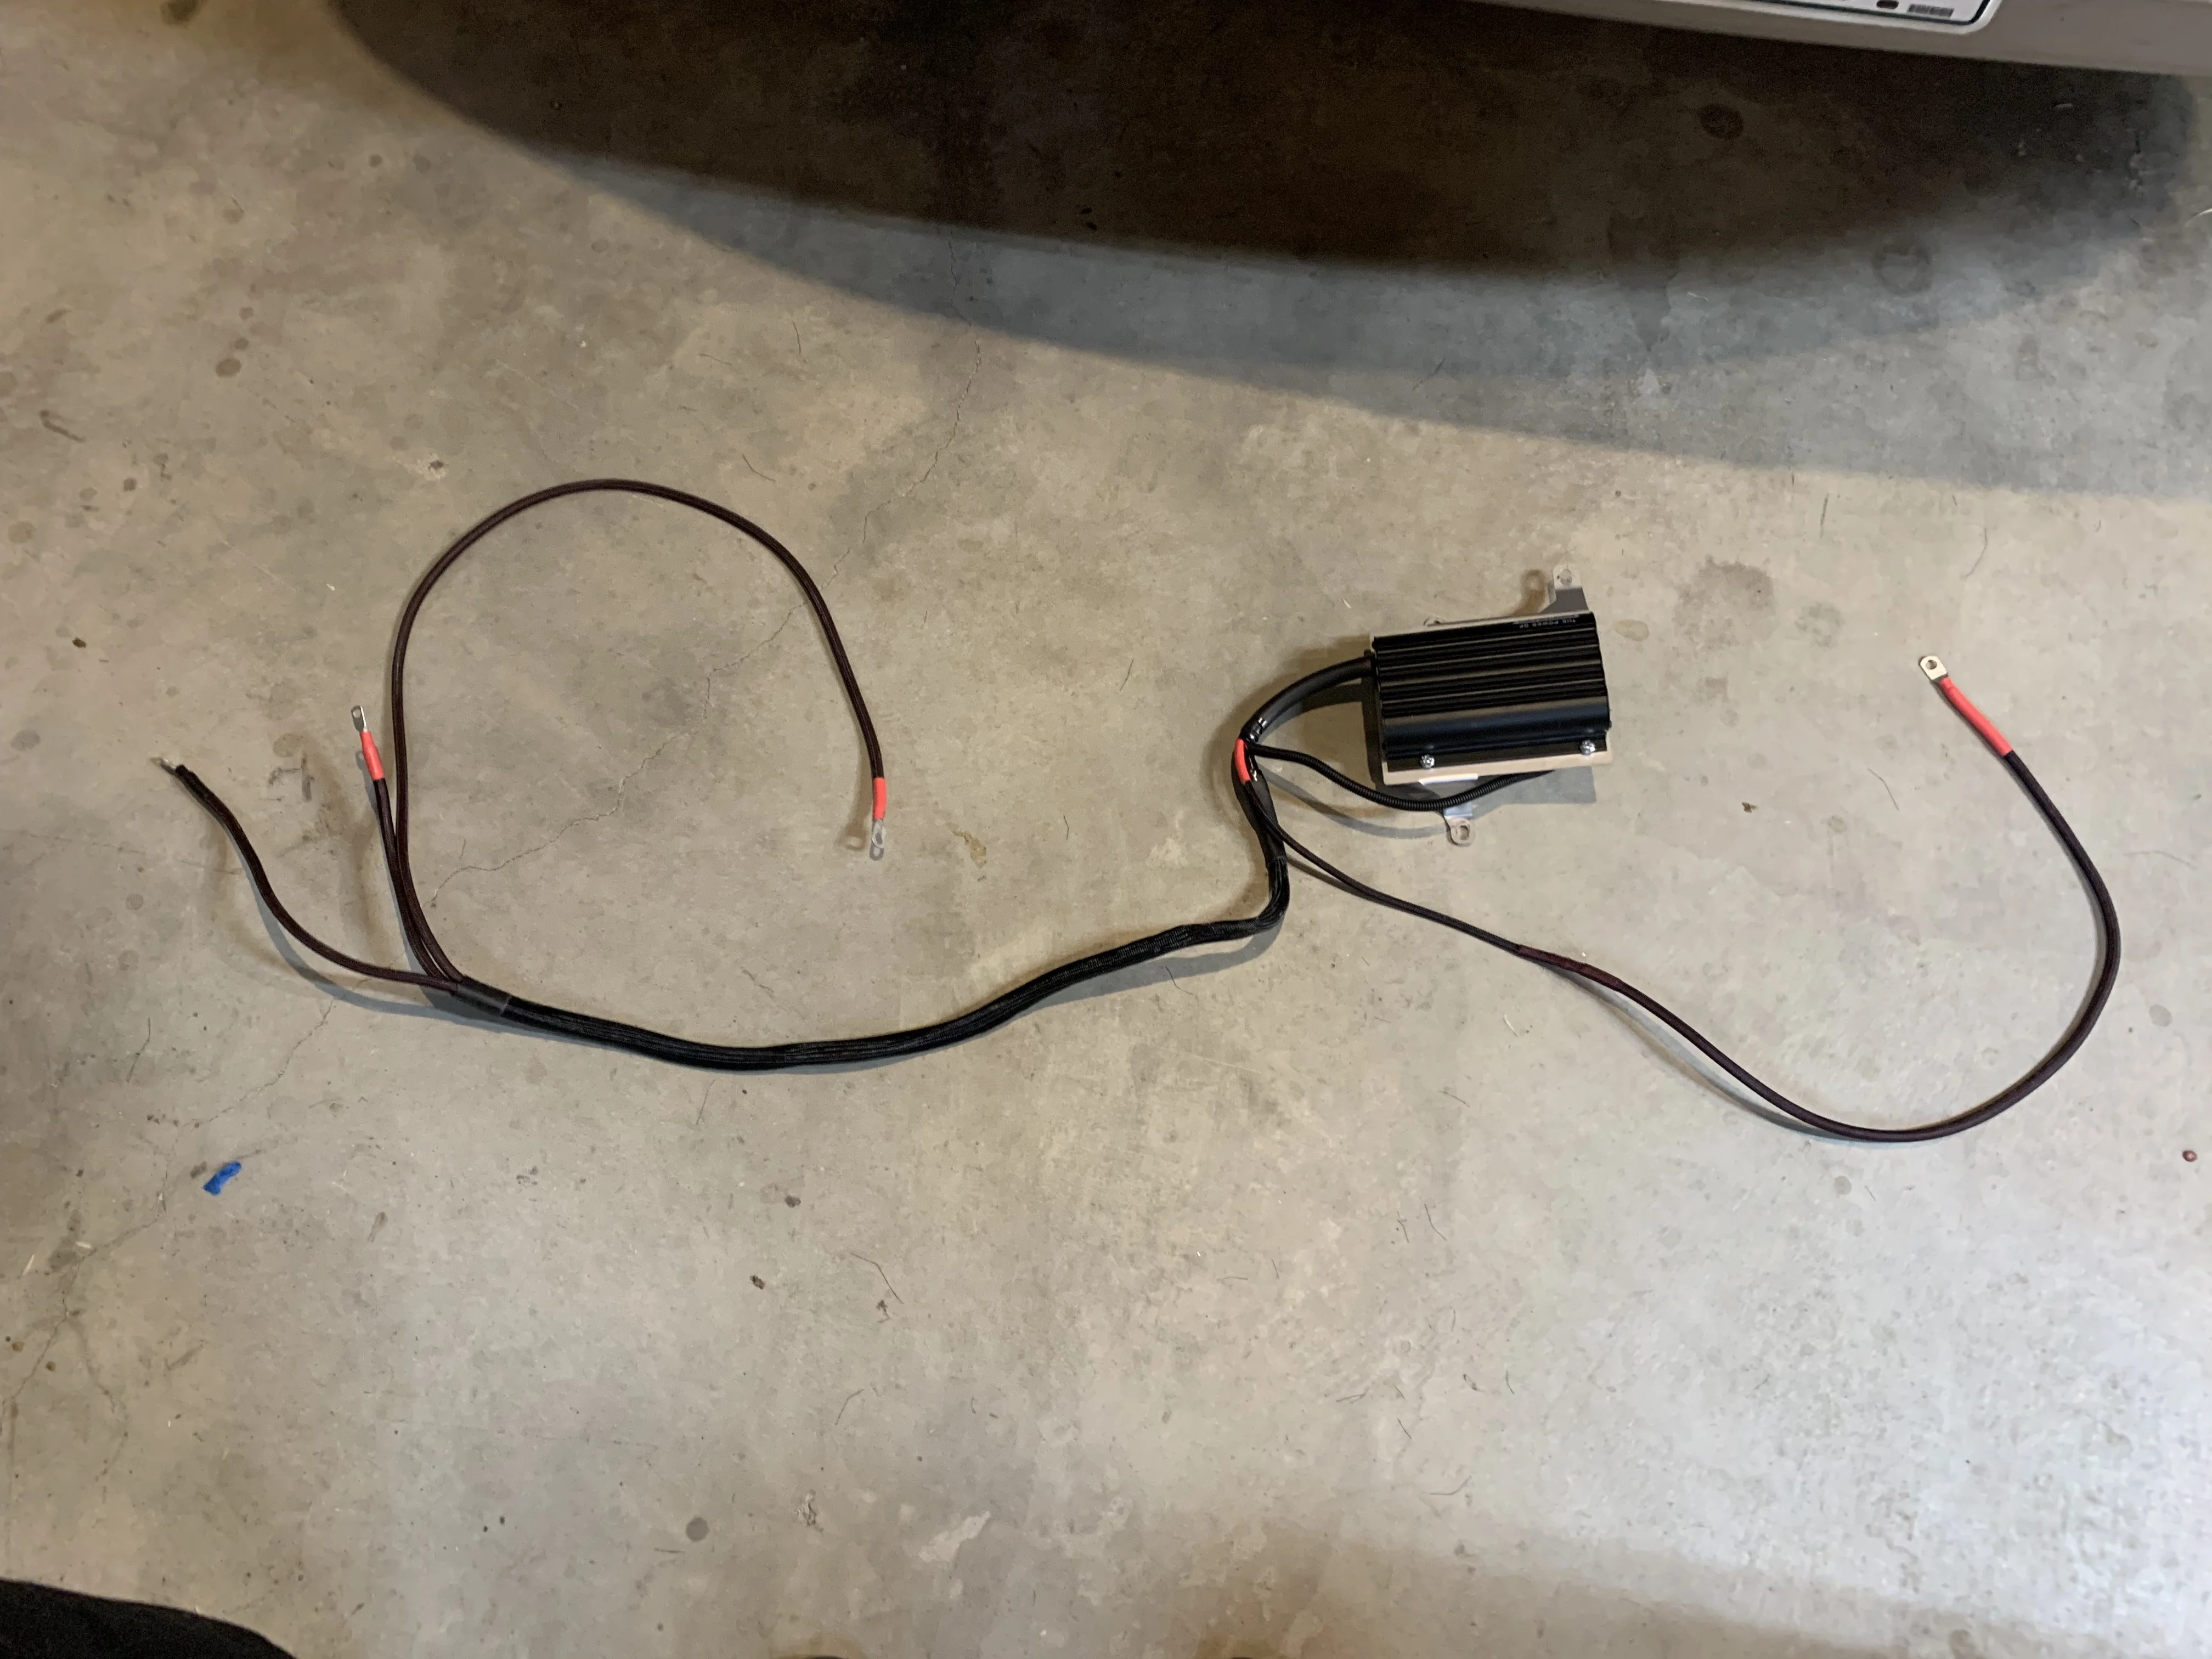
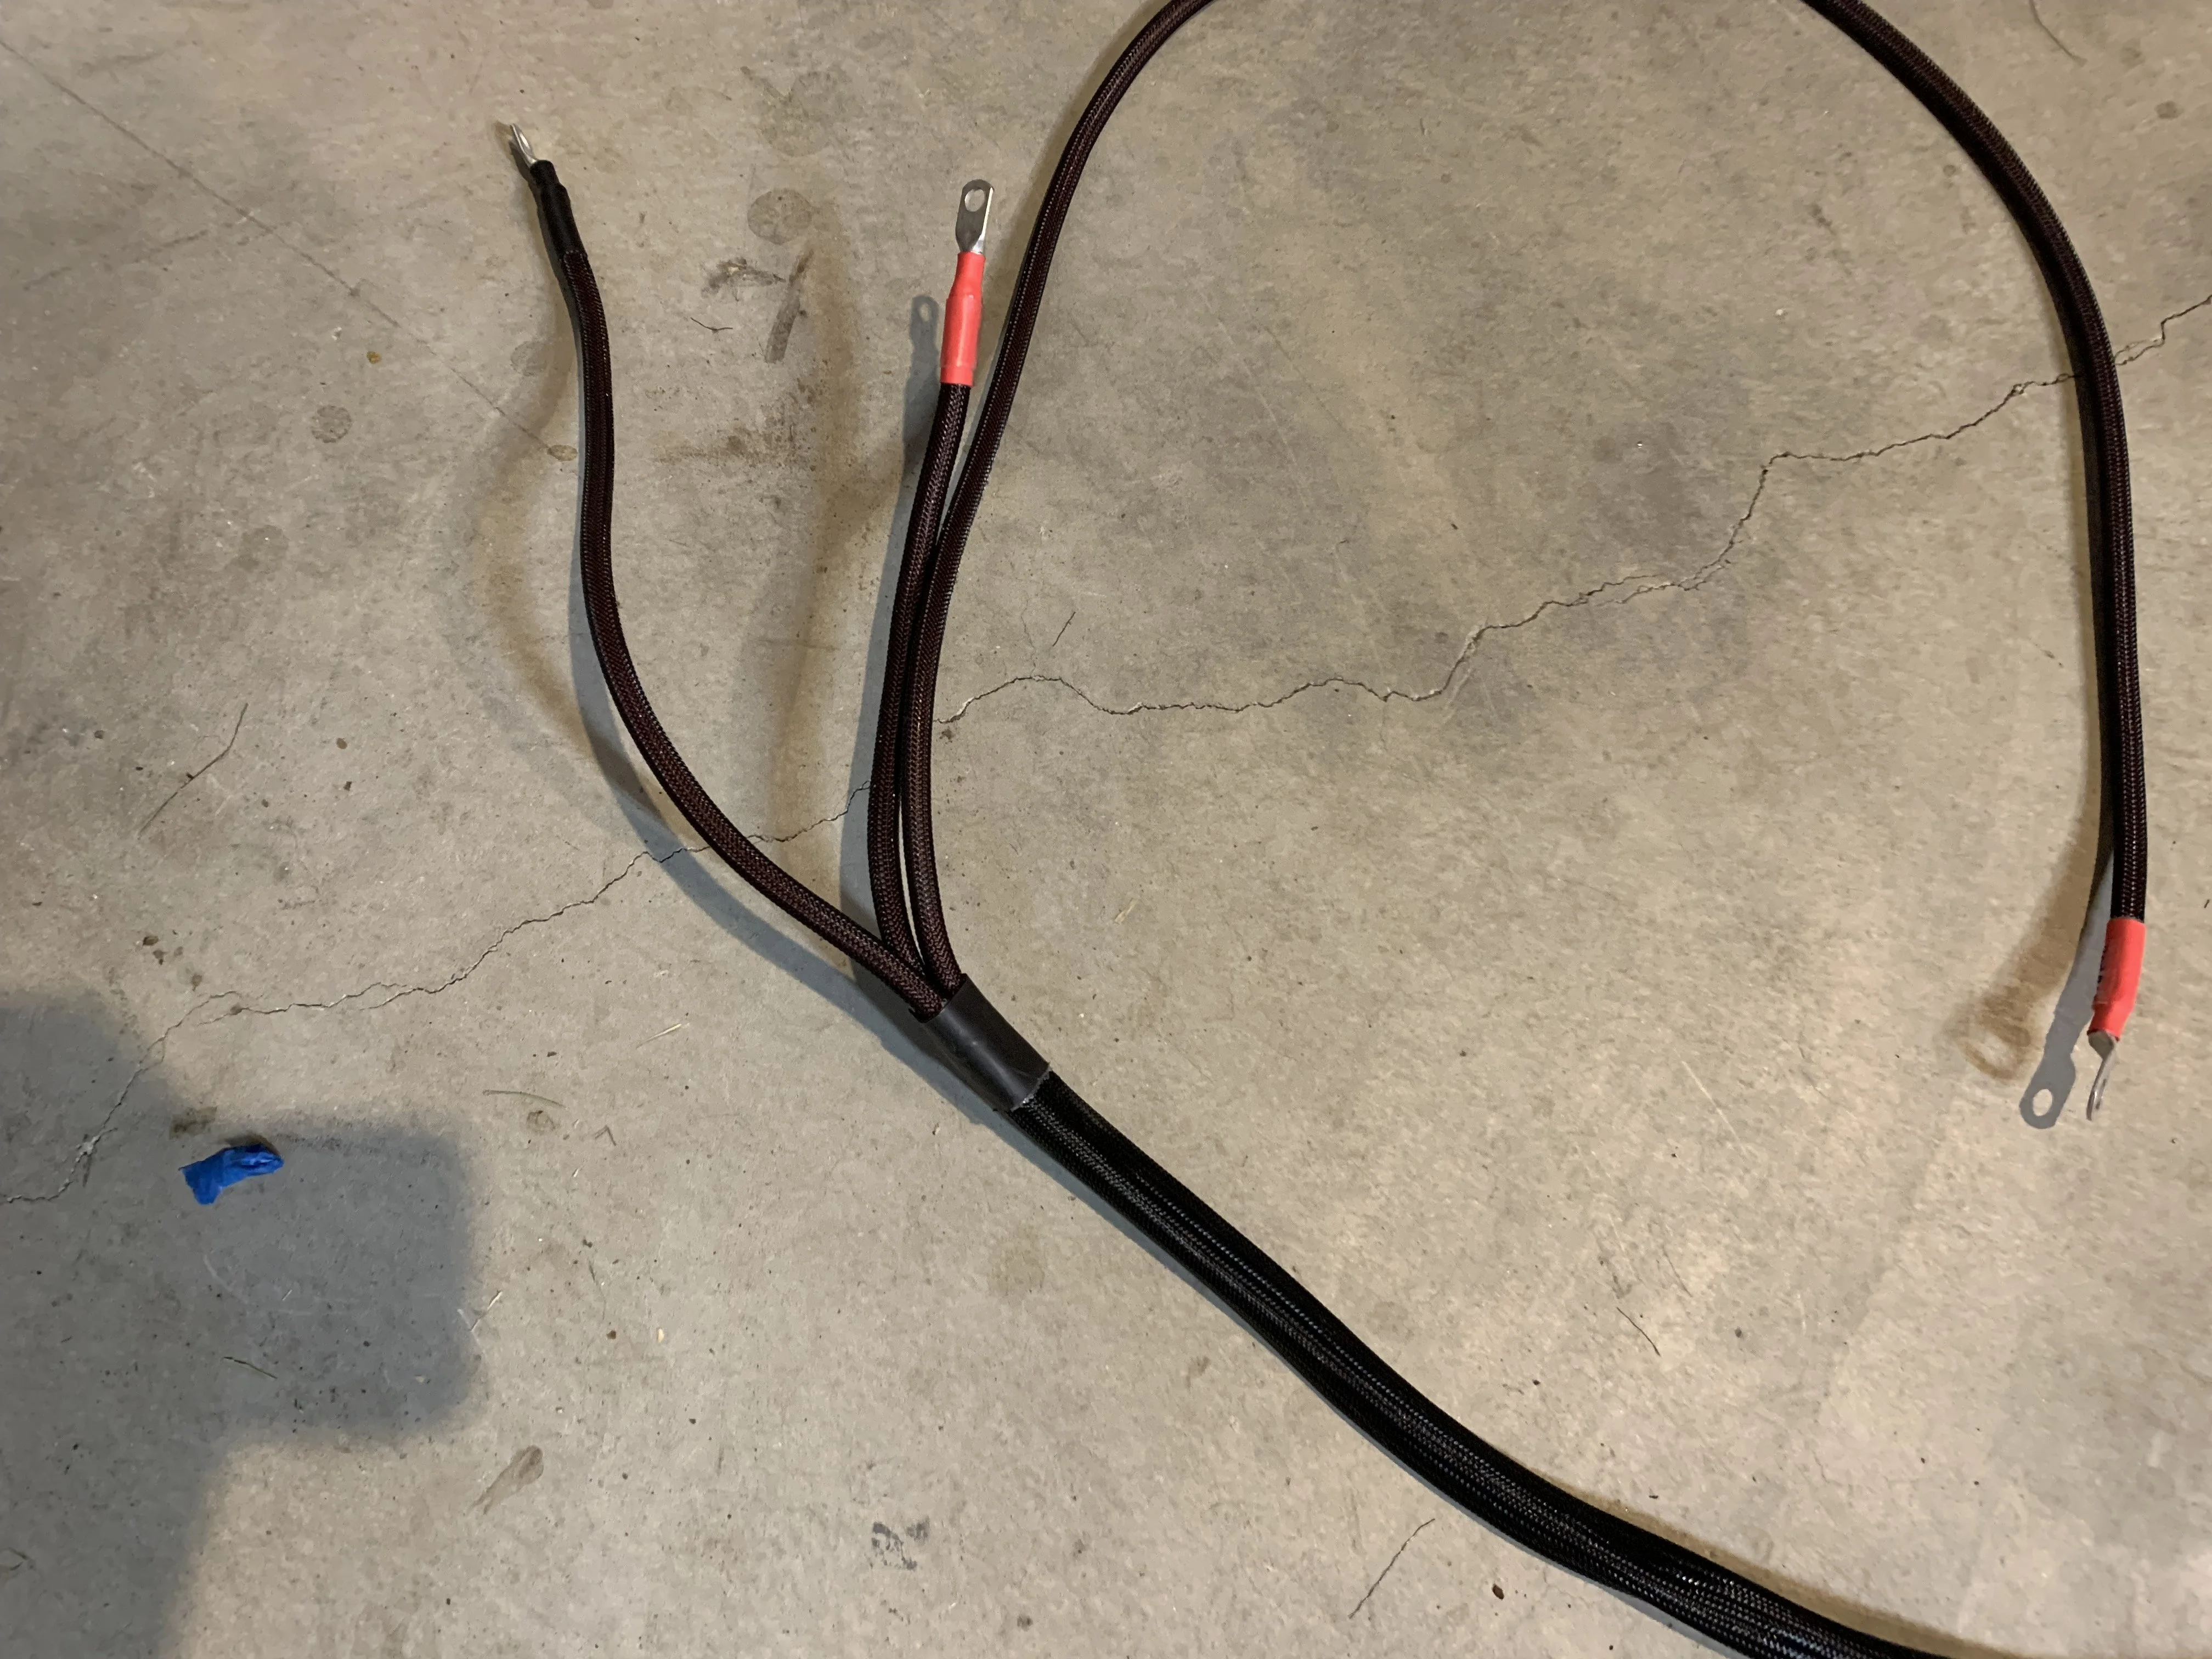
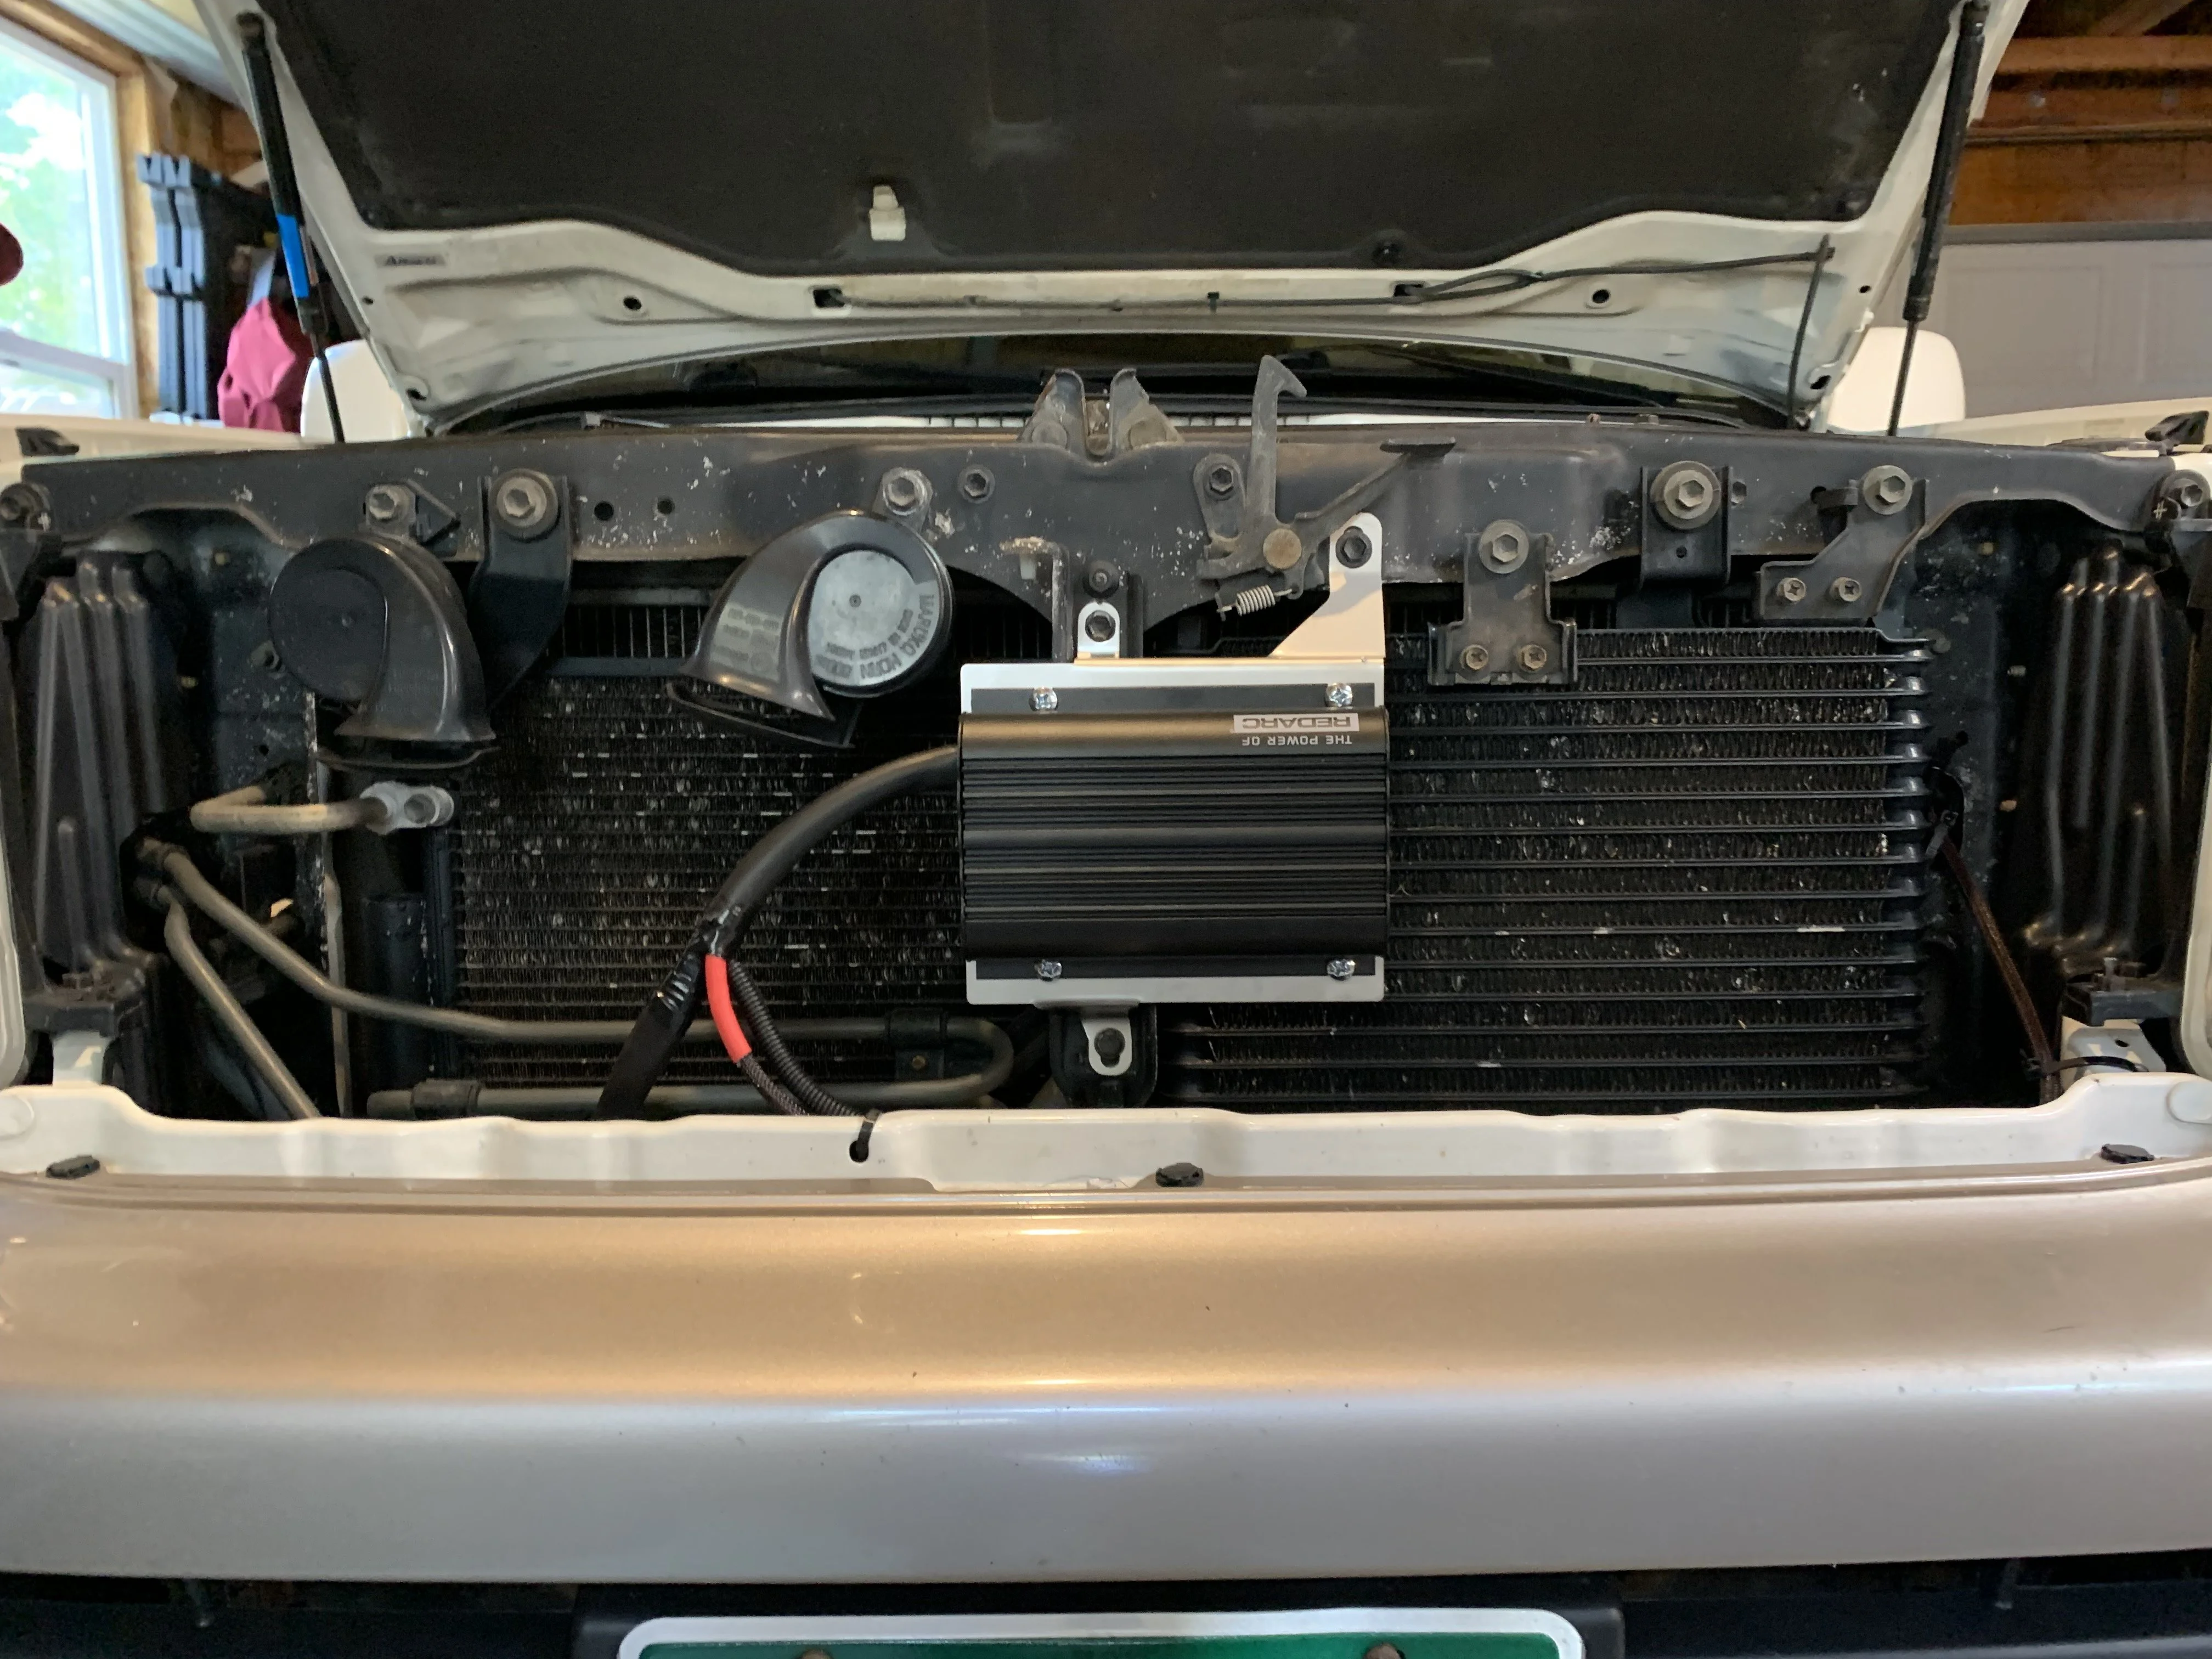
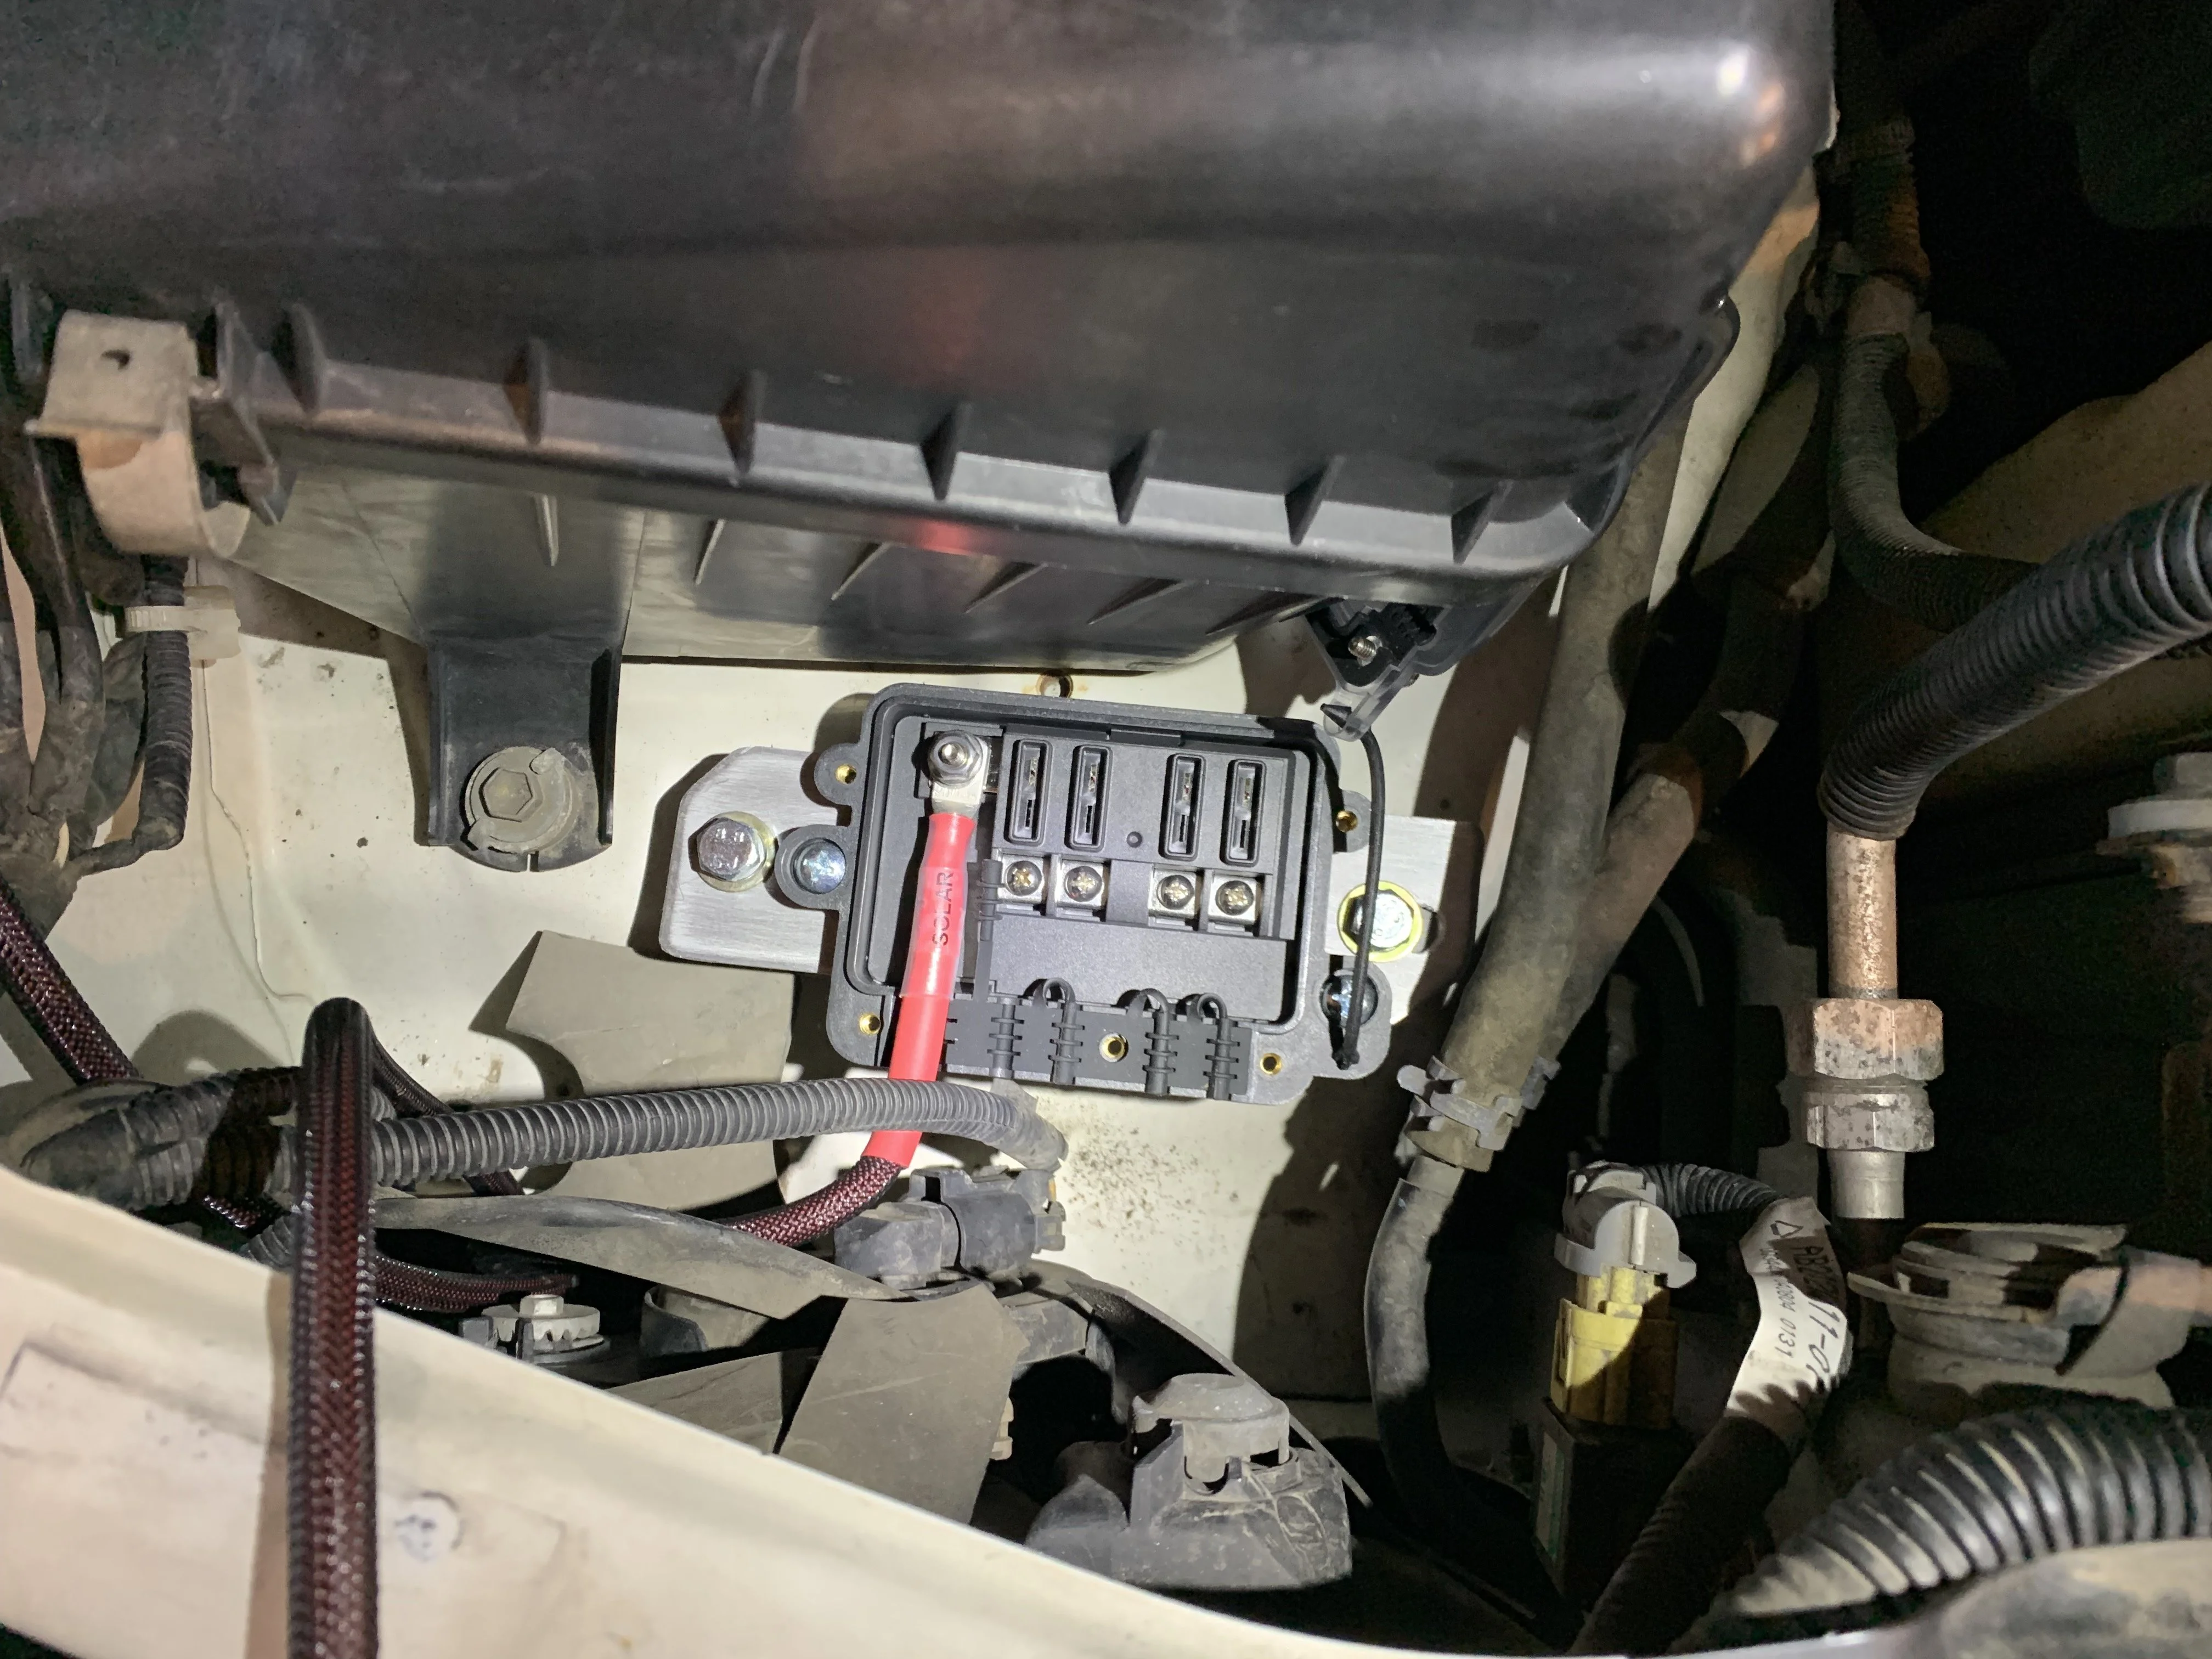
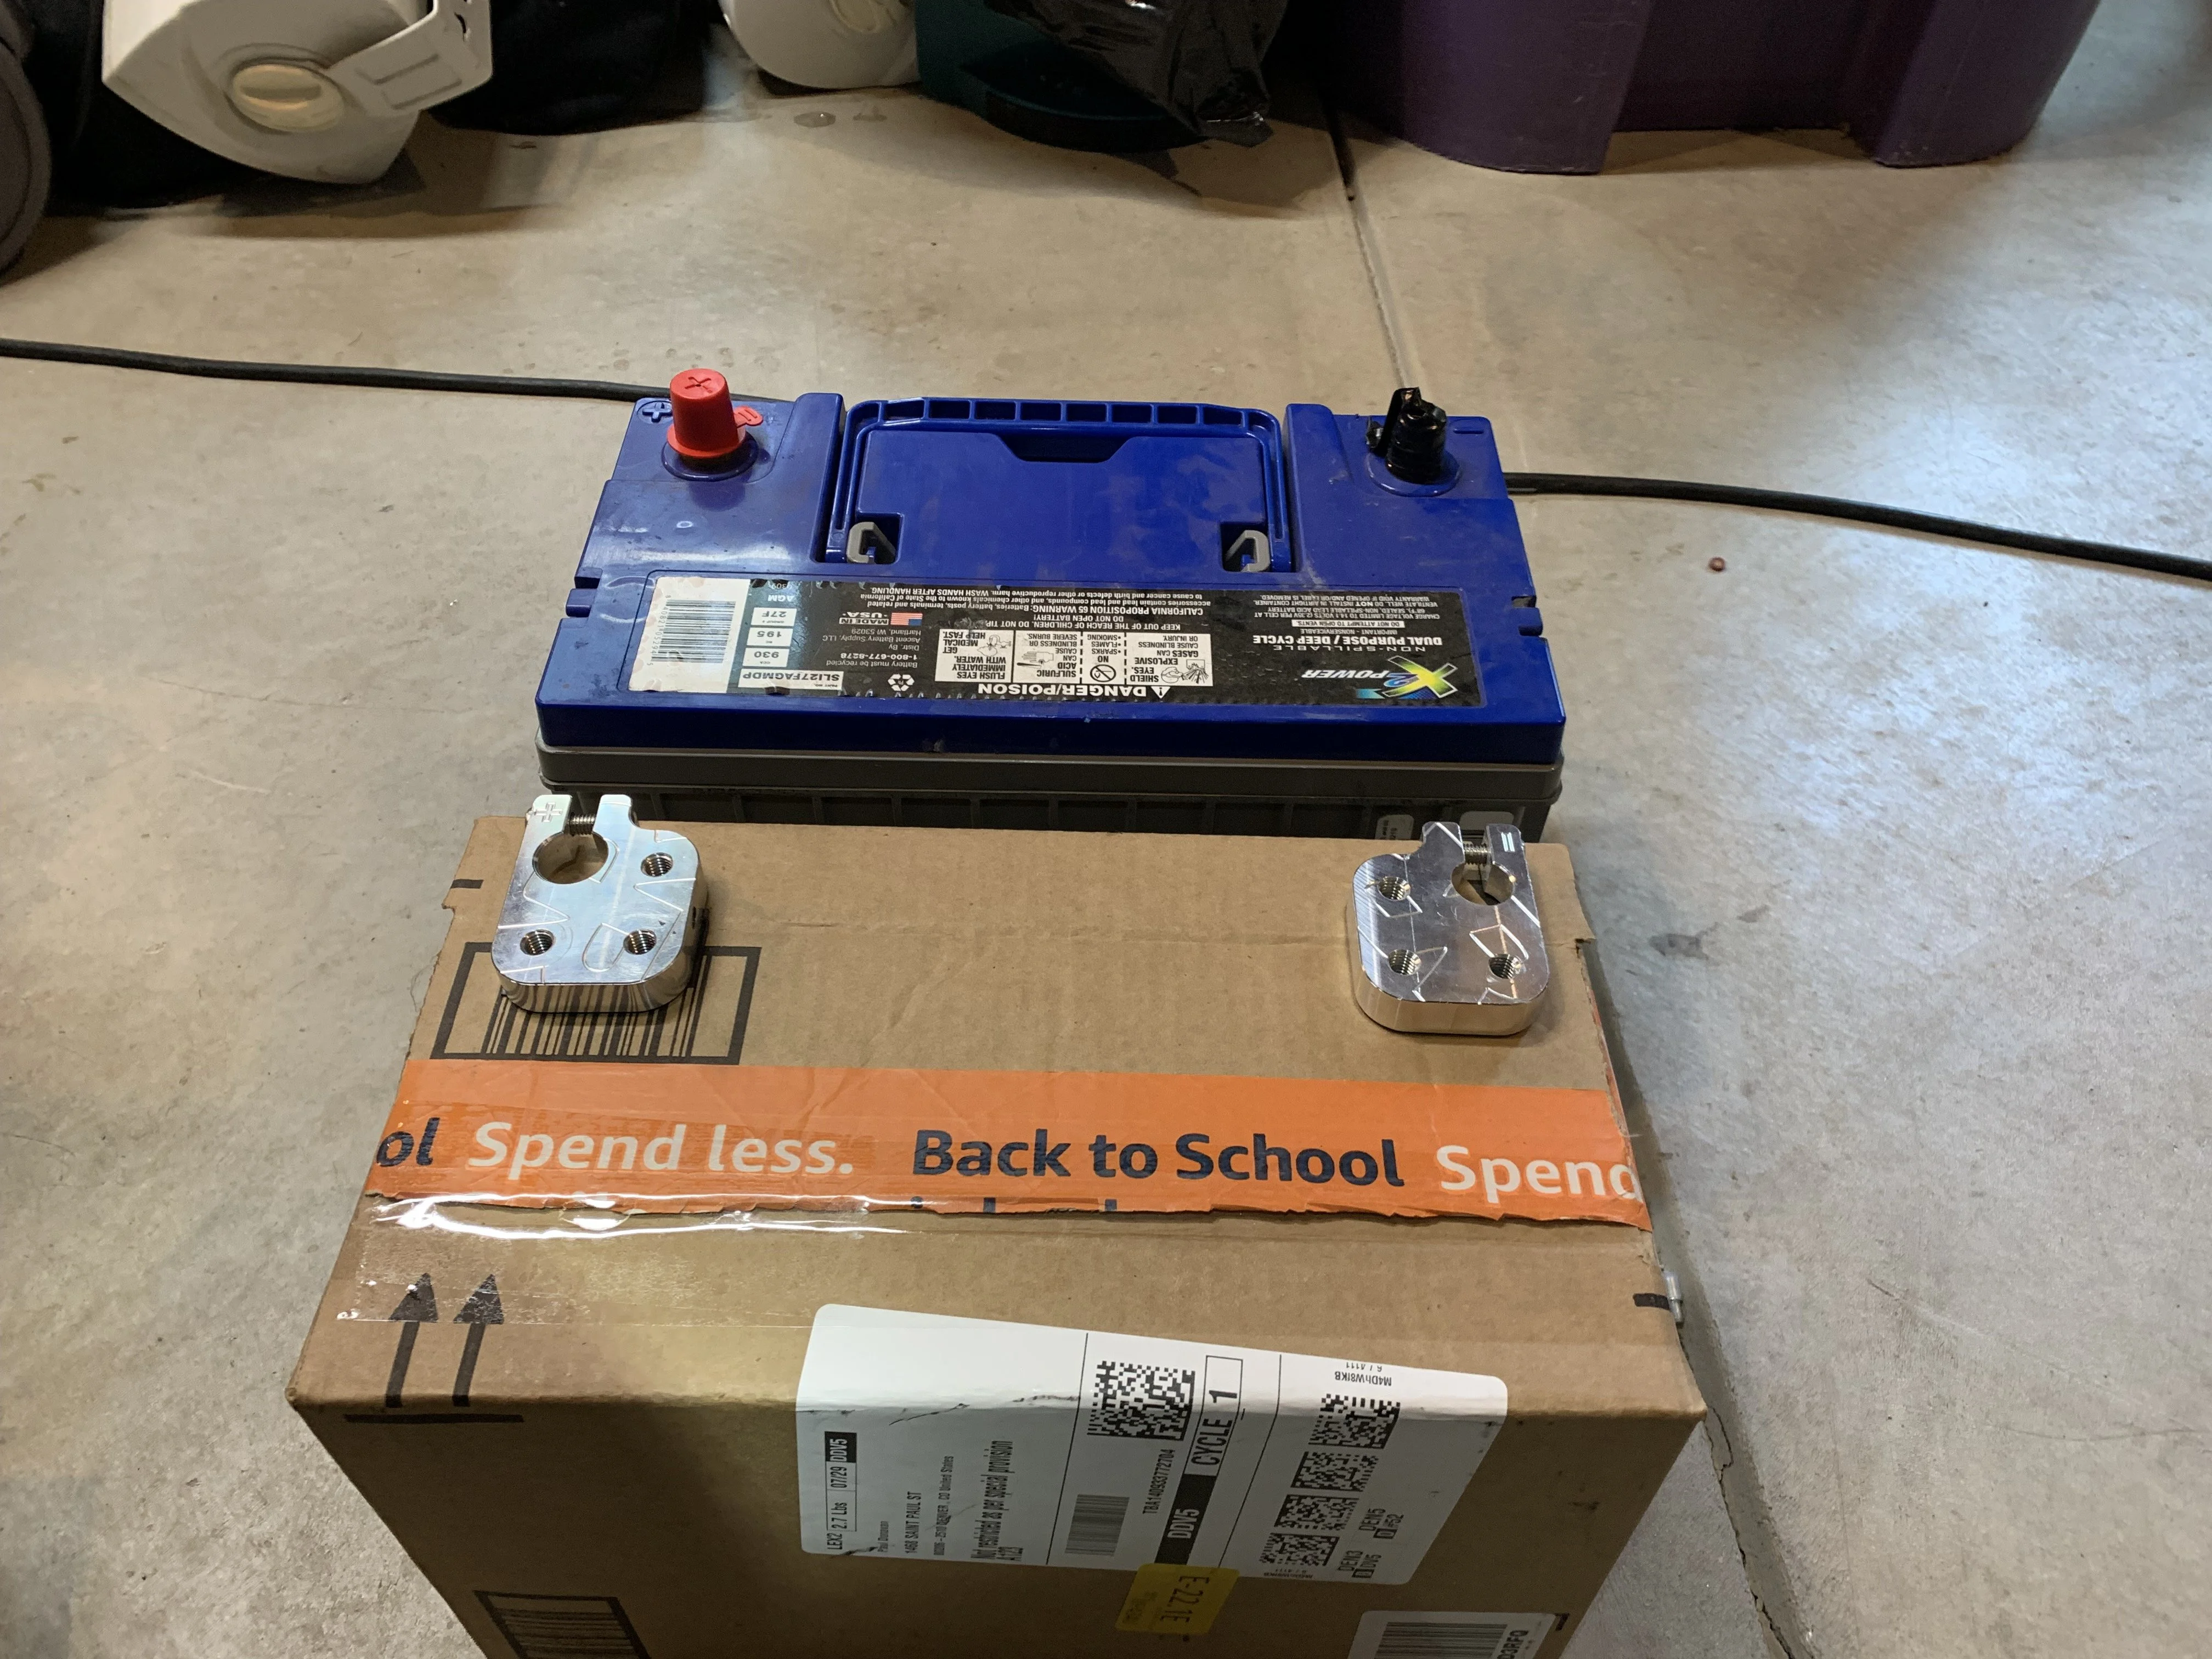
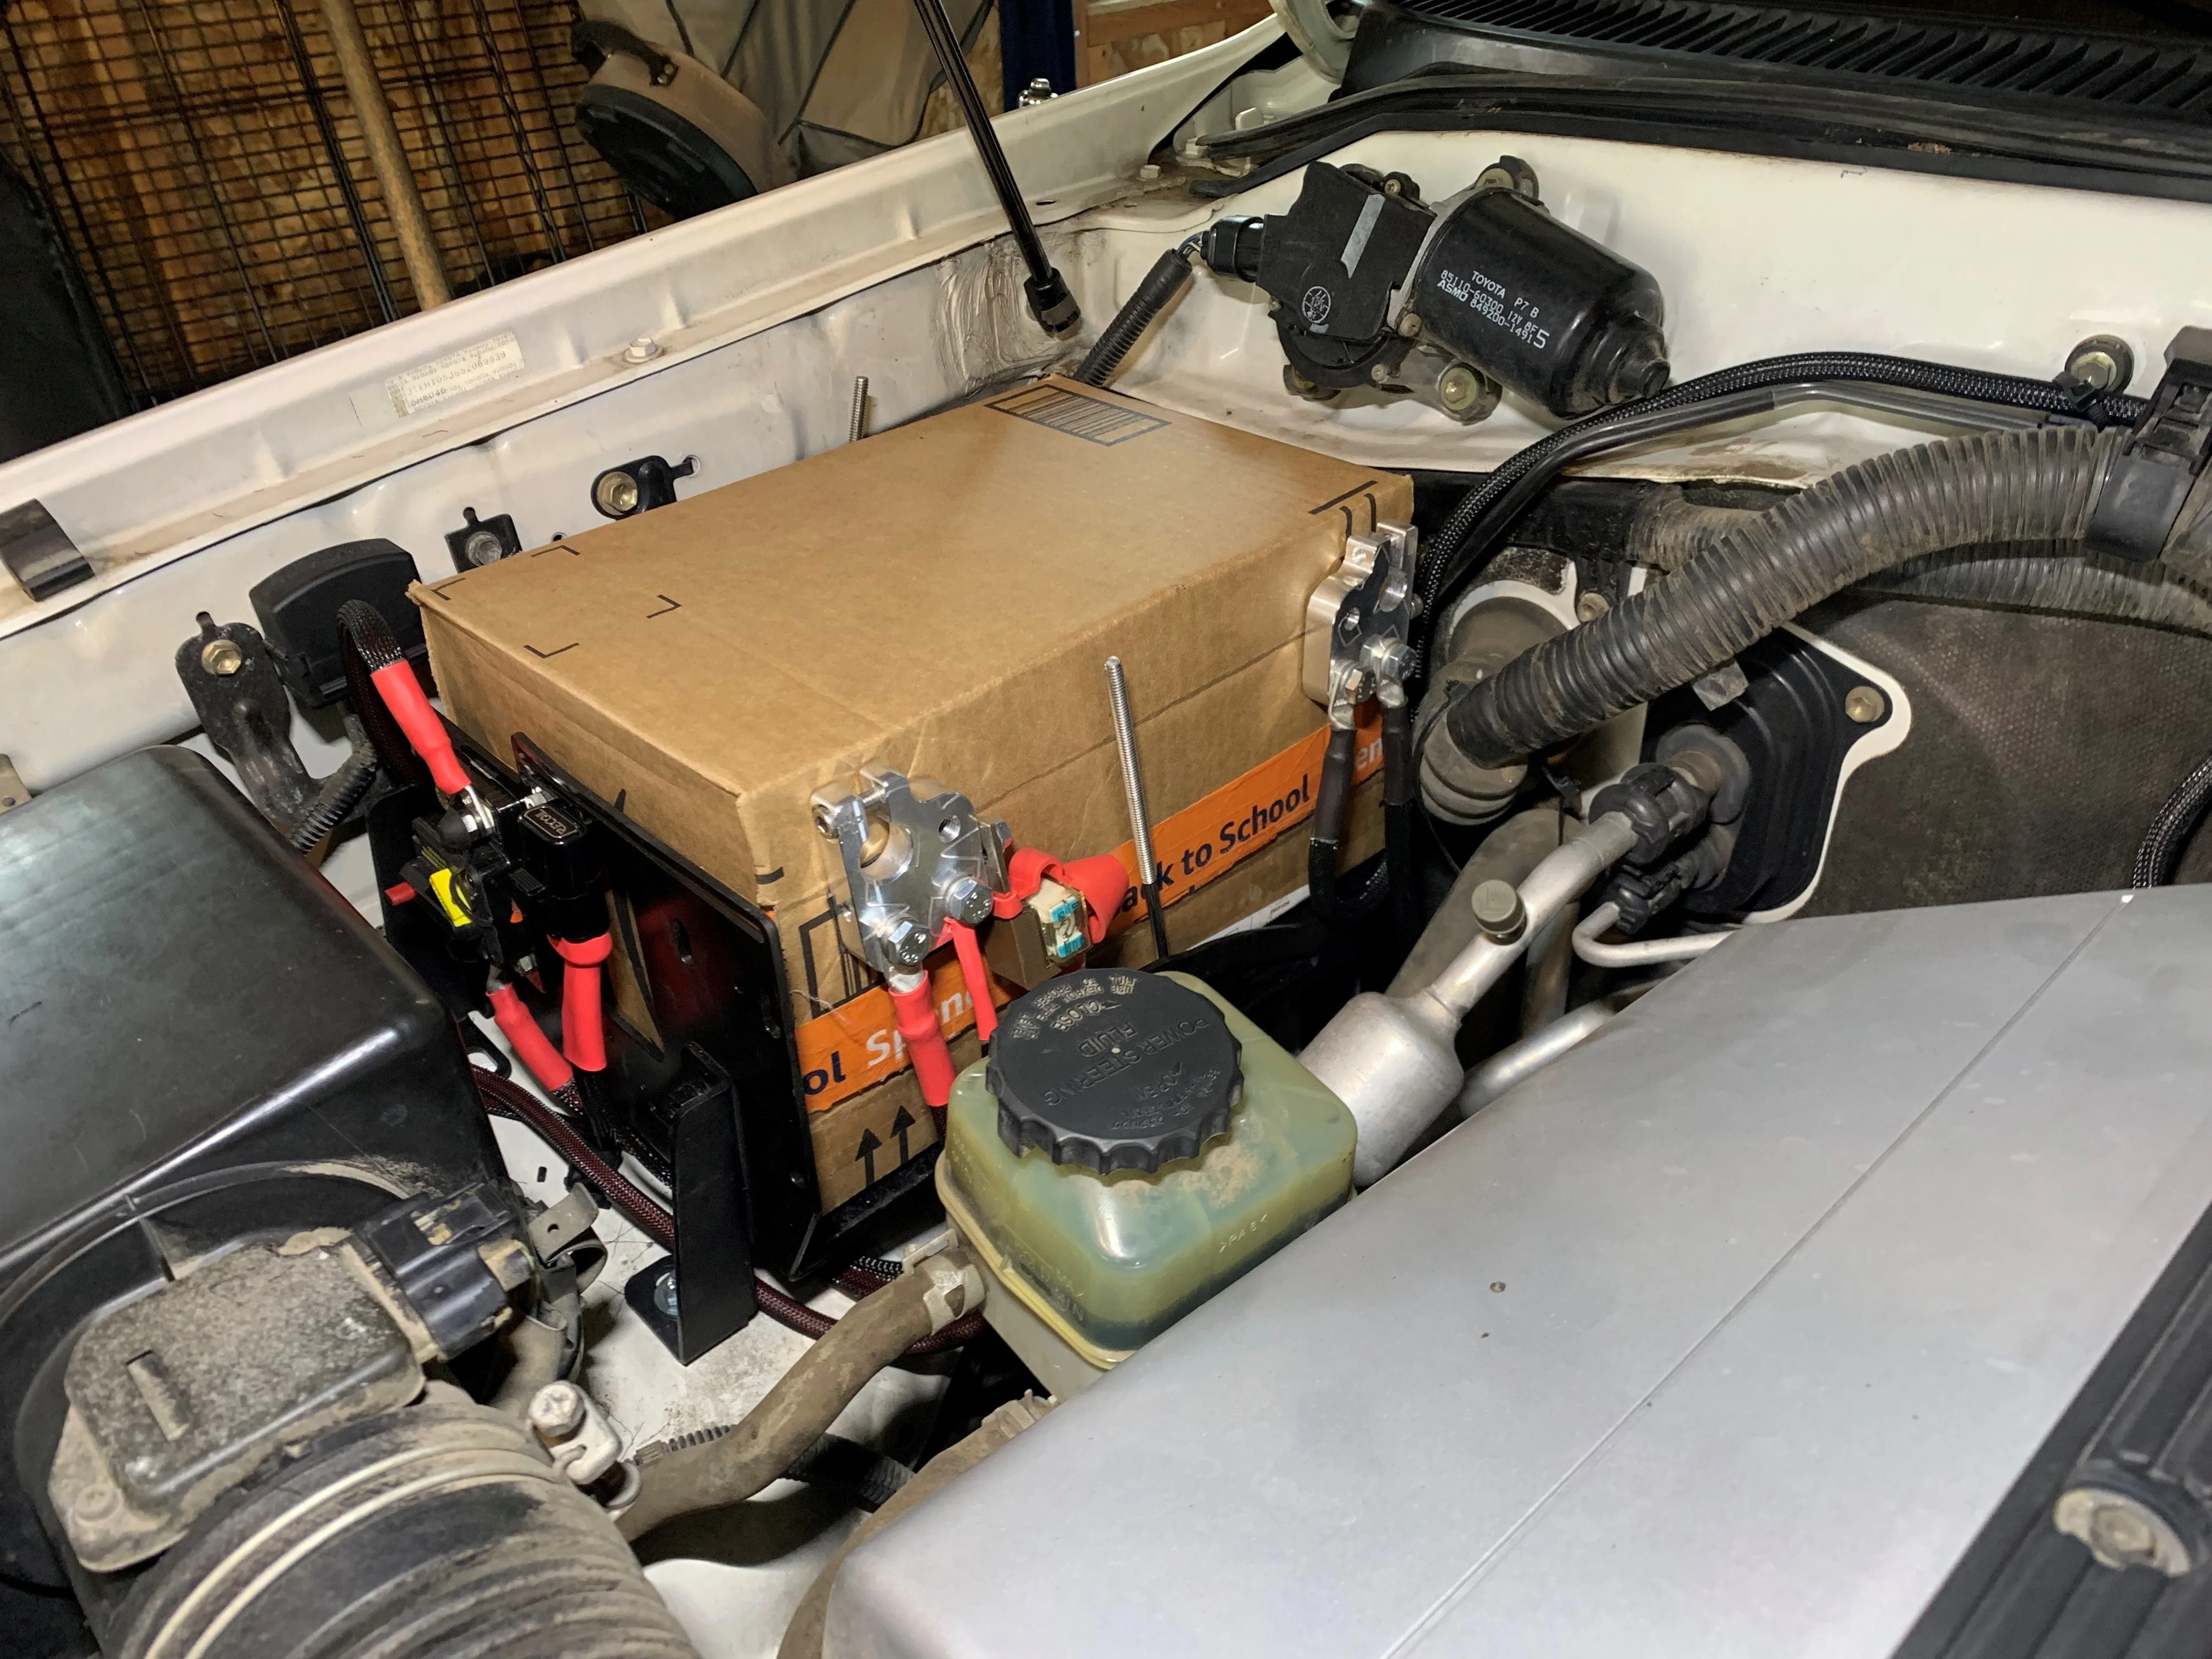
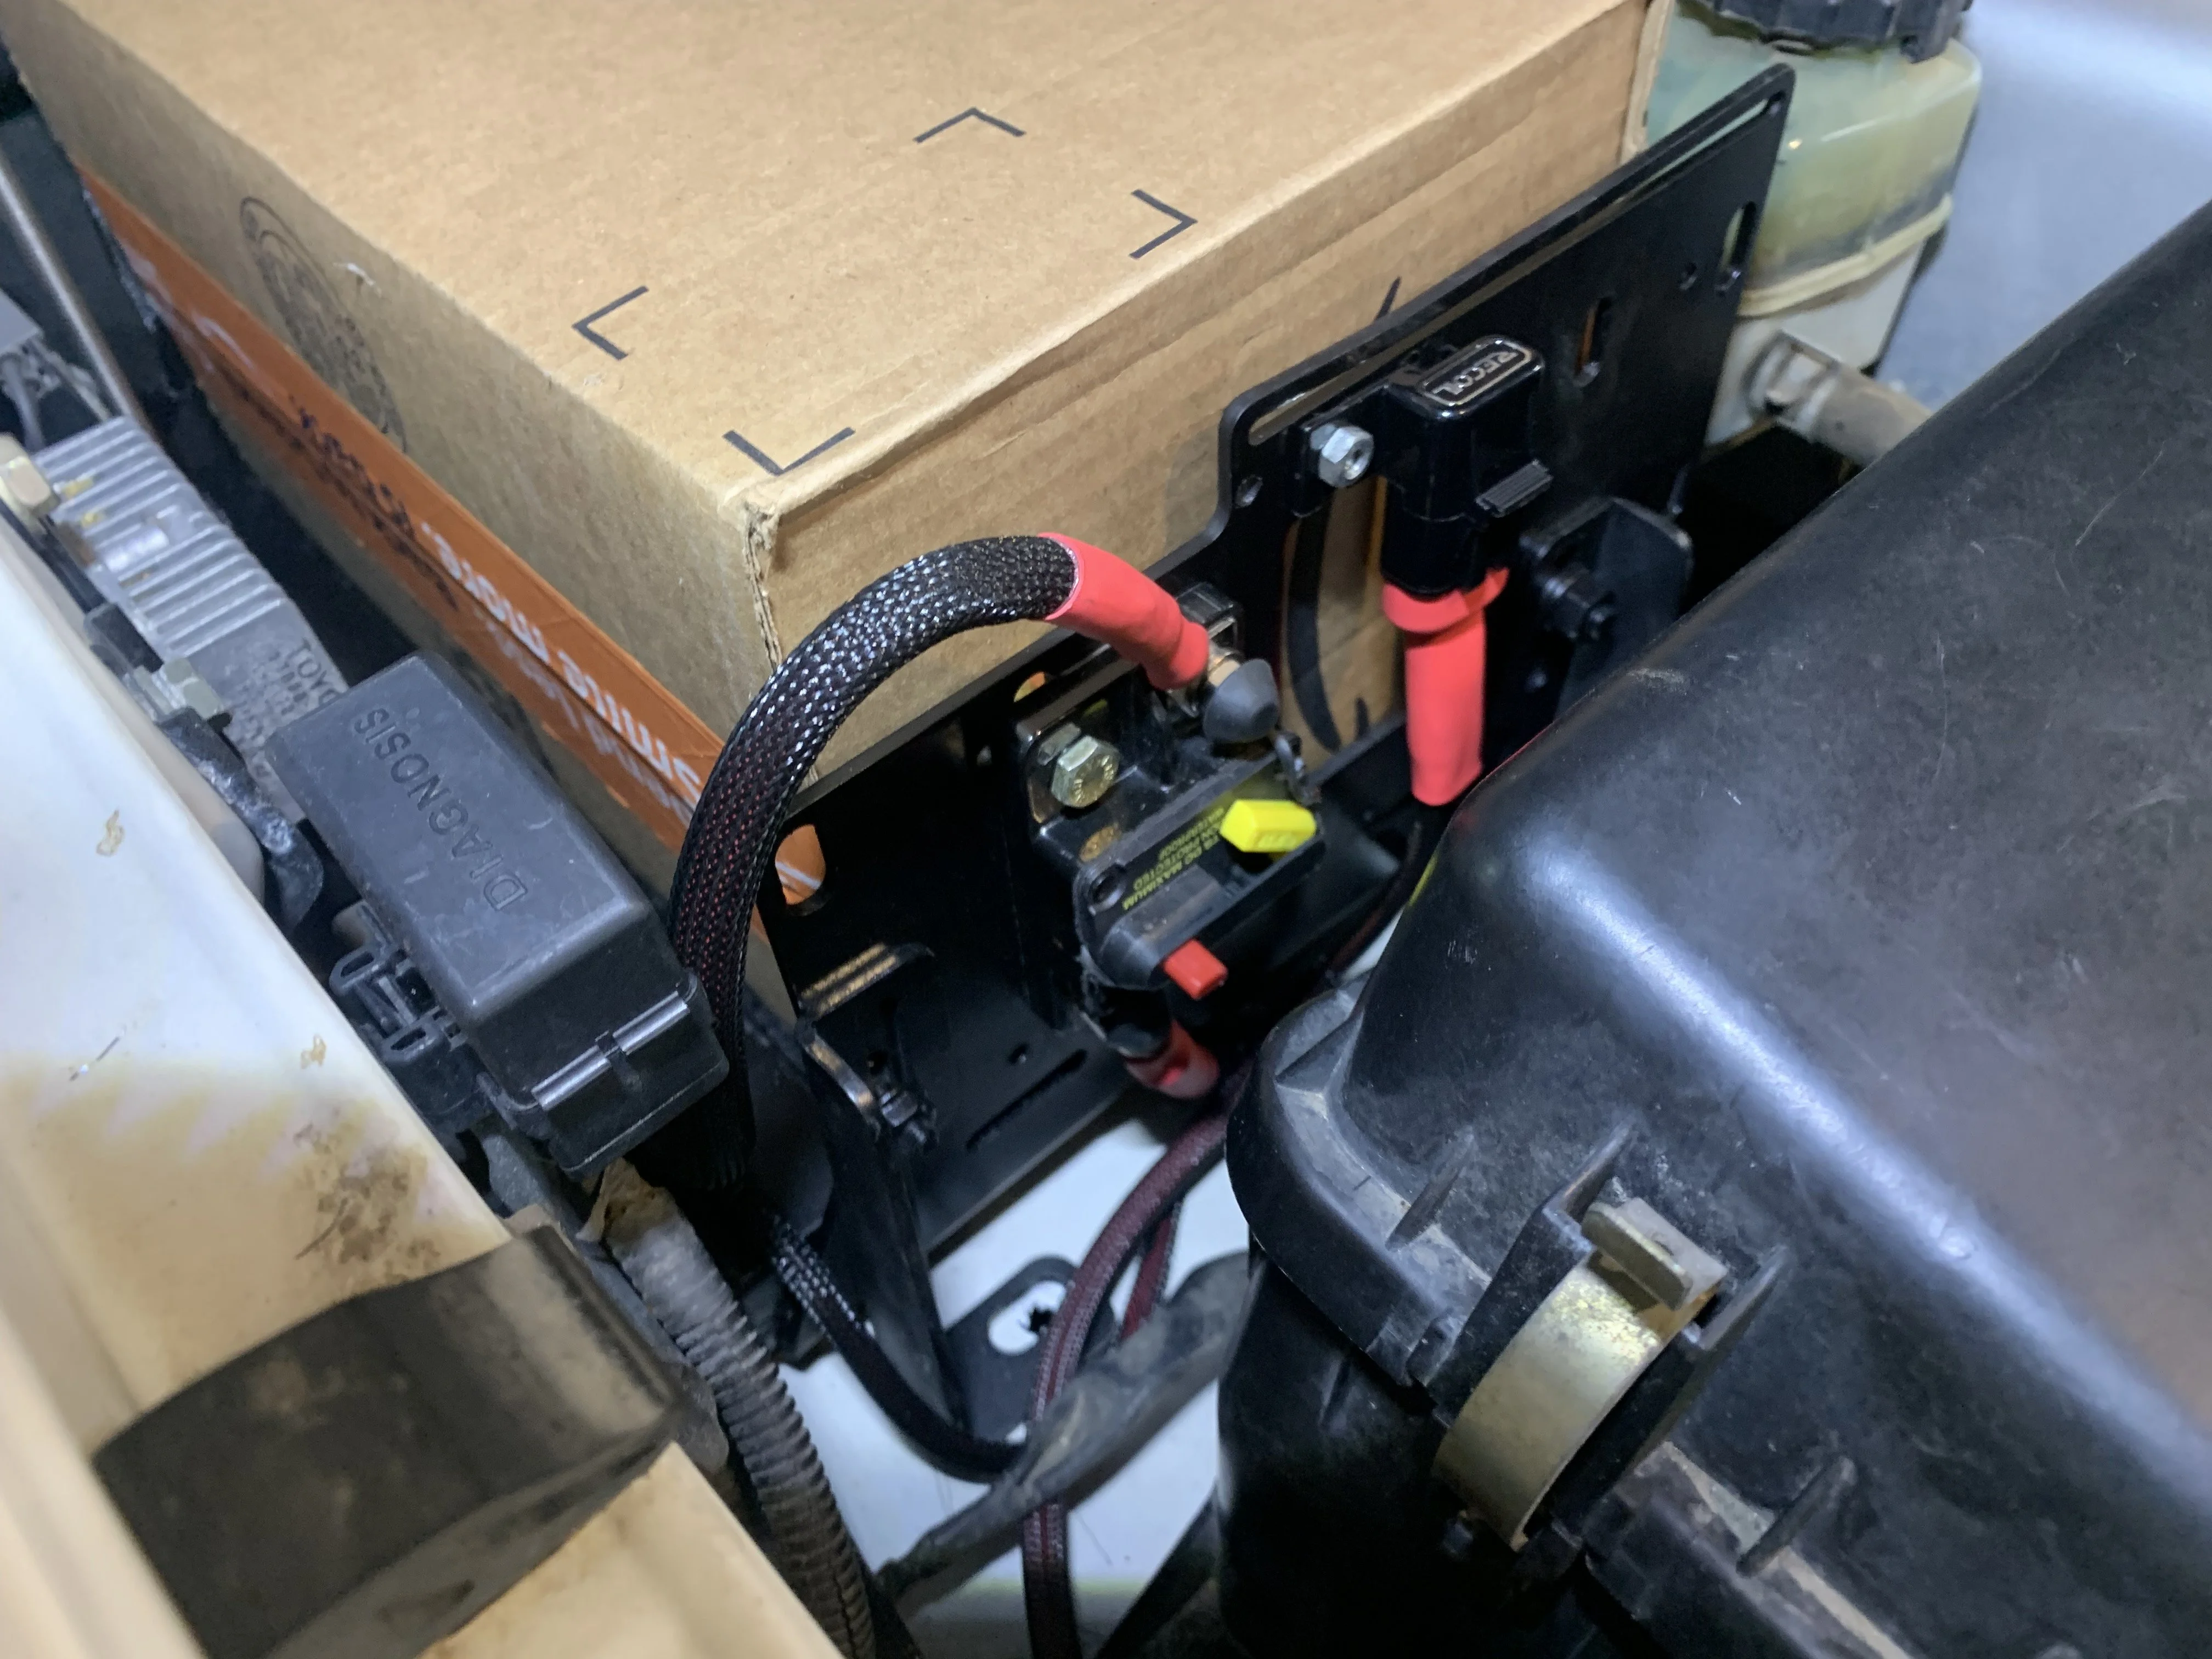
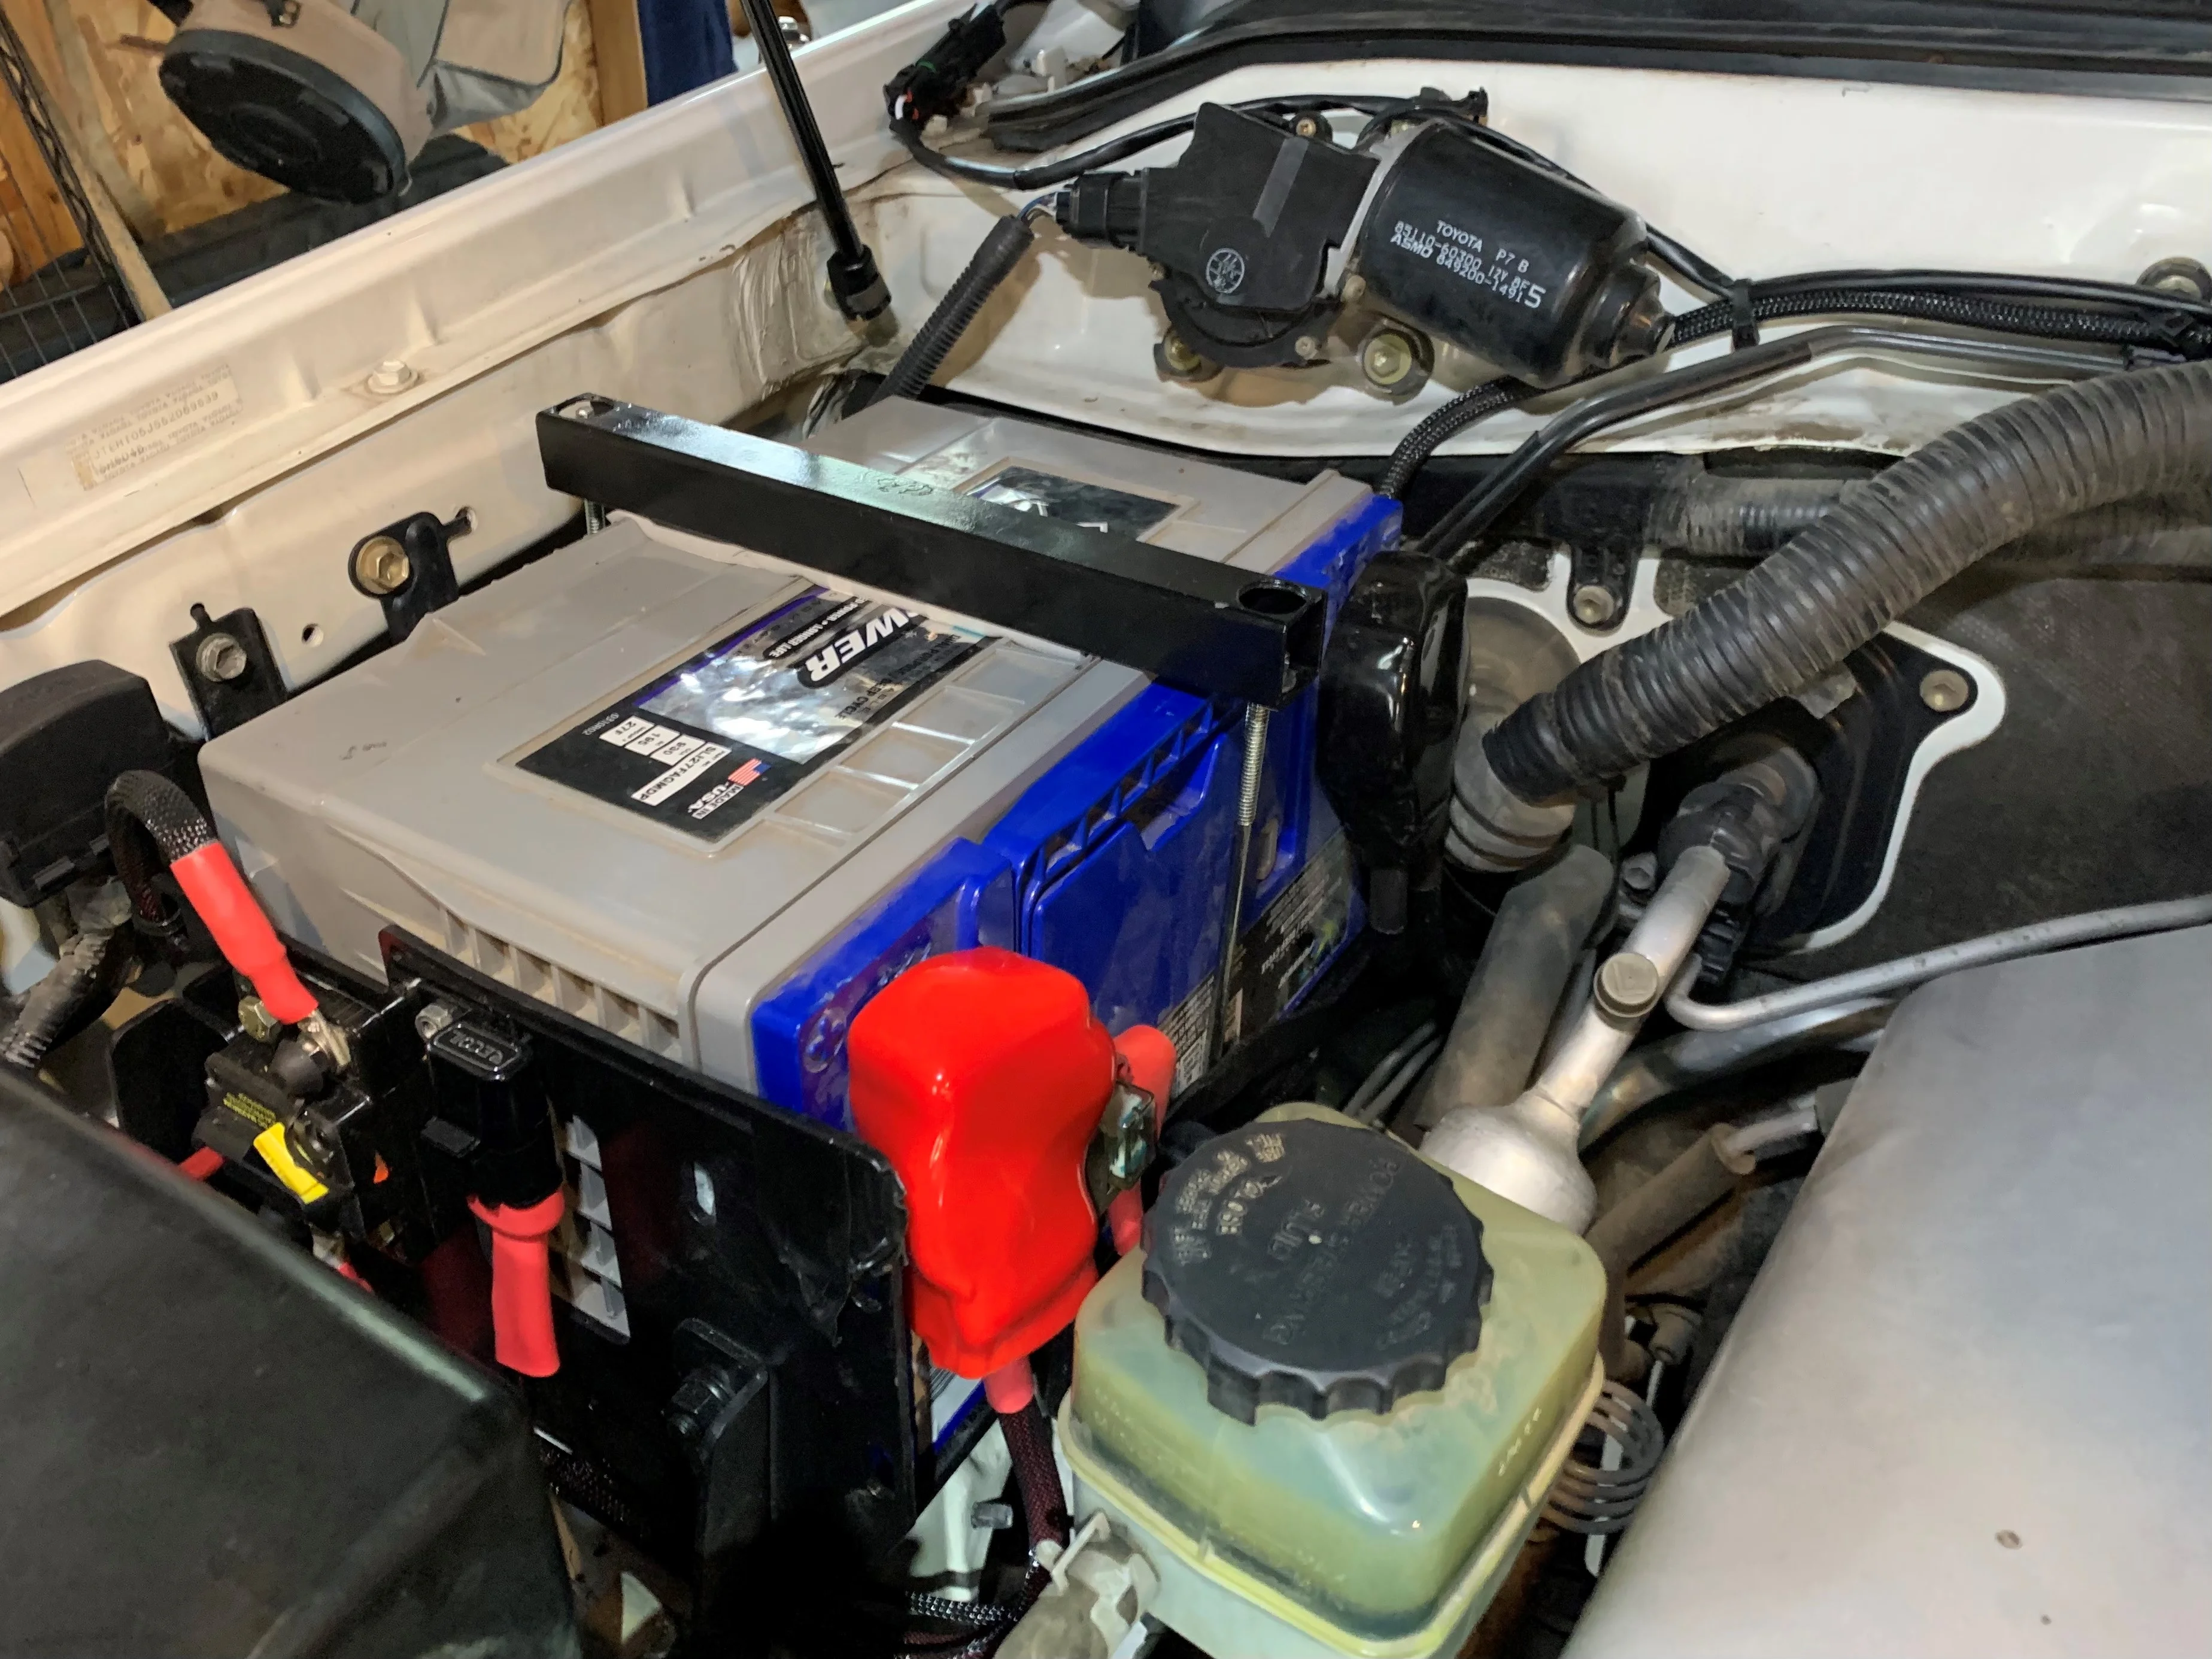
One area I am contemplating on changing is the 2nd battery management system. I loved the BlueSea ML-ACR. Worked great and was nice to have the auto/manual control inside the cab, but required heavy gauge wiring, a voltage booster alternator fuse to get up to the AGM charging voltage and also a separate solar controller. Thinking of going with a DC to DC charger from RedArc.

Dual Input 25A In-vehicle DC Battery Charger

Looks like it had pretty good reviews and it has a built in solar controller. Price wise, I bet it would be about a wash compared to all the items I would need to go the BlueSea route (BlueSea ACR, solar controller, fuses, heavy gauge wire). Anyone on here have experience with the RedArcs? Only downside is you can't directly link the batteries, but I don't really think there would ever be a need for that. Worst case, if the starter battery dies, can't I just use jumper cables from the 2nd battery to the starter battery?
 
Nice pick up on Gudmundur 3.0. Looking forward to seeing you getting this outfitted, and glad you walked away from that tragic scene at the stoplight! 🍻

Yes, on the extended links btw, would recommend, sourced Trail Tailor for these.
 
Last edited:
Glad you were able to find such a clean 3.0 to replace 2.0 quickly!
 
RIP blueberry front bumper / Gundmundur 2.0. Looking forward to this one.
 
One banana day today.
- Cig lighter to USB conversion
- USA Spec BT45 Bluetooth module install
- Wit's End organizer install

full


USB Conversion
Did the USB conversion on my last Cruiser. Really liked it. Hardest part of the install is getting the panel removed. Clips are really strong. Those plastic pry tools help, but it still took a lot of muscle. You can keep the old connectors and modify them slightly to fit the BlueSea USB. Requires cutting the stock connector in half and then grinding down the positive blade to match the stock connector. Negative connector fits perfect as is.

Five clips hold the panel on (yellow in the picture). It is easier if you remove the bottom ones first.
full


Stock connector split in half
full


Grind down the positive BlueSea blade
full


full


full


USA Spec BT45 Bluetooth install
Gudmundur 1.0 just had the stock stereo setup. Sub was blown and so was one of the other speakers. Sounded horrible. Never got around to upgrading it. Gudmundur 2.0 was non-nav and the previous owner fully upgraded the stereo system with a Pioneer Apple Car Pay head unit fully upgraded speakers/amp/sub. That was a nice setup.

Gudmundur 3.0 has the nav/integrated controls, so no dice on a new head unit. I was actually surprised how well it sounded compared to GUD1.0. So just needed to be able to stream from my phone. Got a USA Spec BT45-TOY.

Amazon product ASIN B0178G5RRE
A little pricey, but has good reviews, truly plug-in-play, and you can use the stock controls to advance to the next track. Install was less then 1 banana. Unplug a 12 pin connector from the head unit, plug it in to the BT45, and then plug another connector from the BT45 into the head unit. Essentially the BT45 sits inline on that harness. It is powered through the harness, so no need to splice for power. Fired right up and works great. Mine is toggled to the SAT button and appears as a station.

full


Once everything was verified working, I mounted the BT45 with velcro to a space behind the vent.
full


One of the items I pulled from GUD2.0 was the Wit's Accessory Panel. Nice high quality panel to hold loose items.
Accessory Panel Unit-100 Series early

Had to remove the drop down cup holder using the dremel
full

full

full
 
Finally starting to put GUD2.0 parts on to 3.0. Easy one today. Removed the stock running boards and installed my White Knuckle Off Road sliders. Gudmundur 3.0 spent its first few years of life in MN, so it was a bit tough getting the running board bolts/nuts out.

While under there, I did notice that both the front sway bar bushings probably died a long time ago. I missed that on the purchase inspection. Oh well, guess that means I will be getting the Trail Tailor extended links with my lift. Surprisingly, the handling didn't seem off. Then again, not really driving aggressive.

full


full


Bit awkward installing the sliders solo (and honestly a bit unsafe since they weight 60lbs each). Used 2 jack stands and 2 jacks. Wanted to keep 4 points of contact since I was reaching under them and sticking my head under to get the bolts started.

Love the WKOR sliders. Highly recommend them.
full


full


full

Awesome progress! I find that using milk crates help when installing sliders solo
 
Finally starting to put GUD2.0 parts on to 3.0. Easy one today. Removed the stock running boards and installed my White Knuckle Off Road sliders. Gudmundur 3.0 spent its first few years of life in MN, so it was a bit tough getting the running board bolts/nuts out.

While under there, I did notice that both the front sway bar bushings probably died a long time ago. I missed that on the purchase inspection. Oh well, guess that means I will be getting the Trail Tailor extended links with my lift. Surprisingly, the handling didn't seem off. Then again, not really driving aggressive.

full


full


Bit awkward installing the sliders solo (and honestly a bit unsafe since they weight 60lbs each). Used 2 jack stands and 2 jacks. Wanted to keep 4 points of contact since I was reaching under them and sticking my head under to get the bolts started.

Love the WKOR sliders. Highly recommend them.
full


full


full

Just a heads up. I have actually removed my front sway bar. It happened when I broke a bolt while swapping the bushings, but I actually prefer it. My truck has been like this for almost 10k miles now. You might give it a try. I was concerned that in really strong winds might make the truck feel unstable, but I got stuck in a dust storm in KS recently. It was acceptable stability while driving at 65 mph with crosswinds as high as 50 mph.
 
Just a heads up. I have actually removed my front sway bar. It happened when I broke a bolt while swapping the bushings, but I actually prefer it. My truck has been like this for almost 10k miles now. You might give it a try. I was concerned that in really strong winds might make the truck feel unstable, but I got stuck in a dust storm in KS recently. It was acceptable stability while driving at 65 mph with crosswinds as high as 50 mph.
#MeToo

The rear swaybar is the one that you def don’t want to remove.
 
Bit more progress today installing more Gudmundur 2.0 parts on 3.0.

Removed the factory roof rack and installed my Front Runner Slimline 1 roof rack and also got the RTT installed.

Surprised at all the crud under the covers. No rust and the bolts came out easy. Did have to re-tap 2 of the holes though.
full


FYI, there are a few different styles of factory racks out there. GUD1.0 and GUD2.0 had the style with Torx mounting (small mounting feet). Gud3.0 is a 2005 with the regular bolted mounting (large feet). This is worth mentioning if installing an aftermarket roof rack.

My guess is that from the factory the windshield trim comes all the way to the first bolts regardless of the roof rack style (per the parts guide there is only one trim part number), but when a windshield is replaced most installers aren't going to remove the roof rack on the "Large Feet" version to get the trim to the first bolts, so they just cut it and call it good enough.

My windshield had been replaced in the past and they must have cut the trim short. There ends up being about a 4" gap between the windshield trim and first bolt holes once the "large feet" are removed. You can see the faint outline of the "large feet" footprint on the paint.


full


I ended up trimming up the rubber mounting base from the factory rack and secured it under the Front Runner mounts and also used some RTV to secure it in place.
full


full


Got the tent installed and measured the clearance on the garage. Should have measured twice. Barely made it out. Had to air down the rear tires and the solar fan still rubbed the garage door seal.
full


full
 
Last edited:
Took advantage of the Ironman Black Friday sale. Picked up an Ironman Stage 2 suspension kit and other goodies.
Foam Cell Pro 2" Suspension Kit Suited for Toyota 100 Series Land Cruiser/Lexus LX470 - Stage 2

Ironman kit also included a free air compressor. From what I can tell it is the same as the Smittybilt, which is also the same as the SuperFlow. Guessing they are all rebranded from the same factory. Funny enough, I already have the SuperFlow and have been really happy with it. So will be throwing the Ironman on the classifieds.

Ironman really loads you up on the swag. Box included about 10 stickers and 5 key chains.
full


Here is the setup I am going with:
- Ironman Foam Cell Pro Shocks
- Ironman Torsion Bars (TOY050)
- Ironman Diff Drop Kit
- Ironman LCA reinforcements
- OME 2864 Rear Springs
- SPC UCAs
- Trail Tailor Front and Rear Extended Sway Bar Links

Decided against the Ironman rear springs because their options didn't match the load I'll be carrying once fully built. Their "medium" springs didn't carry enough load and their "heavies" looked way too stiff.

Had the OME 2864s on GUD2.0 and was really happy with the ride so picked up a set from Slee

Eventually will get around to installing all this goodness
full

Great looking build.

Shoot me a pm and let me know what you want for the compressor. I might be interested.
 
That's tight. And this is good for me to see. I have been trying to determine if there is any way to have a RTT "permanently" mounted and still be able to fit inside my 7' tall garage stall. May I ask, does your 100 still have working AHC, and was that picture taken with the suspension in low?
I don't think it is possible. My garage opening is 7.5'

The older gen Front Runner Rack I have is pretty low profile and the James Baroud Discovery Space is 13.5"

My LC is on stock non-AHC suspension with 275/65/18 tires.
 
Last edited:
Finally getting around to doing some work on Gudmundur 3.0. Planning all the electrical system out and doing some wiring.

General electrical plan is:
- Slee 2nd battery tray with an X2 AGM Group 27F (pulled from GUD2.0)
- See Billet Battery Terminals for starter battery
- Rugged Rocks Battery Terminals for the 2nd Battery
- RedArc 25 amp DC to DC charger with solar input
- Mount RedArc using their mount that goes in front of the radiator
- 4 AWG running from 2nd battery to the rear
- BlueSea SafetyHub 150 Fuse Block in the rear (pulled from GUD2.0)
- Fridge Power​
- Constant USB power on the drawers​
- LED kitchen lights​
- Junction box for multiple solar inputs running to RedArc. Have a suitcase solar and thinking about a hood mounted solar panel like I had on GUD2.0 to keep the AGM topped off since I park on the street and don't drive the Land Cruiser on a regular basis.
- Dual voltage monitor in the cab. I had this one in GUD2.0. Really liked that you could toggle between starter and house battery or off.
- For switch control I think I'll go with the SwitchPros SP-9100. Heard good things about them and like the plug and play aspect.

With the planned electrical upgrades the stock battery terminals had to go.
full


Installed the Slee Terminals. Sad that they stopped making the old style extended ones. The price of those was a lot easier on the wallet than the new billet style. Having said that the billet ones are very nice.

Had to re-terminated the grounding wires since the stock was an integrated terminal.
full


Looks a lot nicer than the rest of the dirty engine bay!
full


While I was there, I upgraded the body ground to 4 AWG.
full


Since I like spending money at Slee, also got the 3D printed terminal cover.
full

 
Installed the RedArc and 2nd battery wiring today along with running power to rear through the passenger firewall. Pretty straight forward. Nothing difficult, just slow with all the wire terminations, wire looming, and heat shrink. Some people say wiring is tedious, I actually find it kinda relaxing. I bet James May of Top Gear loves wiring.

Mounted the RedArc with their mount. Pretty smart location to keep it within the optimal operating temp of 130F.
full


Wiring is really simple.
RED: Starter Battery
BROWN: AUX Battery
BLACK: Ground
YELLOW: Solar input

Small gauge blue, green, orange aren't used for my setup. So just sealed them off and put them in some loom.

Overall the RedArc seems like a quality piece of equipment. All main wires are 8 gauge. Extended all the wires, terminated, and loomed together.
full


full


full


Used a fuse box for the solar inputs from BlueSea. They have a new sealed unit with 4 inputs. Pretty slick design. Has rubber plugs so you can seal off slots you aren't using. I have a folding suitcase 160W panel for camping and may add a roof or hood solar at some point. So this setup will allow that. Digging around the engine bay there are a lot of M8 threaded connections. Used 2 of them in front of the intake box. Made up a mounting bracket out of aluminum and some nylon spacers.

full


full


full


full


Grounded the RedArc to a spot on the passenger side. For a bit of overkill, ran another ground from that spot to the 2nd battery.
full


Ran power from the 2nd battery to the rear through the passenger firewall. There is already a OEM boot with an extra nipple. Just snip the end off and thread through. Pretty easy to get under the passenger dash near the fuse box. Was able to easily fit a 4AWG and 2 x 16AWG. 16AWG wire is for the in cab 2nd battery voltage monitor.
full


full


full


When I pulled parts from Gudmundur 2.0, I forgot to pull the PS pump reservoir bracket from the Slee 2nd battery kit. Called up Slee, but they only sell the entire kit and not individual part. So cut off the OEM and drilled some mounting holes.
full


Next up was terminating all the wires to the 2nd battery and upgrading the grounding wires. By random luck I had an Amazon box that was the exact dimensions of the 2nd battery. Much easier than placing the pulling a 70lbs battery a bunch of times.

full


full


Using a combination of fuse types. Trying to pick ones to keep wiring cleaned up. Rear power is using a BlueSea thermal circuit breaker on the 4AWG wiring running to the back. In the back there will be a fuse block for the individual circuits. For the RedArc connections to the batteries used BlueSea Terminal Blocks. On the starter battery using a dual terminal block. That way I can have the RedArc and SwitchPros on a single terminal block.

In cab battery monitoring used a mounted inline fuse. They say they are waterproof and have a pretty decent dual seal. Actually better quality than I expected.
Amazon product ASIN B085C4HBF1
full


full


Last up was to do a "Big 3" grounding upgrade. "The Big Three" Electrical Upgrade - https://forum.ih8mud.com/threads/the-big-three-electrical-upgrade.933117/

Already did the starter battery to driver's side body earlier. Used 4AWG wire to do the chassis to engine block.
full


Wanted to have good grounds for the 2nd battery, so grounded the following:
- Passenger body ground to 2nd battery
- 2nd battery to existing firewall ground.
- Firewall ground to engine block (Couldn't follow the OEM ground for this, so just grounded it to the passenger side engine hook.)
- Firewall ground to driver's side body ground.

Probably overkill, but I had the wire and like I said I find wiring relaxing.

full


full
 
Last edited:

Users who are viewing this thread

Back
Top Bottom