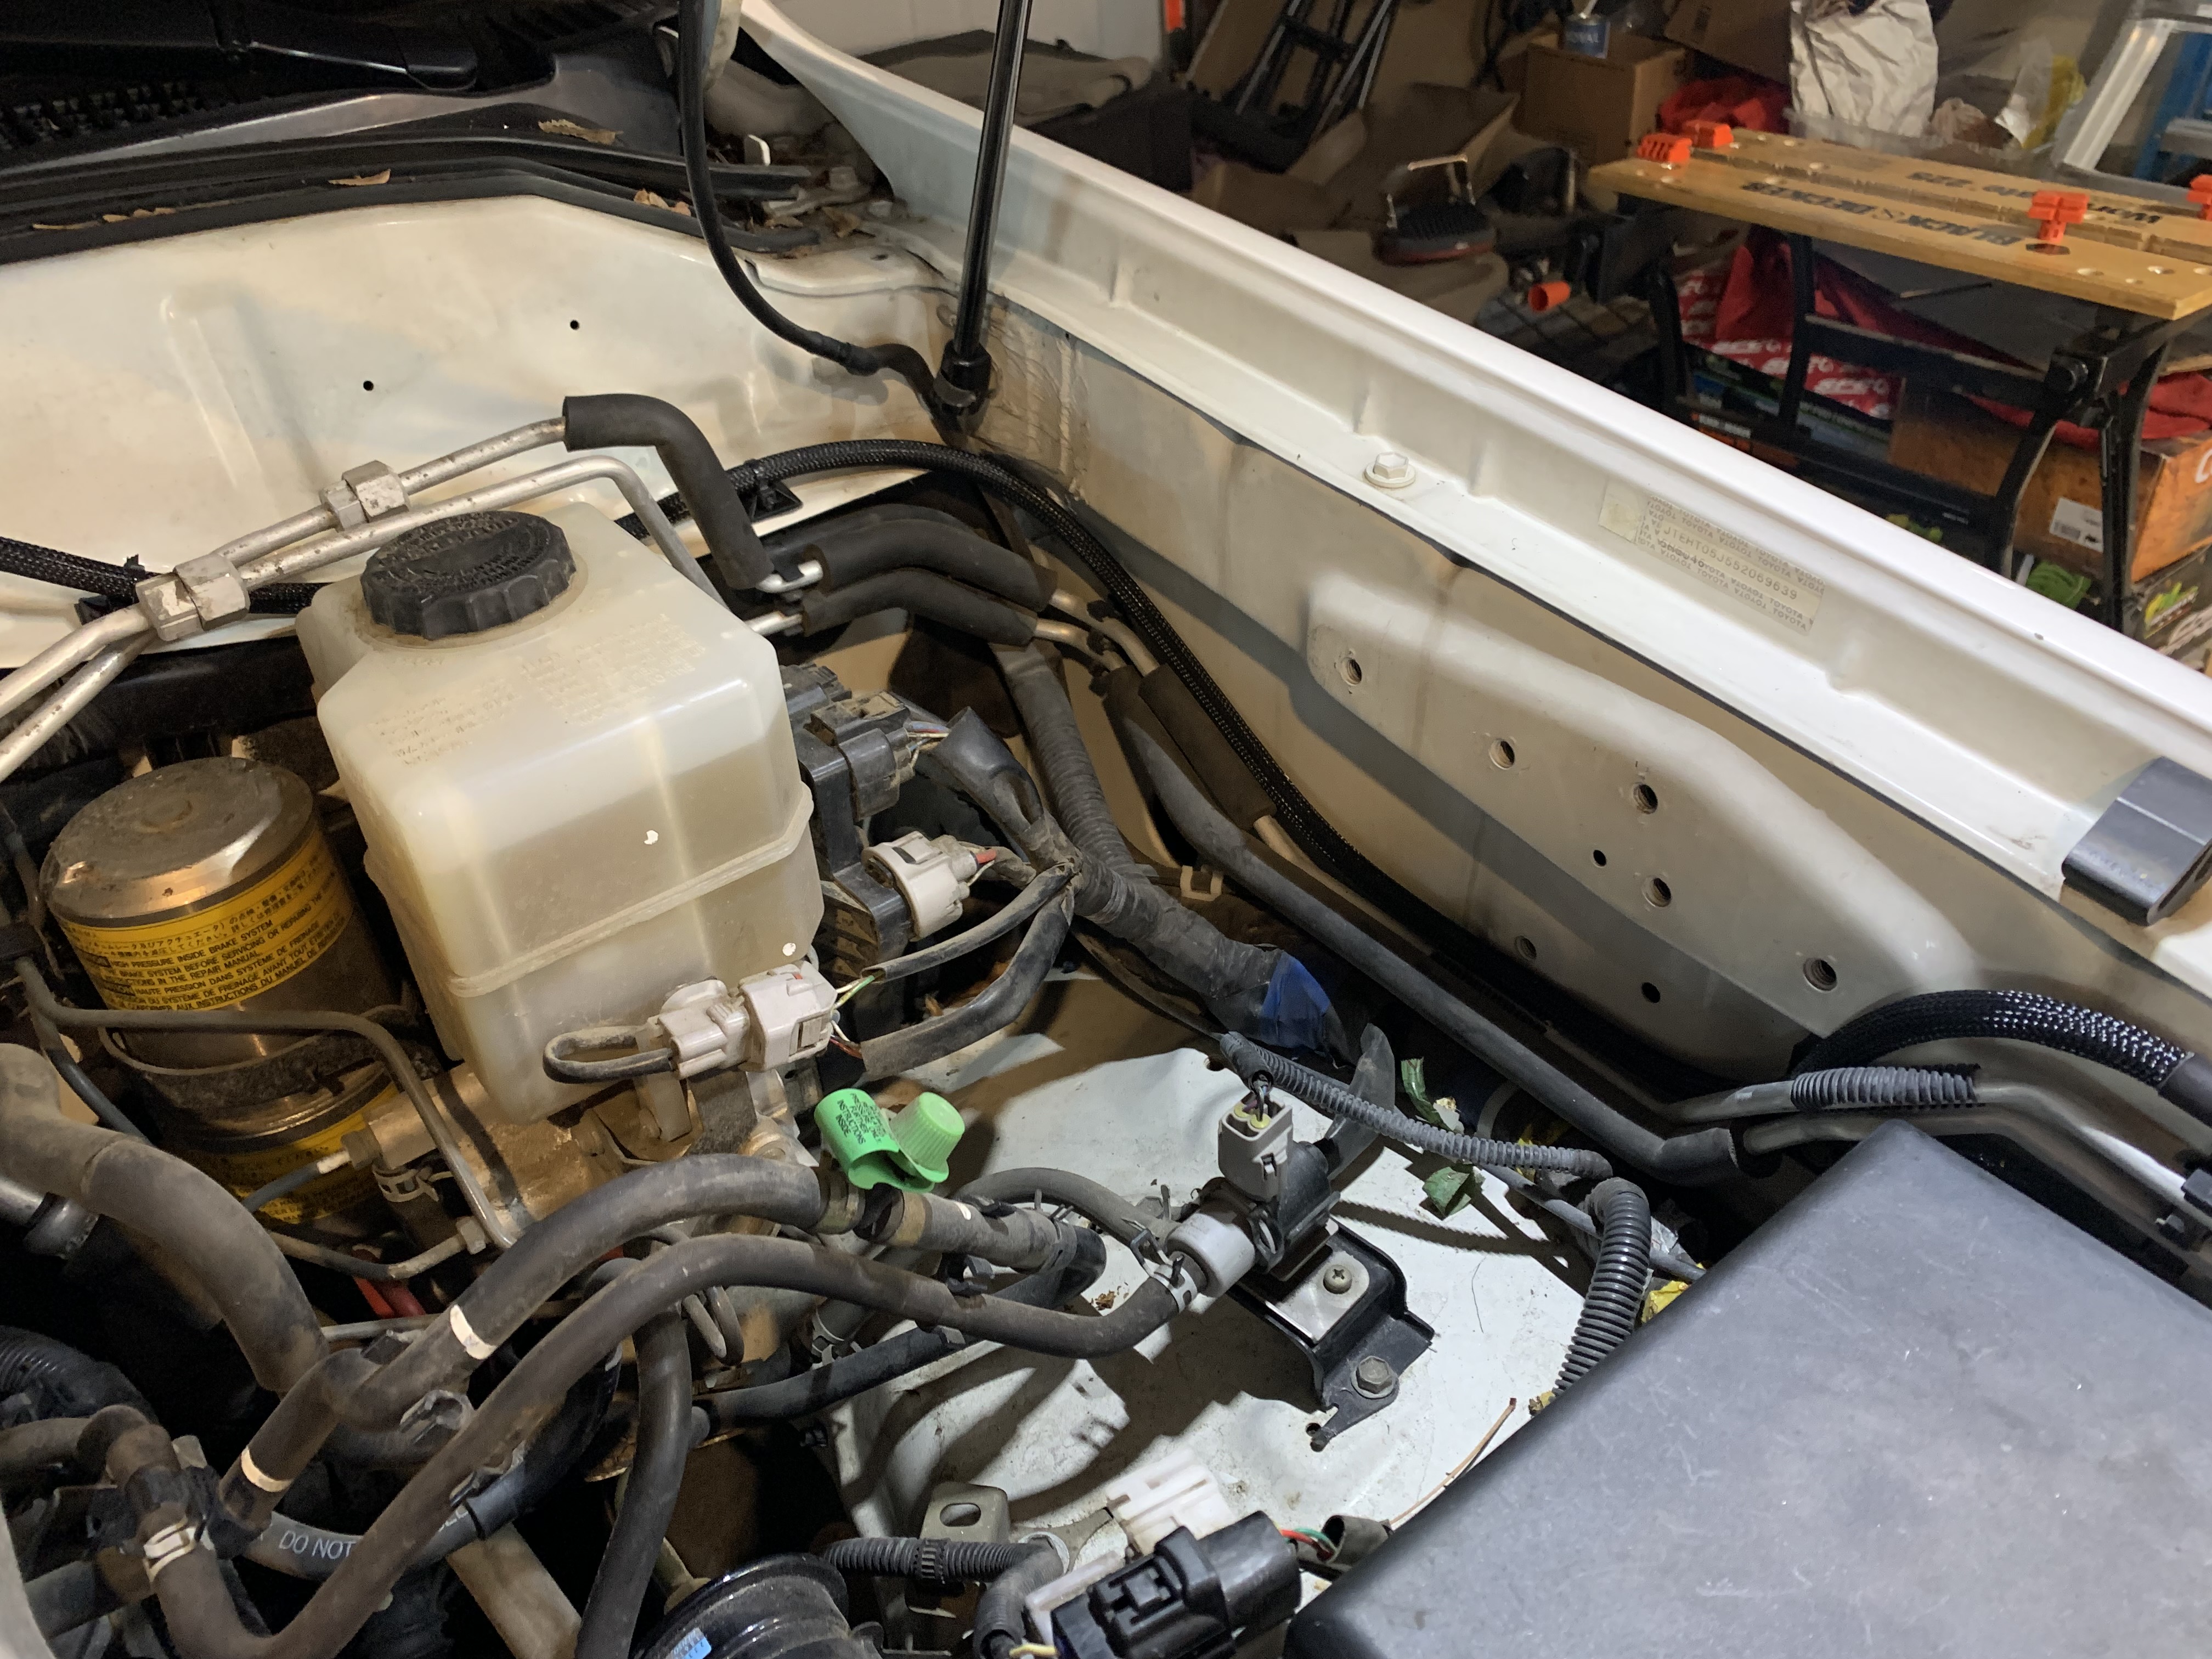
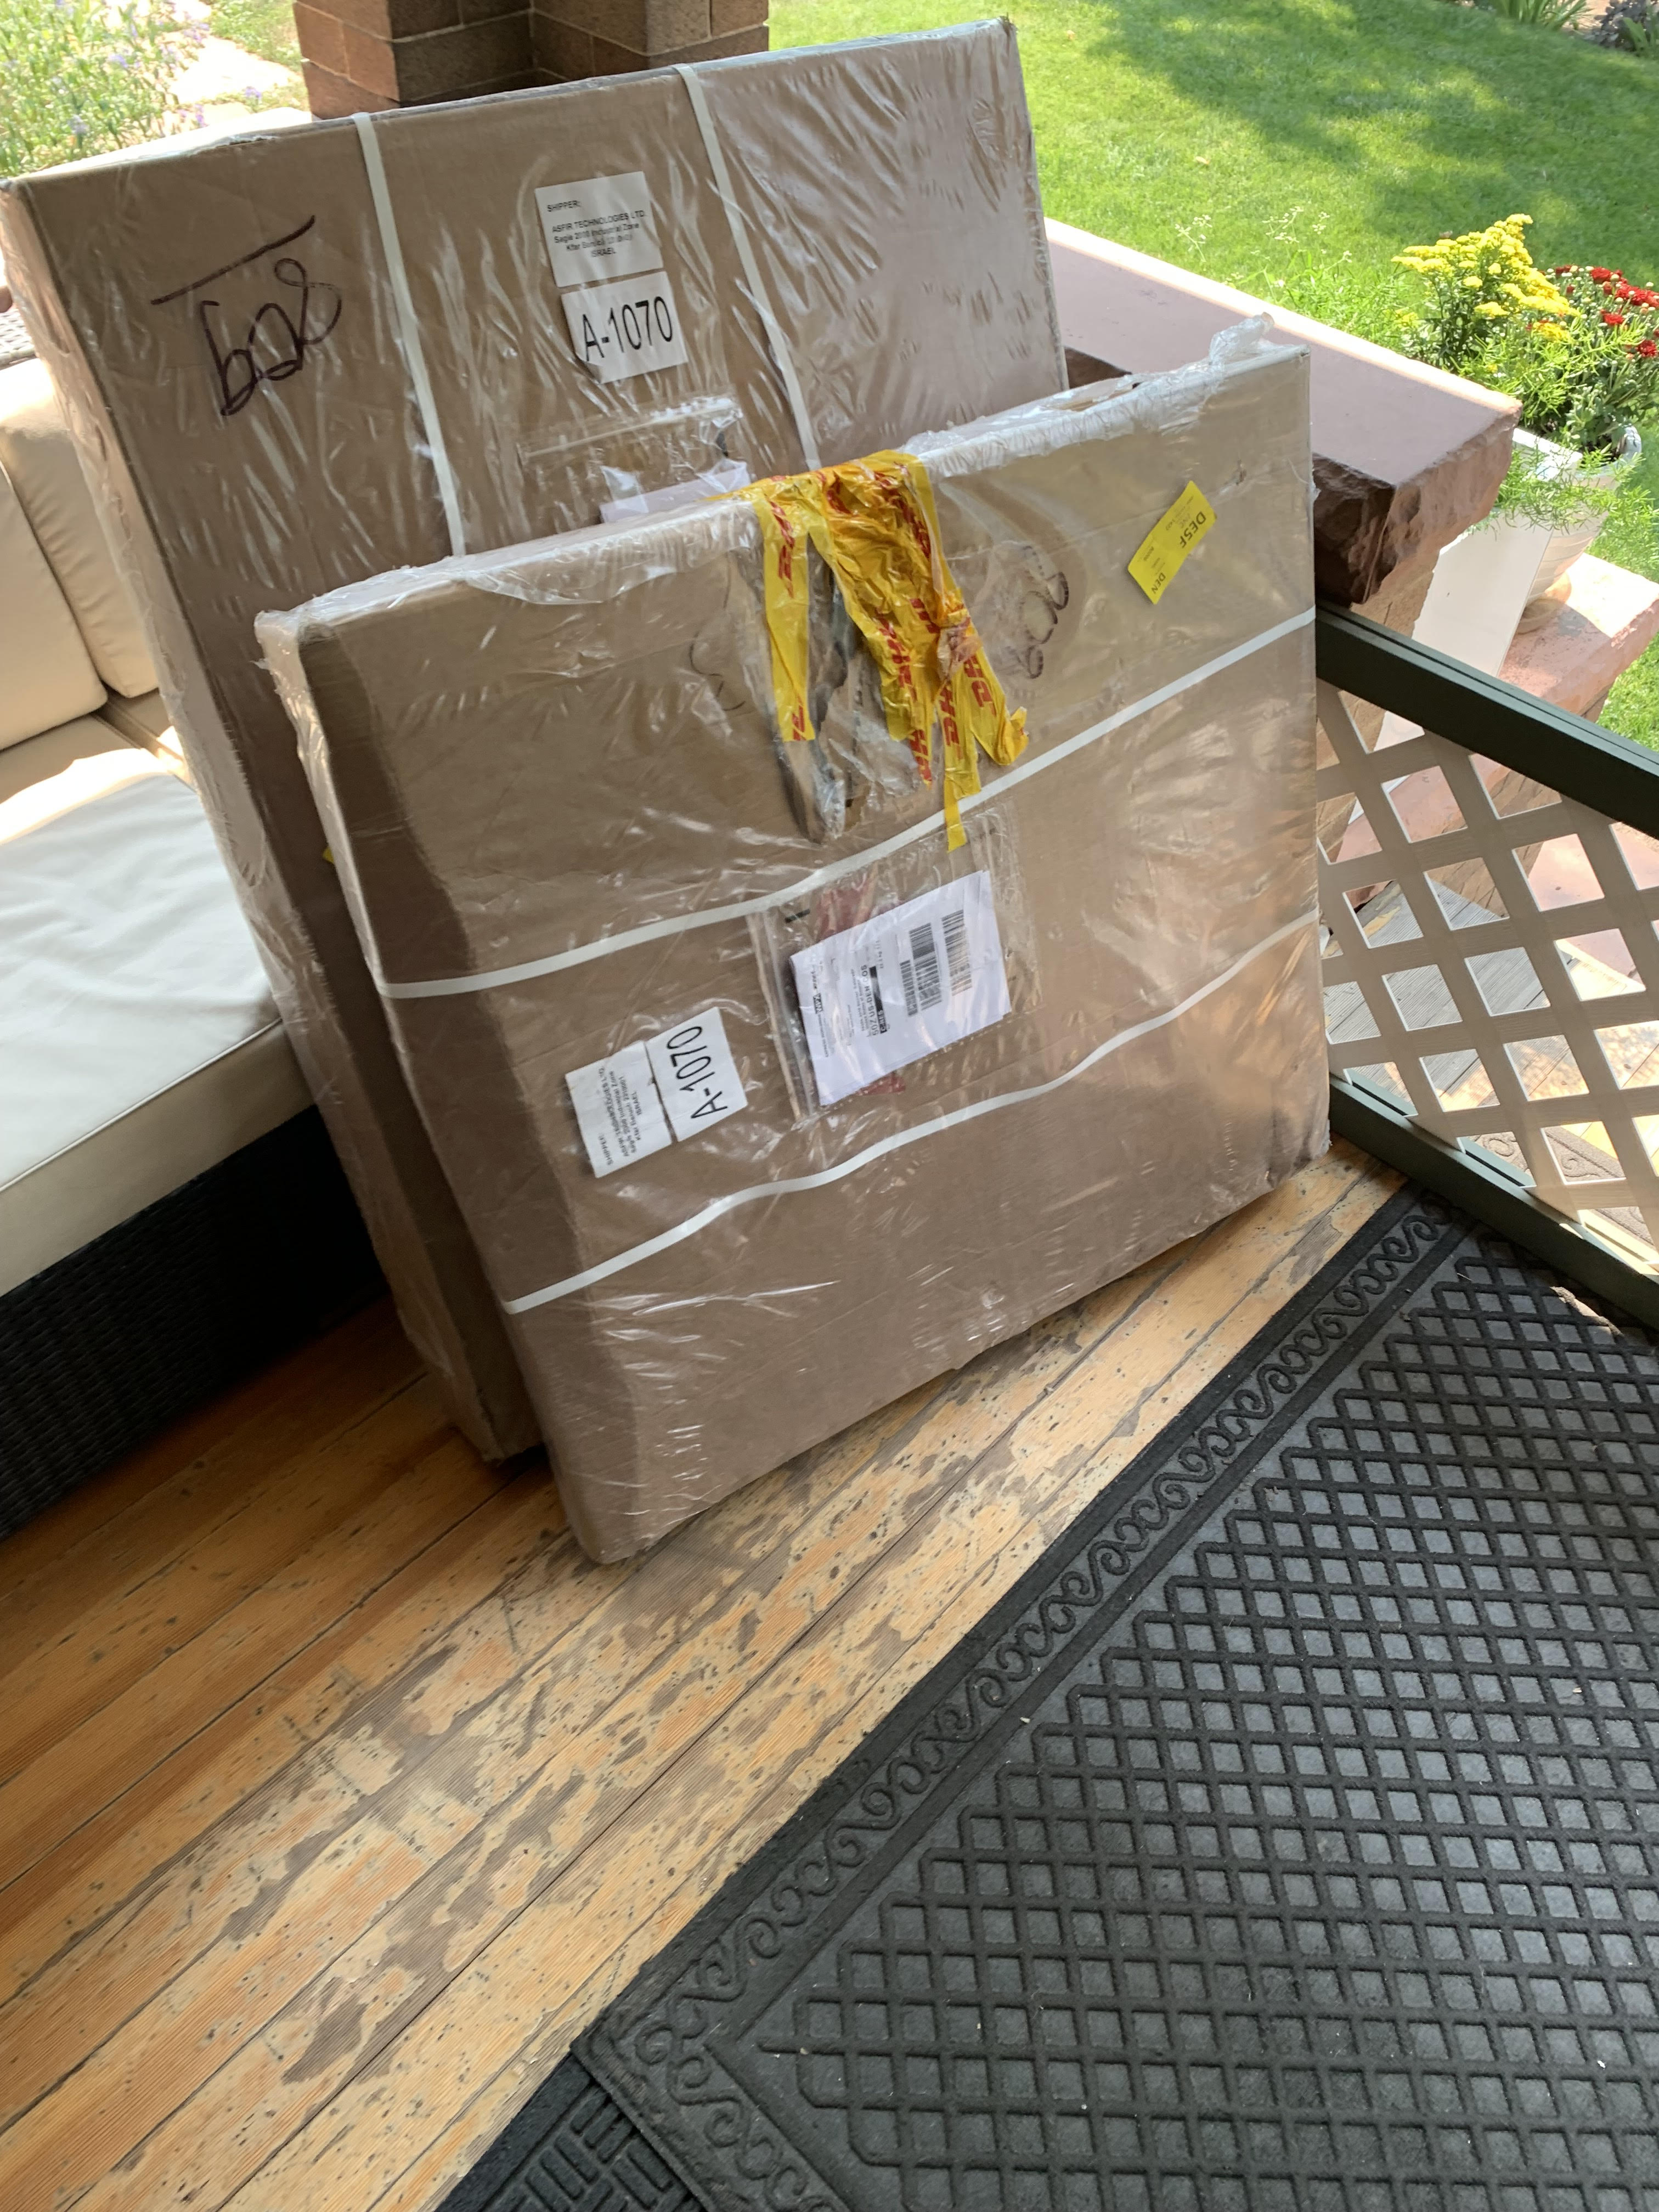
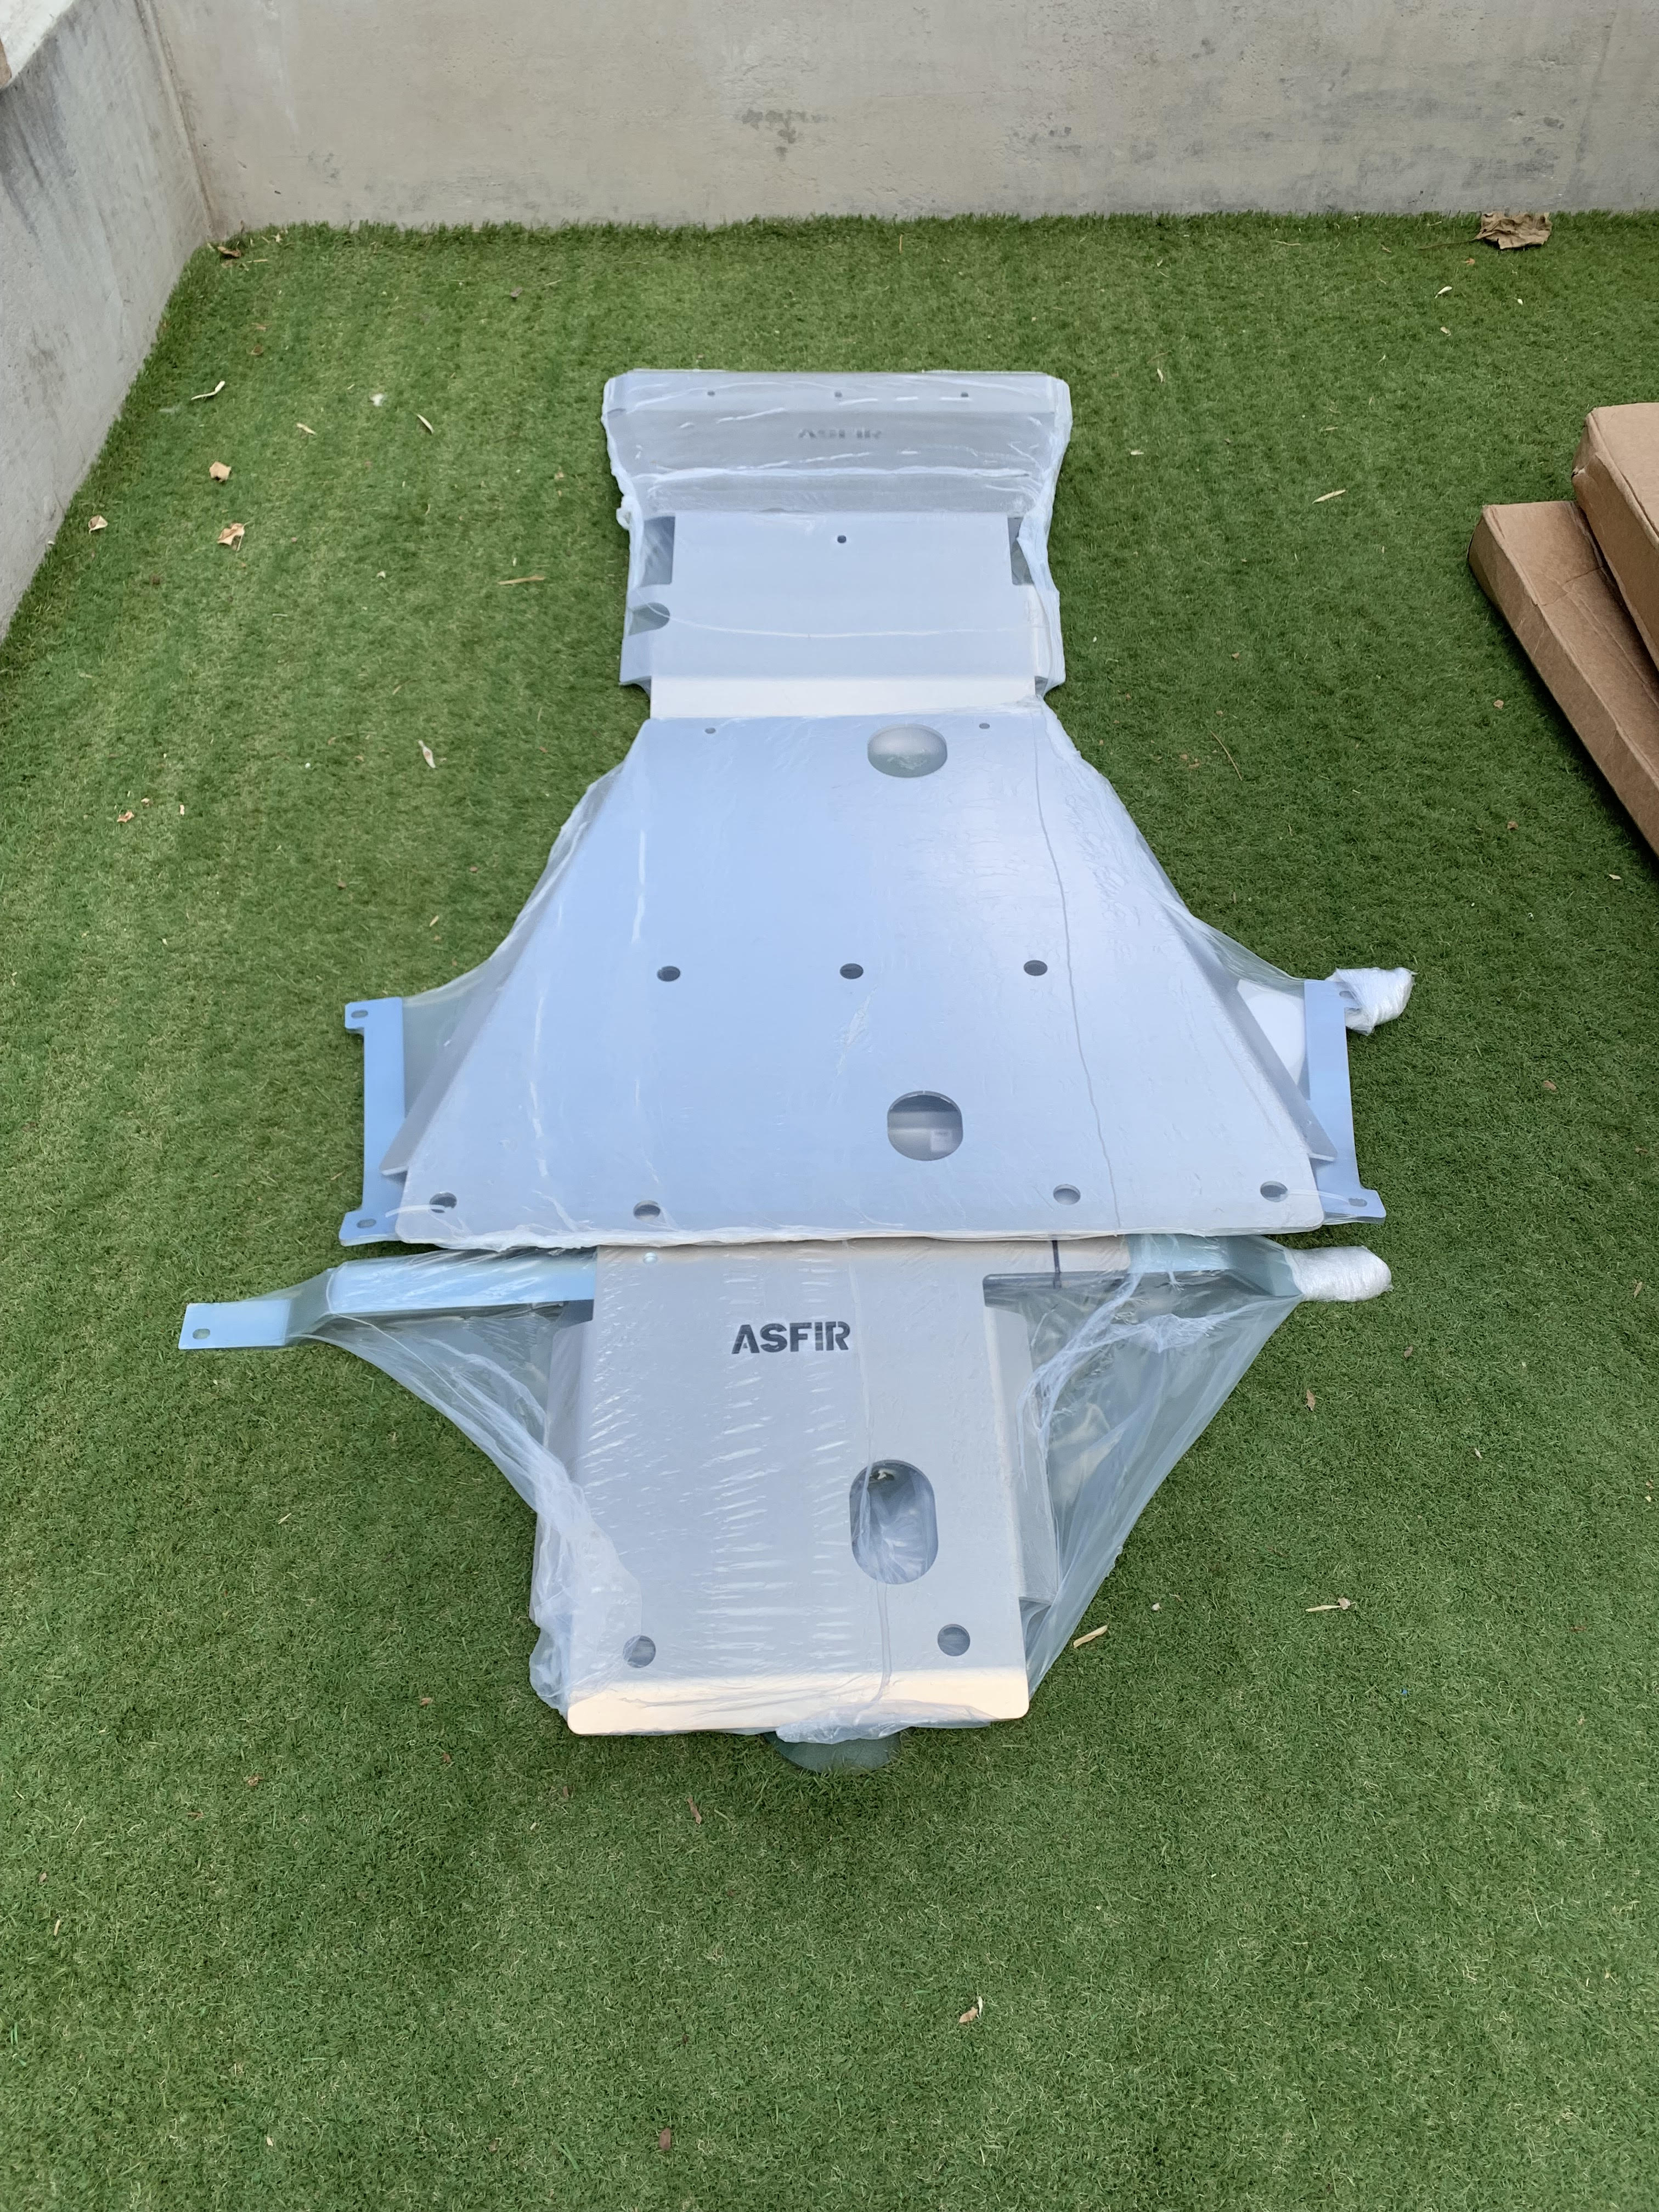
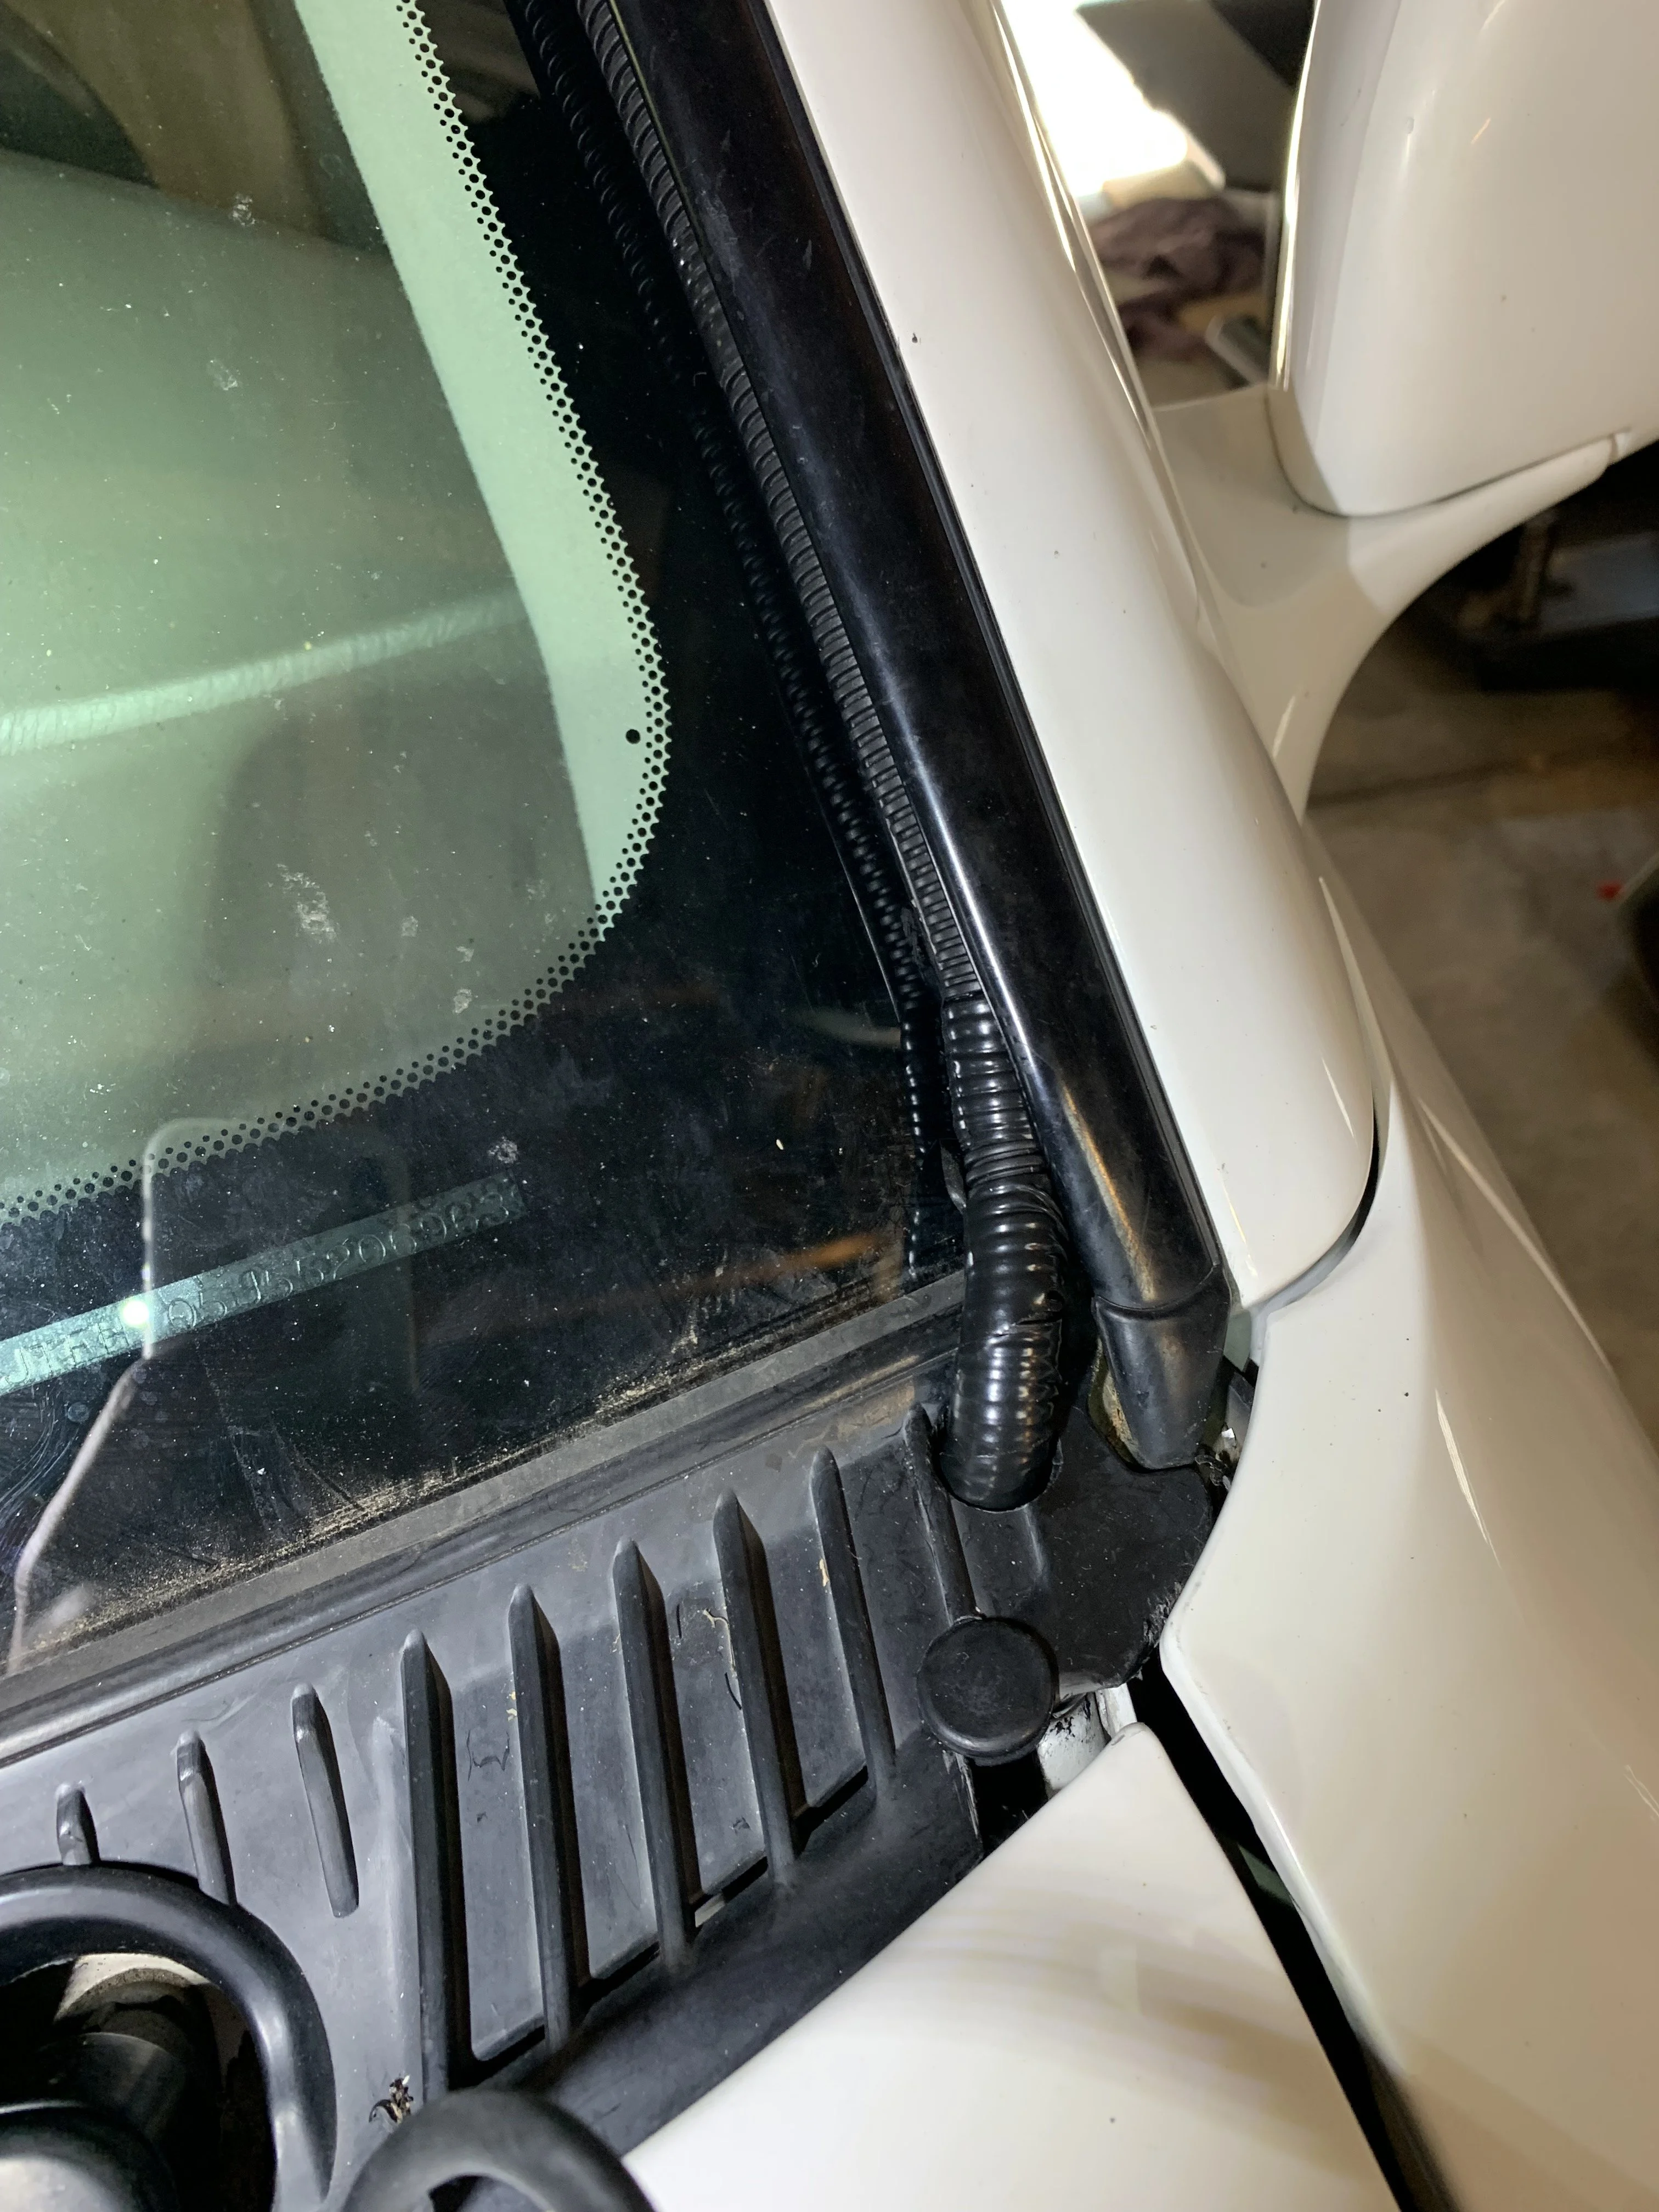
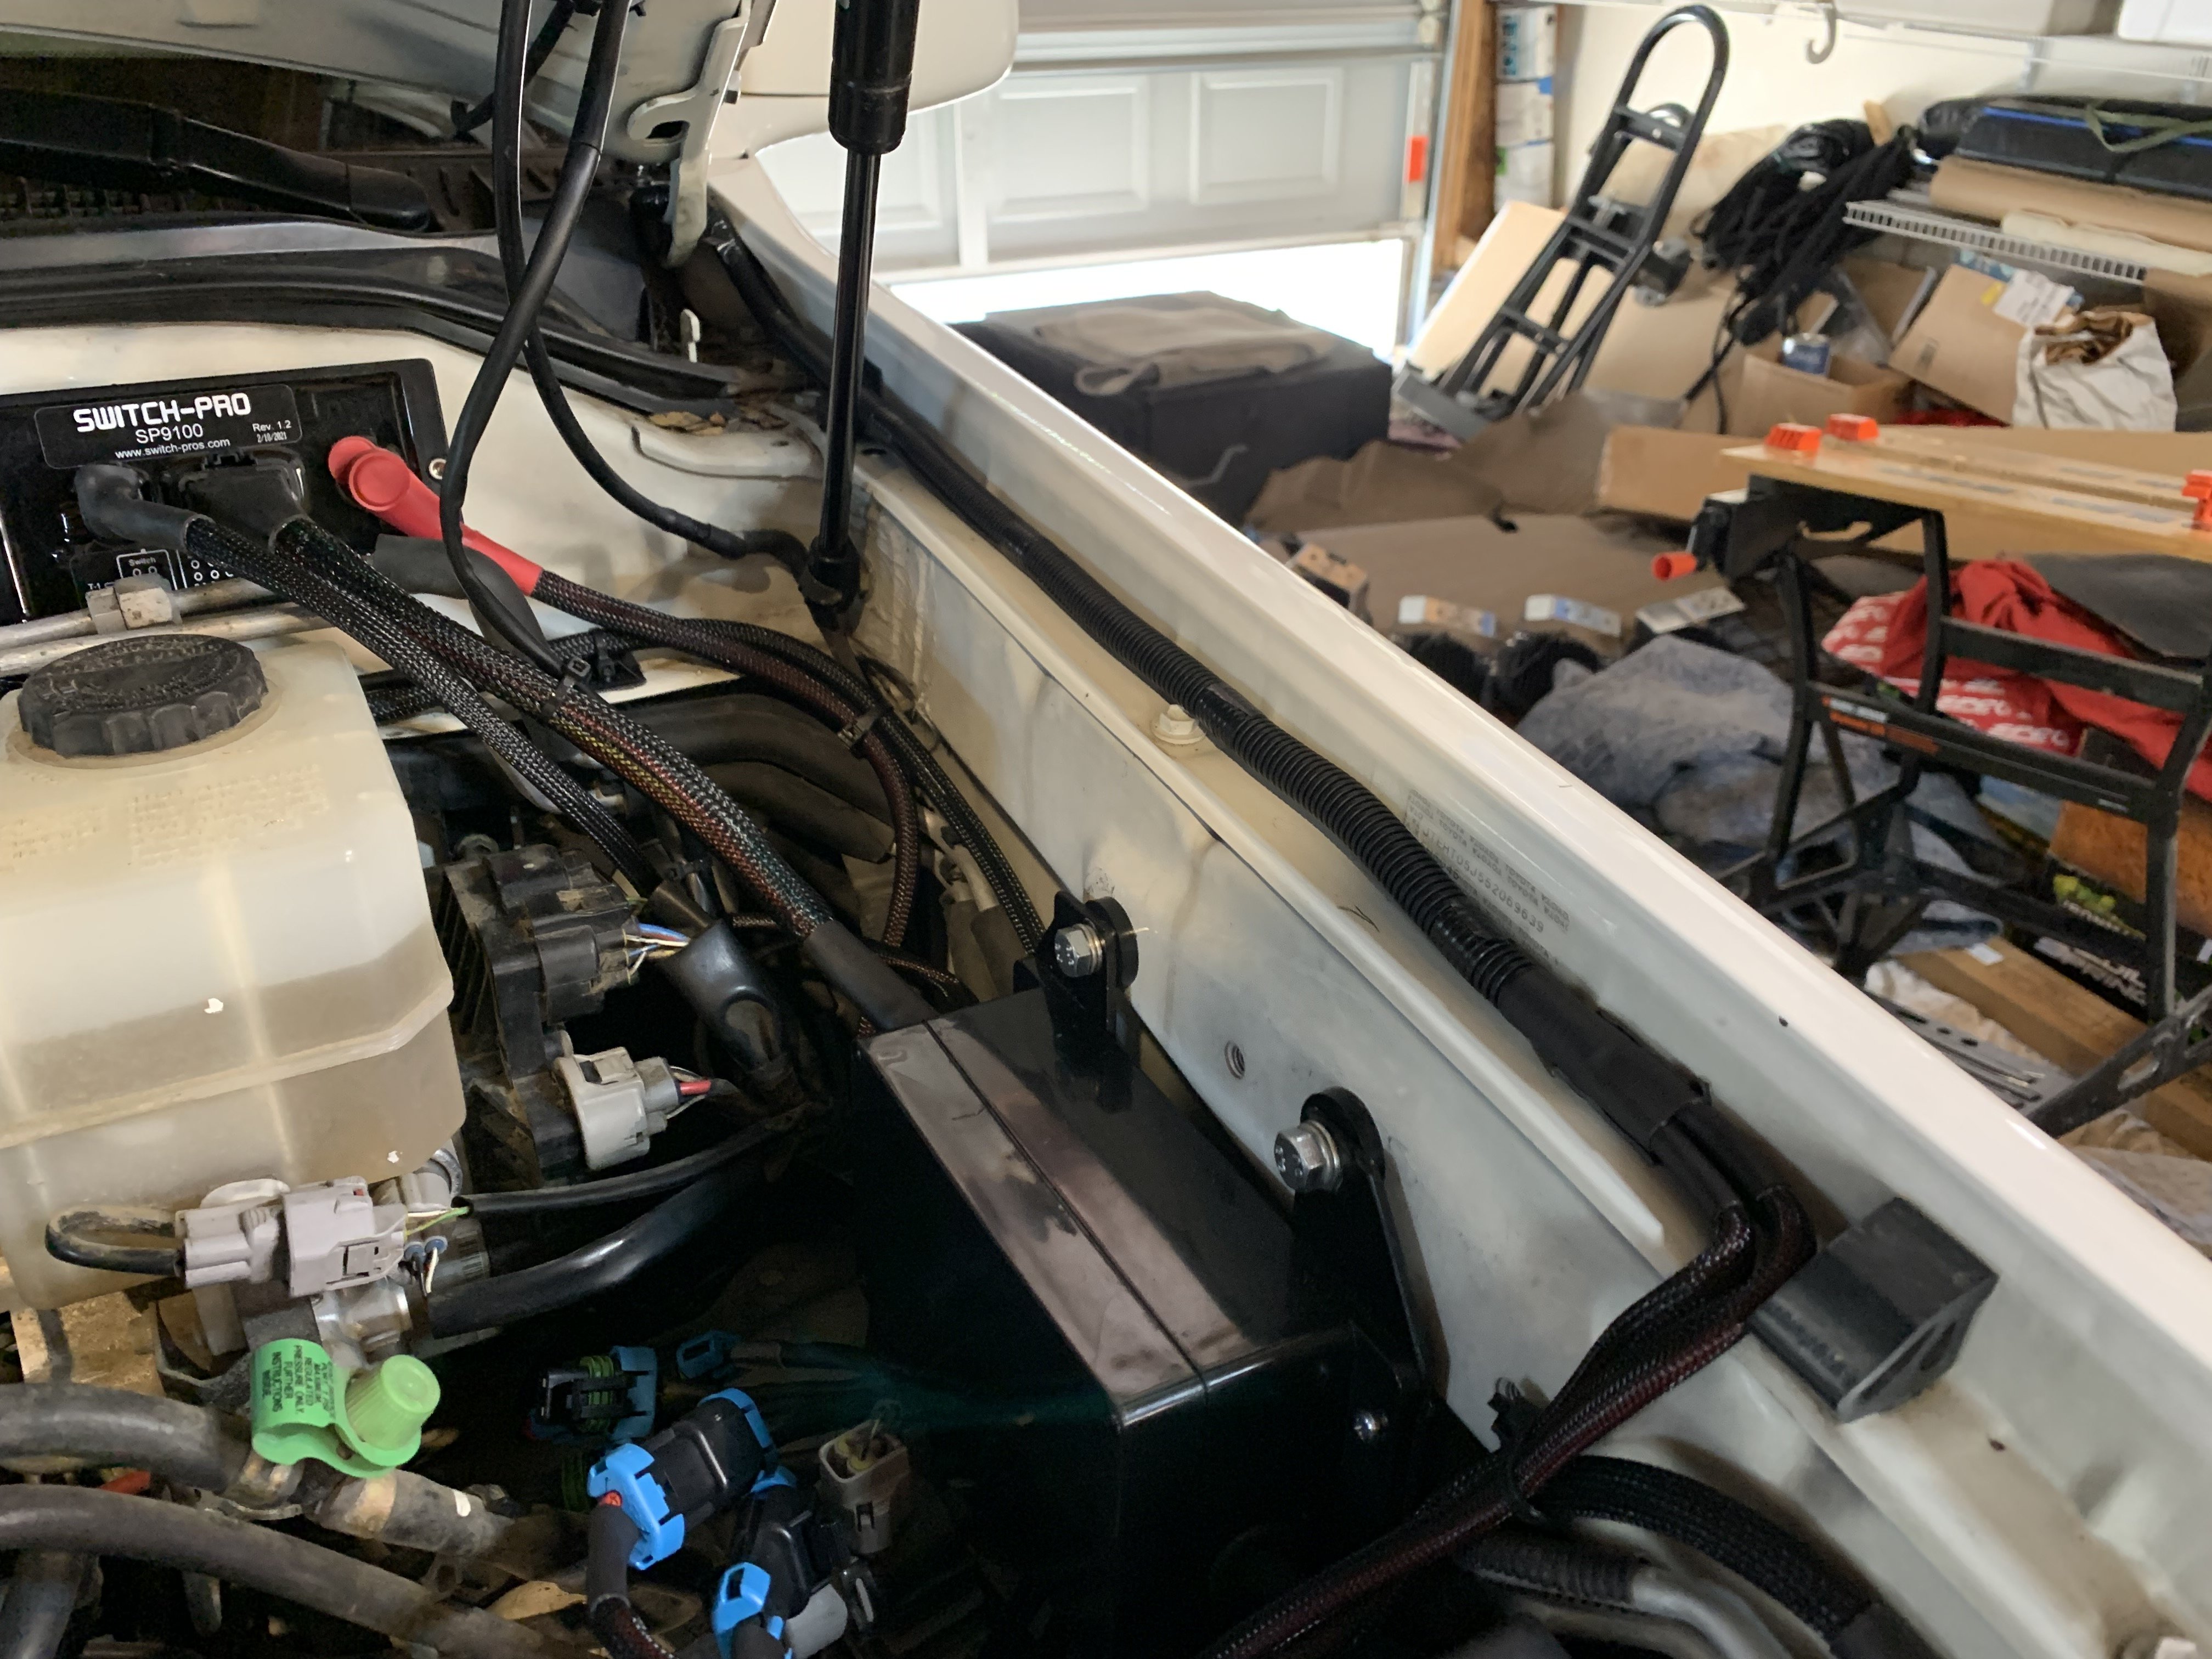
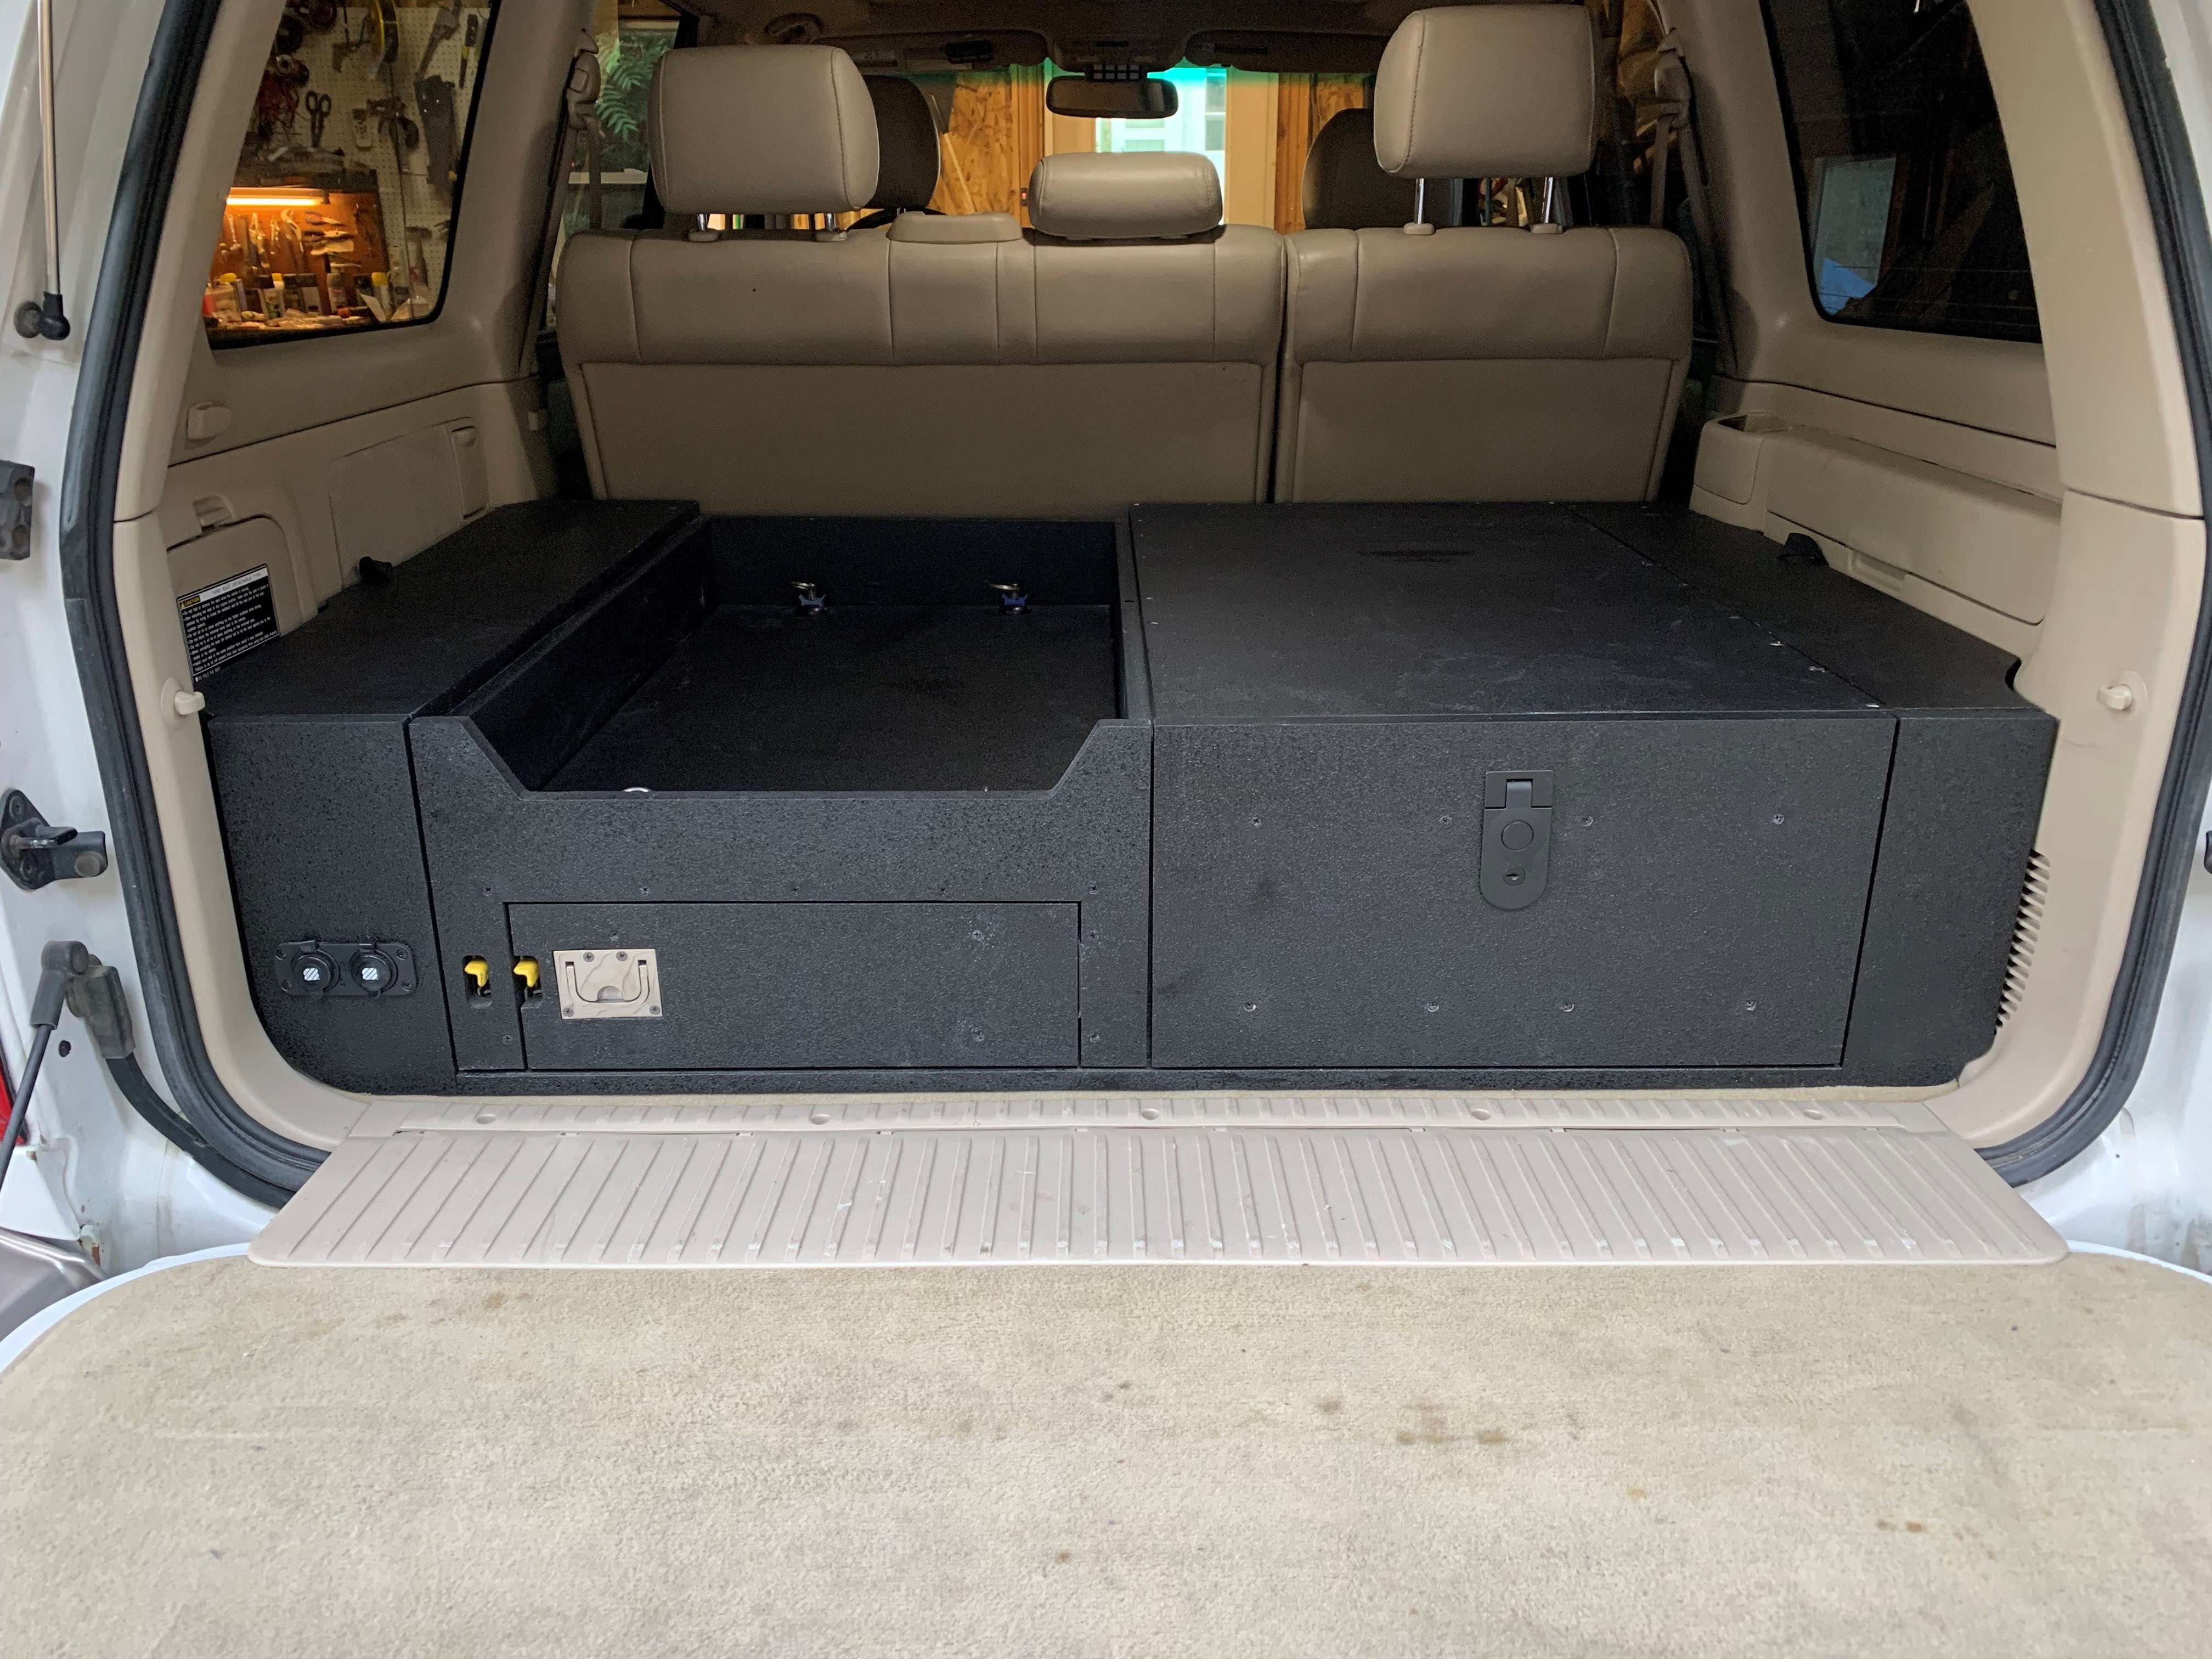
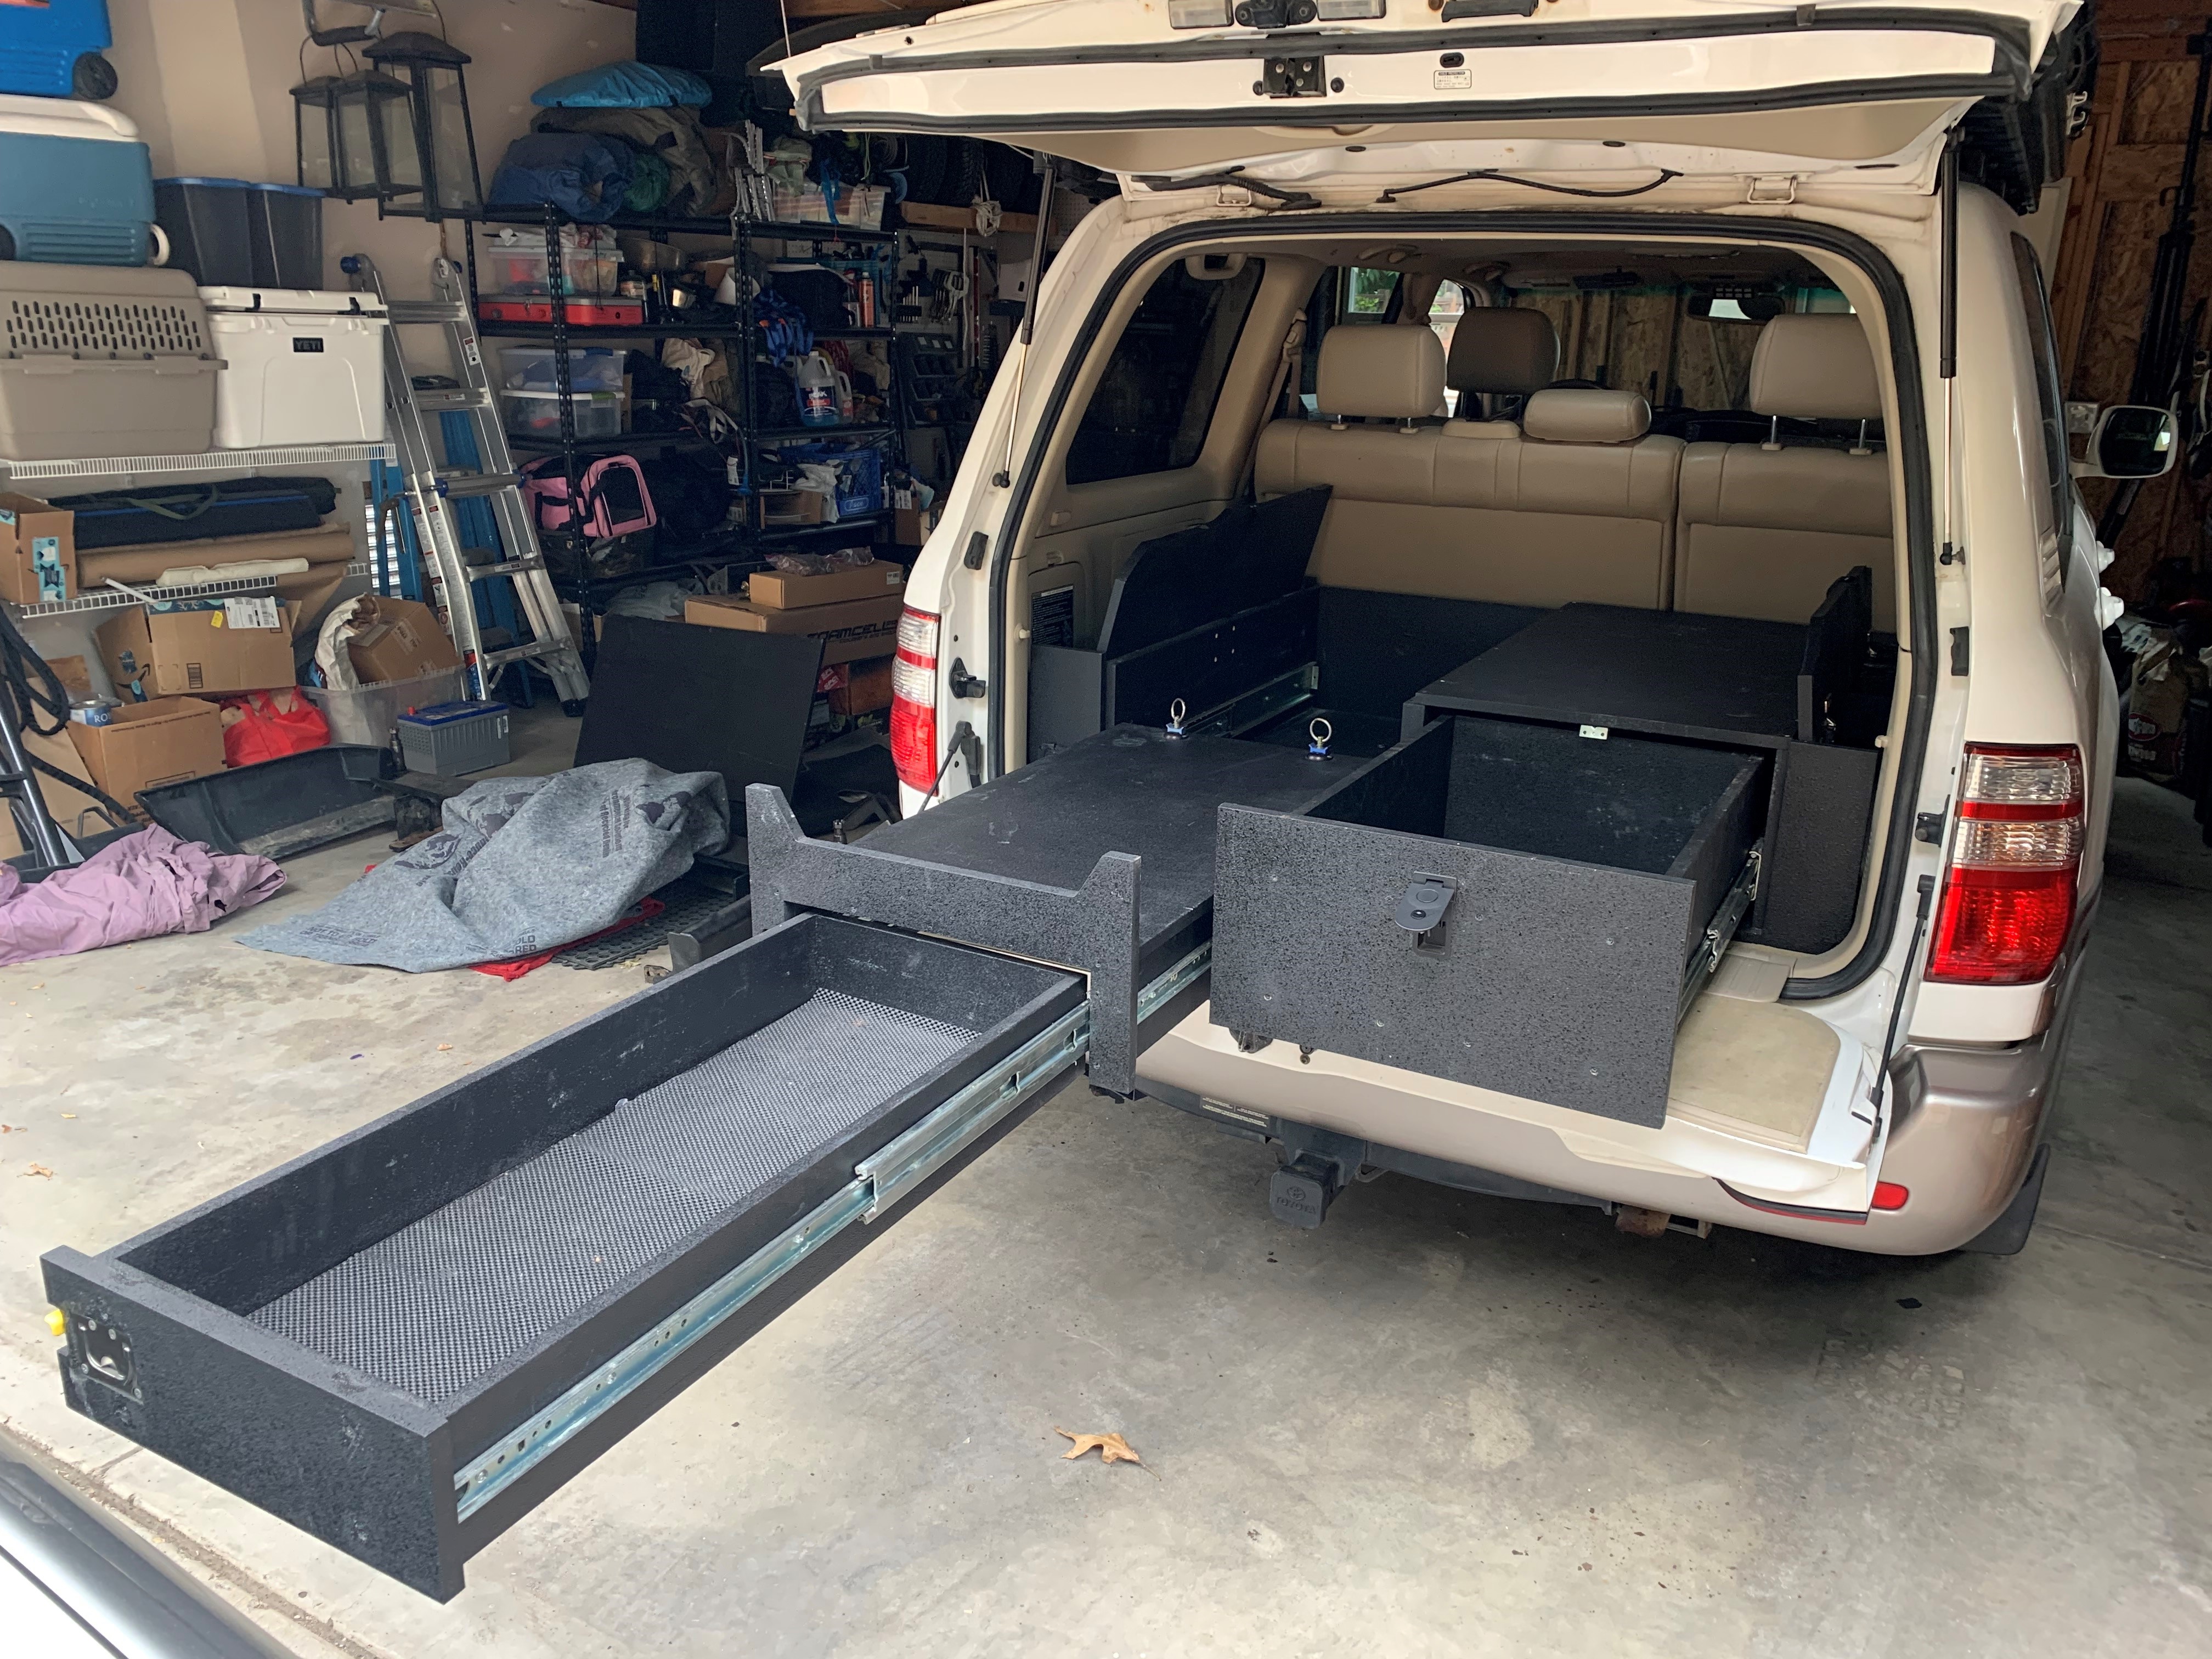
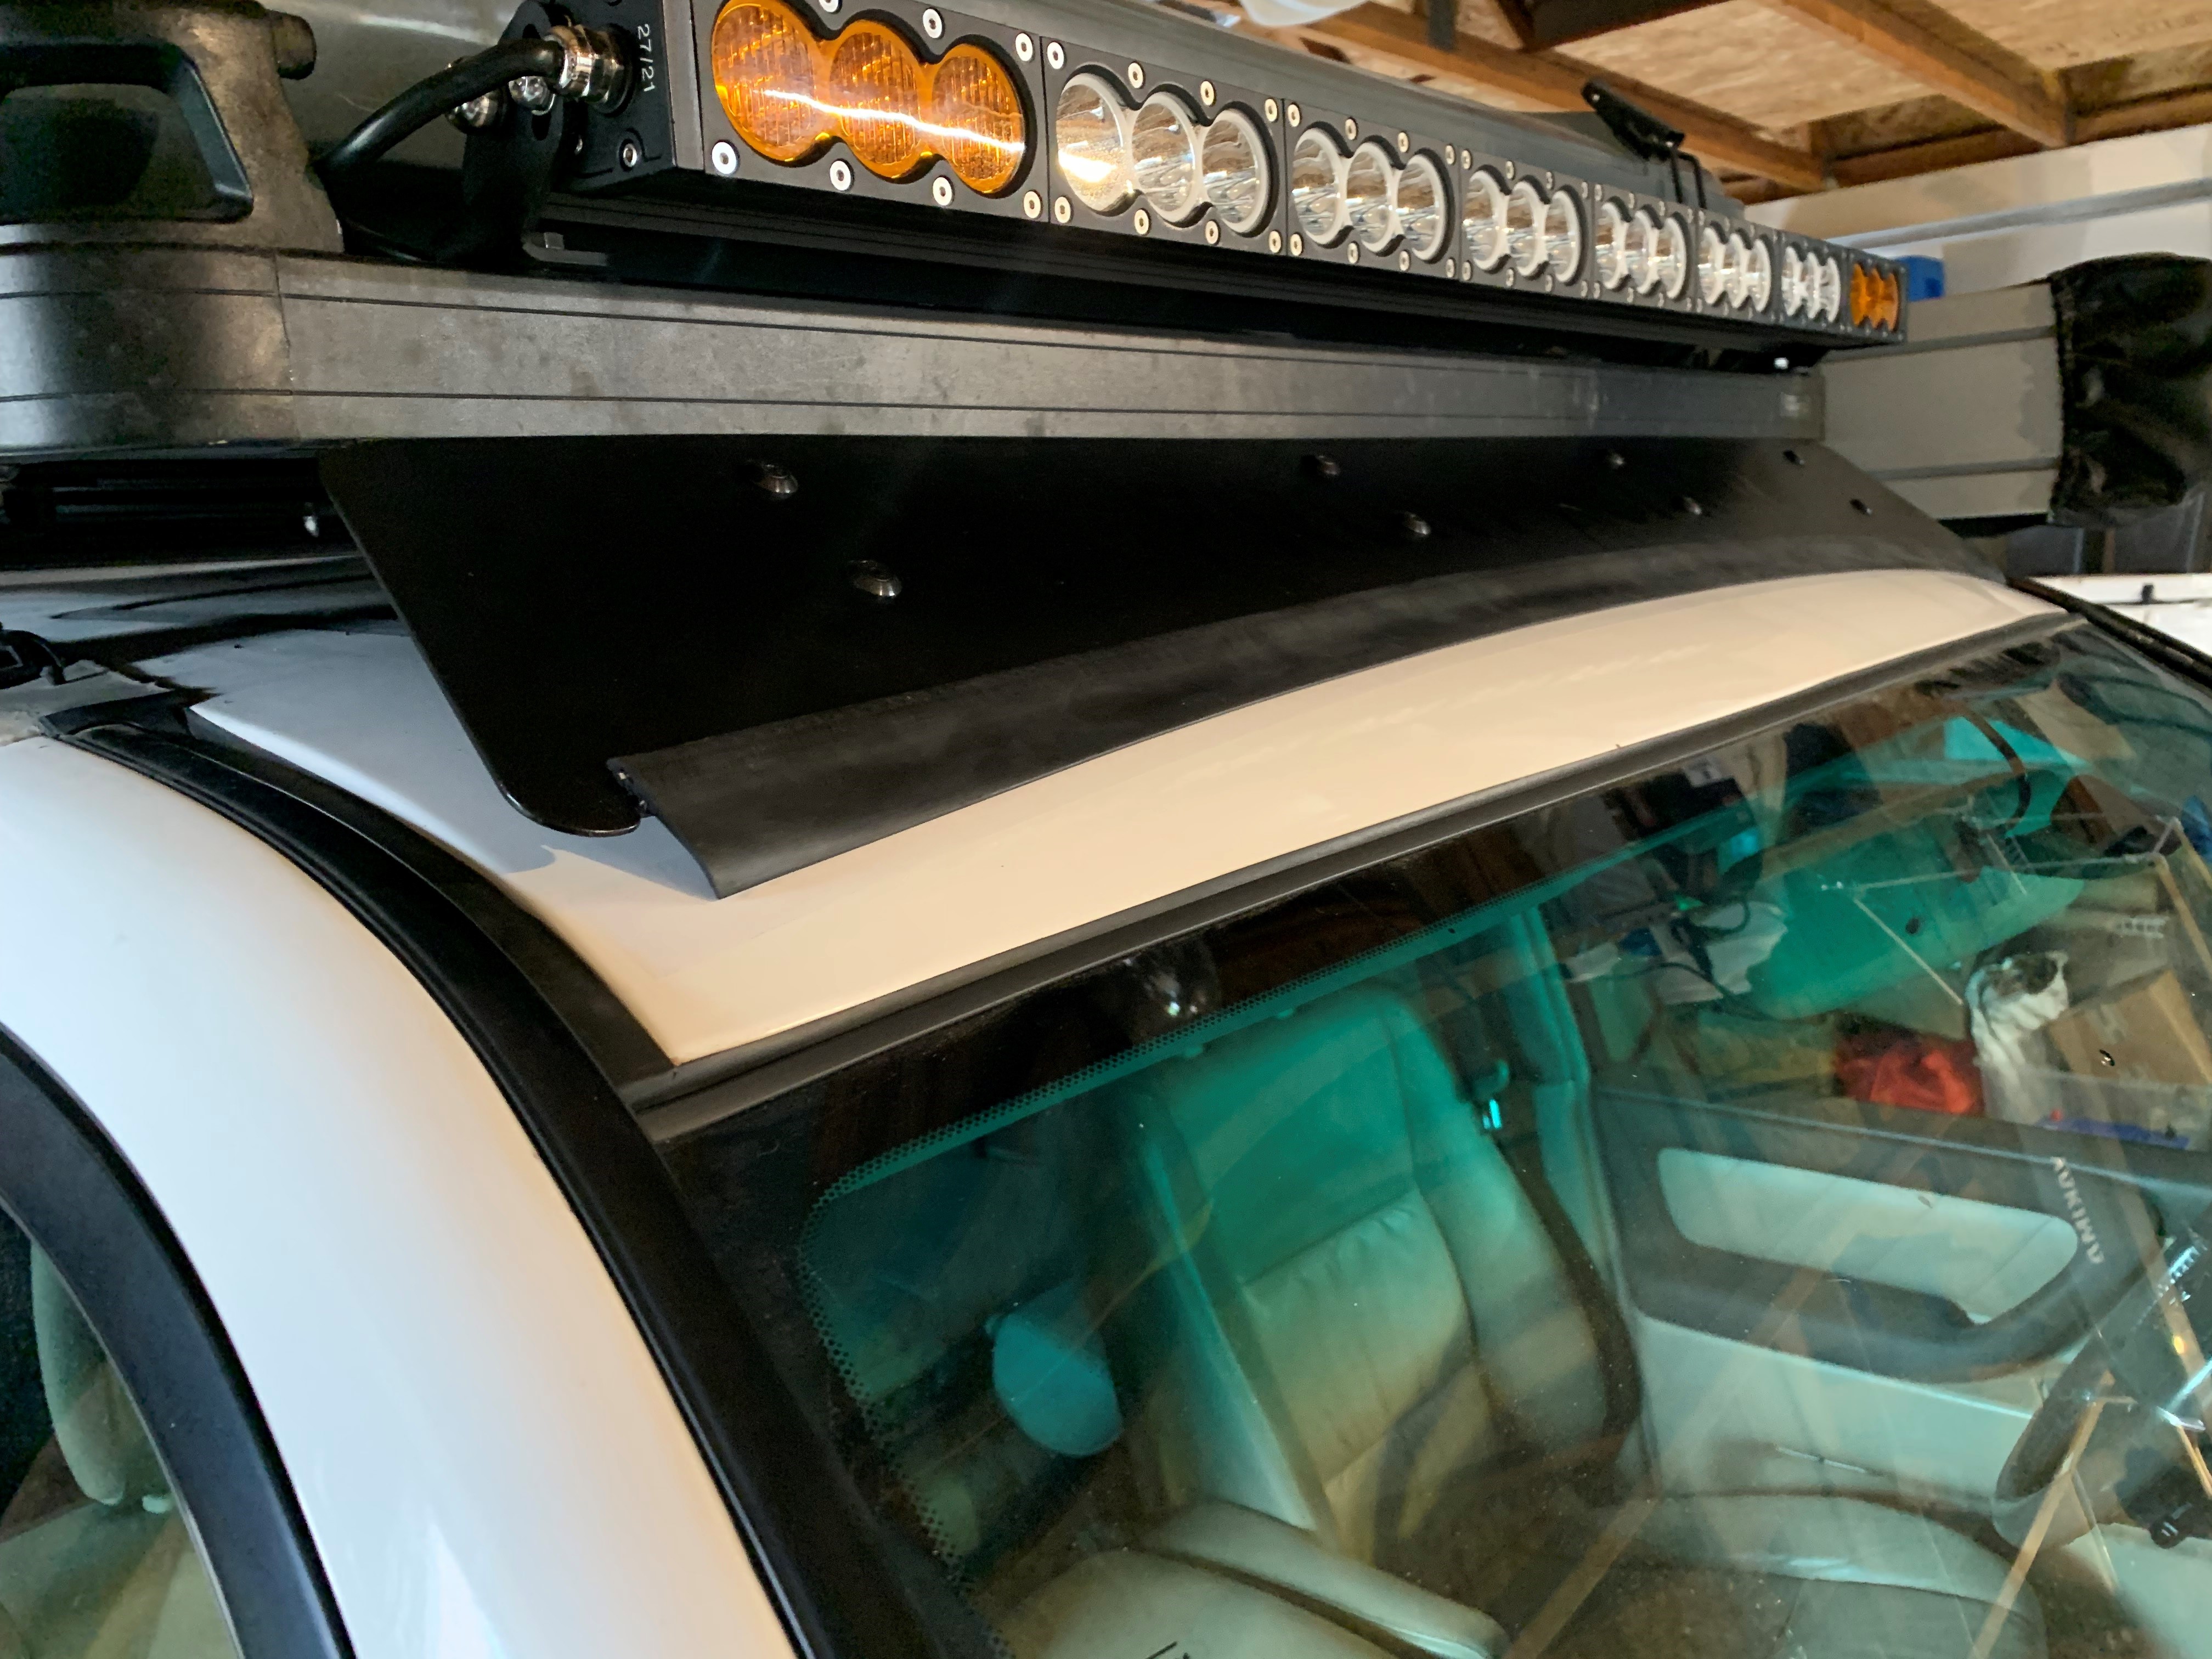
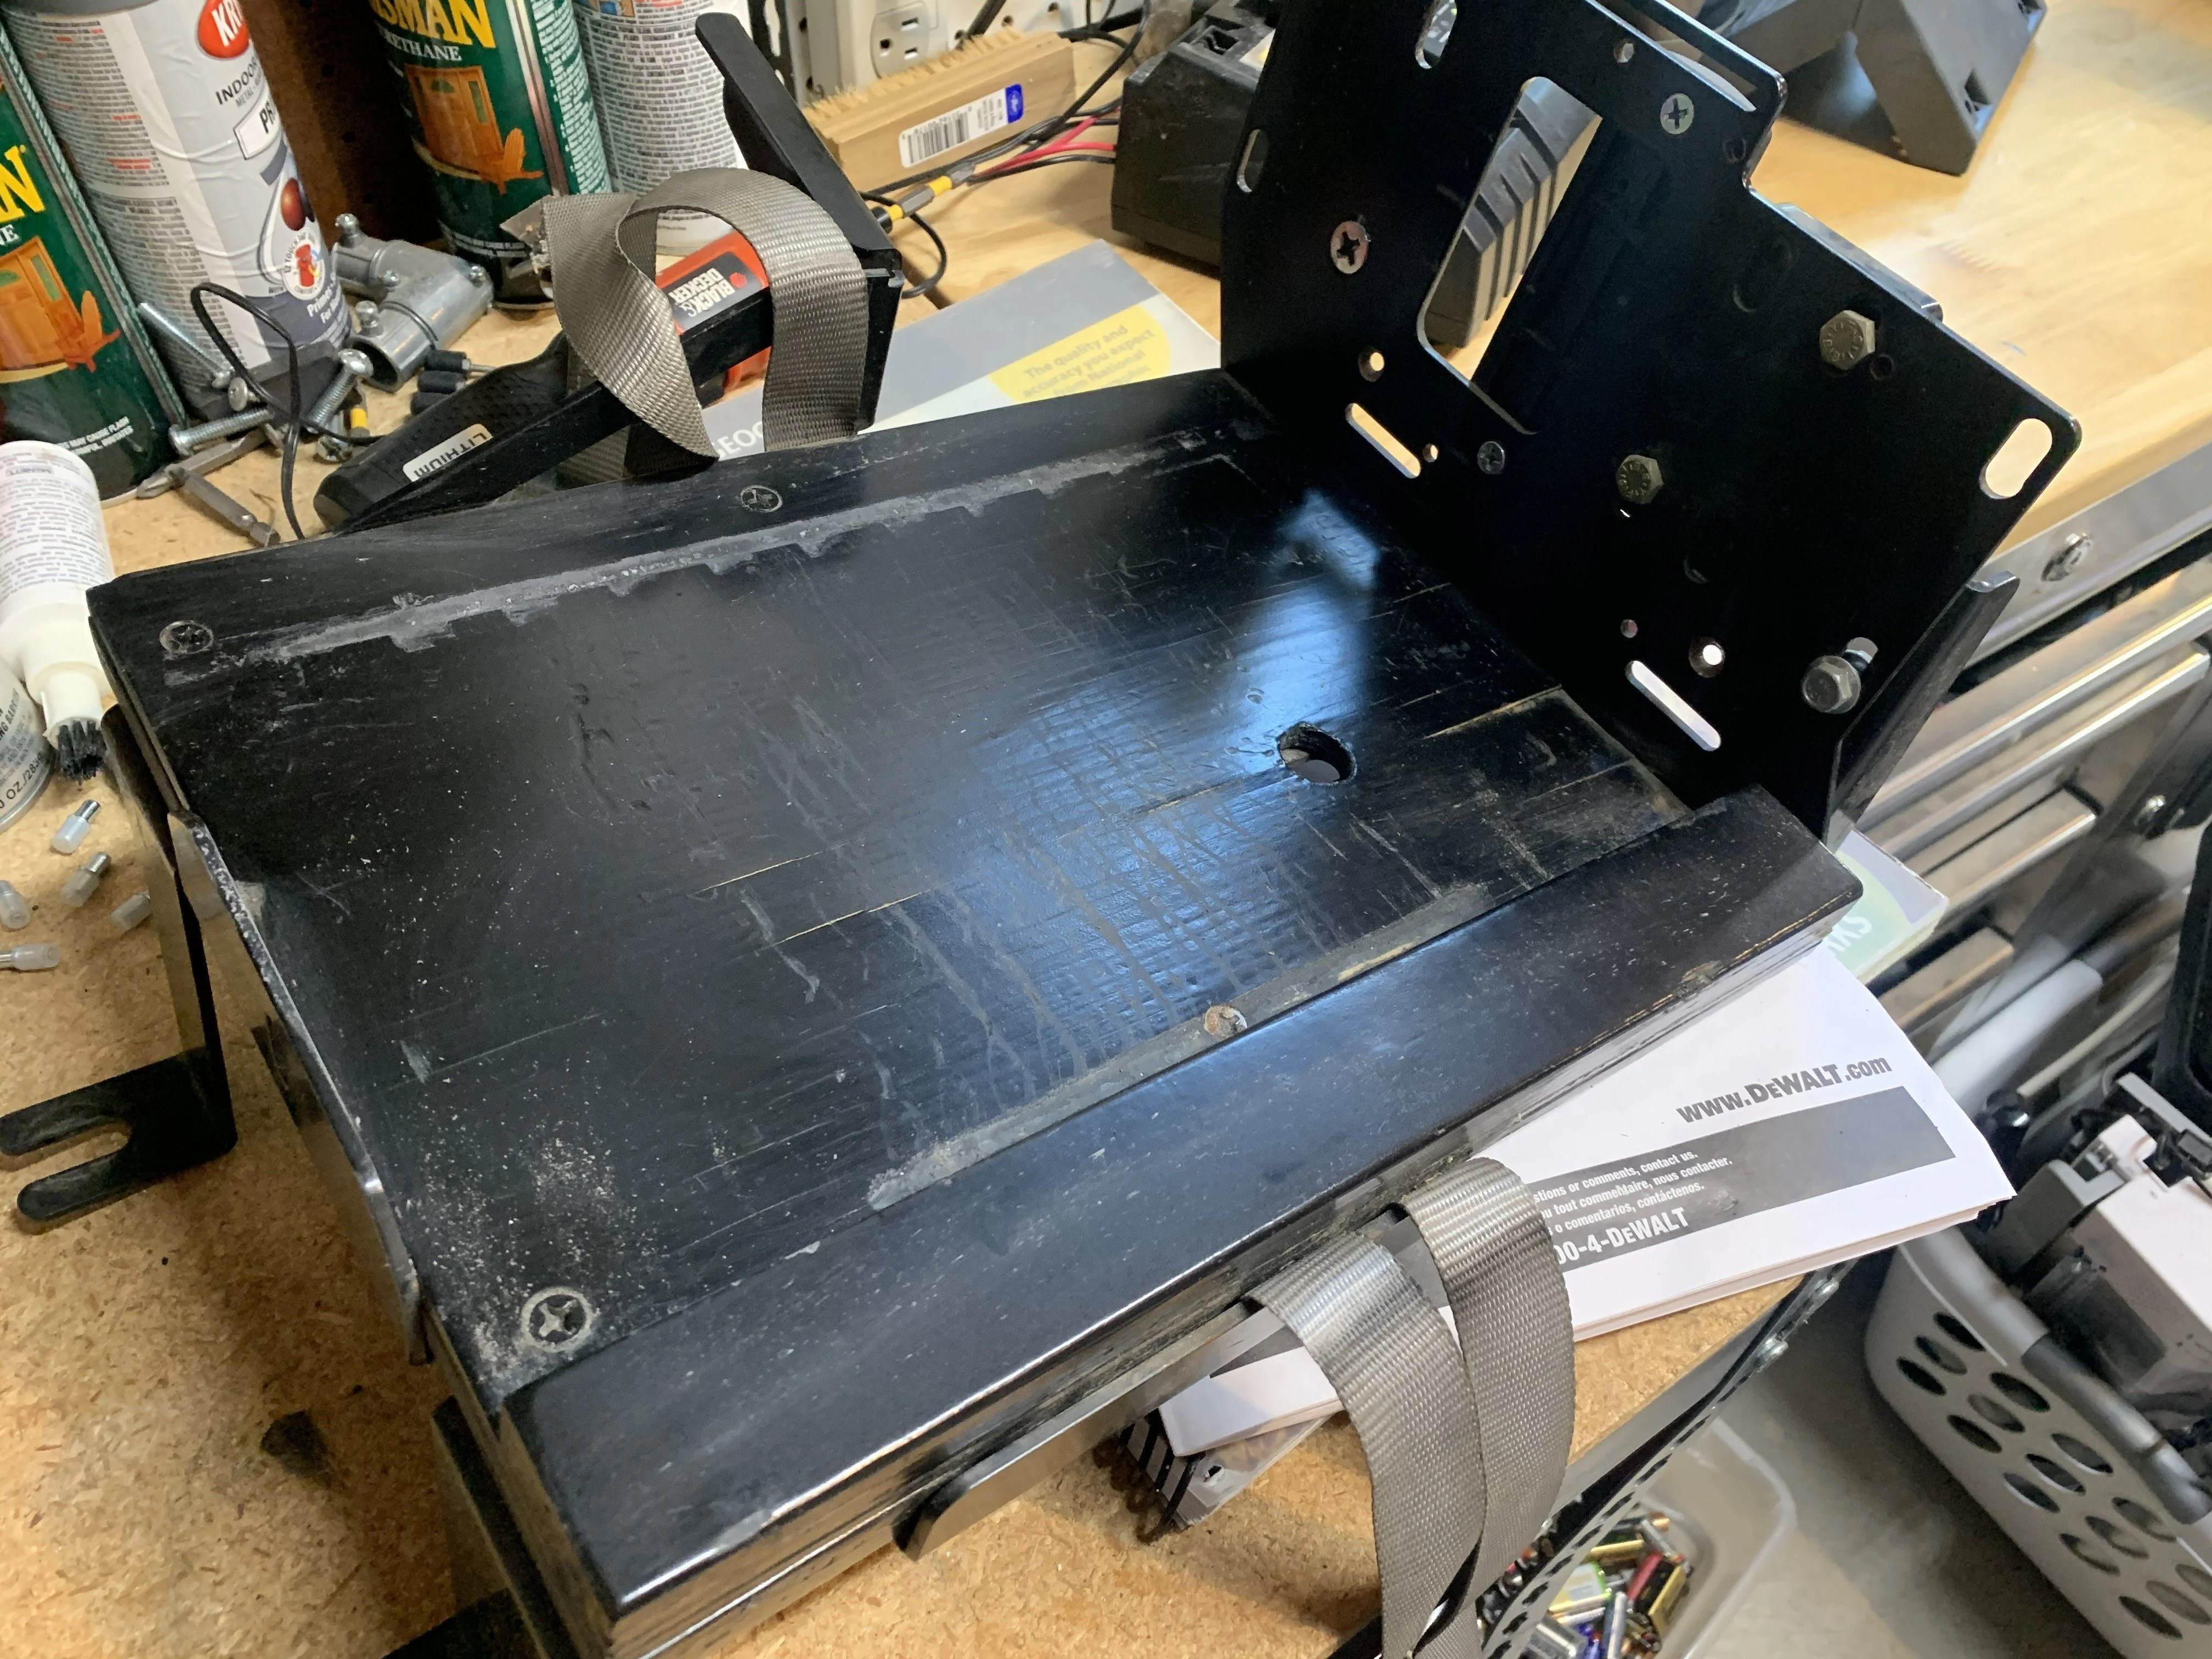
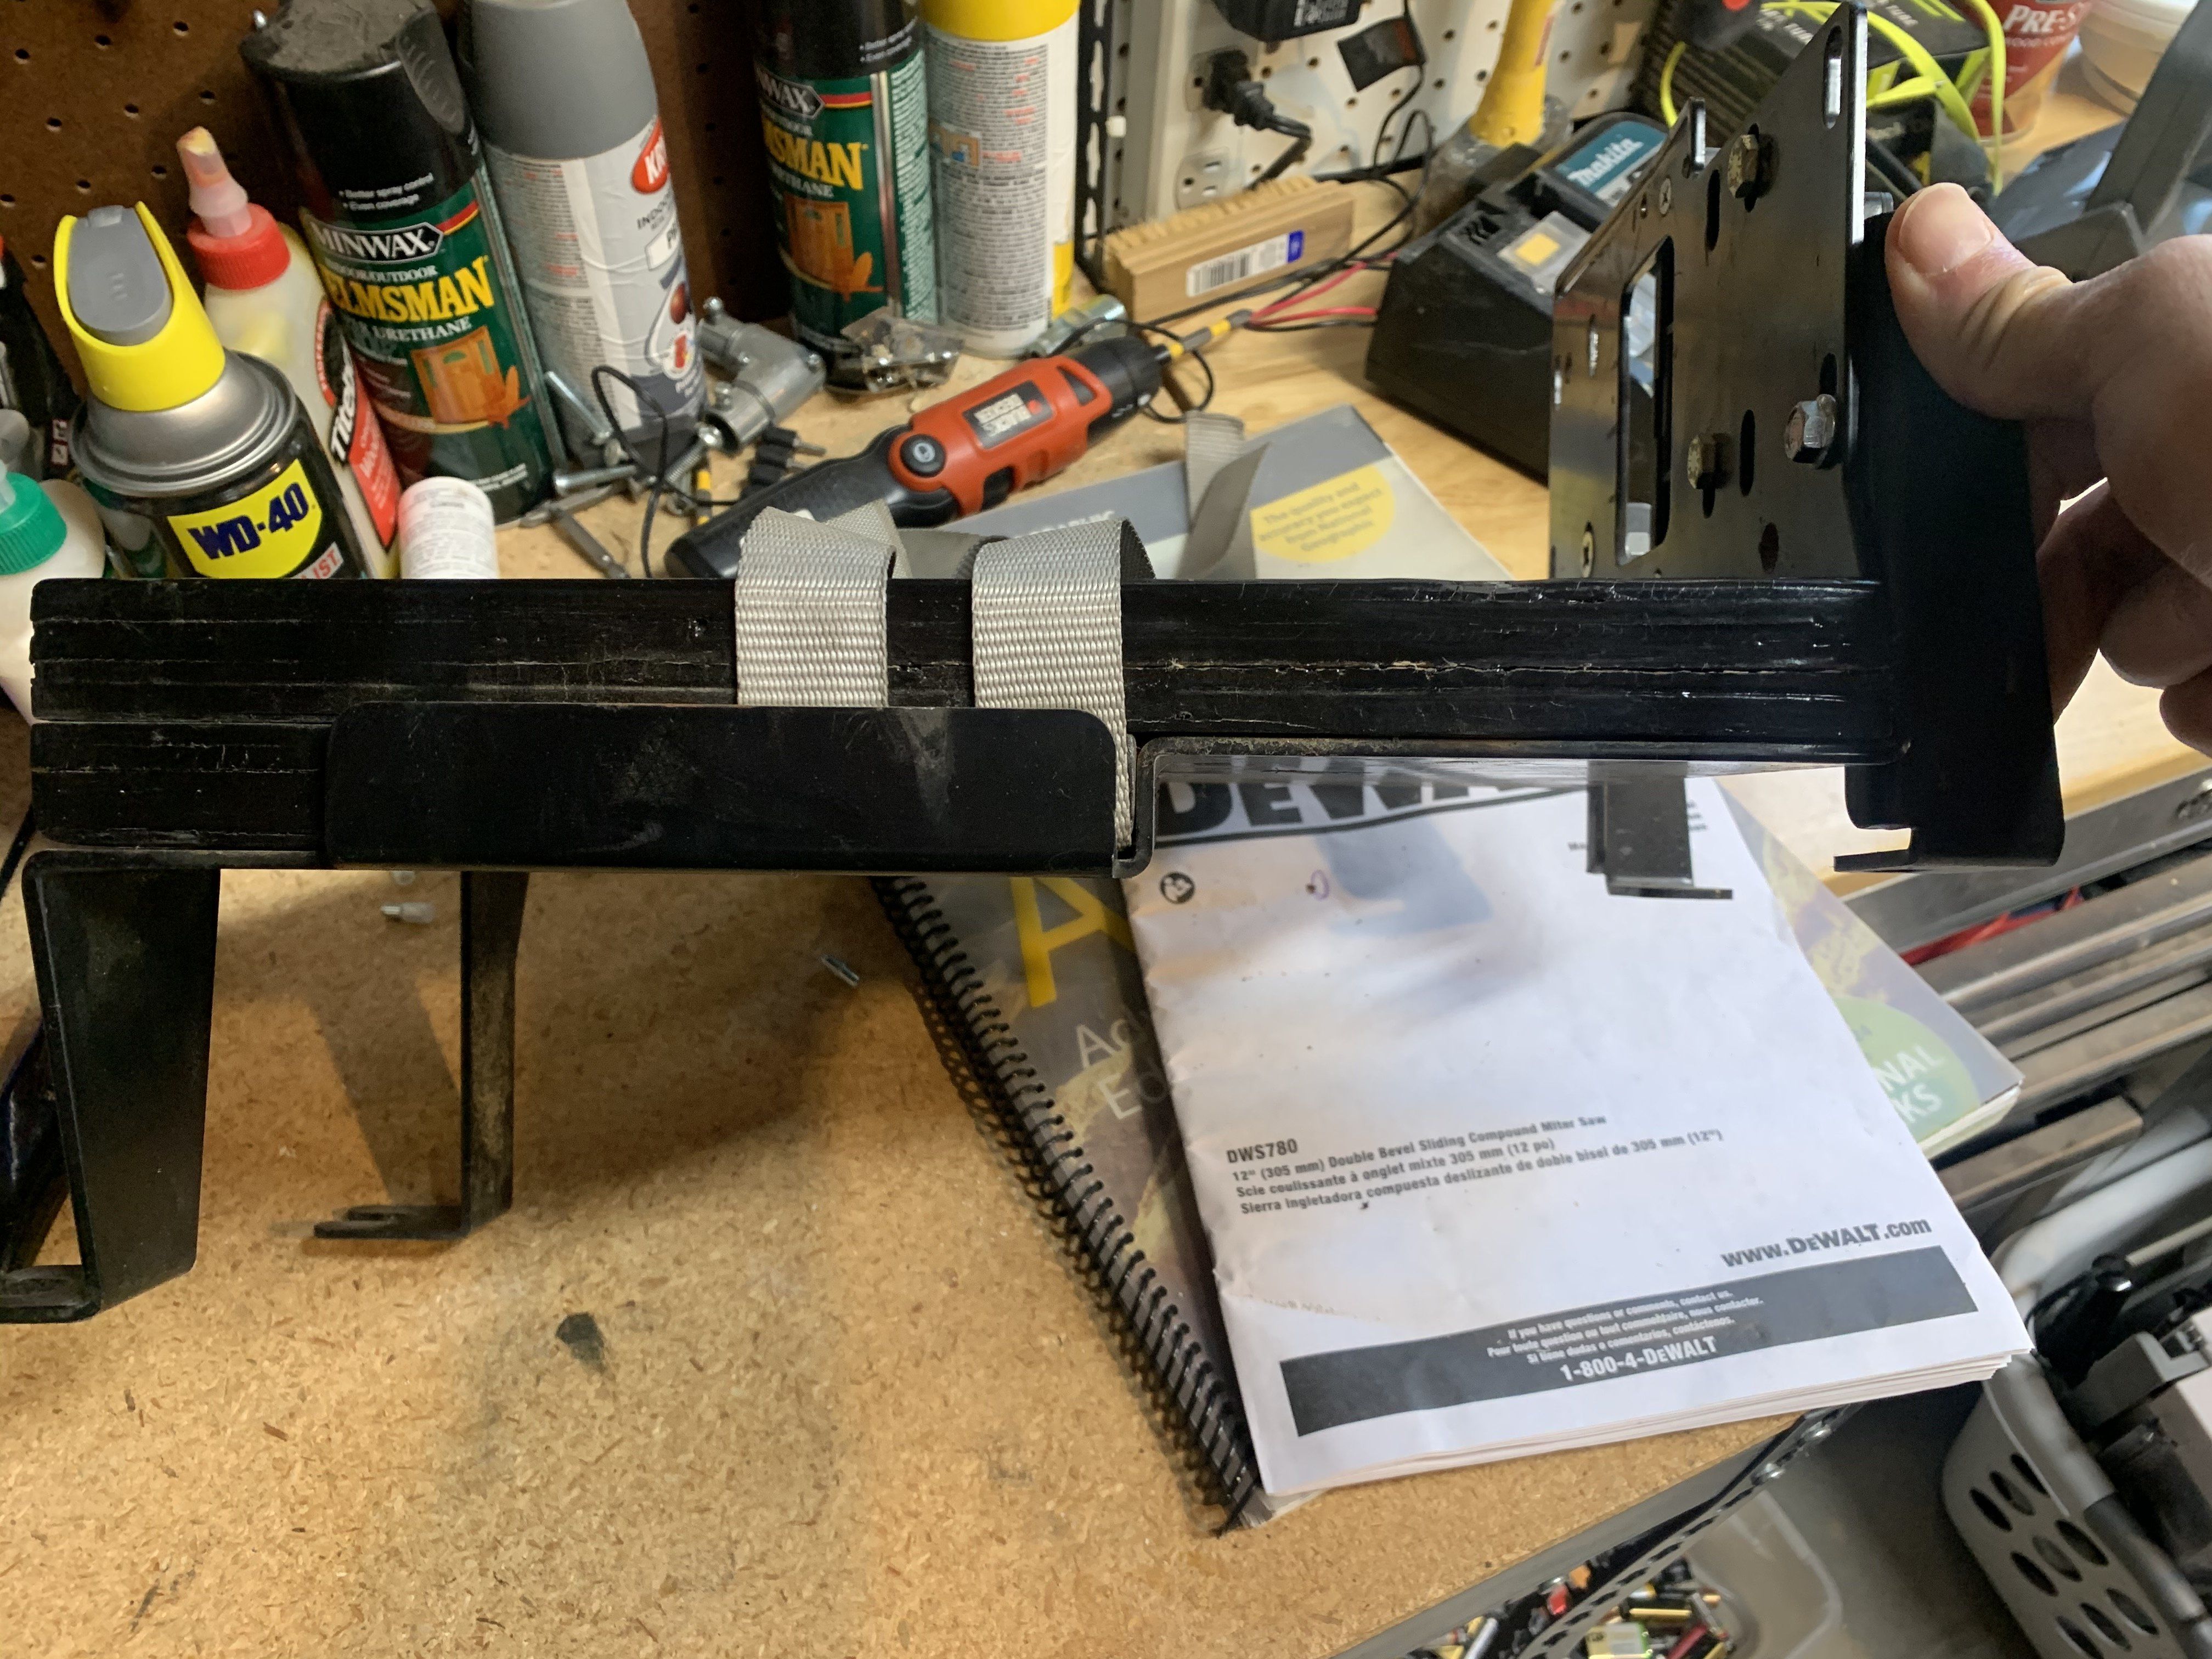
The PO of GUD2.0 modified the Slee tray to get it to fit the 27F. It was a gen 1 Slee tray, not sure what the differences are on the Gen 2. Pretty simple mods. Cut off the middle tie-down tab. Then add layers of wood to make the tray base flat. Also added a lip on the passenger side to keep the battery from sliding. PO used straps to hold the battery down. I modified it a bit more to use a traditional tie-down. Clearance is really close between the tie-down and the hood gas strut.
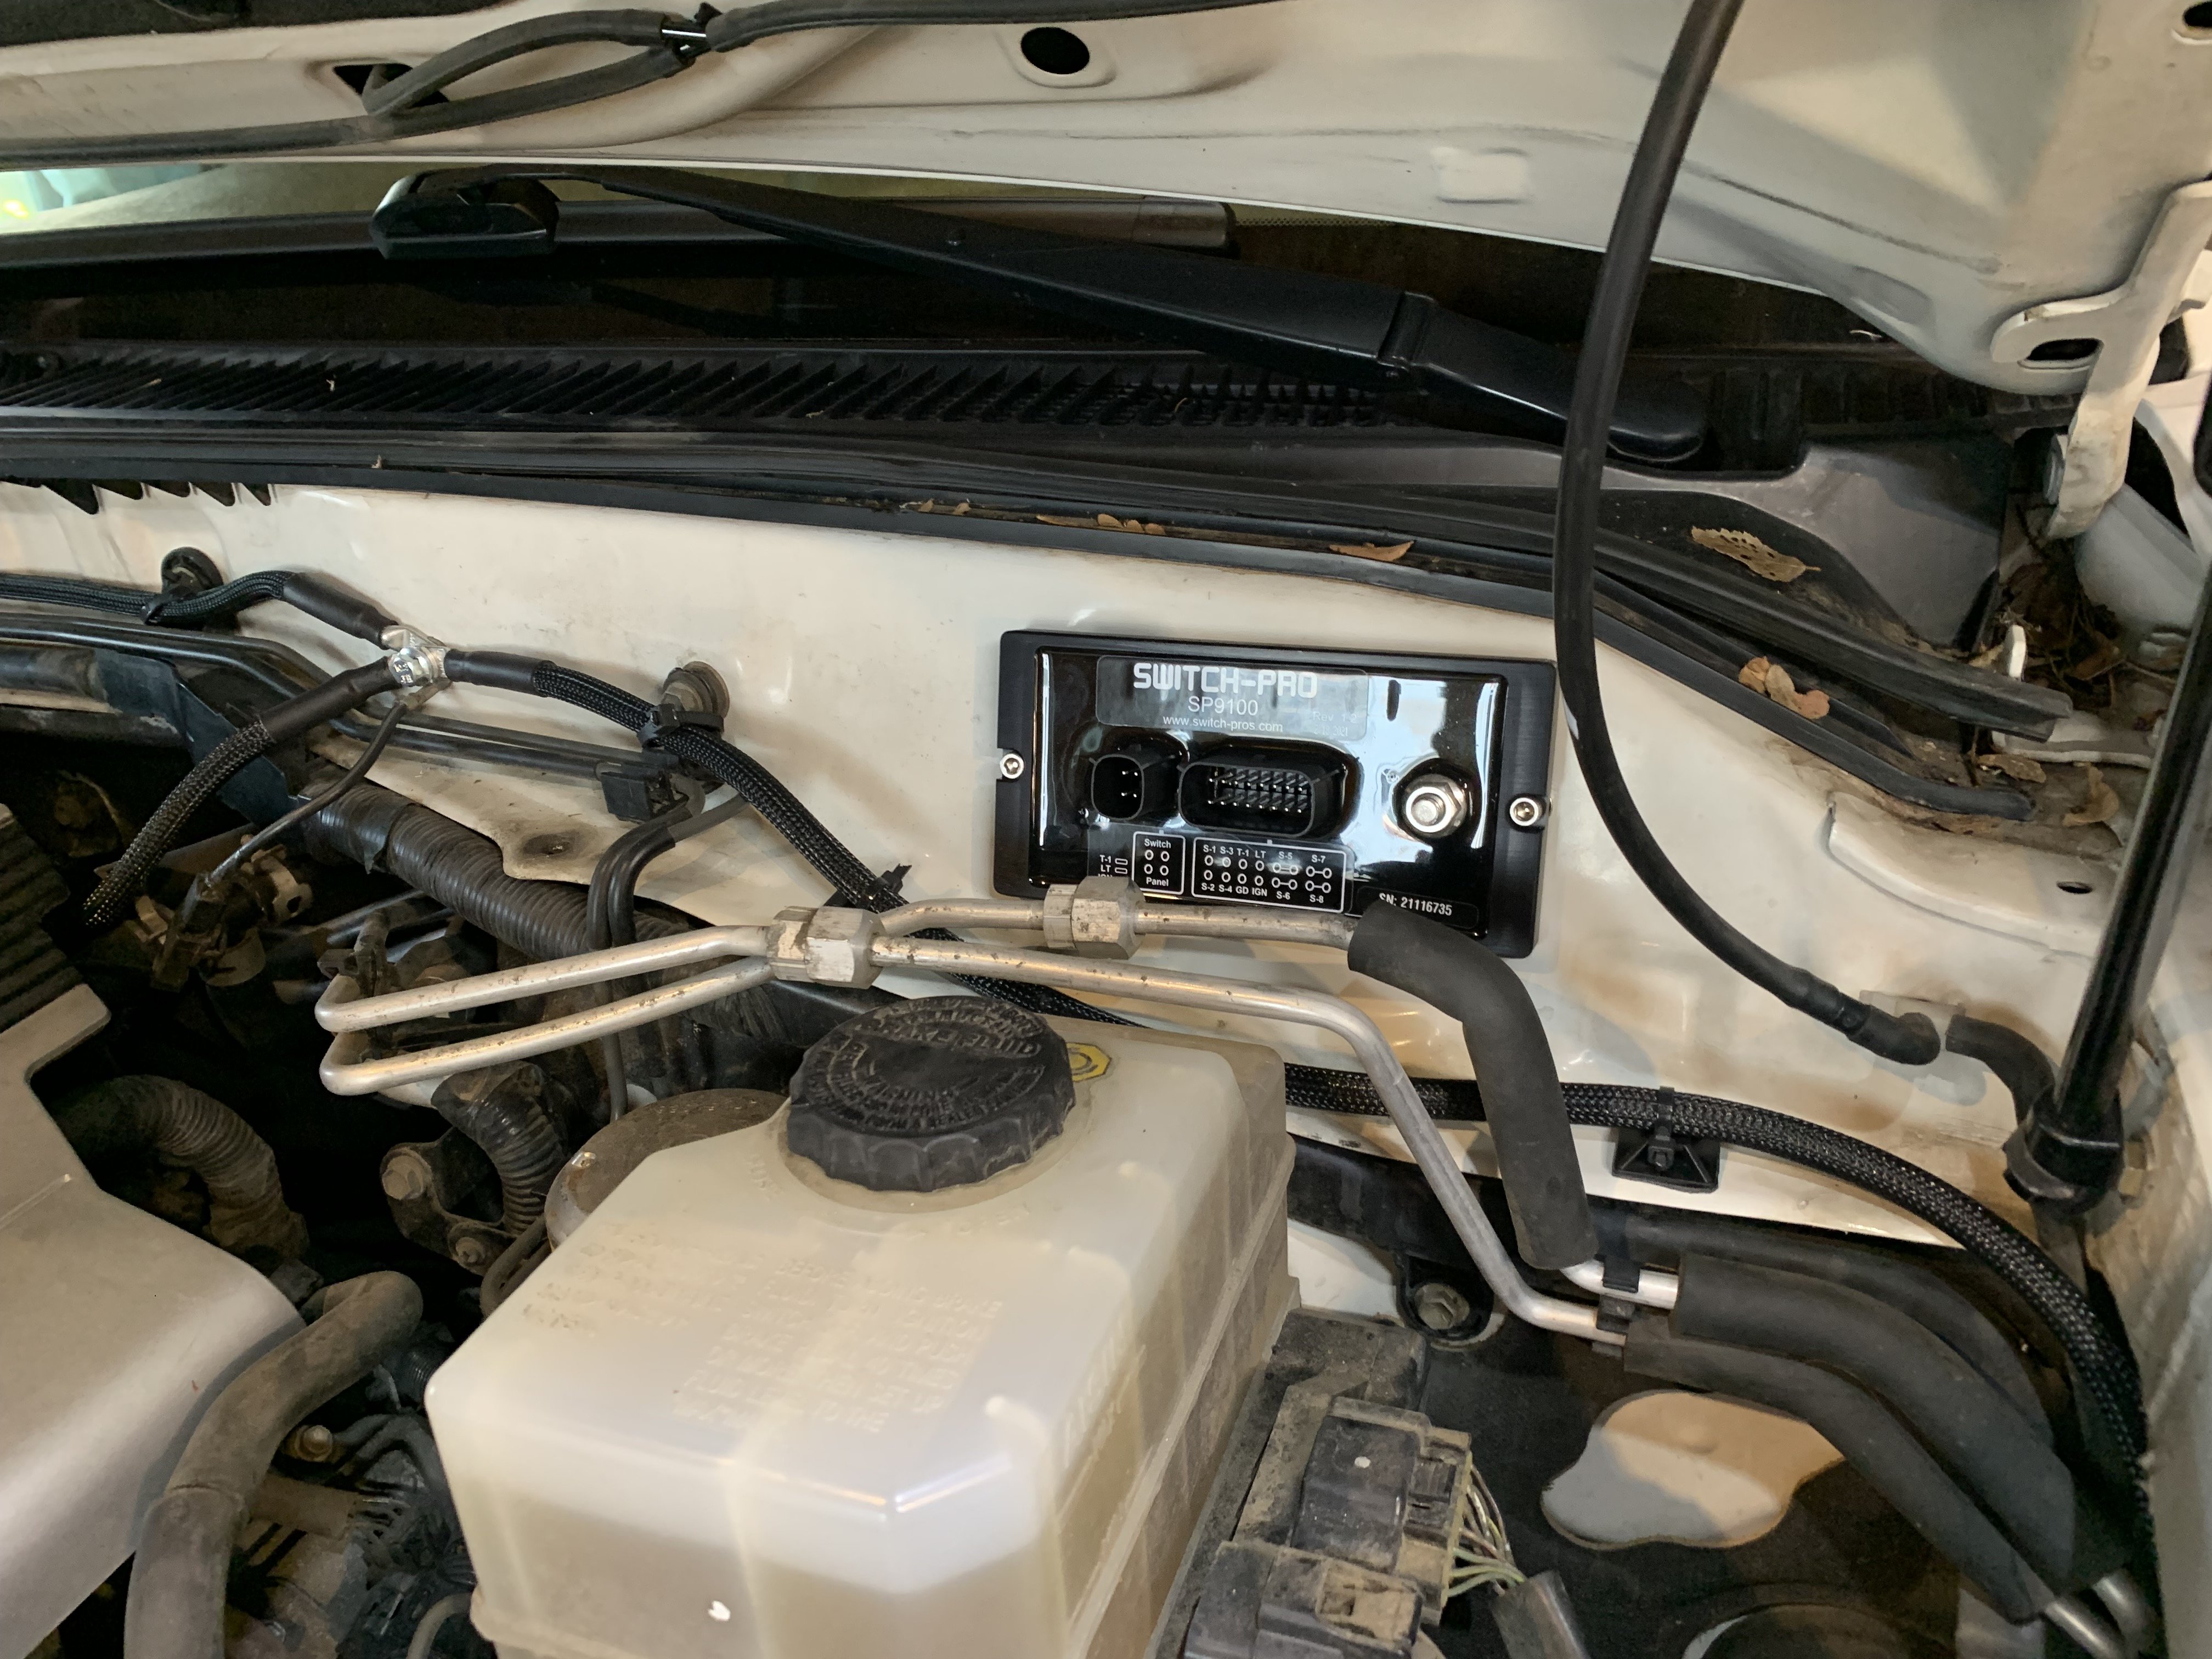
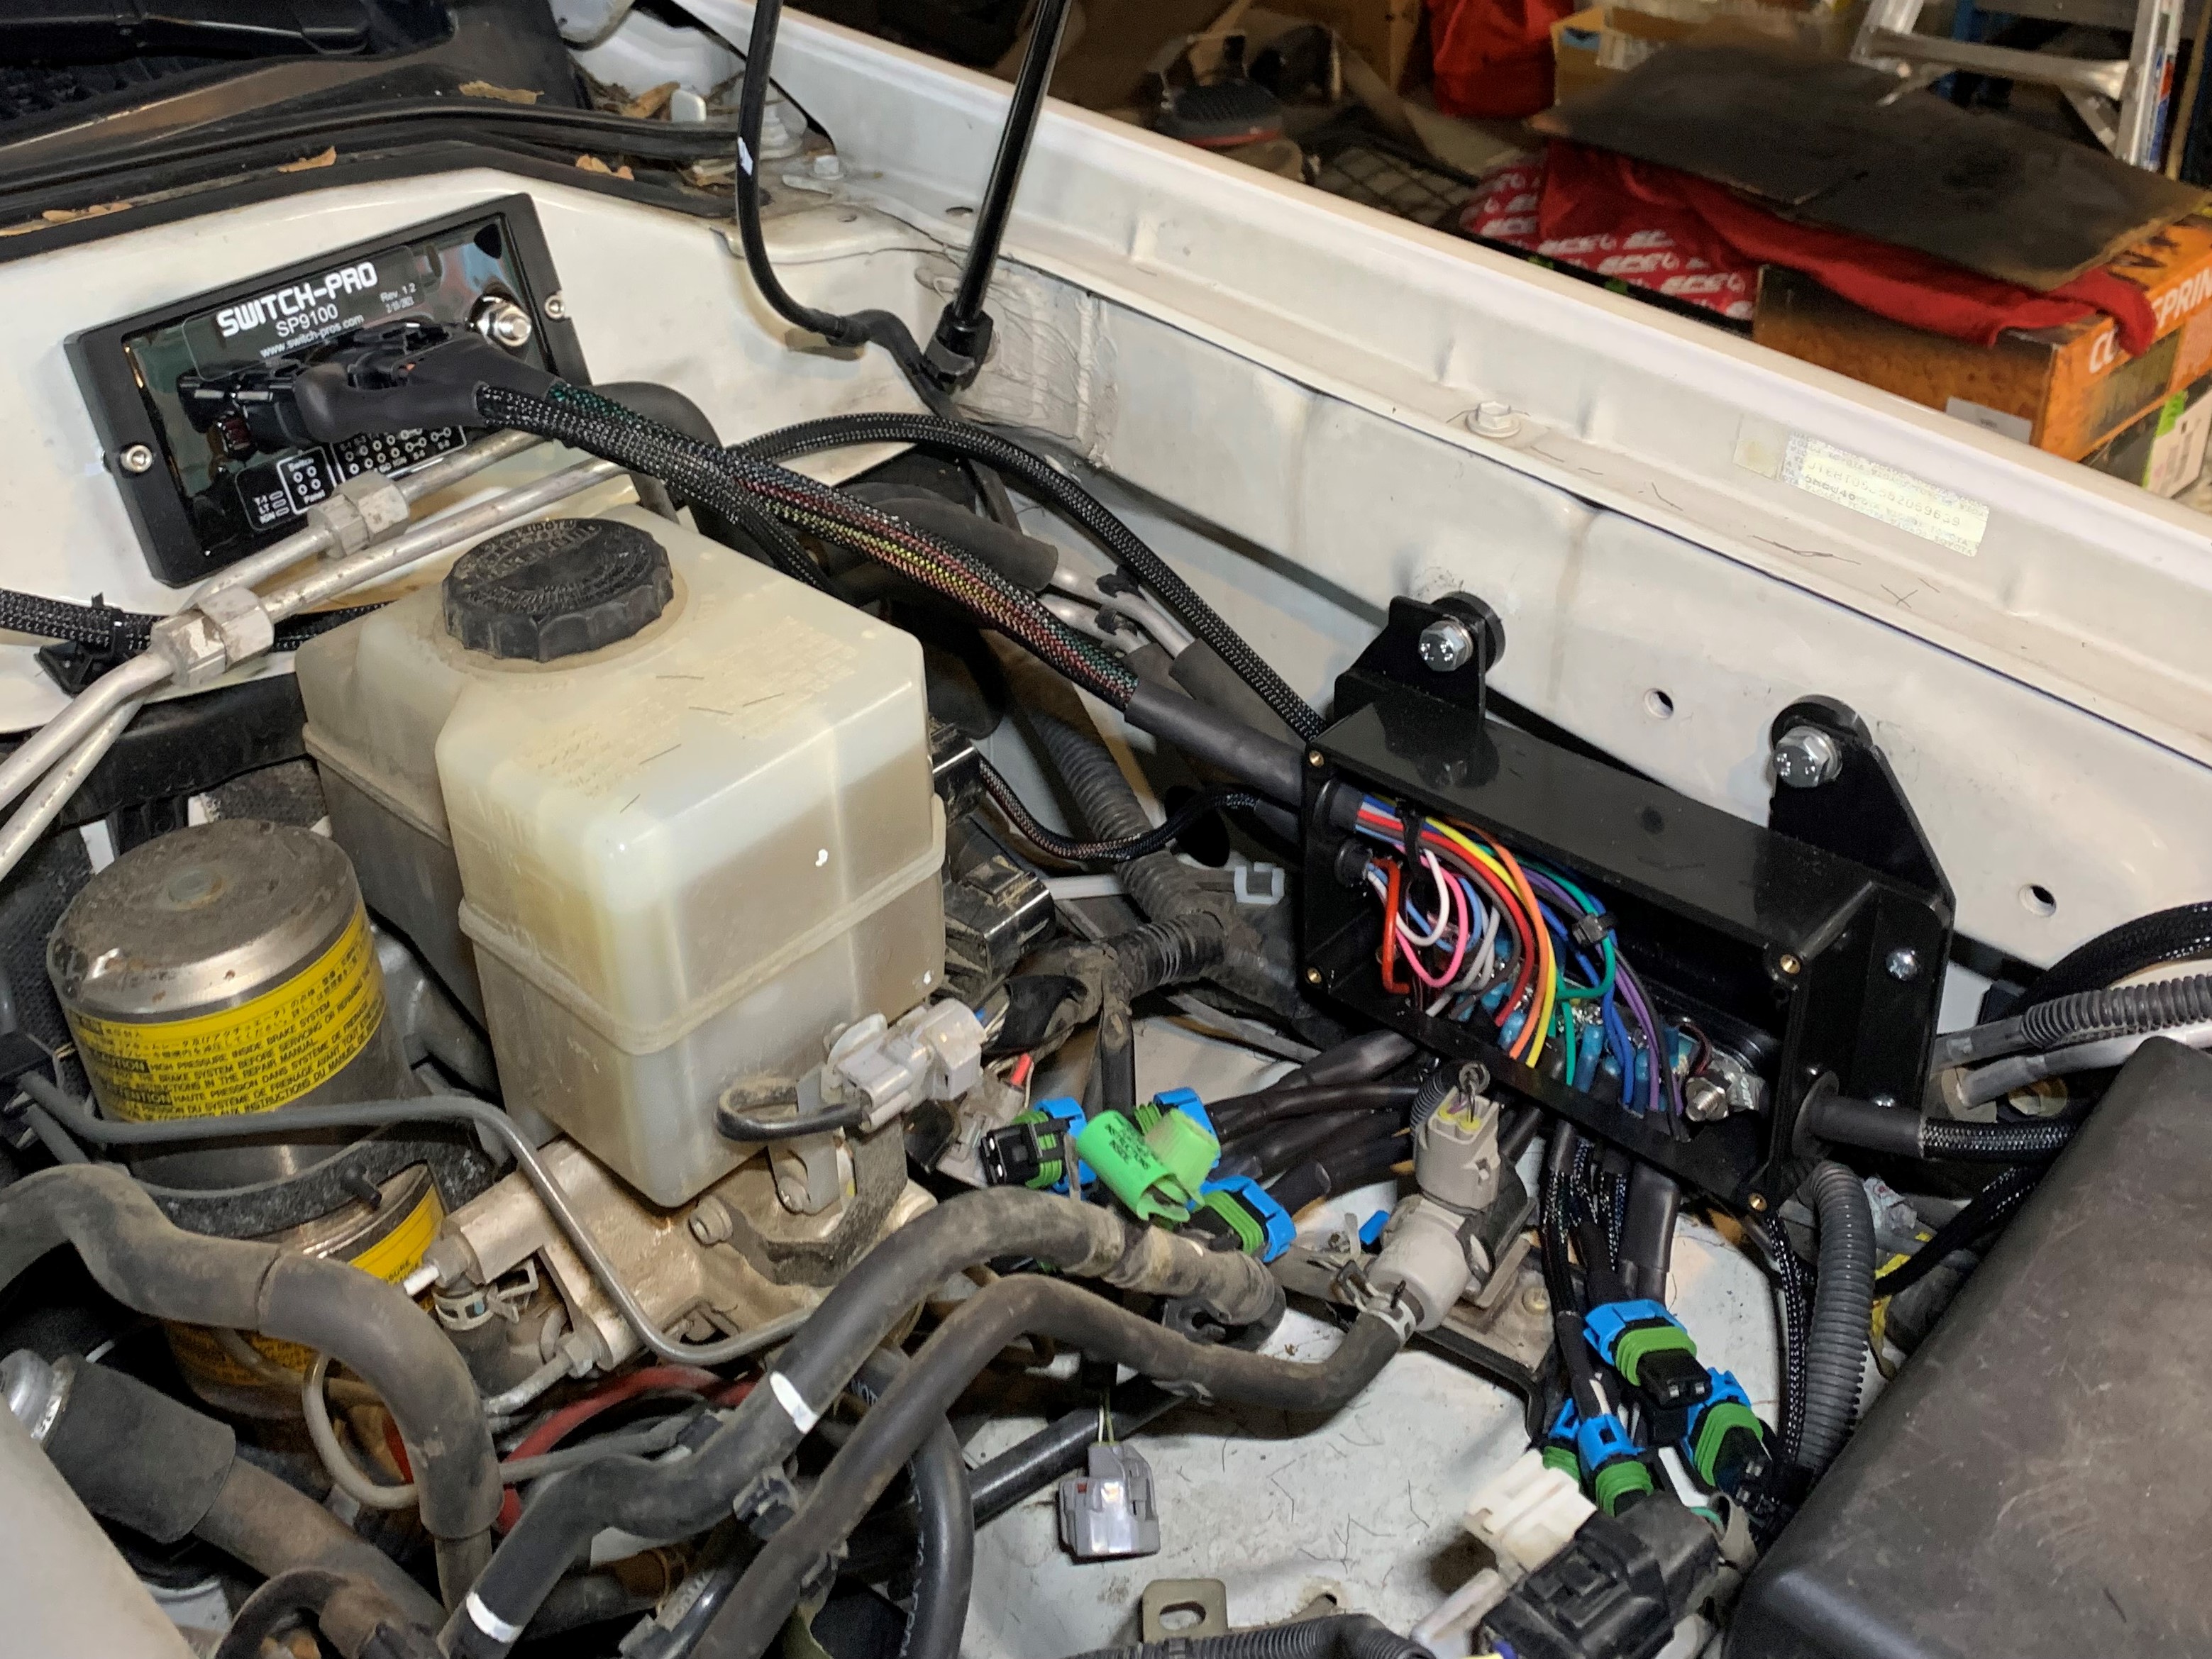
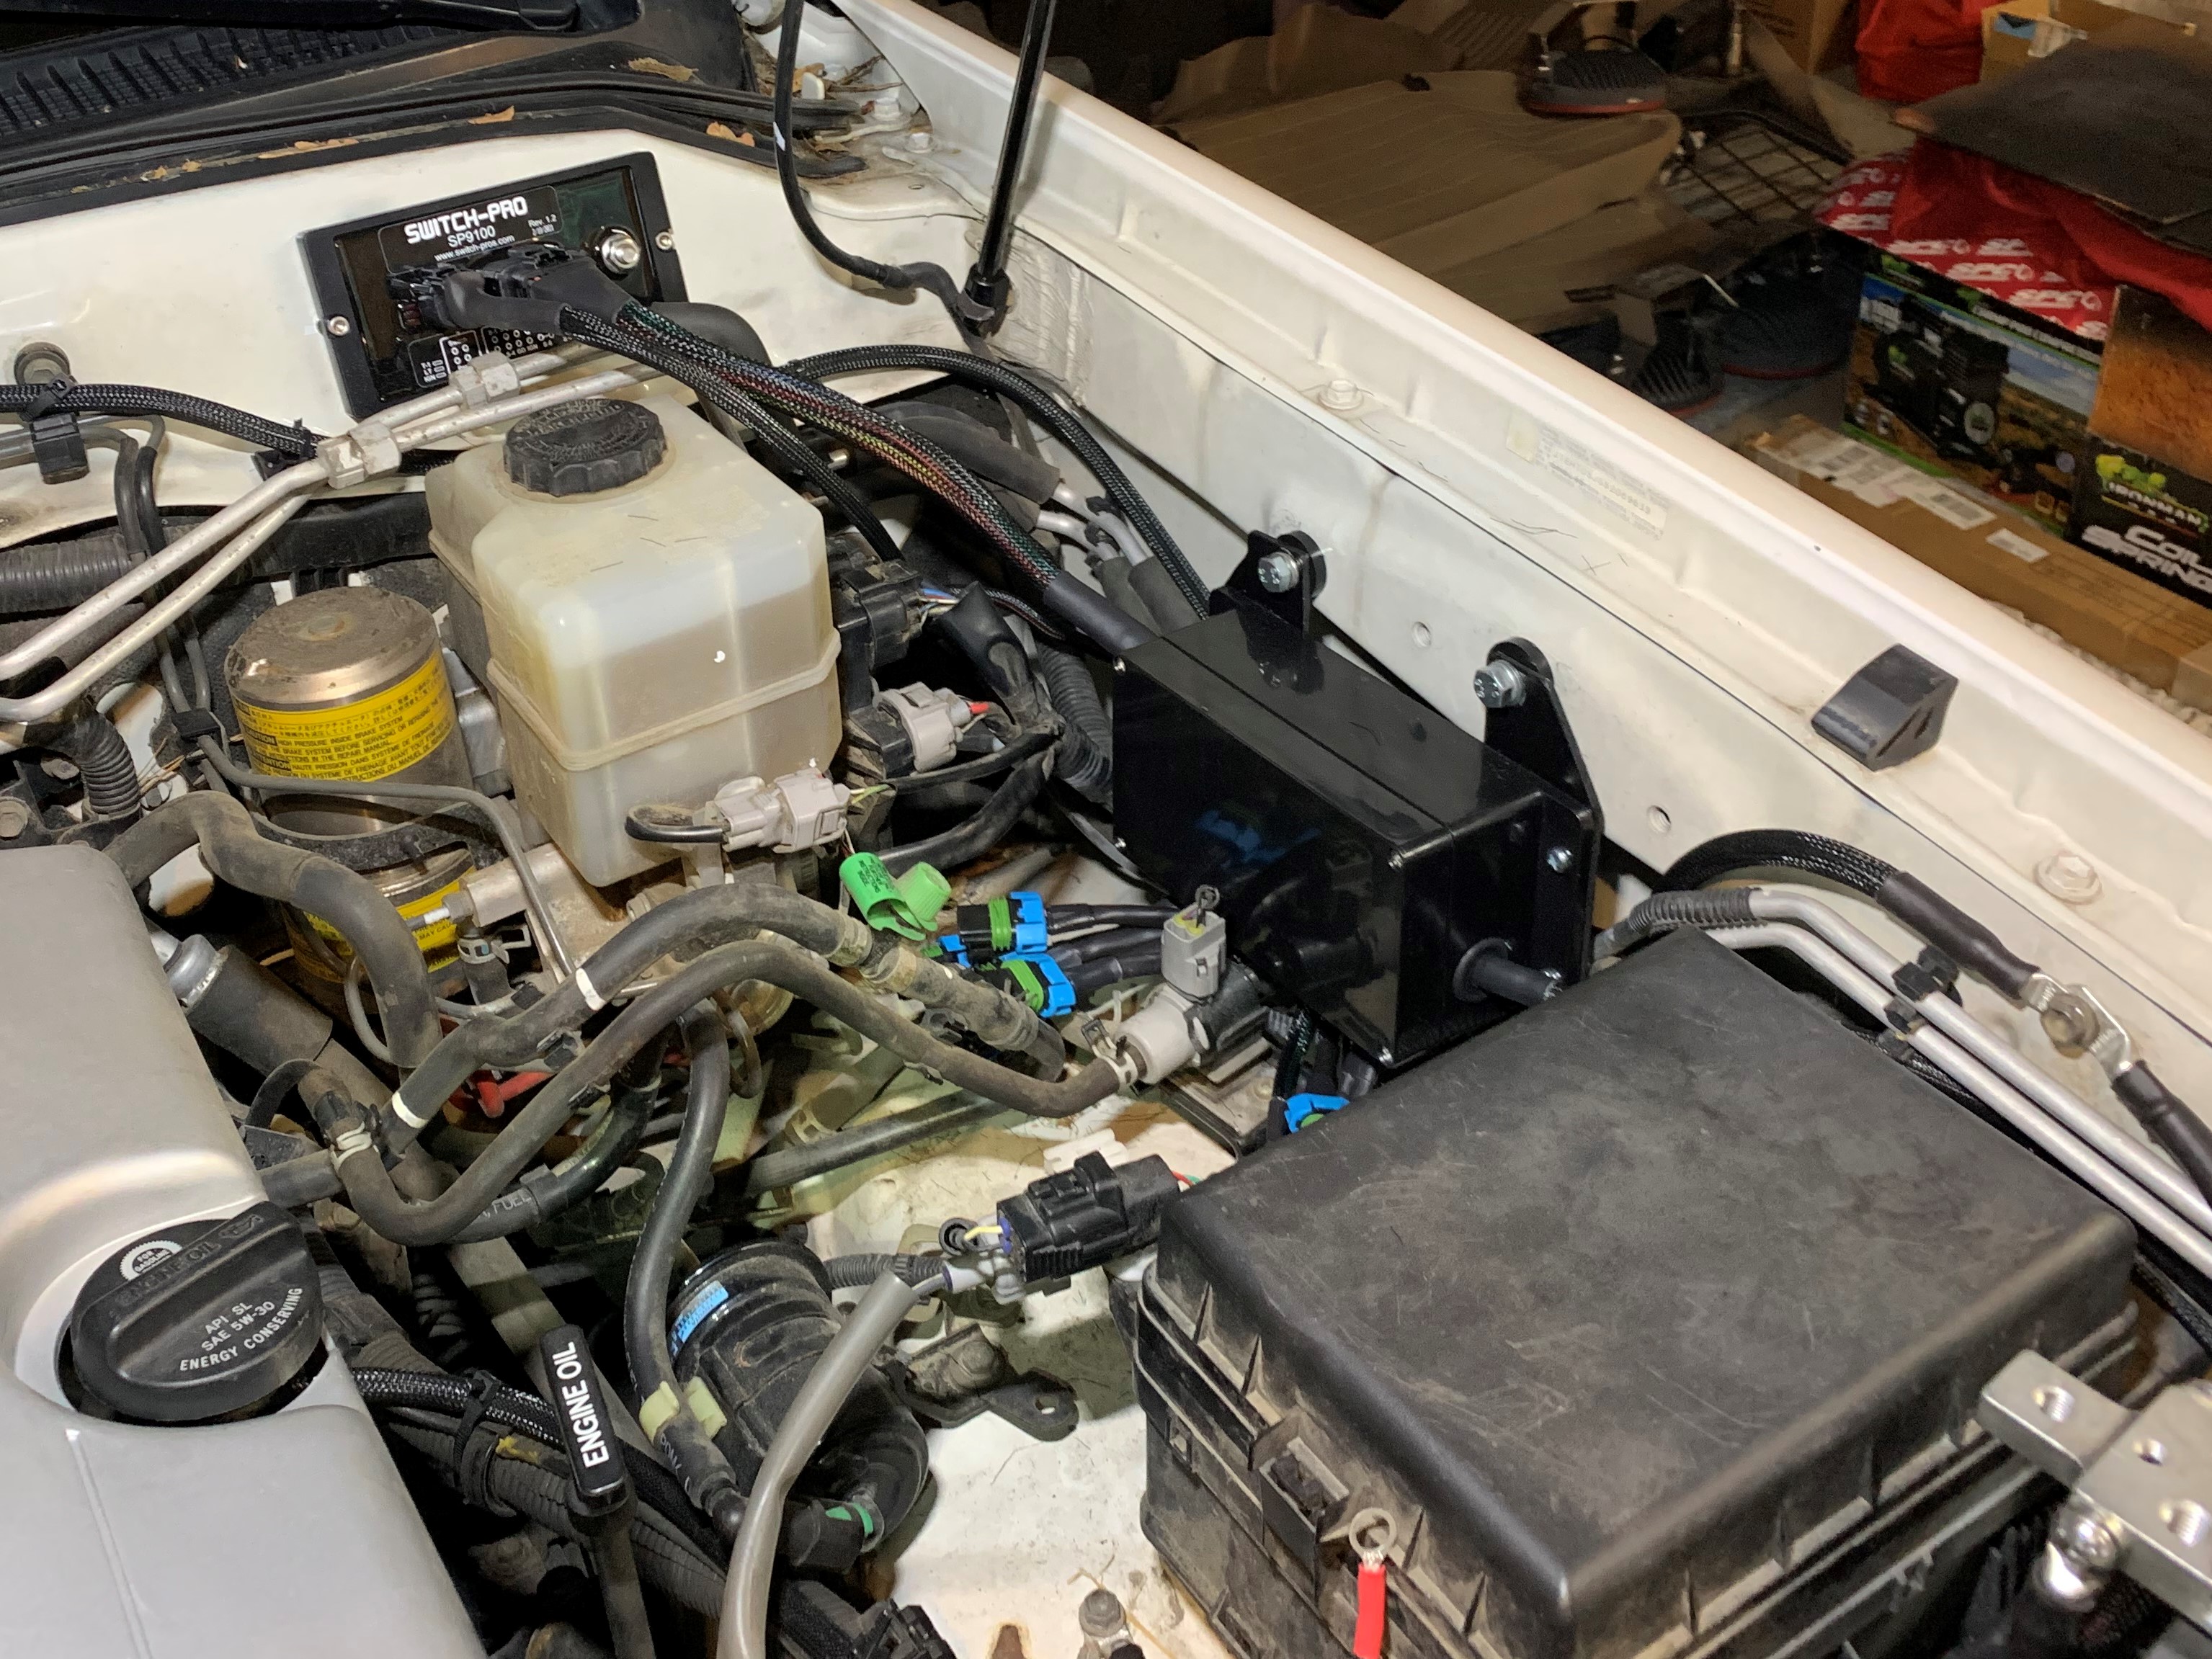
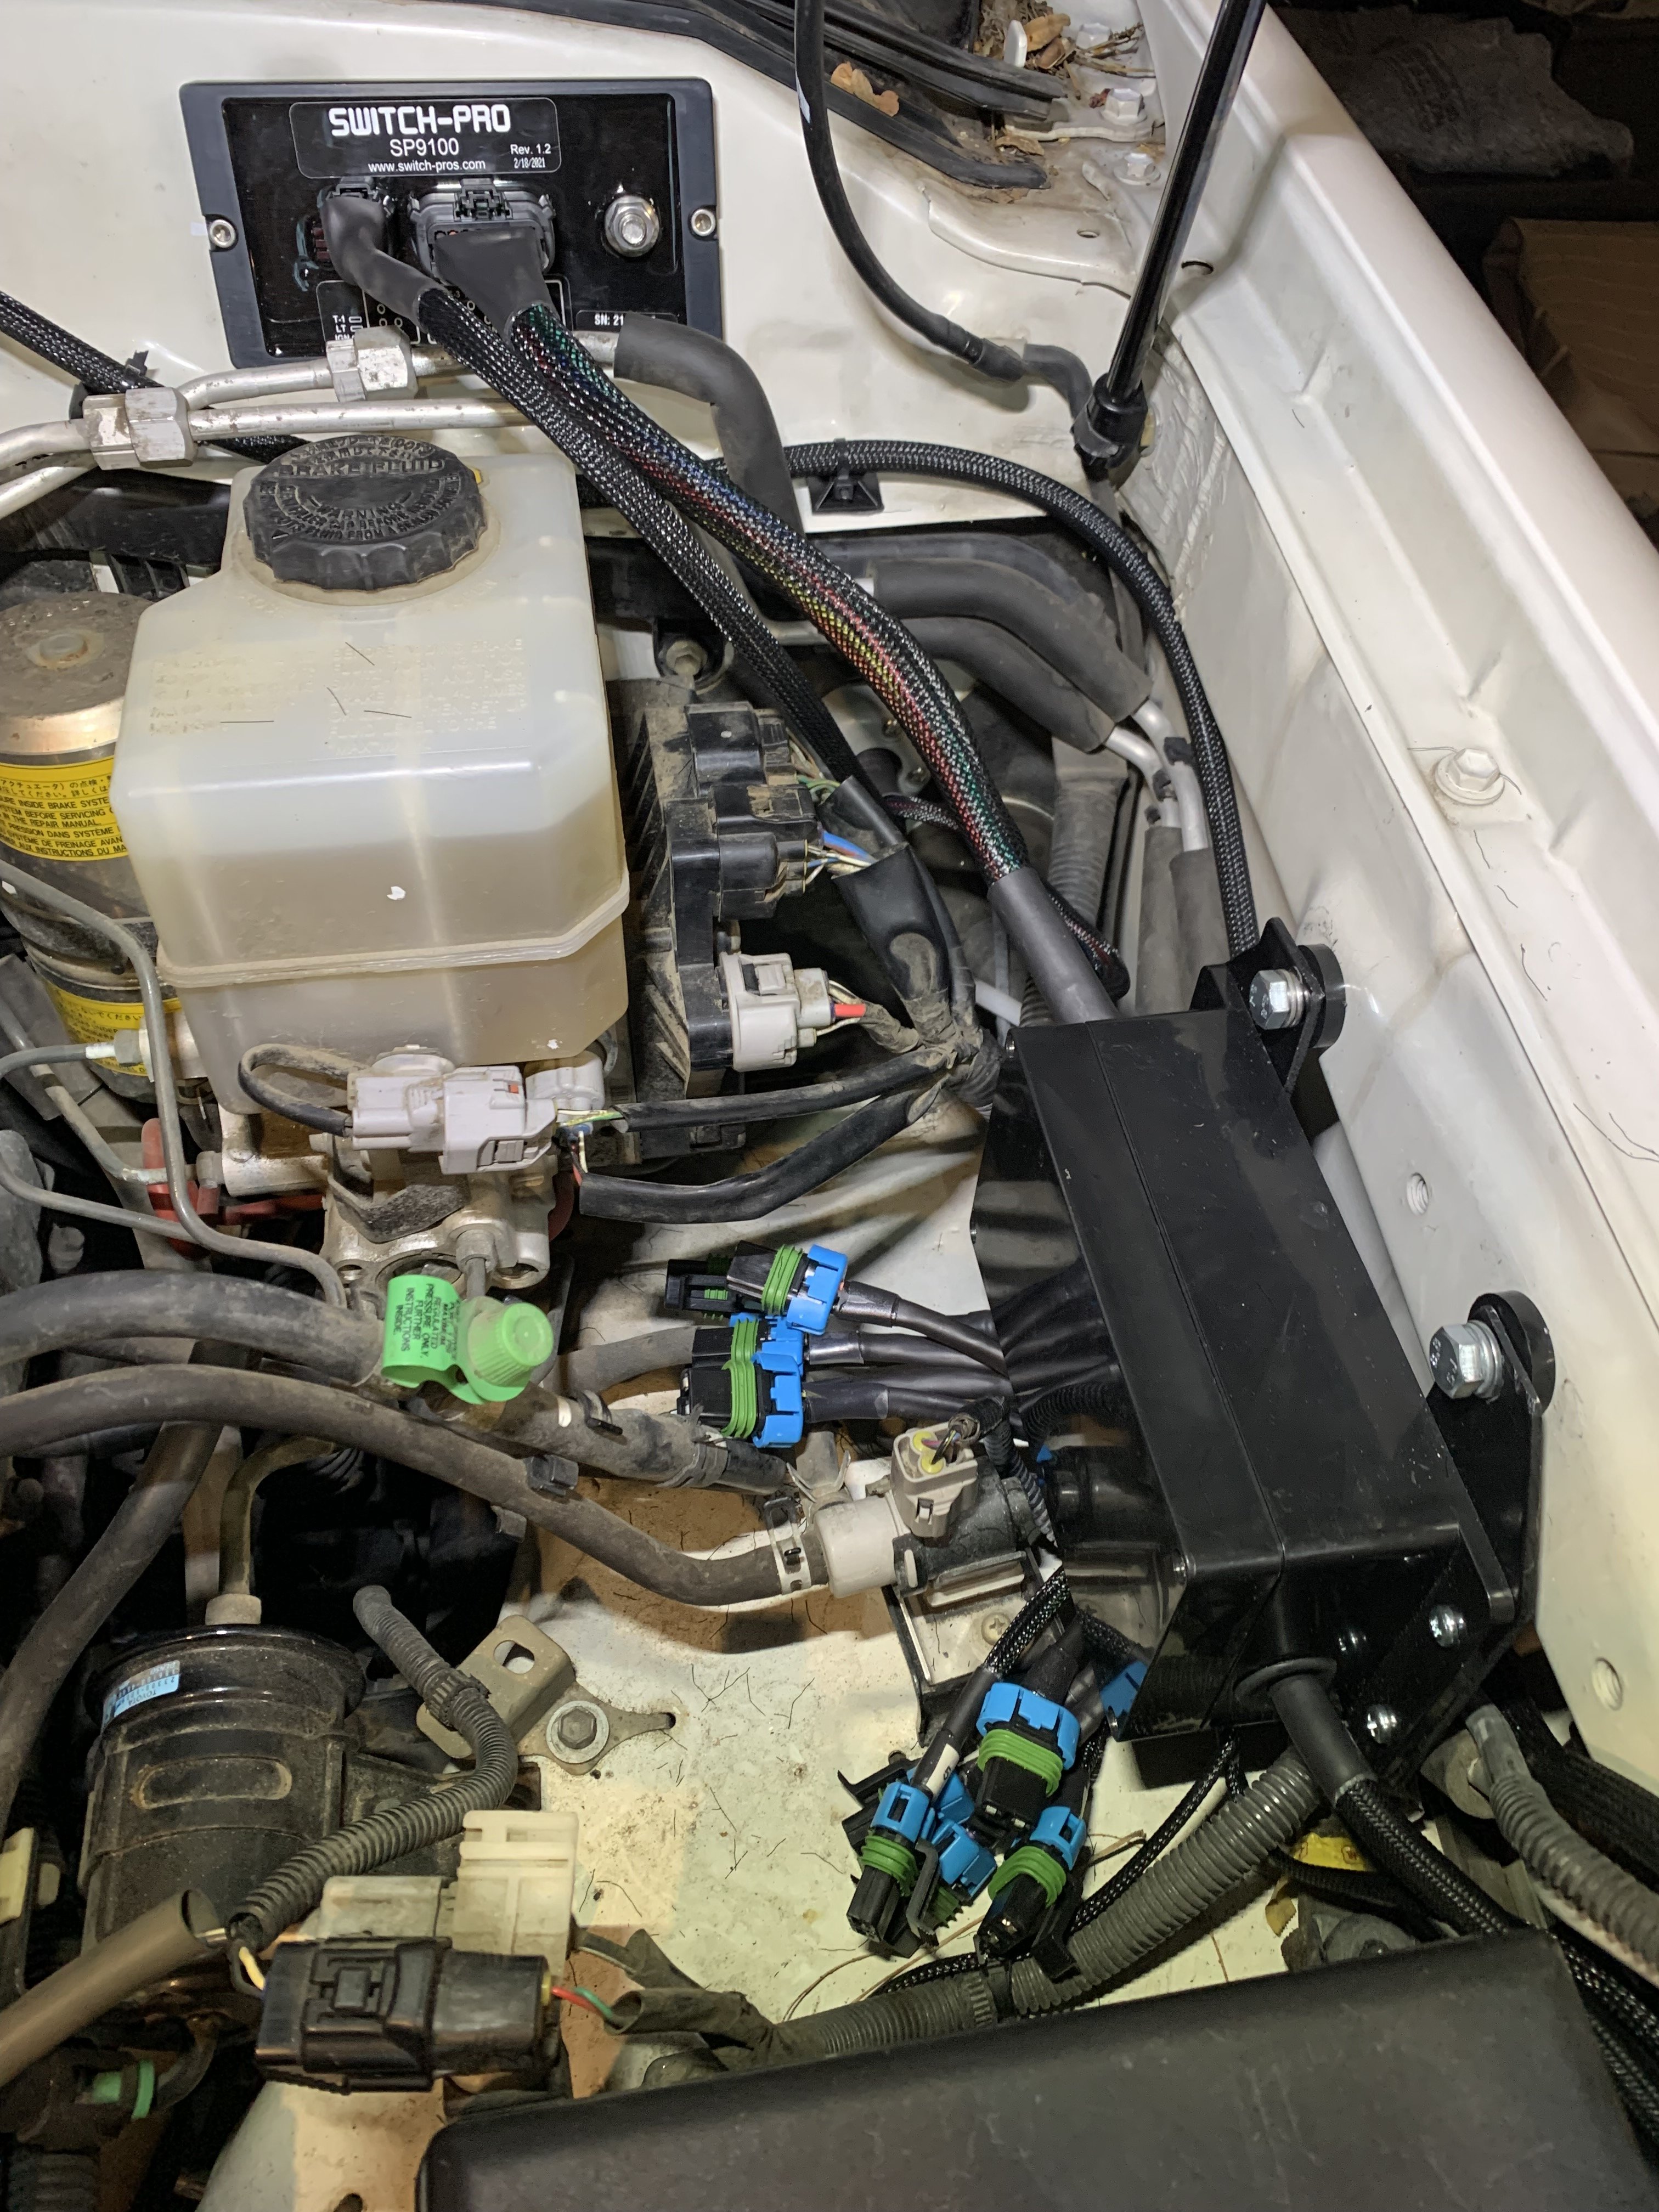
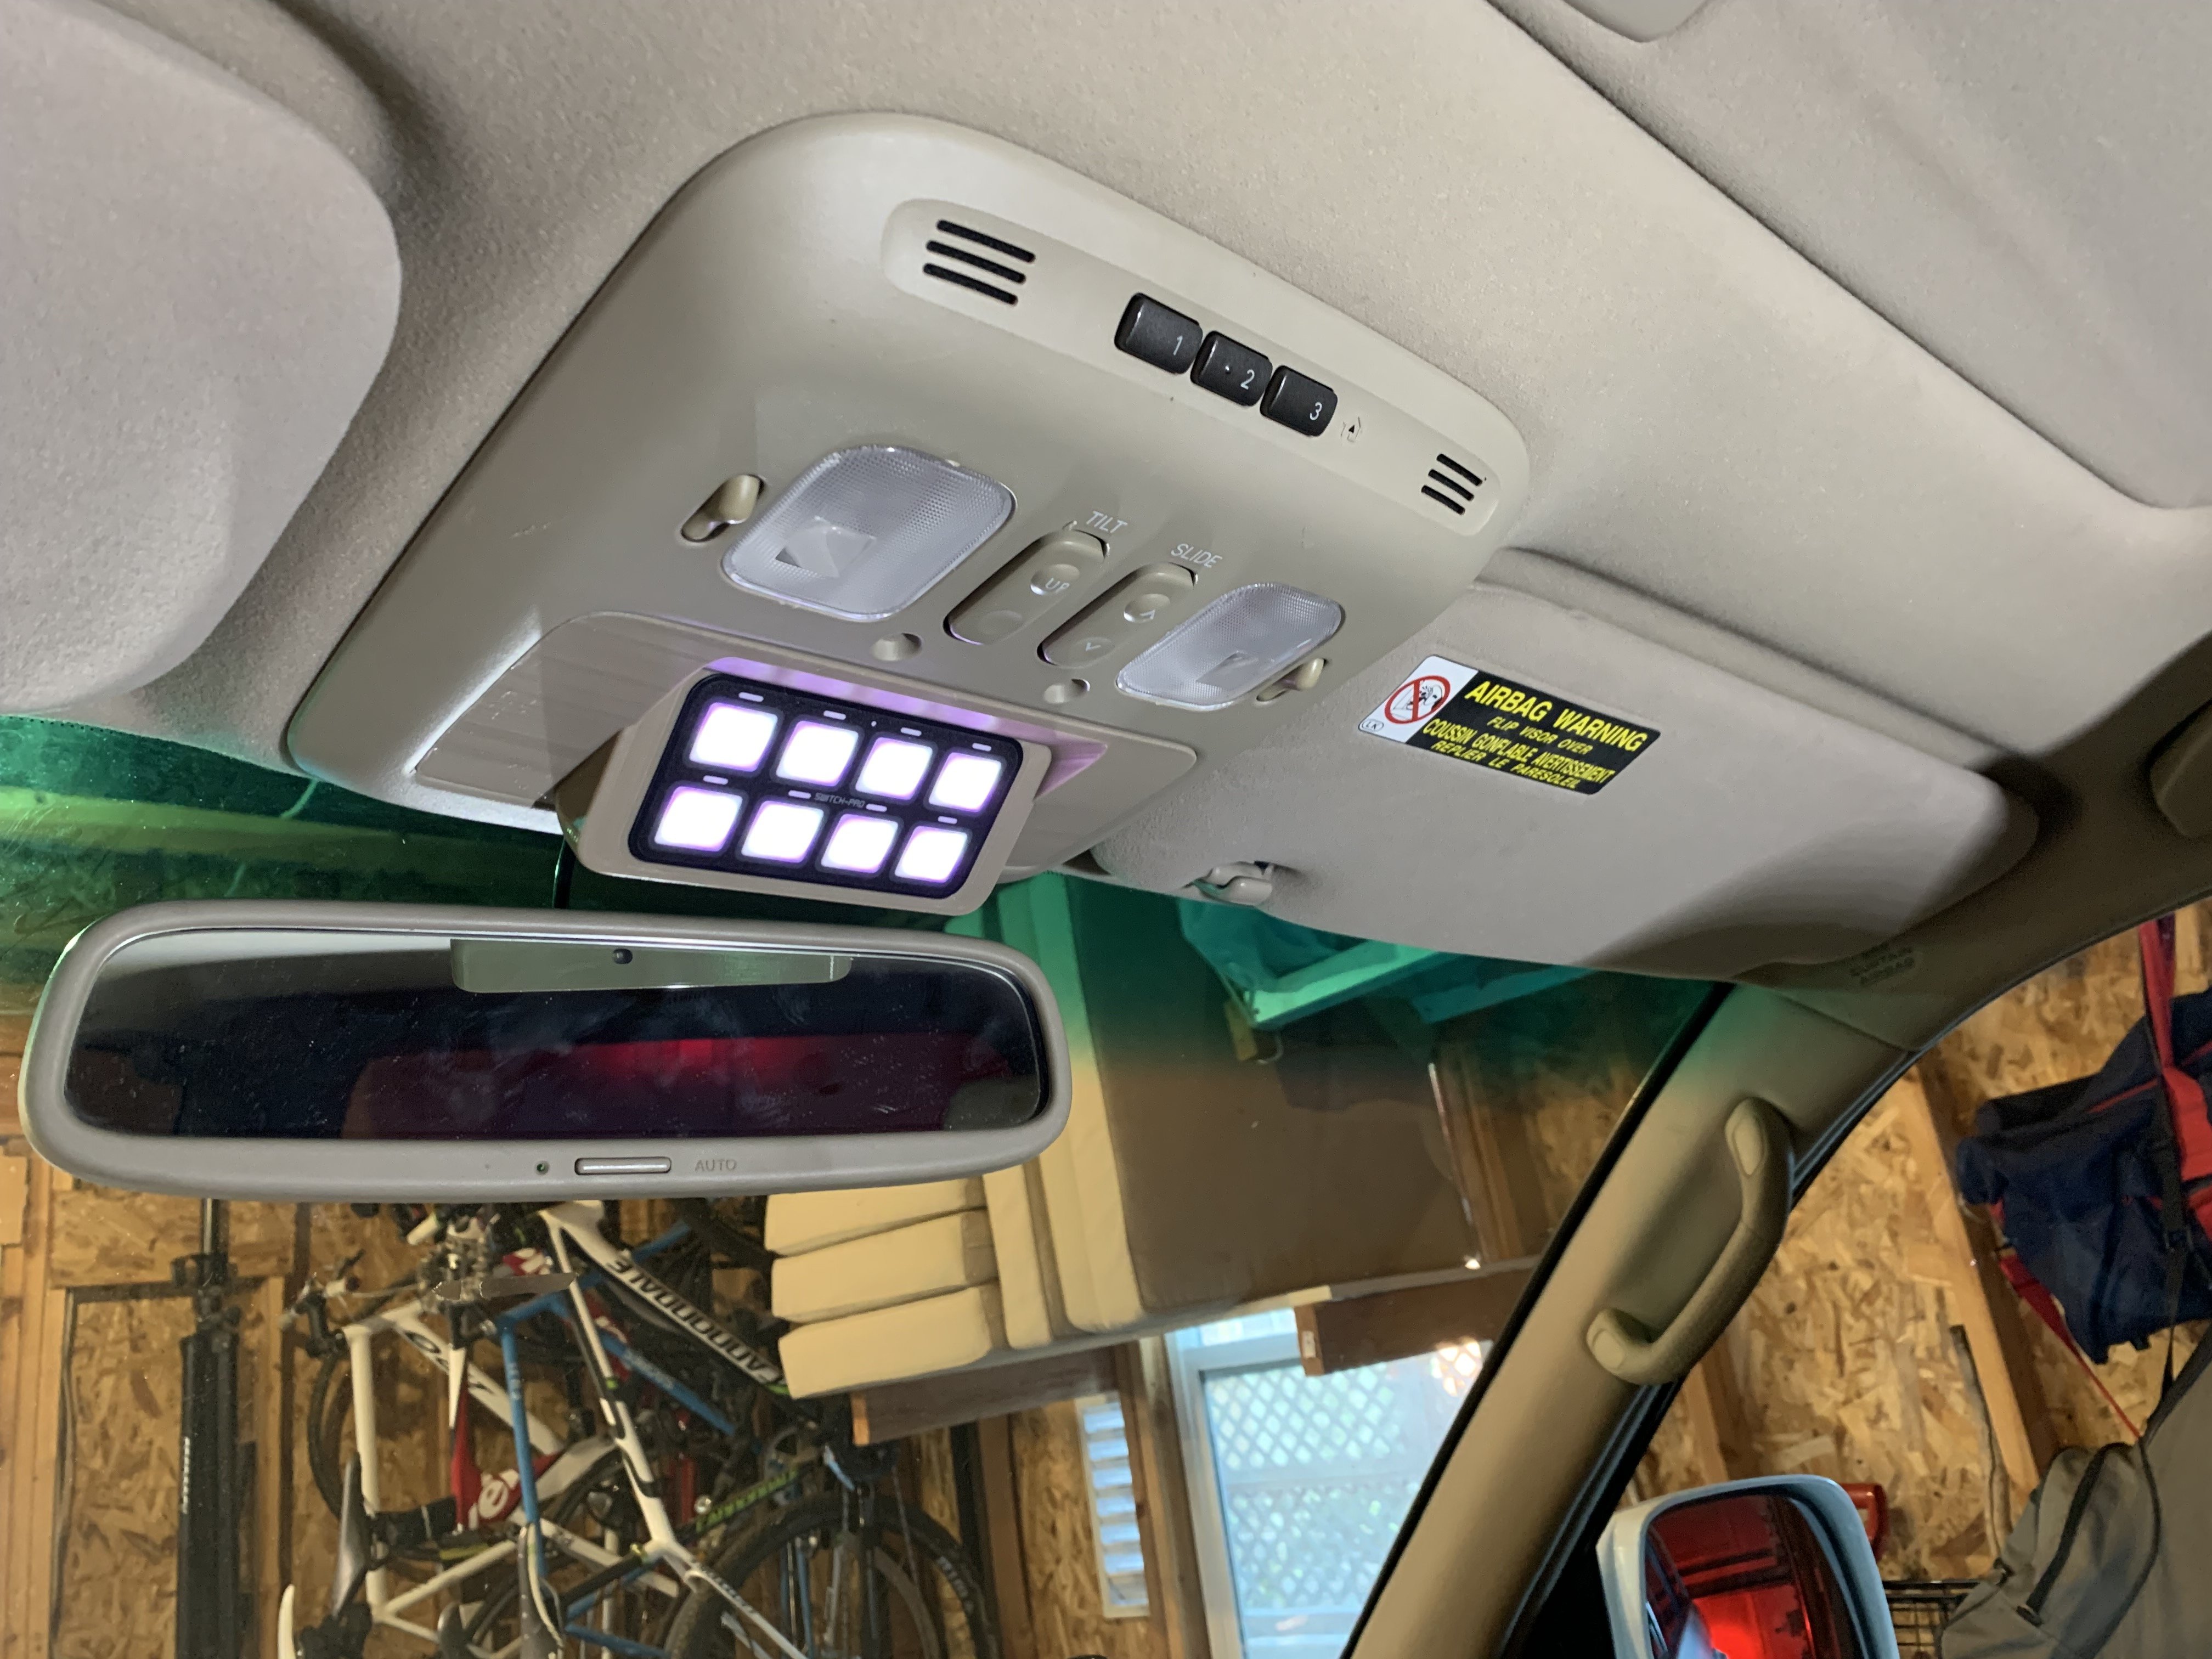
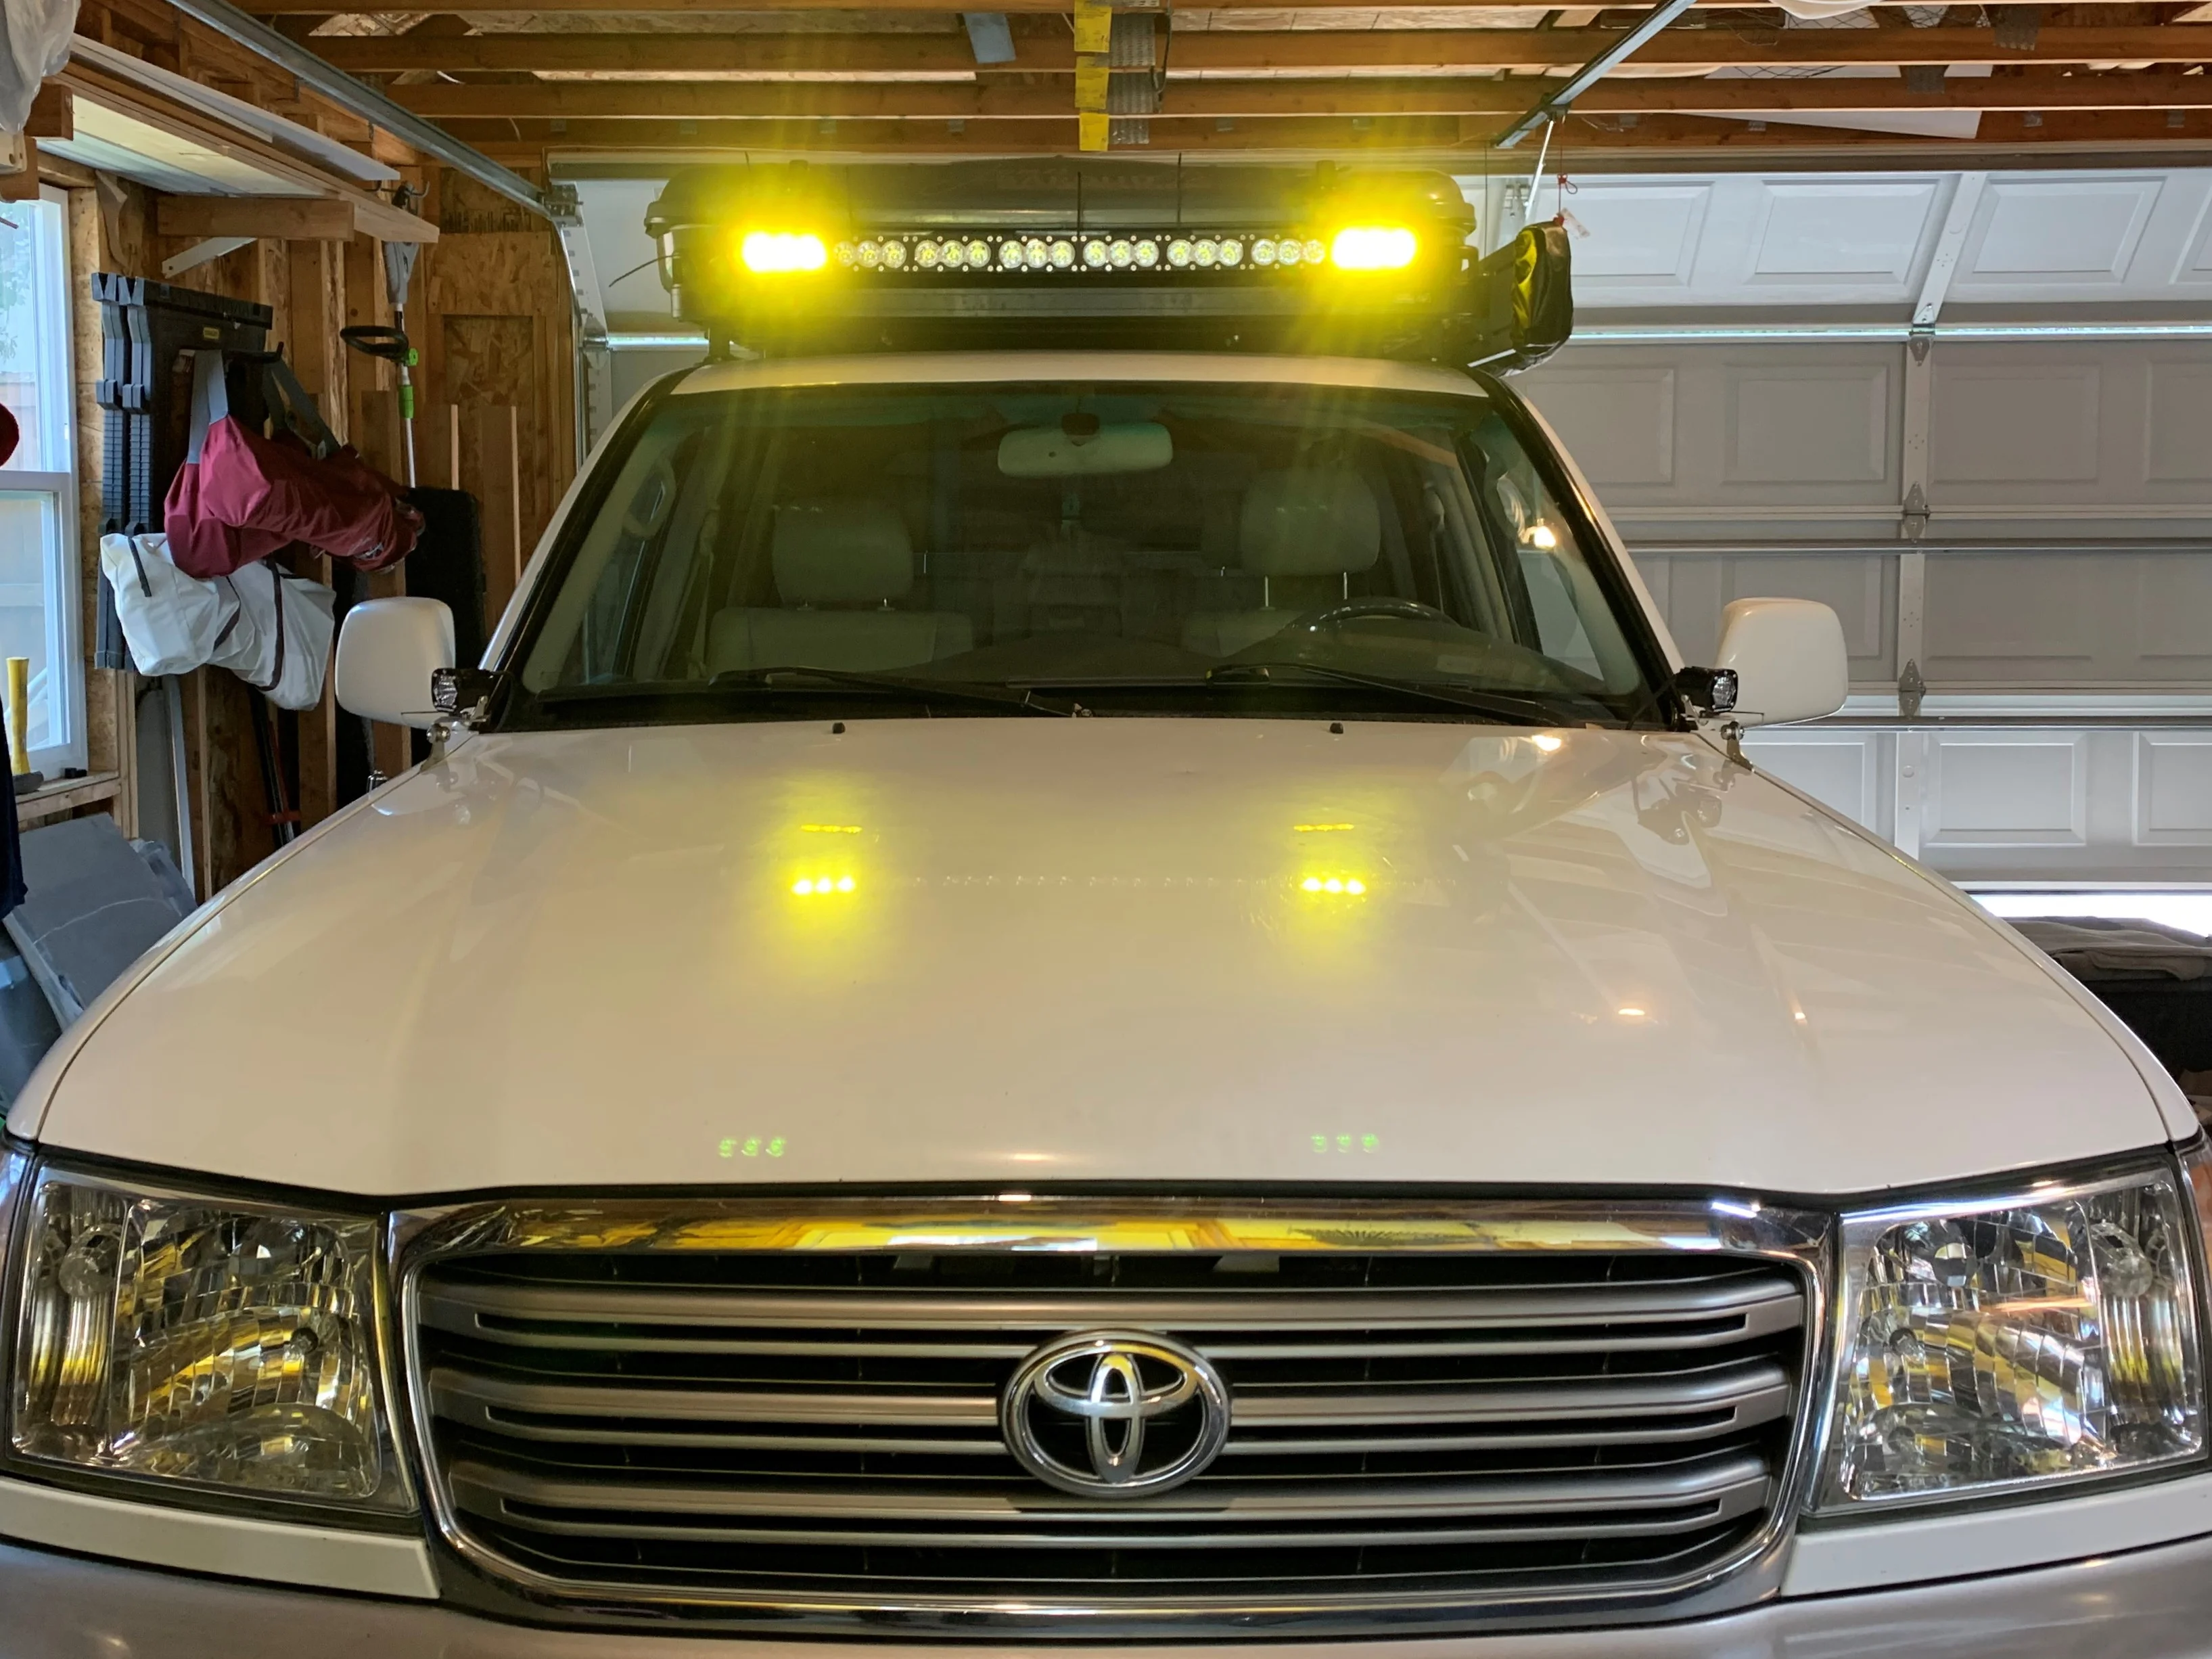
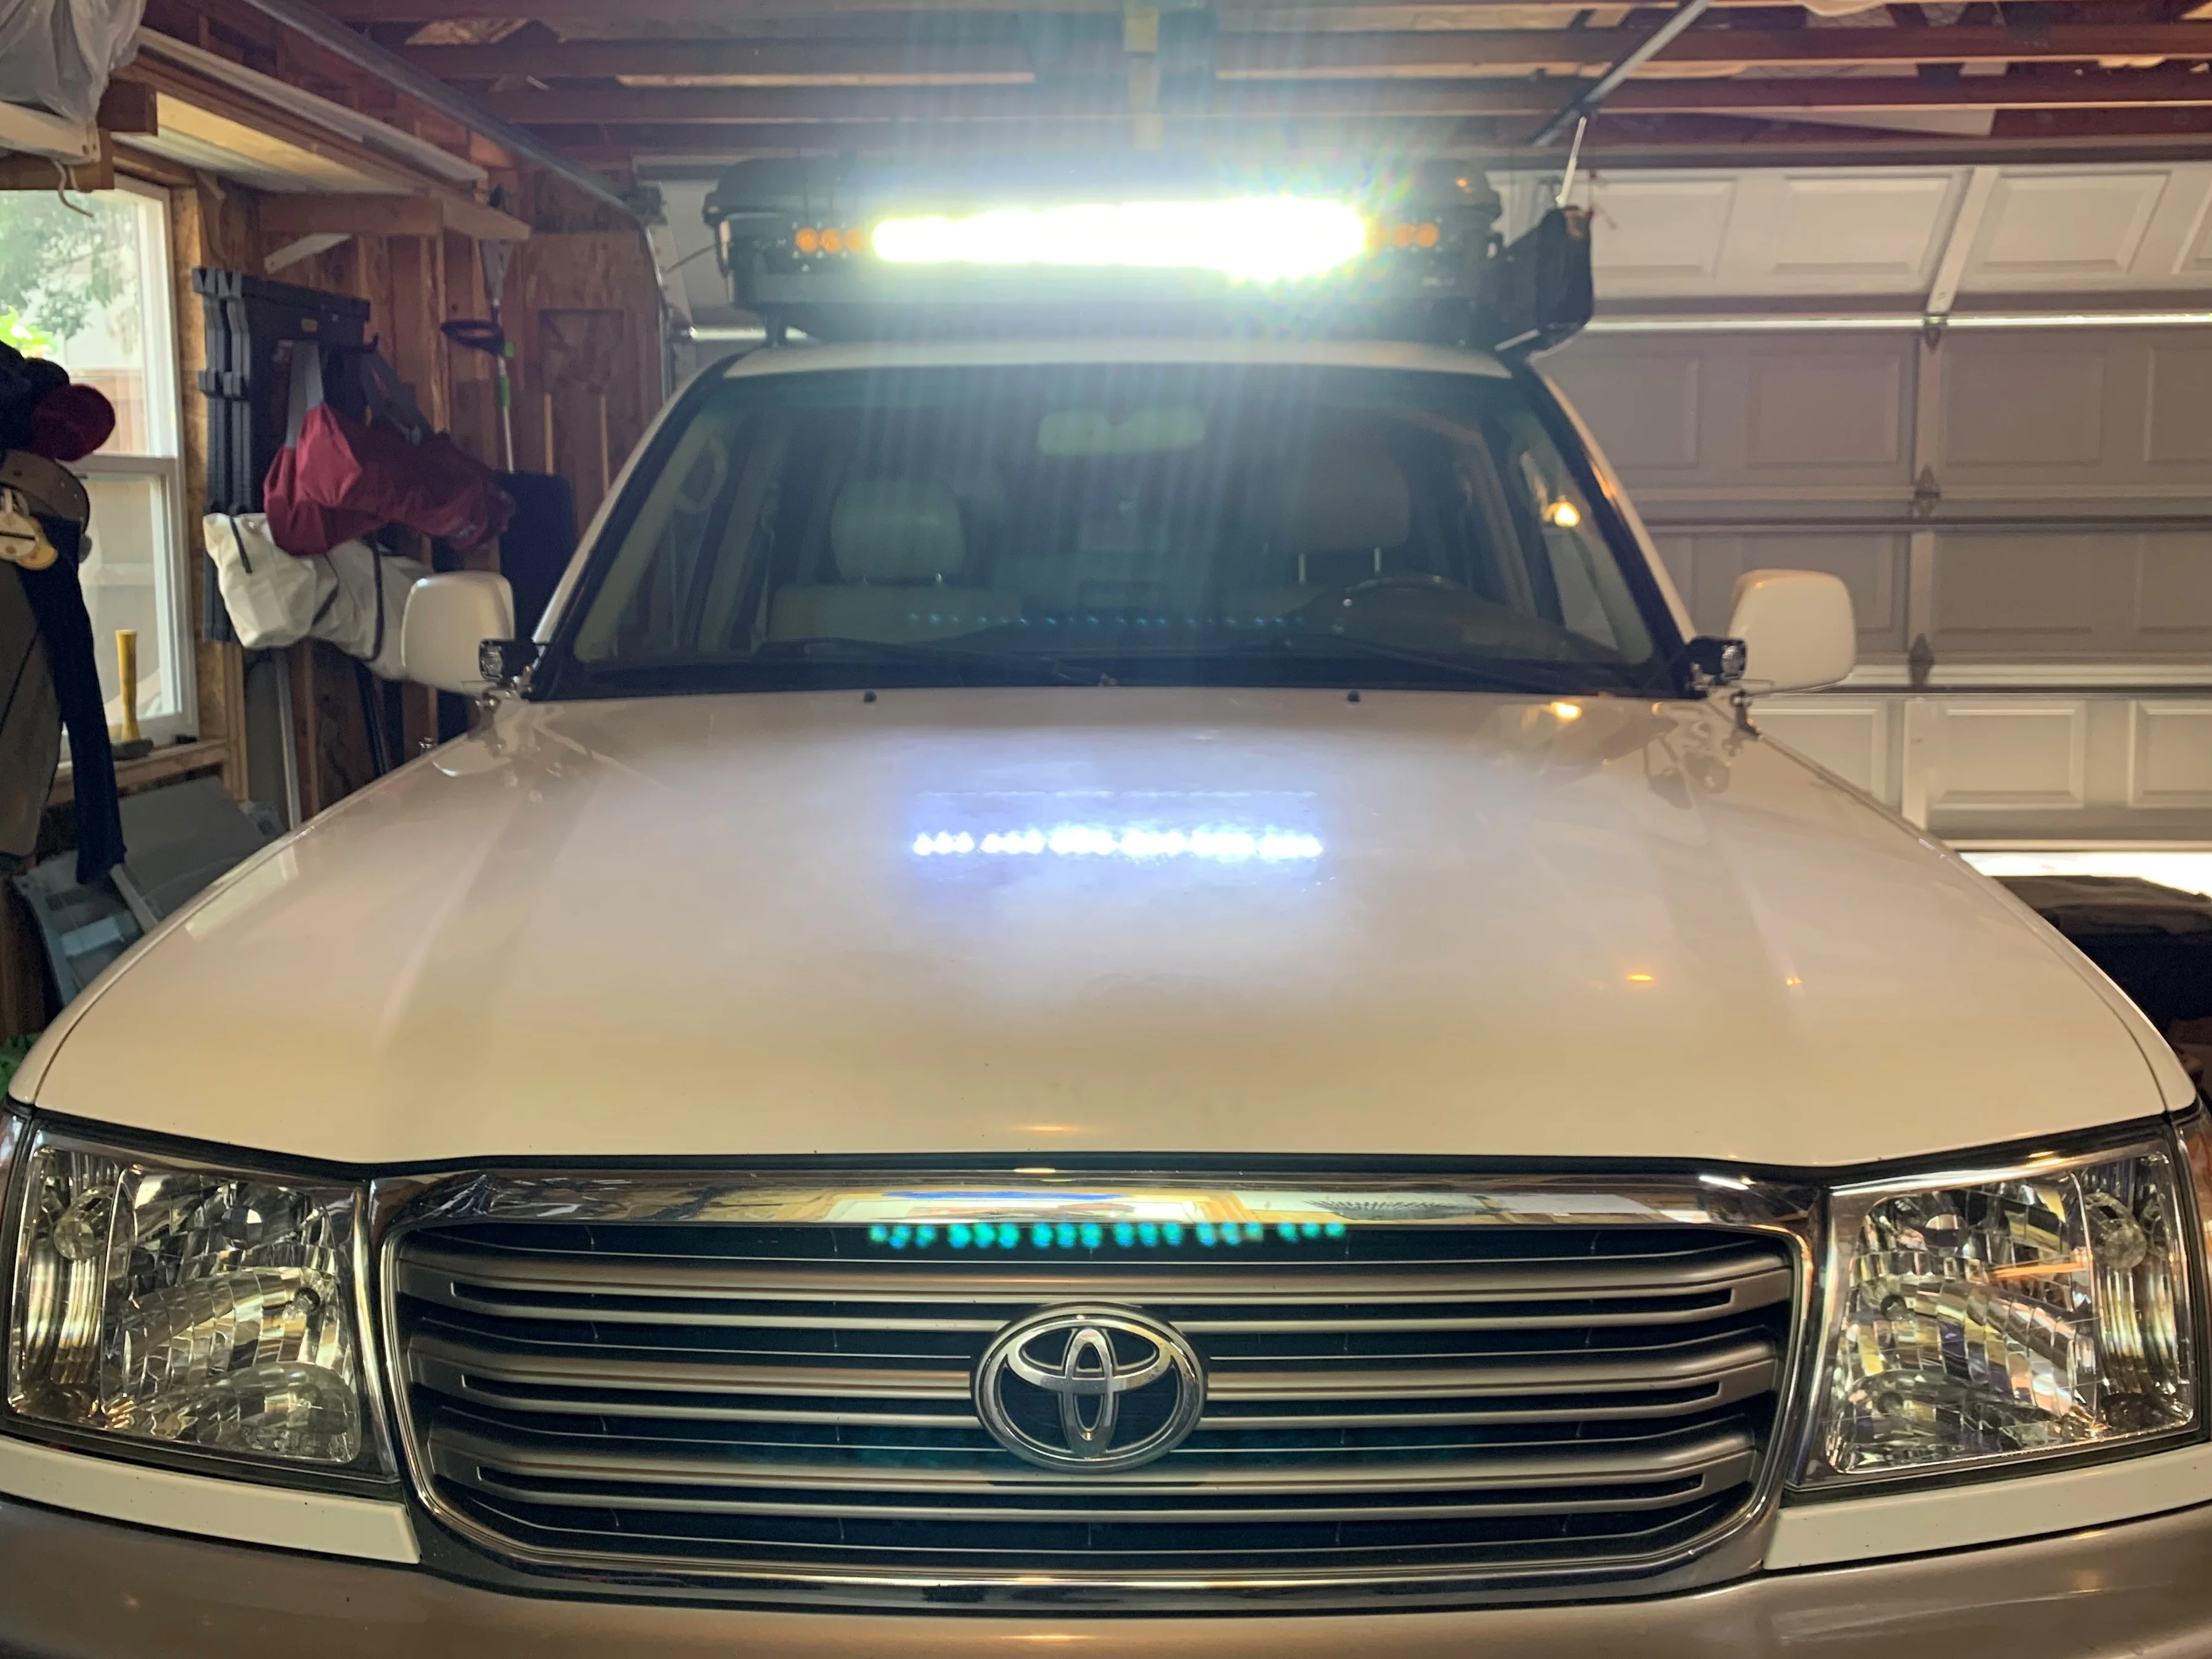
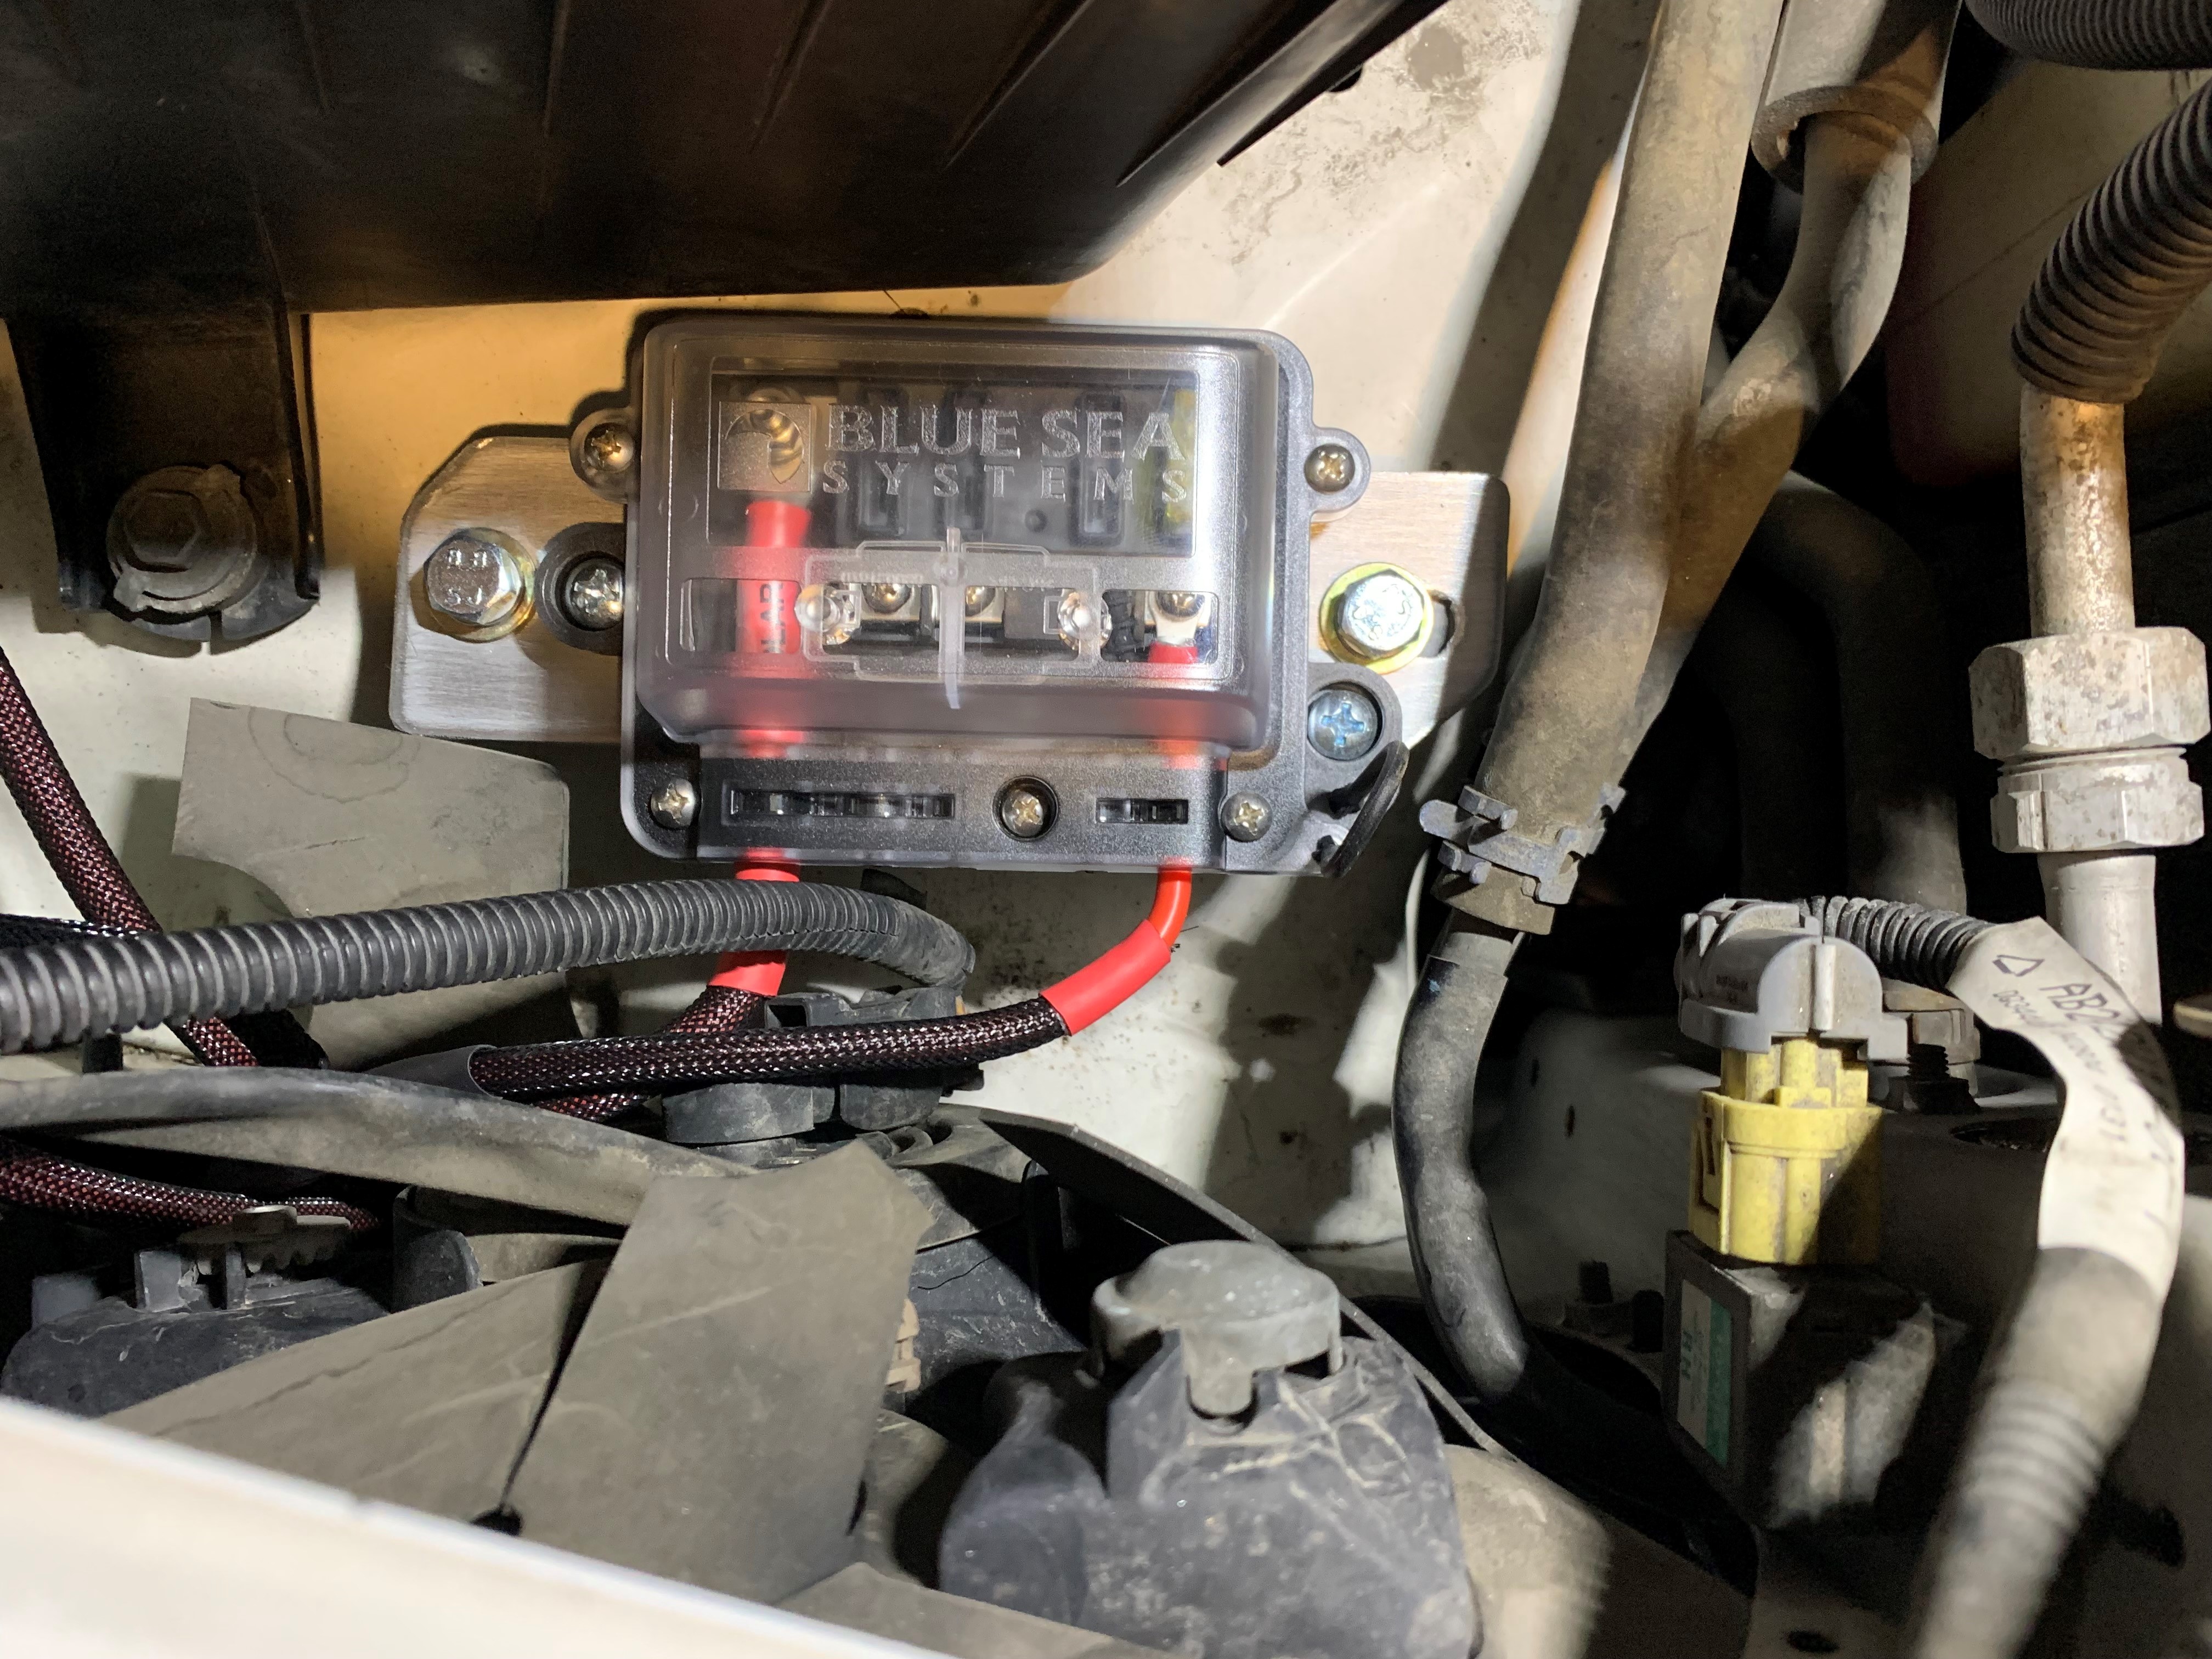
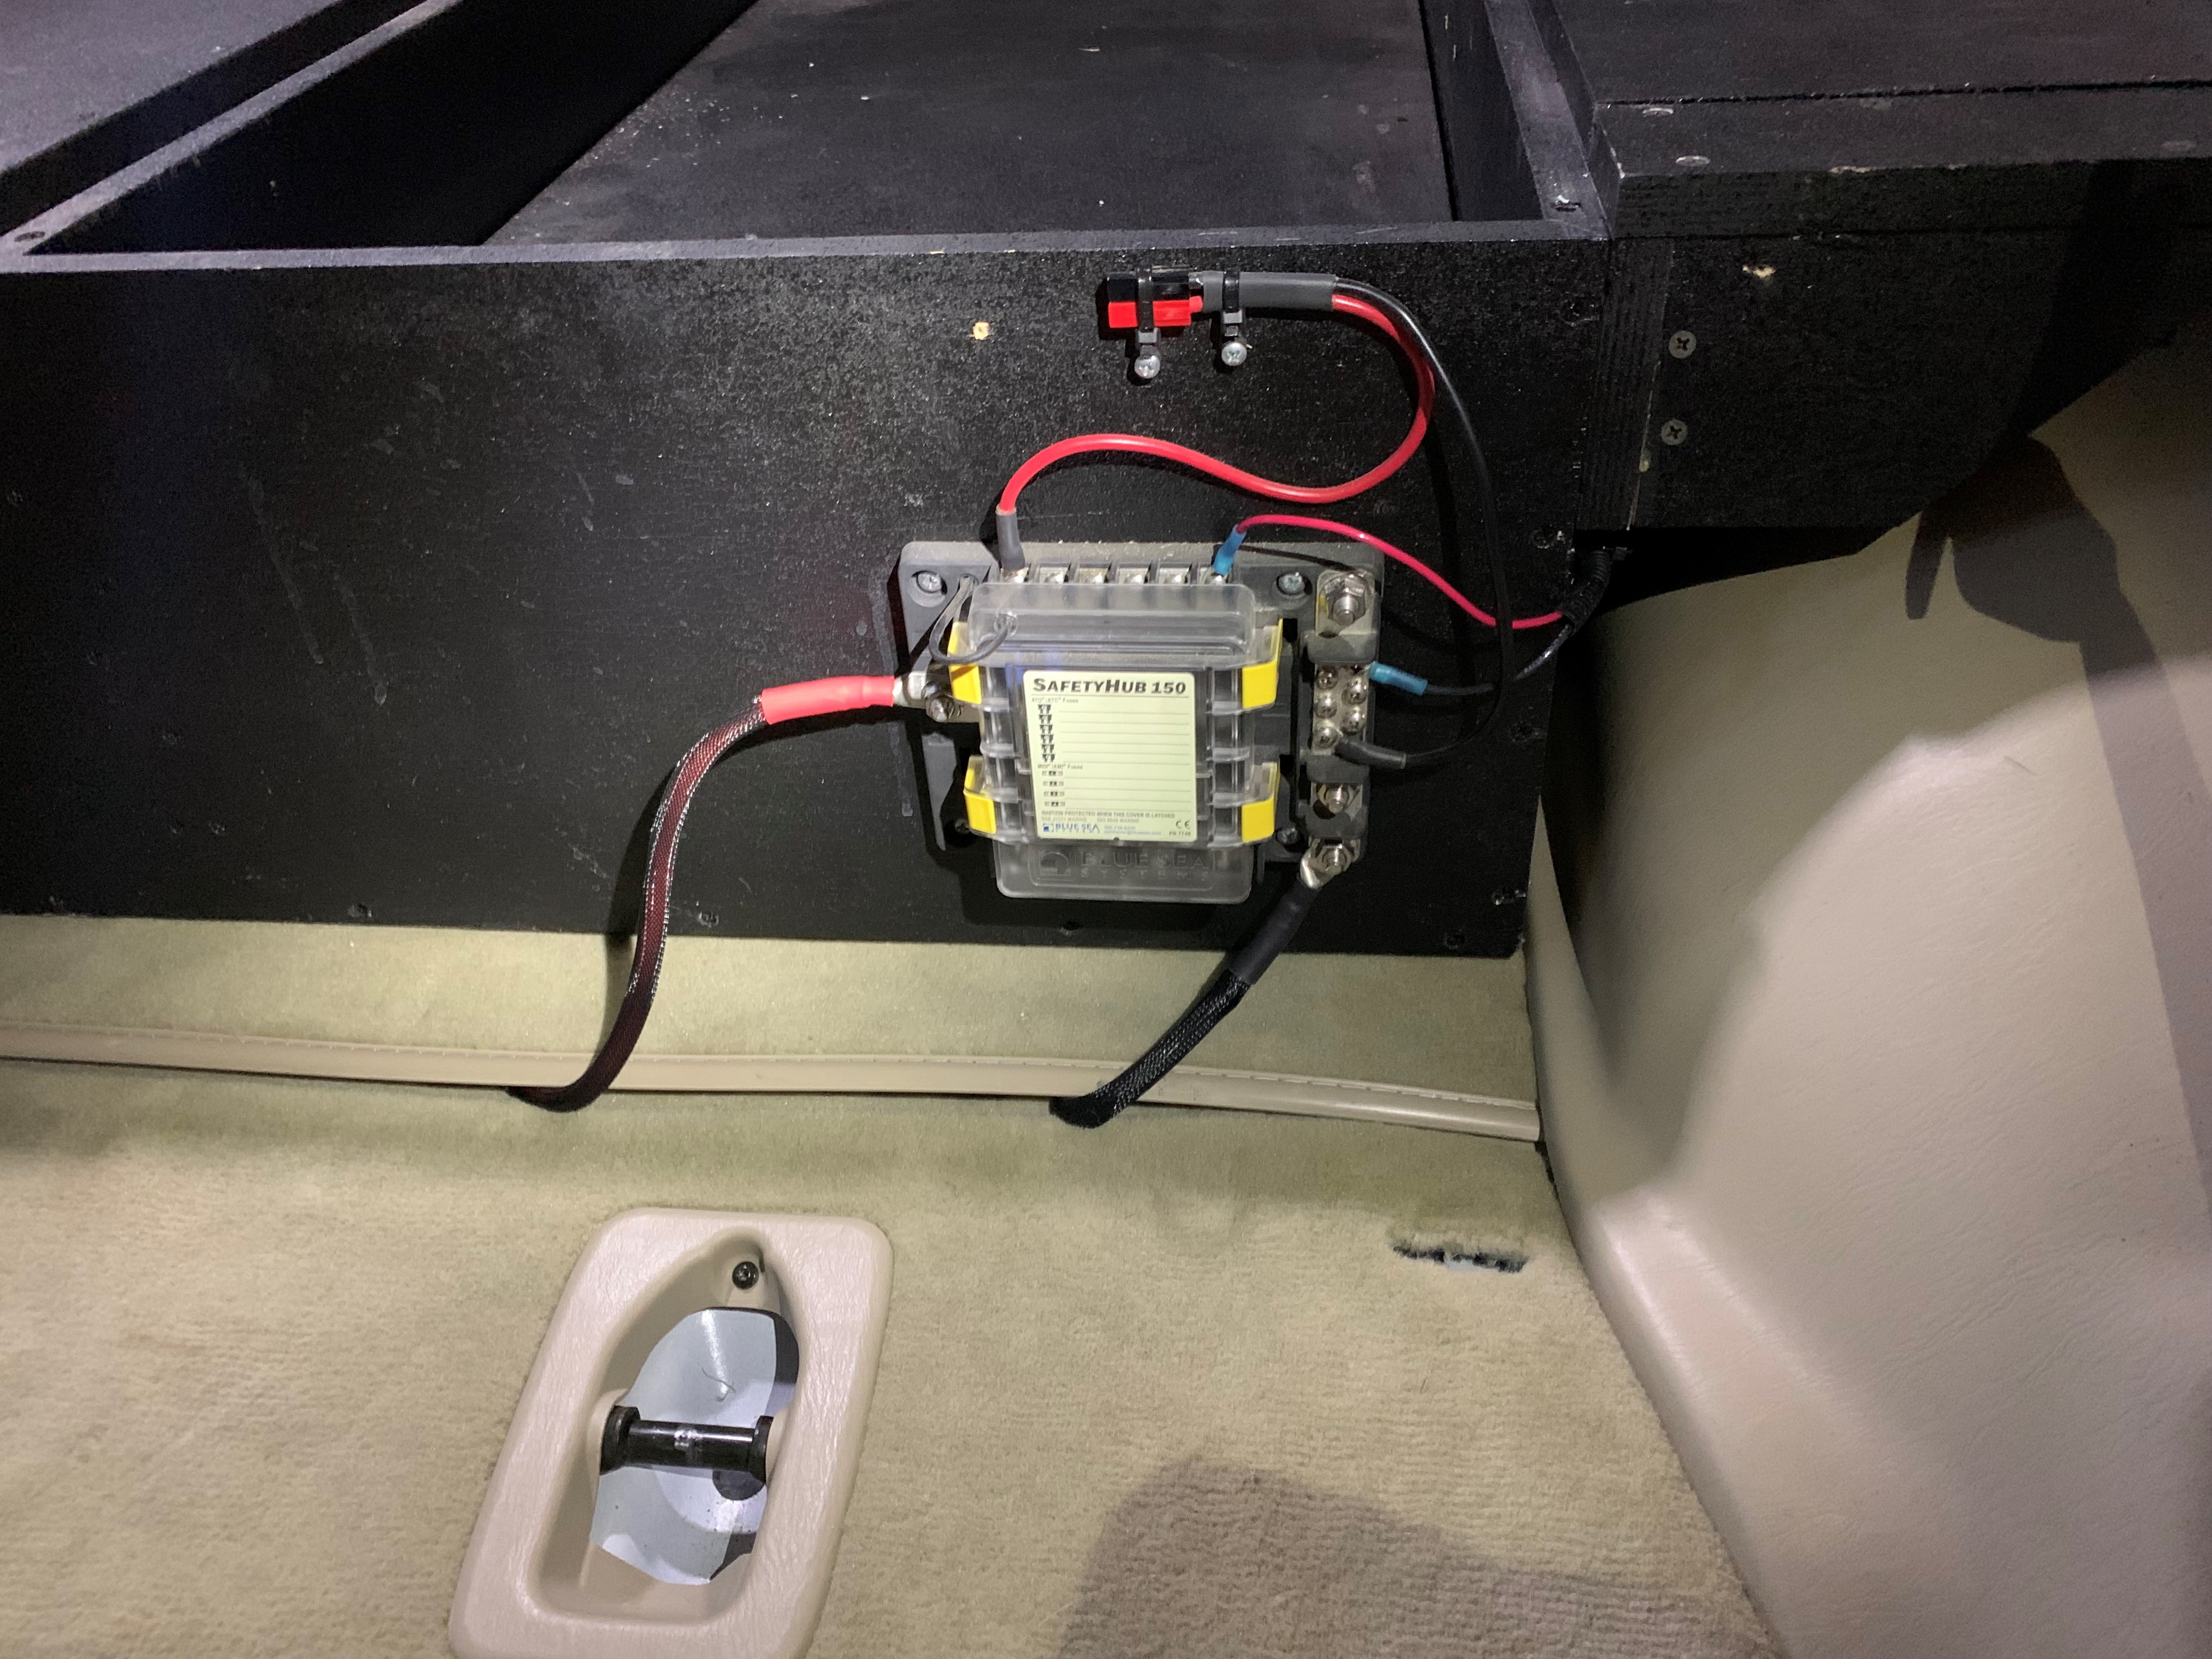
SwitchPro is wired to the starter battery. My reasoning is that it is mainly switches for driving lights. 2nd battery is for the fridge and anything related to camping (USB charging, camping lights, etc). The 27F is great. We did a few week trip around the Pacific Northwest and never had the battery drop below 12.2V when at camp. Cool weather and full fridge helped but we never had to worry about the battery.
Agree that electrical planning is a bit of going round and round in circles on figuring out the setup and all the scenarios of using power.
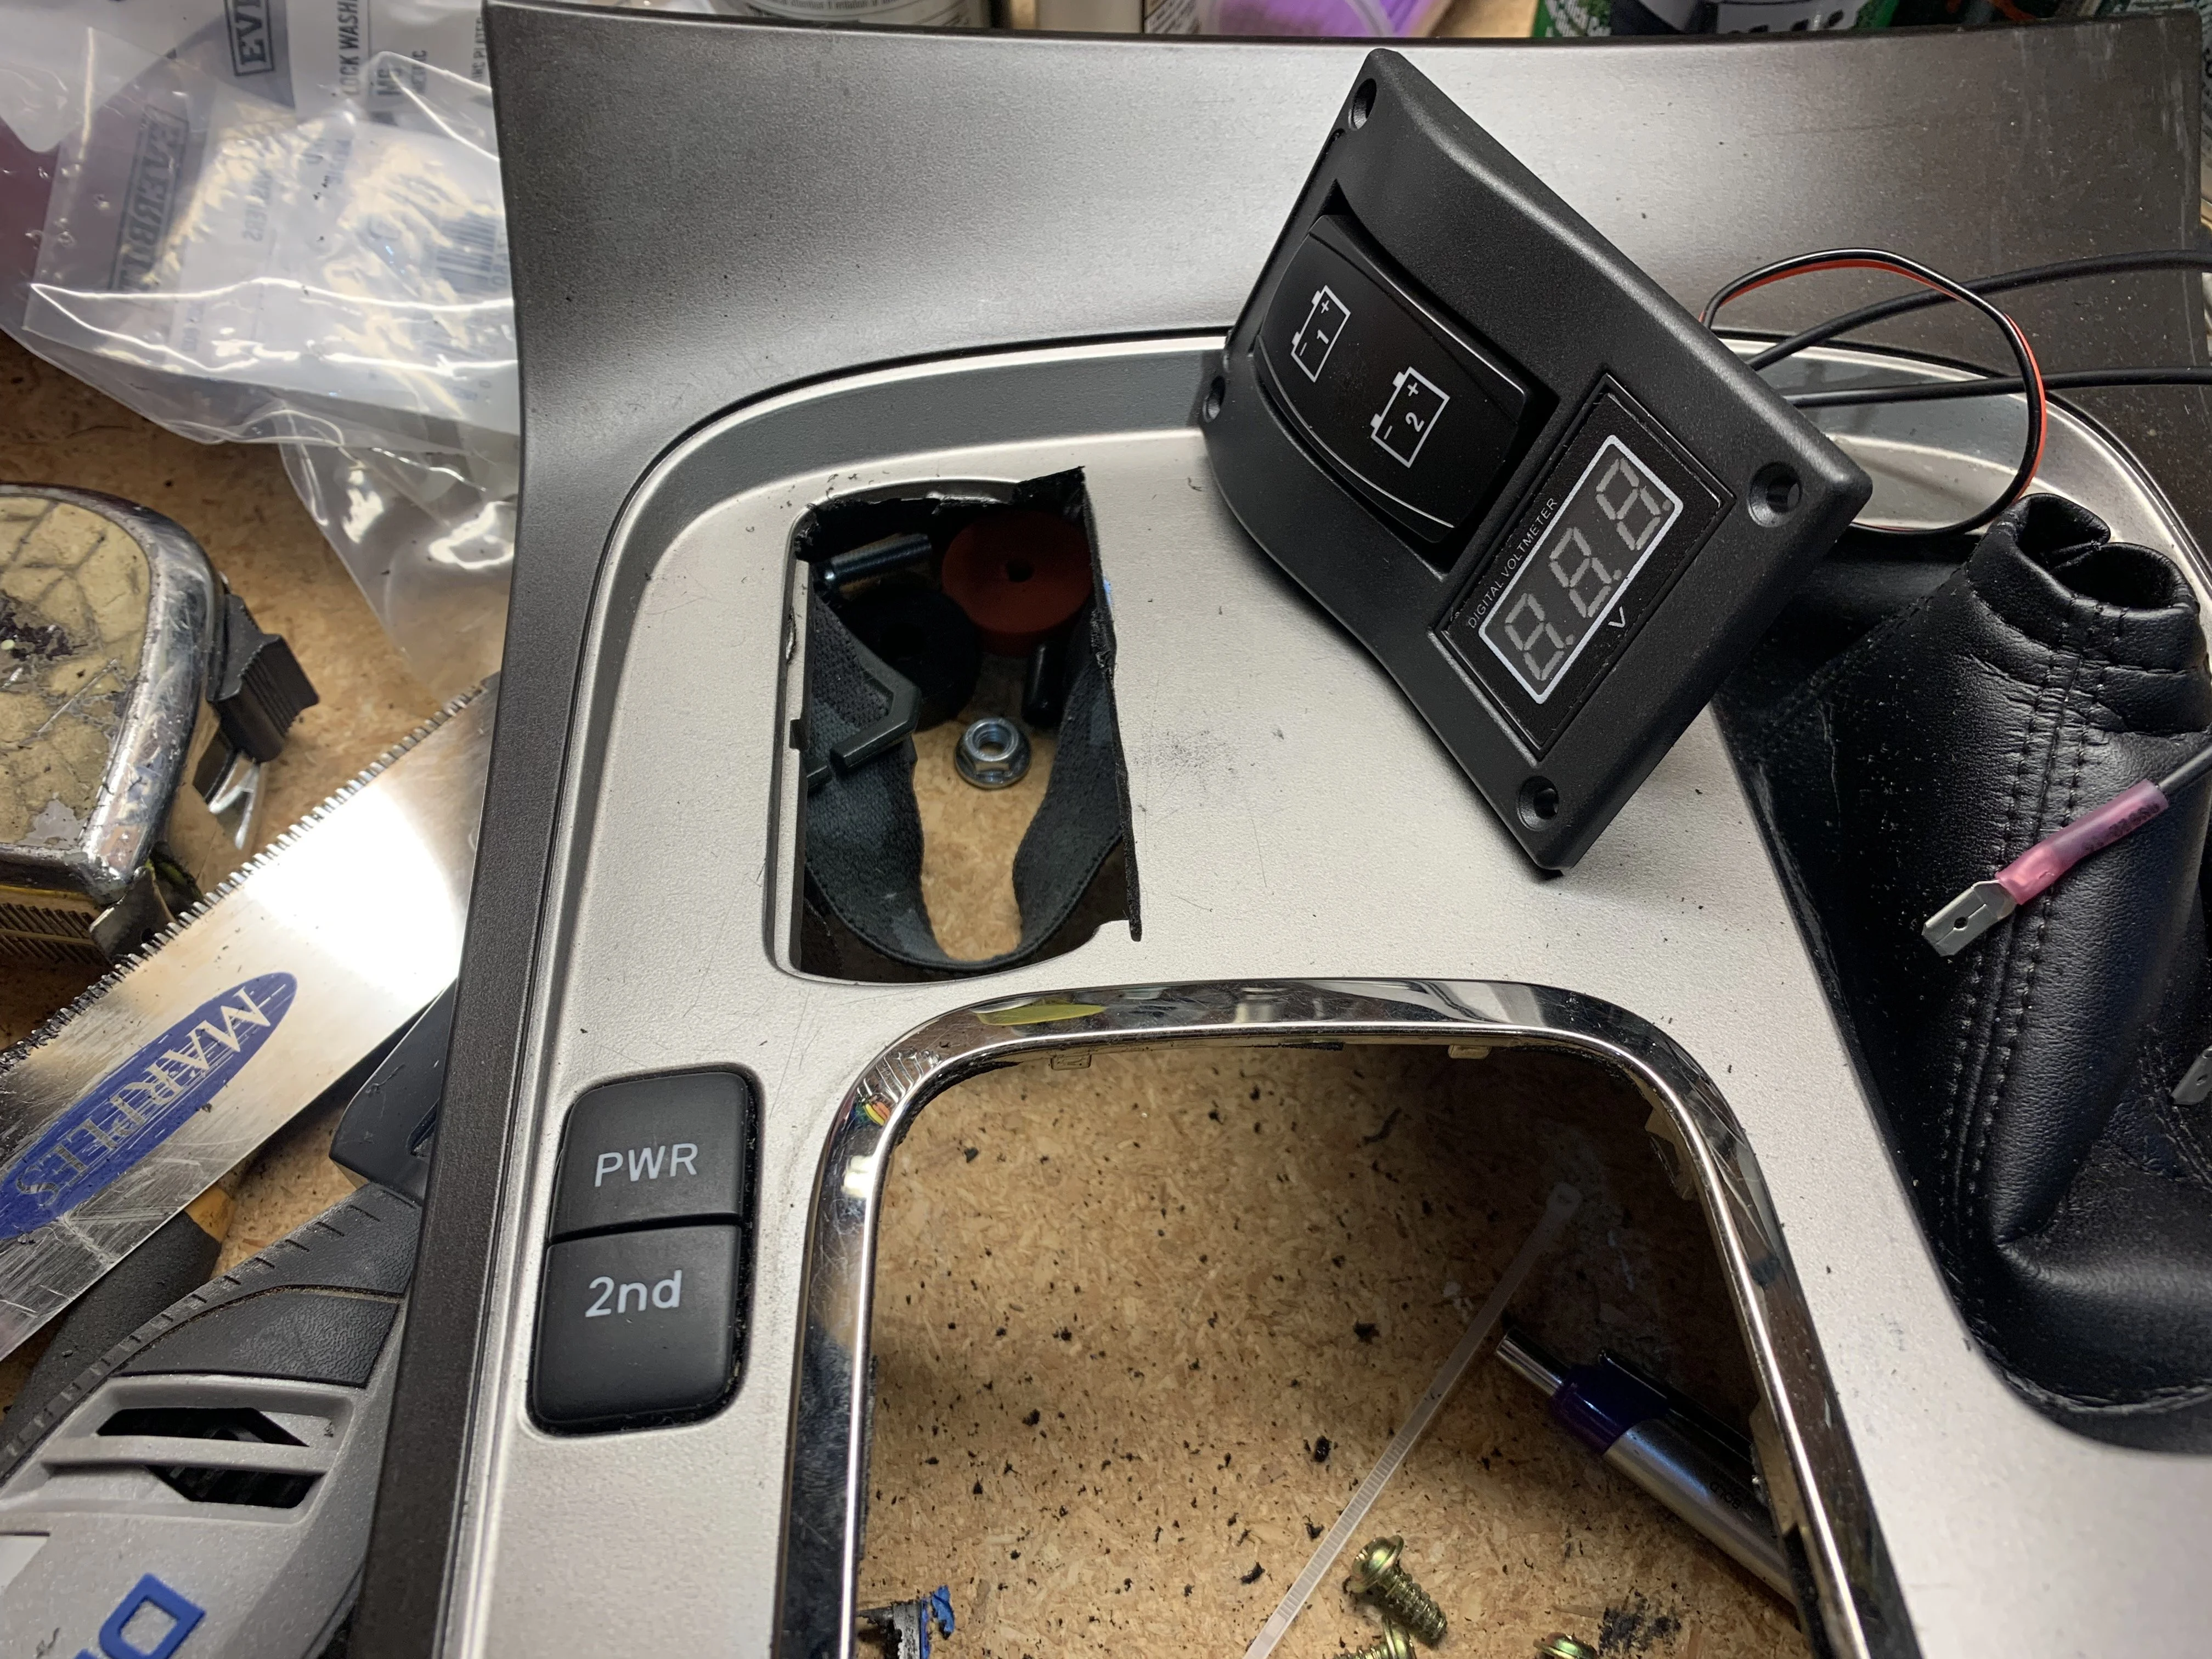
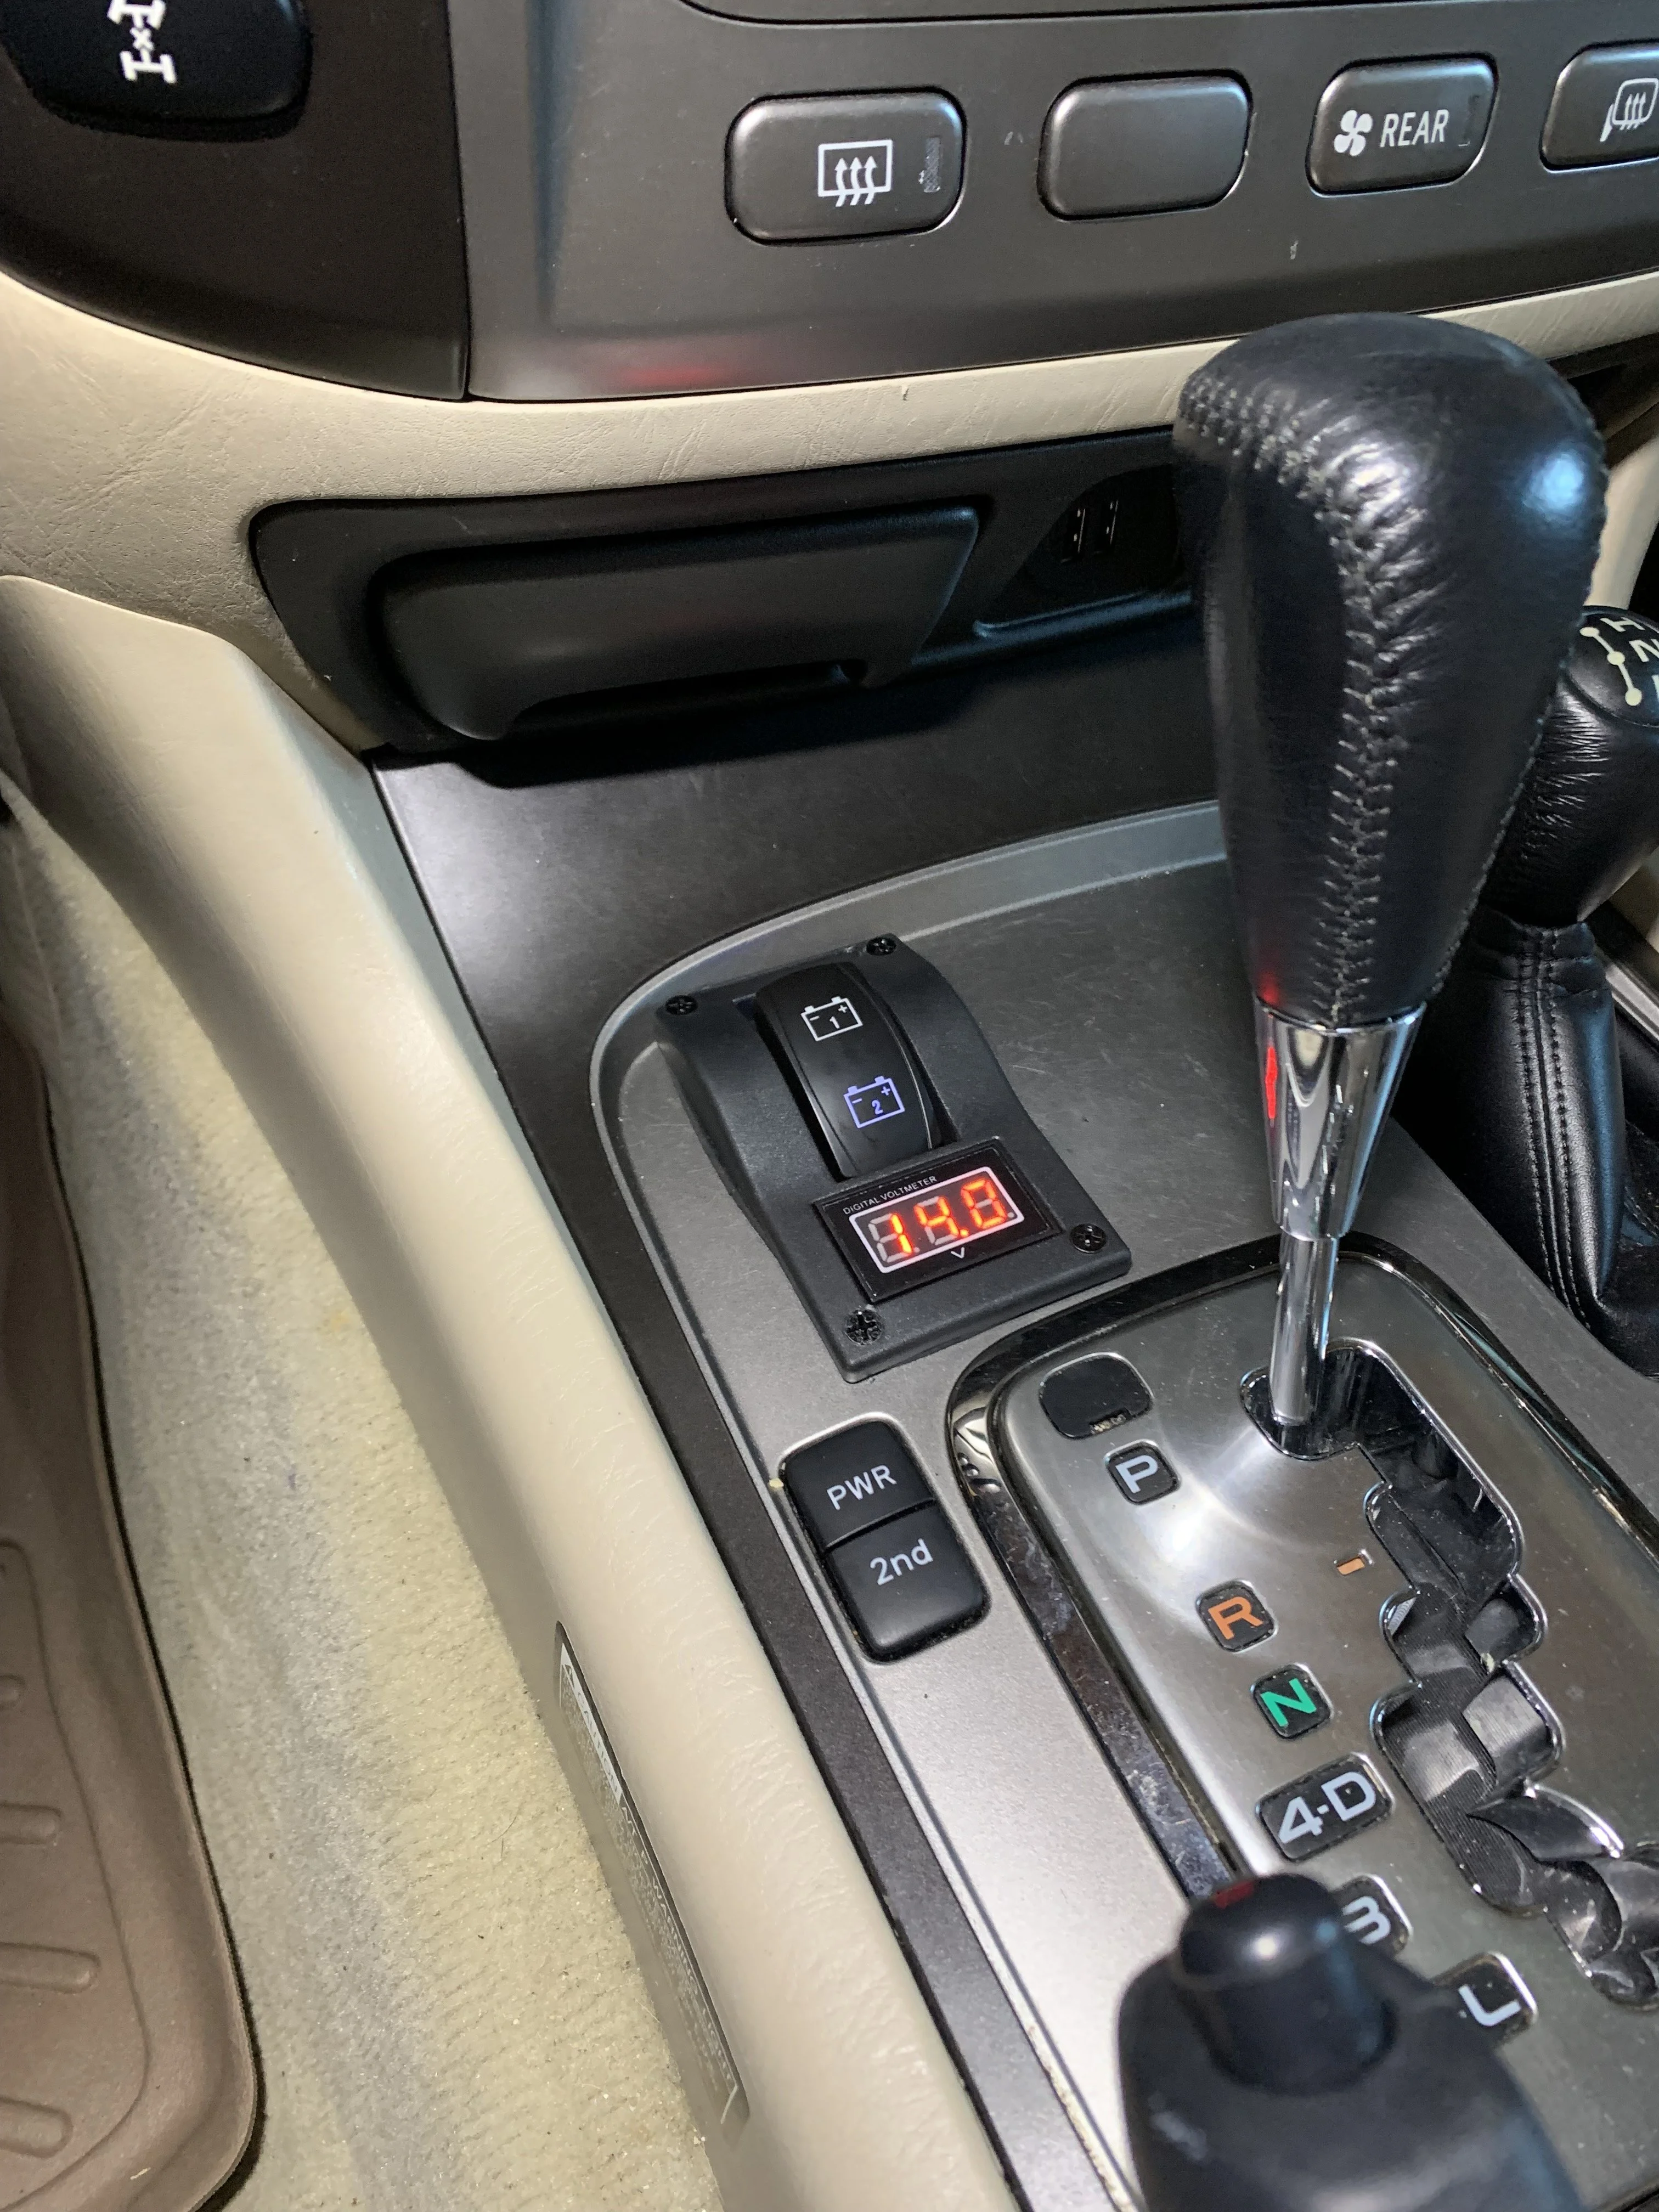
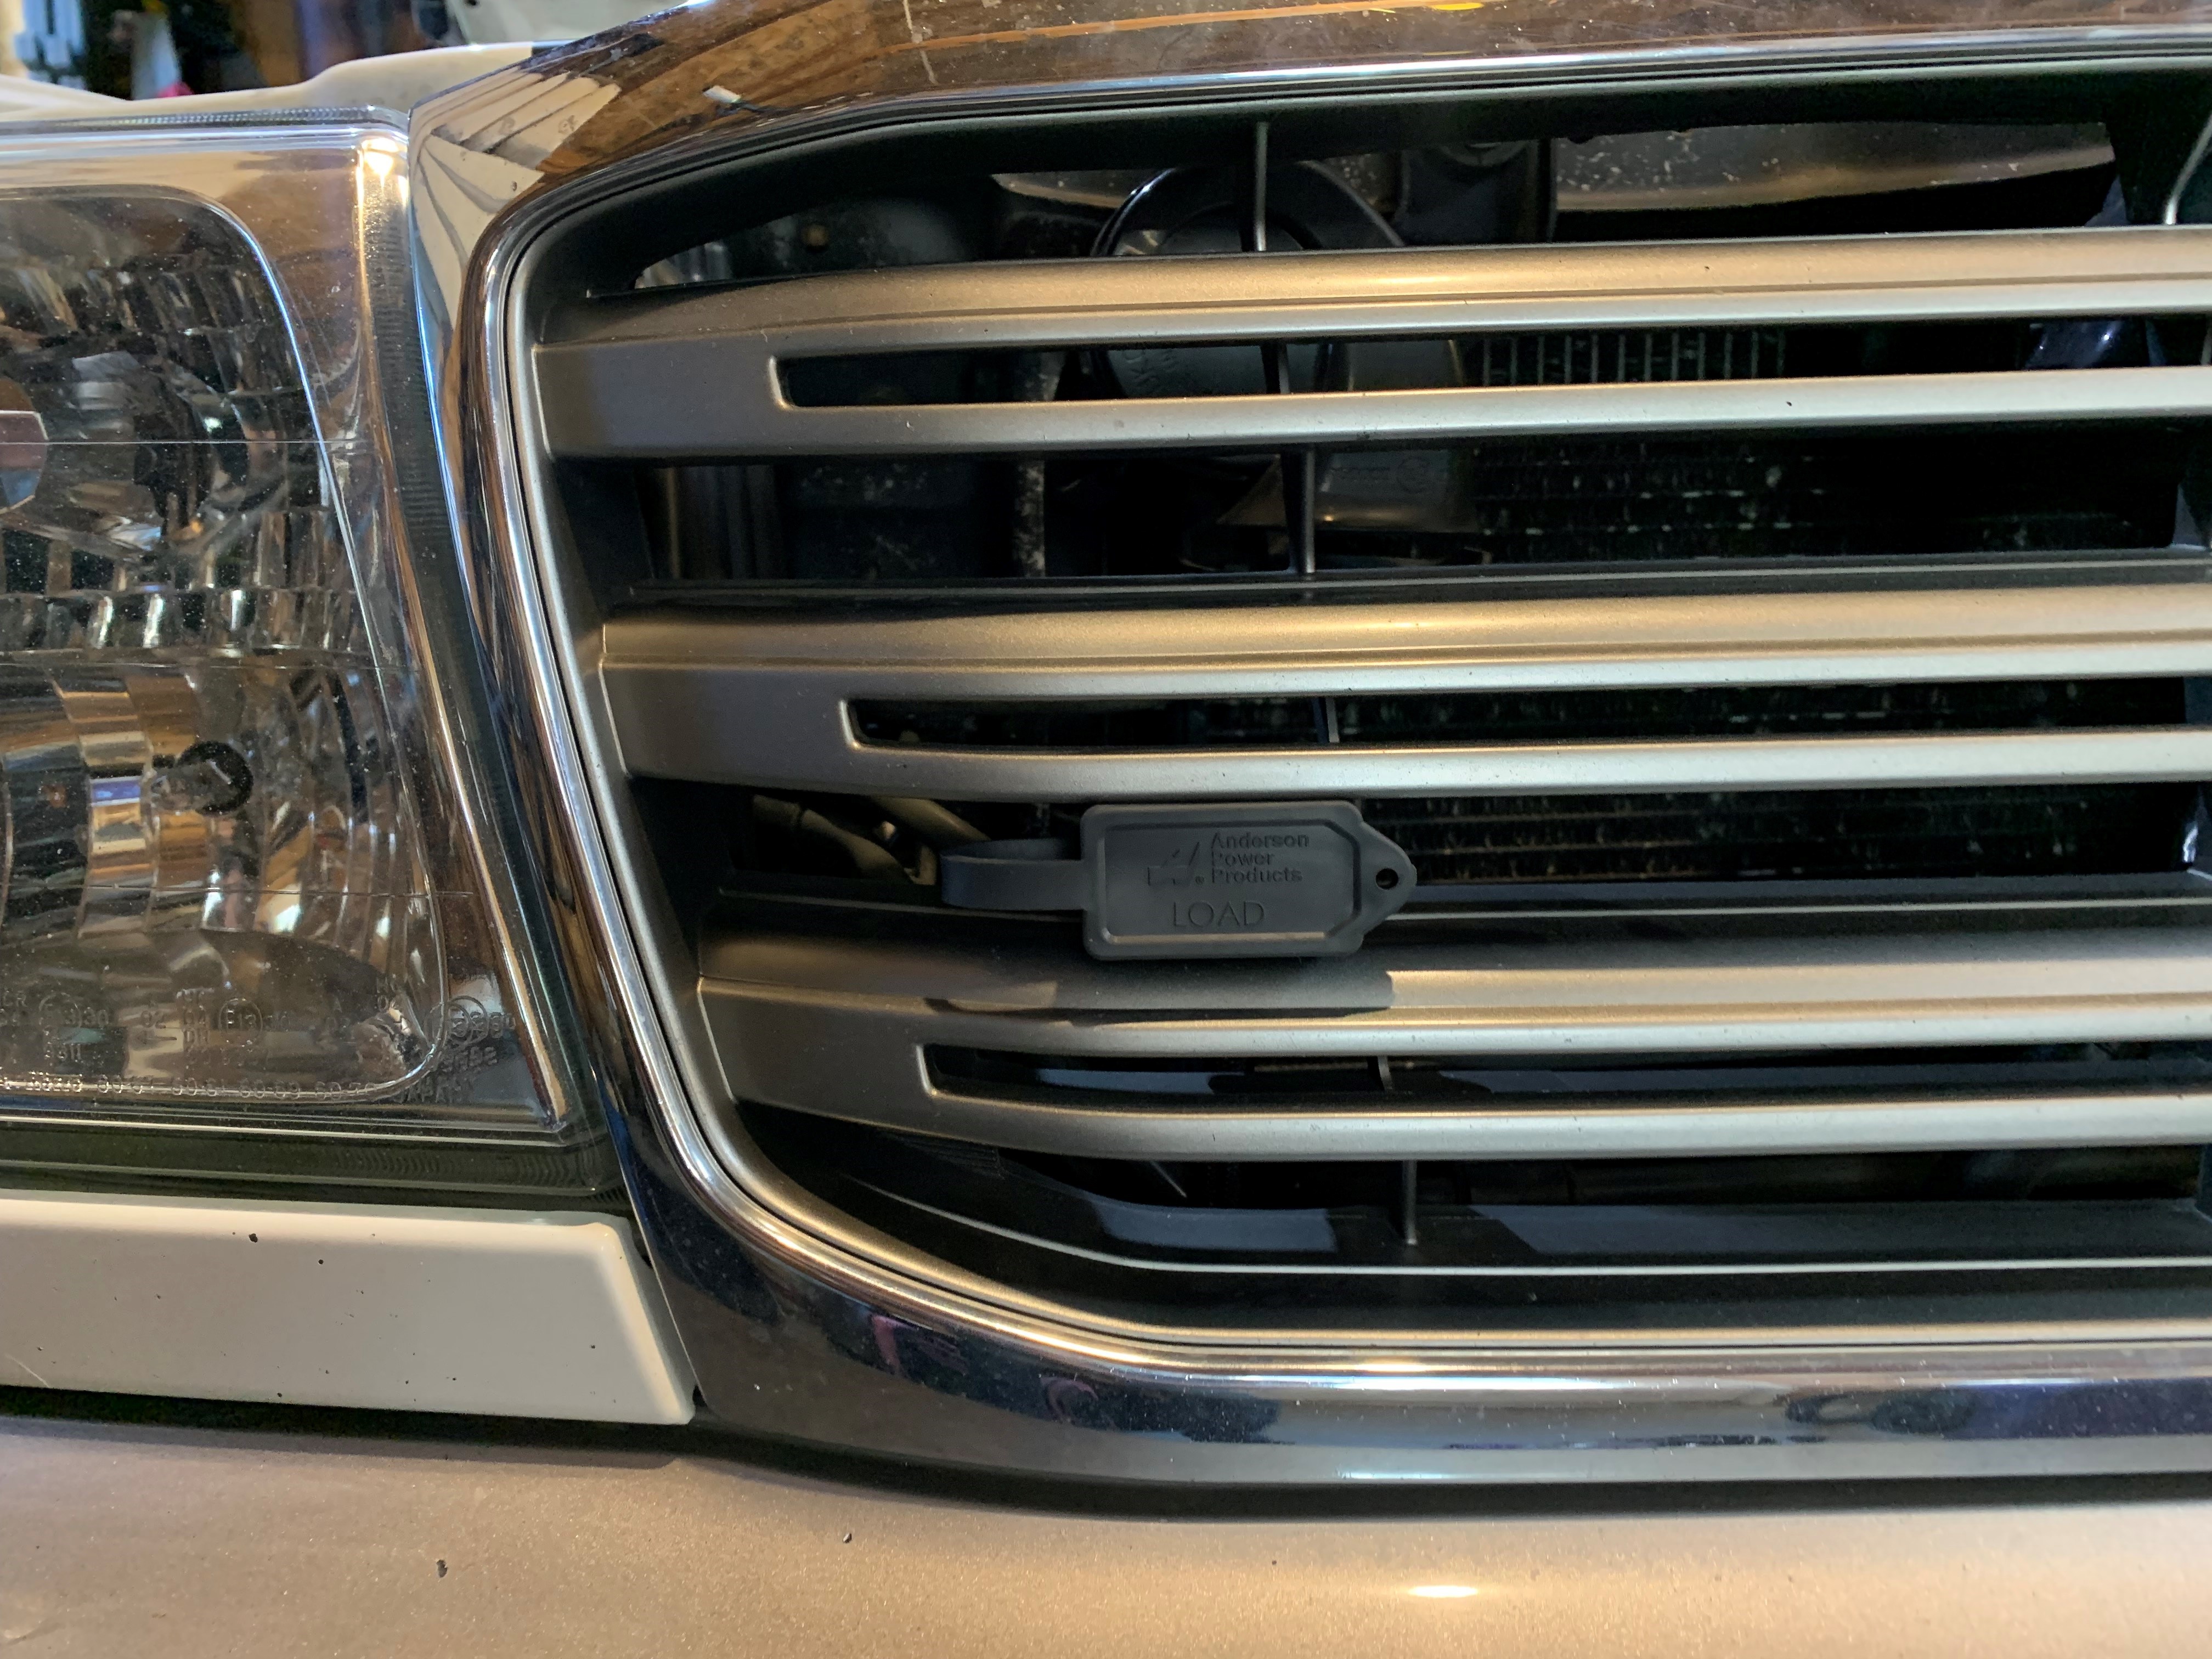
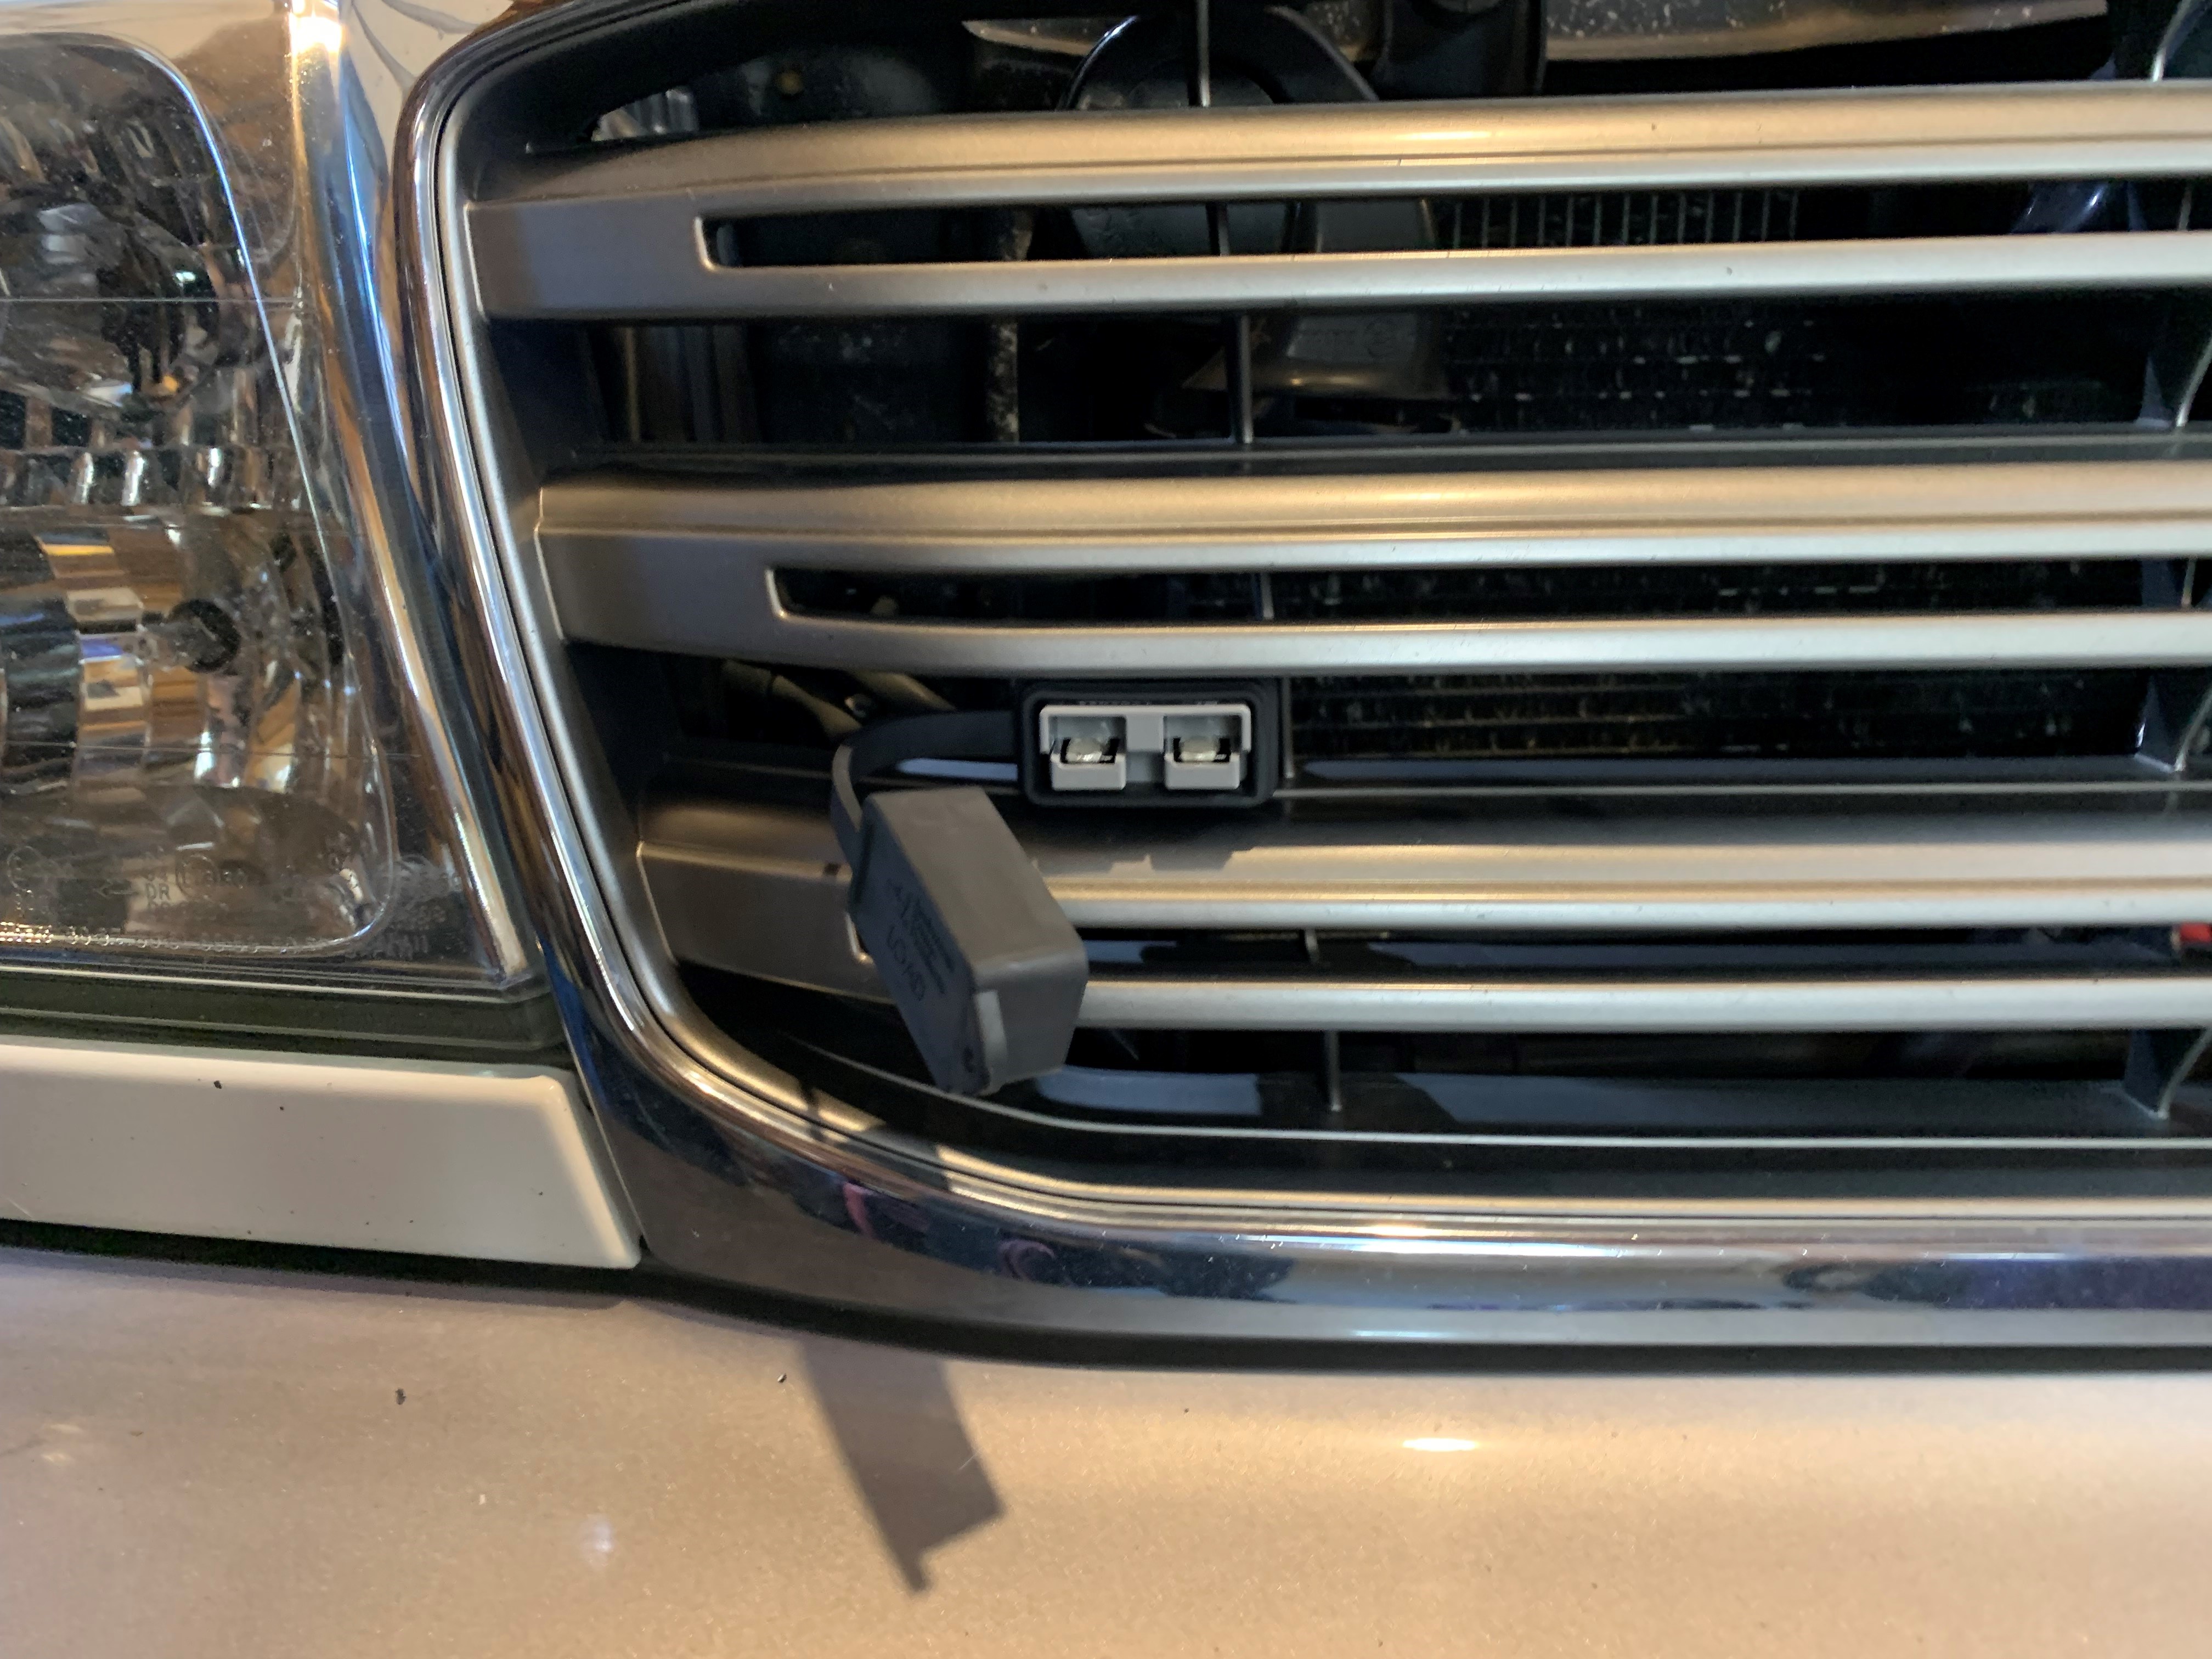
Redarc has a built in MPPT solar charger controller and you can set it for 4 different max charge voltages (Li, 15.3V, 15.0V, 14.6V). As for monitoring, it is pretty minimal. Only has LED status lights. One set shows the input source: Vehicle or Solar and another LED that flashes to show the different charge modes: boost, absorption, and float. Doesn't have any status on charge level of the battery, though you can kinda infer by which charge mode it is in. I also installed an in cabin voltage monitor/display (see
post #27) so I will always know the voltage being applied by the Redarc and/or the resting voltage which is a good indication of level of charge left in the battery. Google AGM battery chart. In general, 12.7V = 100%, 12.5V = 80%, 12V = 50%, 11.8V = 30%, 10.5V = 0%