Gary's Cruiser Build

This site may earn a commission from merchant affiliate
links, including eBay, Amazon, Skimlinks, and others.

The truck is on the road now, I made it just in time for the deadline
Her are the obligatory show off pics


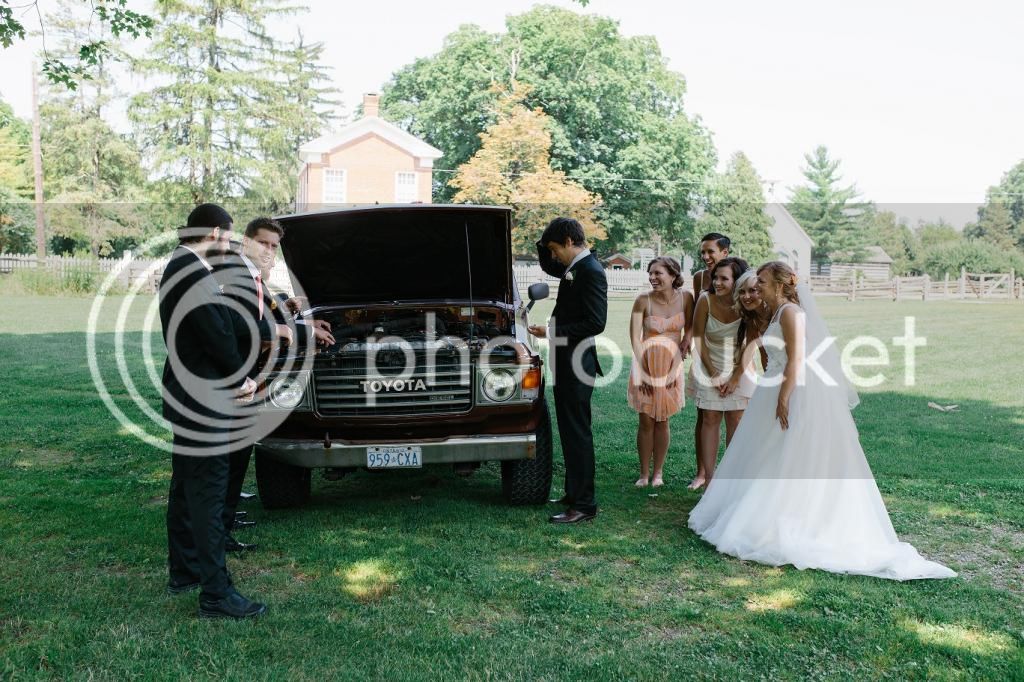
When I parked it at the hotel I woke up to a huge pool of antifreeze under it, haha, I was a boyscout and had a 2L bucket of water in the back.
The short list for this winter will be
-Seats
-New rad and waterpump
-rear carpet
-Hopefully repaint the front fenders
 
I got an absolutely fantastic package in the mail today


I'm sure most of you are familiar with Jason's work (reevesci). It truly is top notch. I can't wait until I have time to install it. As I understand, a fair amount of cutting is required.
on a side note, I got a new waterpump from fjparts.com, fantastic customer service again.
And I ordered a new Rad from cruiser parts, it's been over 2 weeks and I still haven't gotten a shipping confirmation yet.

I've got a good long list of stuff to get me through the winter now
 
Nice thread. Good call on getting a rust free donor rig. I'm curious why you didn't opt for a 2h engine since you're in Canada and they seem to be so abundant up there.
Thanks for the kind words.
The 3b Is just as abundant up here as the 2h. Also I already had the 3b in my rust bucket truck that my dad gave me.
I believe the 3b is a superior motor with a turbo. The 2h is quite thirsty and not particularly powerful.
 
Thanks for the kind words.
The 3b Is just as abundant up here as the 2h. Also I already had the 3b in my rust bucket truck that my dad gave me.
I believe the 3b is a superior motor with a turbo. The 2h is quite thirsty and not particularly powerful.

G, I'd like to get my hands on a few 3B motors and 5 speeds... ;)

J
 
I got to spend the afternoon in the garage with the truck. much needed therapy for me.
I tried to fabricate a bracket for the seats I bought 6 months ago.
I started out trying to get the old feet off the seat.

I thought they were just bolted in place. But it turns out some form of black magic was holding them in place. I tried hammering and using a wedge to get them off, but I ended up having to grind them off.


I then tried various forms of using the original seat brackets to bolt to the landcruiser floor. Ended up cutting them up and using and old bed frame to connect them.


I then welded it all up. Please don't comment on the welds. They aren't pretty, but they will hold.


And finally this is them in place. I think it turned out fantastic. I still need to wire it and finish the rear bracket.

 
Torch out the bushing, and then put out the fire. Or, at least get it hot enough to release the steel's death-grip on the rubber.
 
The old Volvo S40 and S70 seats are super heavy too.. That is what I run on the last two builds.. Very comfy. But, I rebuilt/built up the padding in my OEM seats and have them feeling pretty good now. The Wet Okole covers add a little comfort as well..

I like the color of those Jeep seats, match your cruiser very nicely.

J
 
I am buying parts for my truck at a way faster rate then I can install them.
I have another winter project lined up.

Turbo


I have a local laser cutter ripping off some manifold flanges for me.
And the local metal supplier is going to know me very well. I need to build up some more Armour.

Question for the fabricators out there.
what do you use to cut a hole in 1/2-3/4" thick plate of steel.
I bought some carbide tipped hole saws. But i don't know if they are truly up to the task
 
Drill bit on a press, preferably a big Bridgeport but you can use any old dinky press if go slow, have a sharp/new bit and it is well lubricated.
 
I got my parts to fix the coolant leak. So I tackled that today.


new water pump and aluminum radiator above.

I weighed the new and old radiator. The original Toyota weighed in at 26lbs
The new aluminum weighs in at 13lbs, literally half the weight. Kinda suprised me.
The fit and finish are good for the price, I had to trim the fan shroud a bit, but it only took a few minutes


It was a very productive day, Tomorrow I will pick up some more coolant and tackle the rear bumper crossmember.
 
If nothing else, depending on the size of the whole, you can use a stepper bit to slowly drill it out. Either way take your time, go slow and keep it well lubed. (That's what she said!!! :grinpimp:)
 
Back
Top Bottom