FR Aux Tank Installed - the Good and Bad - No Ugly
Some have expressed interest in the install experience so tried to document with pictures and notes.
Prior to the install, both my trusty independent Porsche mechanic and I noted that the instructions (provided in advance by Fernando at Campinglabs) were lacking. The install instructions rank about a 4 or 5, if you don't need any help with the fuel pump, but if you are clueless about that, then they rate about a 1 or 2. However after seeing Yuri (the trusty mechanic) install and wire the pump, a moron like me could do it, so maybe the instructions are still a 4 or 5.
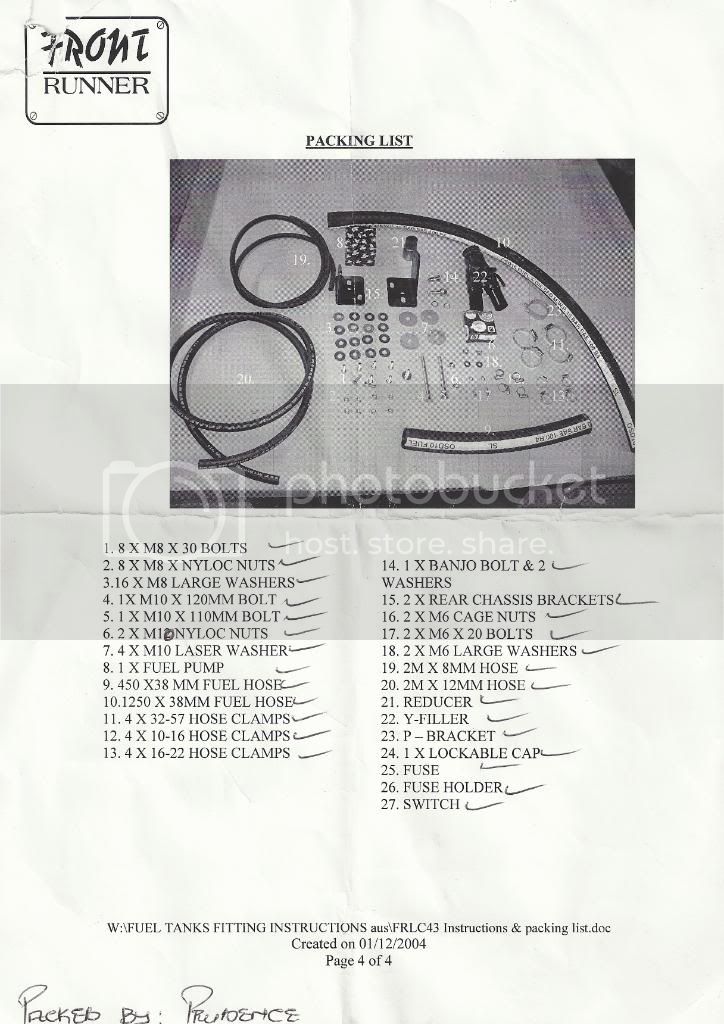
Here is the pack list, double checked by Prudence... as you can see from the check marks. However, we did find a few insignificant items missing.

So off we went... the first obstacle was that Yuri's lift was designed for Porsches, not 100s with steel bumpers. So after a few failed lift attempts, I (my greatest contribution of the day) suggested we remove the tires.
The next, and really most significant challenge/delay, was the RUST... lots of rust. Ten years of Ohio living took it's tool on nuts and bolts. The first few steps were to remove a cross member and other misc. brackets associated with the spare.
And then, there was bolt shear, and the resultant drilling out and re-tapping. All toll, it literally took 2 plus hours just to remove a few things from the space vacated by the spare tire.
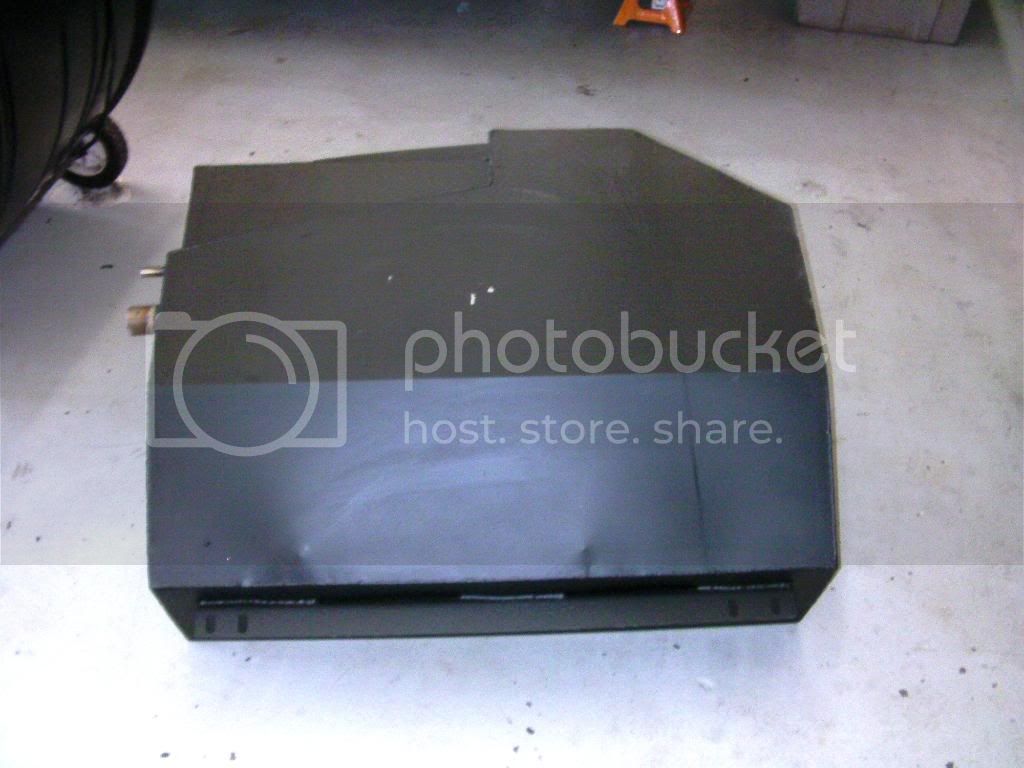
The 45 gallon tank is big and as we learned fills the spare tire space completely, and then some. It's pretty basic on the outside - a main line, vent (or breather) line, mounts in the front and back for attaching, and a mount for the small fuel pump.
Oh, and the hoses. It seemed to be quite a few, but at the end everything made sense. However, the OEM filler neck and extension back to the OEM tank was all metal. All of these hoses were rubber - hard rubber, but rubber nonetheless and made in Malaysia!
Now, the filler neck: in and out main, a vent for both the OEM main and aux, and believe it or not, the smallest tube is the transfer - connected to the pump. And as you can see from the two pics, is bent at an angle different from the others and quite compressed. With that said, you can blow through it pretty well, however I wonder how long it will take to transfer 20 plus gallons via the sized opening.
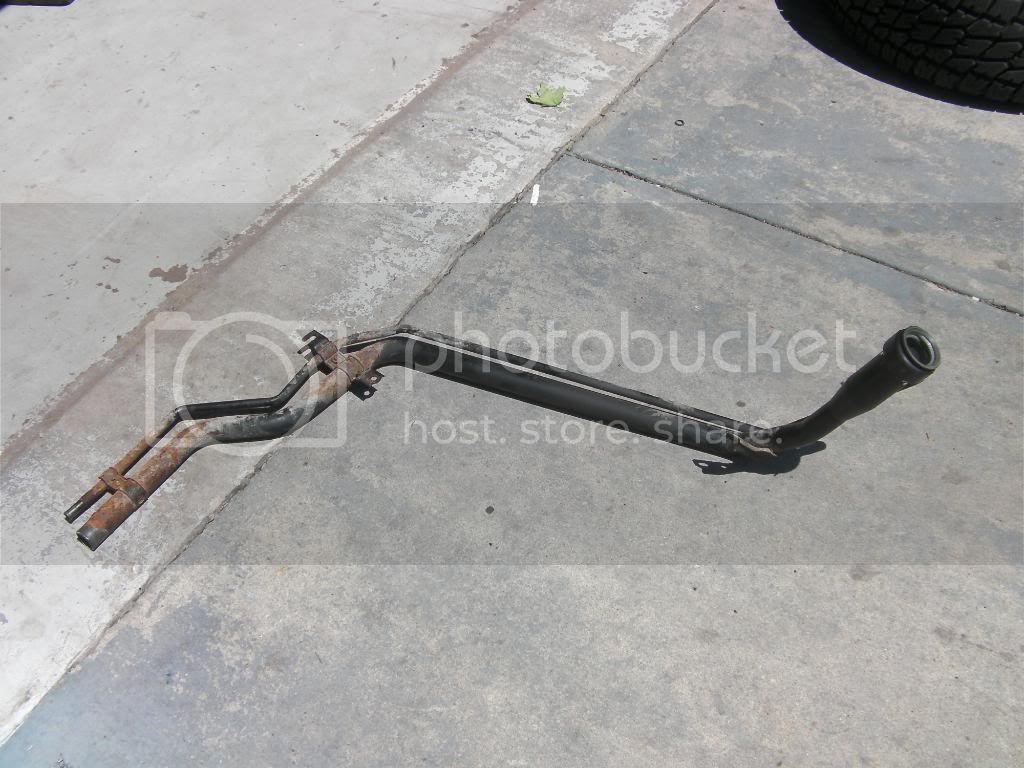
The OEM filler neck and vent (breather) had to be removed. Two notes: getting it out took about 25 minutes as things are pretty tight in there and there are angles to deal with; and, Front Runner should have used this part to fabricate it's Y filler neck from, for both an OEM fit and finish (disclaimer, unless this OEM part is cost prohibitive which it might very well be).
Line connect from aux tank outlet to pump, with Yuri adding a small fuel filter (not supplied in the FR kit) in between . By the way, the FR Y filler neck had some crusties inside from welding that we knocked out, but still suggested we put in a filter just in case.
Here are the OEM main and vent tubes going to the OEM tank. FR supplied a fitting for the main line, but we had to run to an autoparts store to buy a fitting for the vent.
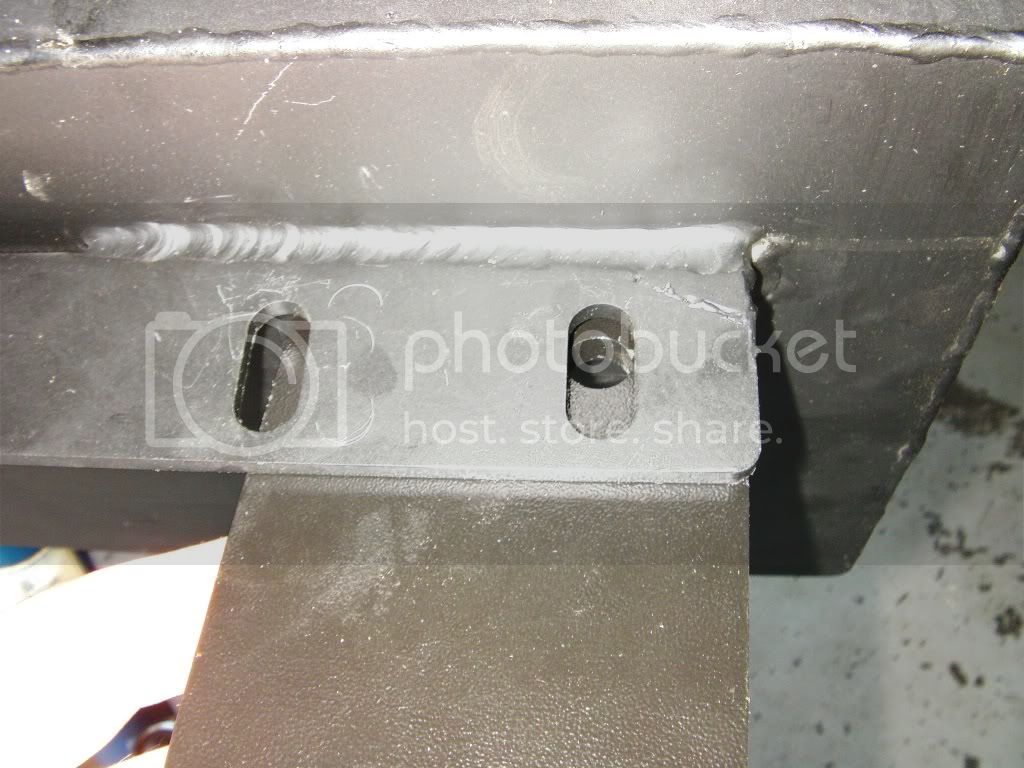
Another problem, the brackets (for attaching the tank to the rear of the truck) seemed to either be welded wrong or the mounting bar on the aux tank was welded upside down. It's hard to explain in words (and even this pic), but after an hour or more of trying to fit the tank up in the spare tire cavity we couldn't conclude anything else.... the two rear brackets just didn't work as each was unique (length) and had unique holes, both to mount to the tank and the rear wall of the spare tire area.
Below is the bracket for the exhaust side matched up to the tank... you can see... it ain't happening. The other side was the same.
So we had to drill the brackets to create new holes that matched up with the tanks mounting tabs' hole. It wasn't a big deal, but did take time.
The OEM tank main and vent hoses connected. Again, the FR kit included a fitting for the main but we had to buy a fitting for the vent from the auto parts store. And given the need to make connections, hoses clamps abound... and a wire tie too.
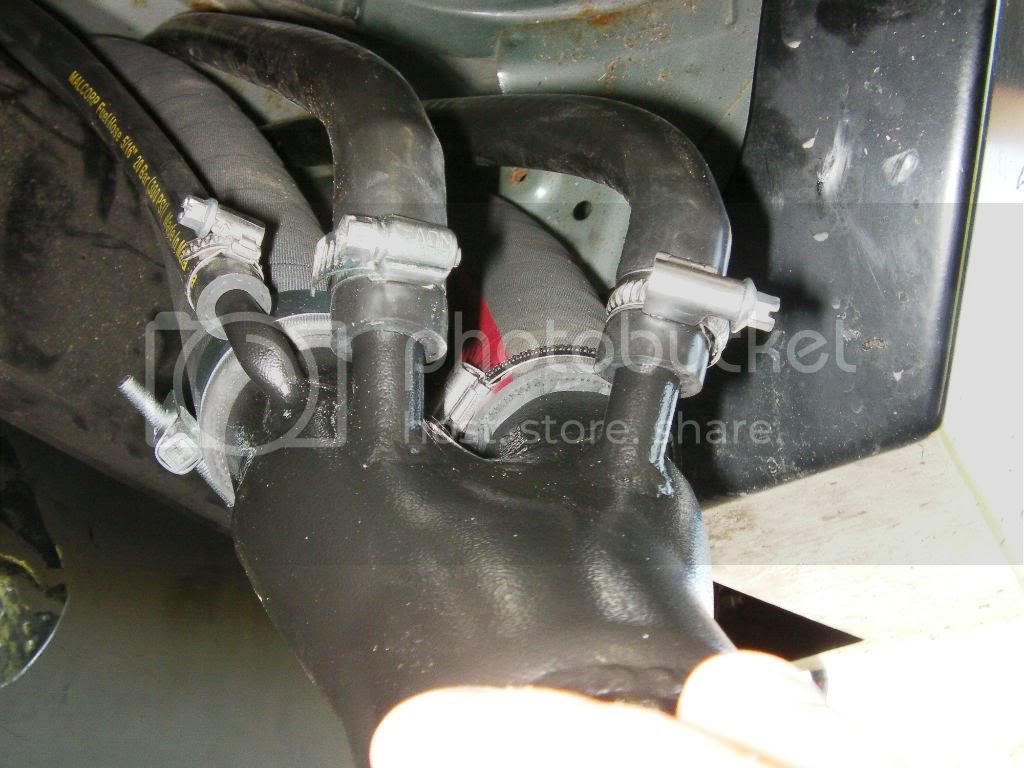
And then at the filler neck, lot's of connections: main to OEM tank, main to aux tank, vent to main, vent to aux, and then the smallest (at 10 o'clock in this pic) is the hose that transports gas from aux to main.
Y filler neck and locking cap installed up through truck body using OEM surround rubber gasket. Clearly a few things are going on here. The angle of the top of the filler neck is no where close to the OEM filler neck. This is due to too many hoses so closely connected to it preventing much adjustabililty. I am no engineer, but I think this could be corrected by making the filler neck longer. With all five hoses so close to the mouth (the Y filler neck is less than a foot long), it makes adjustibility tough.
With some adjusting and wedging, things worked. However, without such efforts you can't even close the gas door as the neck opening is too perpendicular to the door opening. Further, I haven't actually tried to put gas in yet so this angle could be less than ideal for efficient filling.
Another note, the gas cap is a locking variety and further can't be attached without locking. So that is a small PITA in that a small key needs to be used every time to open. I am hoping to find a non locking cap in a auto store that fits. I don't trust myself with small keys to important things.
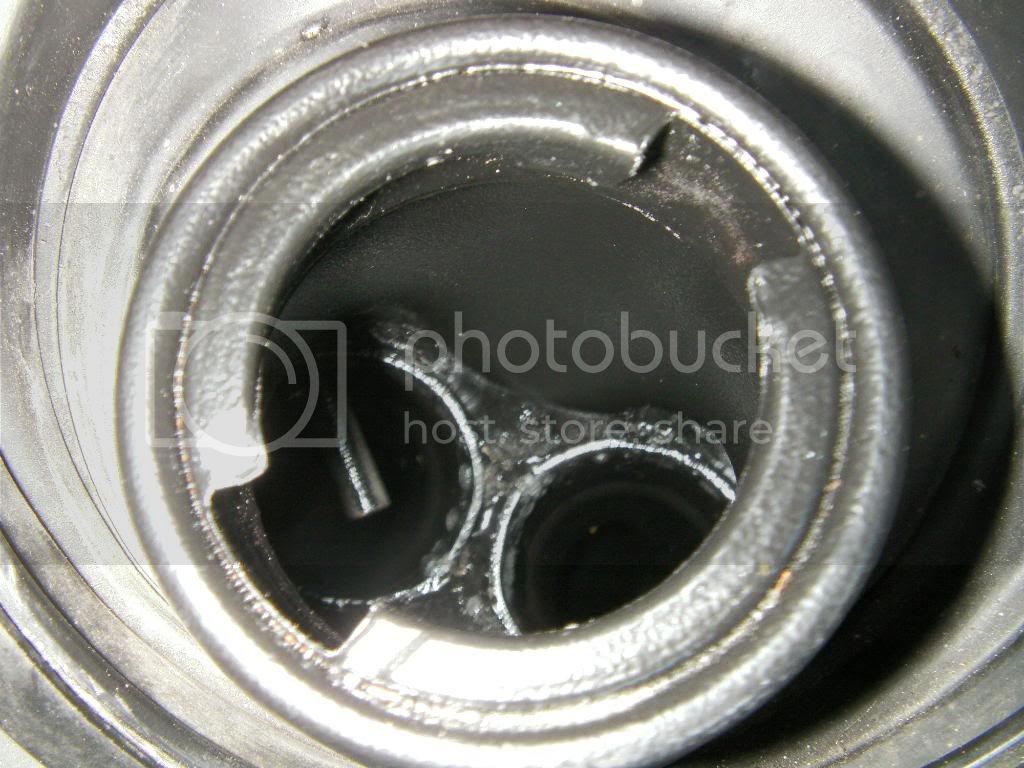
Looking down the Y filler neck with the smallish transfer "spout" on the left from the aux that does the transferring. Again, I haven't fueled up yet, but wonder if I can fill both from just sticking the nozzle in the opening, or do I need to angle. Or, once the OEM fills, fuel spills over into the aux opening. And then lastly, will the shut off feature of gas station pump activate since the OEM will fill up first, close the the nozzle, and shut things off?
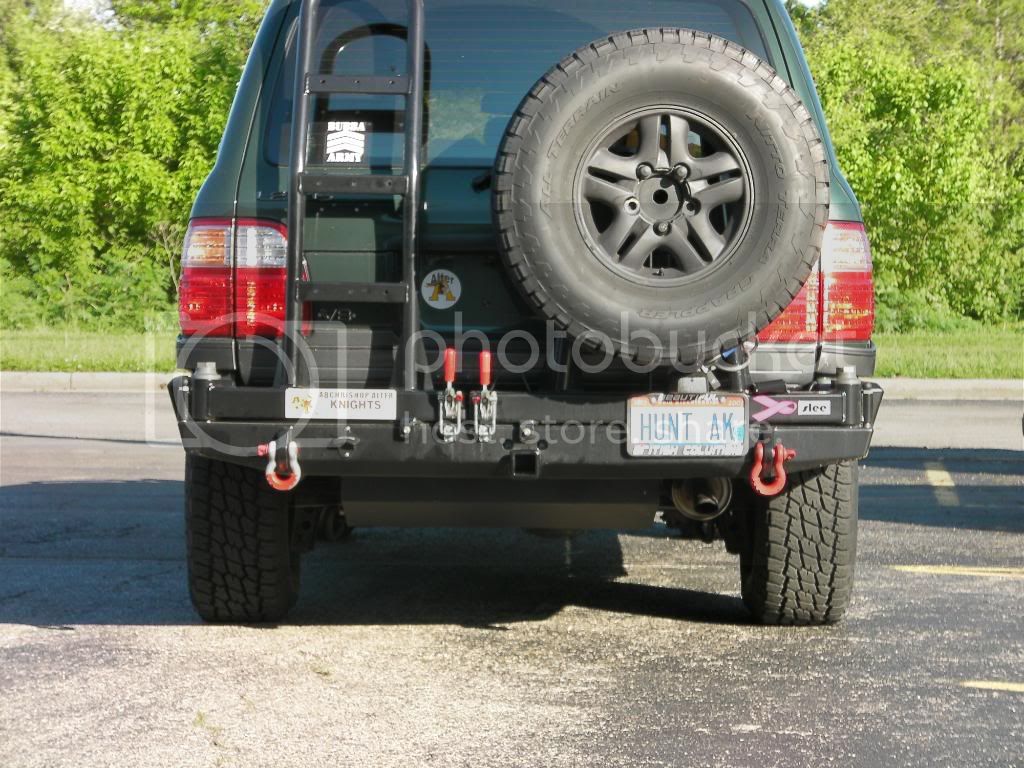
Tank install from rear pretty close up
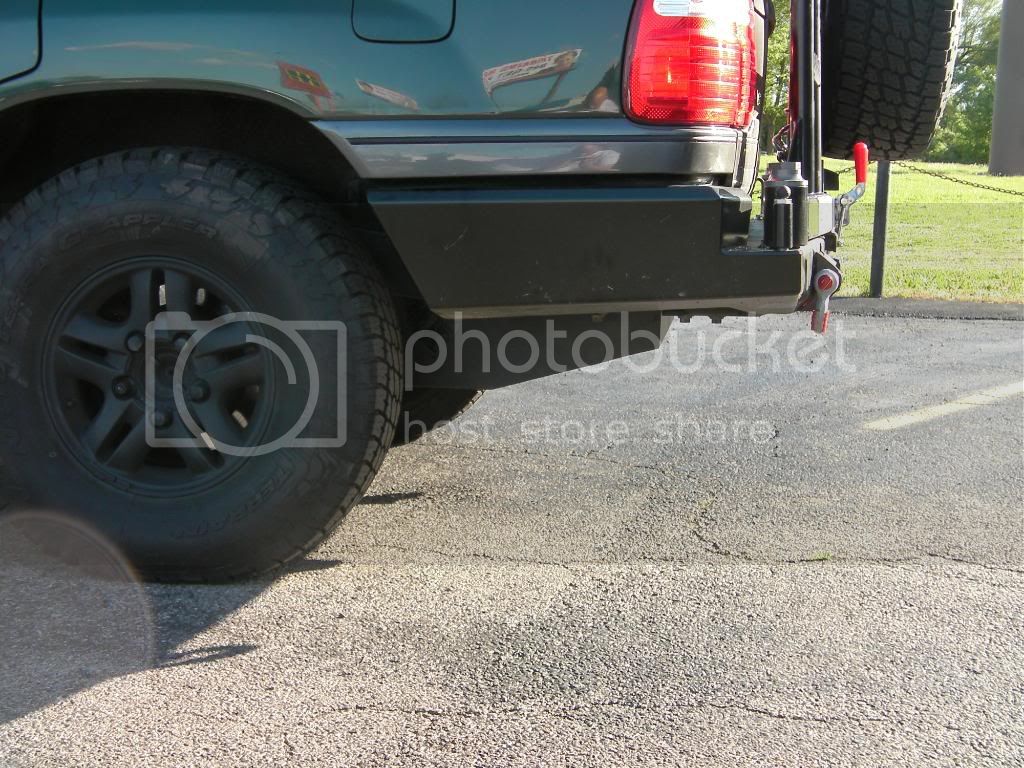
A little farther back
FR switch temporarily installed in OEM sub switch blank space. I have an OEM sub switch on order and hope to make it work.
Some have expressed interest in the install experience so tried to document with pictures and notes.
Prior to the install, both my trusty independent Porsche mechanic and I noted that the instructions (provided in advance by Fernando at Campinglabs) were lacking. The install instructions rank about a 4 or 5, if you don't need any help with the fuel pump, but if you are clueless about that, then they rate about a 1 or 2. However after seeing Yuri (the trusty mechanic) install and wire the pump, a moron like me could do it, so maybe the instructions are still a 4 or 5.
Here is the pack list, double checked by Prudence... as you can see from the check marks. However, we did find a few insignificant items missing.
So off we went... the first obstacle was that Yuri's lift was designed for Porsches, not 100s with steel bumpers. So after a few failed lift attempts, I (my greatest contribution of the day) suggested we remove the tires.

The next, and really most significant challenge/delay, was the RUST... lots of rust. Ten years of Ohio living took it's tool on nuts and bolts. The first few steps were to remove a cross member and other misc. brackets associated with the spare.

And then, there was bolt shear, and the resultant drilling out and re-tapping. All toll, it literally took 2 plus hours just to remove a few things from the space vacated by the spare tire.

The 45 gallon tank is big and as we learned fills the spare tire space completely, and then some. It's pretty basic on the outside - a main line, vent (or breather) line, mounts in the front and back for attaching, and a mount for the small fuel pump.
Oh, and the hoses. It seemed to be quite a few, but at the end everything made sense. However, the OEM filler neck and extension back to the OEM tank was all metal. All of these hoses were rubber - hard rubber, but rubber nonetheless and made in Malaysia!
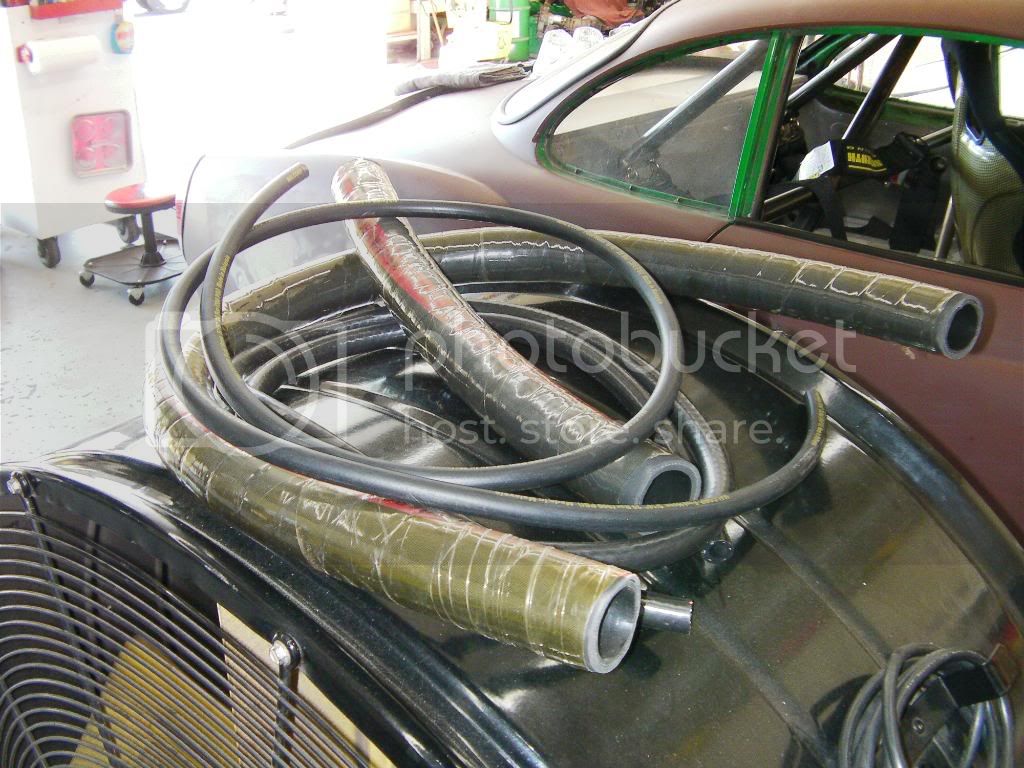
Now, the filler neck: in and out main, a vent for both the OEM main and aux, and believe it or not, the smallest tube is the transfer - connected to the pump. And as you can see from the two pics, is bent at an angle different from the others and quite compressed. With that said, you can blow through it pretty well, however I wonder how long it will take to transfer 20 plus gallons via the sized opening.


The OEM filler neck and vent (breather) had to be removed. Two notes: getting it out took about 25 minutes as things are pretty tight in there and there are angles to deal with; and, Front Runner should have used this part to fabricate it's Y filler neck from, for both an OEM fit and finish (disclaimer, unless this OEM part is cost prohibitive which it might very well be).
Line connect from aux tank outlet to pump, with Yuri adding a small fuel filter (not supplied in the FR kit) in between . By the way, the FR Y filler neck had some crusties inside from welding that we knocked out, but still suggested we put in a filter just in case.

Here are the OEM main and vent tubes going to the OEM tank. FR supplied a fitting for the main line, but we had to run to an autoparts store to buy a fitting for the vent.

Another problem, the brackets (for attaching the tank to the rear of the truck) seemed to either be welded wrong or the mounting bar on the aux tank was welded upside down. It's hard to explain in words (and even this pic), but after an hour or more of trying to fit the tank up in the spare tire cavity we couldn't conclude anything else.... the two rear brackets just didn't work as each was unique (length) and had unique holes, both to mount to the tank and the rear wall of the spare tire area.
Below is the bracket for the exhaust side matched up to the tank... you can see... it ain't happening. The other side was the same.
So we had to drill the brackets to create new holes that matched up with the tanks mounting tabs' hole. It wasn't a big deal, but did take time.
The OEM tank main and vent hoses connected. Again, the FR kit included a fitting for the main but we had to buy a fitting for the vent from the auto parts store. And given the need to make connections, hoses clamps abound... and a wire tie too.

And then at the filler neck, lot's of connections: main to OEM tank, main to aux tank, vent to main, vent to aux, and then the smallest (at 10 o'clock in this pic) is the hose that transports gas from aux to main.
Y filler neck and locking cap installed up through truck body using OEM surround rubber gasket. Clearly a few things are going on here. The angle of the top of the filler neck is no where close to the OEM filler neck. This is due to too many hoses so closely connected to it preventing much adjustabililty. I am no engineer, but I think this could be corrected by making the filler neck longer. With all five hoses so close to the mouth (the Y filler neck is less than a foot long), it makes adjustibility tough.
With some adjusting and wedging, things worked. However, without such efforts you can't even close the gas door as the neck opening is too perpendicular to the door opening. Further, I haven't actually tried to put gas in yet so this angle could be less than ideal for efficient filling.
Another note, the gas cap is a locking variety and further can't be attached without locking. So that is a small PITA in that a small key needs to be used every time to open. I am hoping to find a non locking cap in a auto store that fits. I don't trust myself with small keys to important things.

Looking down the Y filler neck with the smallish transfer "spout" on the left from the aux that does the transferring. Again, I haven't fueled up yet, but wonder if I can fill both from just sticking the nozzle in the opening, or do I need to angle. Or, once the OEM fills, fuel spills over into the aux opening. And then lastly, will the shut off feature of gas station pump activate since the OEM will fill up first, close the the nozzle, and shut things off?
Tank install from rear pretty close up
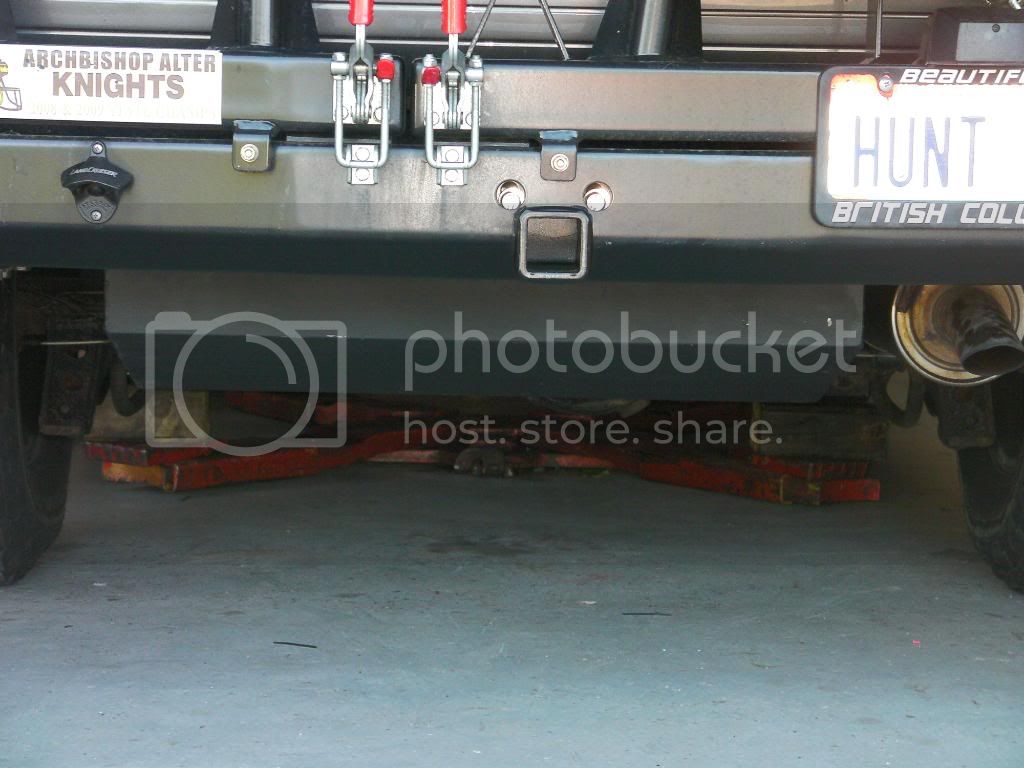
A little farther back
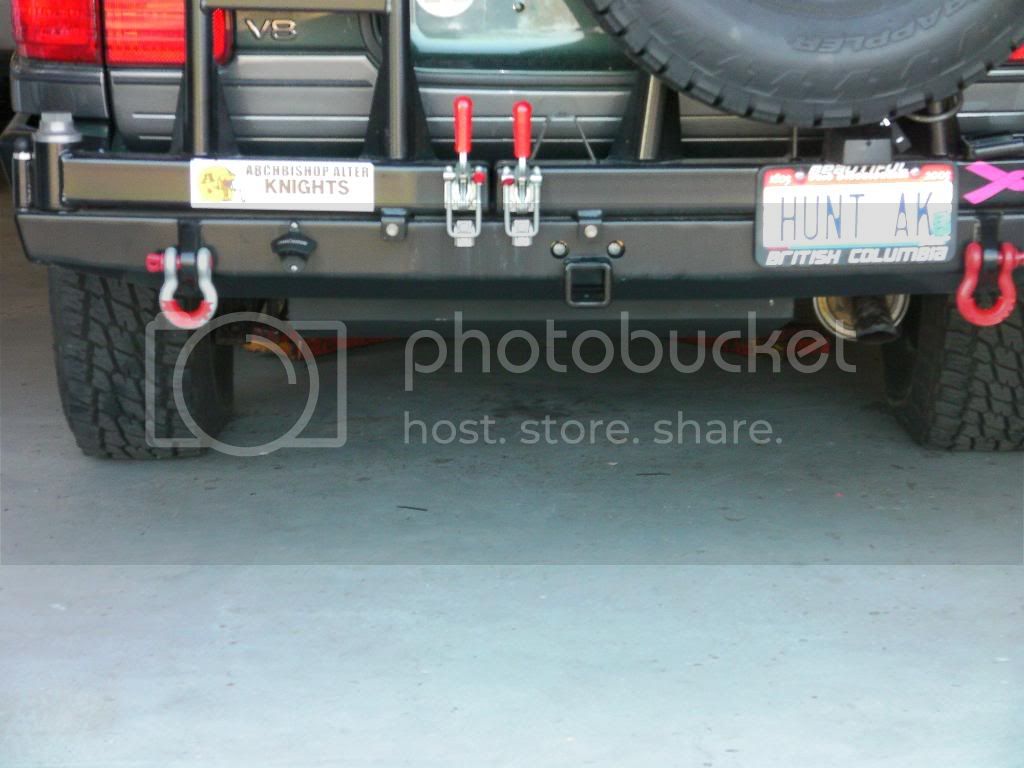
FR switch temporarily installed in OEM sub switch blank space. I have an OEM sub switch on order and hope to make it work.

Last edited by a moderator: