
Like the day you build me some beefy axles?

Follow along with the video below to see how to install our site as a web app on your home screen.
Note: This feature may not be available in some browsers.
This site may earn a commission from merchant affiliate
links, including eBay, Amazon, Skimlinks, and others.
Like the day you build me some beefy axles?
Added gussets after that and boxed the oem brackets
I know this is a late reply, but the original reason for asking is I was wondering if putting the tire on the back is a weight nuisance, or messes with the handling or something, messes with clearance. I have the 4x4 labs front bumper on mine, and I'm saving up to get the rear bumper. Just wondering, if I'm on the right track.Yup, haven't carried a spare tire for a while which I know is risky. I'm going to hate myself when that day inevitably comes.
Ever wonder what our inline 6 sounds like with open headers? Gotta admit it's kinda cool. Too bad she's all bark and no bite.


Nice progress. From what I understand, the link diameter has a huge affect on the links strength from bending over link thickness.Some minor updates...
Started by orderig a few things from Brian at 4Wheelunderground.
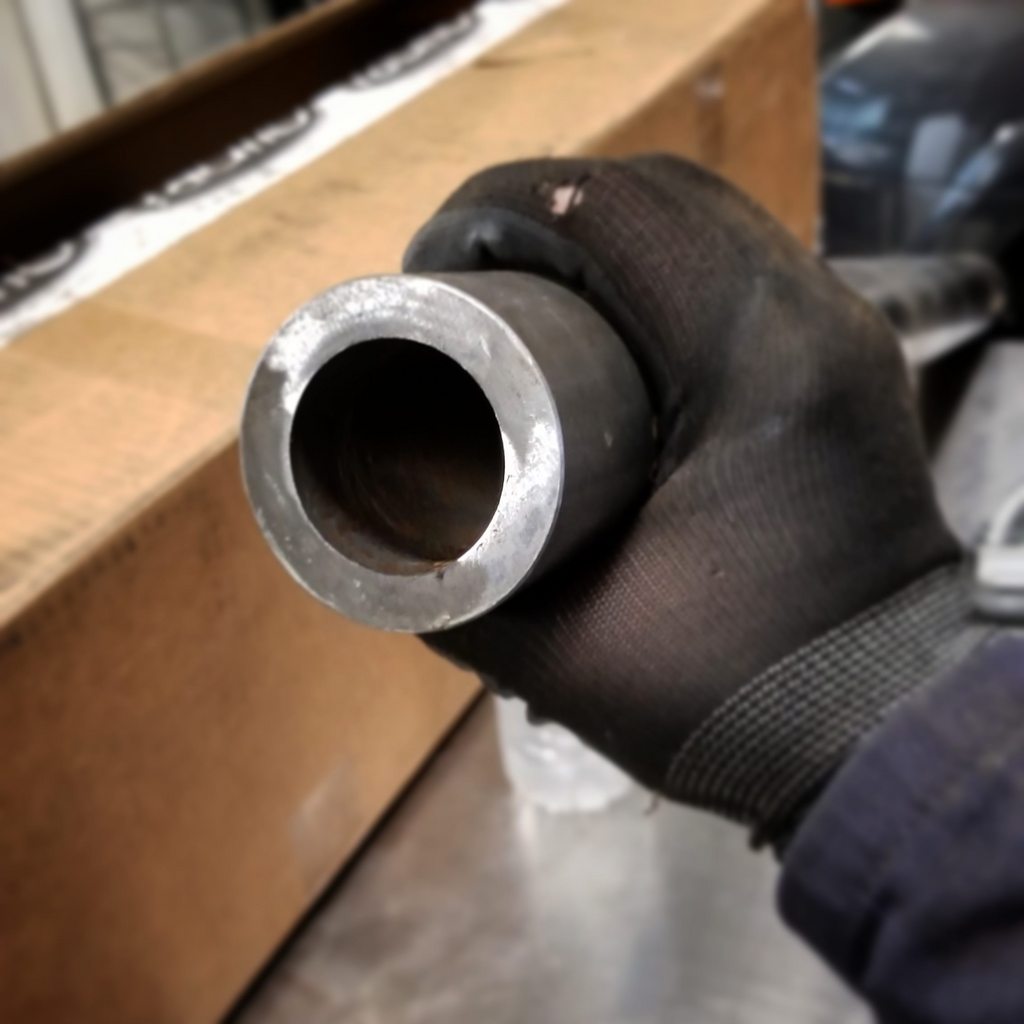
Rear lower links will be 2.25 x 0.375" to match the front. These are heavy as hell and visually impressive. I don't think I'll ever bend 3/8" wall DOM tubing
Also picked up a set of 14" 2.0 remote resivoir Radflos from Brian to match the front setup. Final spring rate for the rear is still TBD. He's going to send me some springs to test out before we place the final order with PAC.
Then I removed the emulsion coilovers and swapped in the new resis up front. The old emulsion coilovers will be installed in the rear. Still need to figure out the reservoir mounting.
Both help. I dont think 2.25 .375 wall is necessary but its not like weight savings are a top concern for any of usNice progress. From what I understand, the link diameter has a huge affect on the links strength from bending over link thickness.
How much more down travel do you think this new rear setup give you over your previous setup? Also, how much overall travel did the front 3link give you? Awesome build thread by the way, really enjoying it!
Where would mount the coil overs, top of axle and trough floor? Curious as I know there’s not much room... also will you will run them as vertical as you can ?
Looking forward for the next steps


")

Sweet Baby Jesus!!
Cannot wait to see the outcome of this chapter.
She's an absolute beaut!

I’m digging into that too using : offset chassis brackets for the LCA, 4WU coil over bracket mounts too . Those are sexy
I‘Ve been wheeling my wishbone for years though. Time to 3 link the front using 4WU based kit and the rear I can’t wait to see what you’ll come up with
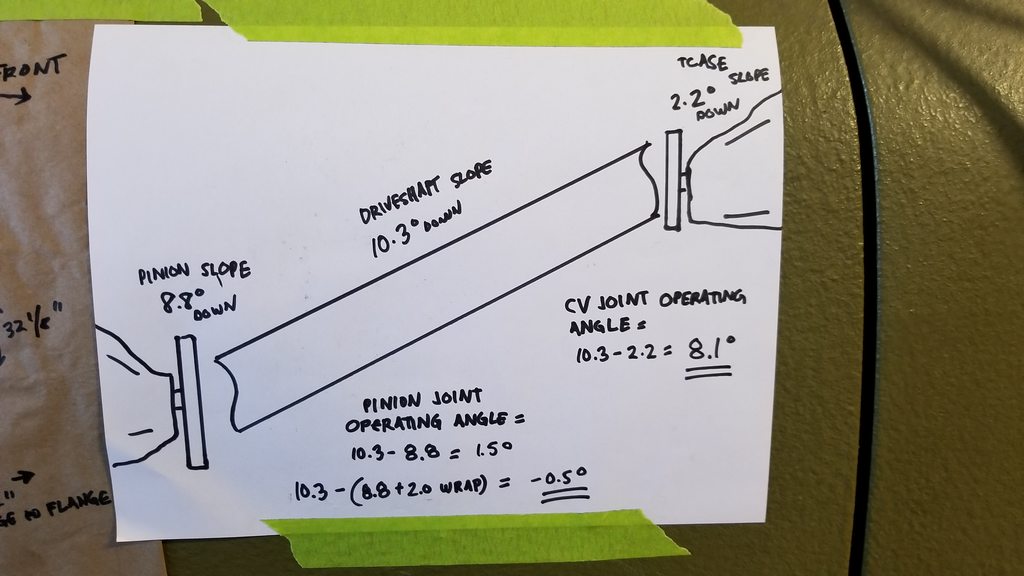
BTW, I sort of doubt you'll get 2 degrees of wrap on the pinion with links and heims.