I just finished replacing the stock power antenna with a cheap aftermarket manual antenna. I've done a replacement like this before and thought "how hard could it be?" Well I found this antenna replacement thread after I ordered the replacement antenna. After looking at the cost of the new antenna (mine was bent) and driveline I decided to stick with the plan of the aftermarket unit. I have to say this upgrade has been the biggest PITA when you consider the usefulness of having a manual antenna. If I was to do it again I would go with a non power shorty flexible antenna. The good news it is done and now I can move forward with installing the Slee aux battery holder, new aux group 27 battery and 4g wire to the rear of the vehicle.
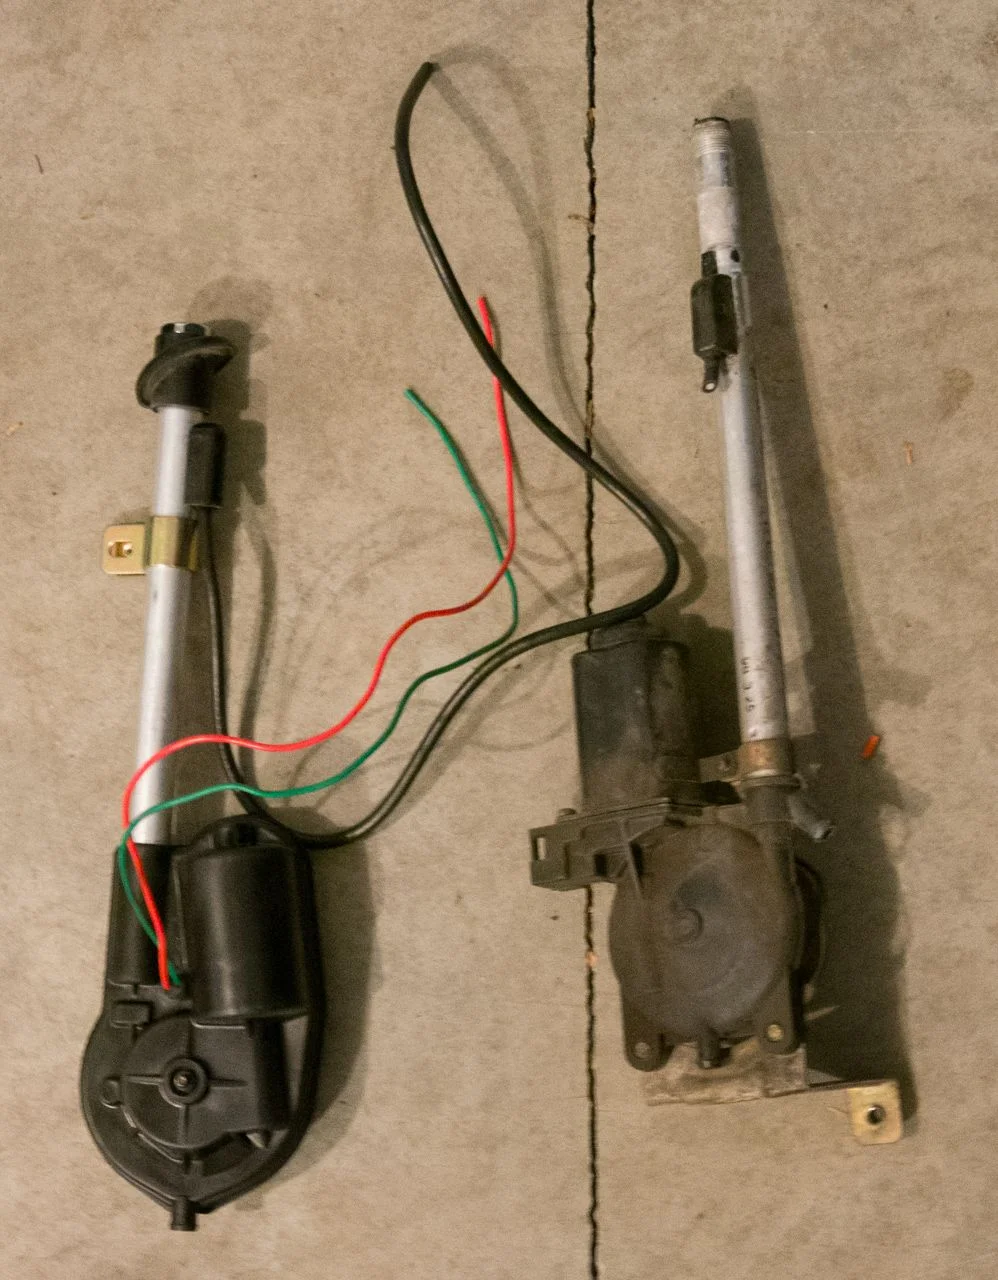
New antenna on the left and old on the right.
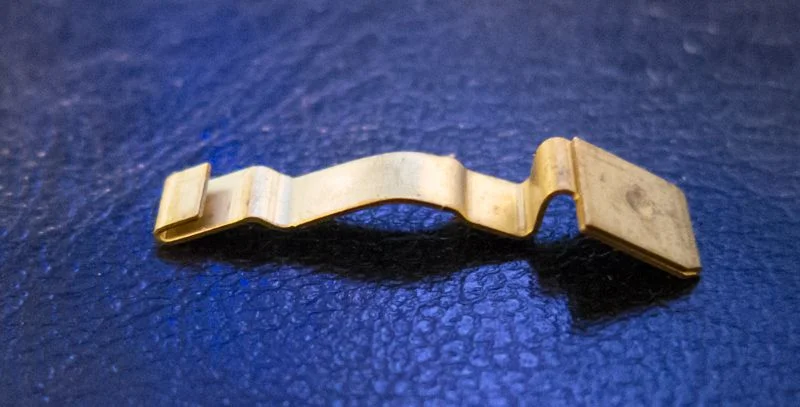
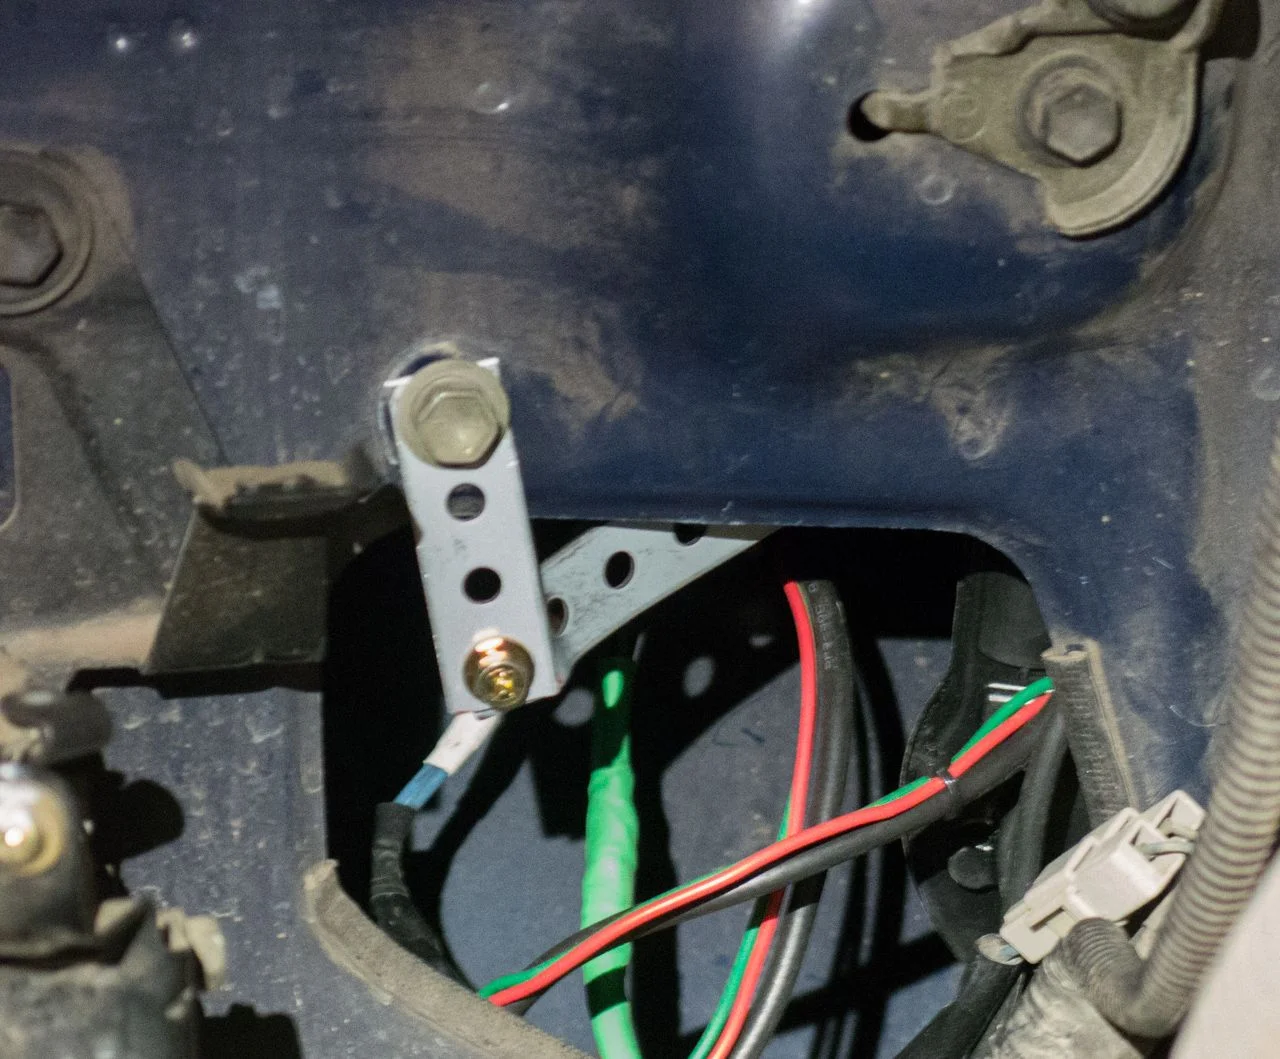
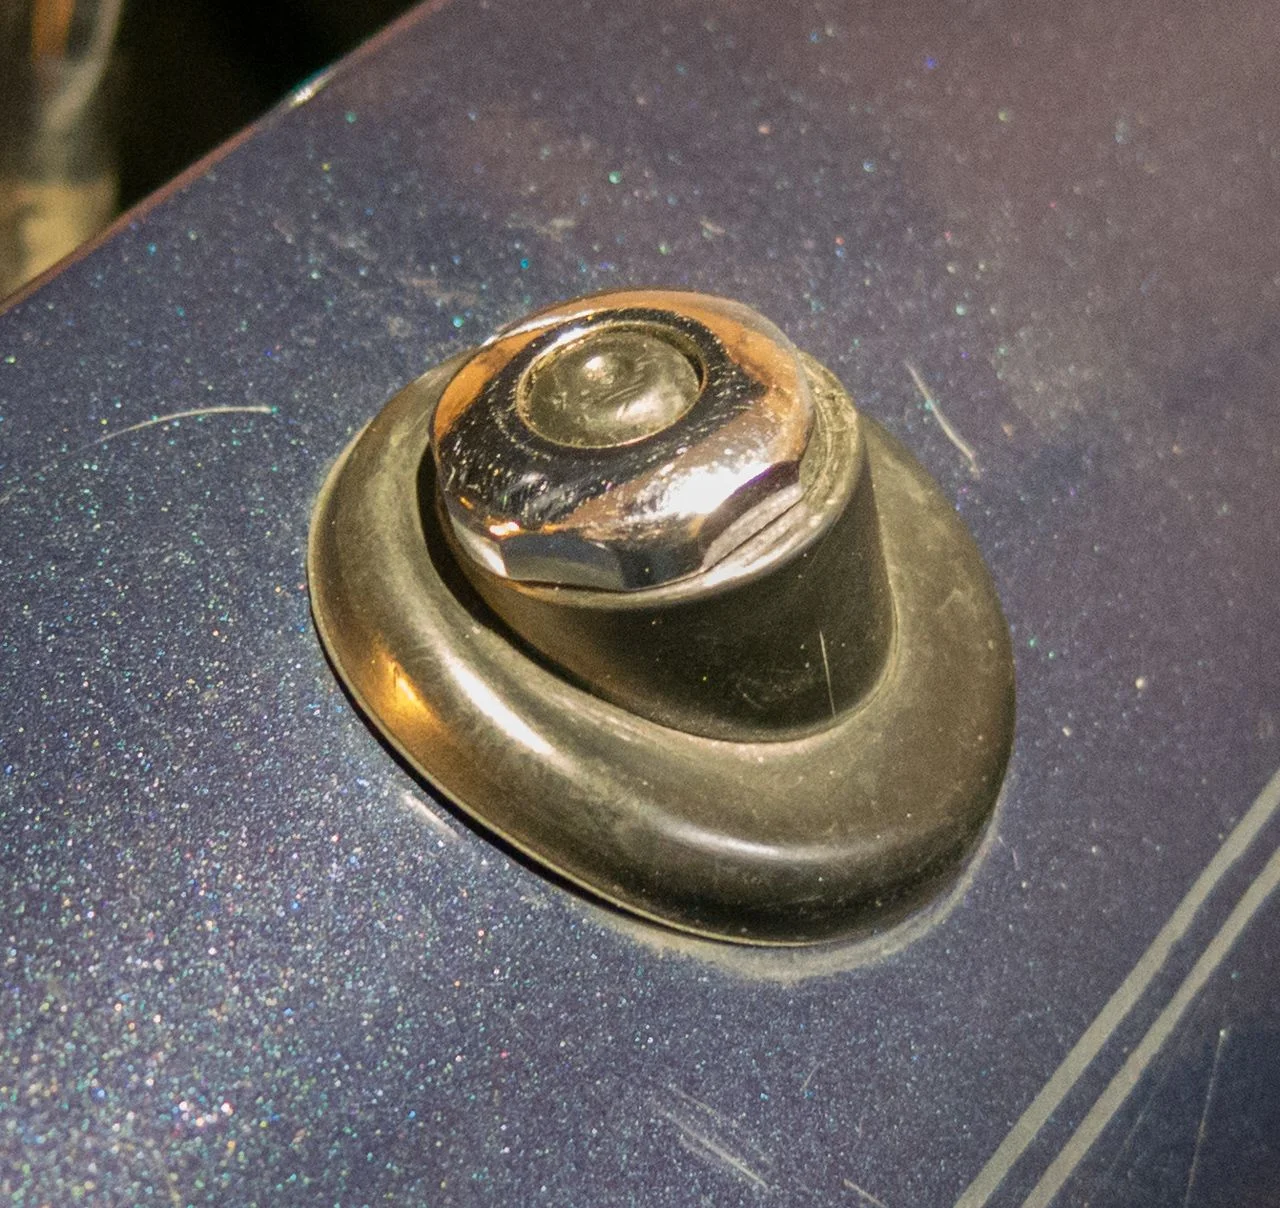
New antenna bottom support.
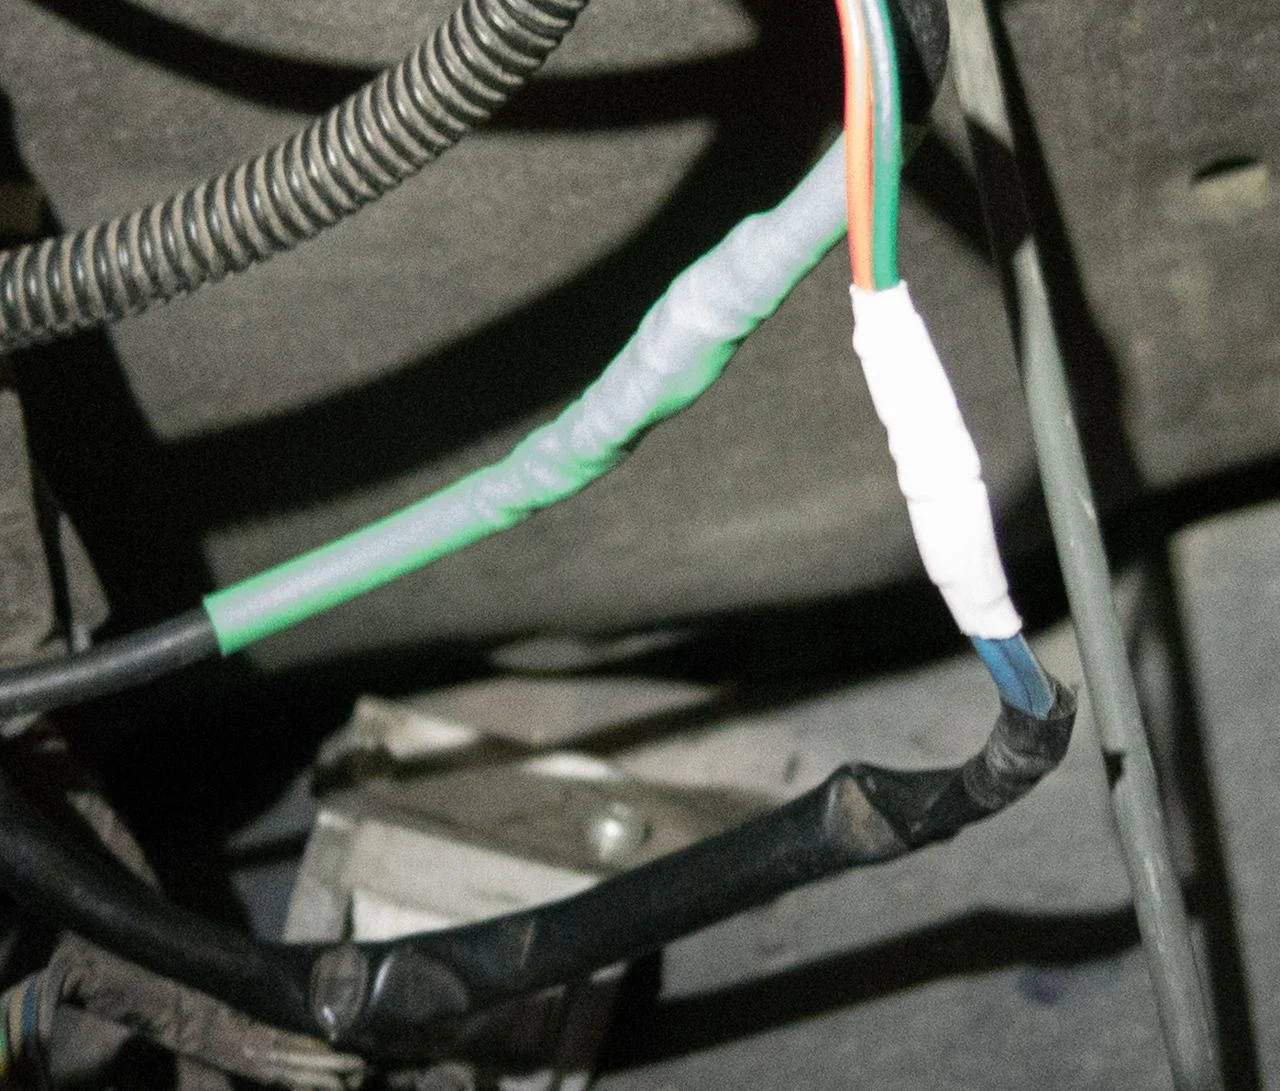
New antenna spliced into factor wiring.
Looks almost stock except the black vs gold antenna top. I reused the top mounting components of the stock antenna. It required extensive modification to work with the new antenna.
Wow, things are going much faster now that the antenna install is done. I pulled the 4ga wire through the firewall. A little soapy water and firm push was all it took. 2ga may fit with some KY and a lot of dirty talk.
Slee washer reservoir relocation done. I didn't even have to drain the fluid. Good thing as you can see it is almost full.
Slee OEM second battery holder installed. The bottom fender bolt was the most difficult and needed to be the first installed. Light trimming was needed where it fits around the radiator (bottom right of picture).
New marine group 27 house/aux battery installed. Tomorrow I will install the wiring for the aux systems that connect to this battery.
Got most of the breakers wired and the power lines routed and secured through the firewall.
12ga twin leads run through passenger gutter to roof rack for lights. These will power the two pairs of lights separately. I have a 10ga single ground routed down the driver side gutter that will serve all 4 lights. 4ga power and ground wires run to the rear glove box next to the sub. 8ga power and ground run to a 6 terminal fuse block located on the passenger foot panel.
8ga and 4ga feeds from battery still need to be added. I need larger 8ga terminals for the battery connection. After I trim the 4ga run in the back I will have the needed wire for the battery to breaker.
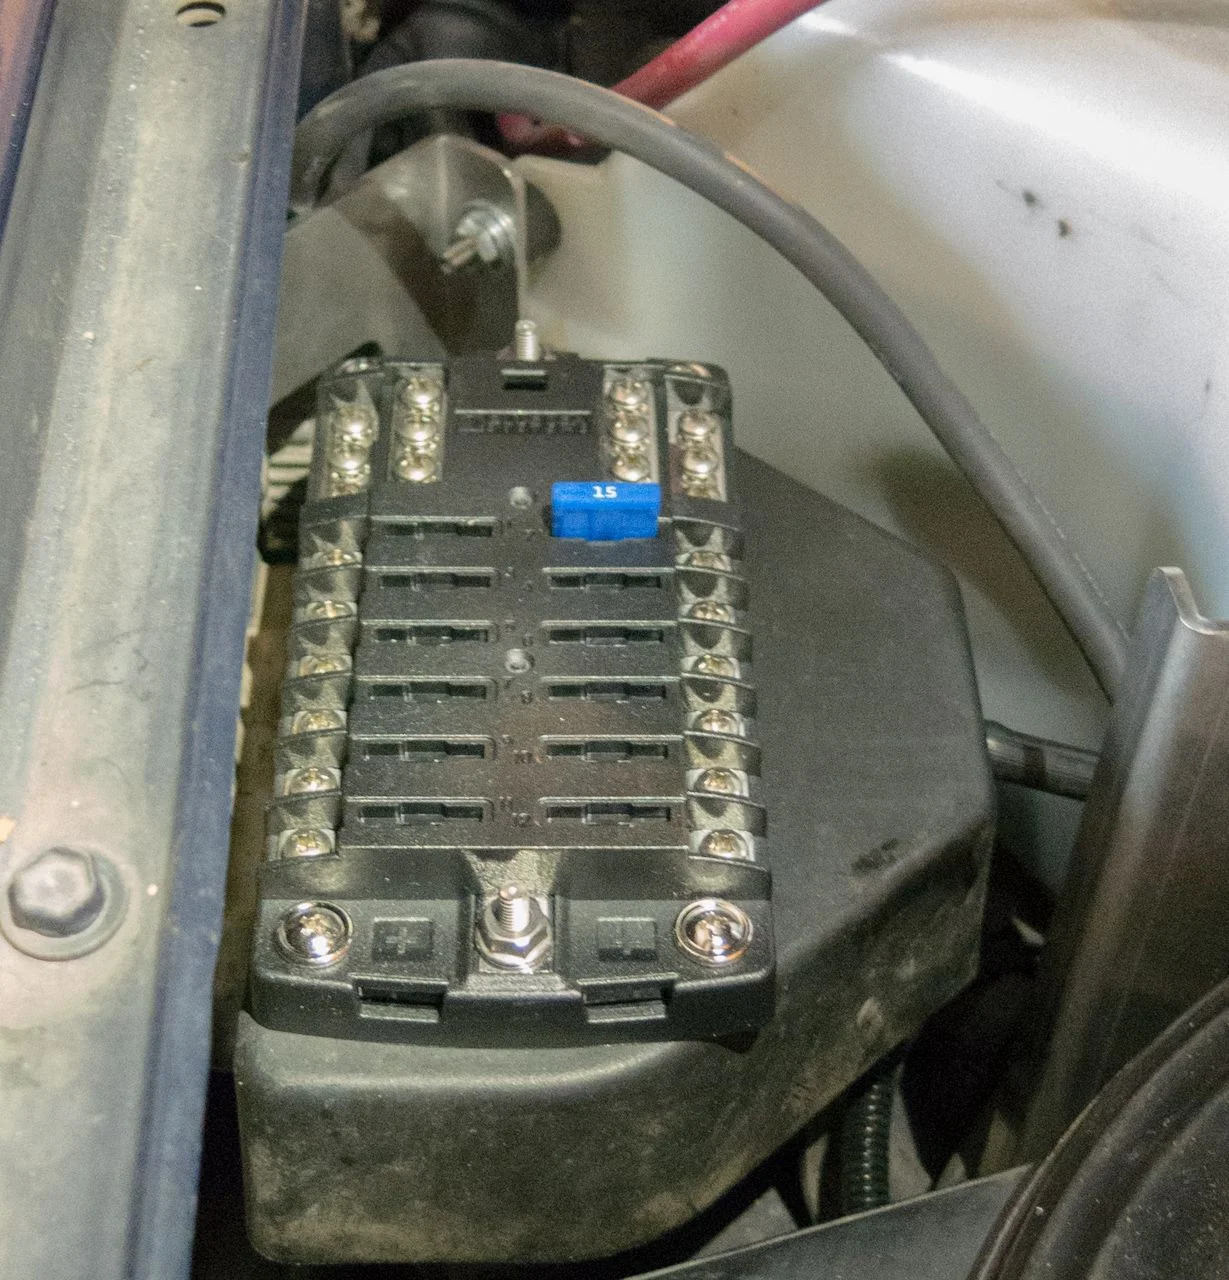
I had installed this 6 terminal fuse block with I installed the stereo and amp. I decided to upgrade the feed line from 10ga to 8ga. This will feed my ham radio, stereo, Kenwood KAC-M3004 amp, USB chargers and 200w front power inverter.
Well I originally ordered a 12 and a 6 and planned to run two new power zones. I later changed my mind and split it into three power zones which made the 12 too much. I figured the engine bay had the most room and I may add things later. Of all the locations the engine bay is the easiest to access. For now I have four 4" HID lights mounted to the roof rack which will be powered in pairs. I have two KC 100w(upgraded to 130w bulbs) slimline fog lights on the front brush guard. Additional lights will be added as needed after I replace the front bumper and add a winch.
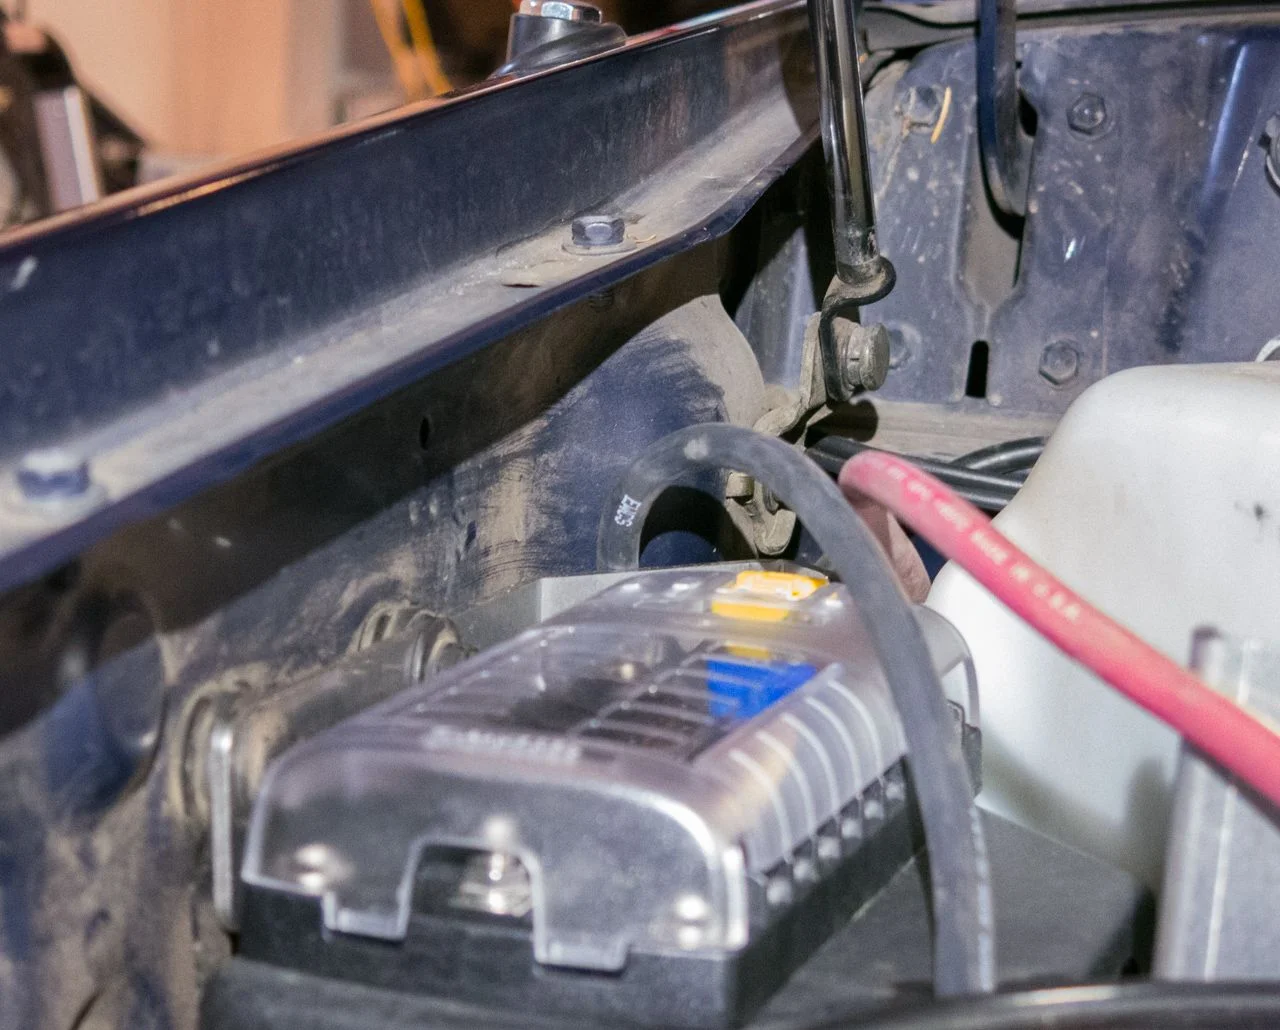
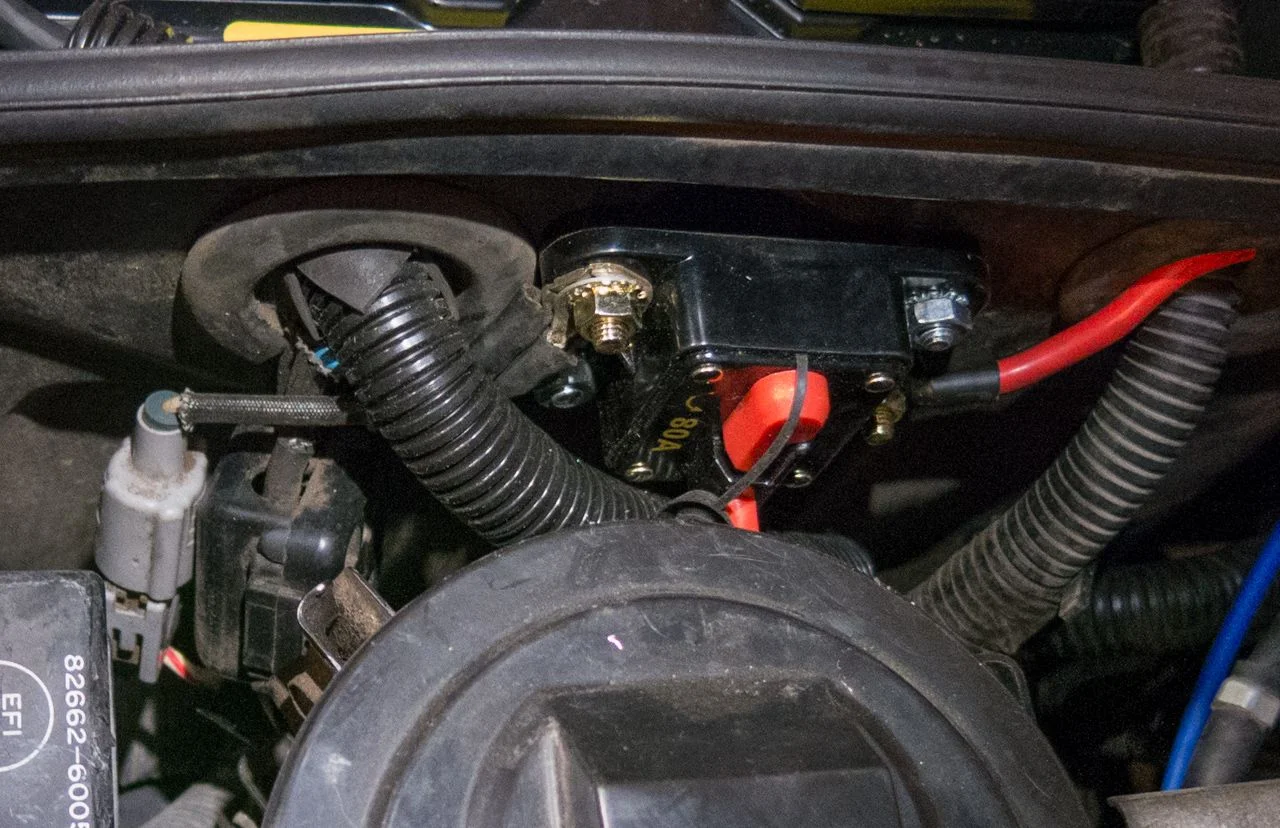
Mounted auto connect relay and manual 500a x-connect relays next to the main battery. The auto relay connects the batteries at 13.5v and disconnects them at 12.9v. The manual relay will allow me to x-connect them for starting without having to get out and jump them.
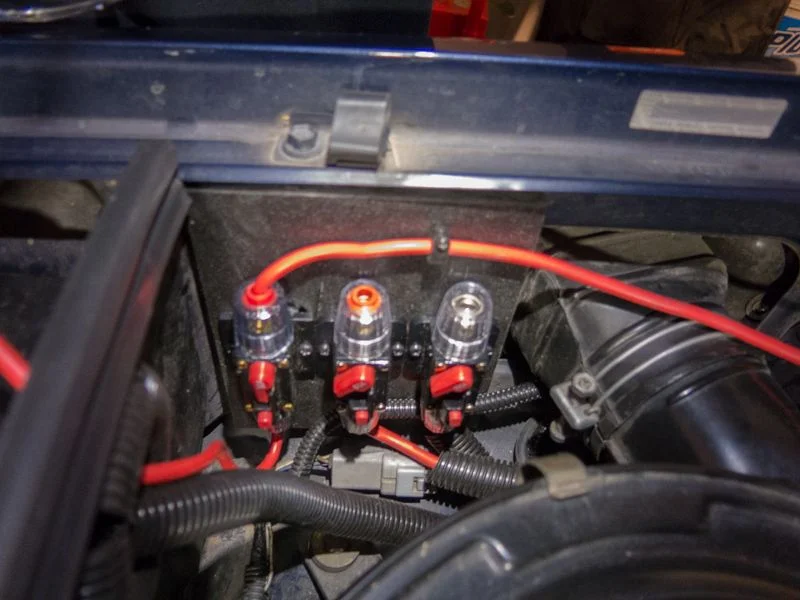
I moved the fusable link mess outside the battery case to clean it up and allow for easy maintenance of the battery. I used an 80amp breaker which allows easy disconnection of the main battery to cut parasitical loss and/or reset the ECU.
I got the clean carpets installed along with the front seats. I pulled the seat covers off to wash them. Hidden under the driver seat is the 4 channel Kenwood amp.
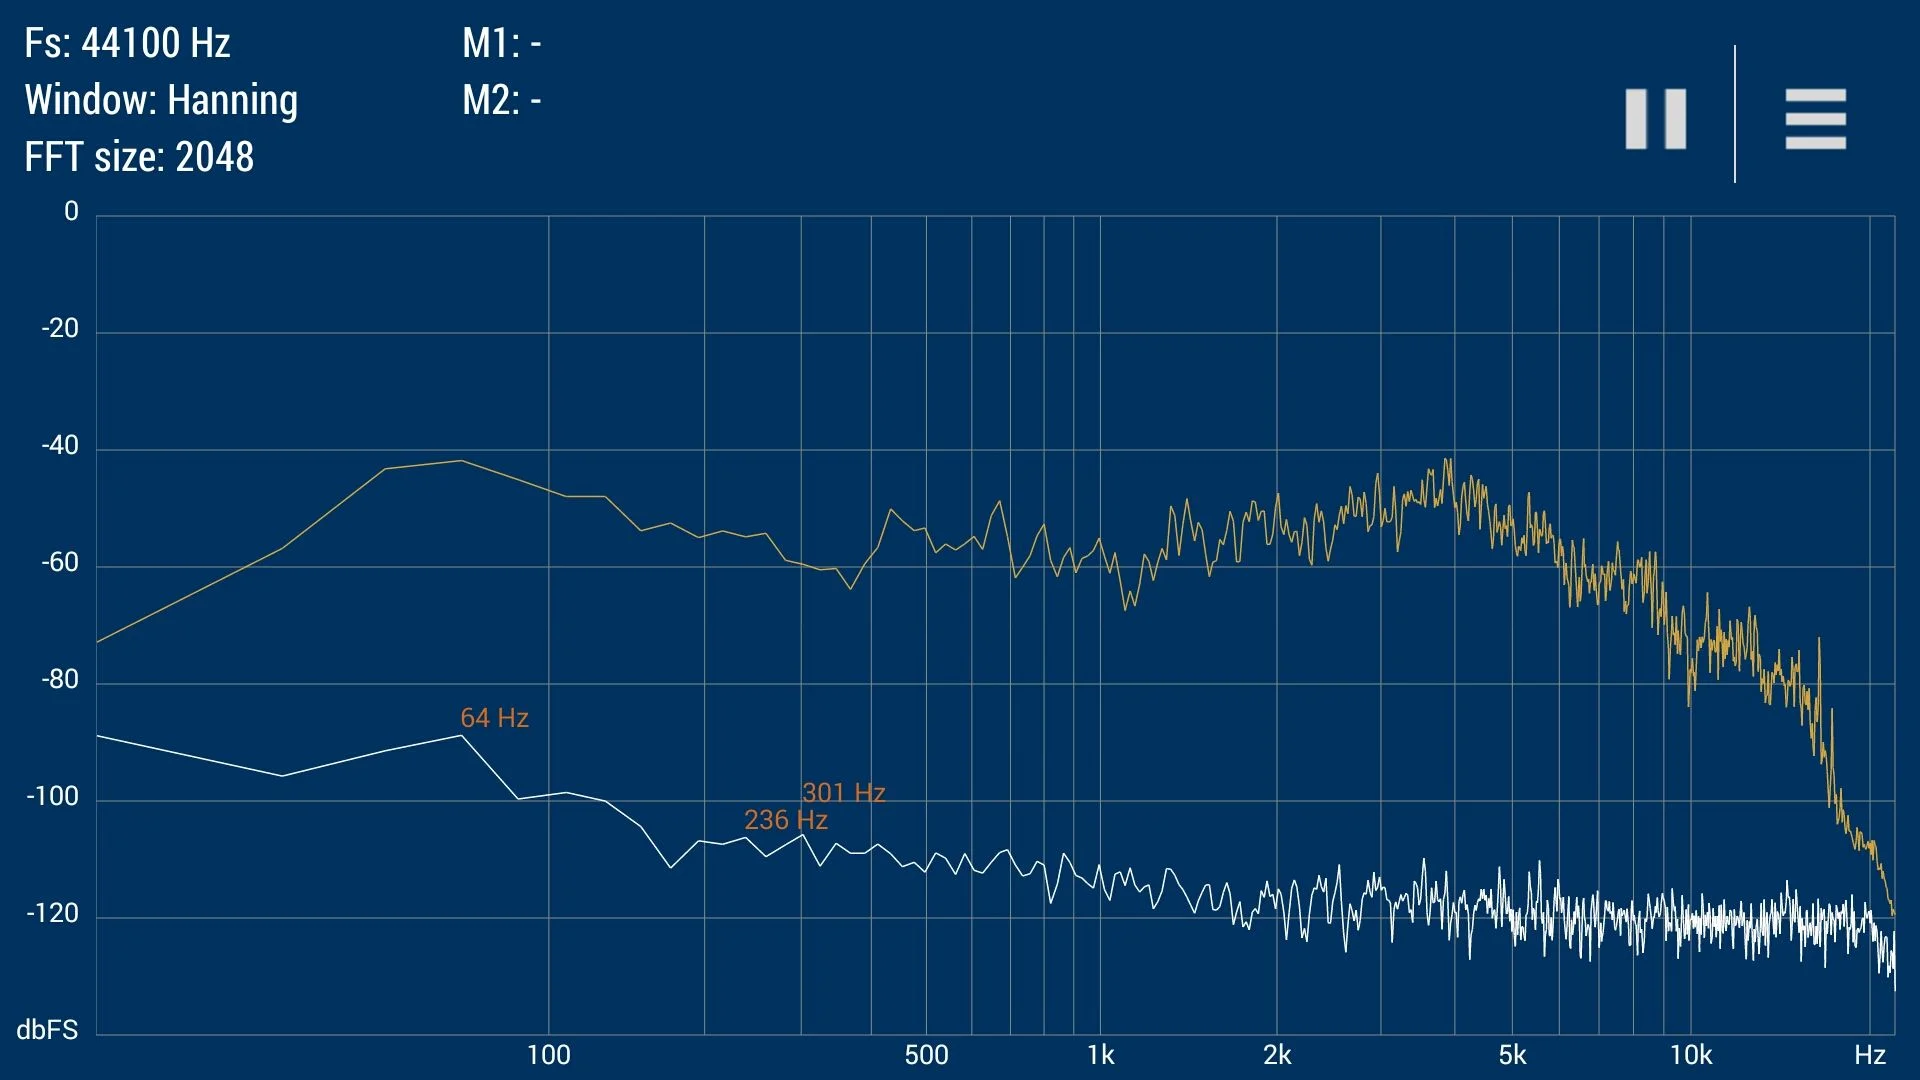
I decided to do some extreme sound tests so I put my home 12" sub (JBL E250P 250w). My head is still ringing from the testing but it sounds so good. I did a recording inside using the same levels and song as before. The second measurement was taken outside the vehicle with the doors and windows closed. I measured 2 feet away from the rear driver tire about 3 feet up. The vocals travel outside the vehicle well but all other frequencies are suppressed. Overall I am really impressed with the reduction in sound. Hopefully in I will be done in the next couple days so I can road test it. 30db reduction in the low frequency range is good.
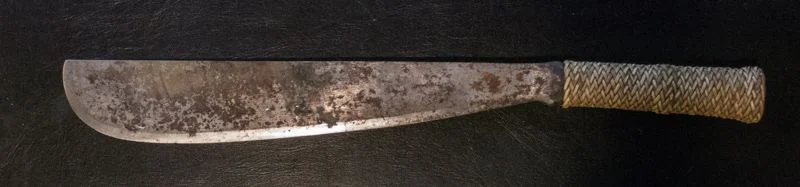
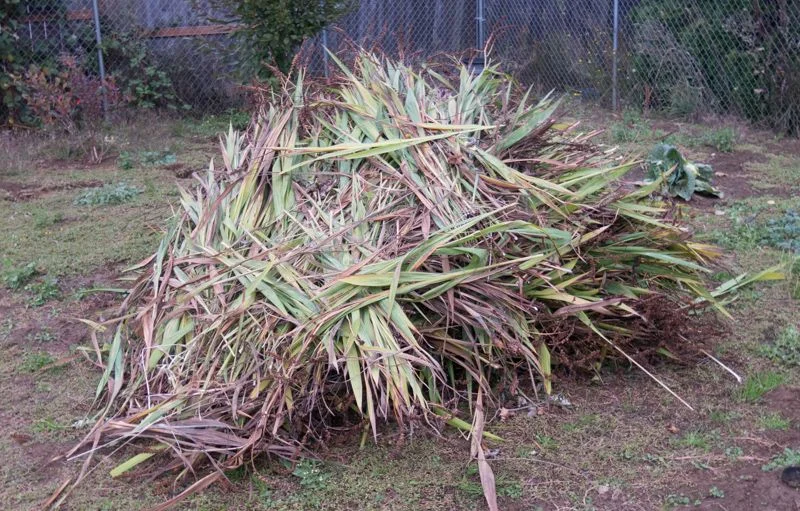
Taking a break from the LC today. Today is the last dry day for a week so I am doing much needed fall yard work and preparations for the coming rain and wind storm. I used my trusty trail tool to make short work (not really short) of our 18 Crocosmia-Lucifer bunches.
I haven't cleaned or sharpened this in 8 months. Even after two offroading trips and today's gardening it will still cut paper with ease. Best $30 tool I ever bought.
The aftermath...
I need to find a place to mount/store this safely in the rig. It makes quick work of brush and limbs on overgrown trails. It cuts up to 2" green branches in a single swing.
What a day of work! I started in the back working on the sub and rear power. I tapped into the factor sub amp for remote power from the radio and the power from the ignition and extended the lines. The radio power will go to the new sub amp and the ignition power will be used later for controlling power with the ignition off. I reinstalled the sub and hit a wall with the old Pyle plad-212 amp. It's just too big and takes vital space so I broke down and ordered a Kenwood KAC-M3001 mono sub amp. It's half the size so I will have room for an inverter later. Since I won't get it until next week the back is on hold.
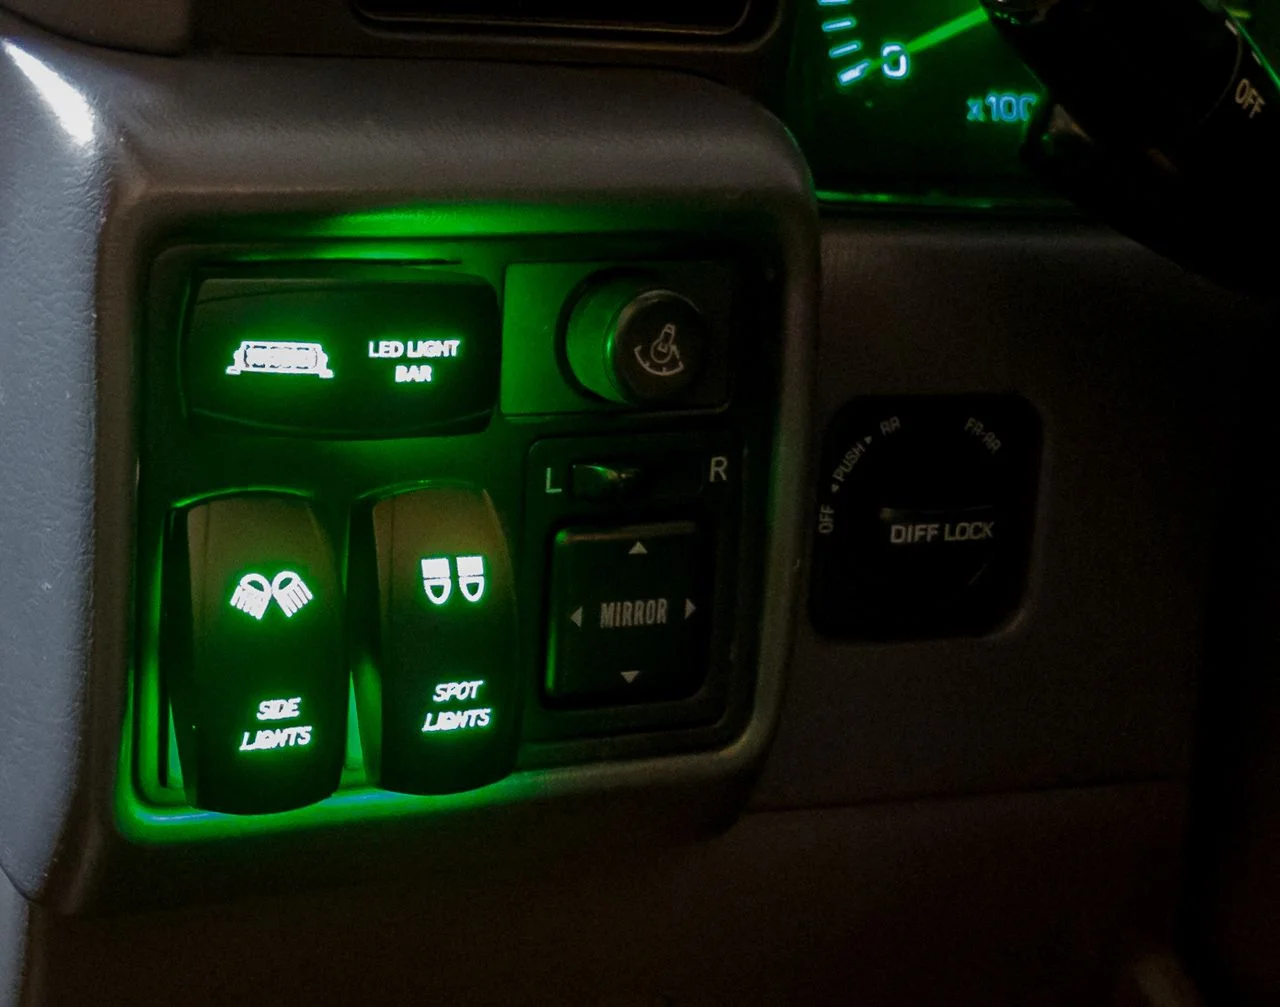
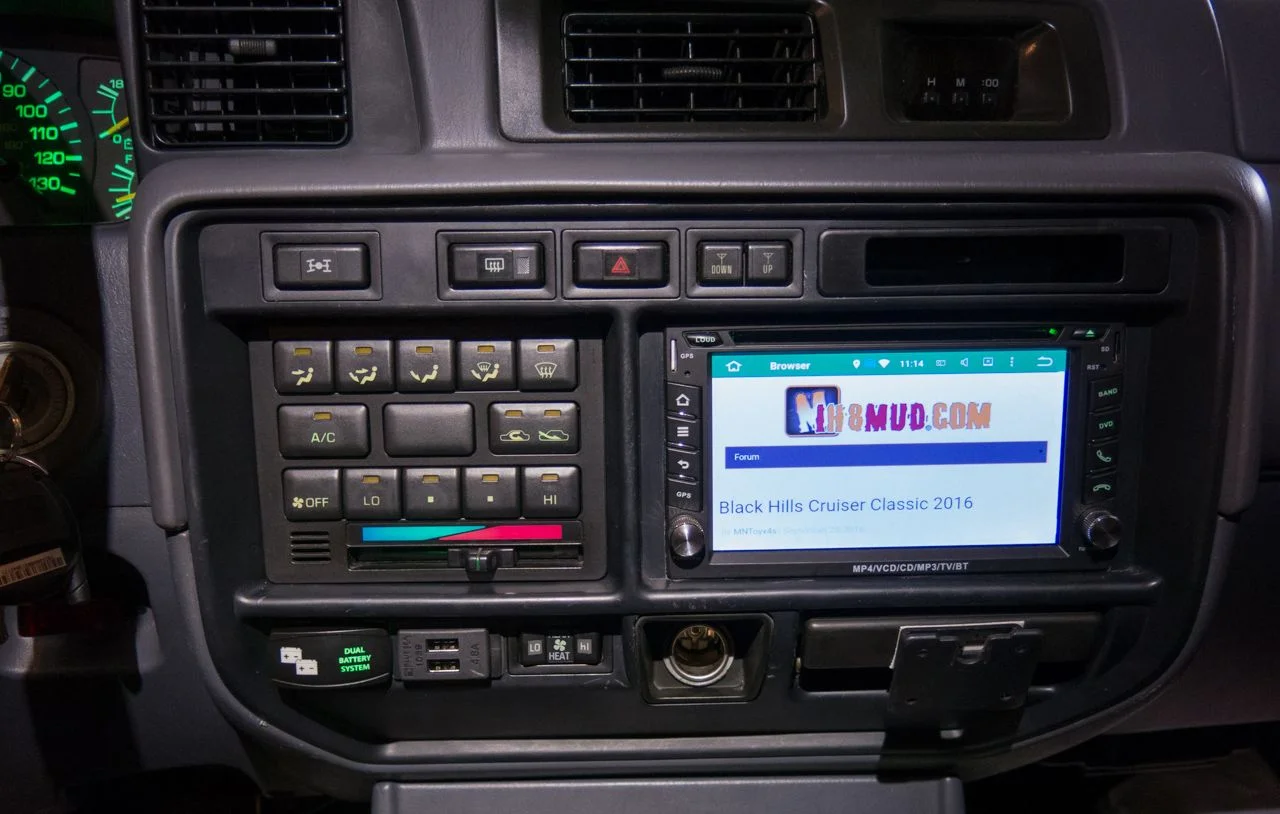
I installed 3 offroad light switches (spots, flood, fog) in the dash. When I ordered the switches I had plans of installing a dual white and amber LED bar. I discovered the POS fog lights already installed were KC 100 slimline fogs. The previous owner installed them with a very long 16ga power line. I measured 9.2v at the lights, no wonder they were so dim. I upgraded the bulbs with some 130w H3's I had laying around and ordered amber covers for the fog. The switches backlights come on with the headlights and also light a second bulb when on.
I'm not fond of the big bubble look of the switches but it isn't so bad being at the end of the dash. They sure are easy to find in the dark without looking.
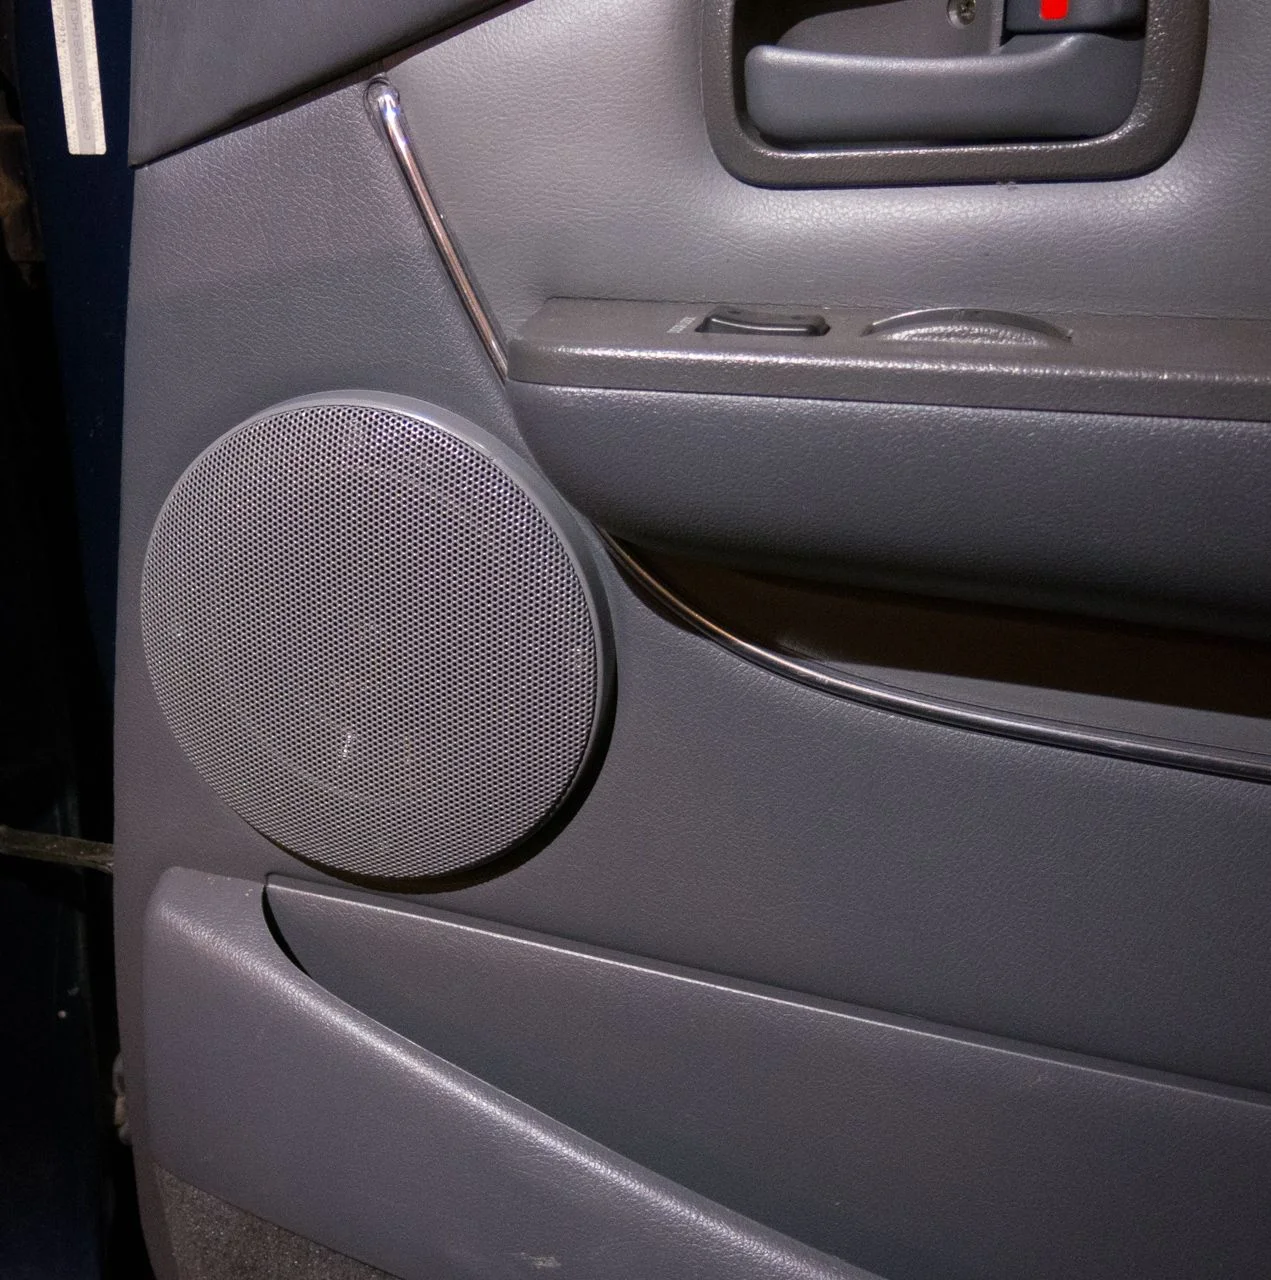
I also installed the manual batter x-connect switch but wasn't able to get a picture of it due to an issue with the ashtray mount. It's sitting in the shop waiting for epoxy to cure. I also painted the front speaker covers to match the doors.
The ashtray mount is fixed and the center dash is now back together. Toyota could have given an extra inch of wiring for the rear heater switch. It is a stretch to connect it in the right most switch position. Now to finish wiring the offroad light relays and the lights themselves.
I couldn't take looking at a dirty Bolo so I cleaned, oiled and sharpened. It fits nicely in the driver door pocket. I can't imagine the police having an issue with that.
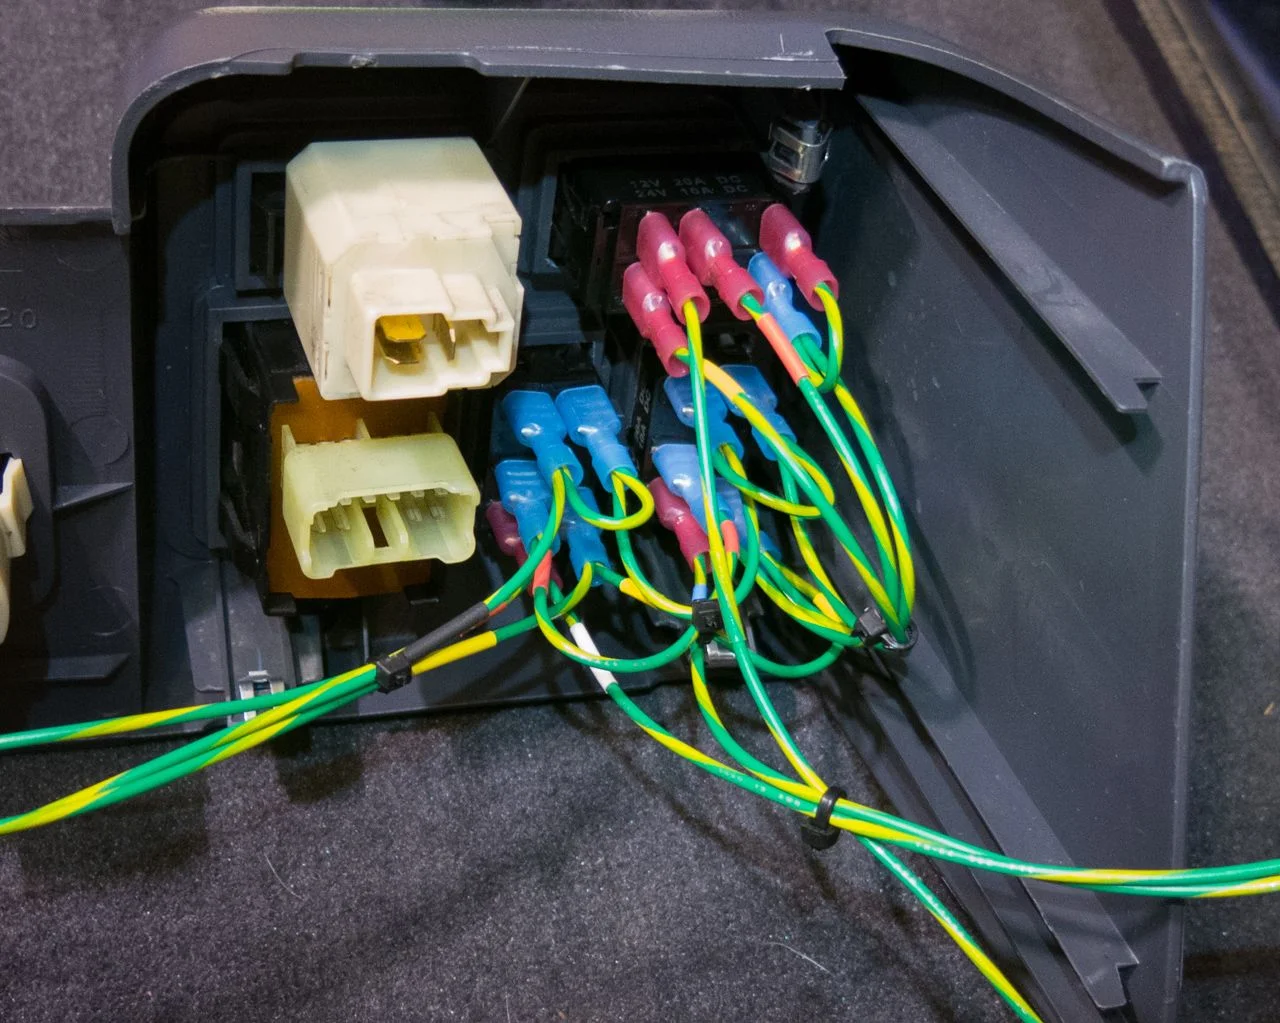
Not so fun day with the LC. In preparation of a large storm coming I lowered one of my ham antennas and fueled up the vehicles. I tucked unfinished wires away and removed all tools so I could take the LC for fuel. All went well until I tried to shift out of park. The shift lock was not unlocking. I was in a hurry to beat traffic so I grabbed a screwdriver to use the manual unlock and headed out. All went fine until I started troubleshooting it after returning home. I noticed the brake lights were not working either. First the center consoles then the driver dash. I traced everything to do with the locking circuit and the brake pedal. I even unplugged the brake switch(never doing that again!). In the end it turned out to be a loose connector in the fuse block for the #4 stop fuse. All caused by a hack(fuse tap) from a previous owner that I removed. I had found and removed two the the hacks pictured below and reinstalled the fuses. The problem was the hack spread out the connector so a fuse alone would not make contact. All fixed and proceeding to wire up the offroad lights.


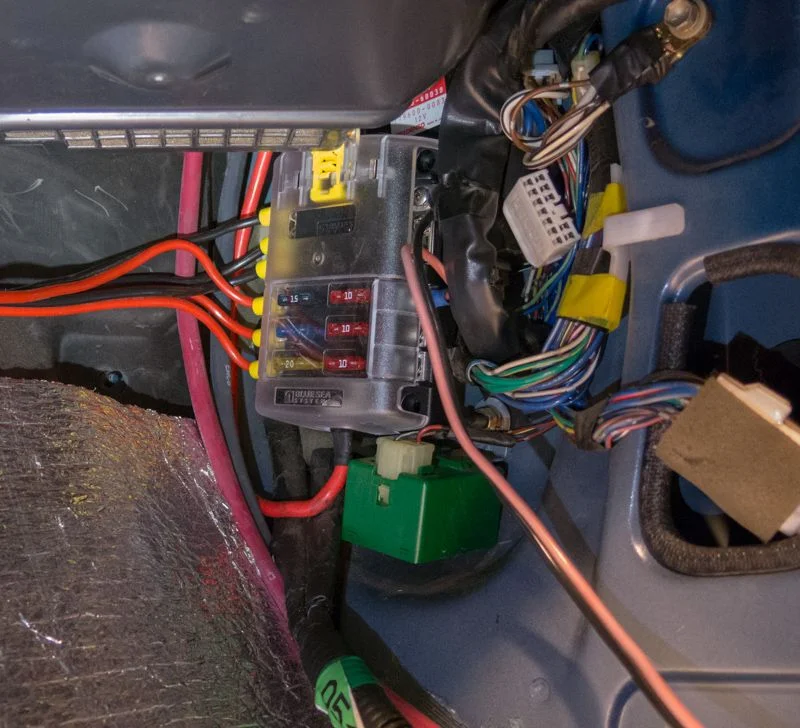


 All fixed and proceeding to wire up the offroad lights.