Builds Climate Change: Project Global Warming '76 fj-40 (1 Viewer)

This site may earn a commission from merchant affiliate
links, including eBay, Amazon, Skimlinks, and others.

Love the thread. Thanks for posting.

I have a question about the wiring harness on the "backup switch". How to tell which wire goes to which terminal? I recently dropped my tranny and both wires came off when I twisted the sensor out. Neither wire is marked in any discernable way, that I could tell. Should I just touch the wires to the terminal points with it in reverse, and have someone watch for the backup lights? That seems kinda amateur to me, but I cant figure another way...

Like it was just said, a switch just has continuity when closed and none when open. While the backup switch is different here because it's 'upstream' of the resistance (or load or bulbs), which pole is hot isn't material here. In a house light switch, yes, you would put power to one pole over another, but this is just 12 volts and nothing in this switch internally grounds.
 
When I re-did the wiring harness, I made the headlights and engine cooling fan work on relays. The headlight switch (mine has been damaged in the past) now just - toggles the relays and I've put a 10A fuse in the circuit since there isn't a high amperage draw on the switch. The fan is a low-high 2 speed from a taurus and activate on 195F and 215F sensors mounted in the engine heads.


Could you provide a few more details on your fan and headlight relay design?
 
@pjohnson
I've created schematics for the headlights and fans, and took pictures of the build relay block on the other fender. It controls the horn and choke heater.

Headlights


Engine fan


I get the relay holder from a 'major online retailer named after a rain forest Brazil'. They also have the relays, power busses and most of the other bits I used here.

The holder comes with all the connectors to build it. It doesn't come with extra parts (but I have 2 and I'm not using all the sockets on either so I get to make mistakes)


All connections are soldered. My rule has been NO CRIMPS ANYWHERE. I broke the rule here by crimping on the horn clip (but that will be fixed later when I decide its what and where I want). Its a decision that has majorly added time to the project, it takes a lot of time solder, shrink wrap and tape everything.

I double wires at the connectors rather than make running splices in the wires.


Building the box means building a number of jumber wires.


This is the finished horn circuit. On the back, note the jumper from fuse 1 to fuse 2, that provides power back to the horn button.


I put the wiring in it for the choke heater and installed weather pack connectors on the harness wiring.


Installed and my daughter is already annoying me with the horn.

 
Excellent write up. Thank you!

I am planning to re-wire my 40 this winter and I want to make a few improvements.
 
Roger at CityRacer has new replacements.

Mine are still usable when cleaned up. It's just one went AWOL when I put the hardtop back door header on. I'm still missing a new windshield washer nozzle (still in the bag) and I'm quite positive I'll find it the day after I order another new one....
 
The top isnt quite road ready so off with it.

First couple of test flights complete and the usual number off issues. Some Apollo 13 stuff like i cracked a brush in the alternator (a couple years ago), put the rear propellor shaft in out of phase, the throttle cable disconnects at WOT and the brakes are kinda weird. Normal settling in stuff.

 
Finally a bit of progress. I finished reskining the trans cover, the SBC AA kit I used moved the holes forward and right so it needed a bit of resculpting for the tcase shifter.

I've got a 100 miles on it and it's running awesome...
:steer:

 
350 miles so far.

This wiring diagram is turning out to be 'not a good' solution. Shutting down after running with key off power is not an issue, its all over in 10 minutes or less.

Fan draws energy directly from the battery, however the alternator pushes the recharge back thru the ammeter. And driving, with the fan is engaging at a too low a temp and a 100 amp alternator, it fully deflects the ammeter.

My plan was to add a second battery and an isolation box so now's the time to get it done. The second battery is probably going to be a small gel cell though and power everything minus starter, headlights and fans.


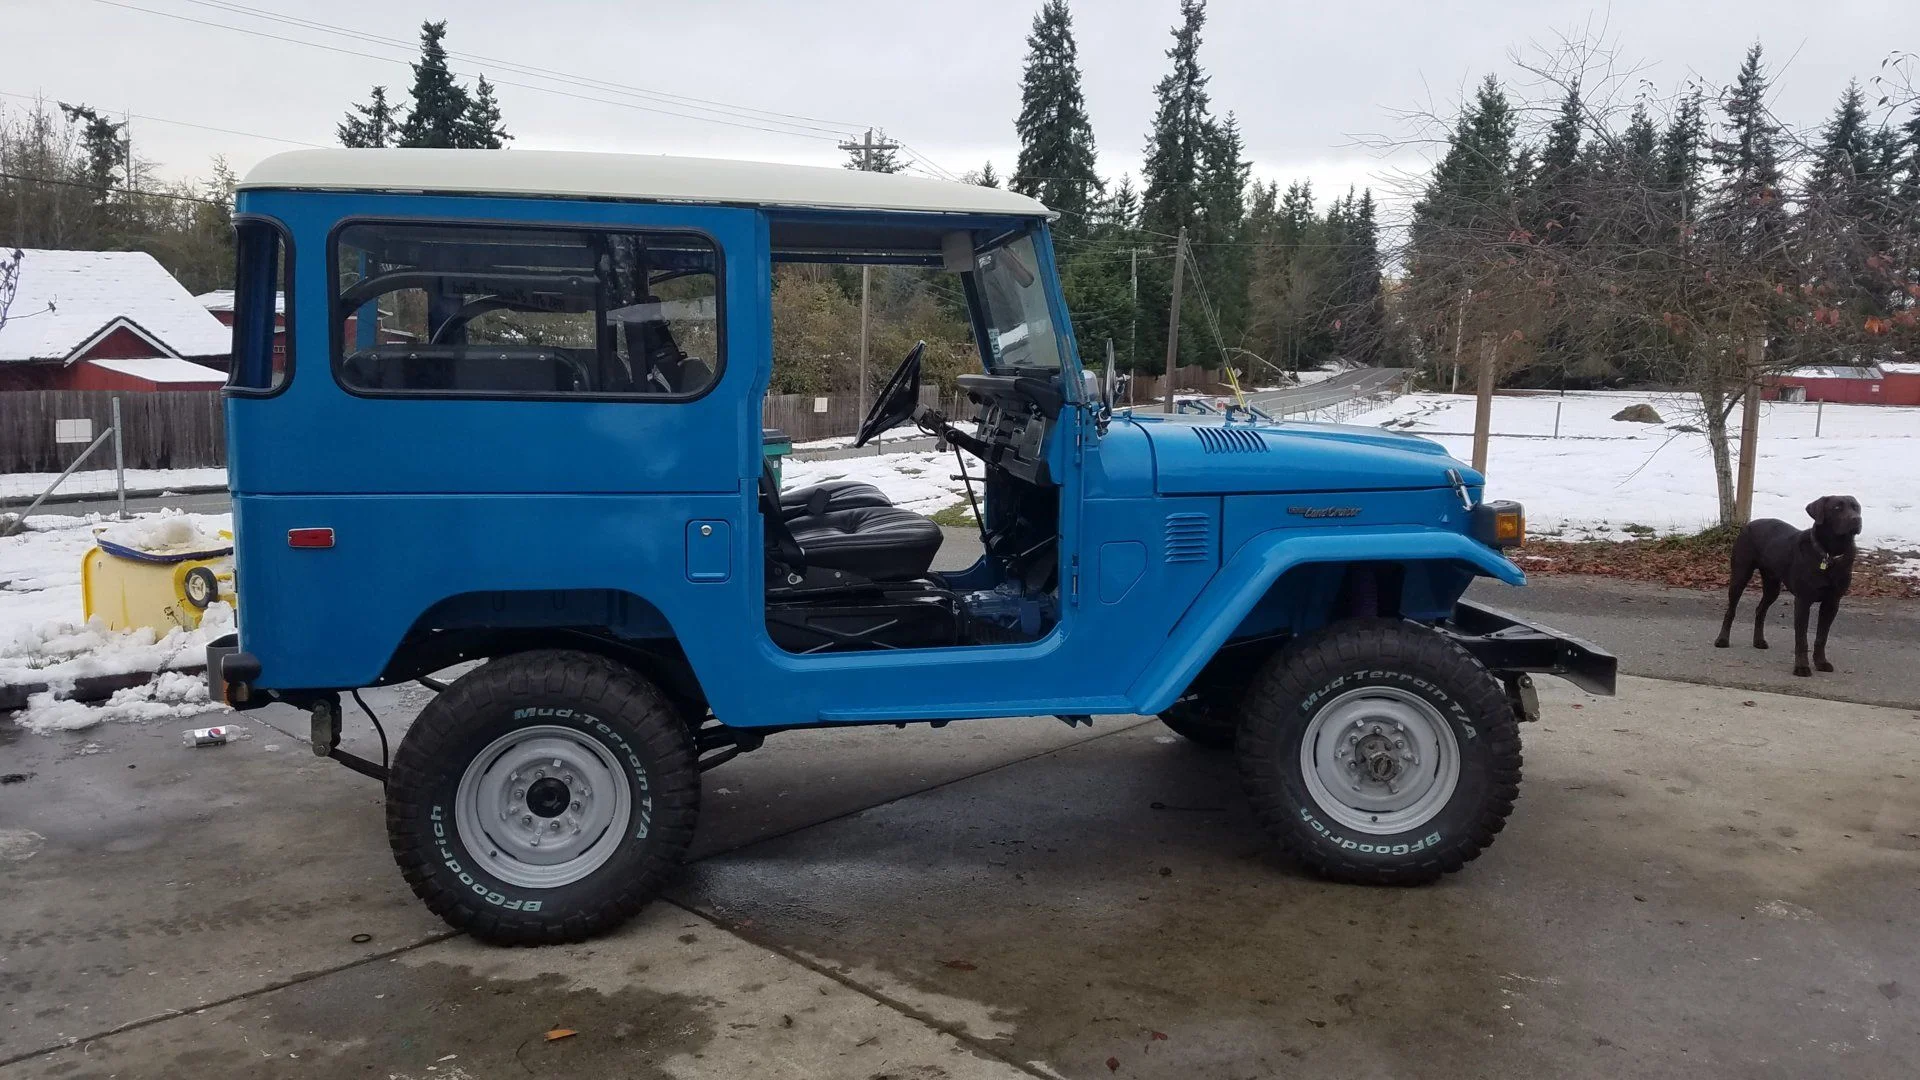
You have no idea. Sitting on an apple crate in the tub on a stand off the frame, with a disconnected steering wheel in my hands, making motor noises. It's embarrassing but its all I have.

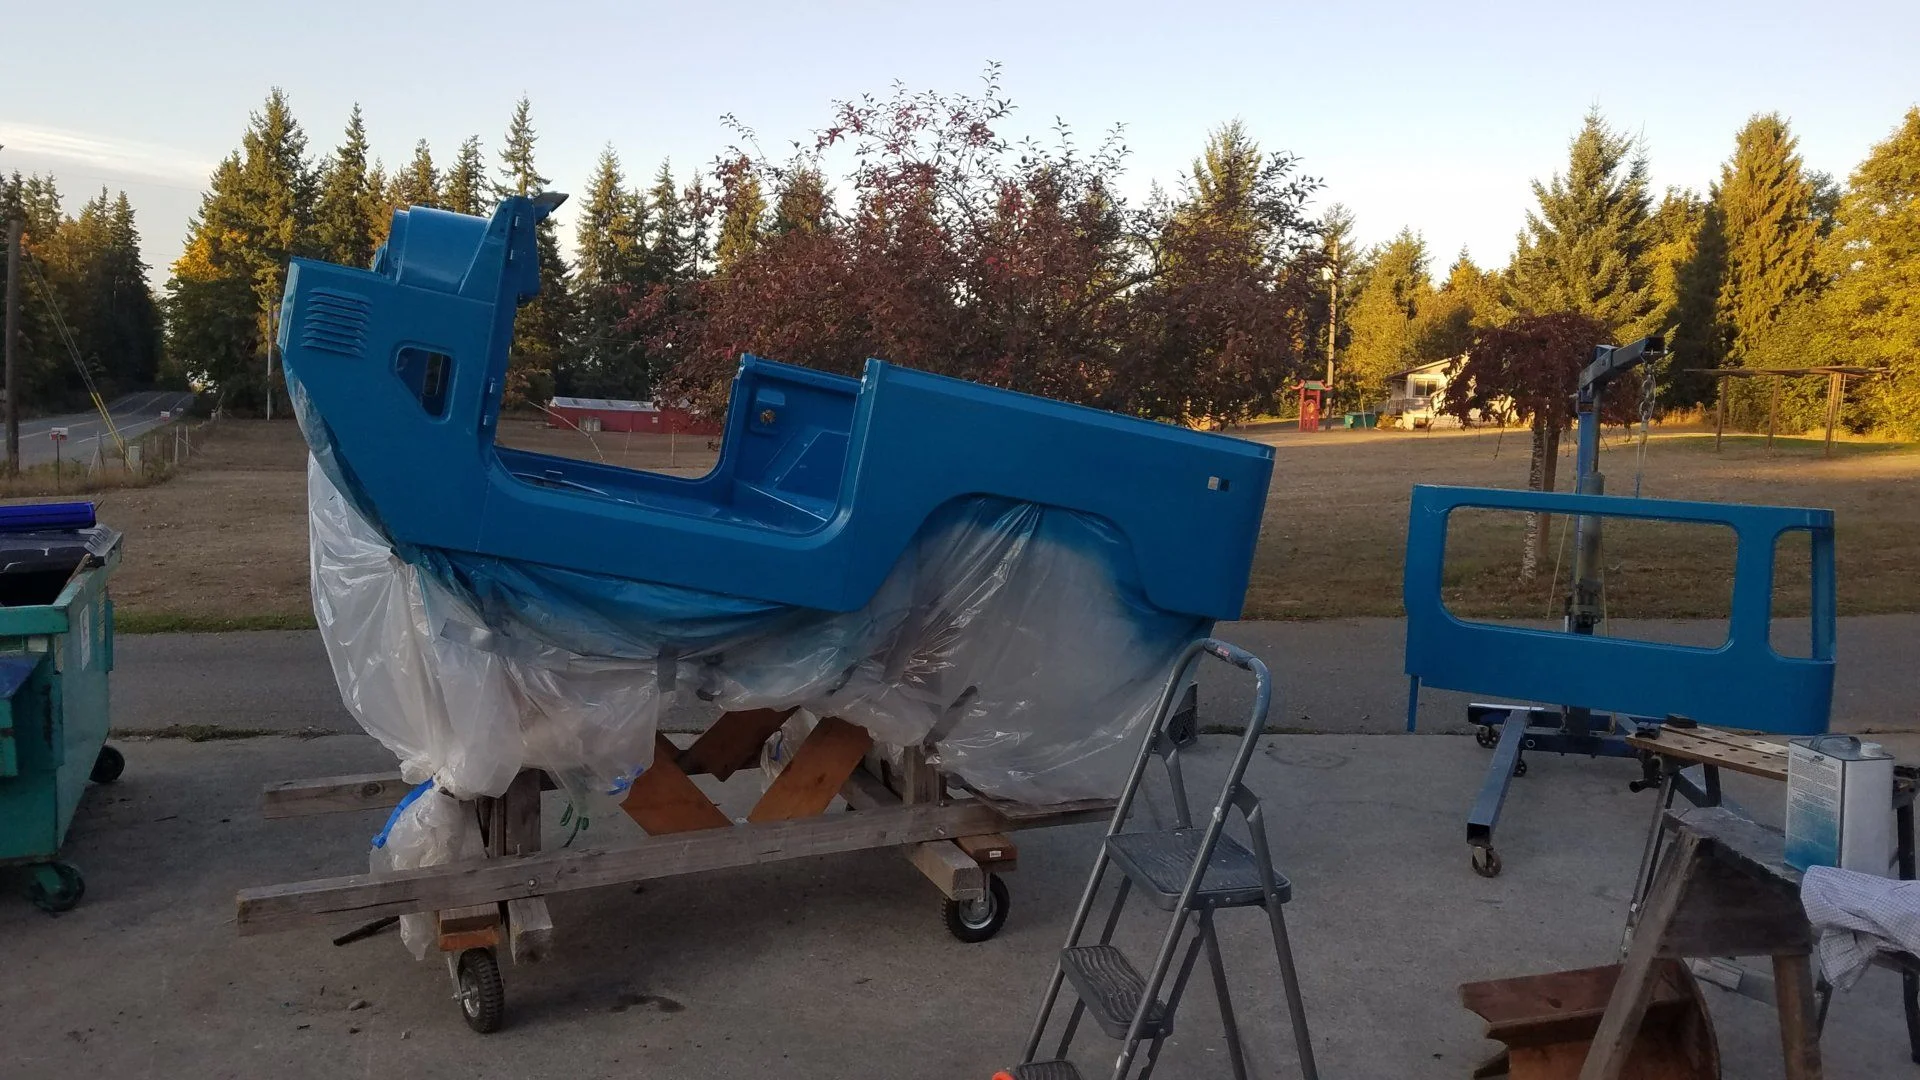
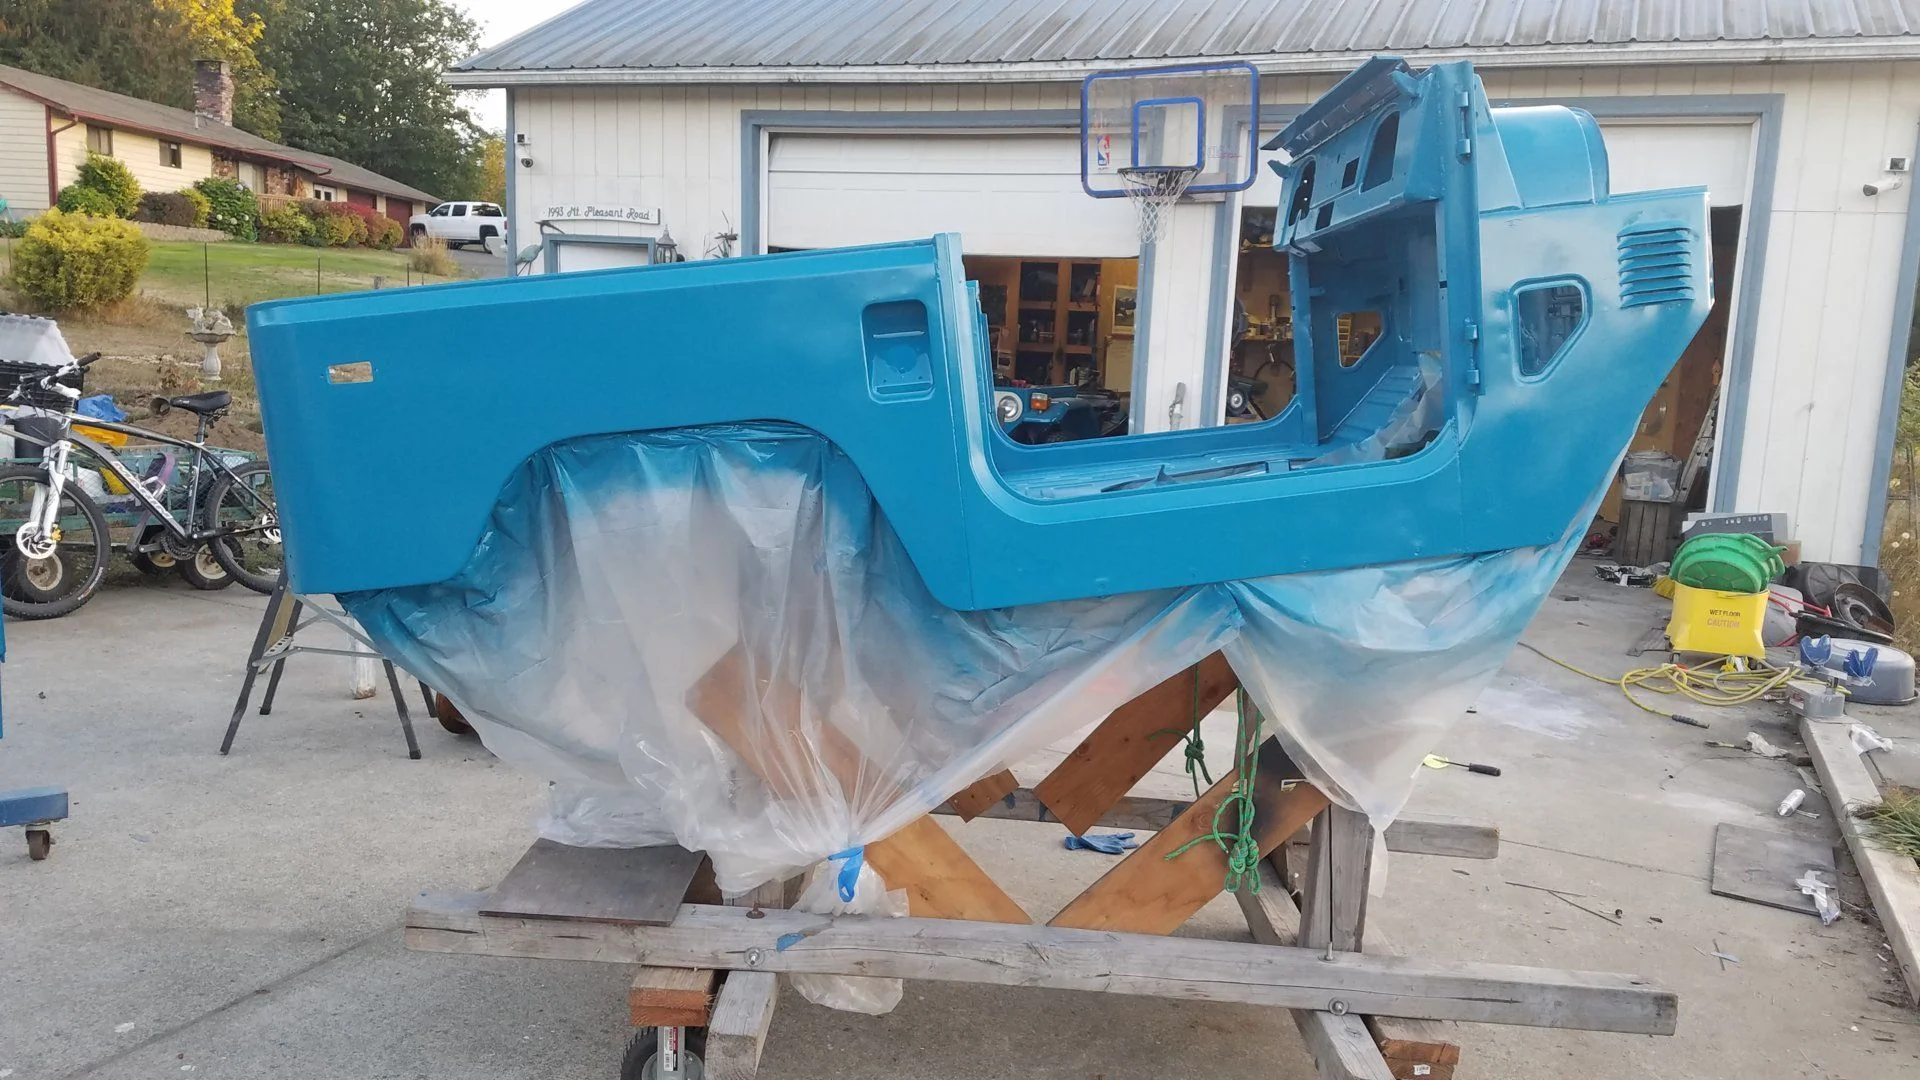
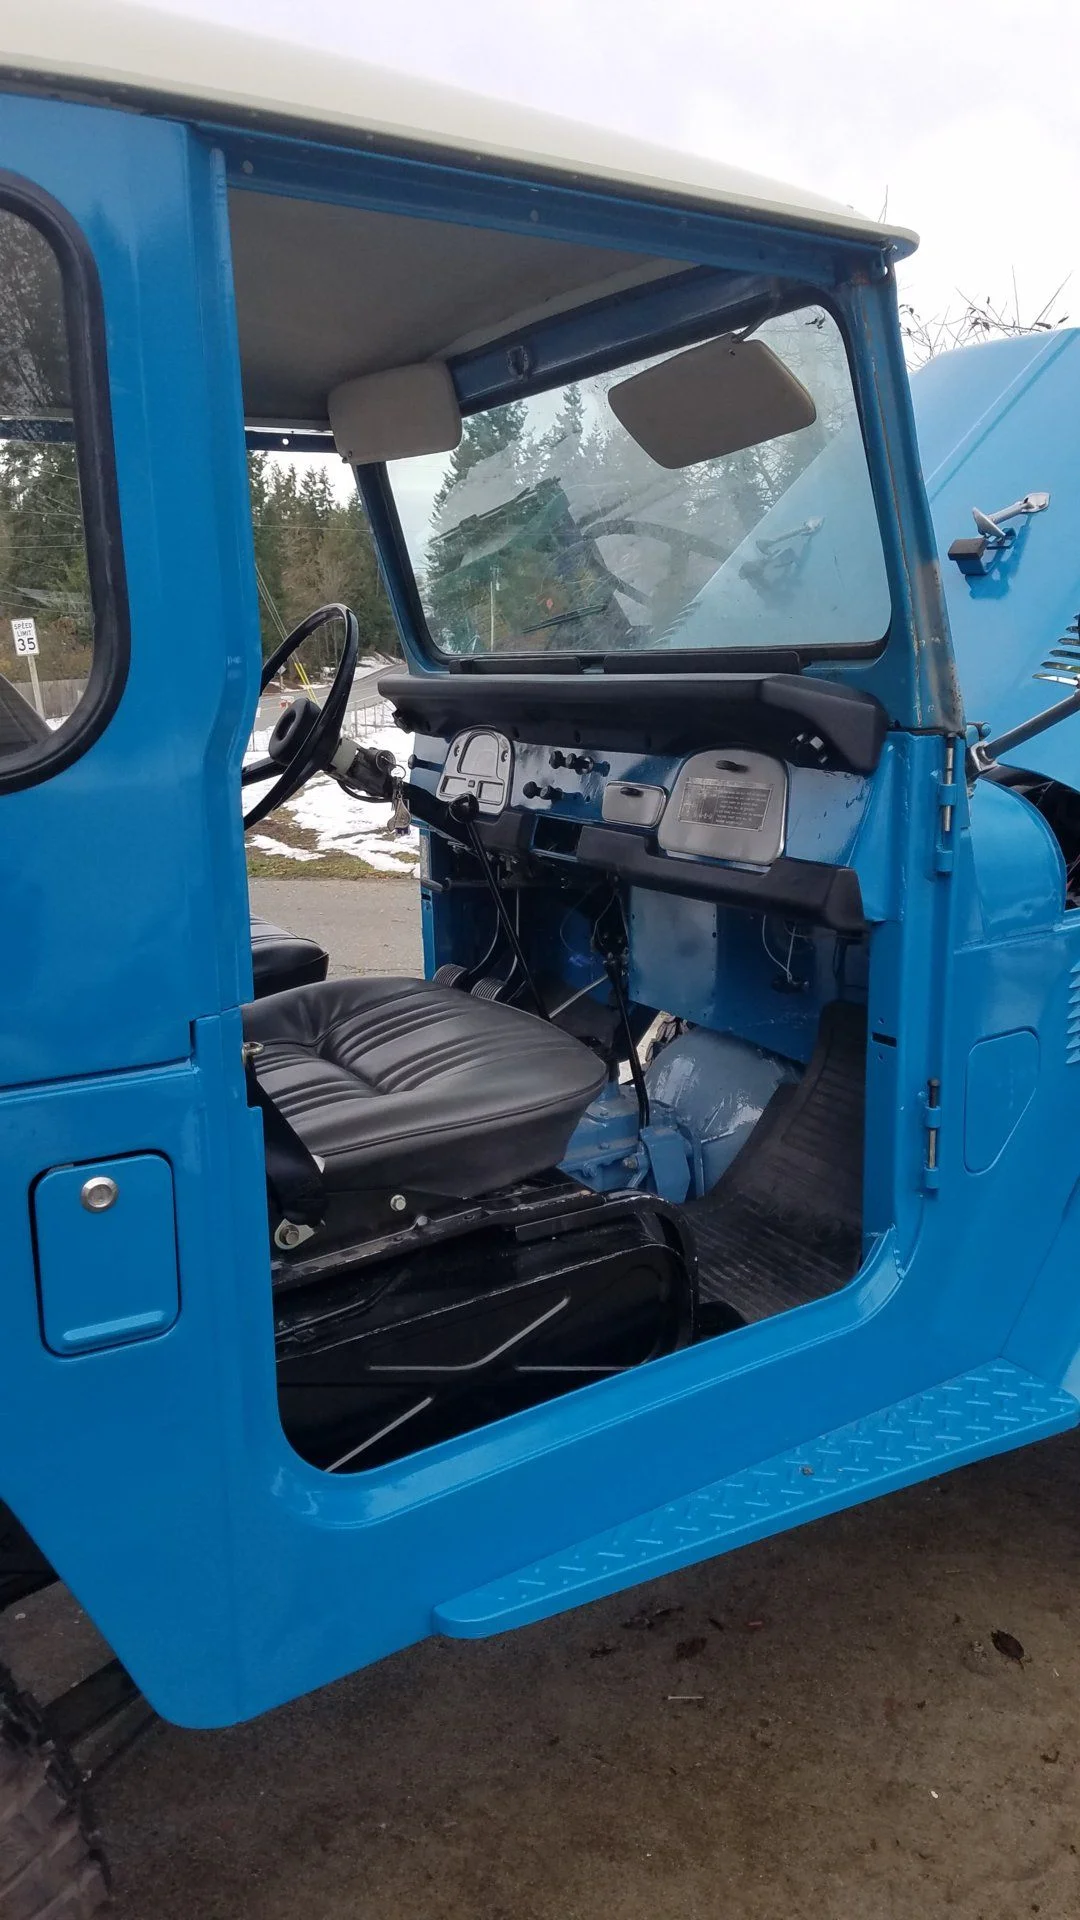
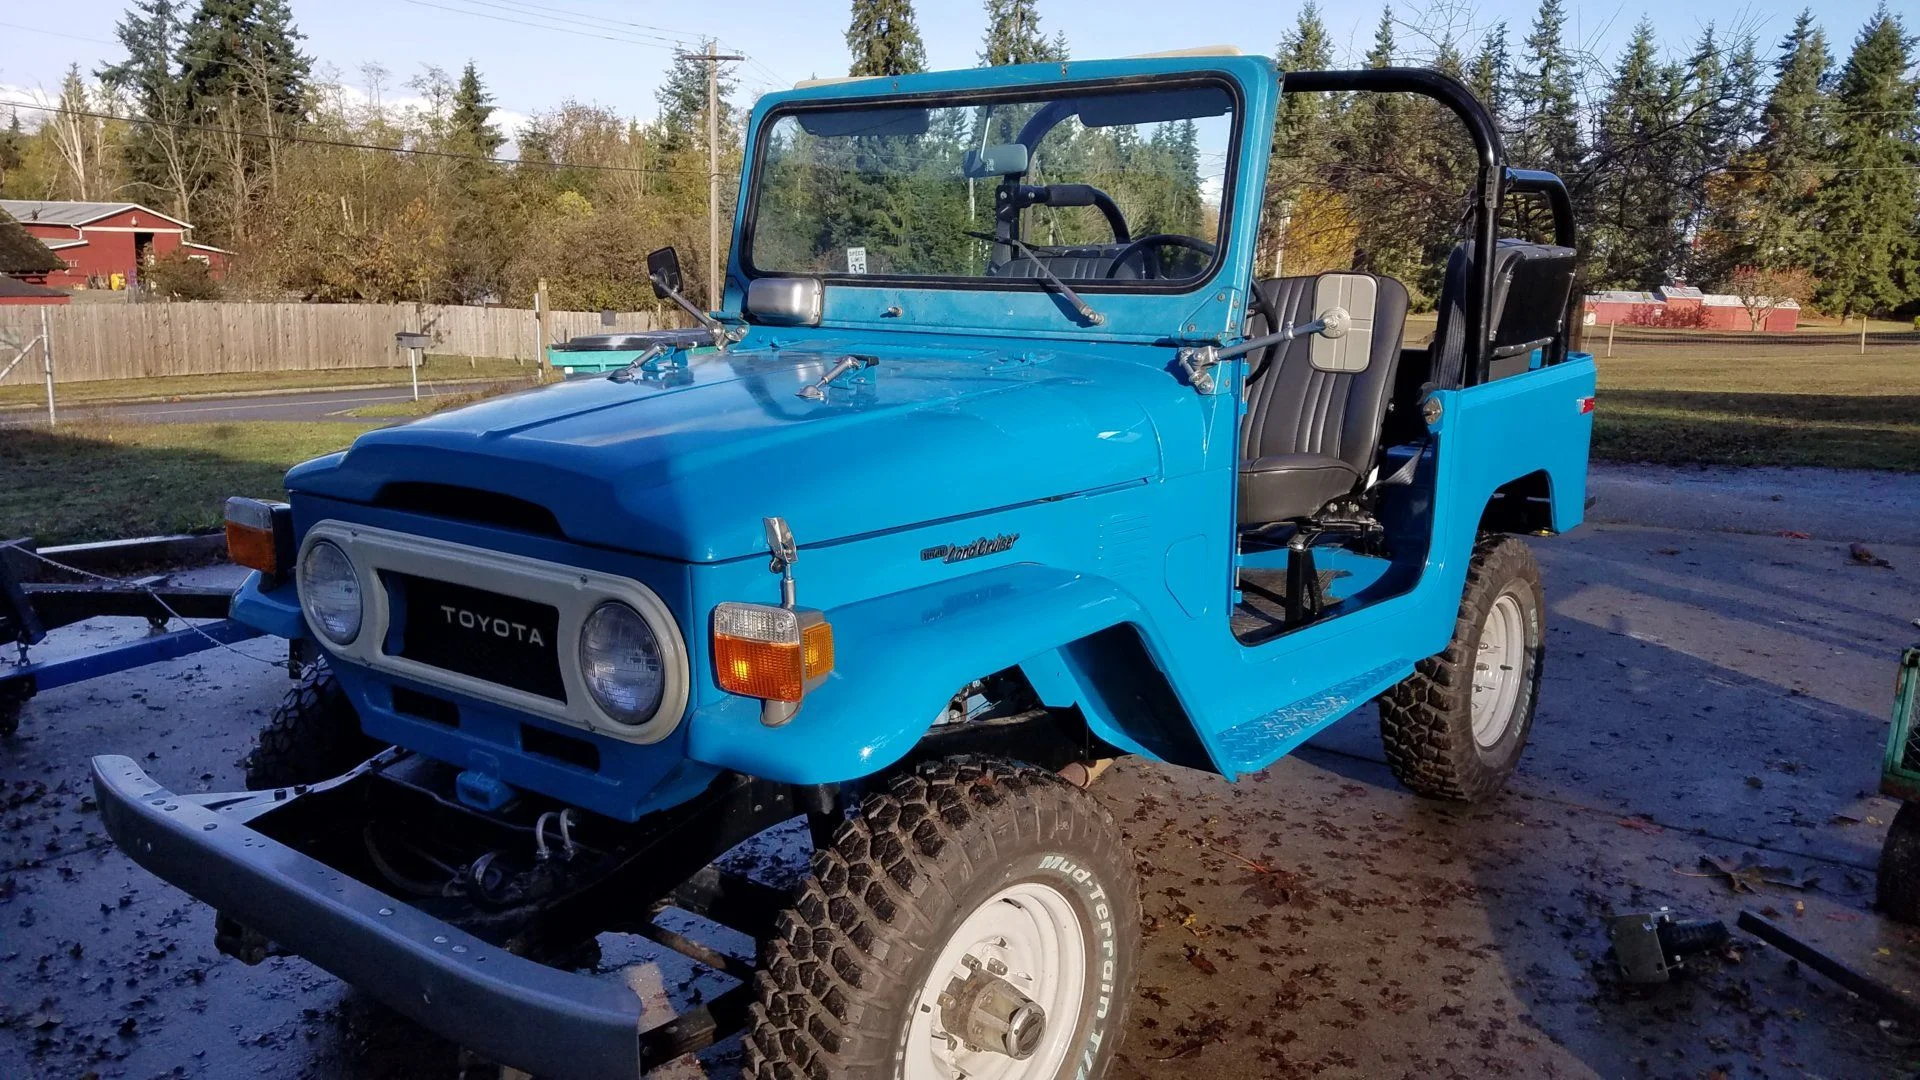
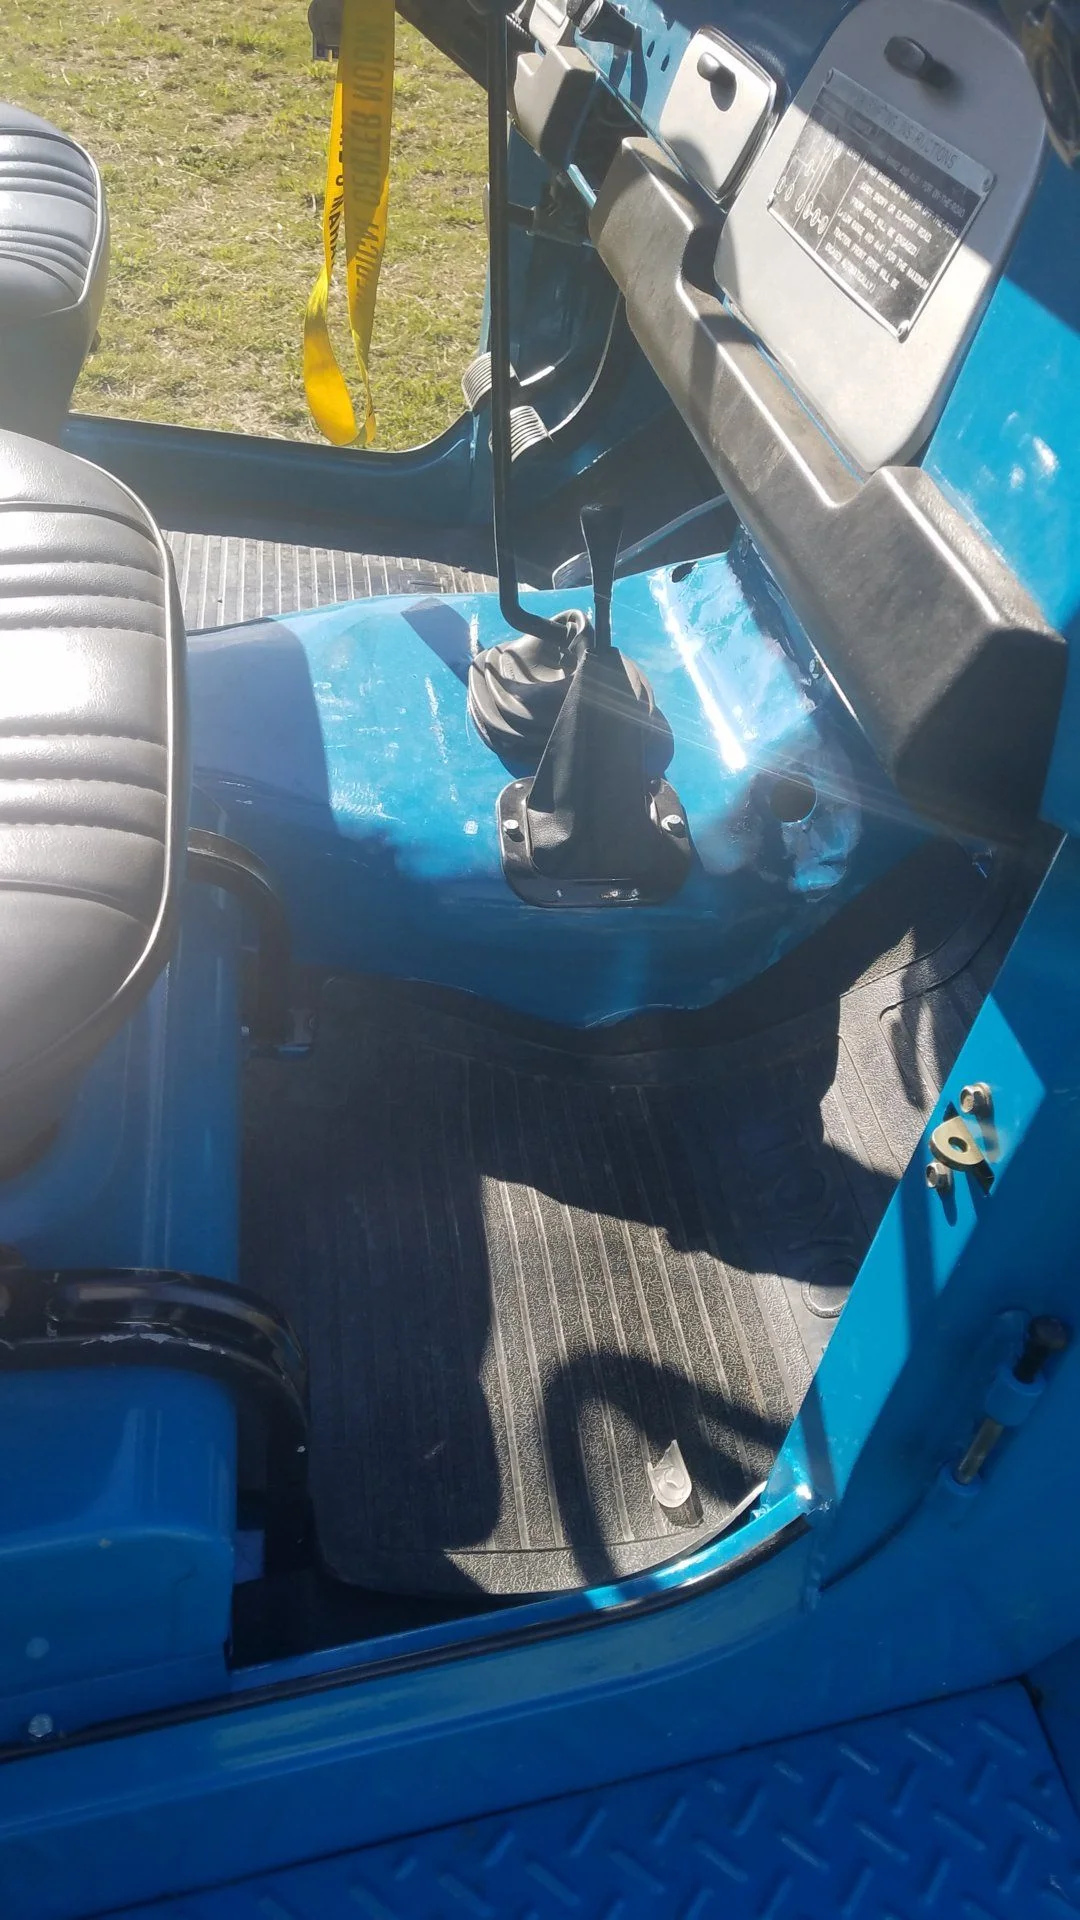
I work when I get the time and I've tried to do work in a project type basis but is does come out chaotic and random. Both the axles are done, all painted up with new knuckle bearings in front and wheel bearings in the back, new springs and brake pads and shoes. The top is done as well, painted with the headliner installed. And there is a few parted painted 854 blue.

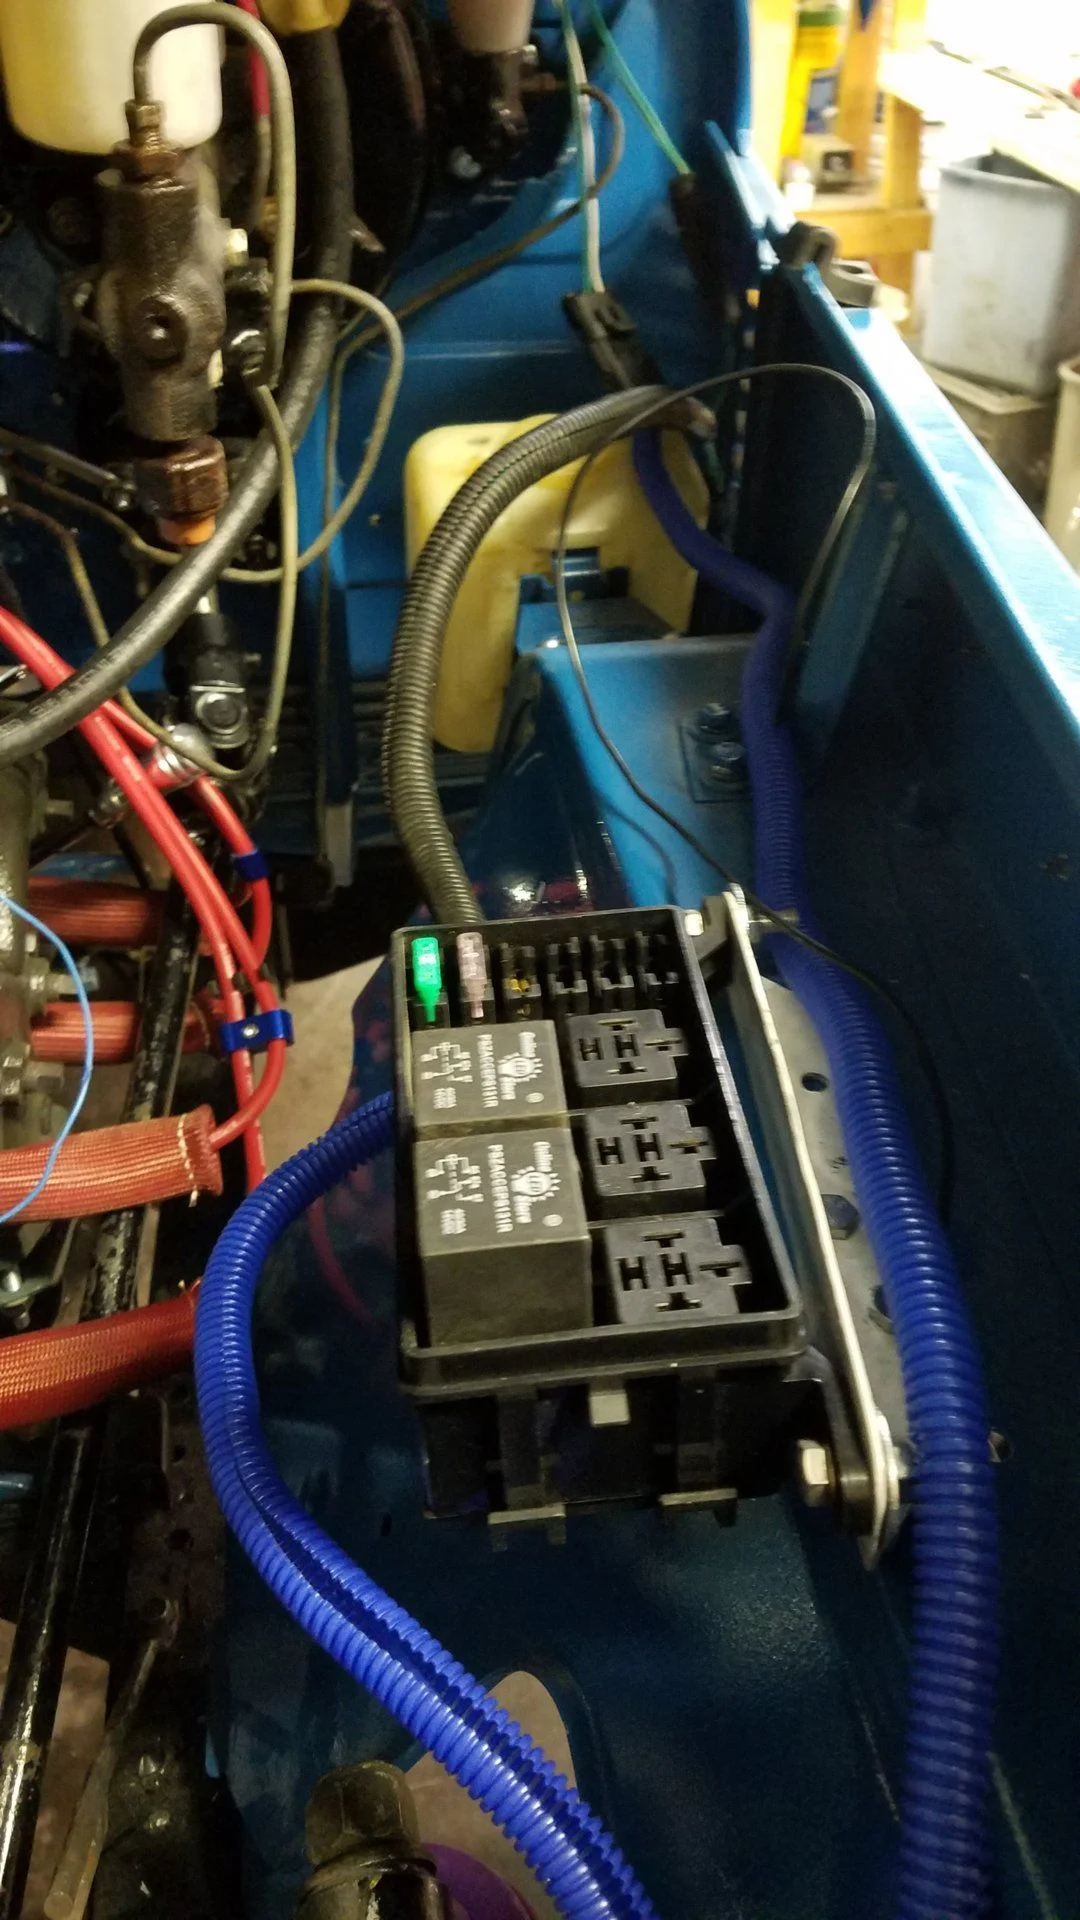
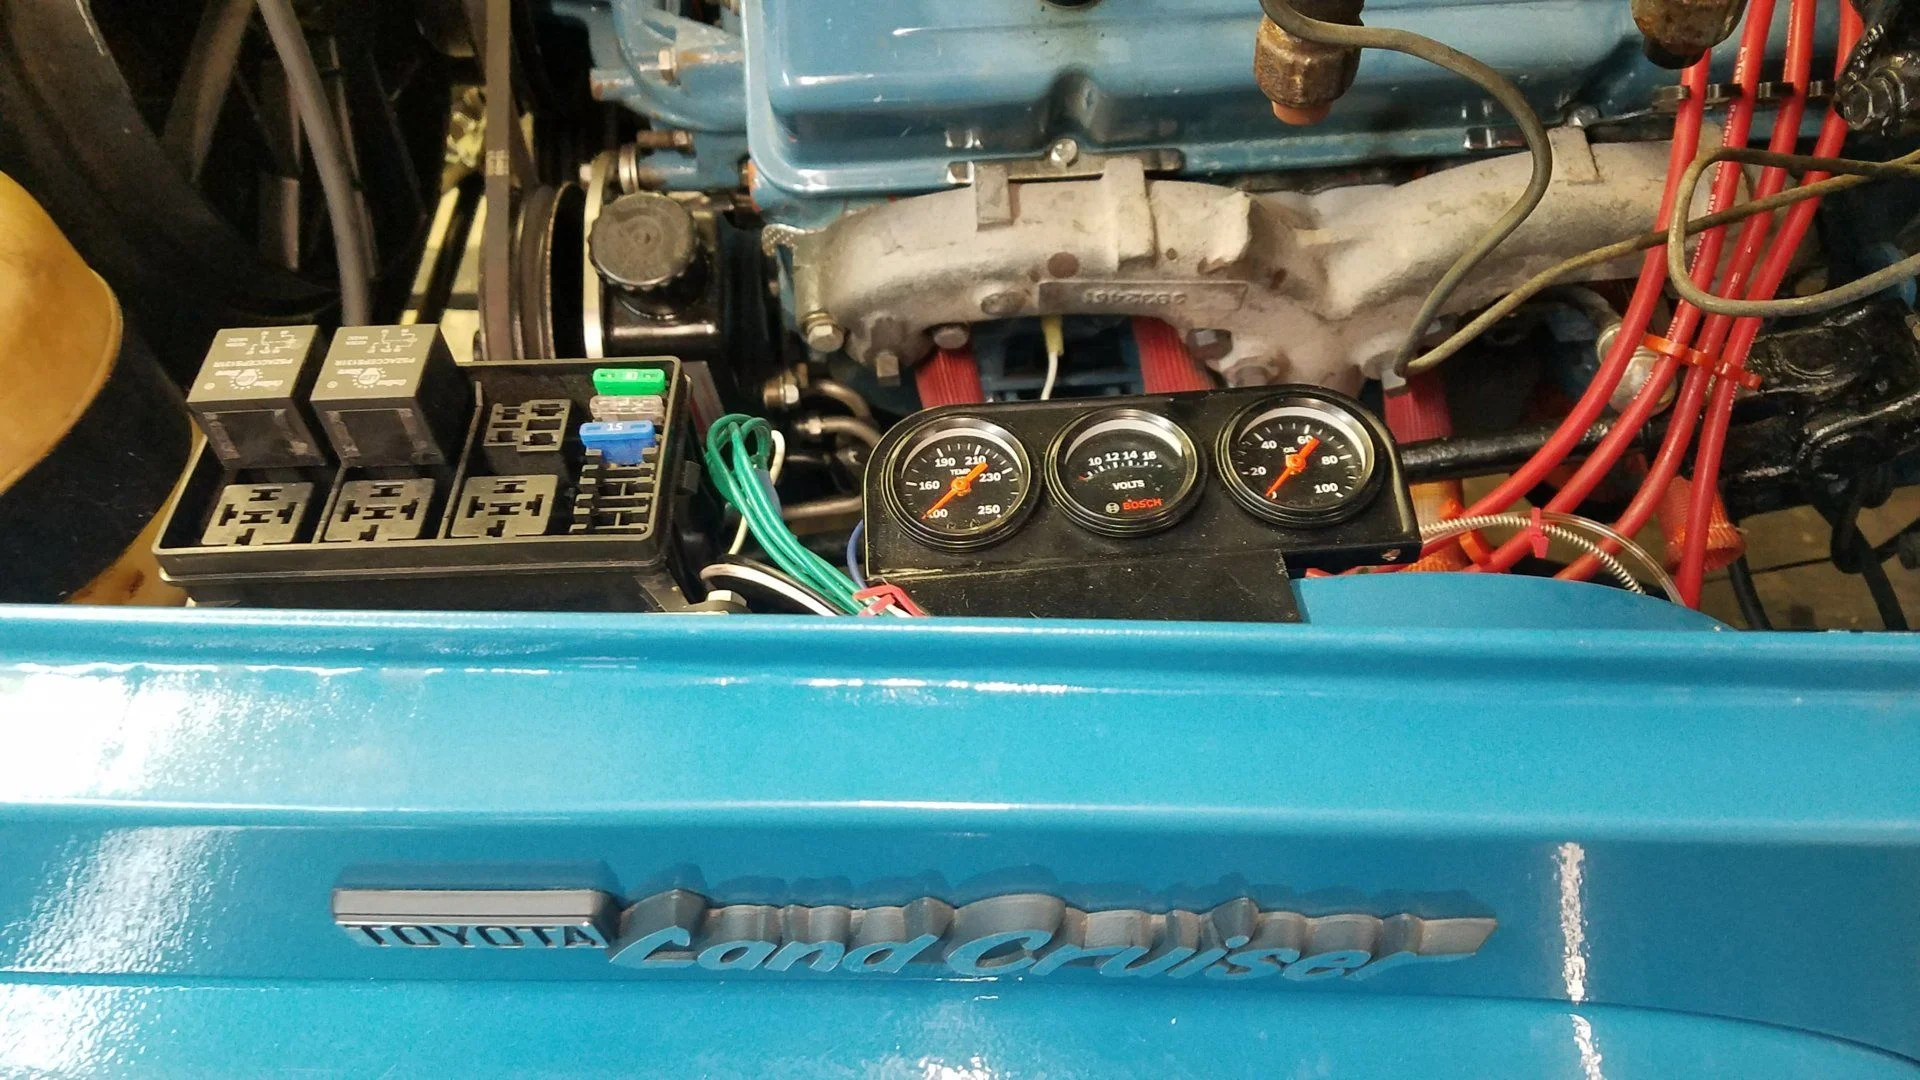
Currently I am working on the tcase, trans and motor. The tcase and trans were just a matter of cleaning and painting. I got a master gasket set for the small block since everything including the rear main would probably leak oil like a sieve. I wasn't planning on using the head gaskets since the motor is fairly low mileage since overhaul but I noticed corrosion around the front coolant crossover in the intake gasket. Ok, ok, do the head gaskets. Turned out the head gaskets were fine but I found 2 chipped push rods so it wasn't a wasted effort.

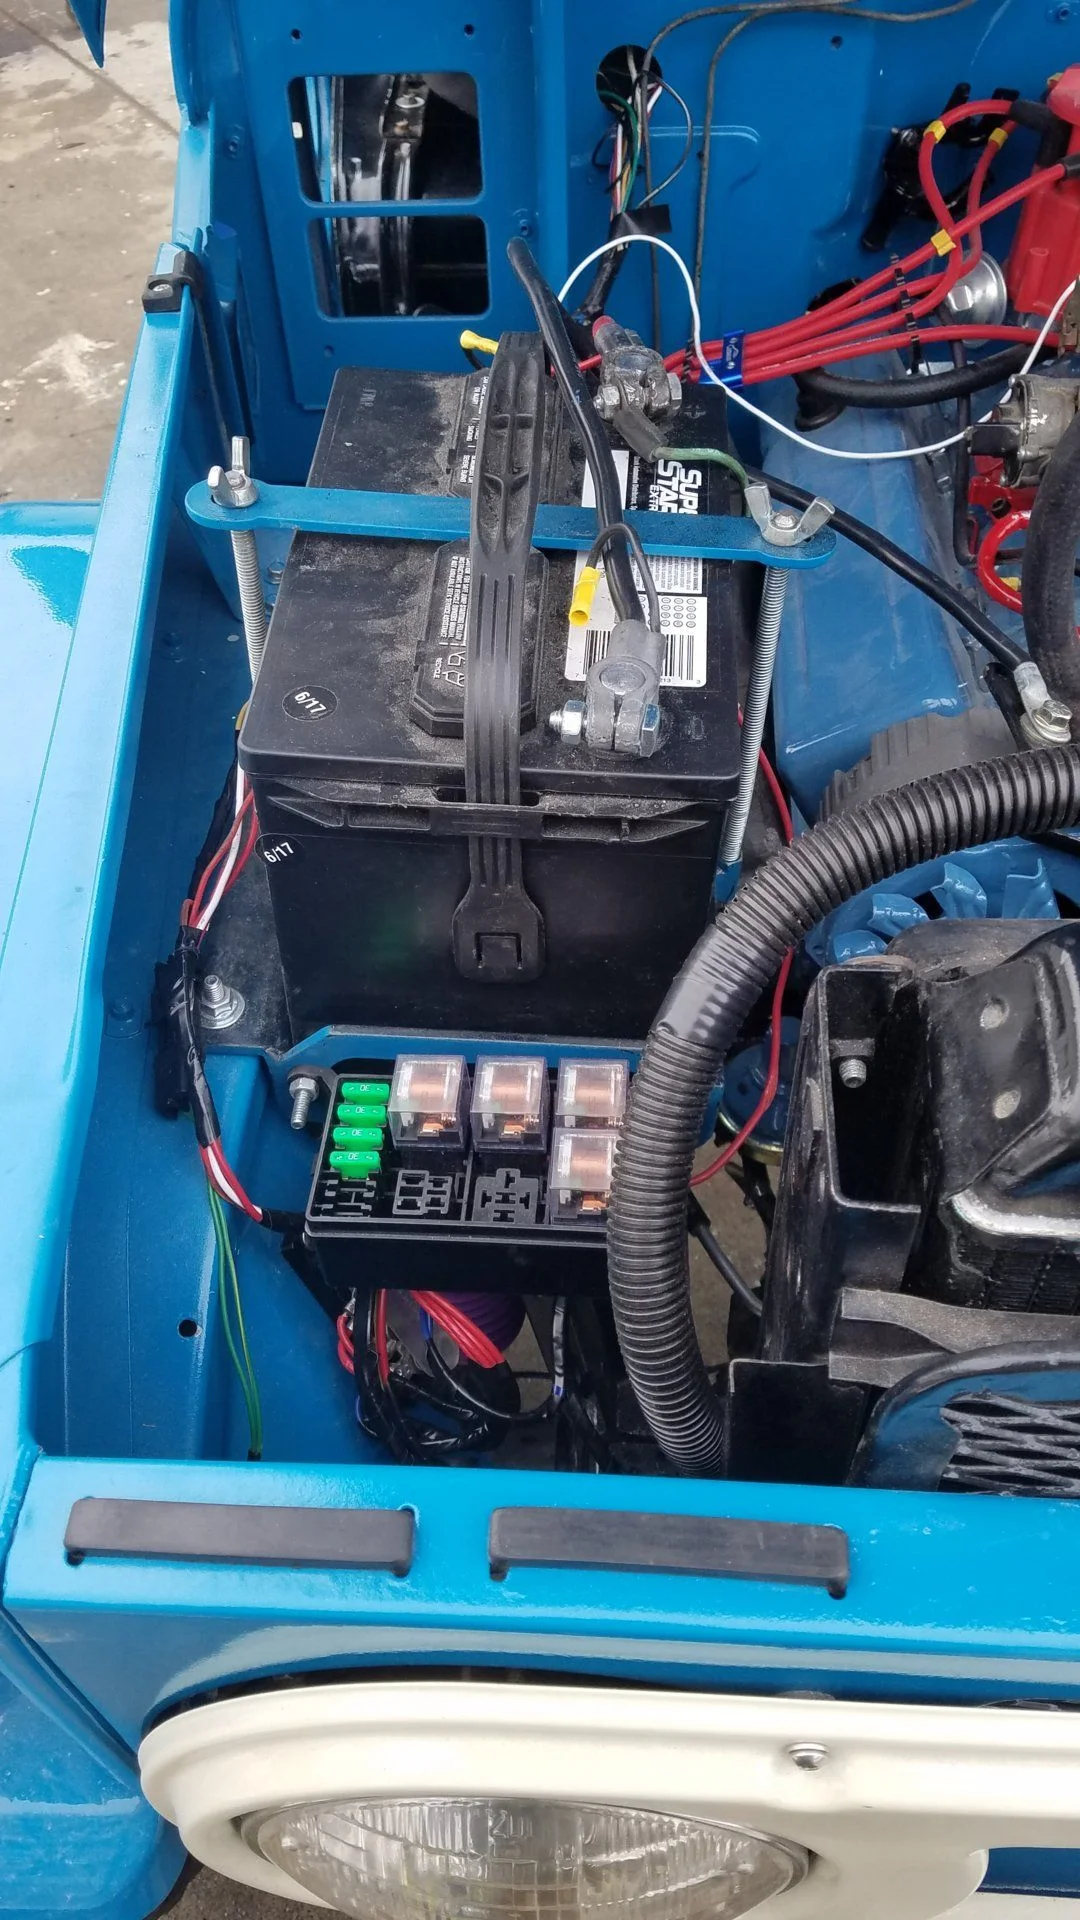
I've decided anything with a seal it in gets replaced so I have a new water pump, fuel pump, the vacuum advance leaks so one of the fancy new distributors, I kitted the quadrajet recently and last time I ran it, it worked fine. I bent one of the old crusty valve covers lifting the motor out, the front cover had the timing mark bent (making timing it an educated guess) and the oil pan drain plug is stripped. My tracking number says replacements for all 3 are out for delivery today. Soon as it gets the new skin, I'll primer, paint it and bolt the big pieces back together.

The trans and tcase in primer a couple of days ago. Its now coated with high temp GM corporate blue.

Xr49pjF.jpg


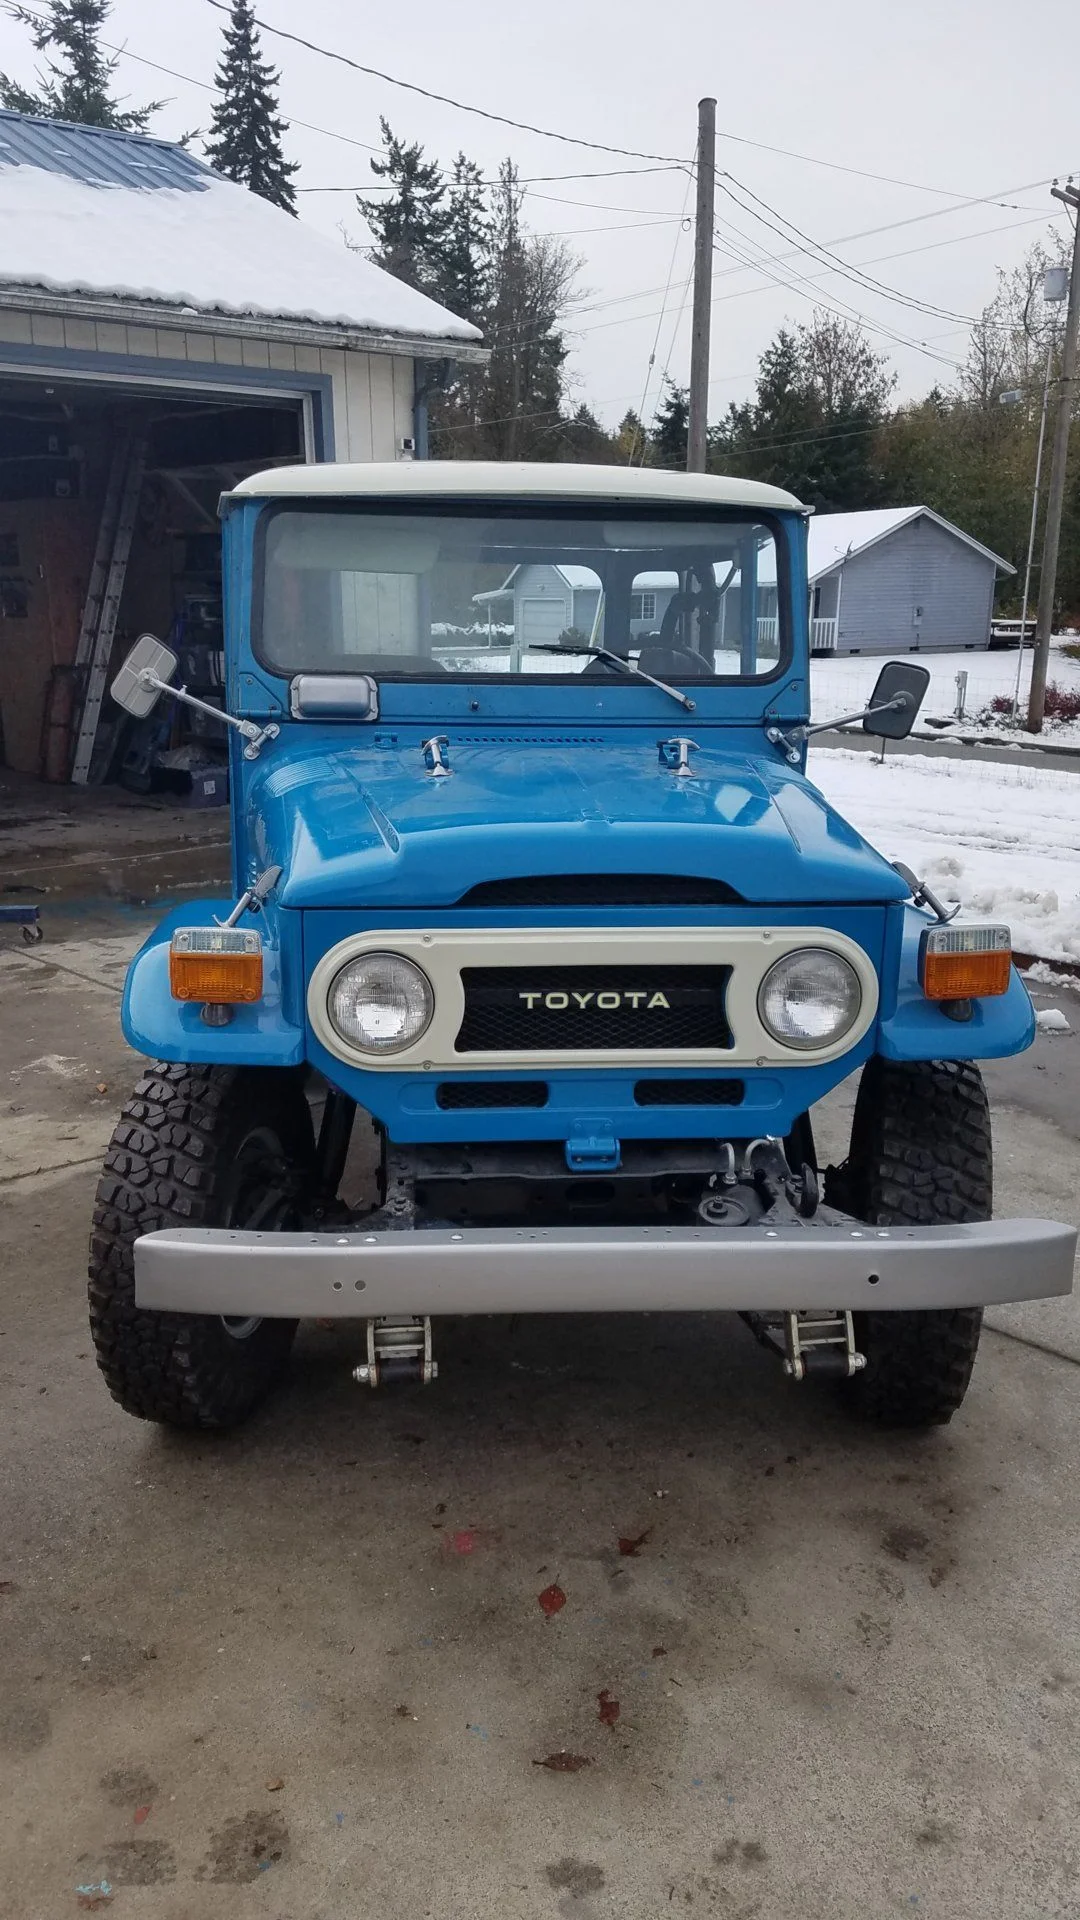
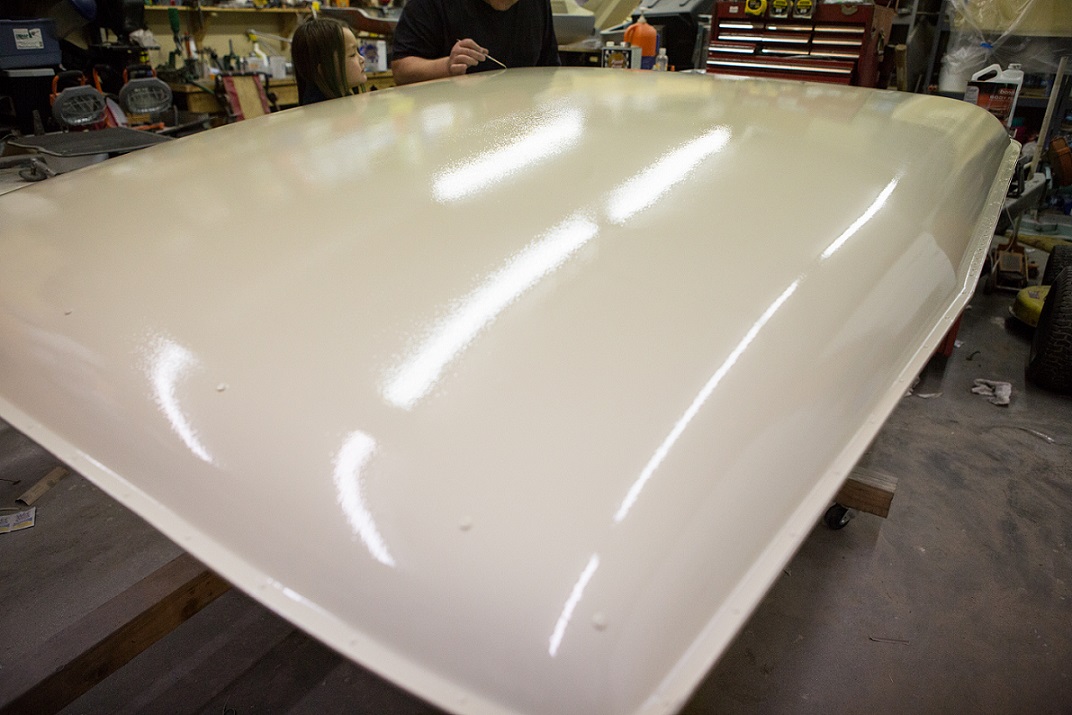
The top is visible in background of the pic above. Its supposed to be Cygnus white. Or its as close to the secret recipe that I could get to.

57Mc2Ao.jpg


I painted the bezel the same as the top.

Zm4HDcV.jpg


Axles were one of the first things I tackled on a project basis.

isLloKU.jpg


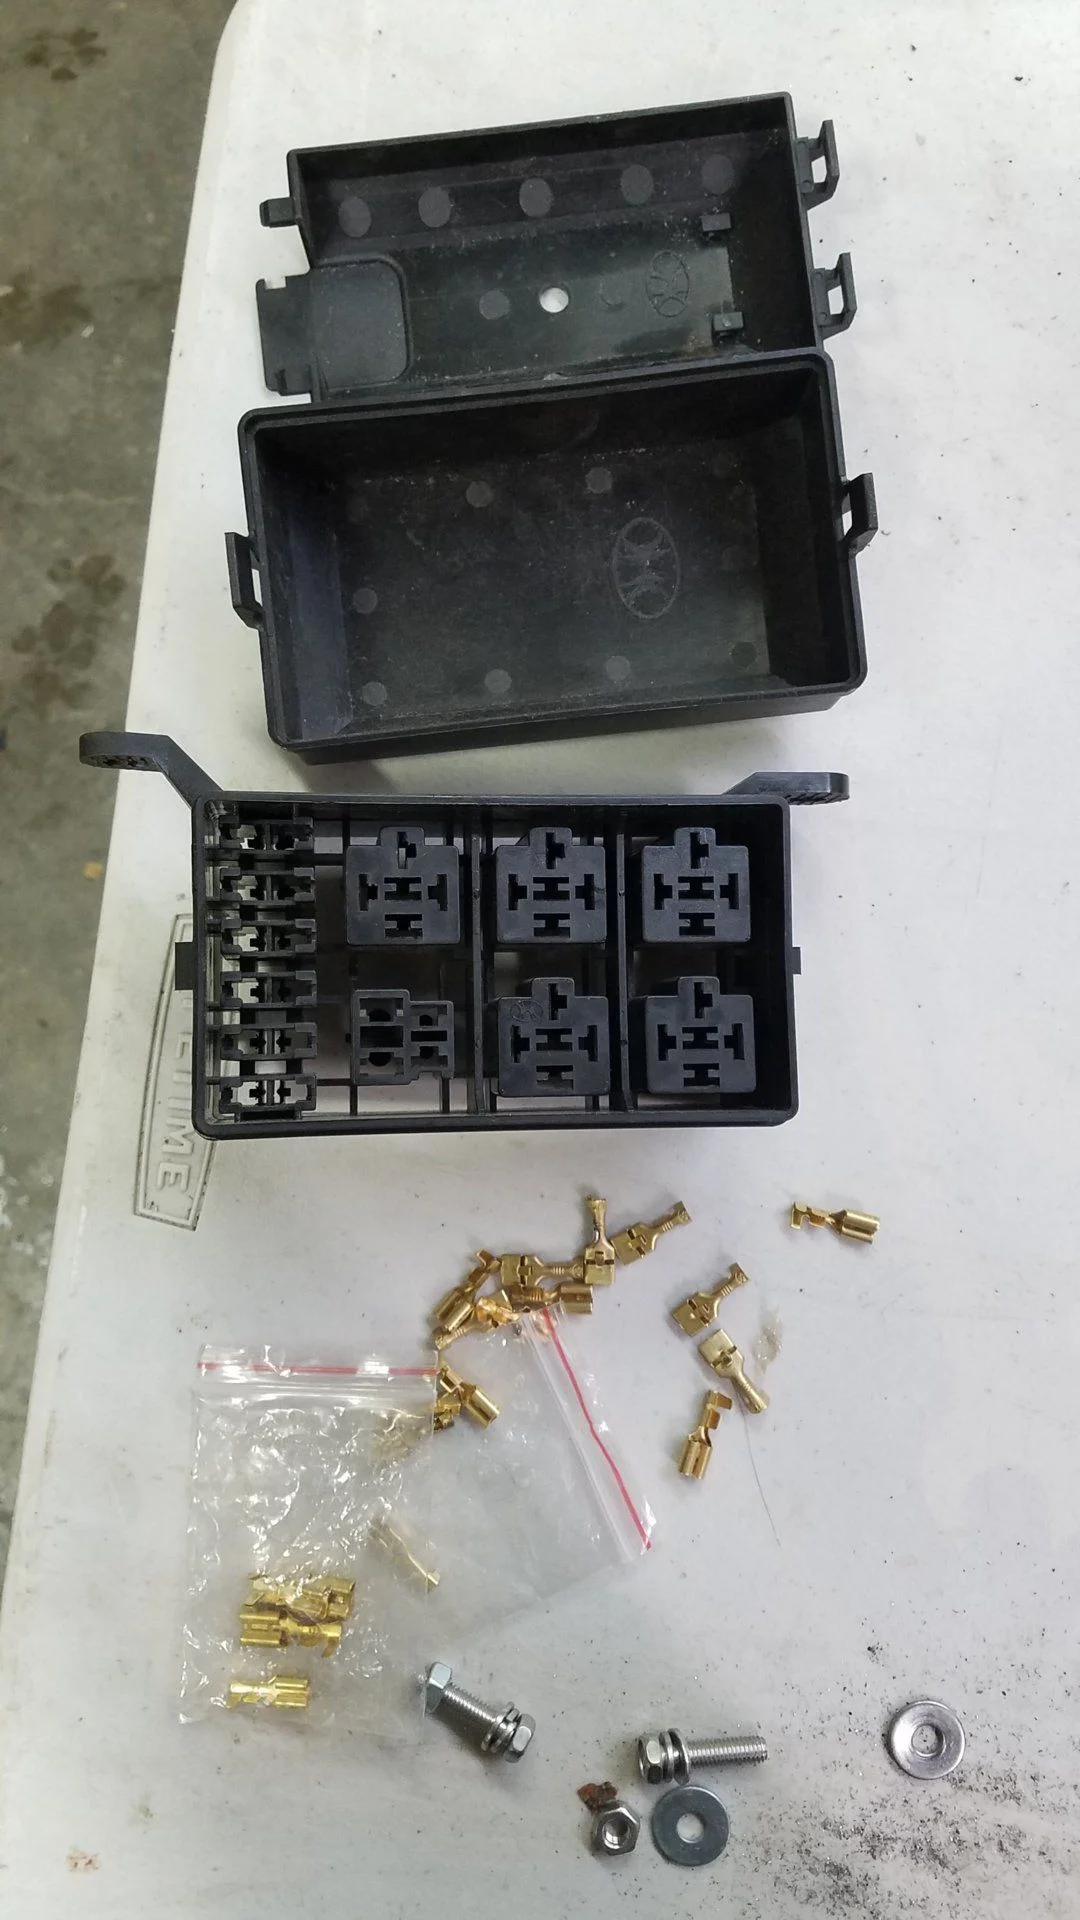
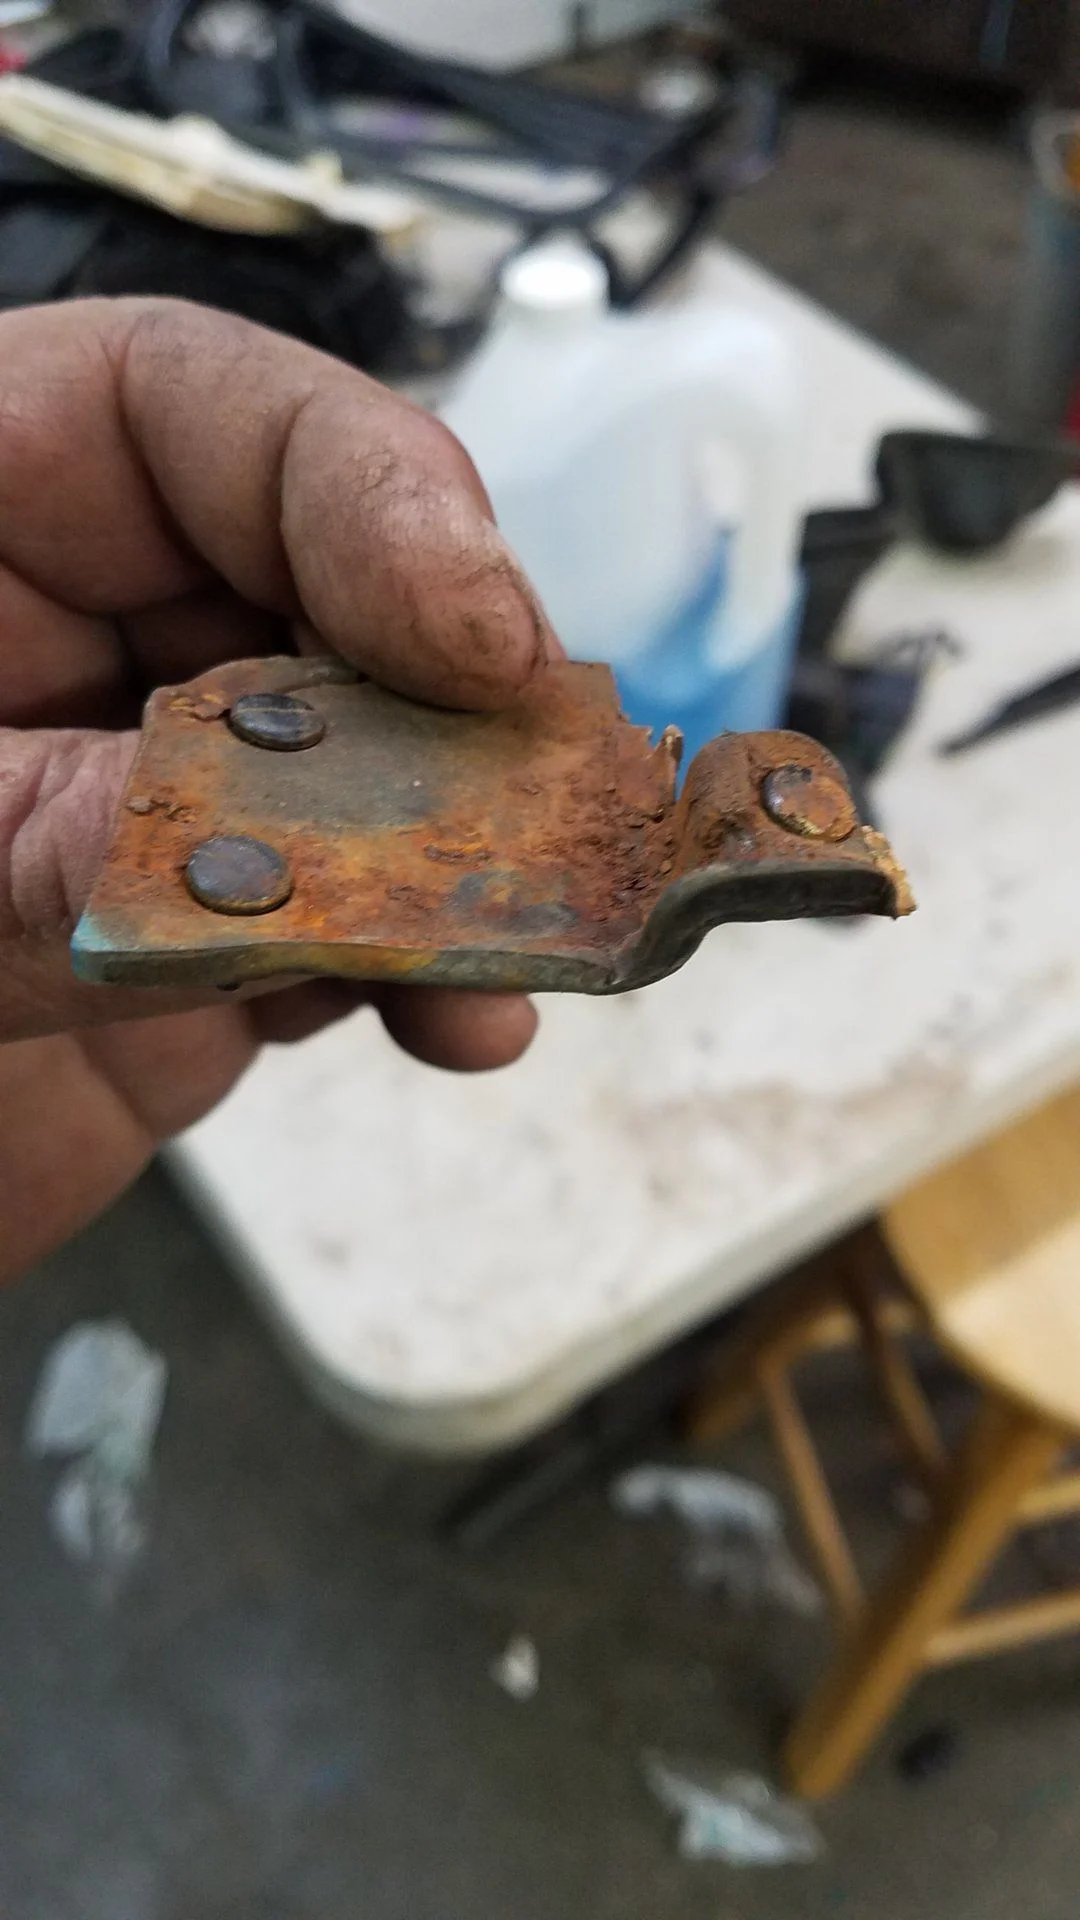
Painting little parts is an endless task. Or it seem so. Or I'm wayyyy too anal about this stuff.

156LEvy.jpg

Looking really nice.
My Cruiser has never been down for more than a week in the 43 years I have owned it but I can relate to sitting in an unfinished vehicle letting your imagination flow.
Back when I was building my X19, one evening my wife came into the garage and found me sitting in my unfinished car cranking the steering wheel back and forth taking it through some awesome imaginary curves.
She gave me one of those looks only a wife can give but was smiling as she declined my offer to take her for a ride.
Months later when I finally got the car on the road it already had a good fifty thousand (Imaginary) miles on it.
Keep up the good work.
 
Combed out some of the tangles. I've added an alarm, drops for driver and passenger footwell lights and door switches, remoted the park lights to a relay and generally tidied up things.

I've already added a second battery system so the alarm can't be bypassed by draining the battery with the headlights.

I think if I like this, I'll probably take it out and do a wrap with tape. But for now, tie wraps.


Users who are viewing this thread

Back
Top Bottom