6BT/NV4500/HF2AV Build Thread - New Adapter (1 Viewer)

This site may earn a commission from merchant affiliate
links, including eBay, Amazon, Skimlinks, and others.

Joined
Dec 23, 2013
Threads
36
Messages
437
Location
Vancouver, WA
I'm diving back into 80 series swaps and will be doing a 6BT/NV4500 swap into a triple locked '93. I'm also planning an LS/NV4500 swap into a different '93 and am looking forward to the comparison. I've done a couple swaps before and grateful to the MANY people that have done this already and documented it so thoroughly!! @Wheelingnoob @Mr Cimarron @mryanangel (and others). They have done us all a huge service in documenting their builds so fastidiously!! I will be following their setups pretty closely so won't bore people with the same tech, but will try and capture some pics along the way. Goal is to be driving by the end of June 2017.

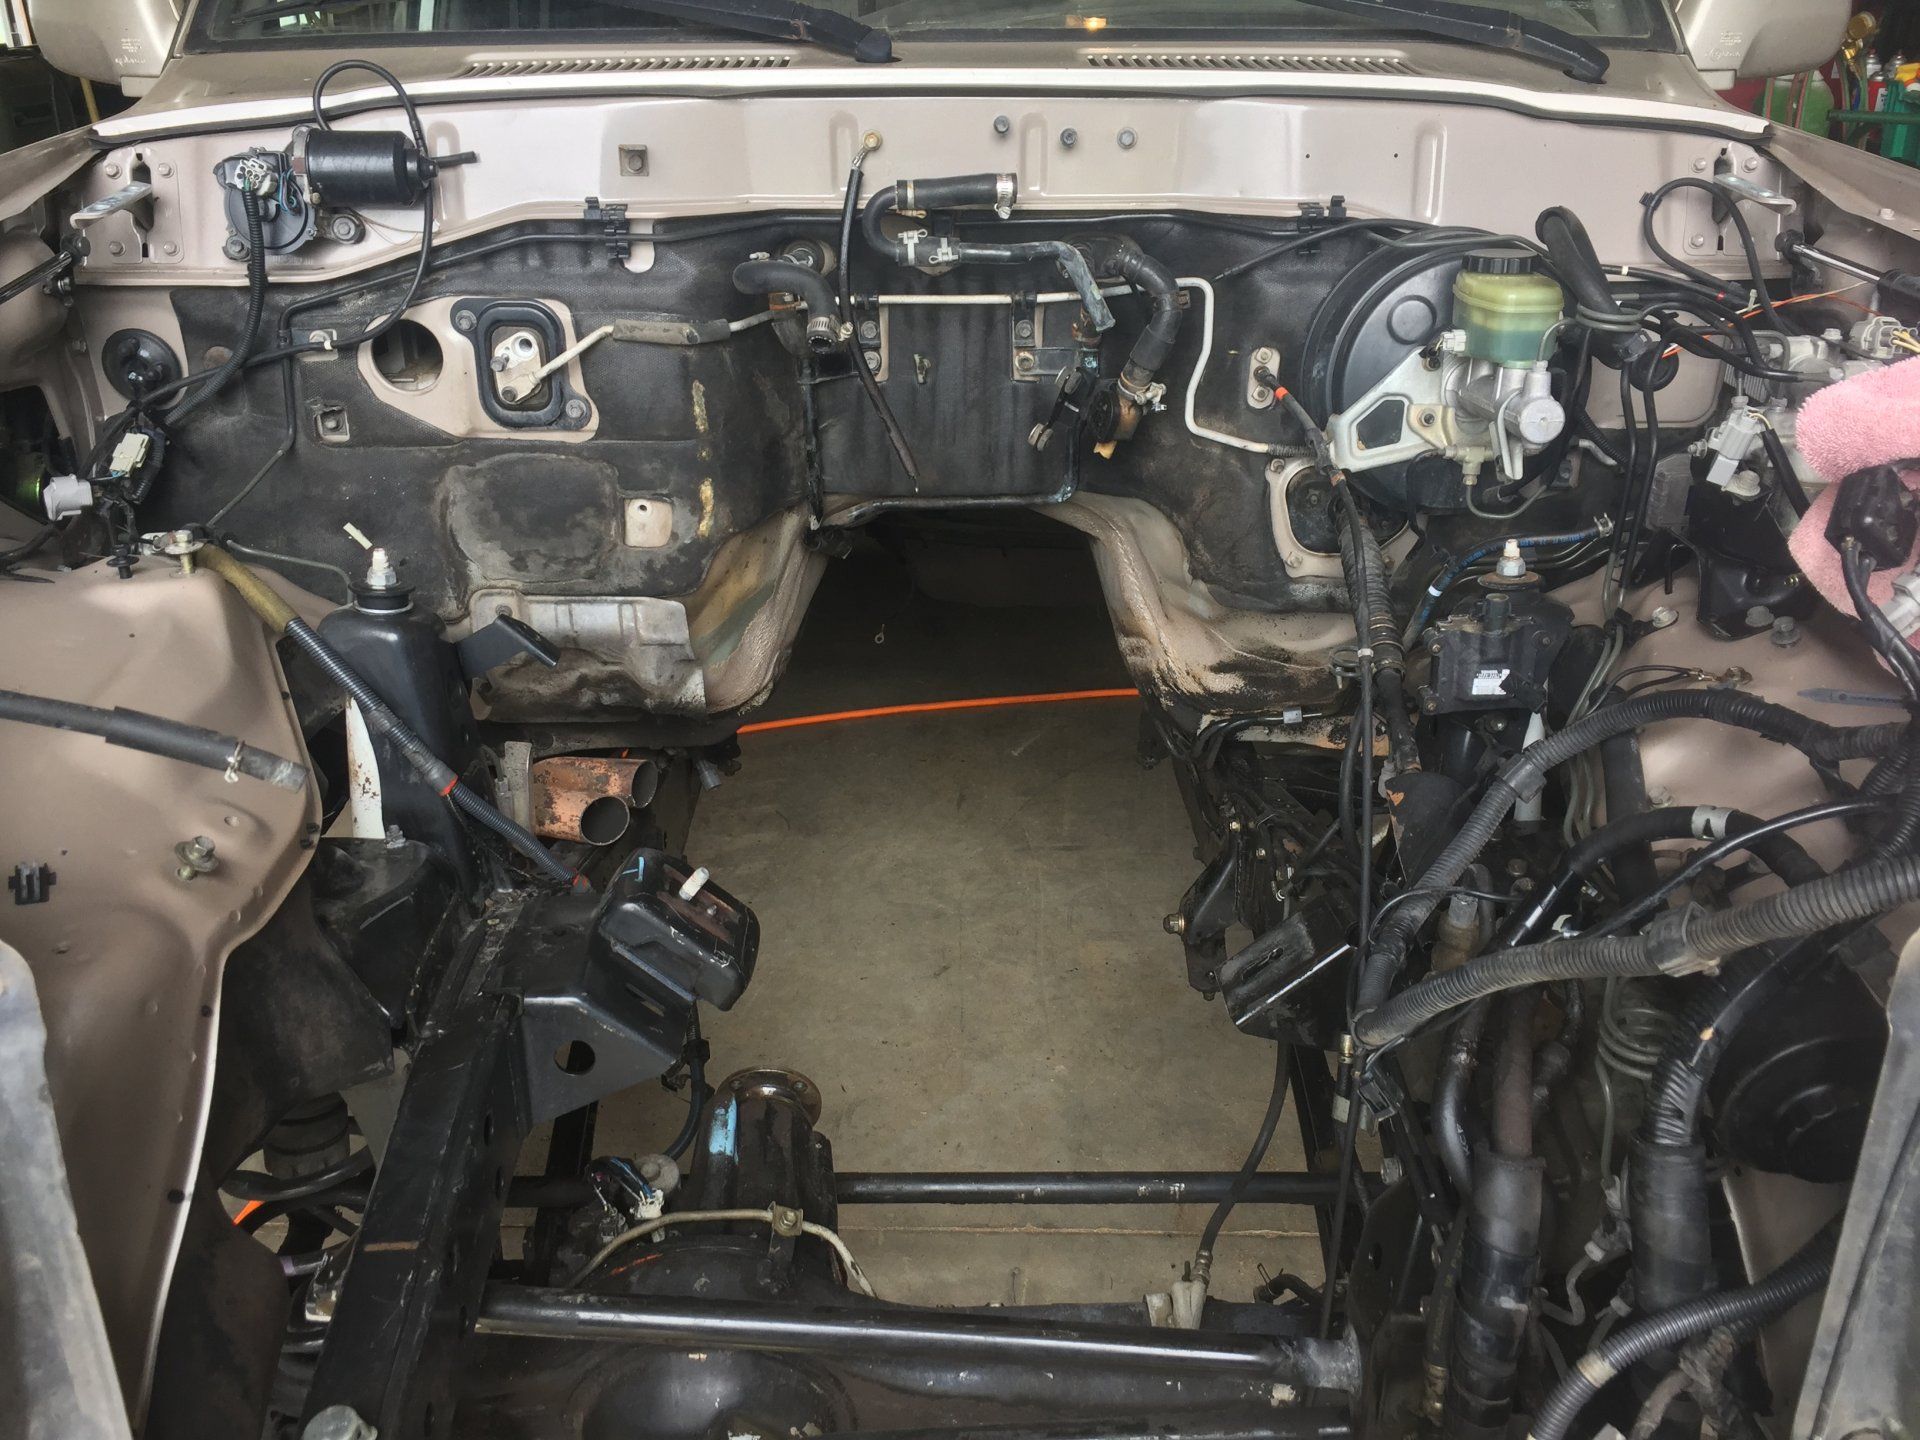
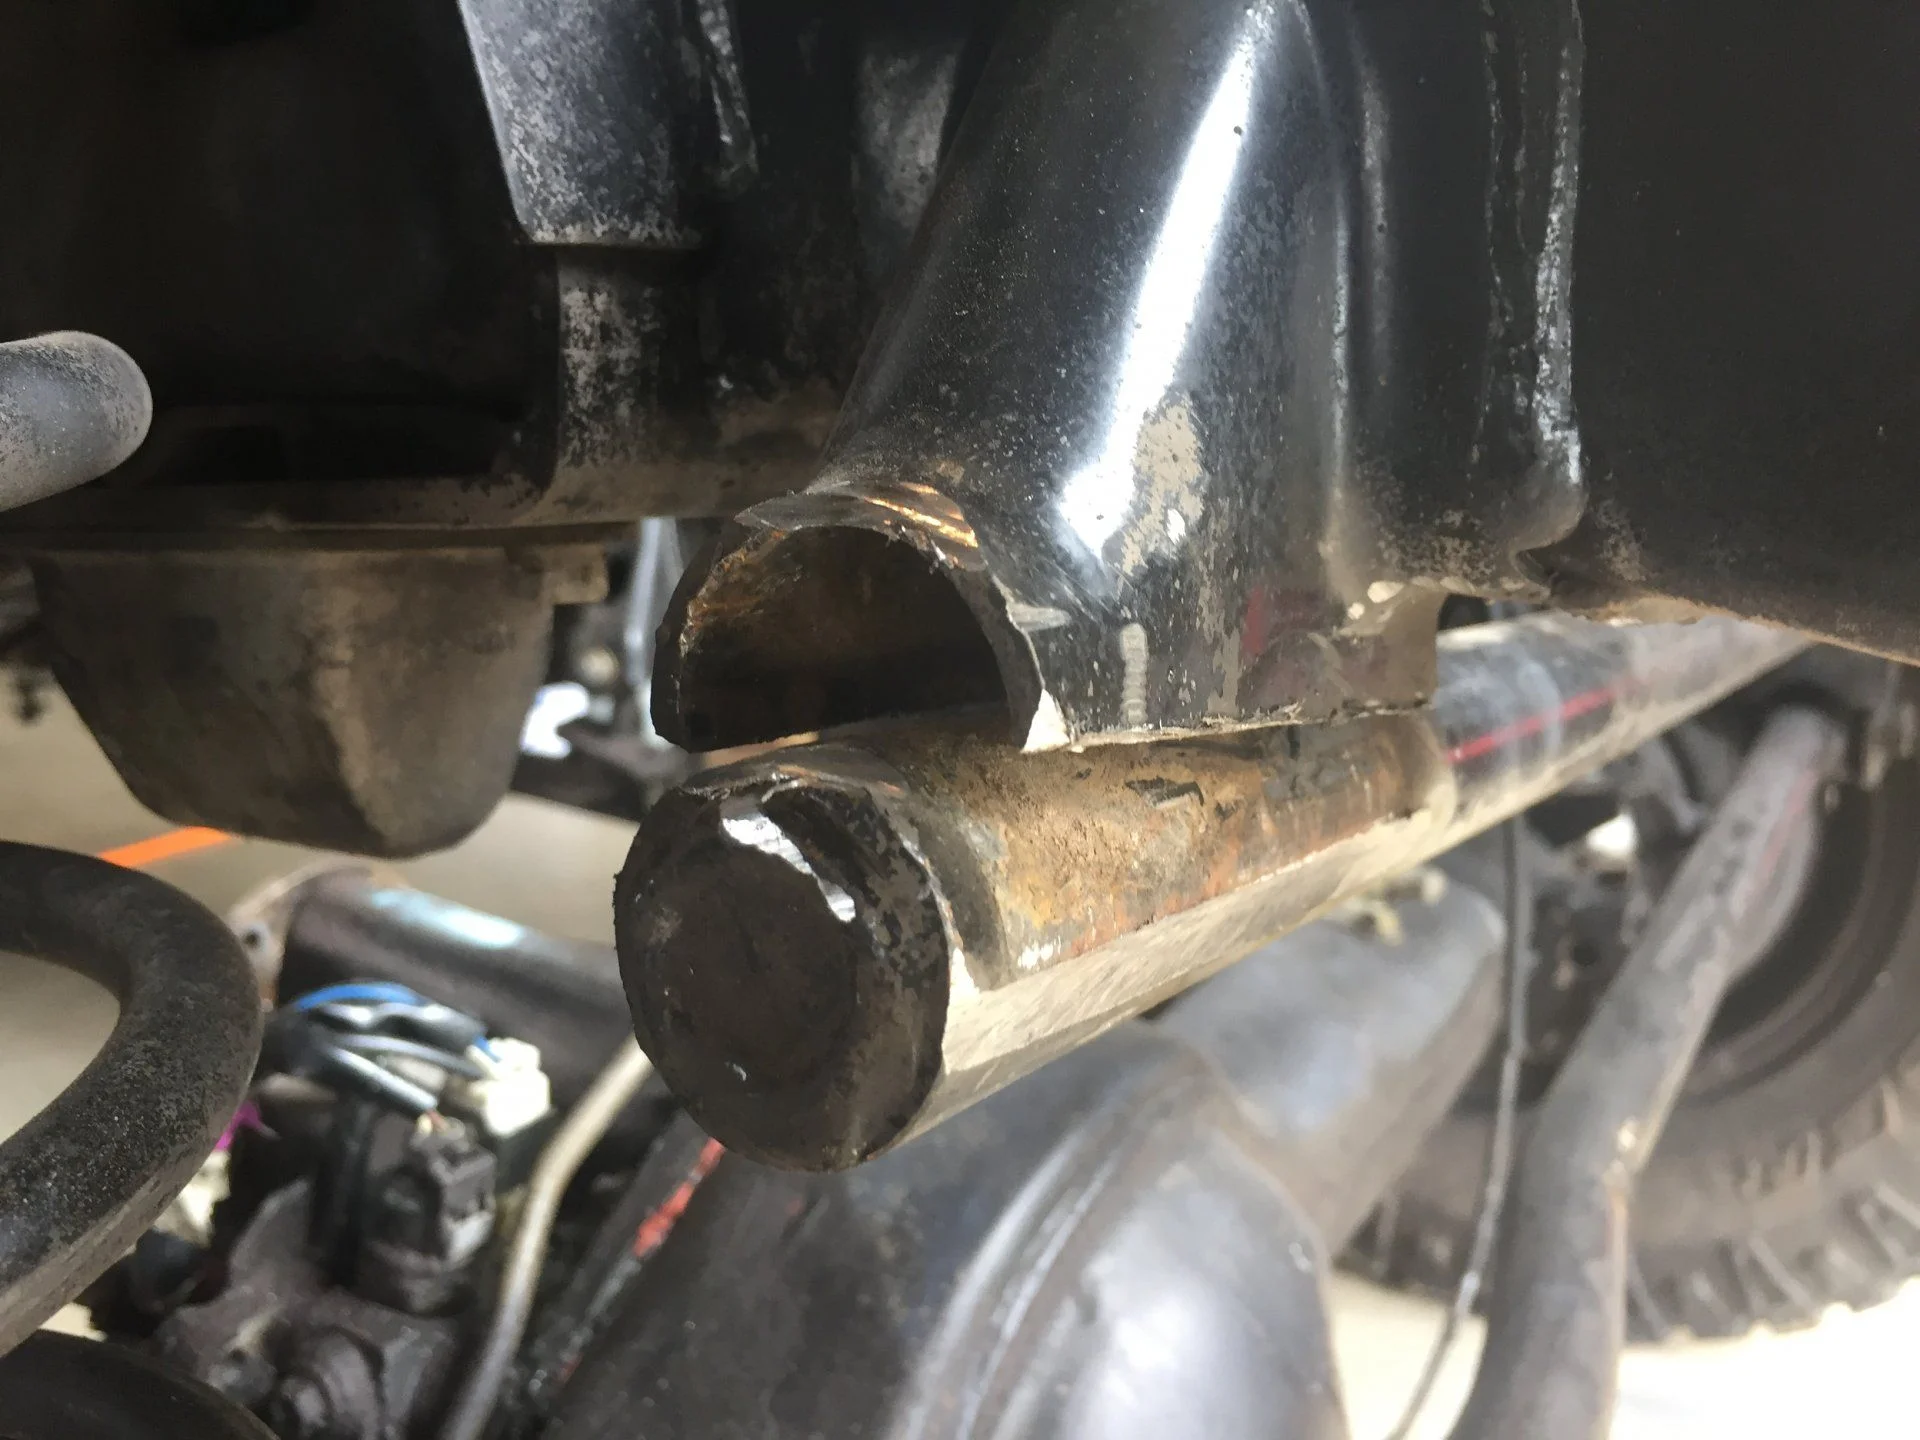
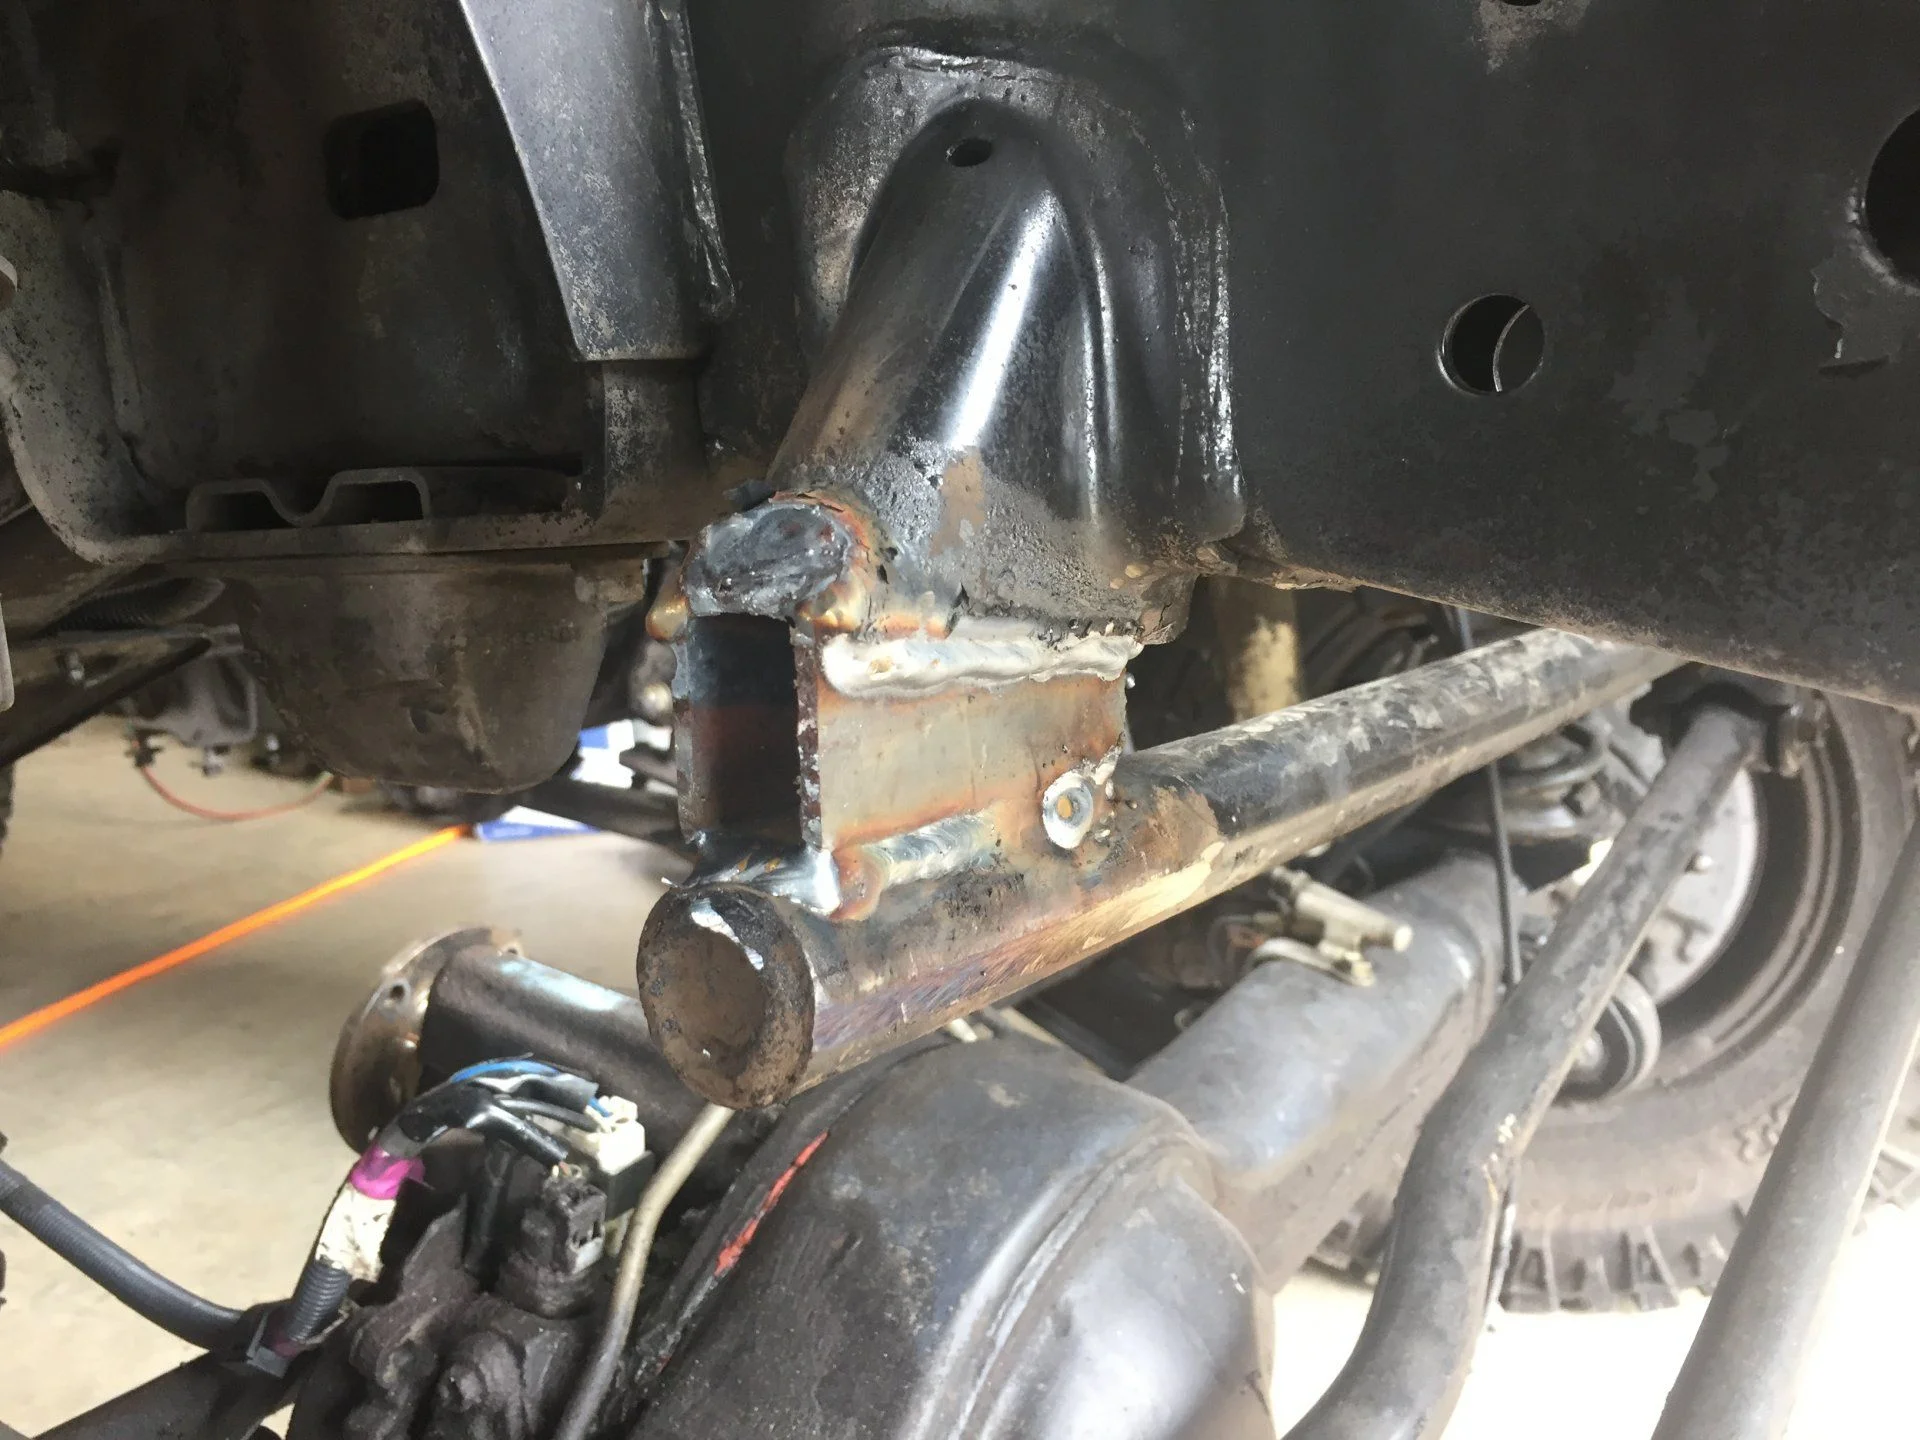
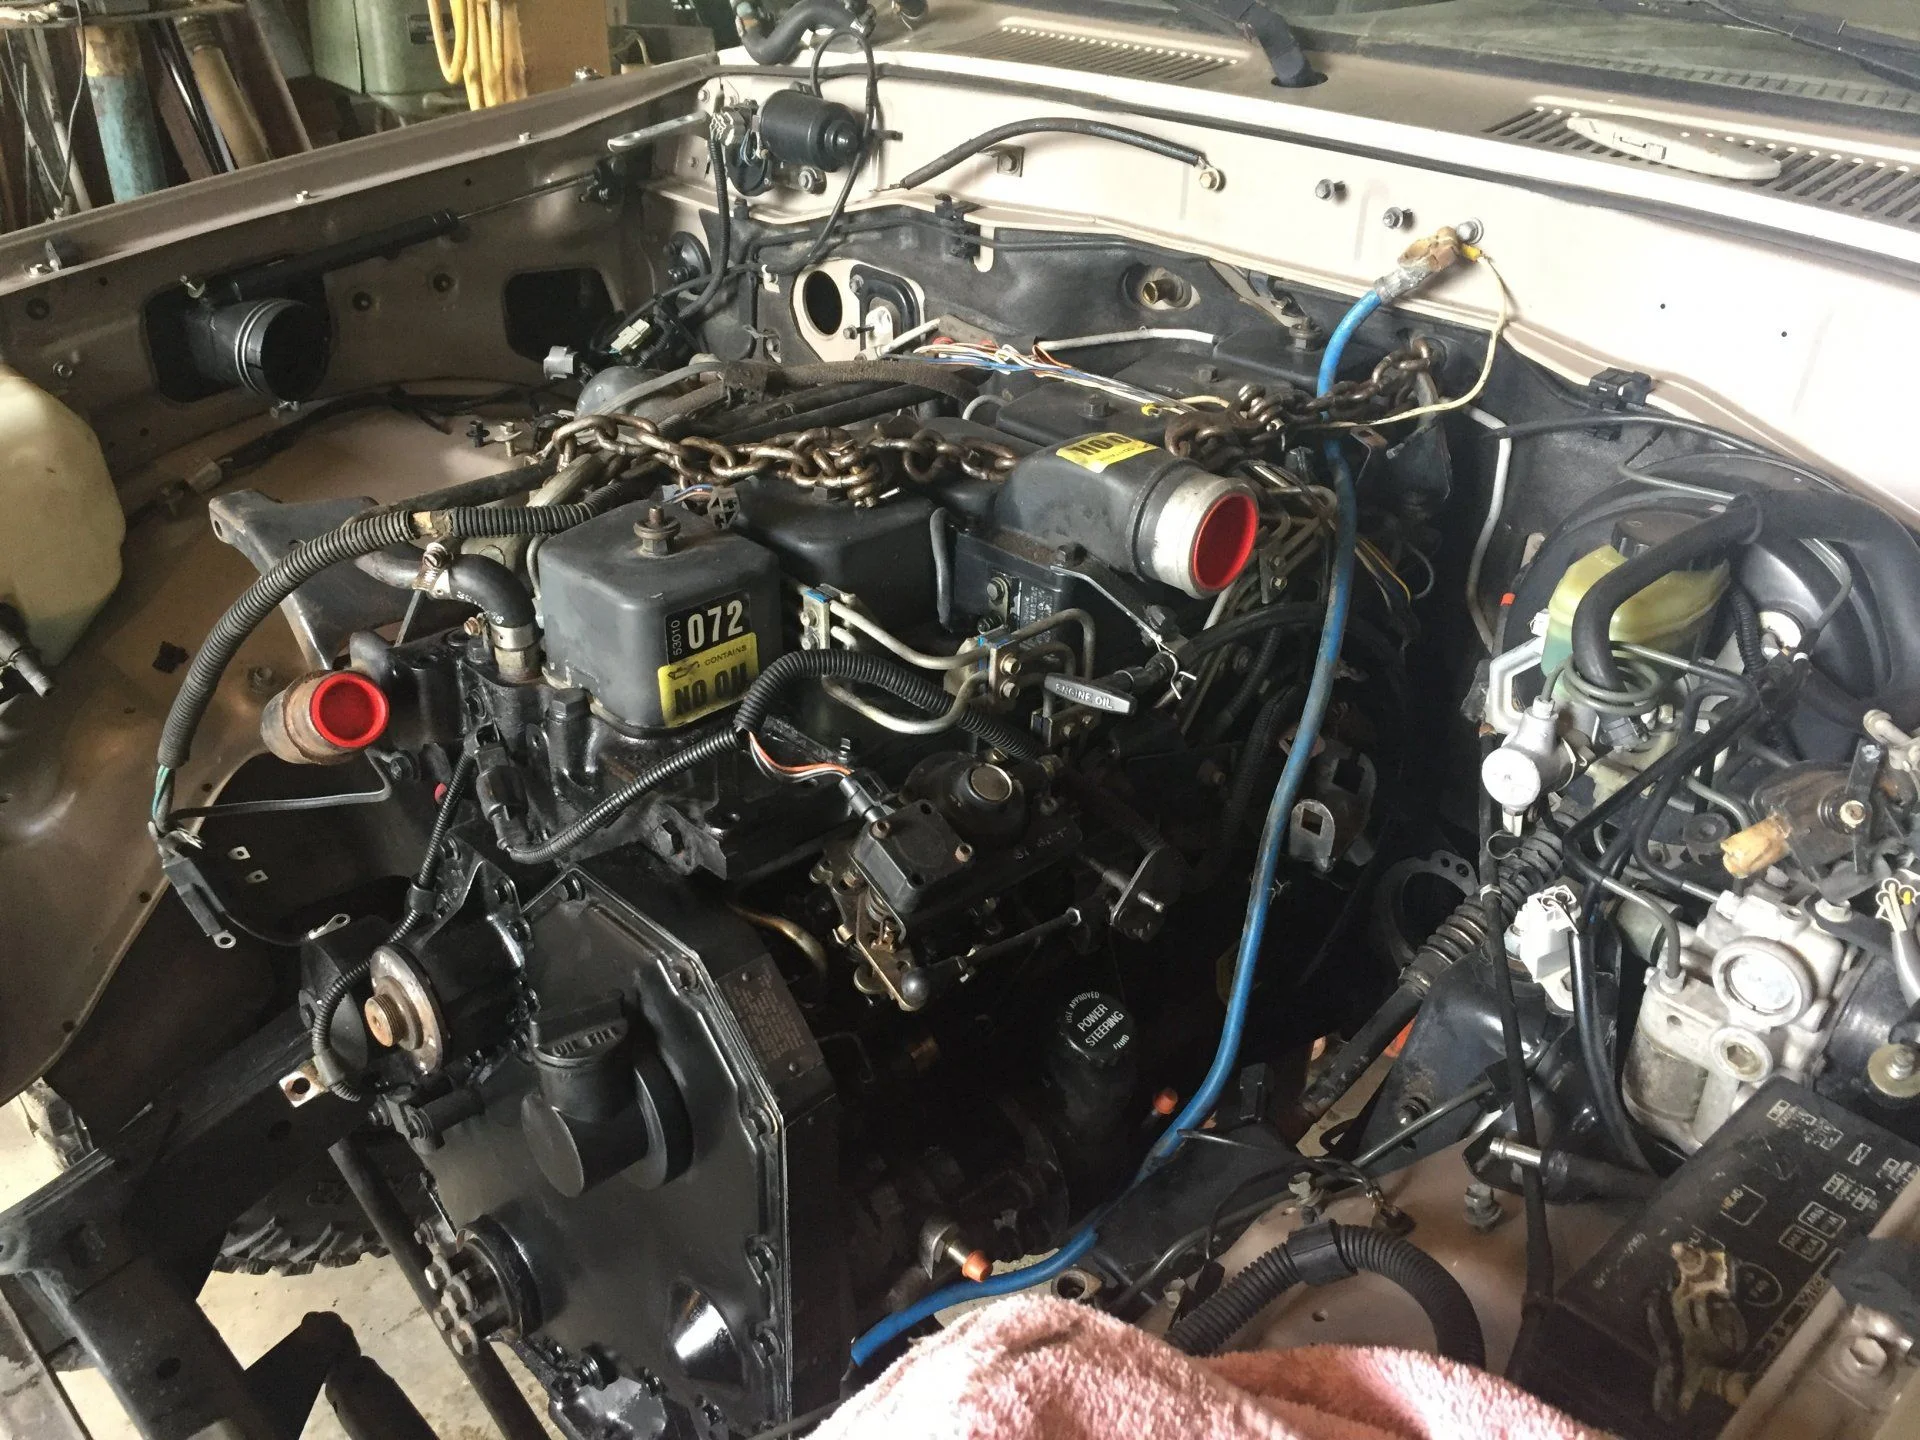
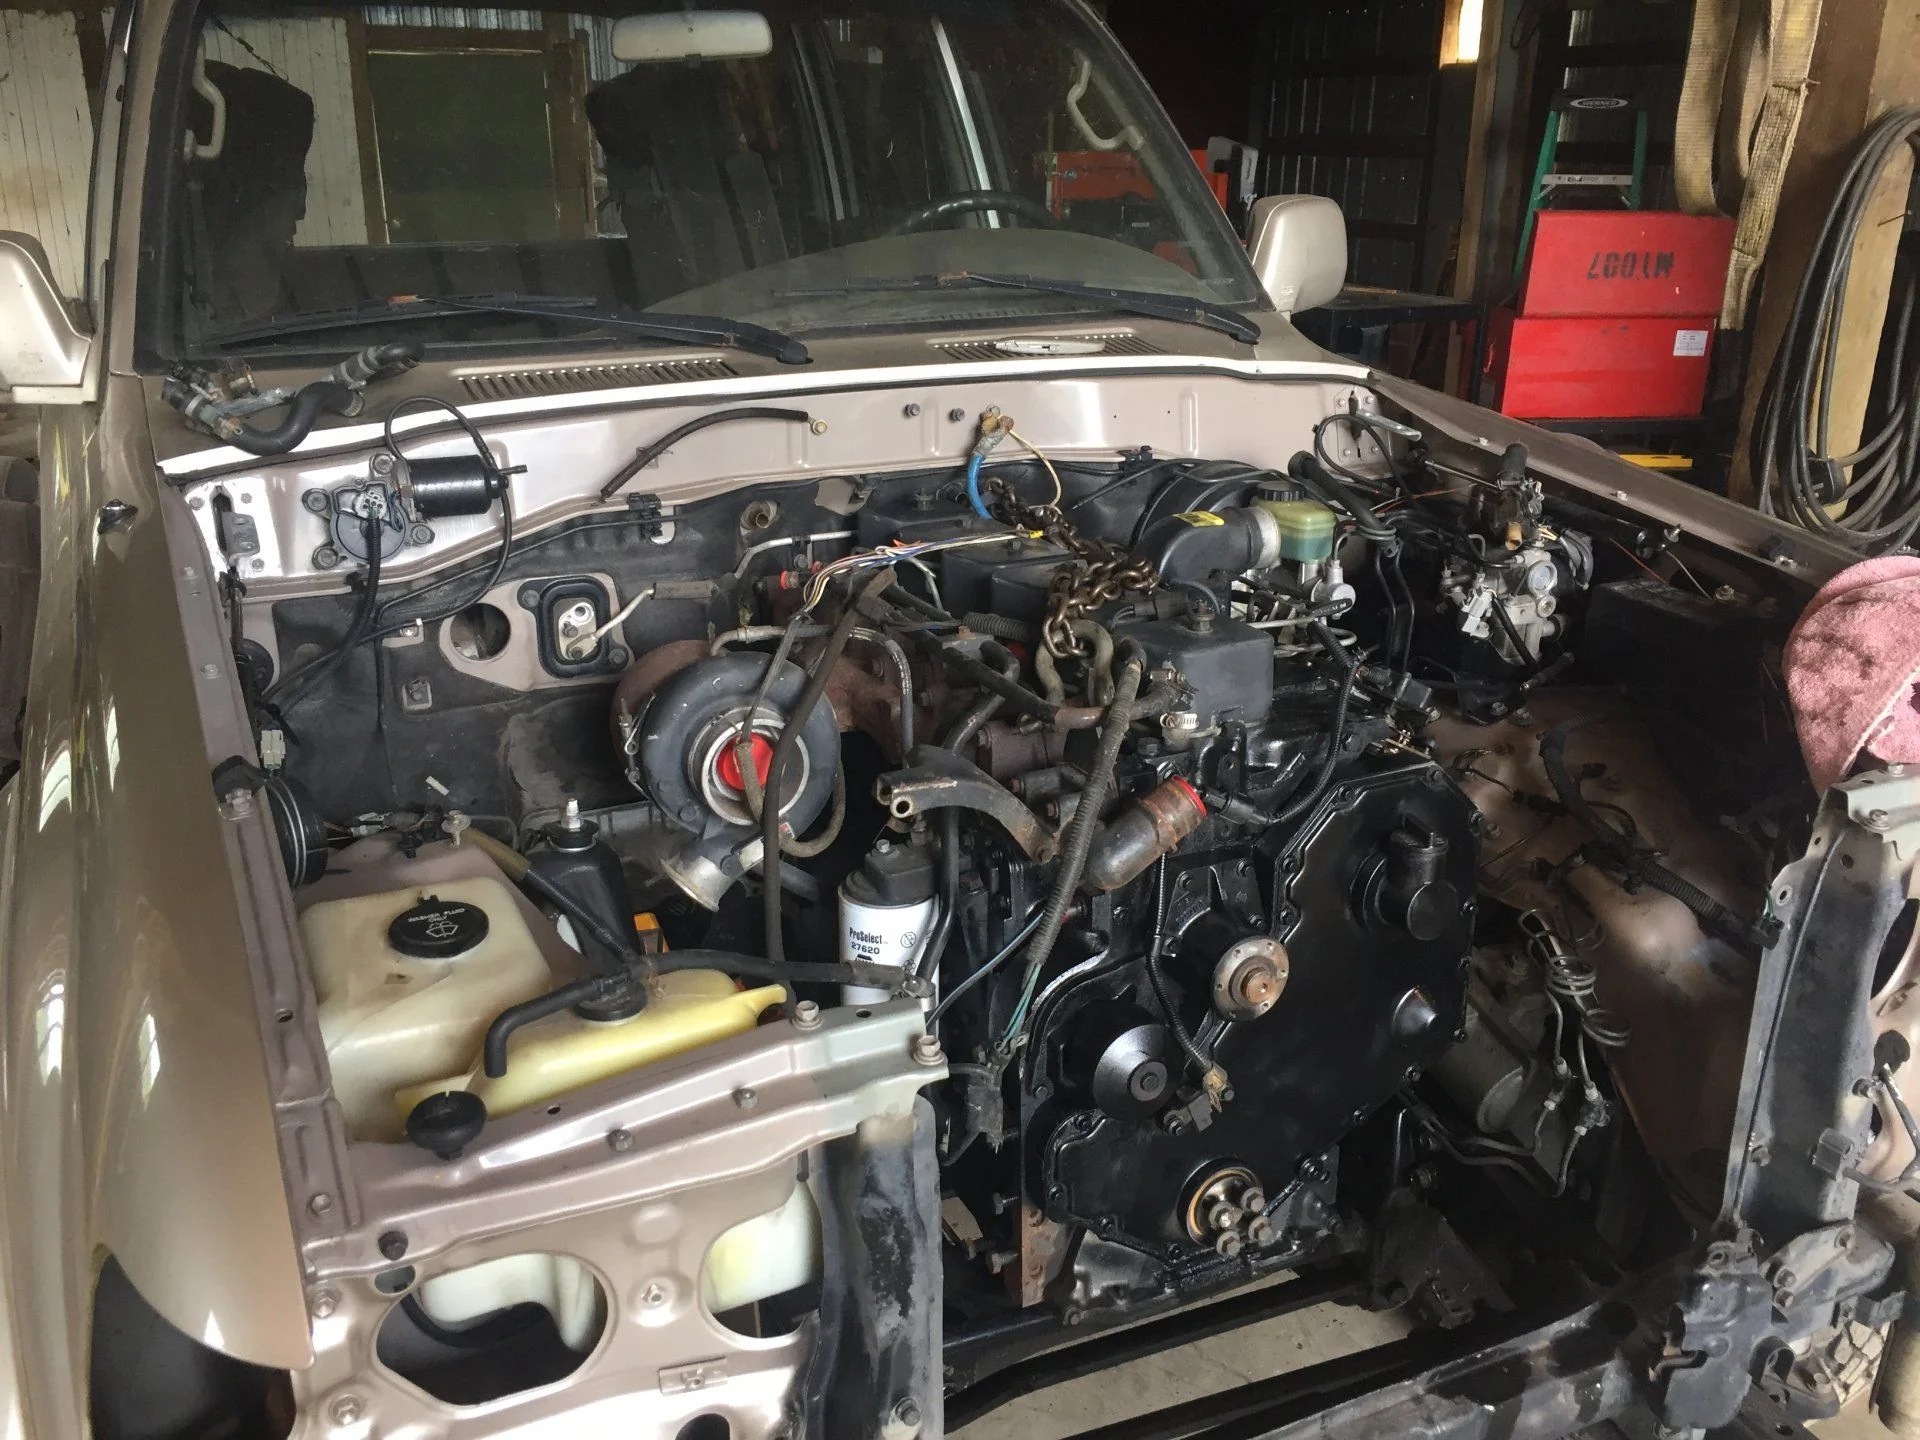
Here is the truck when I picked it up...motor out and disassembled. Kind of a basket case...
IMG_2754.JPG


View attachment 1472363
 
I've spent the last month or two since getting the truck collecting parts. I went to Canada to pick up a '92 12V Cummins and was able to meet up with @Wheelingnoob to check out his swap. Very impressive. I also ended up buying several early 90's gas dodges to snag NV4500's out of them. Since I'm replacing the mainshaft all that was required to make them a 'HD' version was replacing the input shaft. No big deal.

One big difference in my swap is that I am making my own NV4500 to HF2AV adapter. Here is a pic of the finished shaft. Still finalizing the plate.
IMG_2888.JPG
 
I rebuilt the trans and added the new shafts last weekend and got everything bolted up this weekend. I am going to run 37's but want to keep the CG as low as possible and liked the idea of having a bit more clearance around the trans tunnel so I opted for a 1" body lift.

Ready for the new motor...

I removed the springs to make sure everything will clear at full bump. This was kind of a mistake I think. I ended up jacking the body back up as it made snaking the motor and trans in easier.
 
Following others' lead I dropped the panhard brace. Instead of cutting it I ground the welds off and added some tubing.

This should give me plenty of clearance and doesn't interfere with anything at full bump. I'll paint everything before the engine goes in for the last time.
 
With all that done I swung the engine and trans in for a first test fit. Needed some clearancing on the tunnel on both sides. Took it out and did some adjusting with a 3lb sledge. Put it back in and this is where its at. The first gen dodge mounts sitting without the rubber on them on the stock 1FZ frame mounts actually put the motor close to where it needs to be.


Drivers mount:

Passenger mount:
I think it would rattle just a little with no rubber o_O
 
I tried to catch a few pics of the tight spots for folks. These pics are all taken with the engine about 1" too far back I think. I think moving it forward an inch will make me comfortable all around except possibly the slave cylinder side.

Starter bump out to tunnel:

Slave Cylinder bump out to tunnel from front:

Slave Cylinder to tunnel from back:

Exhaust manifold to firewall:

Timing case to PS box:
 
Here's the panhard brace to pan clearance. At least .75"

What I haven't figured out yet is draglink clearance. Might need to look into a different pan. I also need to cycle the suspension to see if the upward travel makes it better.

Next up are motor mounts. I'll be using the stock engine side and stock first gen dodge isolators and will fab the connector between them.
 
Time for another update. First off is motor mounts. I decided to use the stock first gen rubber and the engine side mount. This left the only piece to fab being the connector between the two. Here is the finished product. Built them out of some .250" wall 4" square tube I had. 3.5" would be a better fit, but this gives some wiggle room.

Final versions painted. The cutout on the one in the foreground is to make room for the PS high pressure hose.
IMG_2957.JPG


Drivers side installed:
IMG_2958.JPG


Passenger side installed:
IMG_2960.JPG


This setup is very similar to how the stock first gen mounts are made. Really the only change is height and 5 degrees of angle.
 
Using these mounts I utilized the stock frame side mount and just had to add a slot on the passenger side. You'll see in the pic that I added one on the driver's side to. I thought about sticking the motor an inch further forward for a while, but decided against it because of oil pan to draglink clearance. More on that in a minute.

I used the stock slot on the driver's side for the motor mount. I did have to lengthen the slot just a bit up.
IMG_2956.JPG


On the passengers side I added a slot in the middle that I used. I probably could have moved the hole in my mount and not had to do this...
IMG_2955.JPG


Don't worry...I hit these with a grinder and paint before assembly...just not for pics. At this point I've had the engine in and out many, many times. It is SO much easier than the 4bd1T I did last time to swing in and out and get in position!

With the front figured out I moved to the back. I have an early NV4500 and my tailhousing looks different than many others I've seen. However, the stock mounts are pretty simple to reuse and so that's what I've done for now. I think once I get everything done I'll come back and make an integrated skidplate/crossmember...

IMG_2964.JPG
IMG_2965.JPG
 
In the original post I mentioned that draglink clearance was going to be tight. Indeed it was more than tight at full bump. My motor is from a '92 Dodge 2500. I don't know if it was 2wd or 4wd but the pan sump was about an inch longer than some of the newer pans. I ended up buying a pan from cummins for $120. Offbrand ones on ebay were running $105 so this was great. Here are a few pics of the two pans.
IMG_2991.JPG


While it doesn't look like much...that my friends is enough difference in length to make it so I don't have to drop my bump stops!

IMG_2992.JPG


Here's the Cummins number for it 3949338:
IMG_2993.JPG


I don't know the stock application, but I think second gen trucks that are 4wd have a pan similar to this.

To change a first gen motor to use this pan you need to either replace the pick up tube or modify it. I chose to heat it and bend it as it is just tube. Here is a pic:

IMG_2994.JPG


BTW...getting off the glued on gasket that this motor had was a serious chore. Took an hour or more of scraping...not fun...
 
Last edited:
Once the pan was on and the engine back in I dropped the truck to the bumps to check out clearance.
IMG_2995.JPG


You can see in this pic that the draglink clears the pan in the front and the front diff clears as well. Fits superb in my opinion.
IMG_3004.JPG


This is a bad pic of draglink to pan clearance from the driver's wheel well:
IMG_2996.JPG


You can see its pretty much touching there. I will likely drop my bumps an inch or so to make sure things stay happy down there. I was pretty impressed with how well this engine fits though!
 
With this figured out I decided the engine was probably in for the last time...hopefully...so I decided to put the springs in to see how she sat. I am going to run the 2418 3" competition coils in the front (with 1" body lift) and 863 or 863J's in the back. Here is how she sits with the 863J's. I'll throw some weight in the back to simulate bumper/spare/etc...but I think I might need to go down to the 863's. Those are 37x12.5 Goodyear MTR's on FJ Cruiser wheels.
IMG_3006.JPG
IMG_3008.JPG
 
I have the same tailinghousing on my NV4500 (early Dodge gas). I believe they are 91-92 only and pretty rare.
 
I was able to put some more time into the truck today. After getting stuck on accessory drive issues due to lack of parts I decided to work on the clutch pedal. Most people seem to source all the JDM parts for a stock pedal setup. I called around and couldn't find a source at the moment and so decided to roll my own.

When I scored an NV4500 in a pick and pull from a 92 chevy 1/2 ton I snagged the pedal as well. While I'm not using that trans in this project the pedal bucket looked pretty promising.

IMG_3013.JPG
IMG_3014.JPG


The chevy uses a smaller diameter clutch master cylinder so I opted to adapt the dodge master to the chevy. The dodges use a kind of odd twist lock affair where the cylinder is pushed in towards the fire wall and twisted about 45 degrees to lock. I machined a 3" square piece of aluminum to replicate this. (If you use the chevy stuff or look for a different bore master this wouldn't be necesarry)

IMG_3012.JPG
IMG_3011.JPG


This was done with a spare master for mockup purposes.
 
Once I got the master sorted I looked at mounting the pedals. I was able to pop out the about 1.5" rubber grommet that a few wires were running through and decided to use that hole for the clutch pedal location. The chev pedal bucket has two studs that stuck through the firewall in the stock application and then two bolts that go up into a dash support. I used the gasket to mark and drill mount holes for the studs in my firewall. I absolutely failed and taking a picture of this step but here is everything bolted up from the outside.

IMG_3021.JPG


On the interior I don't think you could find a pedal bucket that could fit much better. It's pretty amazing. I removed the two computers that are where the pedal will go. One of them can go back and one will need to be relocated. I also removed the dash and gauge cluster to see what I was doing better. I was able to reuse one of the computer mount bolts to grab an ear of the pedal bucket. You can see it right above the pedal pivot in the pick below.
IMG_3019.JPG


I'm also going to reinforce to the metal cross piece behind the dash. You can see that the top of the pedal bucket points right at it. Should be easy enough to add some bar stock and through bolt to the crossmember.
IMG_3018.JPG


The top of the pedal bucket is the shallow u shape right above the rusty metal tube in the foreground. It's about 5" deeper into the dash but is easily extendable.

Finally I heated and bent the pedal into position (out of the truck) and then trimmed the brake pedal to match. I'll get new pedal pads from GM.

IMG_3020.JPG


Looks like the pedals line up pretty close for not being stock. I'm going to wait until I put a seat in it before I decide on final pedal position. Overall this was WAY easier than I thought it was going to be.
 
I built a similar block of aluminum for my clutch pedal, after a couple years during a wheeling weekend the leverage of the pedal on that mount cracked the sheet metal over time and the mount itself started flexing, giving me inadequate pedal travel to disengage the clutch, the fix was a piece of steel flatbar drilled to match tow of the mounting bolts that travels down the inside of the firewall towards the floor.

I meant to do a better permanent fix but never had issues with it since.

Just an FYI, you may or may not have issues.

The work looks great thus far BTW.
 
So I've been sidetracked with Farm projects (or maybe landcruiser swapping sidetracks me from farm projects) so haven't had time to work on it much or do updates.

I decided to run stock first gen dodge accessory bracket with the dodge AC pump and a 22si alternator. The clearance issue for me is bottom radiator inlet to AC pump. I was able to circumvent this by cutting about 1.5" off the bottom radiator outlet and using a very tight end radiator hose. I don't have a good pic of it but here are the two hoses I chopped up to make top and bottom hose (plus a stock dodge lower hose).
IMG_3029.JPG
IMG_3028.JPG

IMG_3035.JPG


Finally I removed the rear heater and redid the heater hoses.
IMG_3030.JPG
 
I also made up the intercooler pipes and mounted the intercooler. Just used aluminum angle and some nice rubber mounts from the hardware store. I cut the holes in the core support using a 3.5" hole saw. Worked out well I think. Credit for all this goes to @Wheelingnoob
IMG_3031.JPG
IMG_3032.JPG
IMG_3033.JPG

I also got the power steering hose in using adapters that @maxamillion2345 documented in his thread.
IMG_3034.JPG
 

Users who are viewing this thread

Back
Top Bottom