5280's Paint Project (1 Viewer)

This site may earn a commission from merchant affiliate
links, including eBay, Amazon, Skimlinks, and others.

Thanks Nolan,

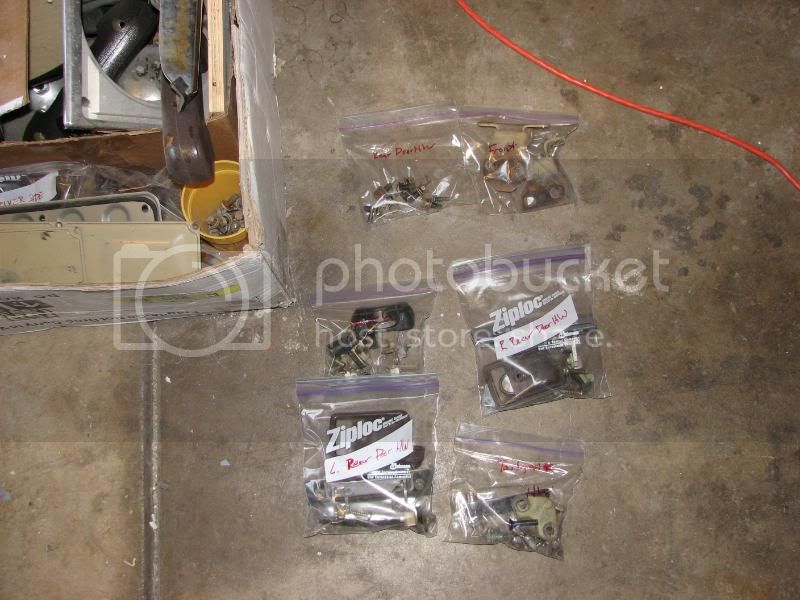
It is a lot of work. I should have the Front Doors done tonight, and i have Friday off so i will be pulling the back doors, hatch and tailgate and doing all of them at once to try to speed things up. I should be able to get all four sanded and ready for paint by the end of Friday.:eek:
 
Made some progress -

First the Front Doors are done! - (Aside from maybe a little more buffing but there's only so much I can take!)

IMG_1289.jpg

IMG_1288.jpg


I've been shrink wrapping the parts the keep them safe untill i put everything back together

IMG_1290.jpg
 
More progress -

I pulled the backdoors the Tailgate and Hatch -

IMG_1298.jpg

IMG_1297.jpg

IMG_1296.jpg


I have accumulated alot of parts. It will take a while to put it all back together.

IMG_1292.jpg


I've bagged all the small parts, If I hadn't I'de be Screwed!

IMG_1291.jpg
 
Last edited:
I got the back Doors and Tailgate/Hatch all sanded and masked now in prep for paint. I even sanded all the crud/dirt off the rubber gaskets around the windows, so they're nice and black.

My brother in Law came to visit Saturday, so i took a break from painting and he helped me put on a 4Crawler Body Bushing and 1" body lift kit on the 60. It was really easy to do!

A few of the old body bolts were so rusted that they were fused into the bushing sleeve and sheared off when we tried to turn them. Once we got them off, we jacked up the body and i got in there and cleaned and painted all of the Frame body mounts, before we put the new bushings, spacers, and new hardware back in.

The poly Bushings sure look alot nicer in there than the old Rubber ones that came out, and It's only an Inch lift but i think it's pretty noticeable. Now even with 33's there is a ton of clearance in the wheel wells, Probably enought for 35's even though it's SUA.

My Family and I are going to Cali for vacation the end of this week, but I will be ready to go on the paint when I get back!

:cheers:
 
Last edited:
actually, I only tried using primer on the fenders. I didn' like how it worked. The rustoleum didn't stick to the primer as well as it did to bare metal. The primer I tried was rustoleum automotive primer in a rattle can.

Edit - The guy that started the famous roller method thread on the MOPAR site didn't use any primer,
 
Last edited:
6474597.jpg


Quart sized can I picked up at Pep Boys. Thankfully I only have a few small dents to take care of.
 
I used tie coat priimer from POR-15. Cause I por'd the whole truck. My tremclad stuck well to the tie coats which was sanded with 320 grit prior to painting the tremclad.
 
Got back into my project last night since im back from Cali.

Disney's California Adventure has an Old Rusted FJ45 sitting near the rafting ride. I took this photo while we waited in line.

FJ45.jpg


pretty cool.

Anyway, I was looking over my back doors to be sure they were ready for paint and realized that the passenger door- (where there had been some previous body work done) was not straight along the bottom. I took a straight edge along it and compared it to the driver door and the body filler was a good 2-3 mm indented in the center, and the area was probably 8" diameter :doh:
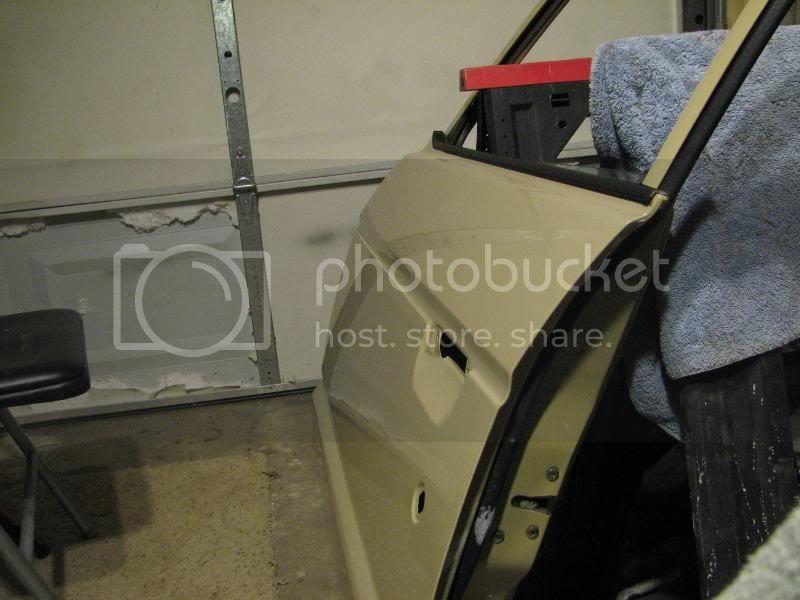
. I wish i had the funds to just get rid of the door and get a straight one, but nope, it got more bondo. So for all you purists out there that can't stand a little filler - :flipoff2:. I used my biggest block sander, and got it flat again. Im much happier with the results, but still haven't got any paint down. I have some more sanding, then masking to do before this round of paint goes on.
 
That is pretty cool that they have that 45 in the Park. I bet every once in a while some cruiserhead will think, "wow a landcruiser." Me and my family are going to California this summer so I'll have to keep an eye out for it. Anyway, keep up with the good work on your 60. I've been watching this thread and you have done an excellent job.
 
Thanks man,

I have a couple shots of the Door that's been giving me trouble.

After buying some spot putty and Filler Primer I finally got it where I want it. Looks so much better.

IMG_1843.jpg

IMG_1846.jpg


I have Friday off, so i will be painting tonight, (finally) and then starting body work on the actual BODY tomorrow!
 
I wish I had the aptitude for body work that you do. My 60 meeds a little TLC in that area. But it looks like she may be on the chopping block soon.

Looking great!
 
Still chugging along! I've got 4 coats of paint on the rear doors and Hatch.
IMG_1851.jpg

IMG_1847.jpg

IMG_1849.jpg

Getting pretty crowded in there.
IMG_1852.jpg

I also got some work done on the Body over the weekend. I went around the rain gutter and sanded all the chips, scatches and dirt off the metal, and I also sanded the Bonding/sealant material inside the rain gutter to get all the weathered material off the surface. I decided it was going to be too diffucult to try to roll that area, so i masked it off and sprayed it with a Aerosol sprayer that has a glass jar that you put your own paint into.

I don't know if the it was the sprayer, or the Rustoleum, but it went down really nicely, and looks really good.
 
Last edited:
Those little sprayers kick ass... They atomize the paint very well. You can get them at Sherwin Williams. I use them for touch up work.
 

Users who are viewing this thread

Back
Top Bottom