
Turtle decals??? Must be a mainland thing.
You'd be amazed at the great lengths people go to make sure everyone else knows that they lived in Hawaii for 6 months....
Follow along with the video below to see how to install our site as a web app on your home screen.
Note: This feature may not be available in some browsers.
This site may earn a commission from merchant affiliate
links, including eBay, Amazon, Skimlinks, and others.
Turtle decals??? Must be a mainland thing.
You'd be amazed at the great lengths people go to make sure everyone else knows that they visited Hawaii for 2 days....
")

yeah i just needed to slap something on quick. My hands would literally become glued to the steering wheel after holding for a few minutes. GROSS. And the nice thing is it'll pull right off if you need it. Takes a little bit to put on, my hands are raw. Never had a blister on my pinker finger before...Looks good. FWIW, they make smaller dia "paracord", my kiddo makes bracelets all the time with it. Since no strength is needed may be a option without the enlarged std 550 cord.


Also had the new leather seat covers, console replaced. Feels like new vehicle.
View attachment 1408886
Did you install these or did you have a shop do it? Looks like Lseat is the route I will be taking for sure.

Poor heep.Saturday drive in South Carolina with some Cruisers and a future Cruiser owner.
@JToobe @bro
View attachment 1409723
I should have traded places with him todayPoor heep.
. There's only like 5 other land cruisers in the state of Iowa ( @LS1FJ40 owns 2/3 of them ) so I have to roll with the Jeep crews. It was a good time though 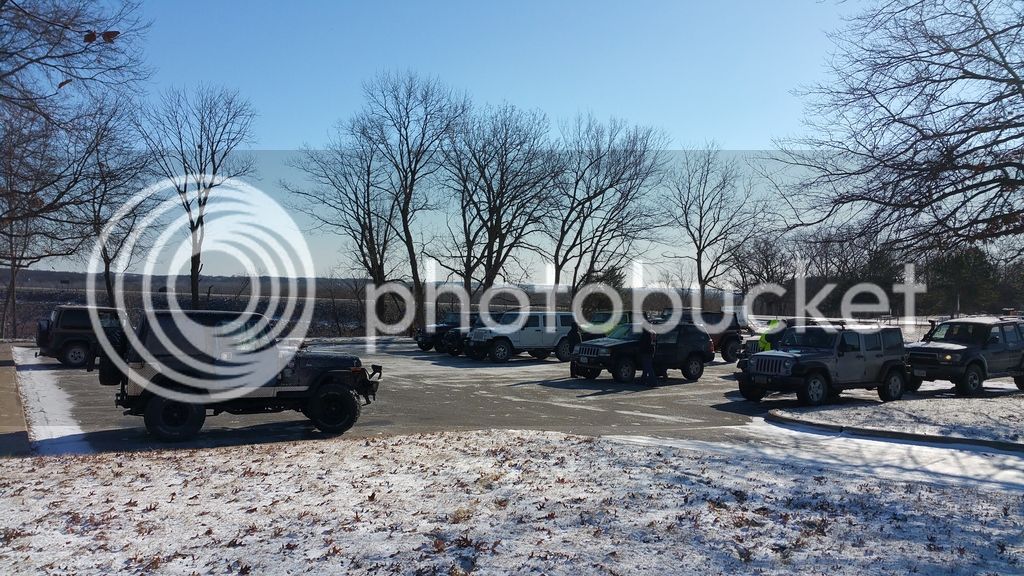
Saturday drive in South Carolina with some Cruisers and a future Cruiser owner.
@JToobe @bro
View attachment 1409723

Between Sassafras Mountain and Lake Jocassee.woah, that's beautiful! Where was this taken? I know for sure you guys aren't near Georgetown
Well, kind of a good news bad news day.
The good- got my new falken tires installed yesterday, and took them on a 300 mile round trip to the ski hill today. Skiing was great, tires were excellent on the highway. Really like them so far.
The bad- could be really bad. On the way back, going up a long grade, my oil pressure dropped to almost nothing. Plenty of oil, still getting oil up top, but started knocking. Now knocks under hard acceleration or throttle. Going to dig in to it tomorrow, and start a separate thread, but the expected rebuild may come a lot sooner than I had hoped
