Should you be in Park or neutral while idling at temp to set the correct level?
Navigation
Install the app
How to install the app on iOS
Follow along with the video below to see how to install our site as a web app on your home screen.
Note: This feature may not be available in some browsers.
More options
Style variation
You are using an out of date browser. It may not display this or other websites correctly.
You should upgrade or use an alternative browser.
You should upgrade or use an alternative browser.
WS ATF Flush Procedure (2 Viewers)
- Thread starter agaisin
- Start date
This site may earn a commission from merchant affiliate
links, including eBay, Amazon, Skimlinks, and others.
More options
Who Replied?Should you be in Park or neutral while idling at temp to set the correct level?
Park idling.
Thanks again, just did 2 flushes with some driving in between. I am pleasantly surprised at how clean and red the first drain came out compared to other vehicles in the past. The PO had good service history at the dealer but I never saw mention of anything with the Tranny but maybe it had been done at some point.
I just completed my second ATF flush. The first one was on a 2006 4th gen 4Runner V6, and the most recent one was on my 2009 Lexus GX470 w/ KDSS. On the first flush, I used the method of pumping new fluid into the fill port using a bottle-top hand pump. After about 500 pumps, I had no feeling left in my arms and a lot of drips and spills on the garage floor. Nevertheless I started looking for an easier solution. This time around I took two sections of 1/2" OD vinyl or plastic clear tubing, a 2' section of copper pipe, and a funnel and ran it down from the engine compartment to the fill port. I used the copper tubing to run along side the exhaust so that when the truck was running to pump out the old fluid I wouldn't melt the tubing. As it turned out, the truck is not running that long where you actually need to worry about melting the tubing, so the copper is really not that necessary. I taped a wood block on top the air cleaner and secured the funnel to the wood block holding it upright. Basically, I was all set up to fill using gravity from the easy access of the engine compartment. The tubing I used was the perfect size to securely fit in the fill port and did not dislodge during filling. Pouring the ATF in from the top saved a lot of time and sore muscles and didn't spill a drop. I took some pics and I will post them later. Anyway, just another helpful hint. And I used 12 qts. total just for the record.
Can someone clarify, when jumping the 4 and 13, do I do a brief connection of the two port or simply leave them connected? I am doing the procedure and am having other lights blinking and have not had the temp light go on after 10min of idle
Can someone clarify, when jumping the 4 and 13, do I do a brief connection of the two port or simply leave them connected? I am doing the procedure and am having other lights blinking and have not had the temp light go on after 10min of idle
You insert the jumper wire and leave it in. To enter temp check mode, you put the transmission in N and then move it to D and then back to N every 1.5 seconds until the AT/OIL Temp lights up. Then you are in temp check mode.
Thanks for clarifying the procedure. I ended up using my tech stream.You insert the jumper wire and leave it in. To enter temp check mode, you put the transmission in N and then move it to D and then back to N every 1.5 seconds until the AT/OIL Temp lights up. Then you are in temp check mode.
Thanks for clarifying the procedure. I ended up using my tech stream.
I did too. I think the trucks with KDSS for some reason don't go into the AT Temp check mode using the jumper.
If you have an infrared gun, the pan itself matches the fluid temperature almost to the exact degree. You can also use a Scangauge or other OBD tool to monitor live fluid temperatures.
Hey Tare - Didn't see that anyone ever answered your question about where the fill port/plug is for the sealed transmissions. I want to do the method you suggest on my 06 and has no dipstick to use for filling. I used to the same on my 80 series but of course, it had a dipstick. Hoping someone has a pic they can post. I crawled under the Cruiser with a flashlight and its location is a mystery.
Hey Tare - Didn't see that anyone ever answered your question about where the fill port/plug is for the sealed transmissions. I want to do the method you suggest on my 06 and has no dipstick to use for filling. I used to the same on my 80 series but of course, it had a dipstick. Hoping someone has a pic they can post. I crawled under the Cruiser with a flashlight and its location is a mystery.
Left side of the transmission. See 2nd picture at Lazy man WS ATF filler
Awesome, thanks. Just crawled back under and checked it out. Looks like there's an electrical connector in the way, easy to temporarily move however. Like the hose/funnel setup you made. I'm planning to do similar.
Great thread!
I followed the procedure there to do a fluid exchange on my '05 LX and was pleasantly surprised at how easy it actually was.
I disconnected the AT cooler hose right at the grill, didn't even have to crawl under the car. Then I connected vinyl tubing to the hard line with a funnel at the other end and slip on a larger vinyl tubing to the rubber line into the collection milk jug. Whatever came out, I poured the same amount into the funnel. 12 litres later, the stuff coming out was pretty clean and I didn't have to use the fill hole at all.
Now when it came to fluid level check, that when i hit a snag. I couldn't get the damn bolt off with a 5MM hex and I was feeling the metal was giving in.
So... a couple questions I have.
Assuming what was in the tranny is the right amount and I replaced exactly what I took out +/- 100ml, how worried should I be not doing the fluid check?
Where can I get a replacement of the overflow plug? and I wouldn't want to get another hex bit bolt, but rather a normal bolt like the drain plug. Would any hardware will do?
Hello All,
I am preparing to follow the steps outlined in this thread to change the fluid in my 2004 LX470. I checked the fluid a couple days ago and it was a Purple color. Do you think the PO used royal purple or is this the color that WS ATF will turn over time? It may not matter switching between WS ATF and Synthetic, but I just wanted to double check. If PO used something other than WS ATF will I need to do an even more thorough flush? Any advice is greatly appreciated.
I am preparing to follow the steps outlined in this thread to change the fluid in my 2004 LX470. I checked the fluid a couple days ago and it was a Purple color. Do you think the PO used royal purple or is this the color that WS ATF will turn over time? It may not matter switching between WS ATF and Synthetic, but I just wanted to double check. If PO used something other than WS ATF will I need to do an even more thorough flush? Any advice is greatly appreciated.
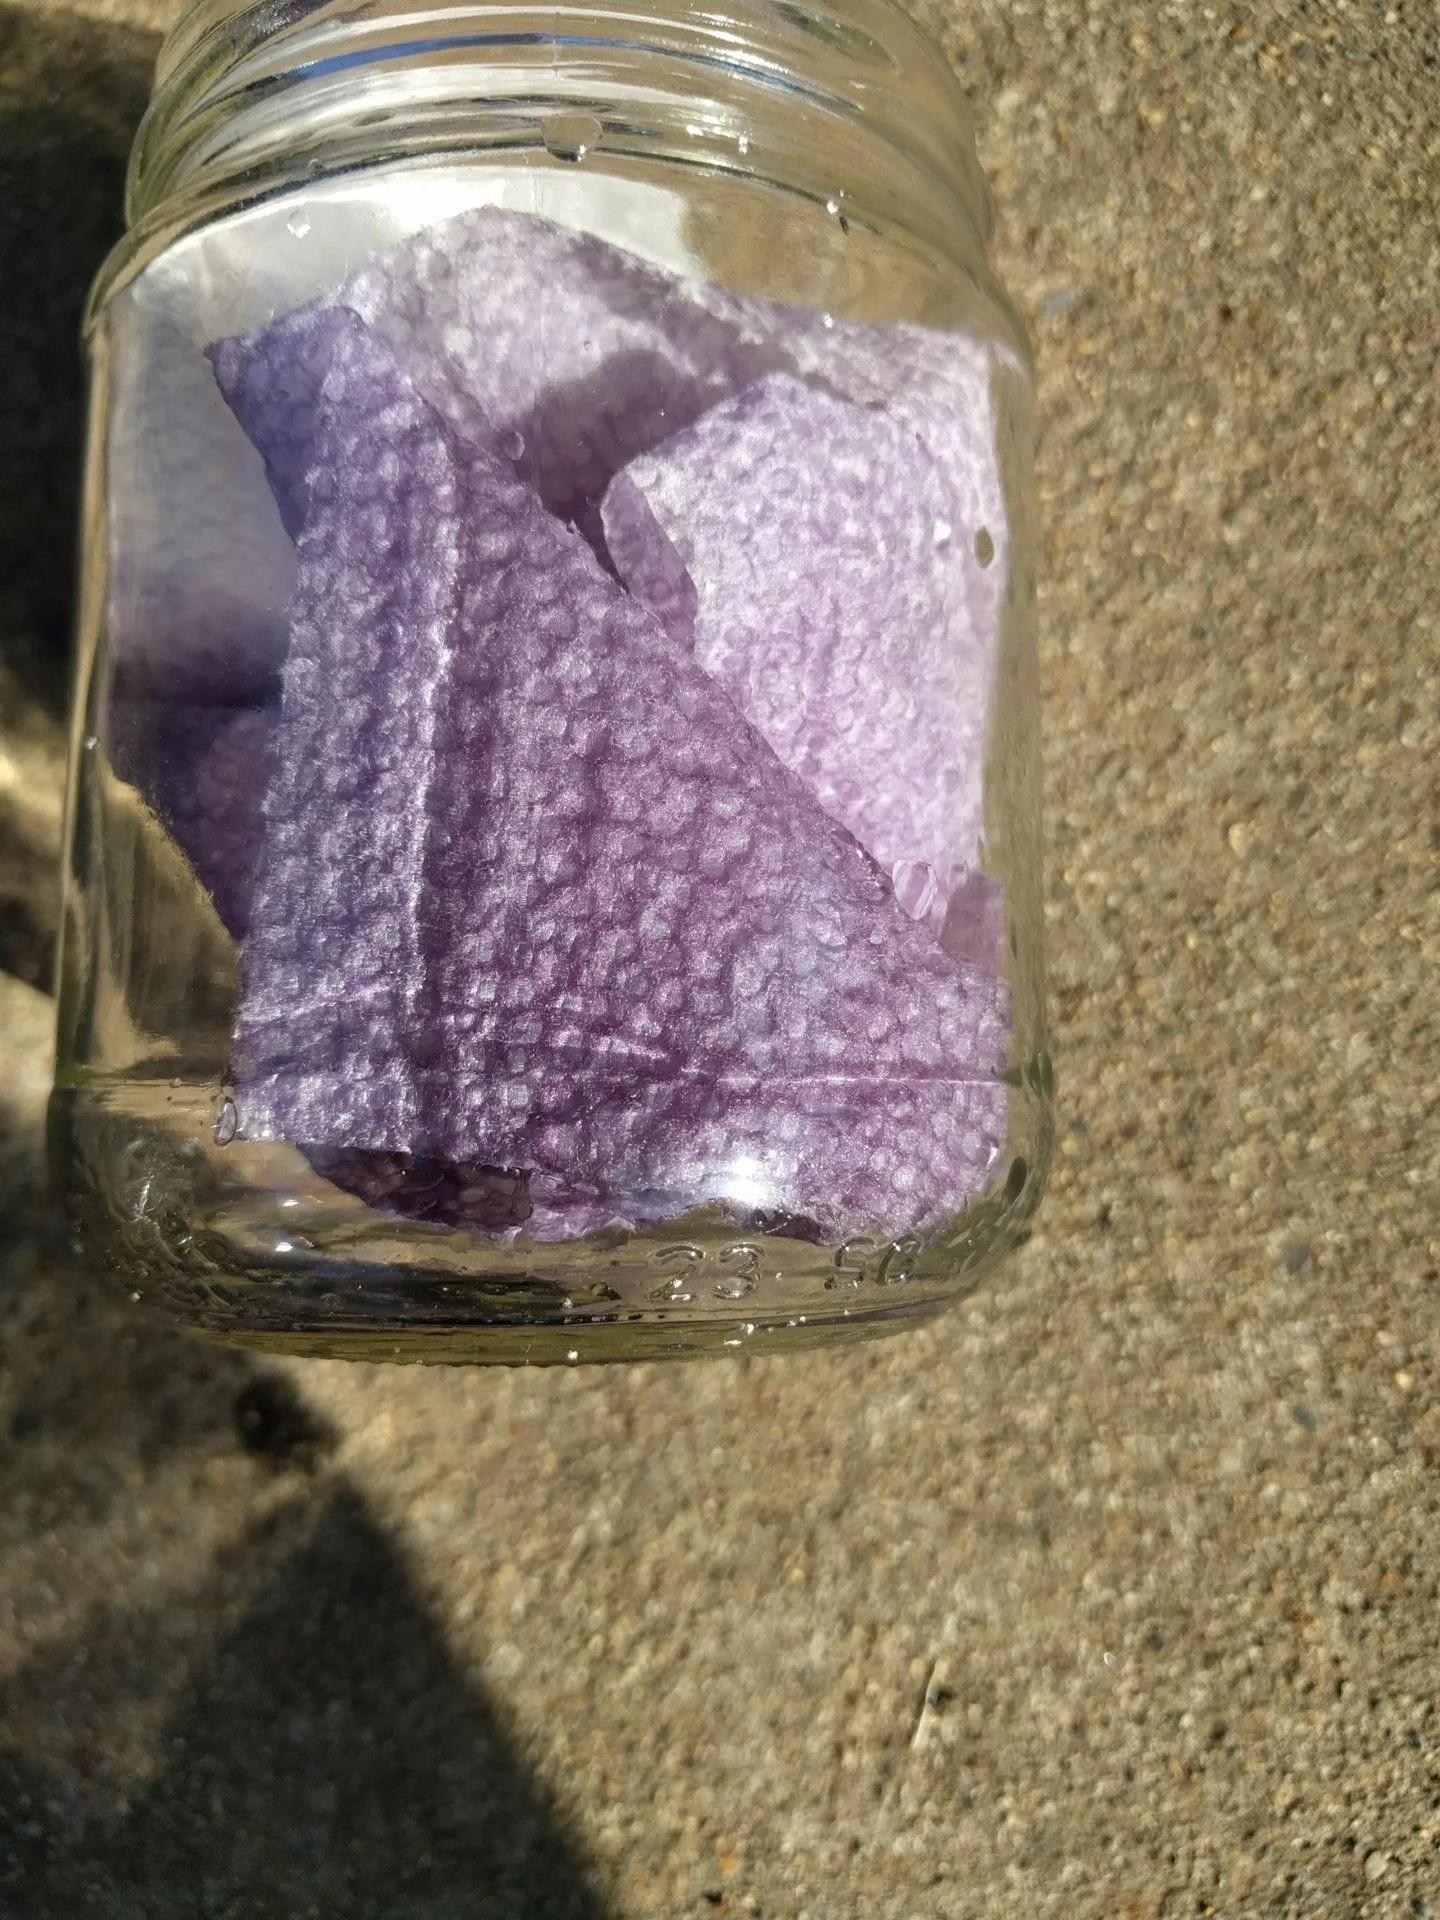
@Verybadwizard, Toyota WS is deep red. Not sure what you have but Royal Purple seems plausible.
Following. Will perform this on my 06LX this week
Reviving this thread for 04-07 LC/LX.
Do you guys think this is something I need to work on ASAP? Replace new oil pan gasket?


No drips by the way on my garage floor.
The seepage is at the rear end part of the oil pan.
Thanks in advance gents.
Do you guys think this is something I need to work on ASAP? Replace new oil pan gasket?
No drips by the way on my garage floor.
The seepage is at the rear end part of the oil pan.
Thanks in advance gents.
Reviving this thread for 04-07 LC/LX.
Do you guys think this is something I need to work on ASAP? Replace new oil pan gasket?
View attachment 2062581View attachment 2062582View attachment 2062583
No drips by the way on my garage floor.
The seepage is at the rear end part of the oil pan.
Thanks in advance gents.
Some quick back of the envelope estimation: let’s say that’s an ounce of seepage, and it took a month to happen. The A750F has ~400 oz of fluid, and it’s probably fine until it gets down to at least the 95% level. So I’d say you can feel confident that nothing will explode in a month or two, but it’s best not to wait a year.
Reviving this thread for 04-07 LC/LX.
Do you guys think this is something I need to work on ASAP? Replace new oil pan gasket?
View attachment 2062581View attachment 2062582View attachment 2062583
No drips by the way on my garage floor.
The seepage is at the rear end part of the oil pan.
Thanks in advance gents.
if you were
if you are planning to replace the oil, then open the pan, clean the magnets (good way to see how ur AT is doing), i (personally would replace the filter as well) replace gasket.Reviving this thread for 04-07 LC/LX.
Do you guys think this is something I need to work on ASAP? Replace new oil pan gasket?
View attachment 2062581View attachment 2062582View attachment 2062583
No drips by the way on my garage floor.
The seepage is at the rear end part of the oil pan.
Thanks in advance gents.
i think it is safe driving it like that since the seepage is very little, however, i would replace it when i get a chance.
Similar threads
Users who are viewing this thread
Total: 3 (members: 0, guests: 3)