What have you done to your 100 Series this week? (20 Viewers)

This site may earn a commission from merchant affiliate
links, including eBay, Amazon, Skimlinks, and others.

How tough is changing the plugs?


Replaced my heater Ts and spark plugs this week. Both looked like they had many more miles to go on them. But at 100k miles I think it's logical to replace both of these things. The more I work on this truck the more I realize how well they were built.

These are the Ts and the two worst plugs I pulled. All came out easy enough, some requiring a bit more effort. To the best of my knowledge, they are original.

View attachment 1562458

View attachment 1562459
 
Not really WHYDTY100STH worthy... but I installed front mud flaps. Got lucky, for some reason my truck already had the mounting brackets and bracket to flap screws and plastic inserts installed. So all I had to do was remove the one screw in the bottom of the bracket and position the flap and reinstall the bolt. Add the course thread screws through the plastic inserts and I was done. About 10 minutes of lite work. 1/4 :banana: job.

E4408741-0DE2-44EC-A384-E2FBE753960F.webp
 
Not really WHYDTY100STH worthy... but I installed front mud flaps. Got lucky, for some reason my truck already had the mounting brackets and bracket to flap screws and plastic inserts installed. So all I had to do was remove the one screw in the bottom of the bracket and position the flap and reinstall the bolt. Add the course thread screws through the plastic inserts and I was done. About 10 minutes of lite work. 1/4 :banana: job.

View attachment 1562974

Do you have the part number or link for these? Looks great!
 
Do you have the part number or link for these? Looks great!

factory front mud flaps

There are several threads about the flaps, but this one has part numbers.

Before ordering anything, check your truck to see exactly what you will need. My truck already had the mounting brackets installed and also had the plastic grommets that installs under bottom edge of rocker panel, about 4” back from wheel arch. The grommets fit in a square punched hole in bottom of rocker.

Here’s a picture of the existing brackets on my truck, complete with fine thread bolts. 3 bolts required per bracket.

DCCCCCB2-A762-4A79-9580-0327EC38729A.webp


Here’s a picture of the grommet that fits under the rocker panel.

99E2BB10-D5D4-45F1-91C9-3C32721F1DA9.webp


The flaps require you to reuse a couple of the screws from the running boards from inside the wheel wells that attached the board to the well liner. If you don’t have those course thread screws, order 4 of the 90159-60576 screws for the liner location and the rocker panel locations.
 
Last edited:
How tough is changing the plugs?
Not to bad, took me a few hours. Need to remove the air box on passenger side, and bracket on driver. I used a few different extensions to get at a few plugs on the driver side. I'm not very mechanically inclined, so I took my time. Some plugs freed up easier than others. I also cleaned out the throttle body while I had the chance. It was pretty dirty.
 
Replaced front stabilizer links. Old ones were well worn. Both CVs are slinging grease. I spent a good half hour on each side with brass brush and brake cleaner carefully removing as much crud as I could. Much better now. Gonna watch them over the next day or two to gauge how much they are slinging. Something tells me a 2x CV replacement is in the cards for me.

Also, got some Nilite flood pod lights for the roof rack. I’ll wire those up another day. Seem decent enough quality. But, I took the lenses off and added some rtv silicone around the perimeter and added some to where the electrical wires enter the housing.

869FAEAC-C61D-4628-A3B1-821B95C5EC3F.webp


F08109D3-9AC7-41CB-9086-5E0D447E020B.webp


BD129E3F-95F1-4697-A0A2-49E8BFD6DD9A.webp
 
Not really WHYDTY100STH worthy... but I installed front mud flaps. Got lucky, for some reason my truck already had the mounting brackets and bracket to flap screws and plastic inserts installed. So all I had to do was remove the one screw in the bottom of the bracket and position the flap and reinstall the bolt. Add the course thread screws through the plastic inserts and I was done. About 10 minutes of lite work. 1/4 :banana: job.

View attachment 1562974


Looks great. Can you tell me how you did your wheels? Is that powder coat? They look great.
 
Looks great. Can you tell me how you did your wheels? Is that powder coat? They look great.

The wheels are Duplicolor Graphite wheel paint. I pulled each wheel, cleaned, preped and painted. 3-4 coats of color and 2 coats of clear. I used index cards between the tire and rim bead. I also removed Toyota emblem from center caps and painted the caps and reinstalled the chrome emblem.
 
There are a couple of threads about this on FB but I just got off the phone with Daniel and Lorrie to get a full picture of what happened yesterday at Cerro Gordo.

Bad day in Cerro Gordo yesterday. I wasn’t there but my local off-road crew SCOTA4X4 was.

This was a 100 Series that may/may not have had a known fuel tank issue previous to taking the trip. This is just at the top of the hill right next to the museum, for those that know the area. The driver behind this truck, Daniel, could smell gasoline from 500ft away.

The 100 had two steel 5-gal gas containers on the roof and a 20# CO2 tank in the back. It’s not known how the fuel canisters were stored, the condition, type.

Driver got out to remove the gas cap because he “thought it was vapor locking”. Ambient temps were in the low 70s. As soon as the cap was opened it vented out fuel and the vapors could be seen gathering under the rear of the truck. The fuel vapors either ignited from the hot cat, the hot exhaust or just the static electricity from the desert floor but it all lit up quick. Within a few seconds the evap canister, which is plastic and just above the rear diff, was fully engulfed in flames and dripping/melting into the ground.

Within 30 seconds the entire rear of the truck was fully engulfed in flames. Within the first minute the two 5-gallon tanks on the roof exploded into the air. Within 90 seconds the 20# CO2 tank exploded roughly 100ft into the air and sent shrapnel all around.

Truck is total loss but no one was injured. Daniel was right behind and immediately was on it with a fire extinguisher but it did nothing. They had shovels and those were useless.

Fire Dept was called but two of their trucks couldn’t even get out of the station. The other two trucks broke down on the way up and had to be towed out by Miller Towing. Fire helicopter finally arrived but it just hovered and watched. It took about an hour and a half before the firefighters arrived.

* Note to self: finish the fire extinguisher mounts for the hundys

View attachment 1563748 View attachment 1563749 View attachment 1563750 View attachment 1563751 View attachment 1563752
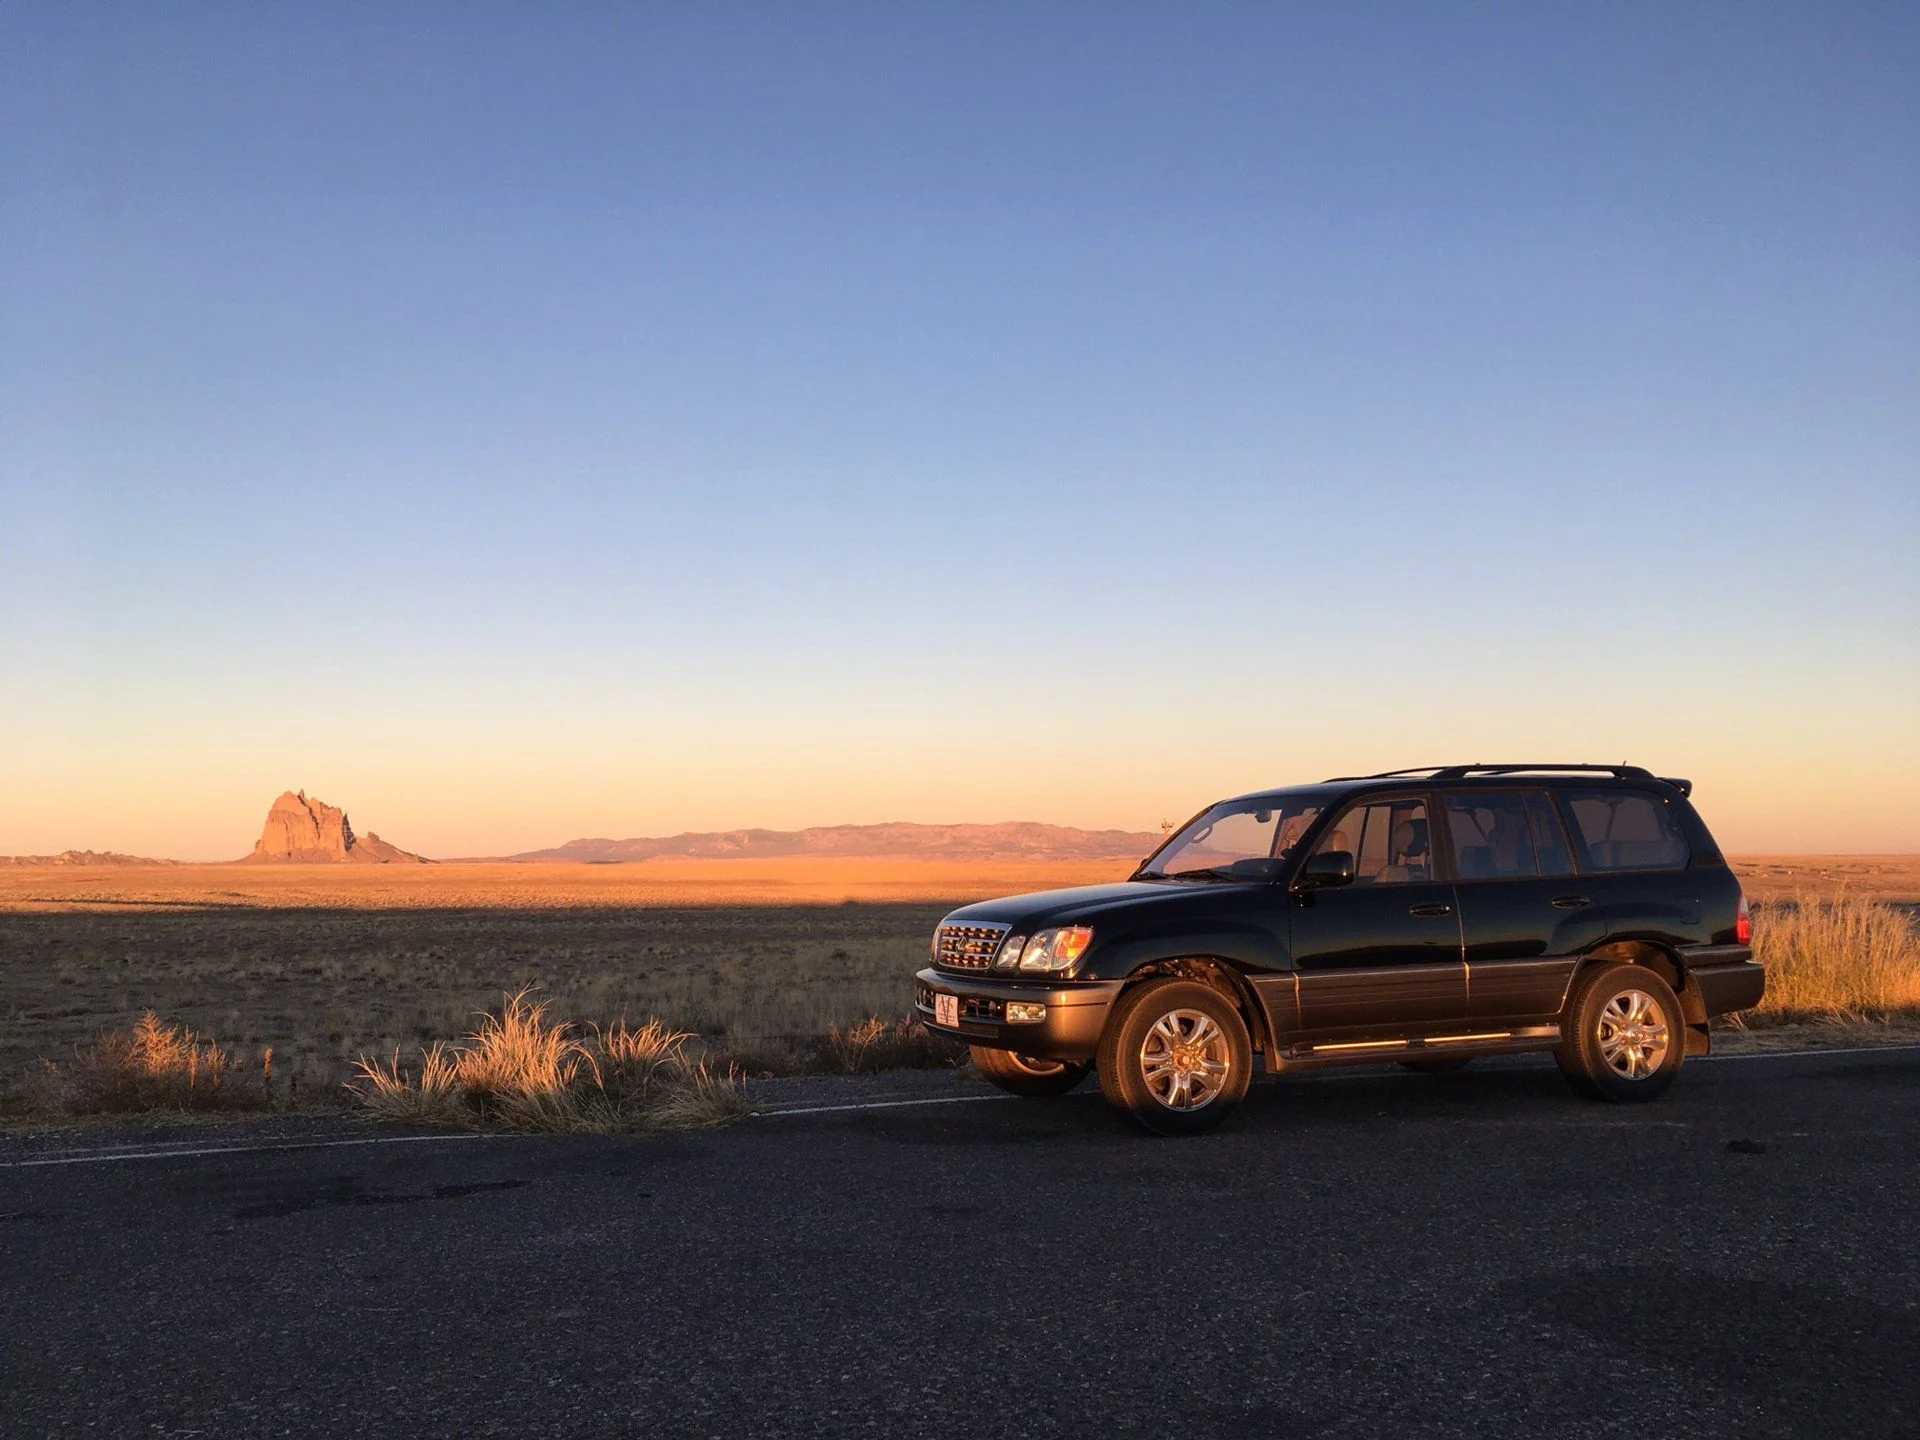
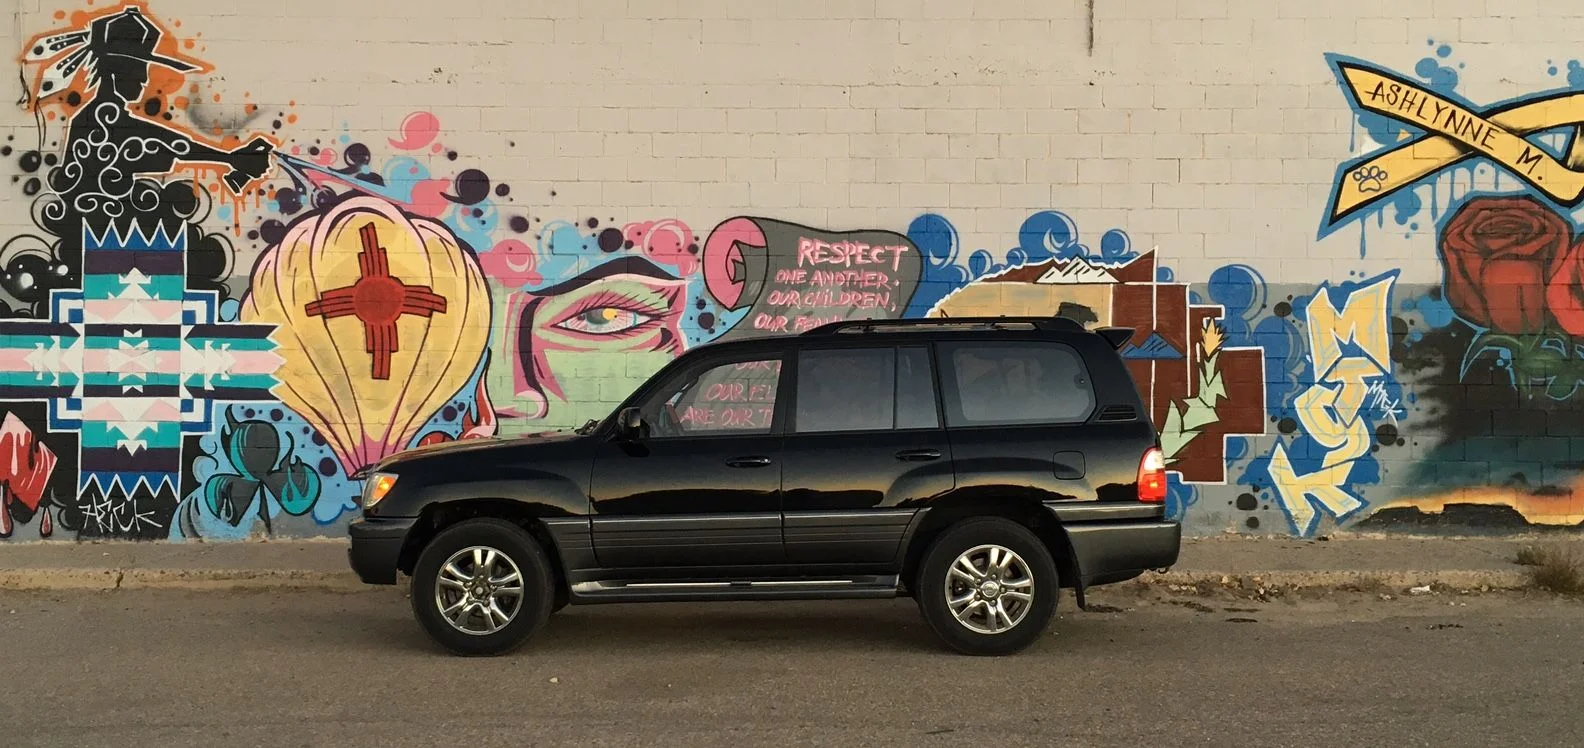
The horror! Glad to hear there were no injuries.
 
Replaced front stabilizer links. Old ones were well worn. Both CVs are slinging grease. I spent a good half hour on each side with brass brush and brake cleaner carefully removing as much crud as I could. Much better now. Gonna watch them over the next day or two to gauge how much they are slinging. Something tells me a 2x CV replacement is in the cards for me.

Also, got some Nilite flood pod lights for the roof rack. I’ll wire those up another day. Seem decent enough quality. But, I took the lenses off and added some rtv silicone around the perimeter and added some to where the electrical wires enter the housing.

View attachment 1563836

View attachment 1563837

View attachment 1563838


Mine started slinging grease, tell tell sign of an imminent tear within the near future, sure enough, a month after the slinging the inboard boot had torn at the smaller clamp area. Had to reboot today, it's brutal job first time around, but used the thread and was able to do it.
 
Hi everyone, what I did to my 100 this week is: I BOUGHT IT. !!! Proud new owner of a single-owner 2003 LX470 with 160k, black with gray trim. Have been working on baselining it with suggestions from so many threads on the forums. So far only mod/upgrade is 275/70/R18 General Grabber AT2's through WalMart, and had to fight with them for two hours (and the sign a release) to get them to mount them because they're "too big." Thanks to all those that contributed to the tire size threads; invaluable proof that the tires are not too big, but just right. :) I also acquired from Craigslist and eBay 5 Tundra take-offs for a great price, and have painted them bronze -- now just need to get the big tires mounted (it's a long story as to why they weren't mounted on the Tundra rims in the first place...).

Anyway, thanks for having me here, this is such a great community that I've been following the advice of for a long time, and now get to be a contributing member. Thanks!

Couple of photos from the drive home (picked up the car in Longmont, CO). Rig in front of Shiprock, and in front of some graffiti in Shiprock.
 

Users who are viewing this thread

Back
Top Bottom