Tackling the doors

This site may earn a commission from merchant affiliate
links, including eBay, Amazon, Skimlinks, and others.

The weather's too good at the moment for me to get stuck into this thread. (I'm too busy working on the driver's door.)

Scraping out the cr#p from the door cavity has reavealed a few more rust holes than with the passenger door:

26Mar10b.webp

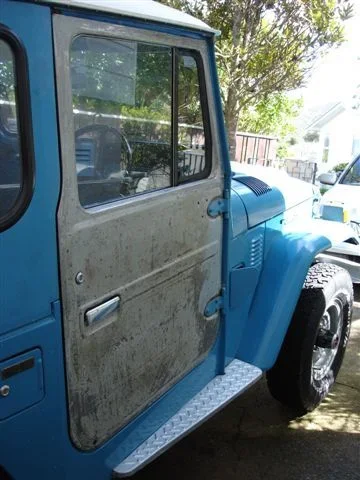
And, because I want to keep the cruiser usable (it's a daily-driver rather than a weekend-toy) for the longest time possible .... I have got a lot of the paint stripped, hinge pins partially knocked-out, door limited removed etc etc .... while the door is still in place.
26Mar10a.webp

So I can still leap in and take off ...any time I want. (But not for long ... because the holes are best welded with the door removed. )
26Mar10a.webp
26Mar10b.webp
 
Cool. I'm glad there's interest.

Just to recap on what I'm doing..........I'm constructing a thread on how I refurbished my LH door ... but as I'm doing it, I'm refurbishing my RH door. So the thread is ending up as a mixture of both jobs.

And I am adding to thread ...as I get the time. (Because I'm pretty busy with some other things that have priority.)


Here's some pics of the present work on the RH door.

27Mar1.webp

I don't use "paint stripper chemicals" but instead prefer to "scrape and sand".

But since automotive paint tends to be pretty toxic stuff ... I use a hose a lot to ensure very little of the paint becomes airbourne. (I hate wearing masks.)

I cut a small rectangle out here thinking I could get away with patching just that .... but there is a lot more "rotten steel" here so I may have to do a bigger patch:

27Mar2.webp
27Mar1.webp
27Mar2.webp
 
Why not throw in a pic of the lovely city in which I live?

27Mar3.webp

I took this pic yesterday evening as I was "at work". (Much of the city is cluttered with "telegraph poles and their associated wires" as well as "trolley bus wires". And this old victorian houses have real character. (Unlike the modern sh#t!):

The cruiser looks quite cool with one door as "bare metal":

27Mar4.webp

This afternoon I aim to take it off and patch the rust holes.

(Maybe I'll post more pics tonight.)
27Mar3.webp
27Mar4.webp
 
..This afternoon I aim to take it off and patch the rust holes....

Why on earth did I say such a thing? I realise now I'll be lucky to have patched those holes by this time next week! But at least I've got the door off and in the garage. And I've taken more pics to better explain a few other things I glossed over with my blurb on the LH door.

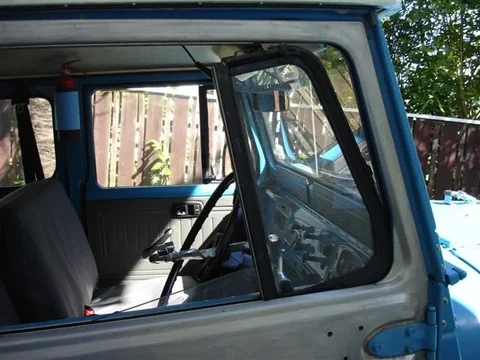
In case you haven't already realised .... those of you who don't have vent windows in your doors will have much less trouble refurbishing them (than I'm having).

These screws (that hold the top portion of the "vent window assembly" in place) are a REAL pain to extract:

27Mara.webp

27Marb.webp

You have to be careful that you don't whack the impact driver so hard that you get an indentation in the panel!

And despite my best efforts, this screw will need to be replaced because I've graunched the head (same as I did with the same screw on the LH door):

27Marc.webp


With the "door limiter" removed and my speaker wires cut I can fold a door so far forward that it touches the guard/fender as you can see.
27Mara.webp
27Marb.webp
27Marc.webp
 
Commencing removal of the "vent window assembly":

27Mard.webp

And as mentioned before, ya have to get in here and undo the two nuts:

27Mare.webp

This tiny spanner is ideal for holding the top nut (because it isn't too fat to slip in there) while I loosen the bottom locknut.

And this is what I needed to get off in order to lift the "vent window assembly" out more easily:

27Marf.webp

Edit: While doing the second door I realised that you should also have the vent-window "opened and turned to its limit" to assist here. This puts a "cam-type lobe" (attached to the pivot shaft) into a "safe-position" where it won't interfere with the sill during extraction or reinstallation of the vent-window-assembly.
27Mard.webp
27Mare.webp
27Marf.webp
 
Last edited:
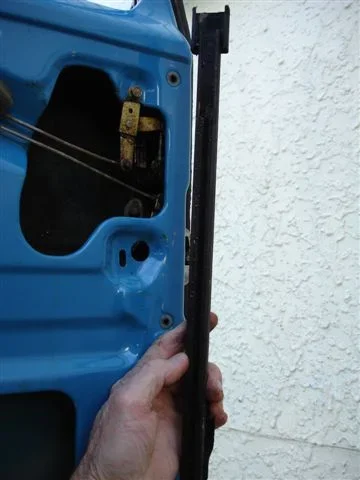
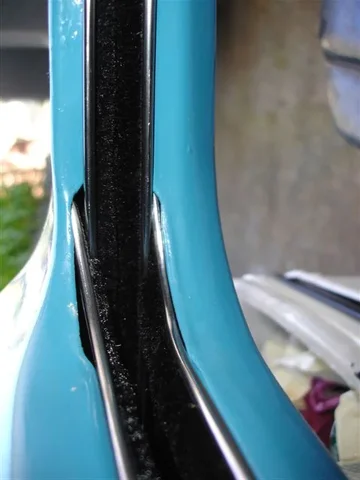
The metal bailey channel can simply be lifted out (although I admit I removed the "lower window run felt channel" first because it was slightly stuck in the top section of that):

27Marg.webp

And here is the "lower window run felt channel" showing that the "felt" doesn't occupy the full length. (The lower part of the L-shaped bailey channel fills the gap at the top.):

27Marh.webp
27Marg.webp
27Marh.webp
 
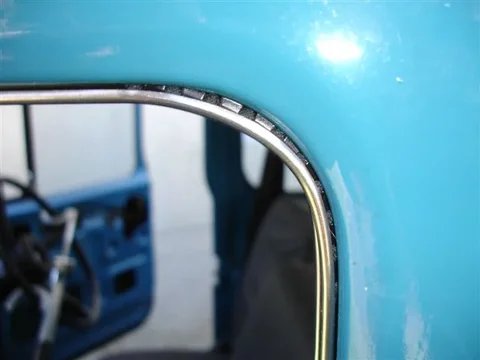
Take your pick as to which "window belt" you remove first. (inner or outer)

27Mari.webp

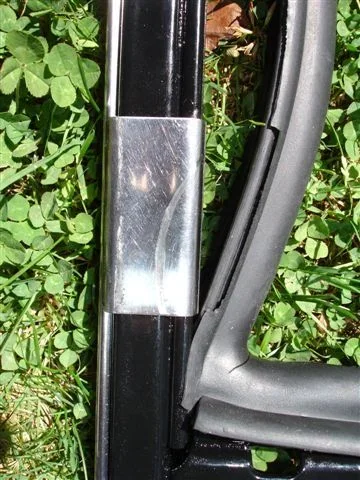
And that clip on the far right (surrounded by tiny red dots) is missing on my new "outer belts" because of the way I am adapting belts designed for "without-vent-window doors" (due to my belts being no longer available from Toyota):

27Marj.webp
27Mari.webp
27Marj.webp
 
This shows the remains of the gasket that Toyota used here:

27Mark.webp

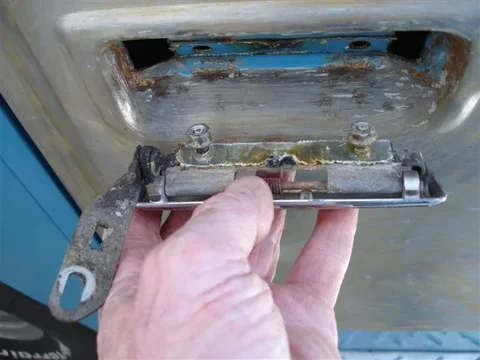
Lock removal:

27Marl.webp

Key tumbler removal:

27Marm.webp
27Mark.webp
27Marl.webp
27Marm.webp
 
Oh what a mess! This is where I am placing a lot of the stuff I'm removing:

27Marx.webp

Toyota never used gaskets beneath these hinges ...unlike the hood hinges (.... but I'm going to fit some anyway):

27Mary.webp

Wow. These are from the driver's door after 30 year's use! (I think I was wasting my time fitting phosphor-bronze bushes to my hood hinges. Clearly these OEM plastic bushes last forever provided they're kept lubed!)

27Marz.webp
27Marx.webp
27Mary.webp
27Marz.webp
 
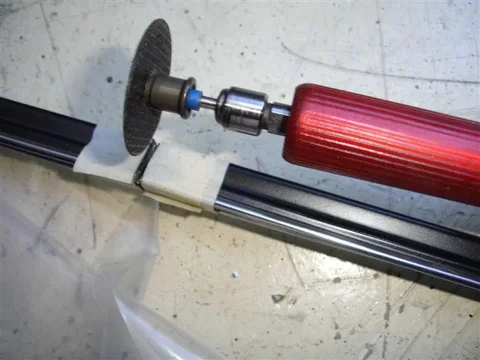
OK.....getting back to the main part of this thread covering "refurbishing of the LH door".....where I was cutting the bailey channel.

I used a "die grinder" (dremel-like tool but pneumatic rather than electric ... so it is capable of far higher rpms ...and thus works better):

D66.webp

Note: I used this same tool (but with a larger cut-off wheel) to cut part of the heads from the top hinge-pins.

And here I am inserting the newly-cut L-shaped section of bailey channel through new "door belts":

D67.webp

D67a.webp
D66.webp
D67.webp
D67a.webp
 
And here is the bailey channel "pressed home". (Light finger pressure is all that's needed.)

D68.webp

But the corner didn't sit right:

68a1.webp

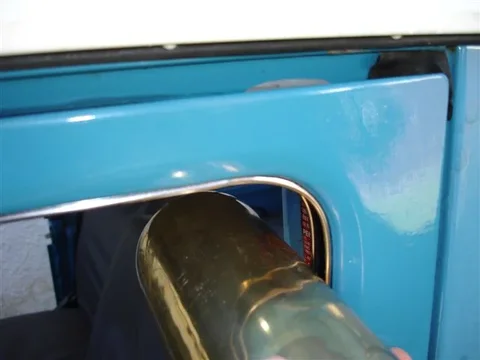
It just needed a little "tap" with this brass vase that some idiot made from an old shell casing:

68a2.webp
D68.webp
68a1.webp
68a2.webp
 
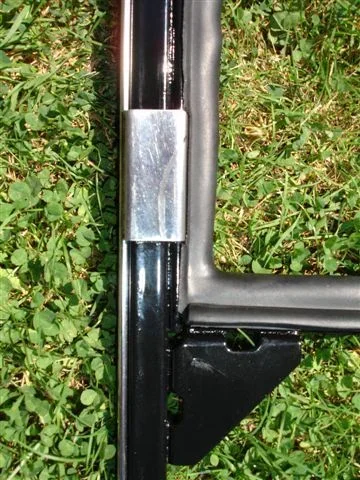
Next job was to put the "vent window assembly" back together.

So I started by tapping out the paint from the threads: (Edit - later..The pic shows I'm lying. I can see the chrome-beading of the bailey channel - which means I must have already fitted the bailey channel and THEN tapped the holes.)

D68b.webp

Of course the original had a straight section of chrome-beaded bailey channel running down the entire length of the rear face. But the only chrome-beaded stuff I had available (that was new) was the "bent offcut" shown here (sitting above the original bailey channel for this position):

D68c.webp

You can see that once this piece is straightened out, it will still be short. (155mm short to be exact). So I cut some of the old "lower window run felt" to fill the gap as shown here:

D68d.webp

Note: This original felt is "indestructable" IMO - which is why I have reused it here. In fact, I like it so much .... I intend to use more than just 155mm of it when I do the RH door. (I'll sacrifice some of the "straightened-chrome-beaded stuff" ..which is liable to rust.. to make way for it.) And this lower part is hidden within the door cavity so I don't need the "bling" of the chrome-beaded channel there anyway!

Toyota don't seem to supply this "real felt" anymore.
D68b.webp
D68c.webp
D68d.webp
 
Last edited:
Next job was fitting the "vent window rubber".

Man this job is timeconsuming!

I "kneaded it into place" using a plastic knitting needle". (I find lots of uses for knitting needles :lol:)

D68g.webp

And these pictures show the "accurate detail" that is incorporated into these rubbers (that I bought from Rare Spares):

D68f.webp

D68h.webp

By the way, I didn't know Rare Spares had a branch in NZ when I bought this stuff from their Queensland branch.

But the guys in Oz were tremendous people to deal with.

(I think these rubbers match the quality of the OEM variety.)
D68g.webp
D68f.webp
D68h.webp
 
Last edited:
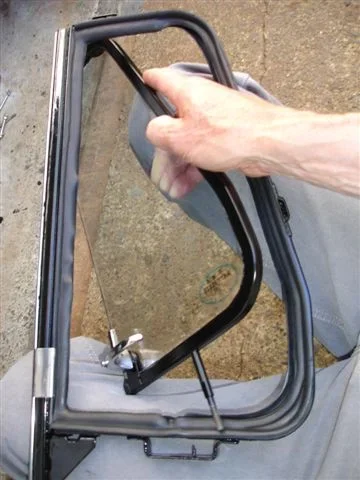
Here's the rubber fitted. (Must have taken me at least 45 minutes to knead it all into place.)

D68i.webp

Next I fitted the vent window itself into the frame:

D68j.webp

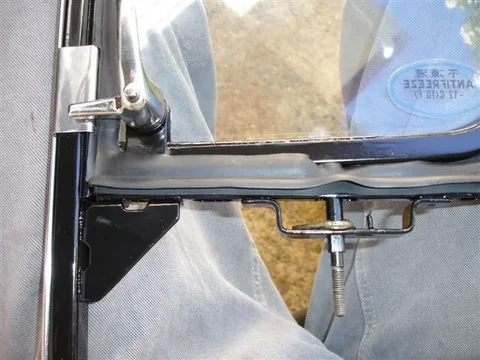
And I wouldn't want these screws coming loose because they're inaccessable:

D68j1.webp
D68i.webp
D68j1.webp
D68j.webp
 
But you'd be in the sh#t if you forgot to fit these fellas before loctiting those screws in place:

D68k.webp

D68l.webp

And now .... study this photo please:

D68e.webp

On the left is the new Rare Spares rubber and on the right is the 30-year-old OEM item.
D68k.webp
D68l.webp
D68e.webp
 
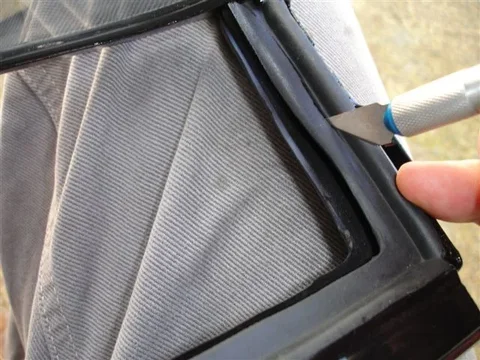
Studying the previous photo, you may have noticed that there is a section of rubber that "interferes with the opening and closing of the vent window". And in the 30-year-old rubber, the "interference of the window with that rubber" has practically worn it away.

So...rather than having the new rubber go through this "wearing in process" (before the vent-window will operate smoothly or close fully) .... I chose to cut the offending peice of rubber completely away:

D68m.webp

D68n.webp

This is NOT a fault peculiar to the "Rare Spares item". It appears to be a copy of the fault in the OEM rubber. (Has anyone else discovered this?)

Edit: When doing the right-hand vent window I decided to leave this strip of rubber in place. And while it does still interfere somewhat with the opening and closing of that vent-window, it does seem to help marginally with "weathersealing". So perhaps others shouldn't follow my lead in cutting away this section of rubber? (I'm yet to come to a conclusion on which is best.)
D68m.webp
D68n.webp
 
Last edited:

Users who are viewing this thread

Back
Top Bottom