I am looking at Georges excellent write-up on the Sub Tank install and have a few questions for those that have done this:
http://george4wd.taskled.com/auxtank.html
1) What size drill bit to drill the whole for the other two Rivnuts?
2) It would seem you would want to do the first two Rivnets, install the brackets and test fit the tank and mark where the other Rivnets should be drilled/installed. Is that correct.
3) What is the pinnout of the existing sub tank connector that mates with the subtank and what wires do they match in the harness near the existing fuel tank?
Edit - found info on colors from another post. I can figure it out from here
4) George cut removed and replaced the existing filler hose, where do you get the replacement filler hose from the tank to the dual neck with the vent tube? Couldn't you reuse the removed tube, but cut down and fitted with a coupler on the inside. By coupler, I mean a smaller short metal tube to insert at one end of the cut tuube and at the other end with a hose to the Dual neck.
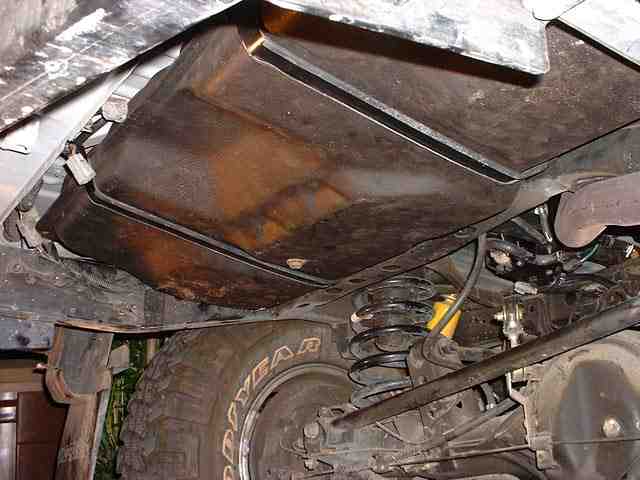
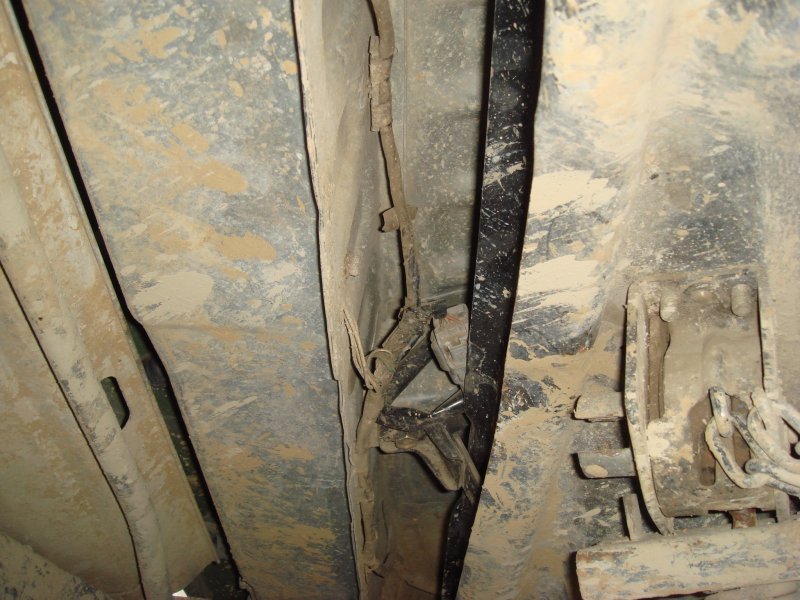
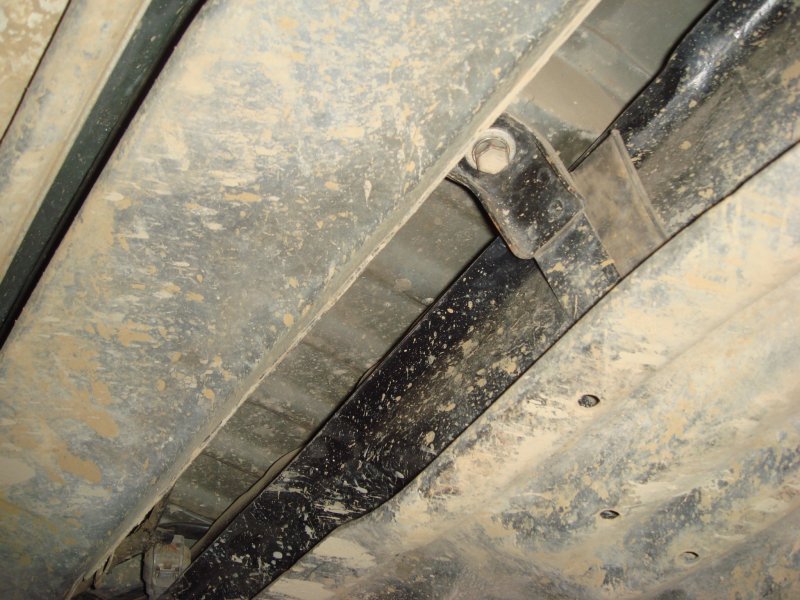
5) The bracket in the pic just below and to the right of the tank came with my setup. Where does it go?

http://george4wd.taskled.com/auxtank.html
1) What size drill bit to drill the whole for the other two Rivnuts?
2) It would seem you would want to do the first two Rivnets, install the brackets and test fit the tank and mark where the other Rivnets should be drilled/installed. Is that correct.
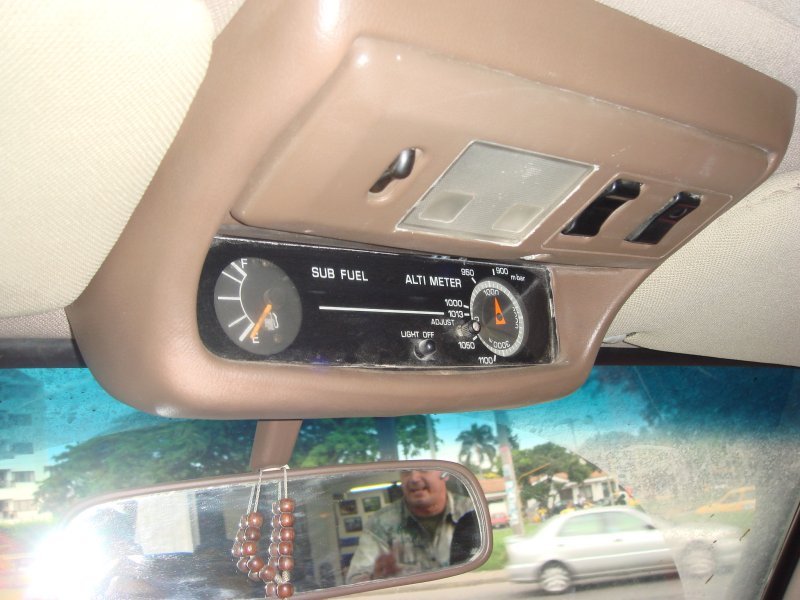
3) What is the pinnout of the existing sub tank connector that mates with the subtank and what wires do they match in the harness near the existing fuel tank?
Edit - found info on colors from another post. I can figure it out from here
On my sender I have three wires
White/black = ground
yellow/red = fuel guage ie fuel level full, 3/4, 1/2, 1/4 etc
white/green = fuel empty
4) George cut removed and replaced the existing filler hose, where do you get the replacement filler hose from the tank to the dual neck with the vent tube? Couldn't you reuse the removed tube, but cut down and fitted with a coupler on the inside. By coupler, I mean a smaller short metal tube to insert at one end of the cut tuube and at the other end with a hose to the Dual neck.
5) The bracket in the pic just below and to the right of the tank came with my setup. Where does it go?
Last edited: