Where are them pics???????????
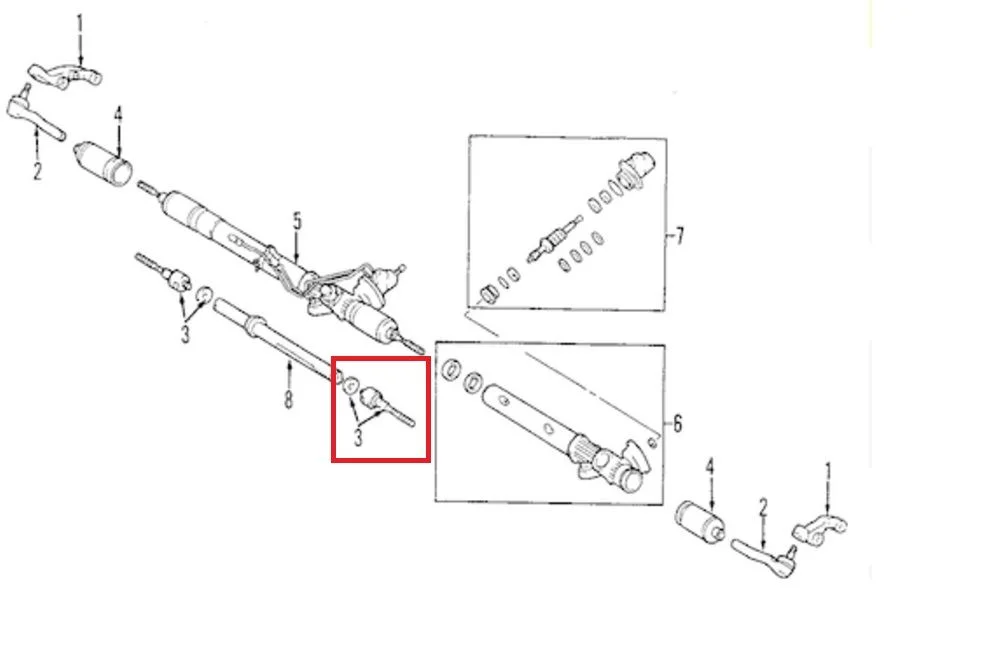
Bctlex. Yes def 4 bolts on the rack. The 2 DS bolts protrude down from the x member. So to take off those bolts you used what tools? Did you need to hold the bolts from below and ratchet from above???
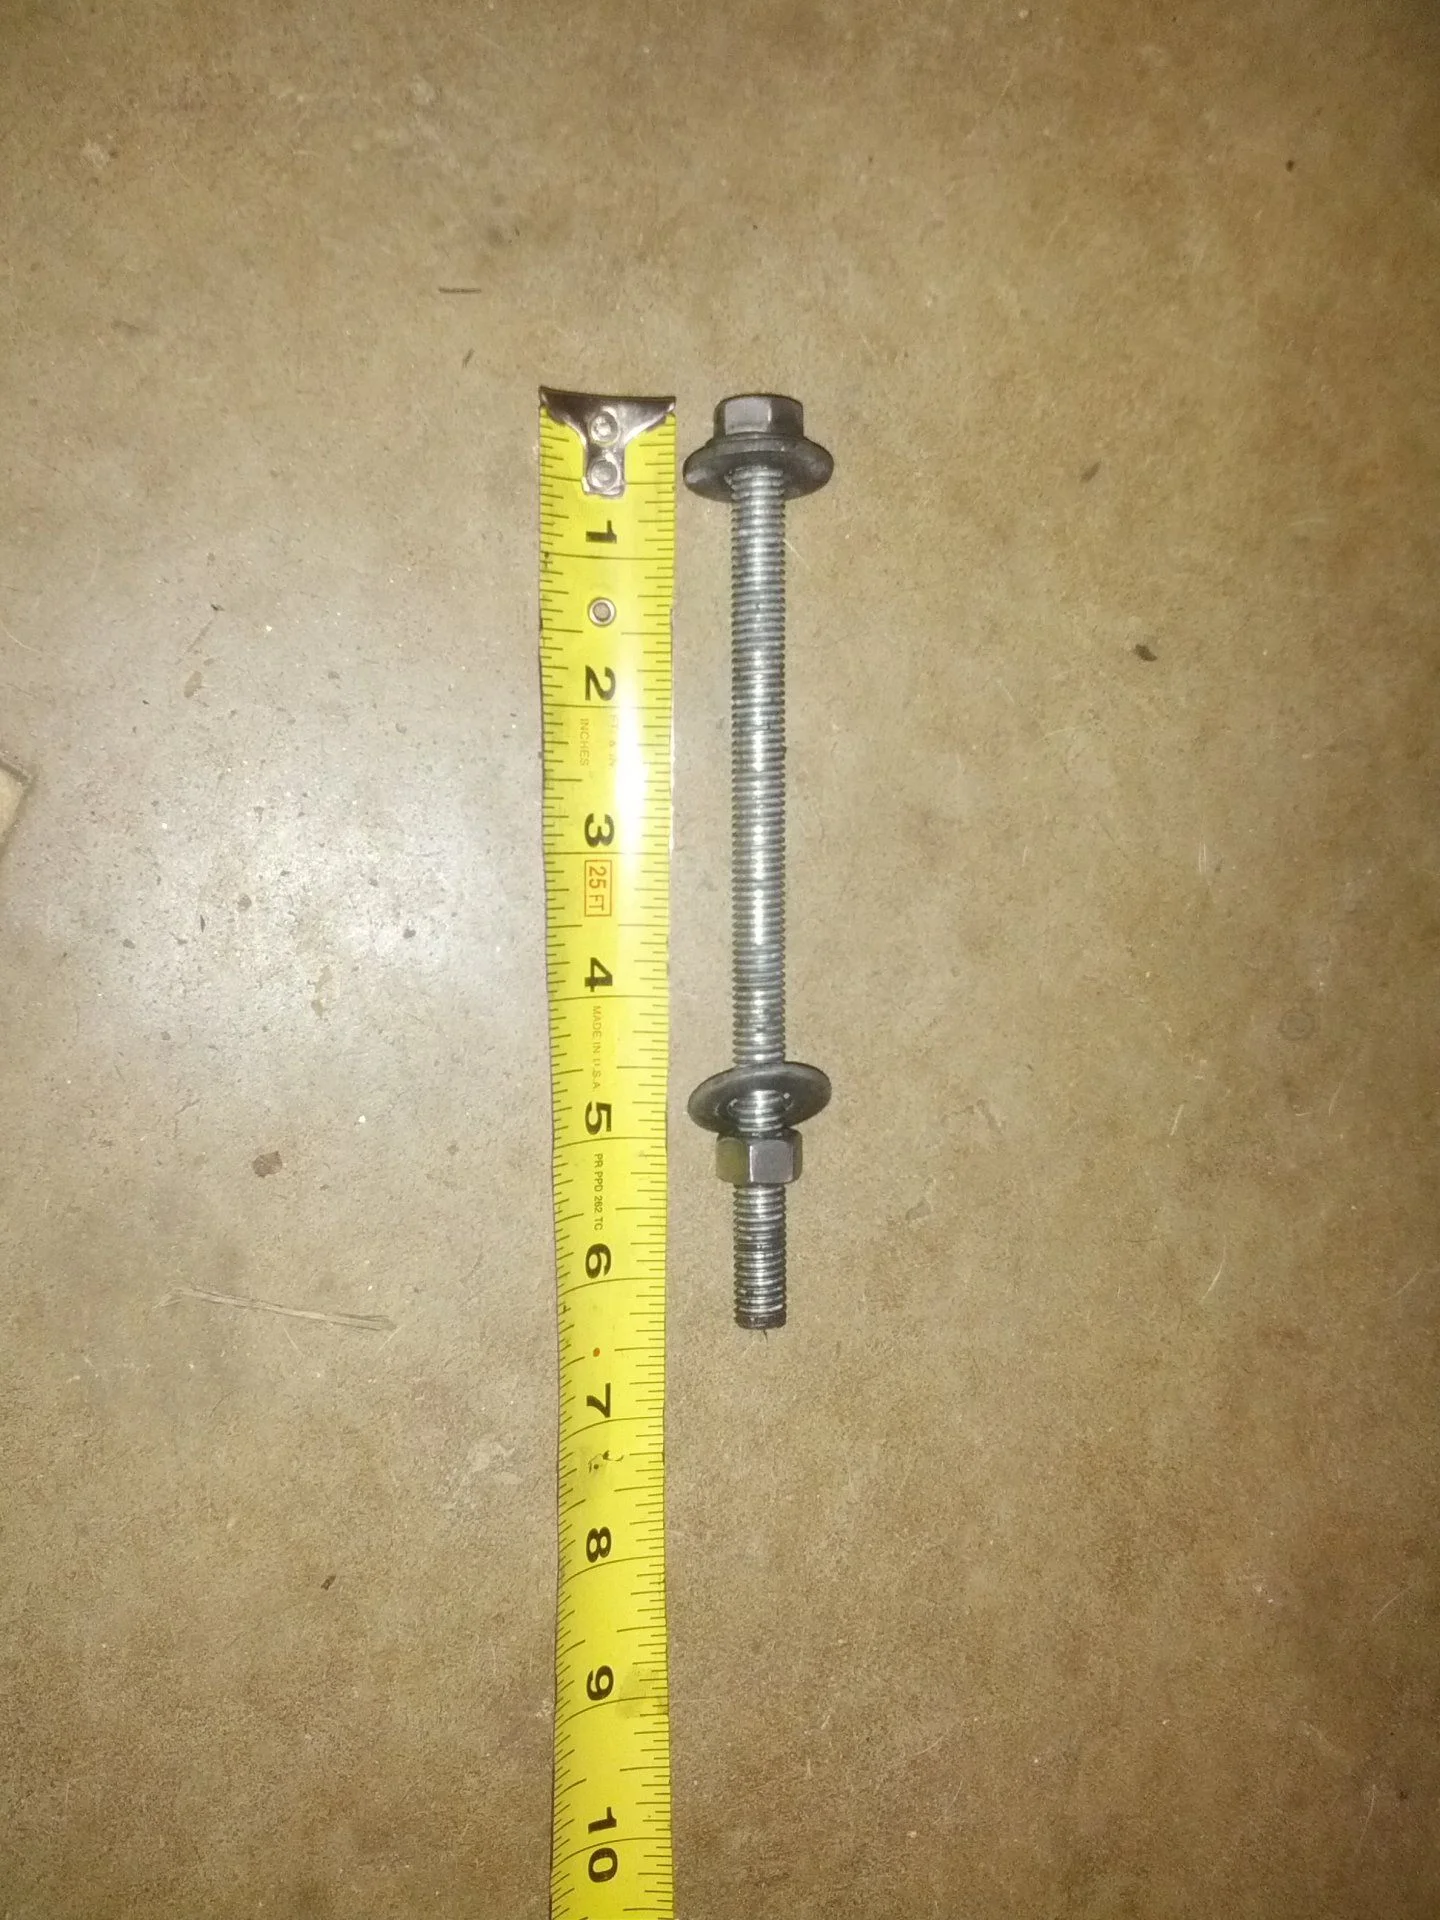
And how did you put the new bushings in? Did you devise the bolt, washers, and nut tool the way I drew it above???
I pretty much use the same tools which this member has here
Replace steering rack bushings question
That picture save my ass big time because thats how I figure out there are 4 bolts instead of 3!!!
So step by step:
1. Loosen 4 bolts - 2 on driver side, 2 on passenger side . On the PS, I used long extensions, swivel adapter and breaker bar from top of the engine. Both of these bolt were really tight - so tight I thought I may break the extensions. I had crawled under a few days before and sprayed PB Blaster, not sure how much that helped. The DS bolts, I just use wrench to hold the nut on top, and use socket with ratchet on the bolt. I believe they all are 19mm.
2. Get all bushings out. I use a screwdriver and bottle jack to push the small bushings out.
3. Install the big bushing on PS - dont bolt it, just put it on. Will need to be able to move the rack when installing the DS bushings.
4. Install 2 small lower bushings - front and rear. What I did was just put them on, then screw in the bolt, so the rack would push these lower bushings in. They were squeezed between rack and cross member.
5. Front top bushing - install the metal sleeve into the top bushing, then install them both into the rack. Then use the "tool (bolt nut washer - just like your sketch above)" to push both into the rack. The top bushing and metal sleeve would go in a bit crooked/sideway. Once they are about half way in, I switch and use the OEM bolt, nut and washer to push them all the way. The OEM bolt is larger with less play so it will push them in straight.
6. I took a long break here, have lunch, rest, and take it easy for a bit because I know the rear top bushing is going to be PITA. The rear top bushing and metal sleeve probably took me 40 min to install. It is just very tight. This is the hardest part of the entire process.
7. Once I have both the front and rear small bushing installed, then I installed the bracket on the PS. Remember I have the bushings already on there on step 3.
The kit come with a package of grease, and I used it on all of the bushings, especially the small bushings.
All of the above was done with wheels on the ground. This is honestly not as bad as I thought it will be. I allocate 2 days to do this (Sat and Sun) just incase I get stuck.
Sorry no pic. I was covered in grime and grease. Valve covers been seeping oil, so the bottom part of the car is just covered with oil.