Navigation
Install the app
How to install the app on iOS
Follow along with the video below to see how to install our site as a web app on your home screen.
Note: This feature may not be available in some browsers.
More options
Style variation
You are using an out of date browser. It may not display this or other websites correctly.
You should upgrade or use an alternative browser.
You should upgrade or use an alternative browser.
Build ReBuild thread - RunningDrew
- Thread starter runningdrew
- Start date
-
- Tags
- build thread builds
Member Builds and Stories
This site may earn a commission from merchant affiliate
links, including eBay, Amazon, Skimlinks, and others.
- Thread starter
- #42
Weighs 50-75 lbs. I would estimate....? I will get it on a scale soon. I can lift the base in pretty easily by myself, then lift the two extensions boards next. Thinking about securing them with wingnuts and bolts while collapsed too to keep it all contained. Will also add an eye bolt and a turnbuckle to secure it to the rear two cargo floor latches.Very cool!
At first I was skeptical but the end pictures look great.
How's the weight?
To be honest the design evolved as I was building it and it turned out better than I expected. I cut the wood to be pretty snug, and then cut the memory foam pads even a little larger than that so it is all snug around the edges. Need to do the rear door release mod next, would have been very handy.
Last edited:
- Thread starter
- #43
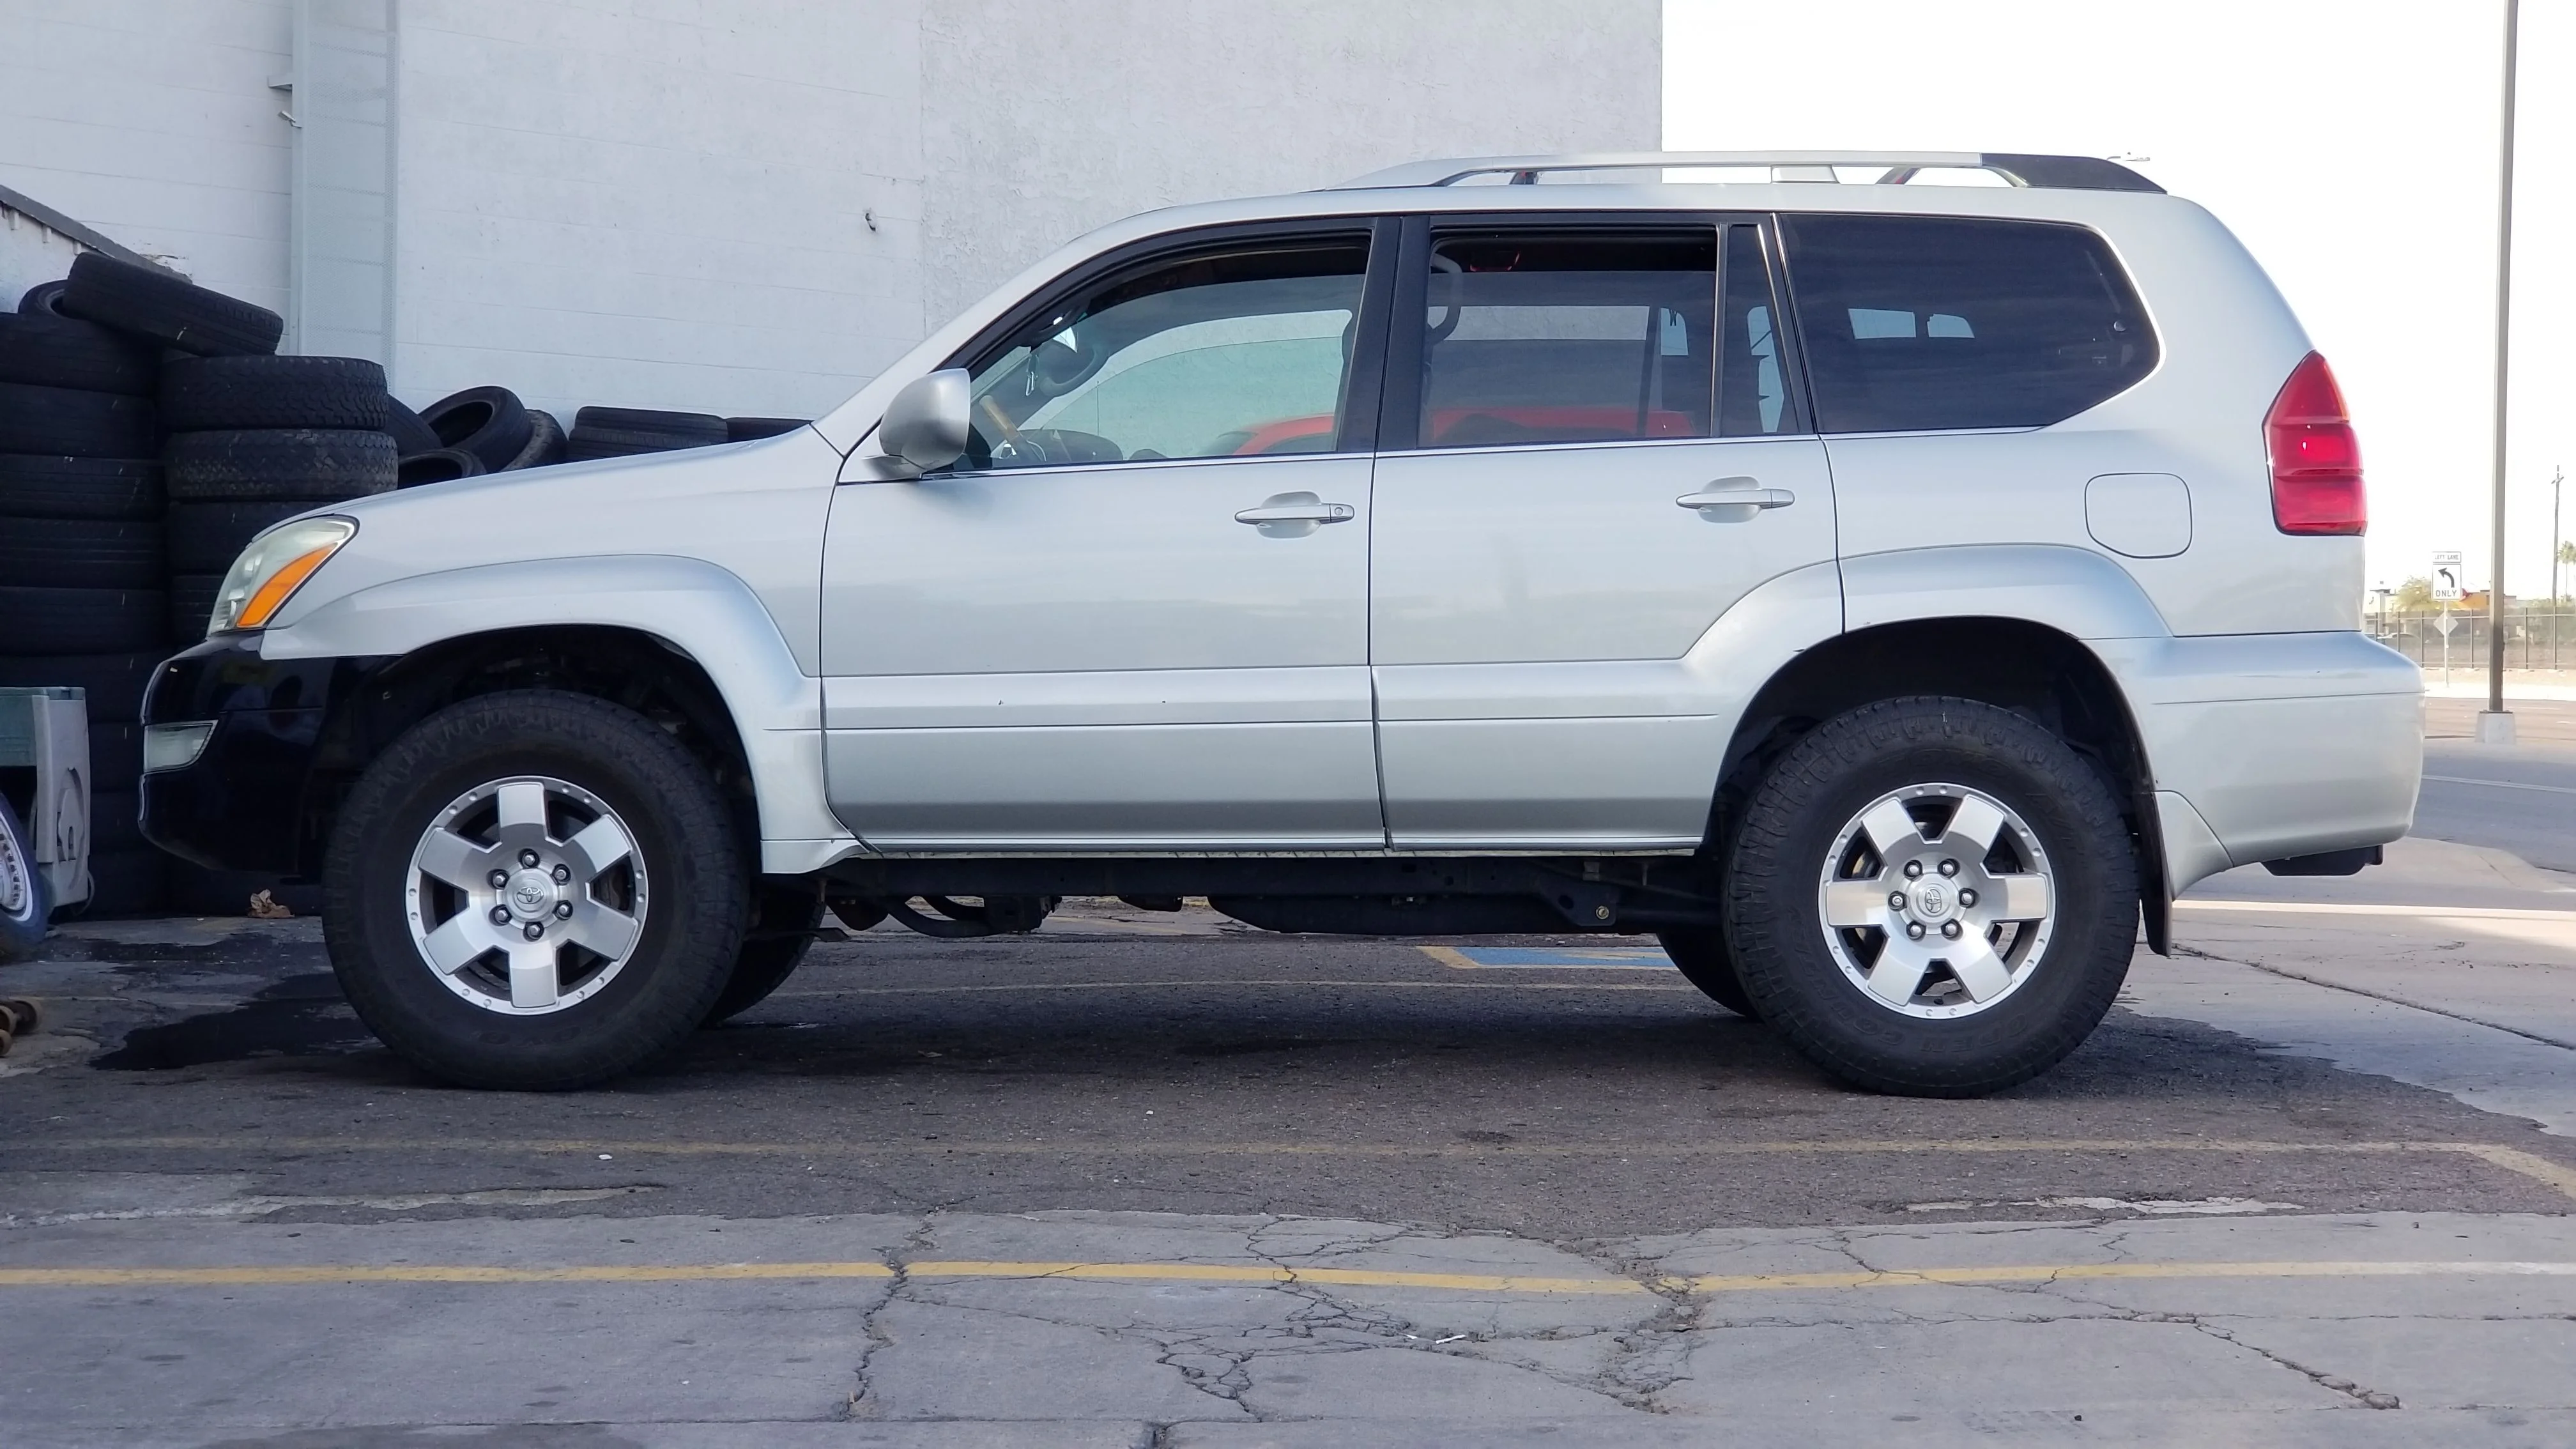
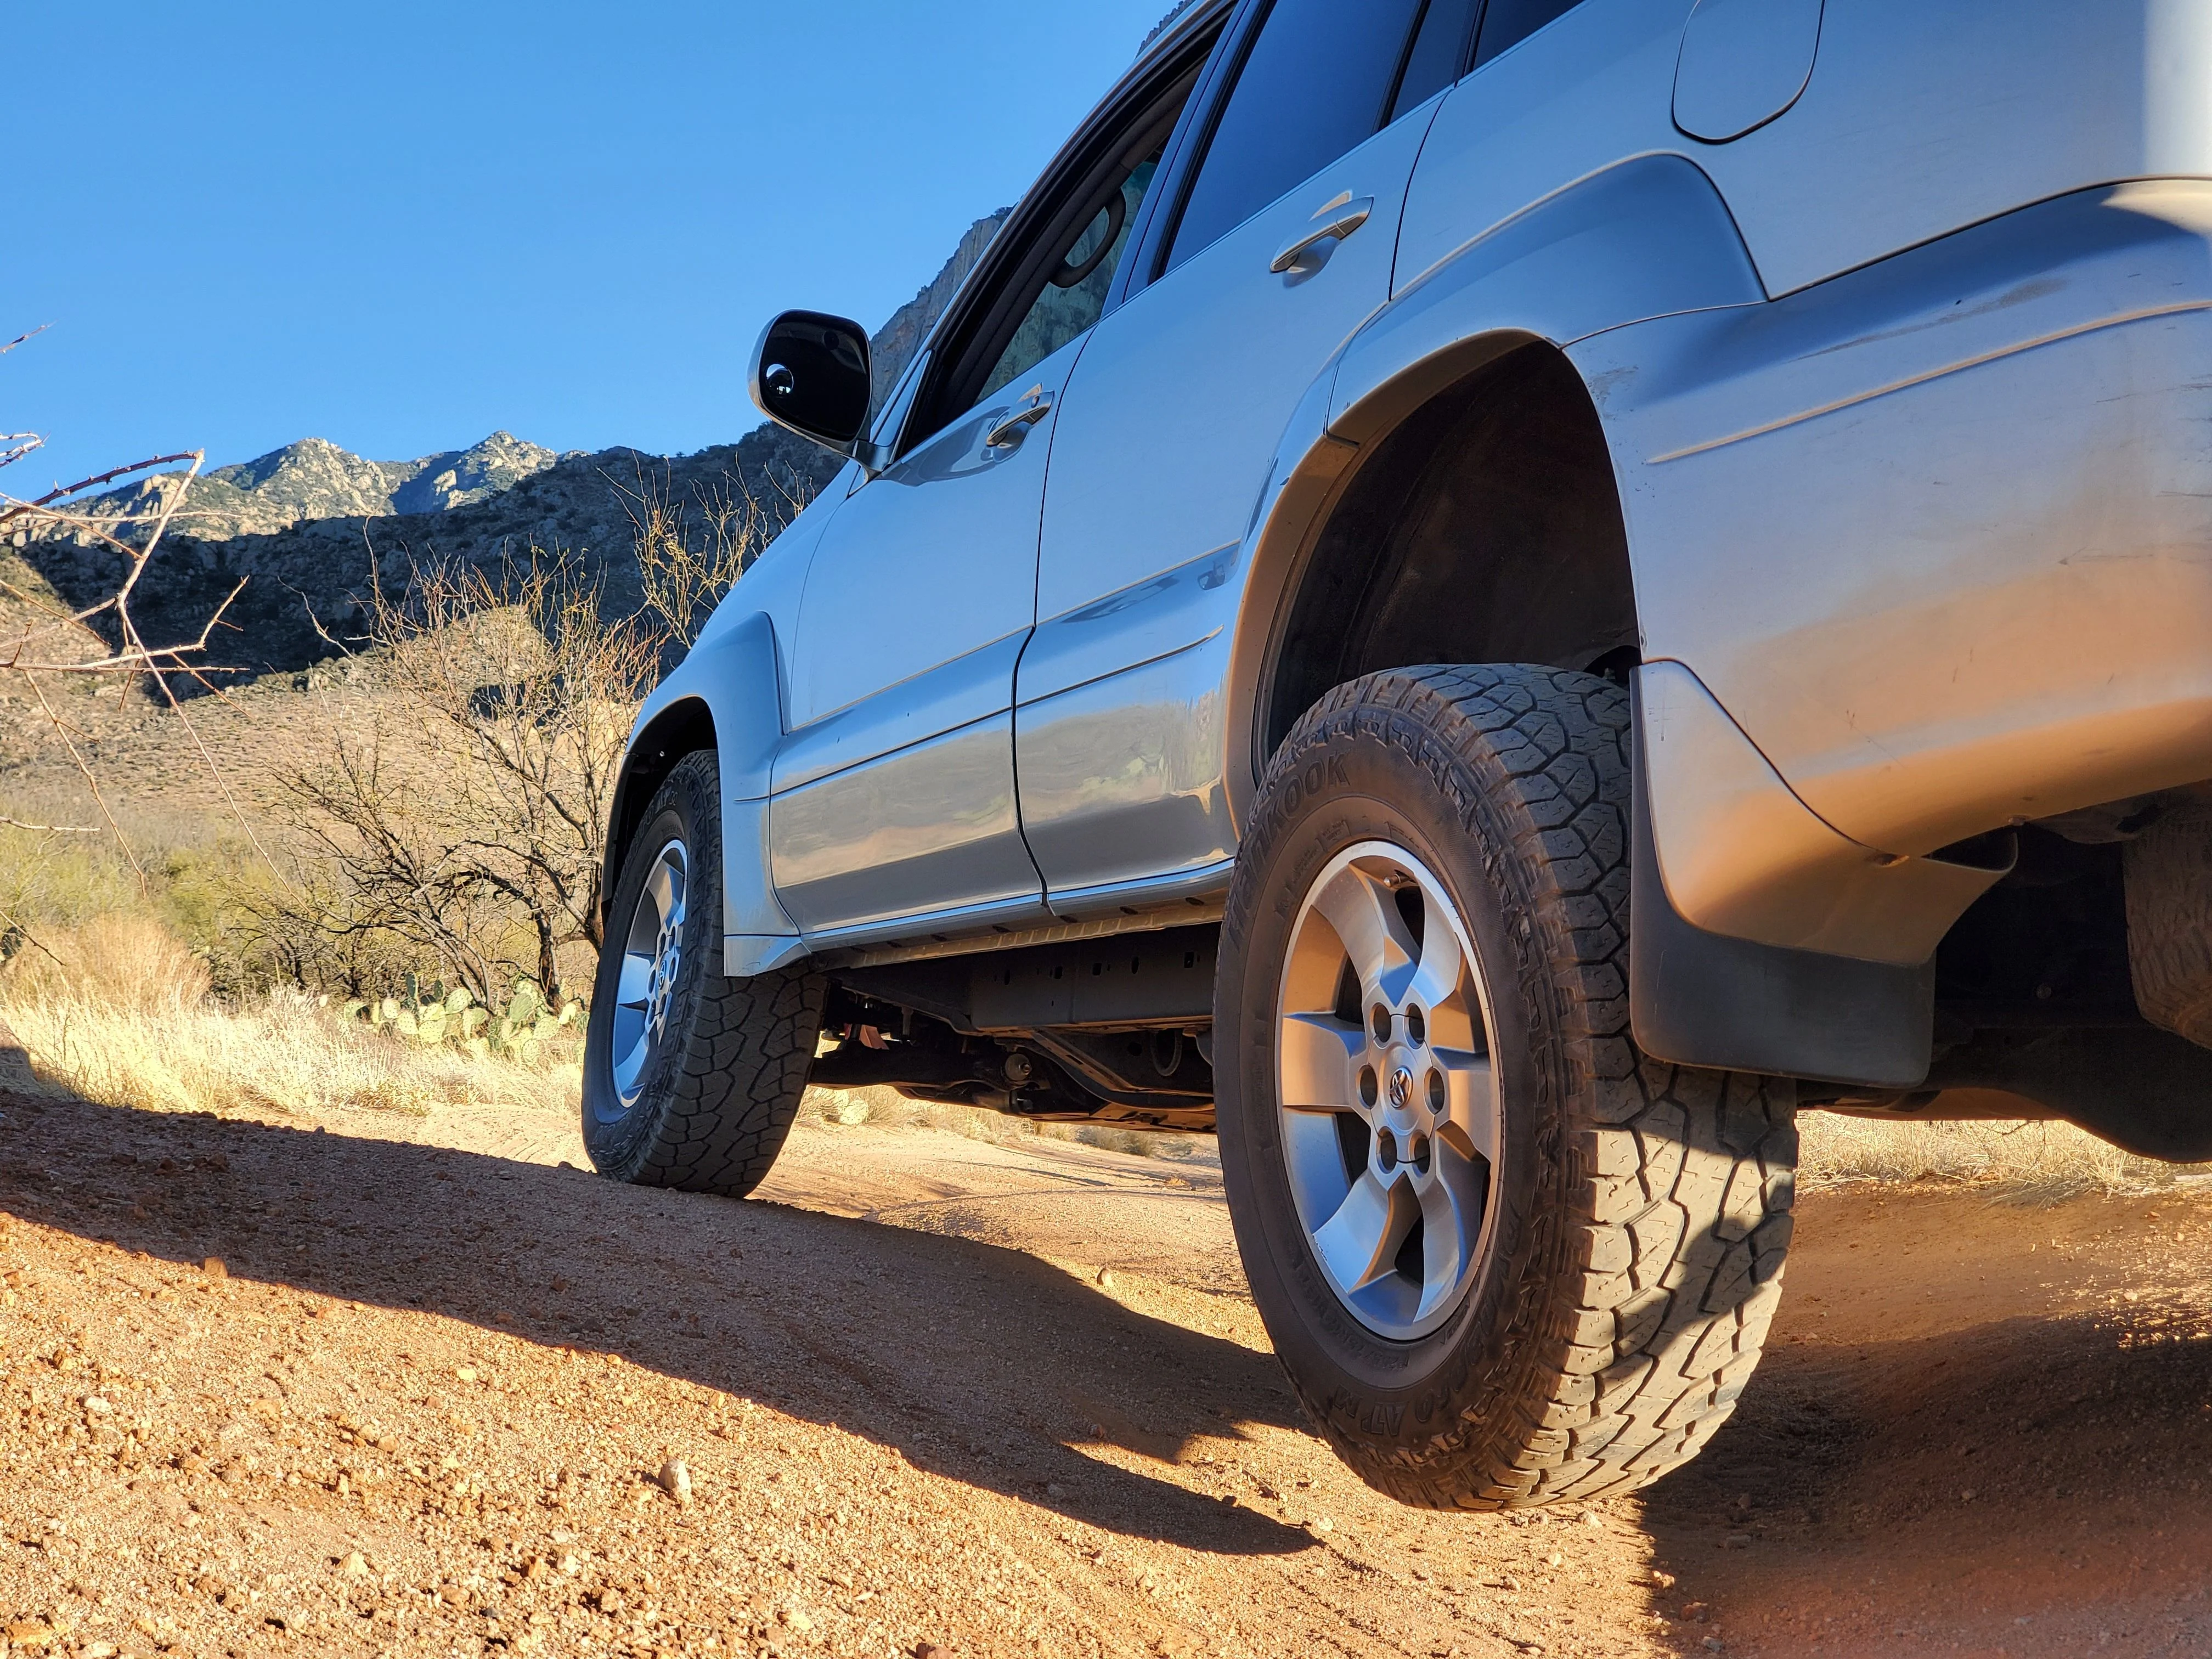
So new wheels and tires happened today.
Stock 265/65/17 wheels vs. 285/70/17 for anyone interested in comparison. lifted 1.5"
Wanted (needed?) New wheels. Wanted the new hotness 4runner (silver & black seven spoke/blade) wheels but people in AZ think their take offs are made of platinum. I also like FJ 6 spoke wheels, so I found some cheap ones locally at a shop that came mounted to some Toyo Open Country AT II's with 50% life. Rear clearance is fine, front rubs on sway bar and mud flap at full lock. Will probably switch to some 255/75/17 tires soon, as planned, but these tires came with the wheels. Also seems to have excacerbated a rattle when I hit hard bumps. I think it might be my bushings that have 178k mile's on them.... (edit: July, 20, 2020- rattle is brake pad shaking in brake rotors, need new pad retailing clips I'm guessing)

Stock 265/65/17 wheels vs. 285/70/17 for anyone interested in comparison. lifted 1.5"
Wanted (needed?) New wheels. Wanted the new hotness 4runner (silver & black seven spoke/blade) wheels but people in AZ think their take offs are made of platinum. I also like FJ 6 spoke wheels, so I found some cheap ones locally at a shop that came mounted to some Toyo Open Country AT II's with 50% life. Rear clearance is fine, front rubs on sway bar and mud flap at full lock. Will probably switch to some 255/75/17 tires soon, as planned, but these tires came with the wheels. Also seems to have excacerbated a rattle when I hit hard bumps. I think it might be my bushings that have 178k mile's on them....
(edit: July, 20, 2020- rattle is brake pad shaking in brake rotors, need new pad retailing clips I'm guessing)
Last edited:

- Thread starter
- #45
Changed wheels and tires. When from FJ cruiser wheels and 285/70/17 Toyo AT tires to 4runner wheels and Hankook Dynapro ATM 255/75/17 tires.
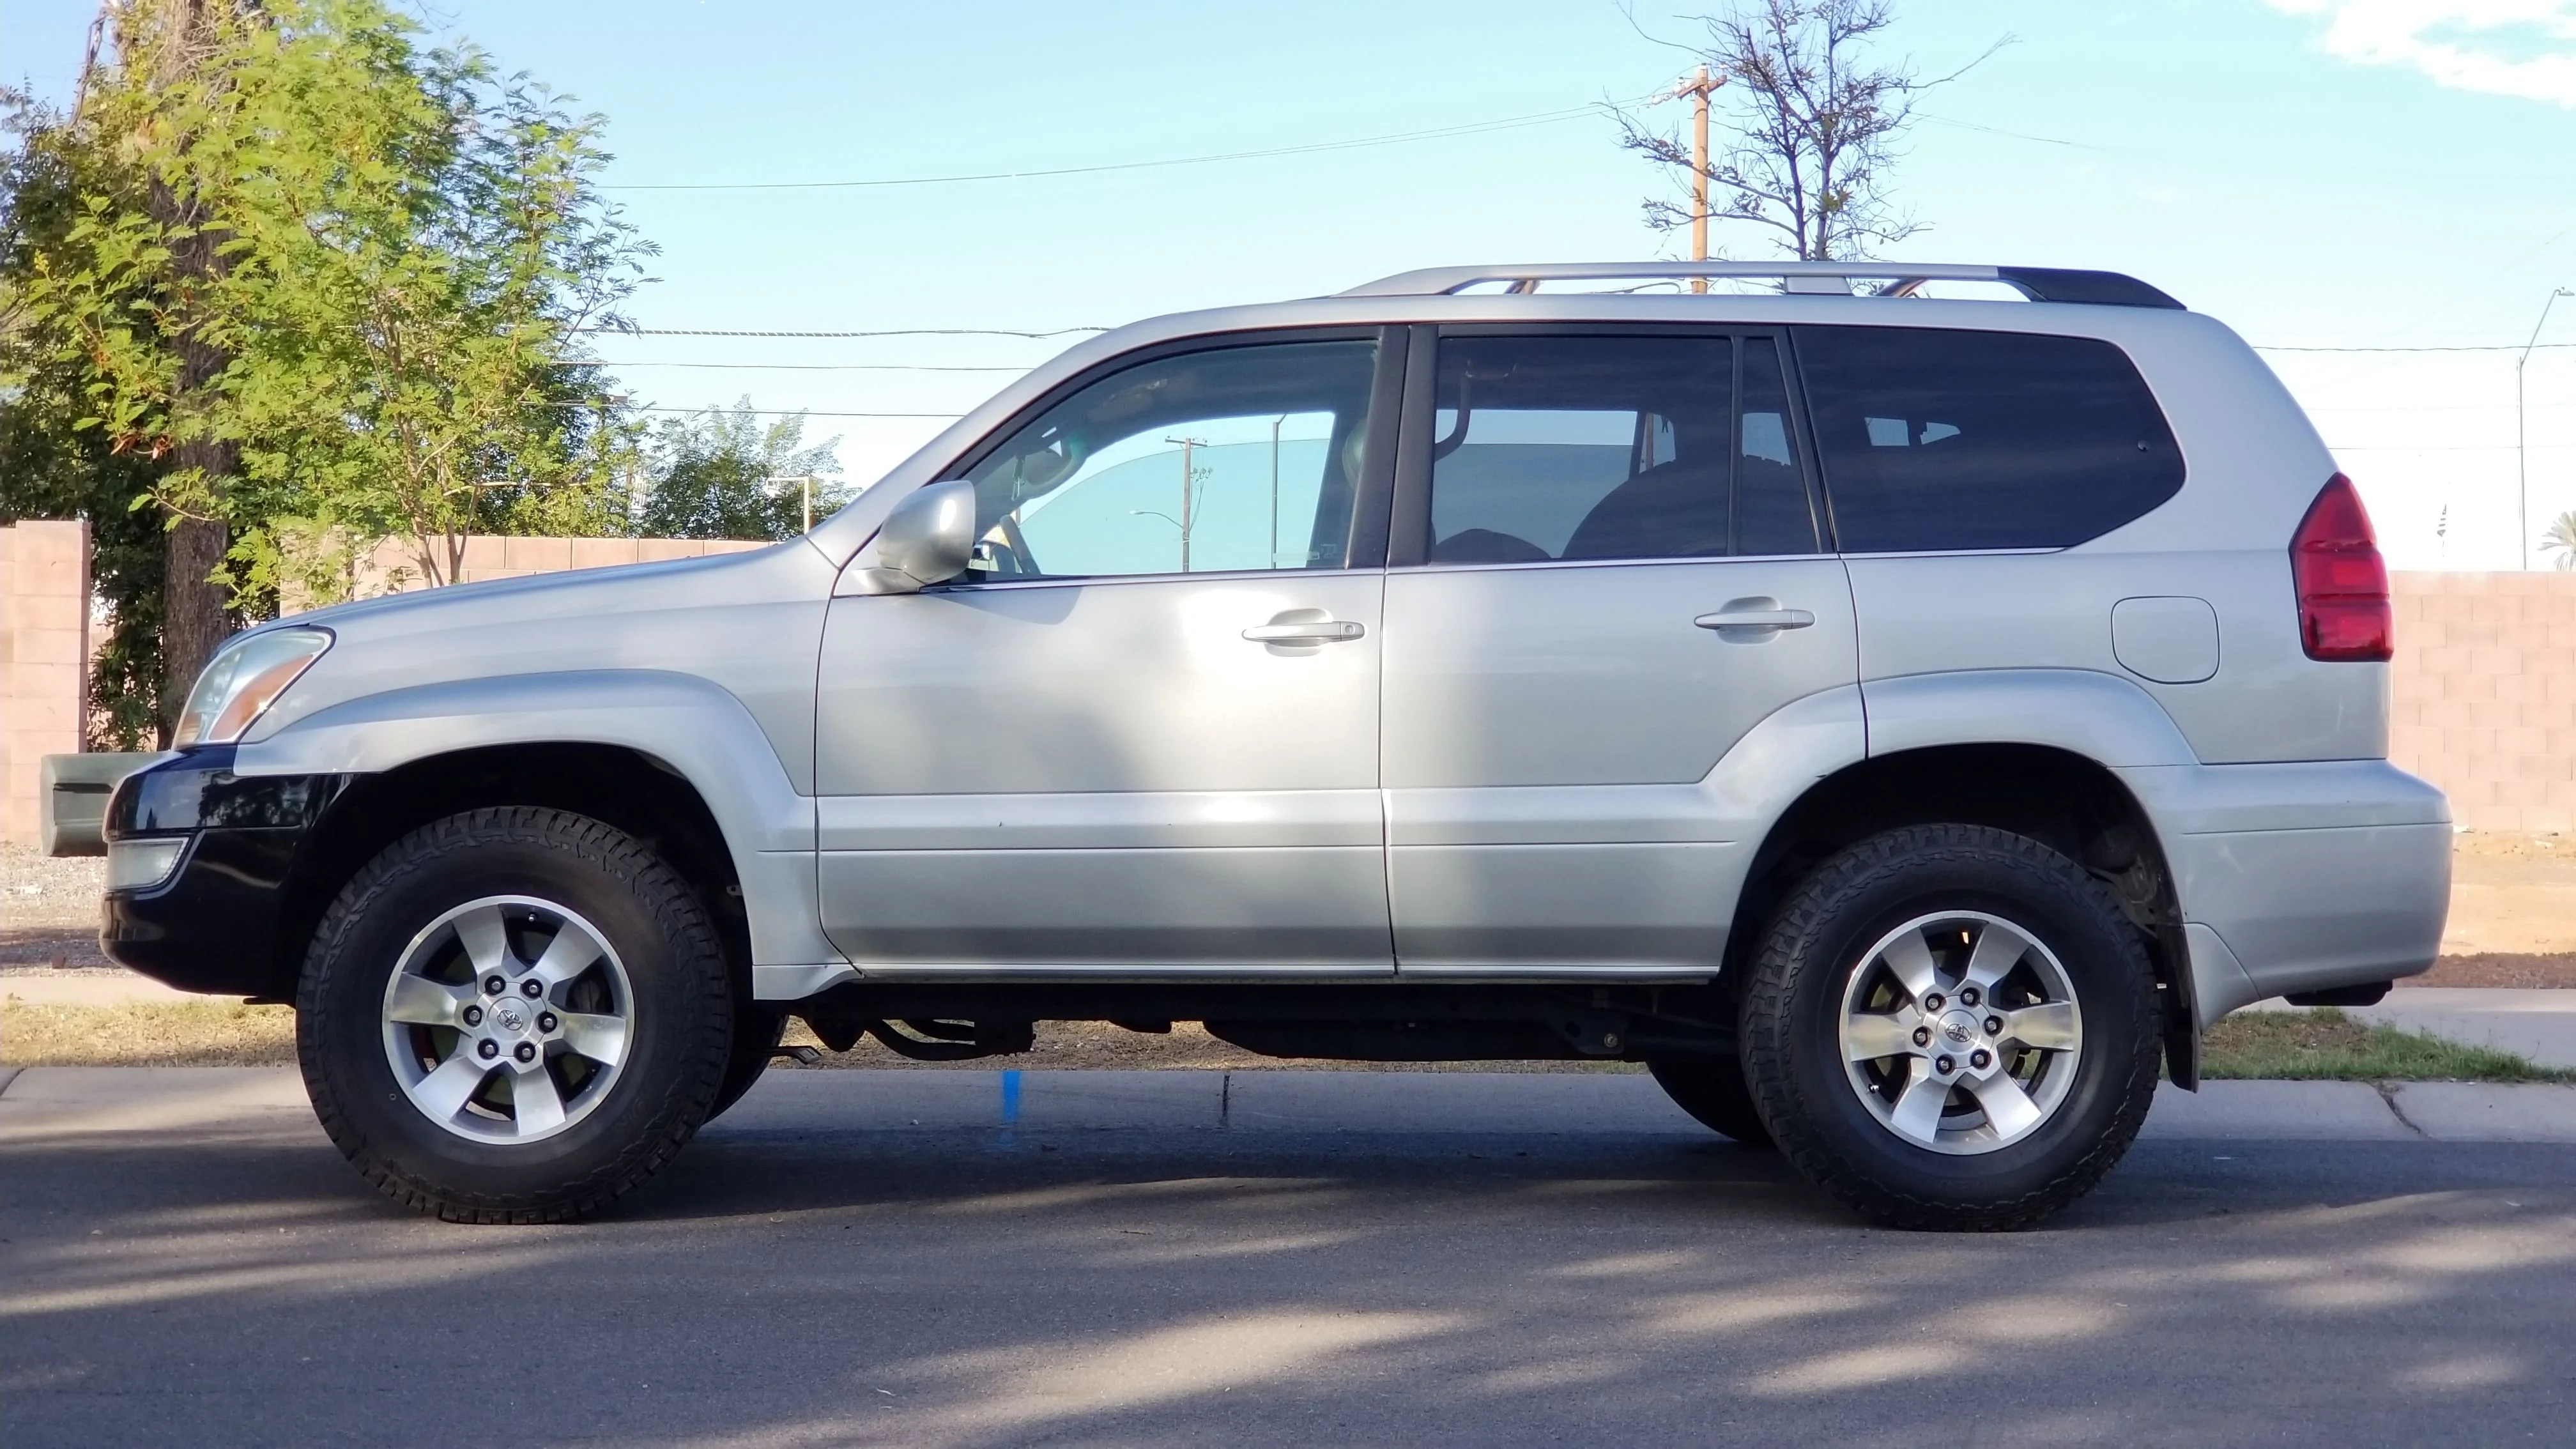
Motivation behind the switch and preferred combo out of the two? I like em both but new seems more proportional in a good way...Changed wheels and tires. When from FJ cruiser wheels and 285/70/17 Toyo AT tires to 4runner wheels and Hankook Dynapro ATM 255/75/17 tires.
- Thread starter
- #47
DIY Fender splash guards.
Fender splash guards were trashed. I know I could go RadRubber or DIY my own like many others. I love a good red neck DIY as much as the next guy. Bought some thin rubber mat material from Home Depot, found a 4runner PDF template online that got me 80% close to the shape I needed. Cut out the shapes, drilled holes and reused the stock clips. (Will need to get replacements sooner or later). Material was much thicker than it needed to be. $9 later here I am.


Fender splash guards were trashed. I know I could go RadRubber or DIY my own like many others. I love a good red neck DIY as much as the next guy. Bought some thin rubber mat material from Home Depot, found a 4runner PDF template online that got me 80% close to the shape I needed. Cut out the shapes, drilled holes and reused the stock clips. (Will need to get replacements sooner or later). Material was much thicker than it needed to be. $9 later here I am.
- Thread starter
- #48
I've needed a new splash guard / wheel well liner for over a year. A few parts have popped up from part outs and car recyclers, all over $100 + shipping. On a whim I searched online and found a dozen places selling them for $28 shipped. Was a no brainer. I reused the old clips (some of these plastic retaining clips are hard to find online) and voila. Took some wiggling to get it into place, but it all came together.

- Thread starter
- #49
After doing a lot of research about tire sizes, looks like narrower tires won the contest as far as lightness, and traction (contact pressure offroad) narrow tires seems to grip the hard stuff I wanted better, wider tires seem to only do better in sand - something I don't see a lot of. Narrow is better in snow too, something I do see on a regular basis. After the swap, there was a MPG gain and the feeling of the lighter tire was immediately apparent. Also there was a great deal on them used off craigslist from a Jeepers take off. Hankook ATM 3. Loved them so far, hit so real trails with them last week and they didn't skip a beat.Motivation behind the switch and preferred combo out of the two? I like em both but new seems more proportional in a good way...
- Thread starter
- #50
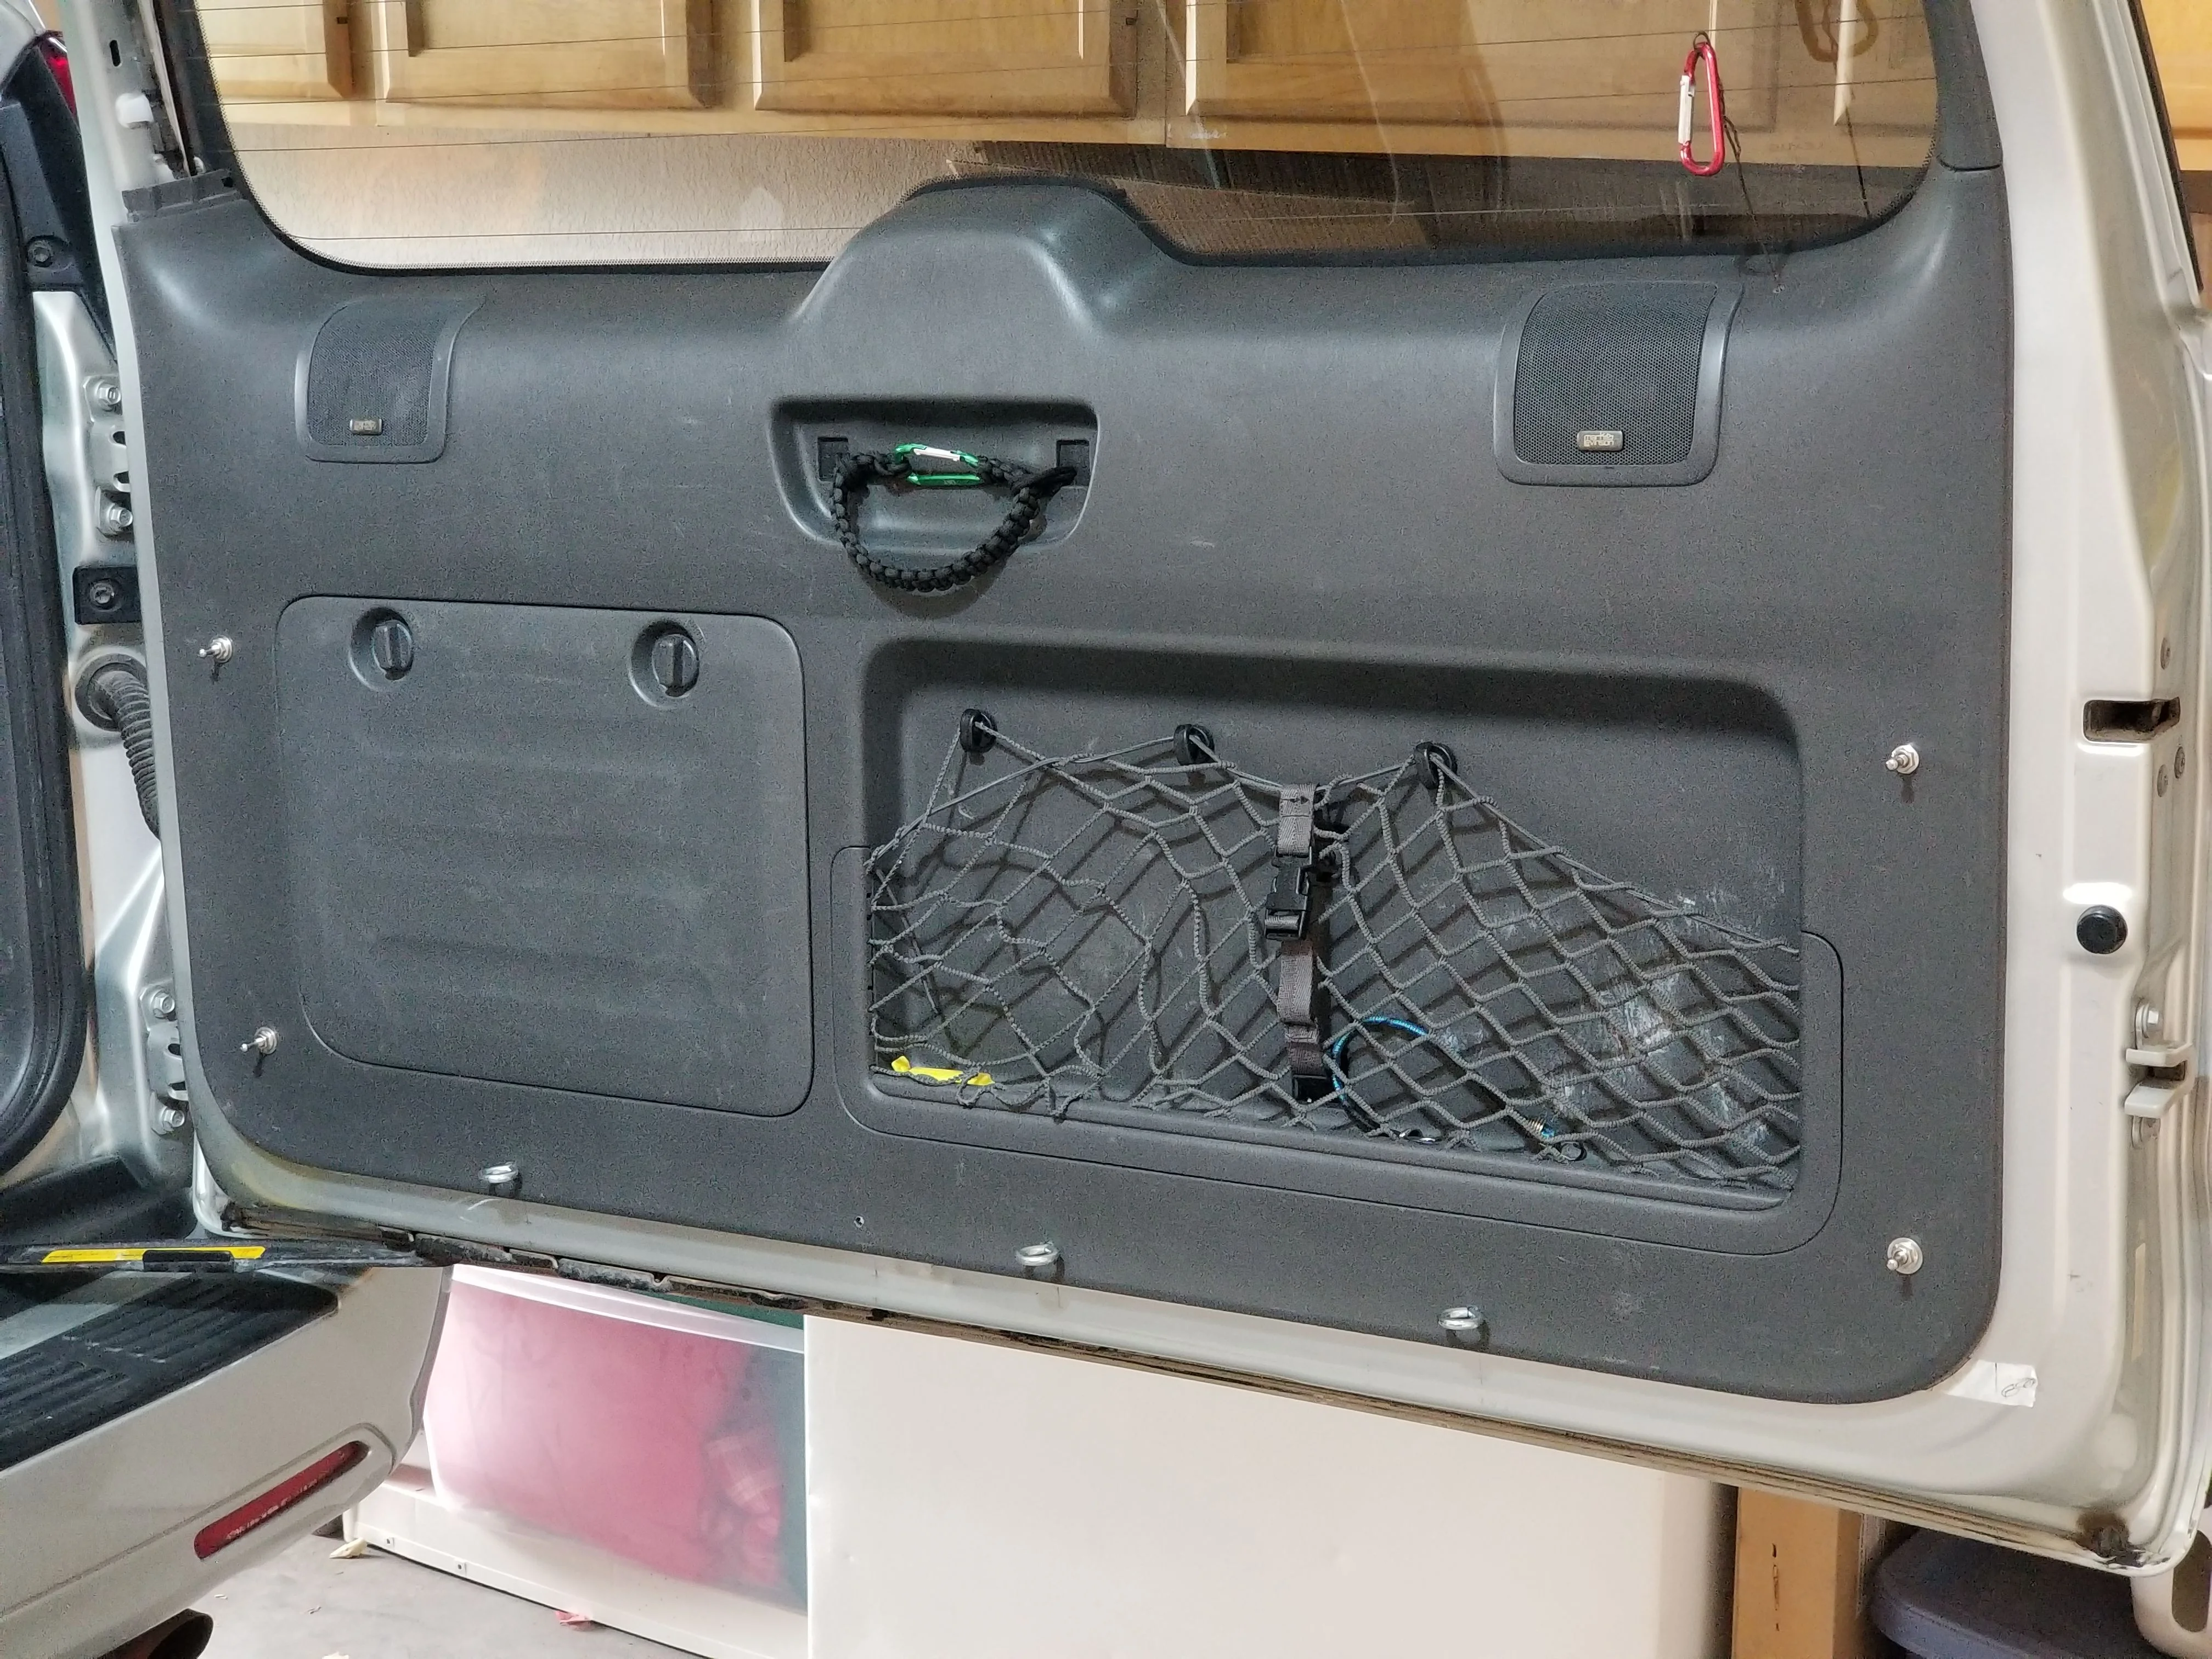
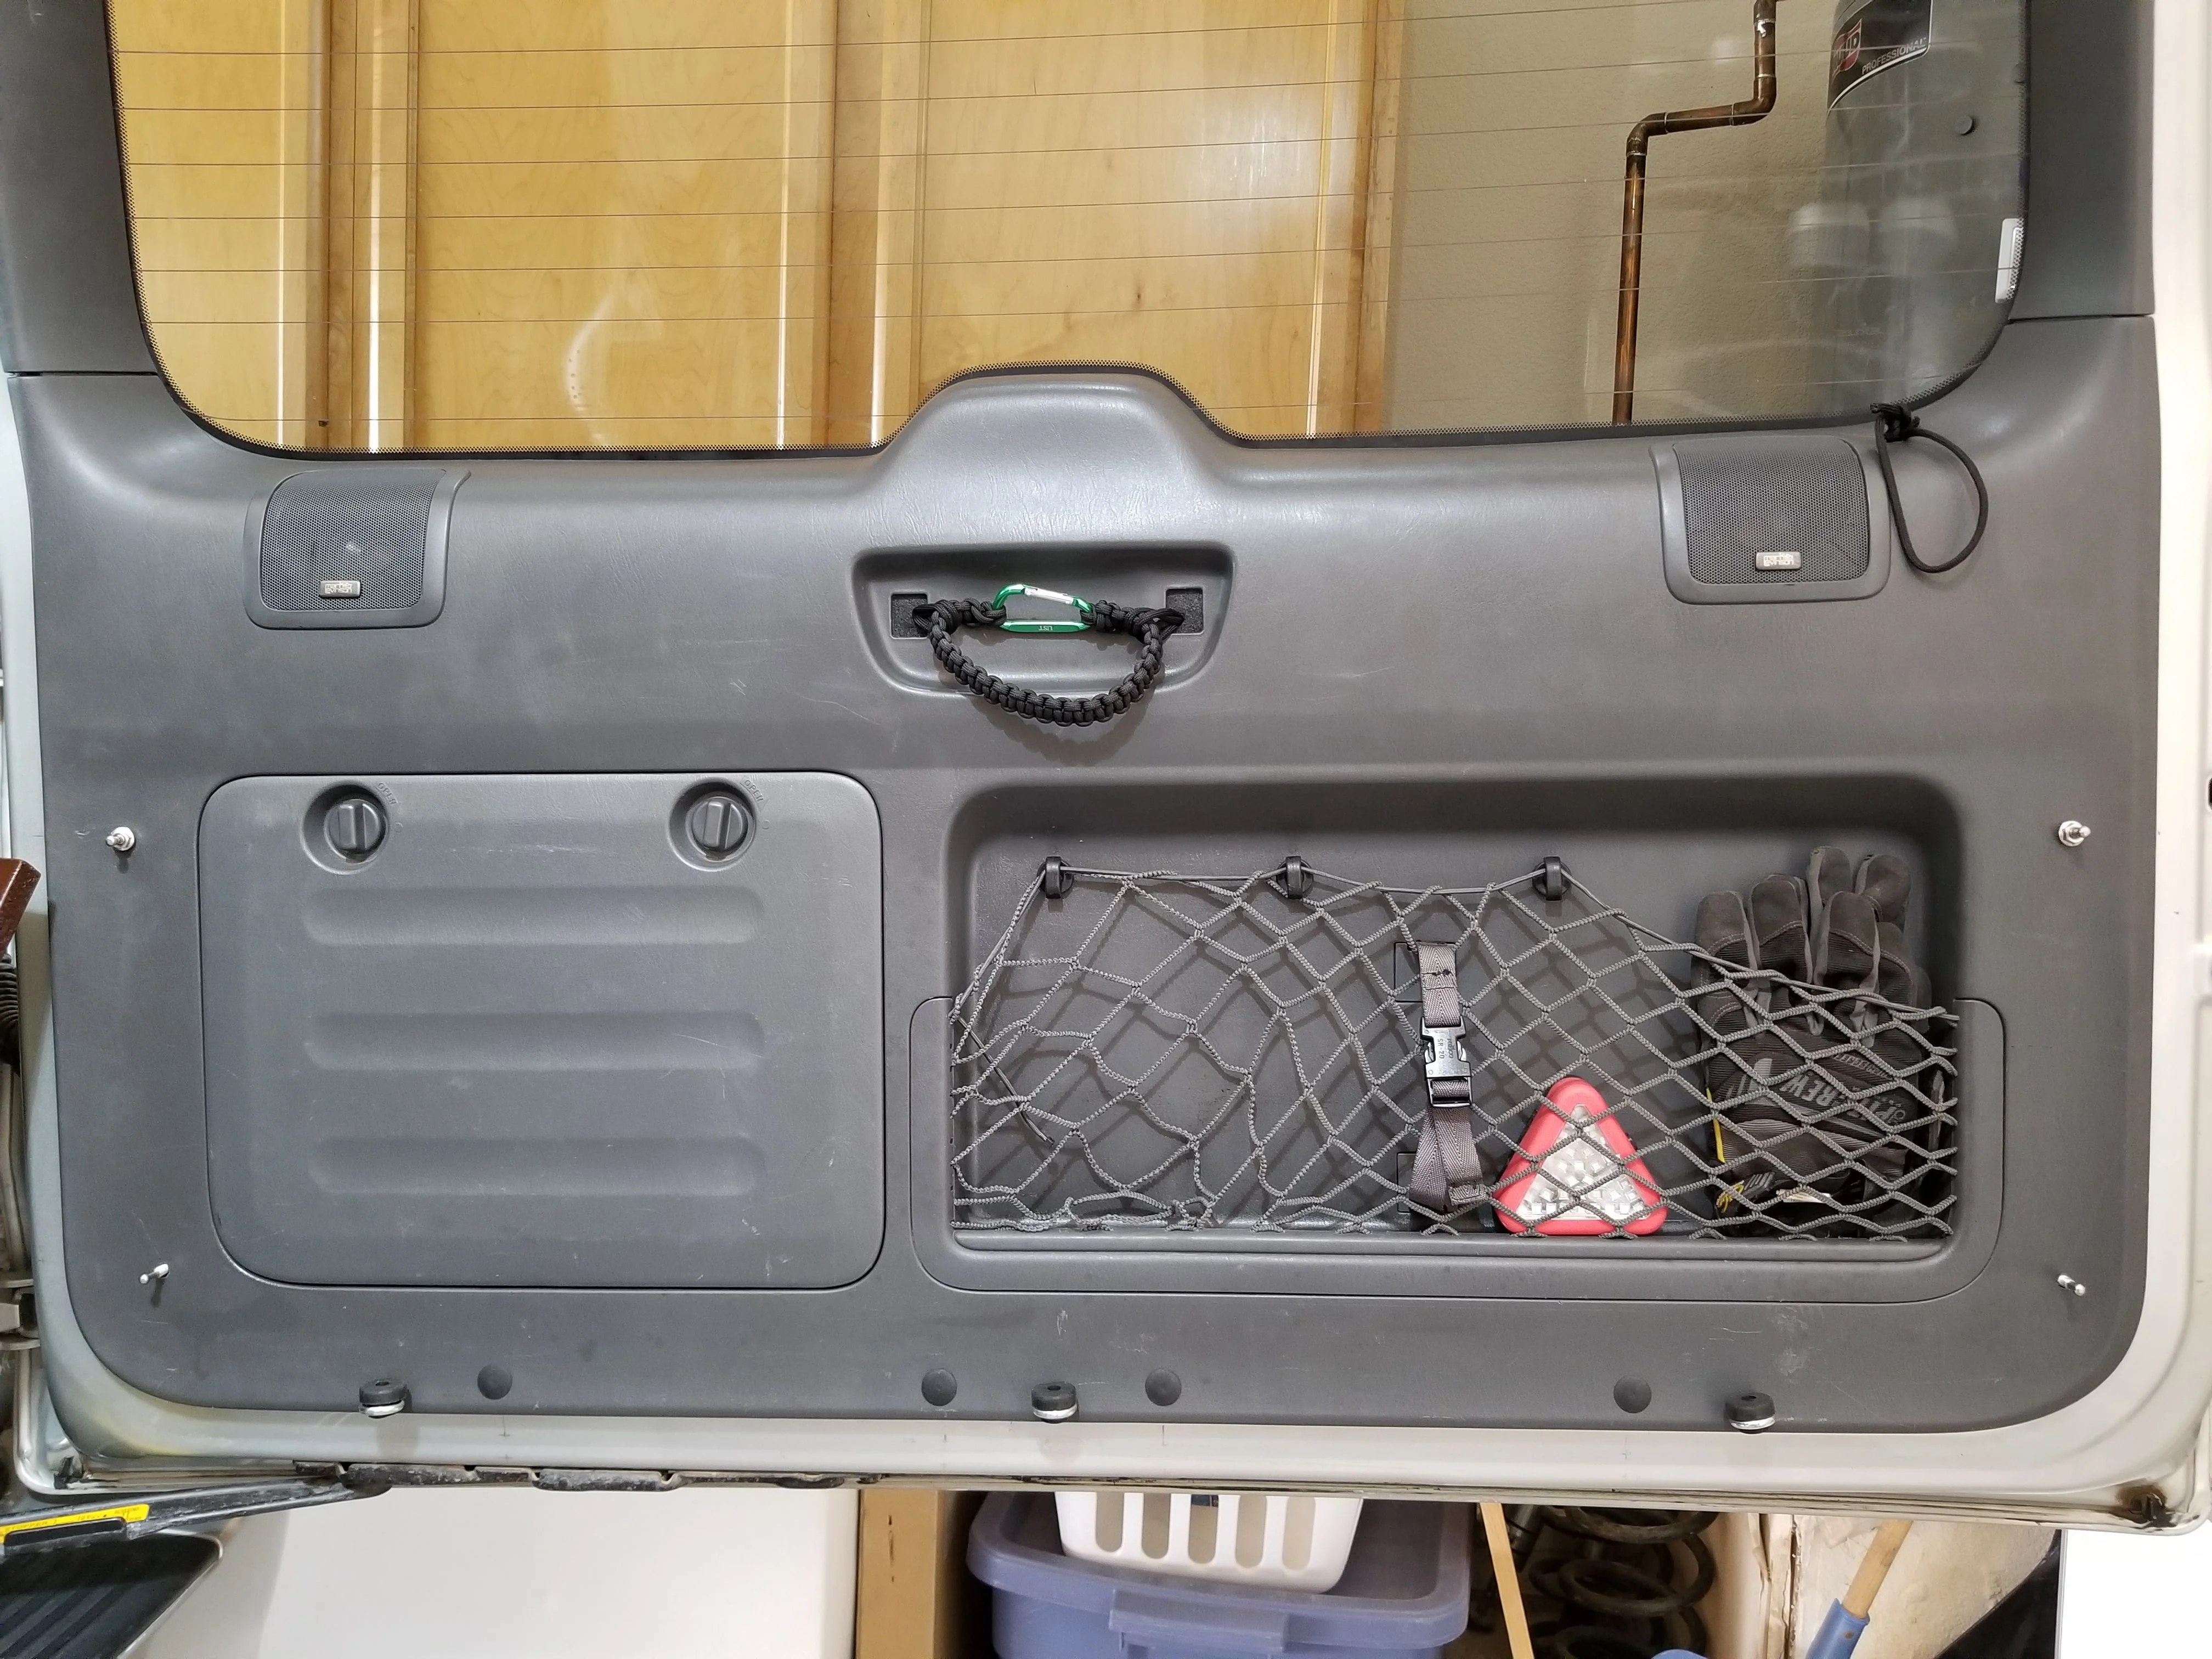
Rear table mod / rear door table / back door table ... Etc.
Small modification/install update:
I've see a ton of pro fabricated, and personal made rear tables. I've liked a lot of the ideas of some of them and tried to put some of them together. Like my rear cargo/bed platform I wanted it to be 100% removable. I'm weird like that. And with the third row seating installed and in use, we'll still be able to fit the perfect sized cooler in there that we found. The table is all done, I still plan on adding some clip on storage to the underside of the table to hold random stuff, probably a molle panel and small bags??
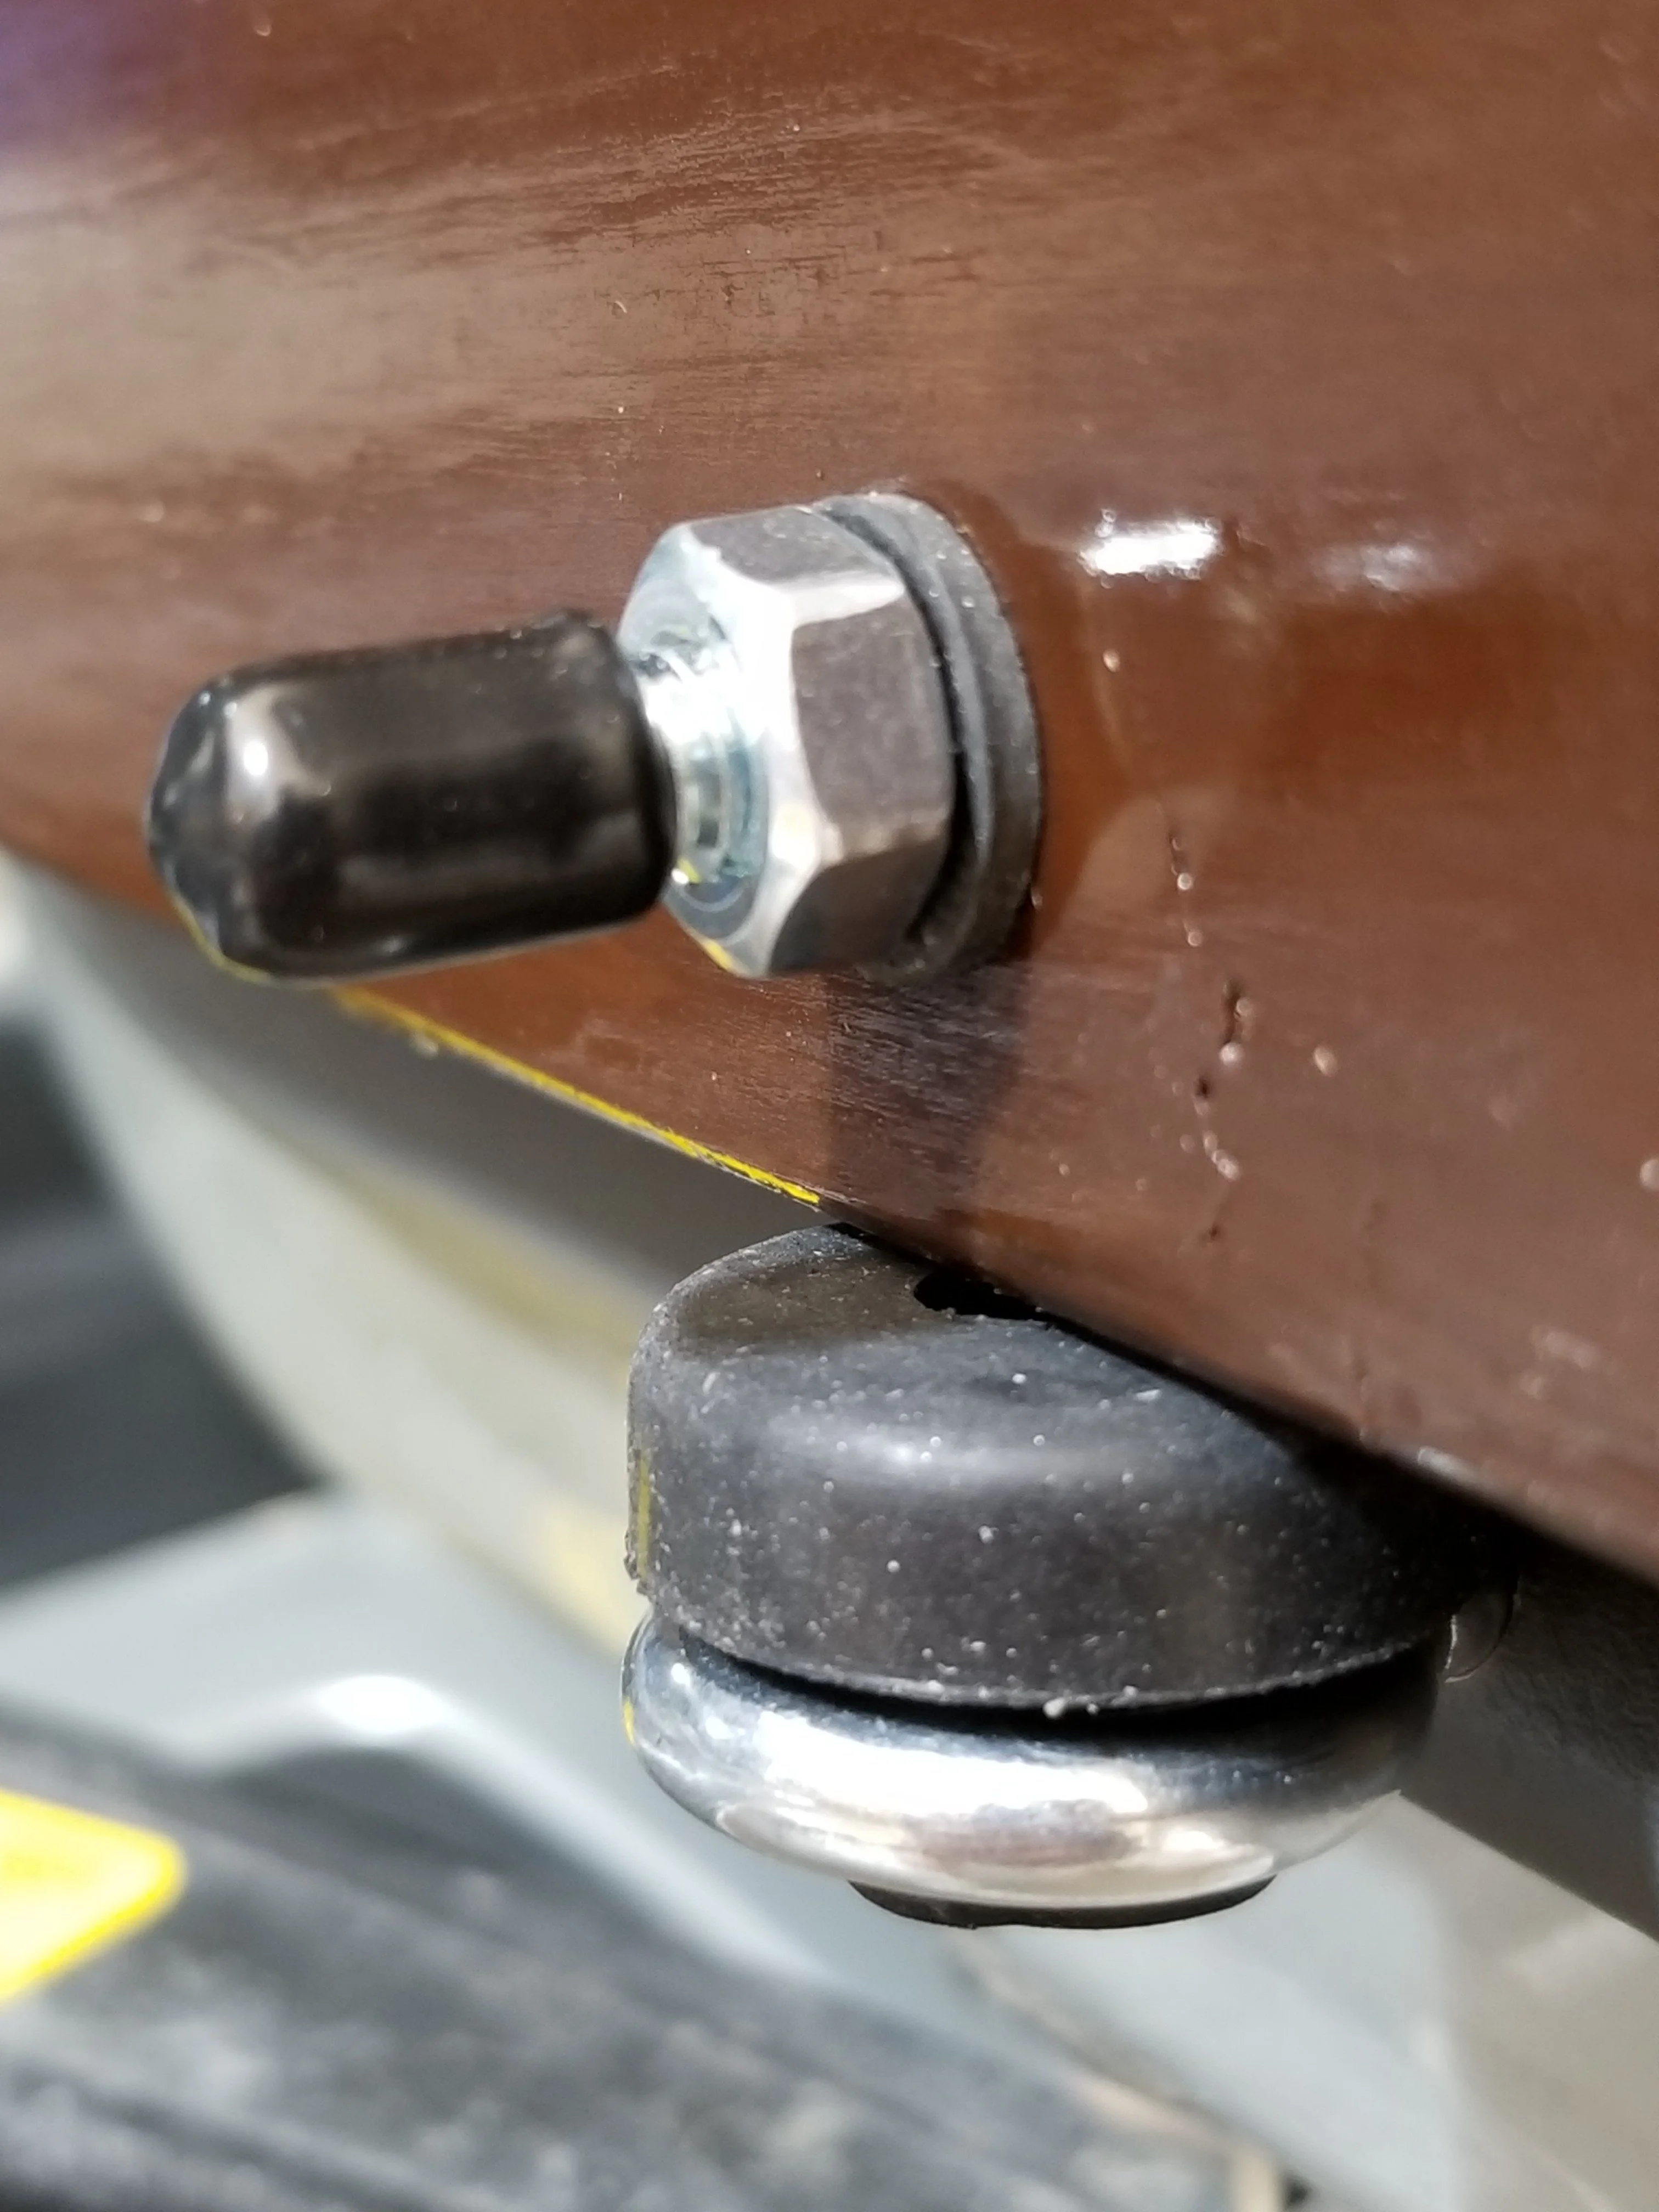
Cost:
$10. I bought some random hardware + rubber grommets.
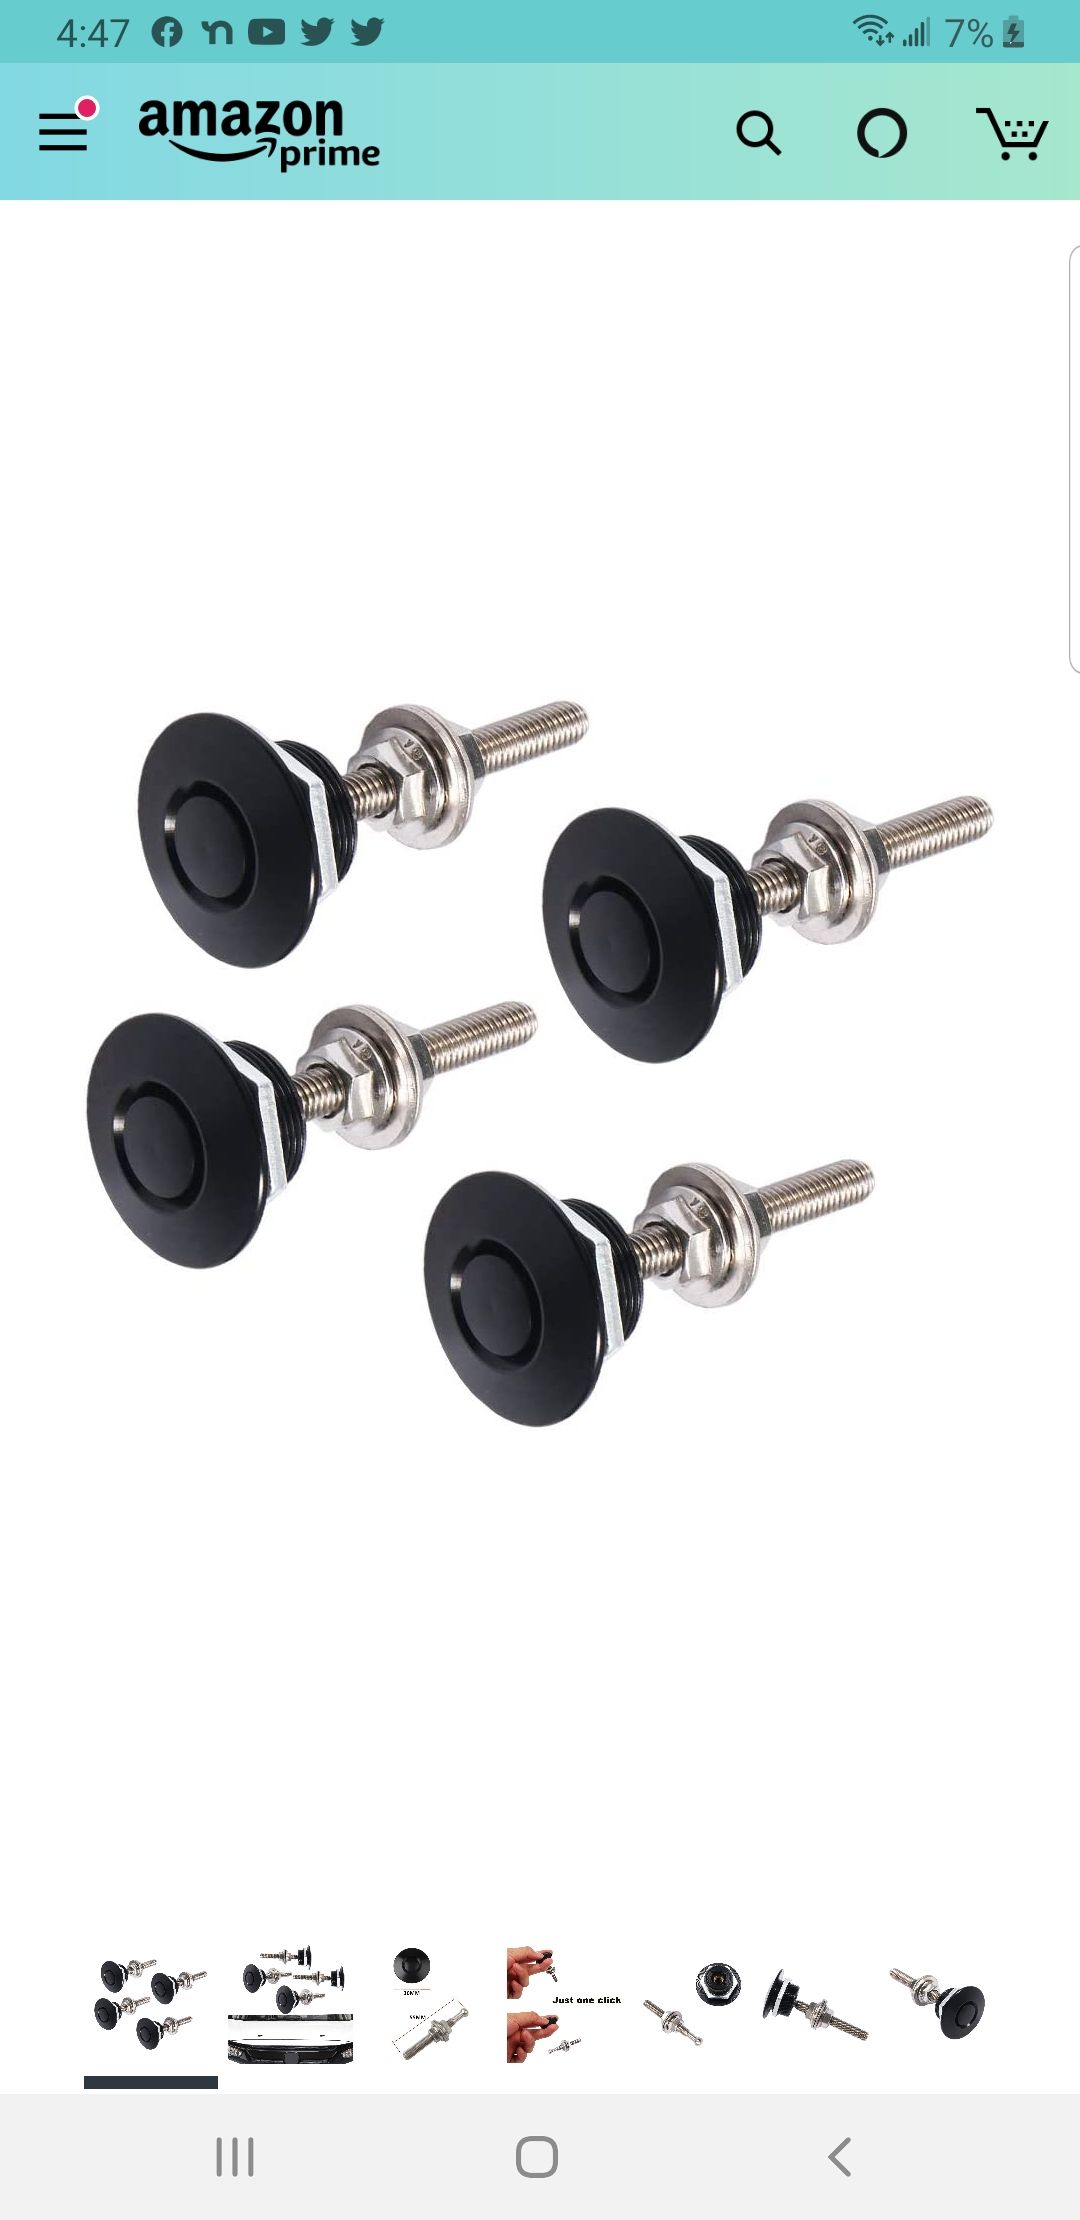
$20 for quick release button clips.
$20 for wood
$2 for mineral oil
(Everything else I had on hand or my neighbor - paracord, stain)
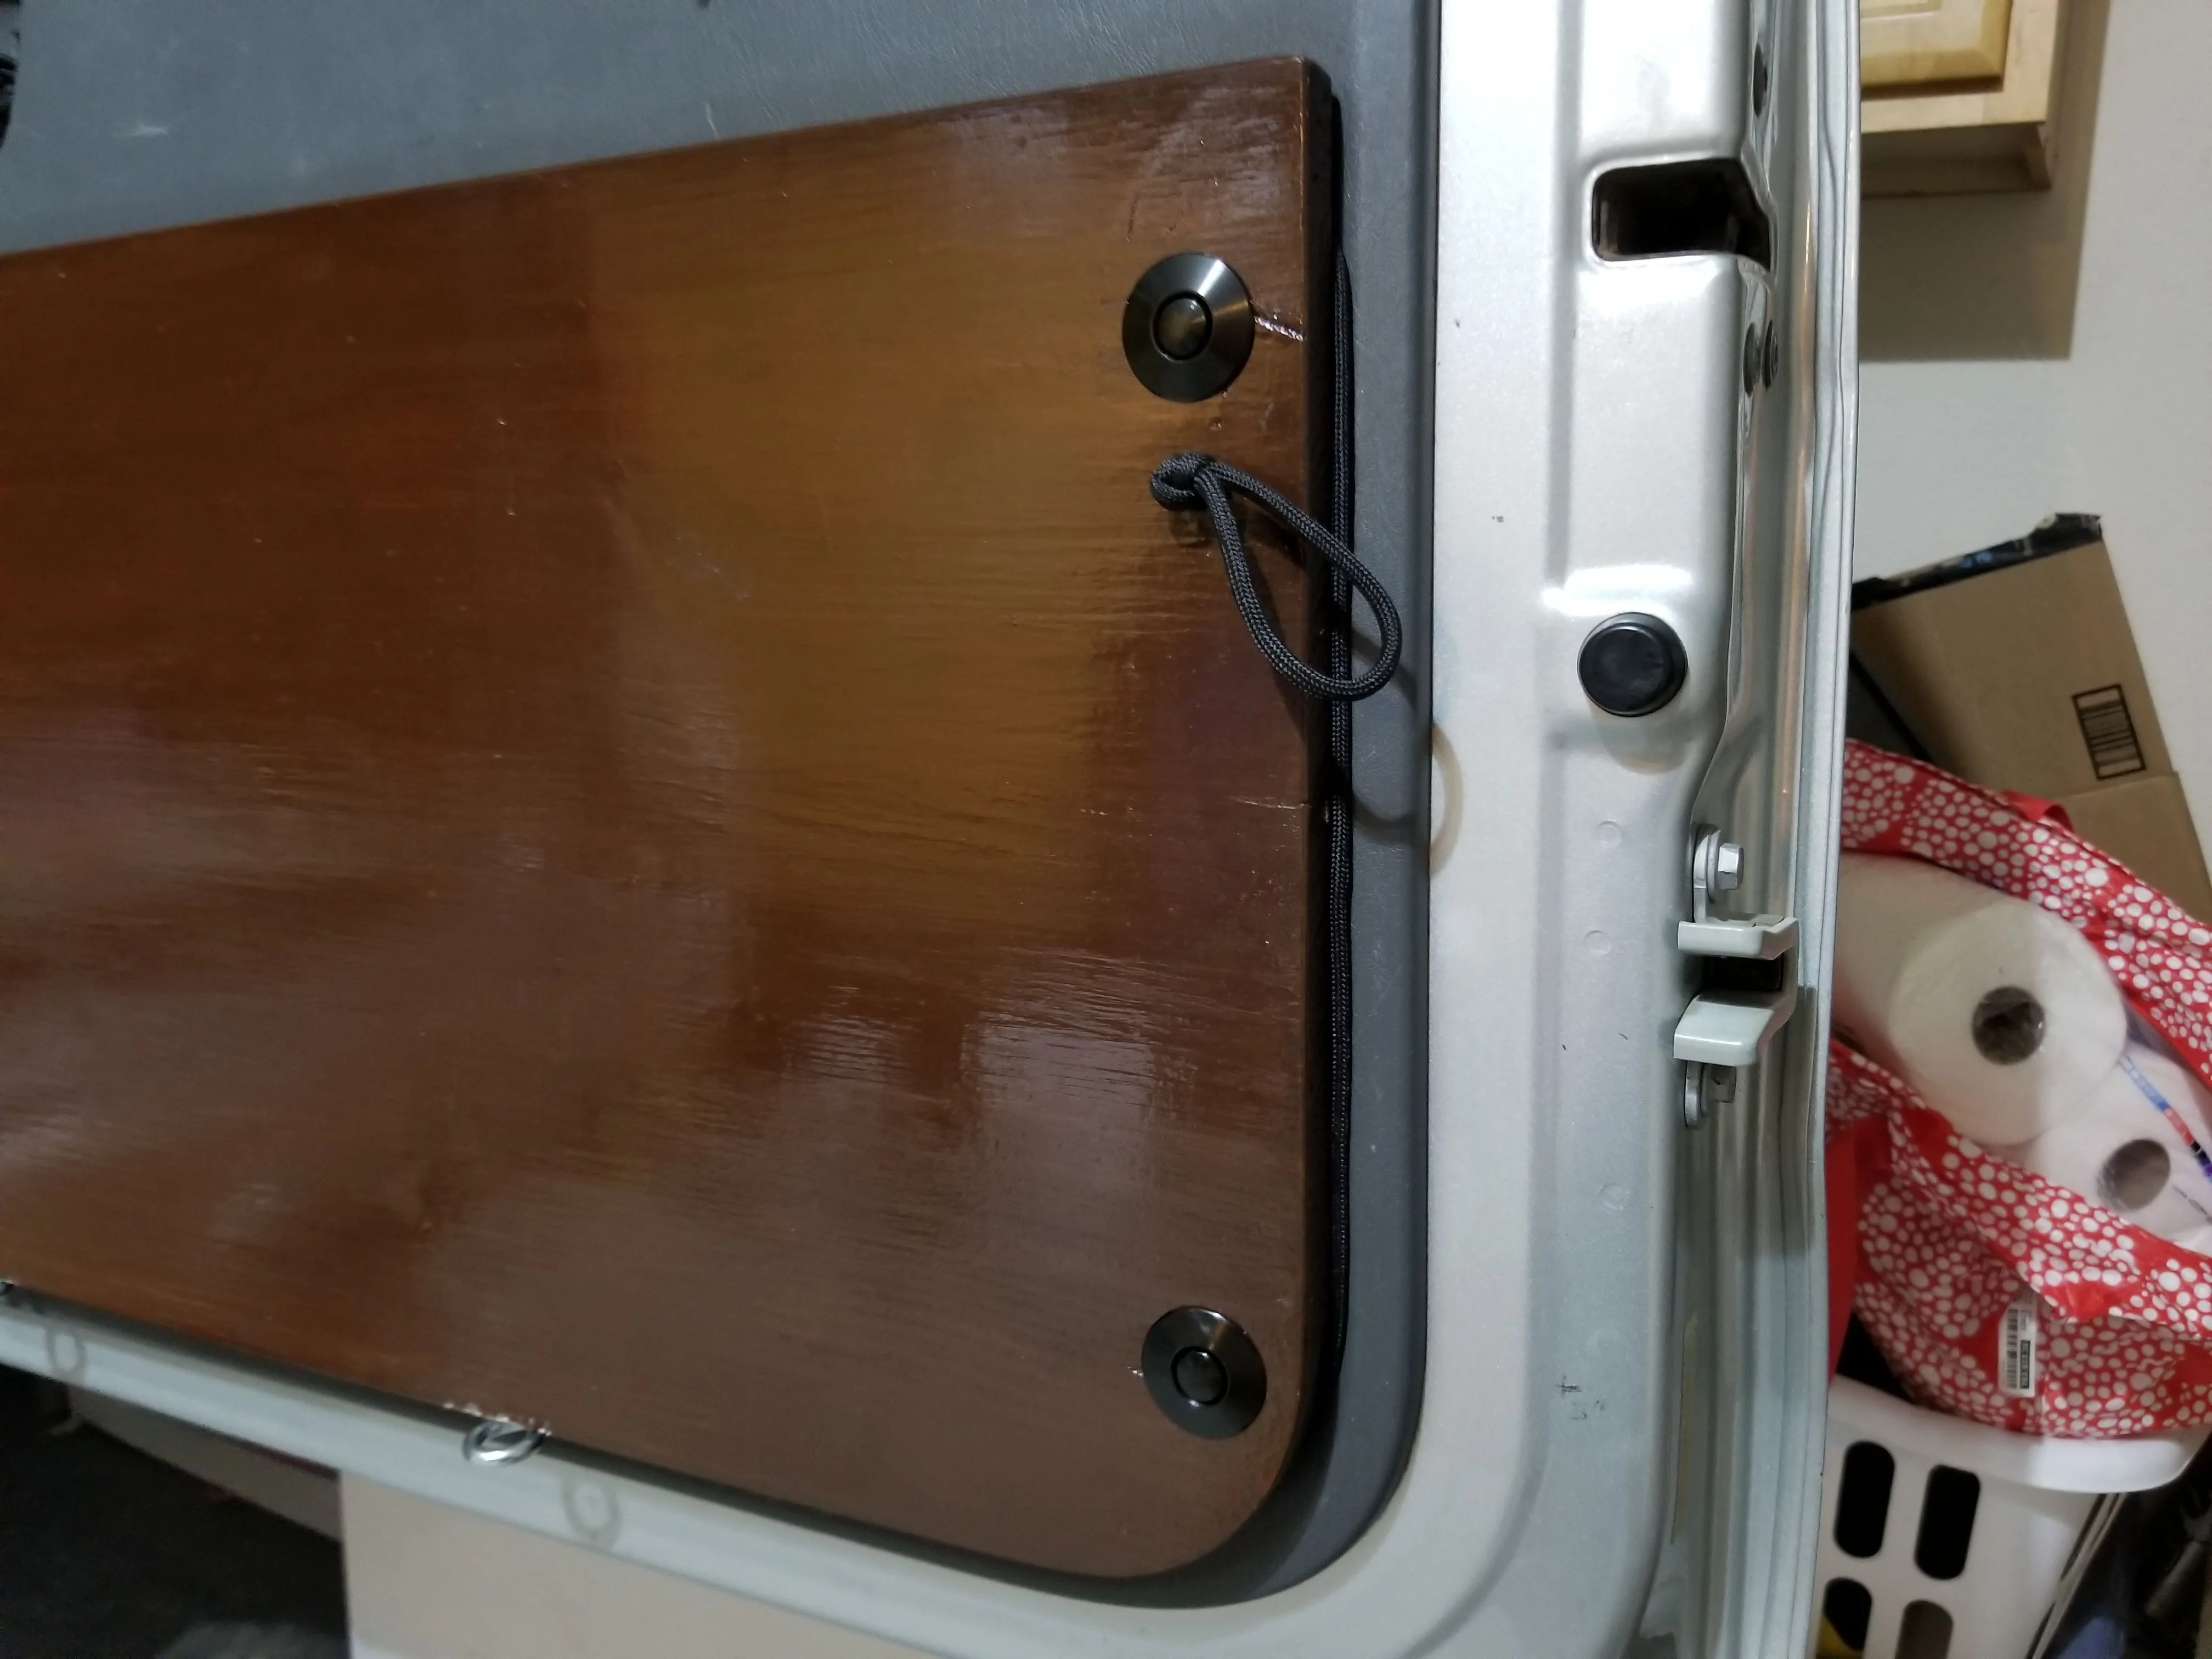
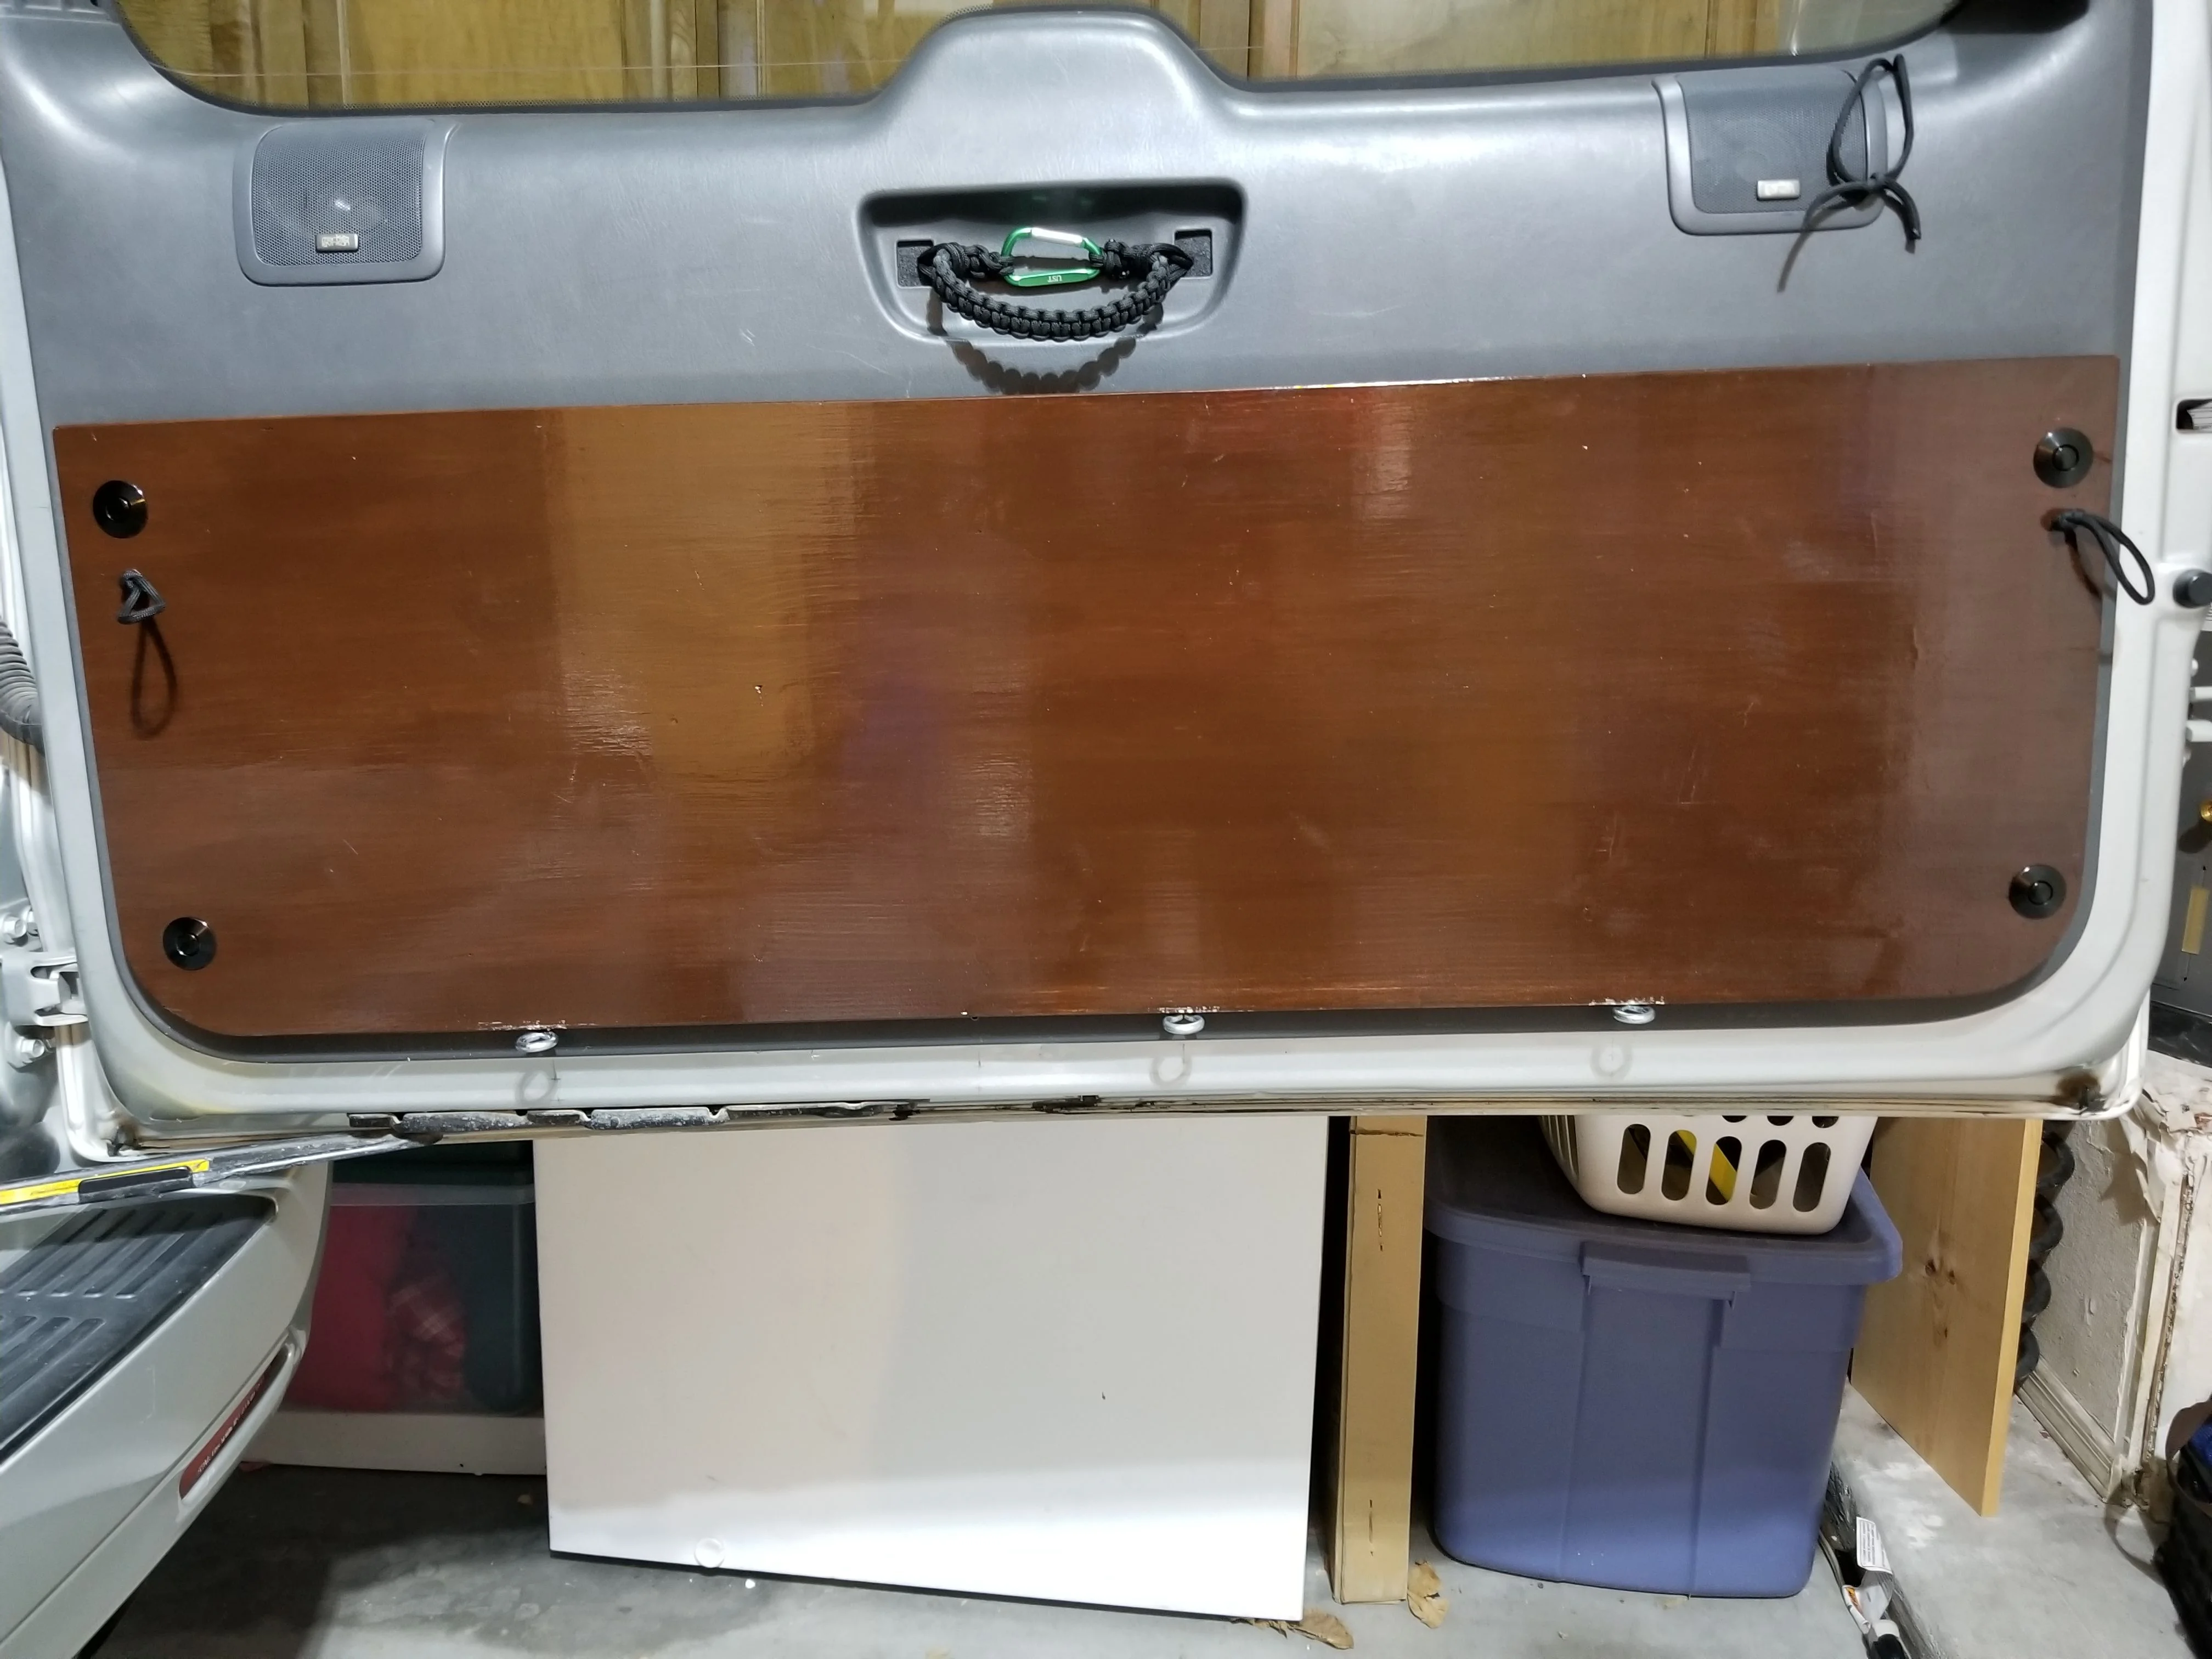
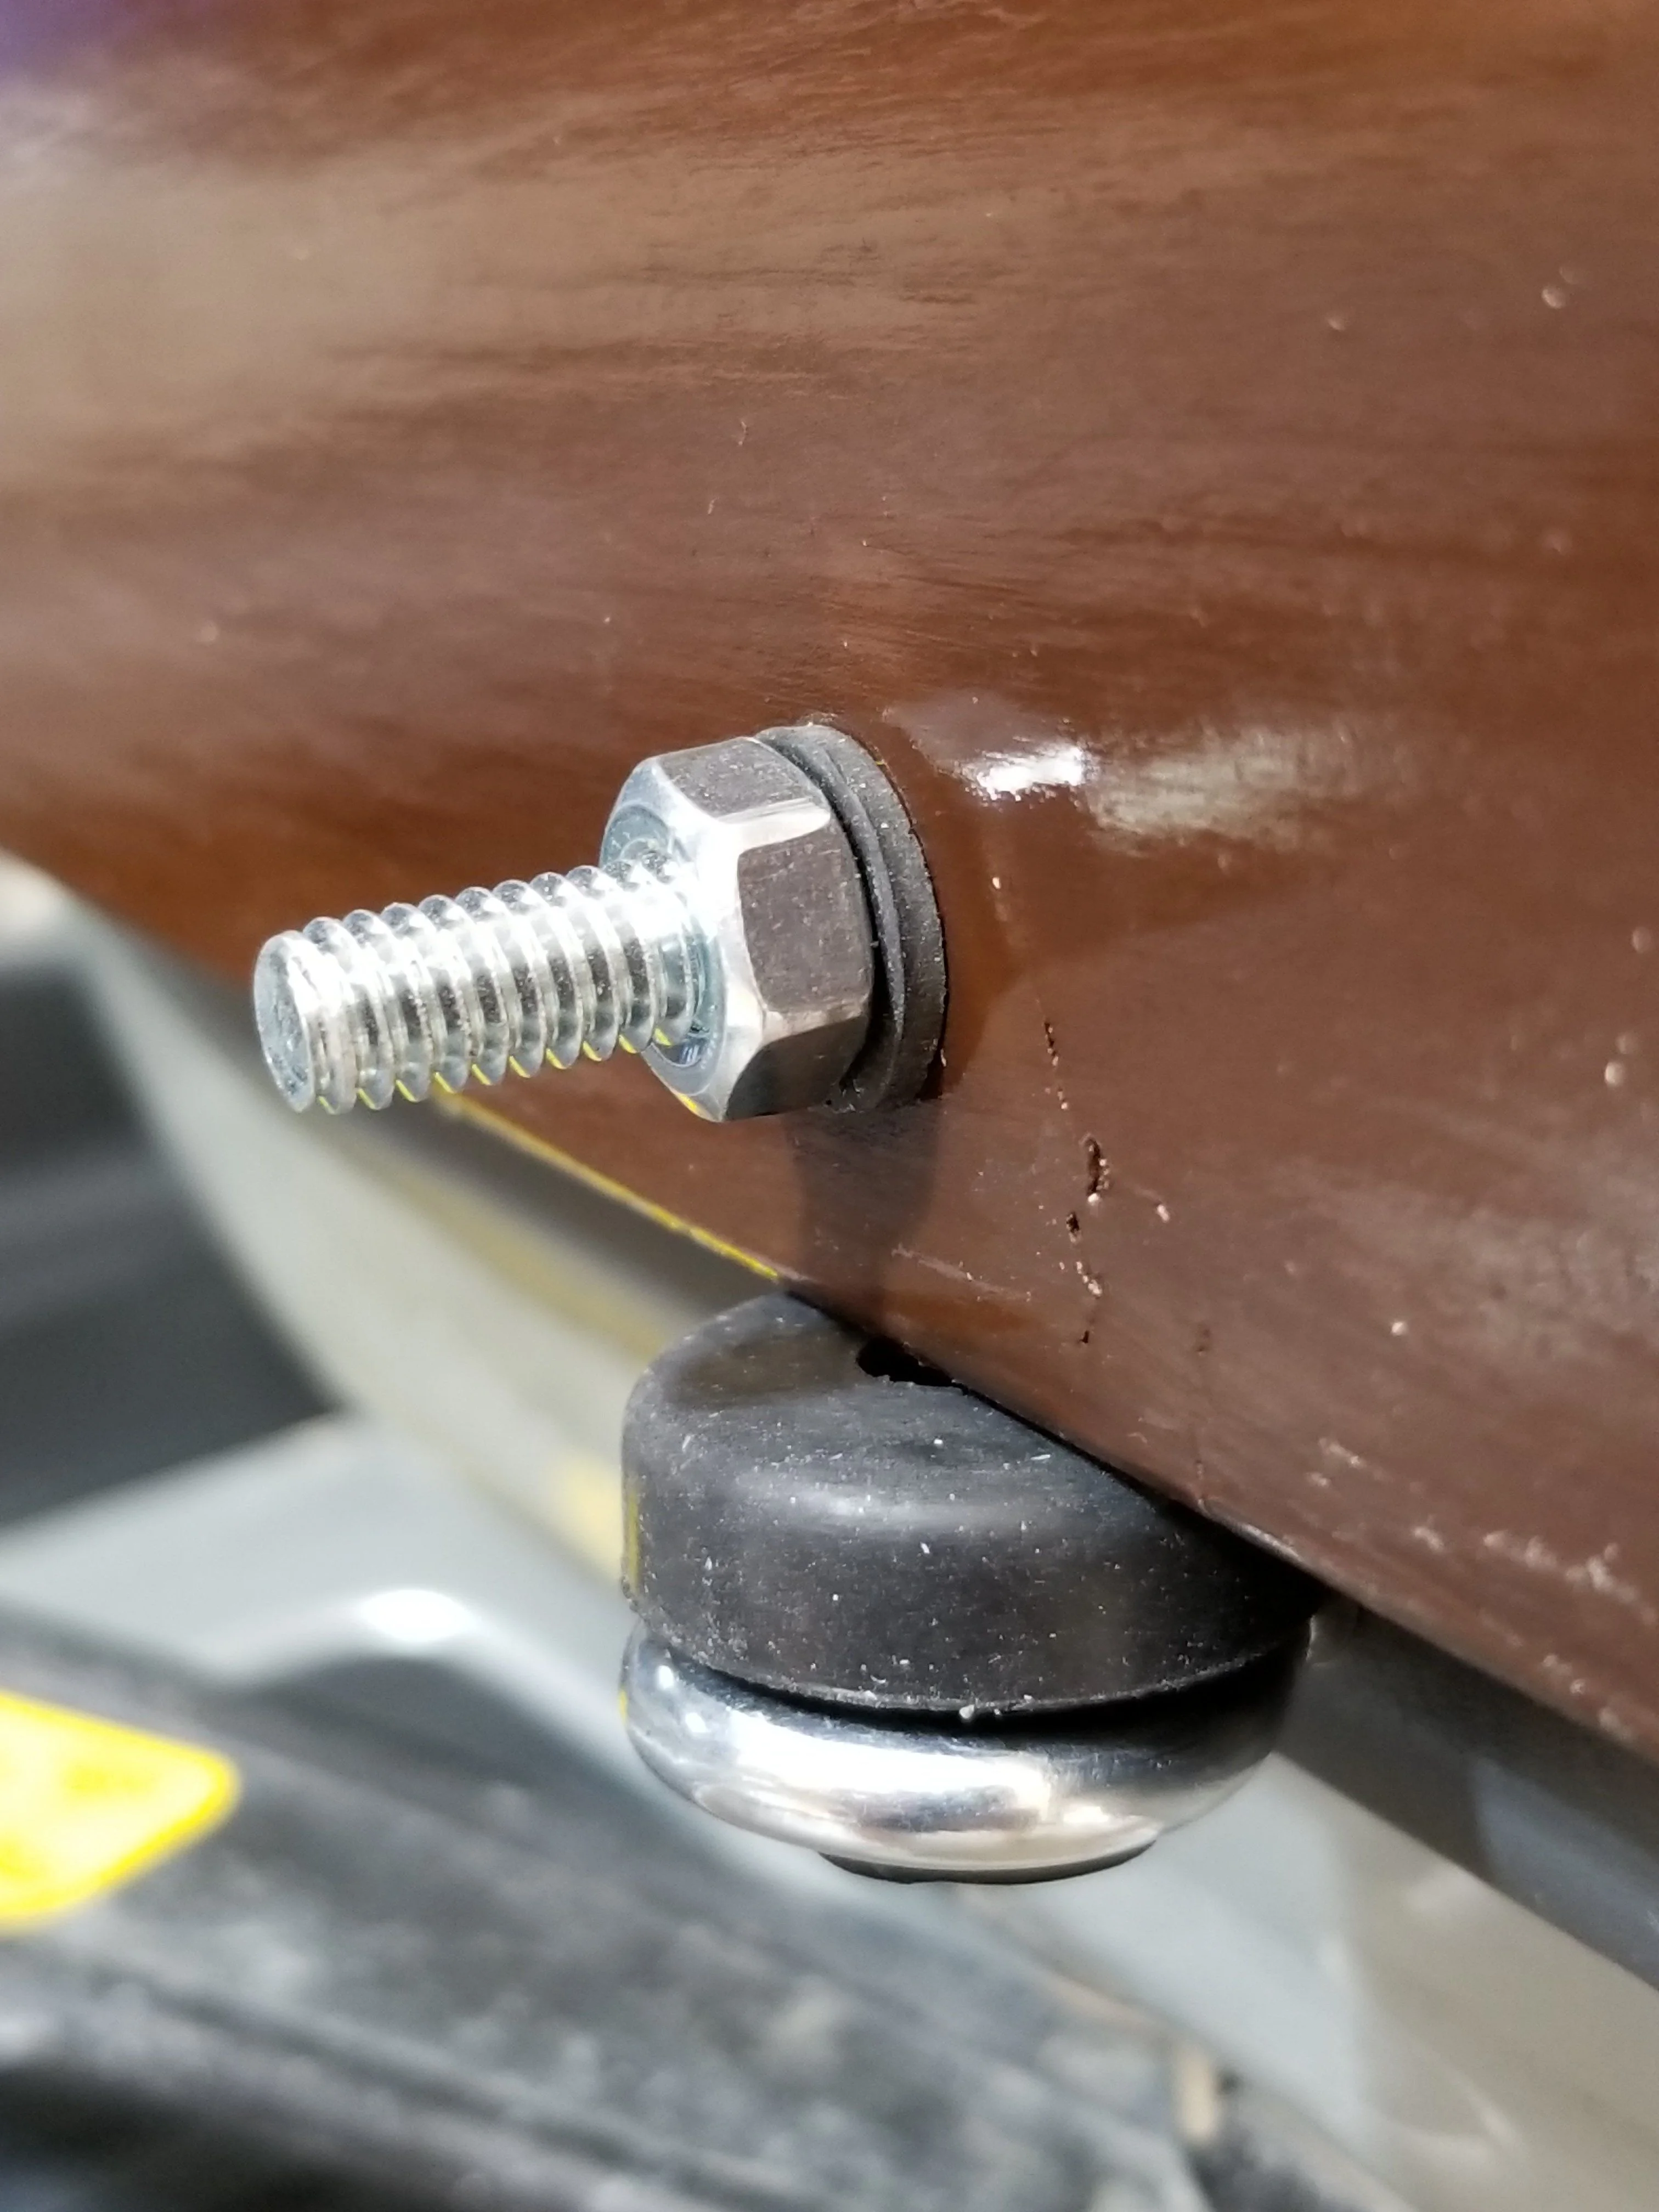
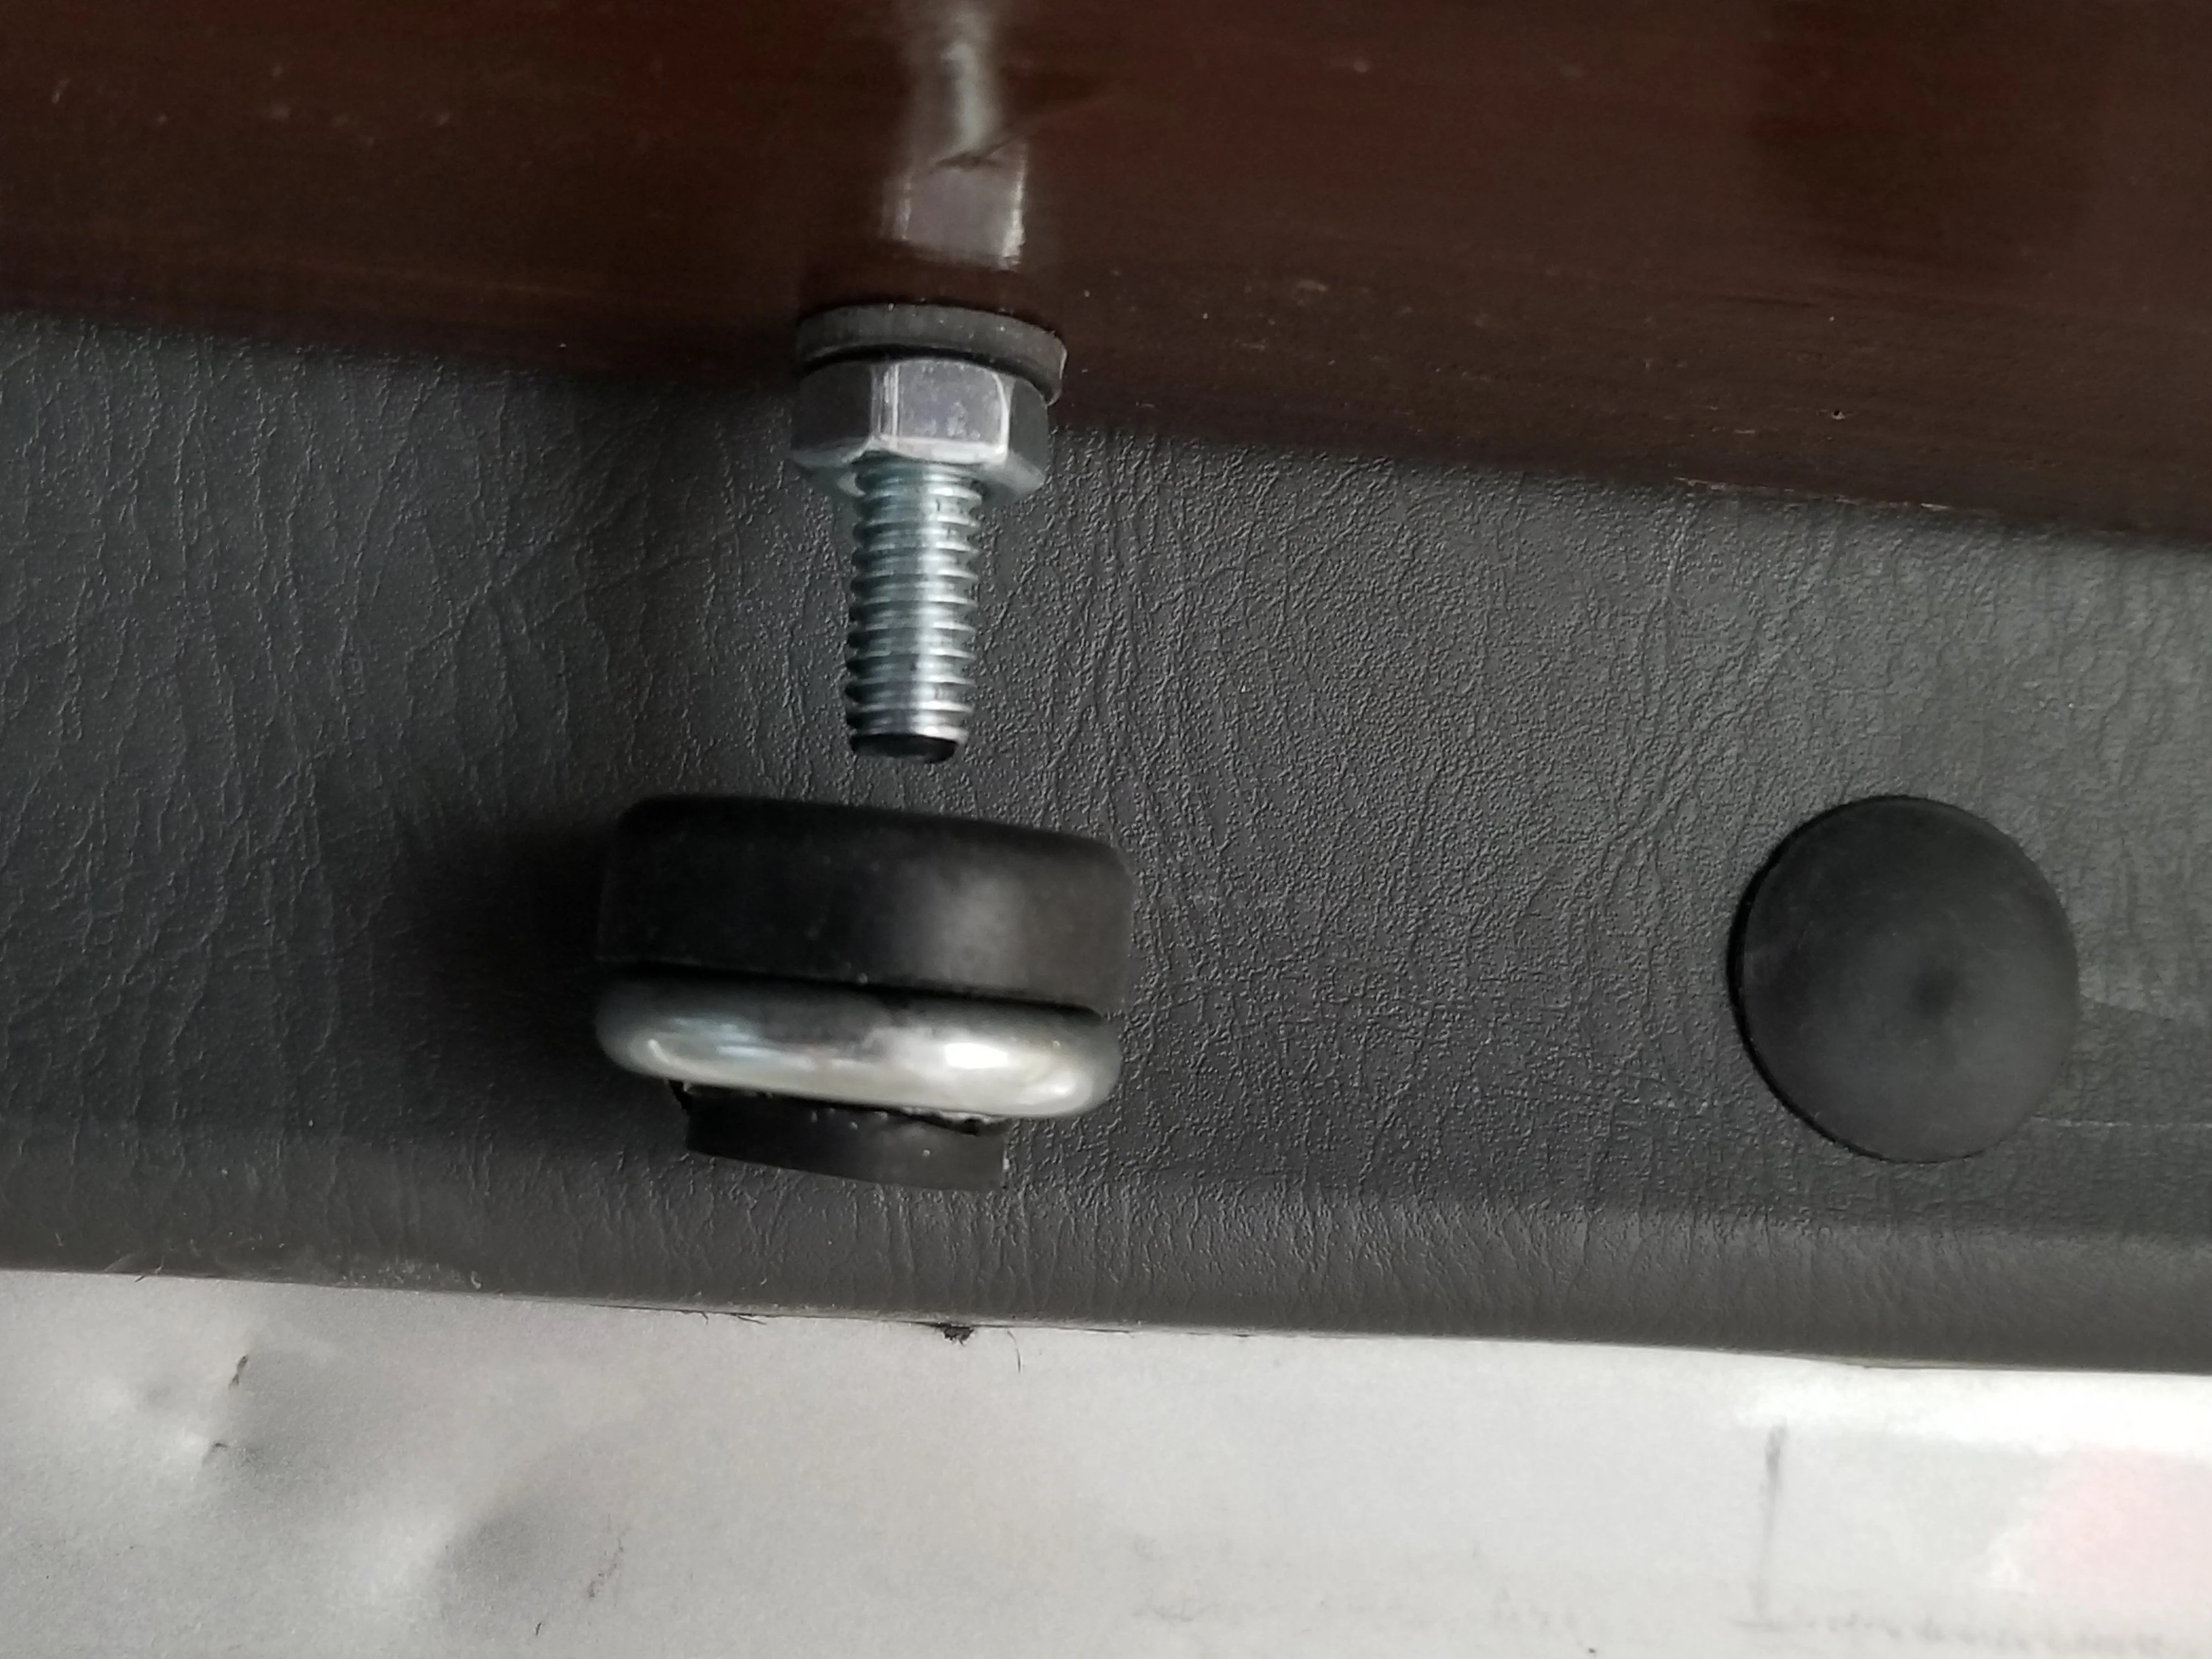
Construction:
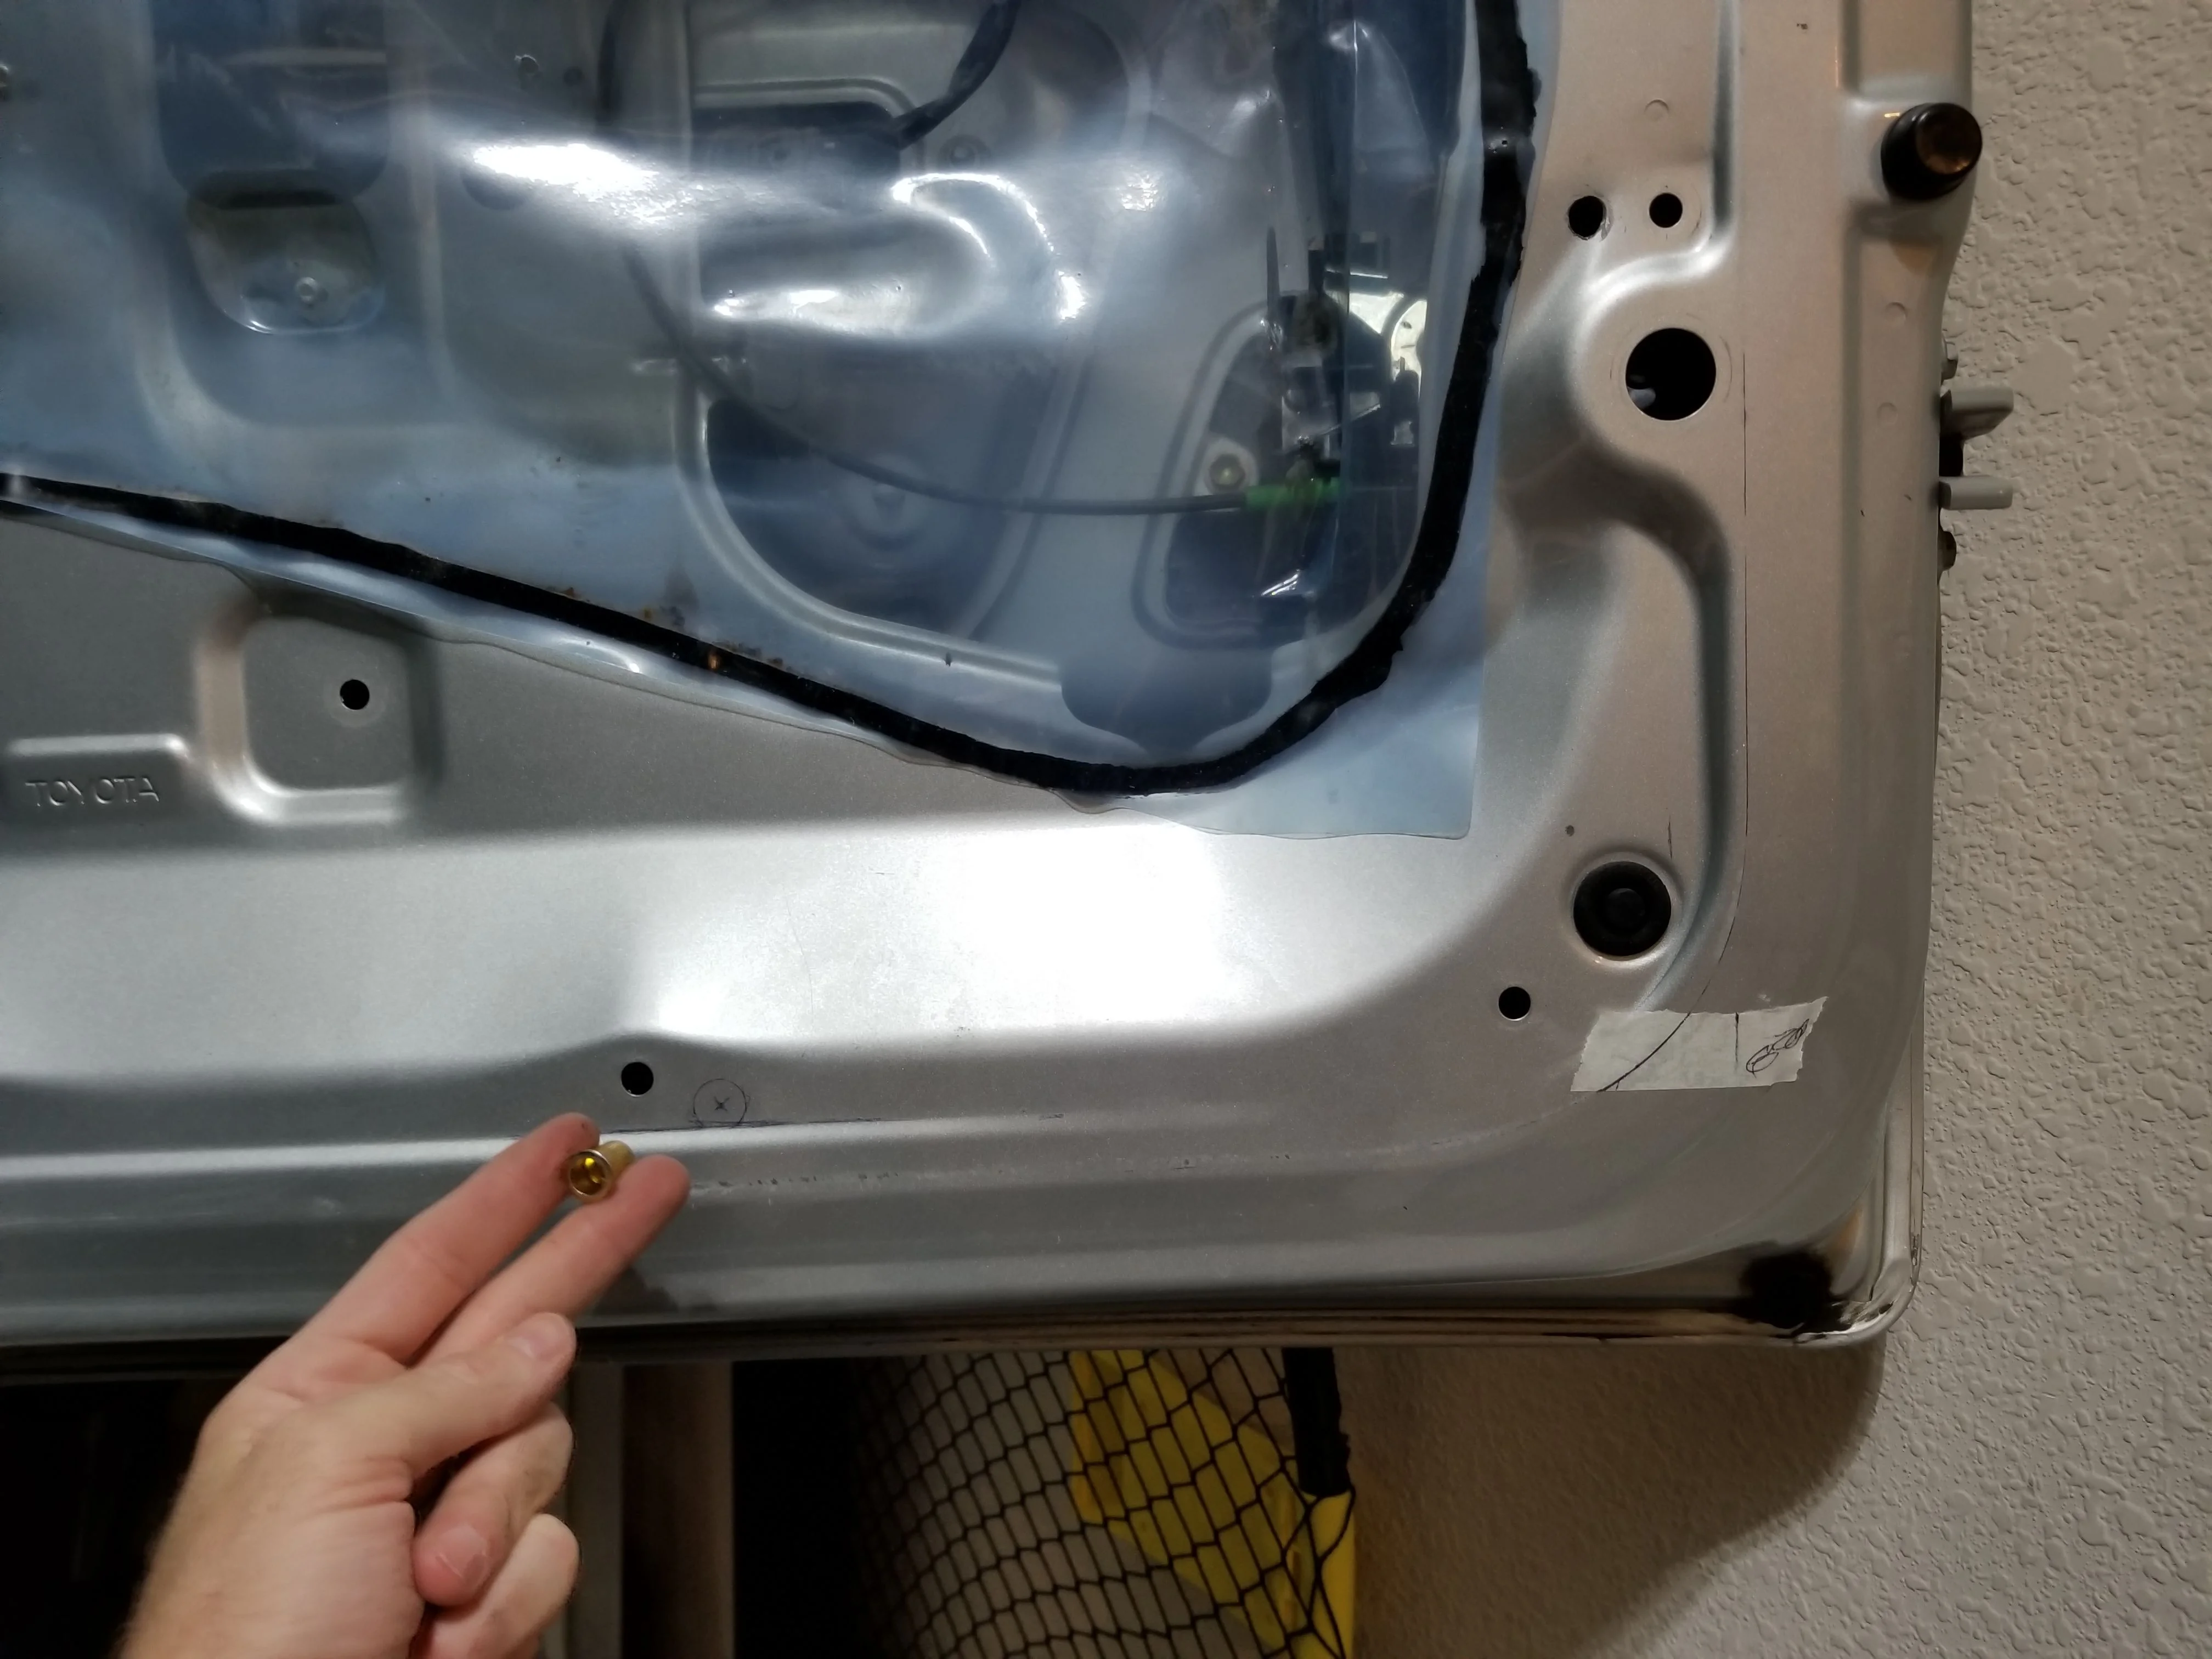
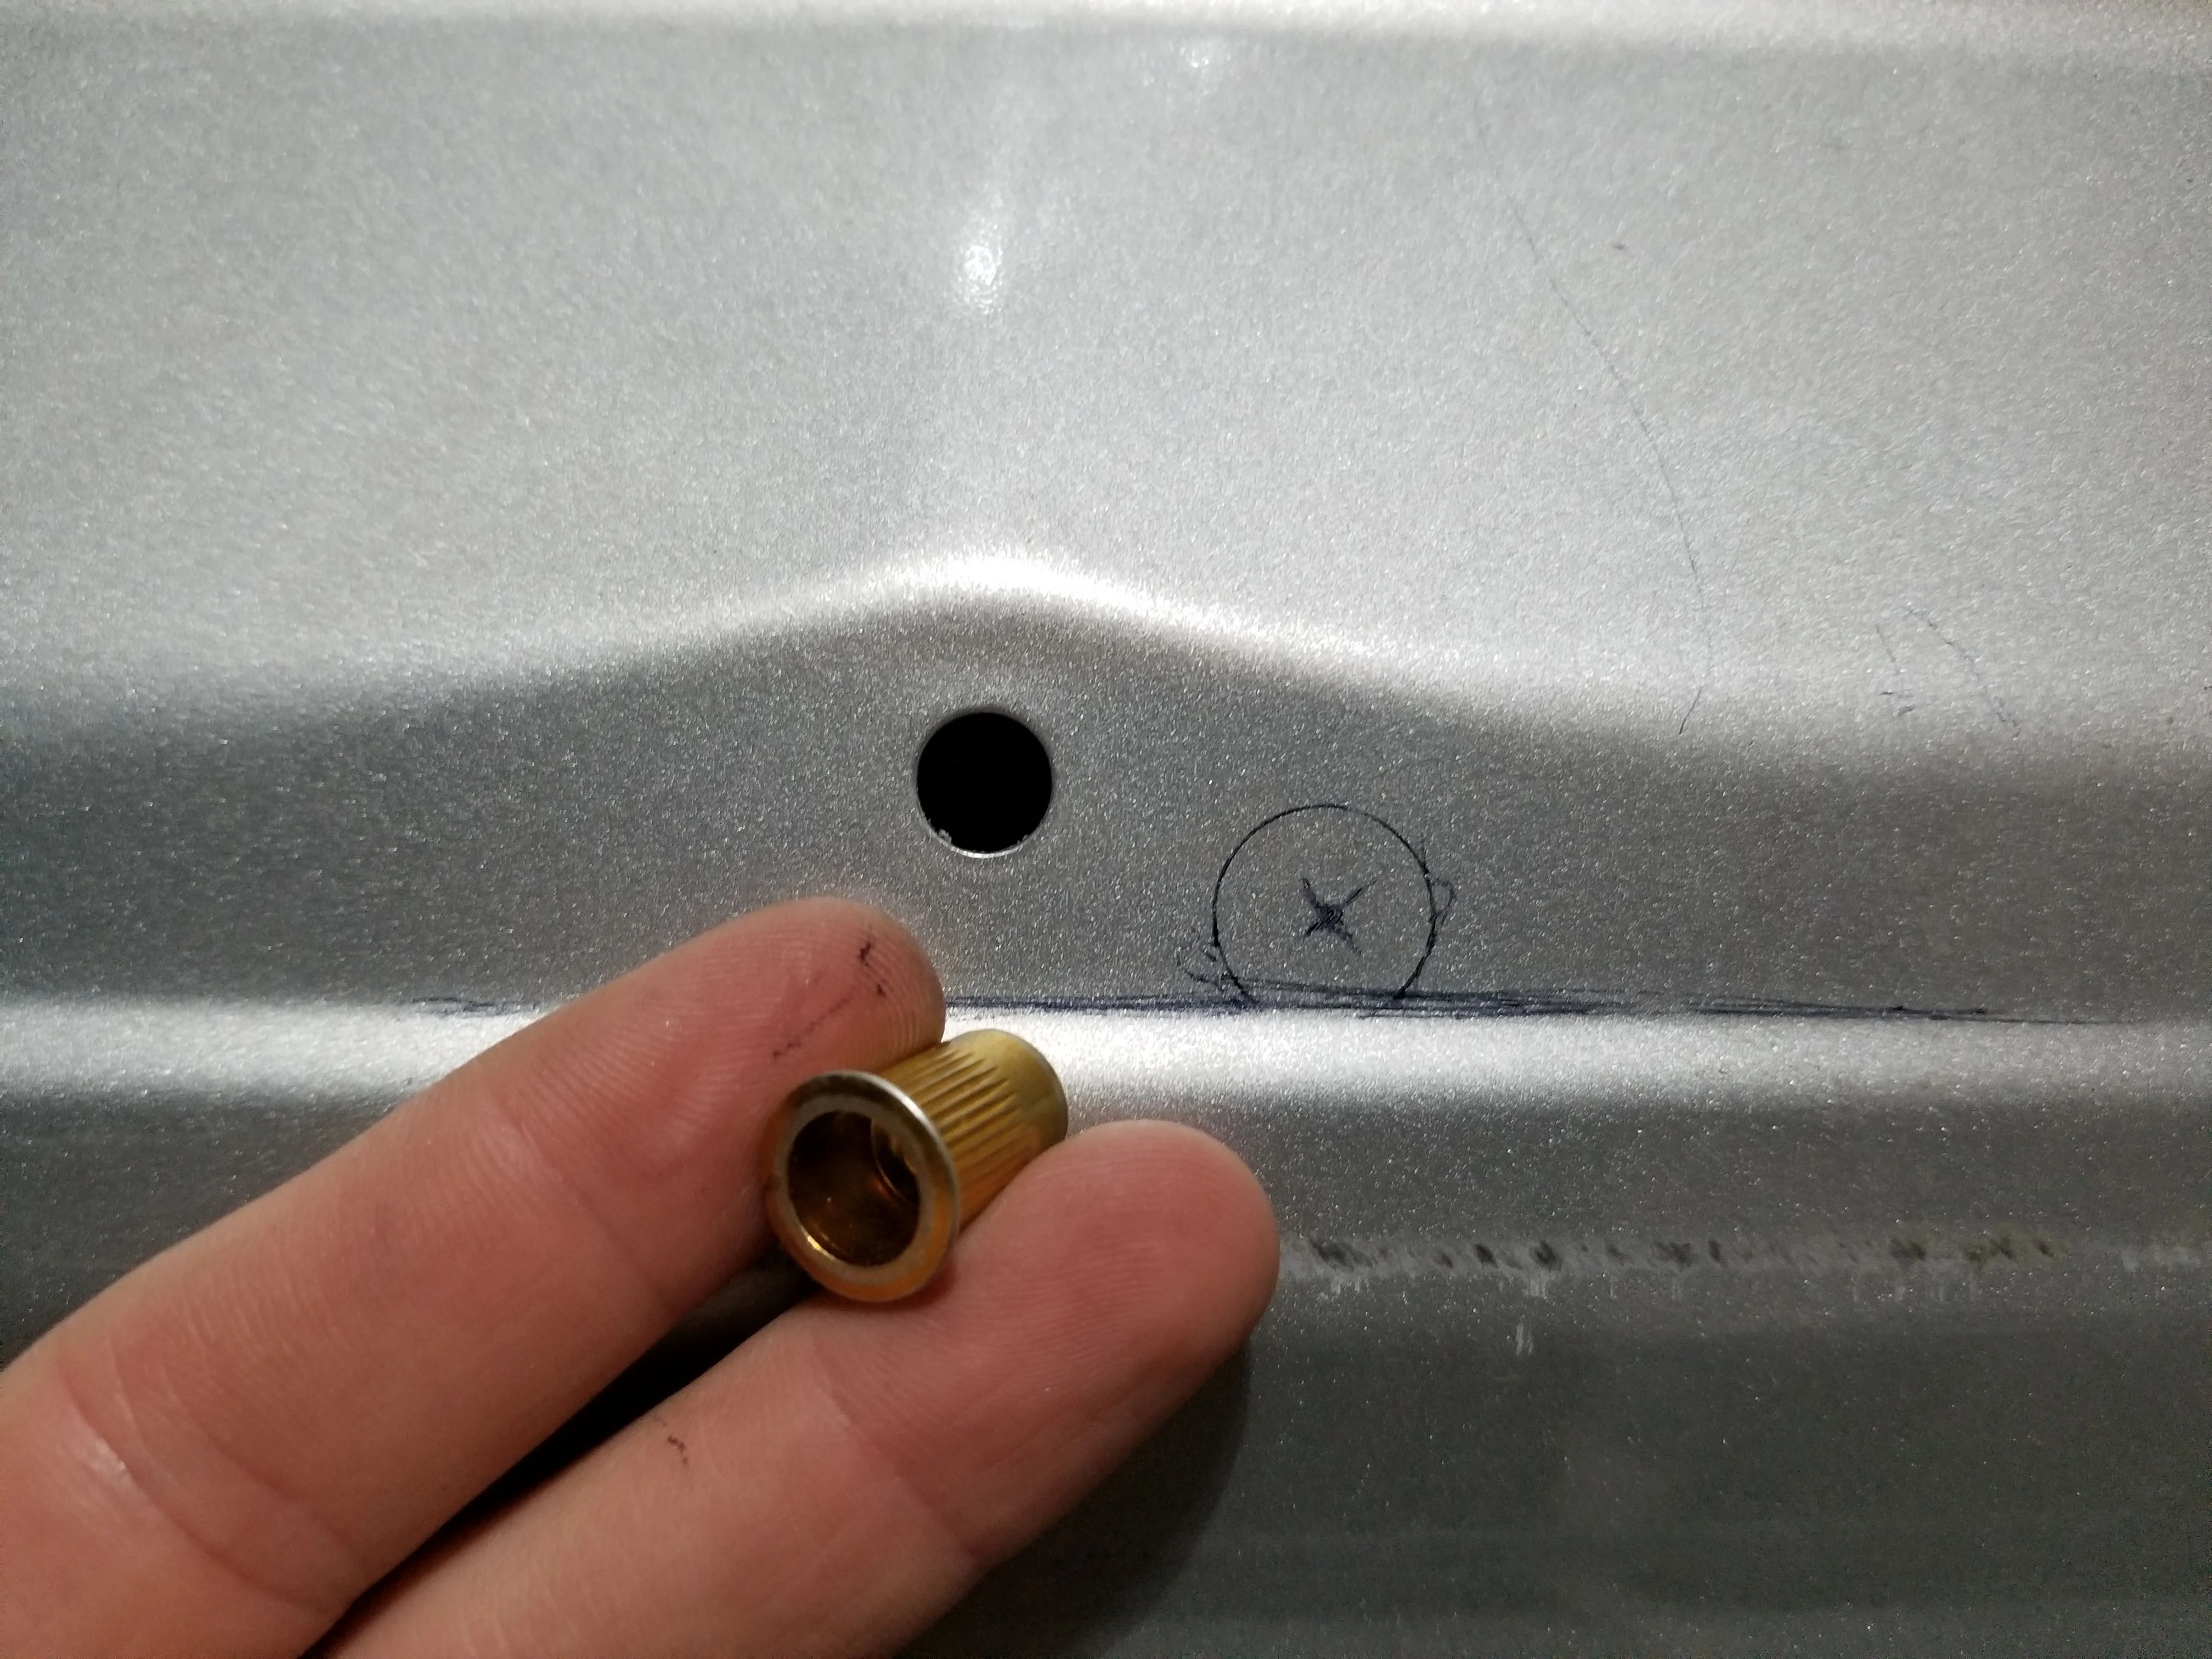
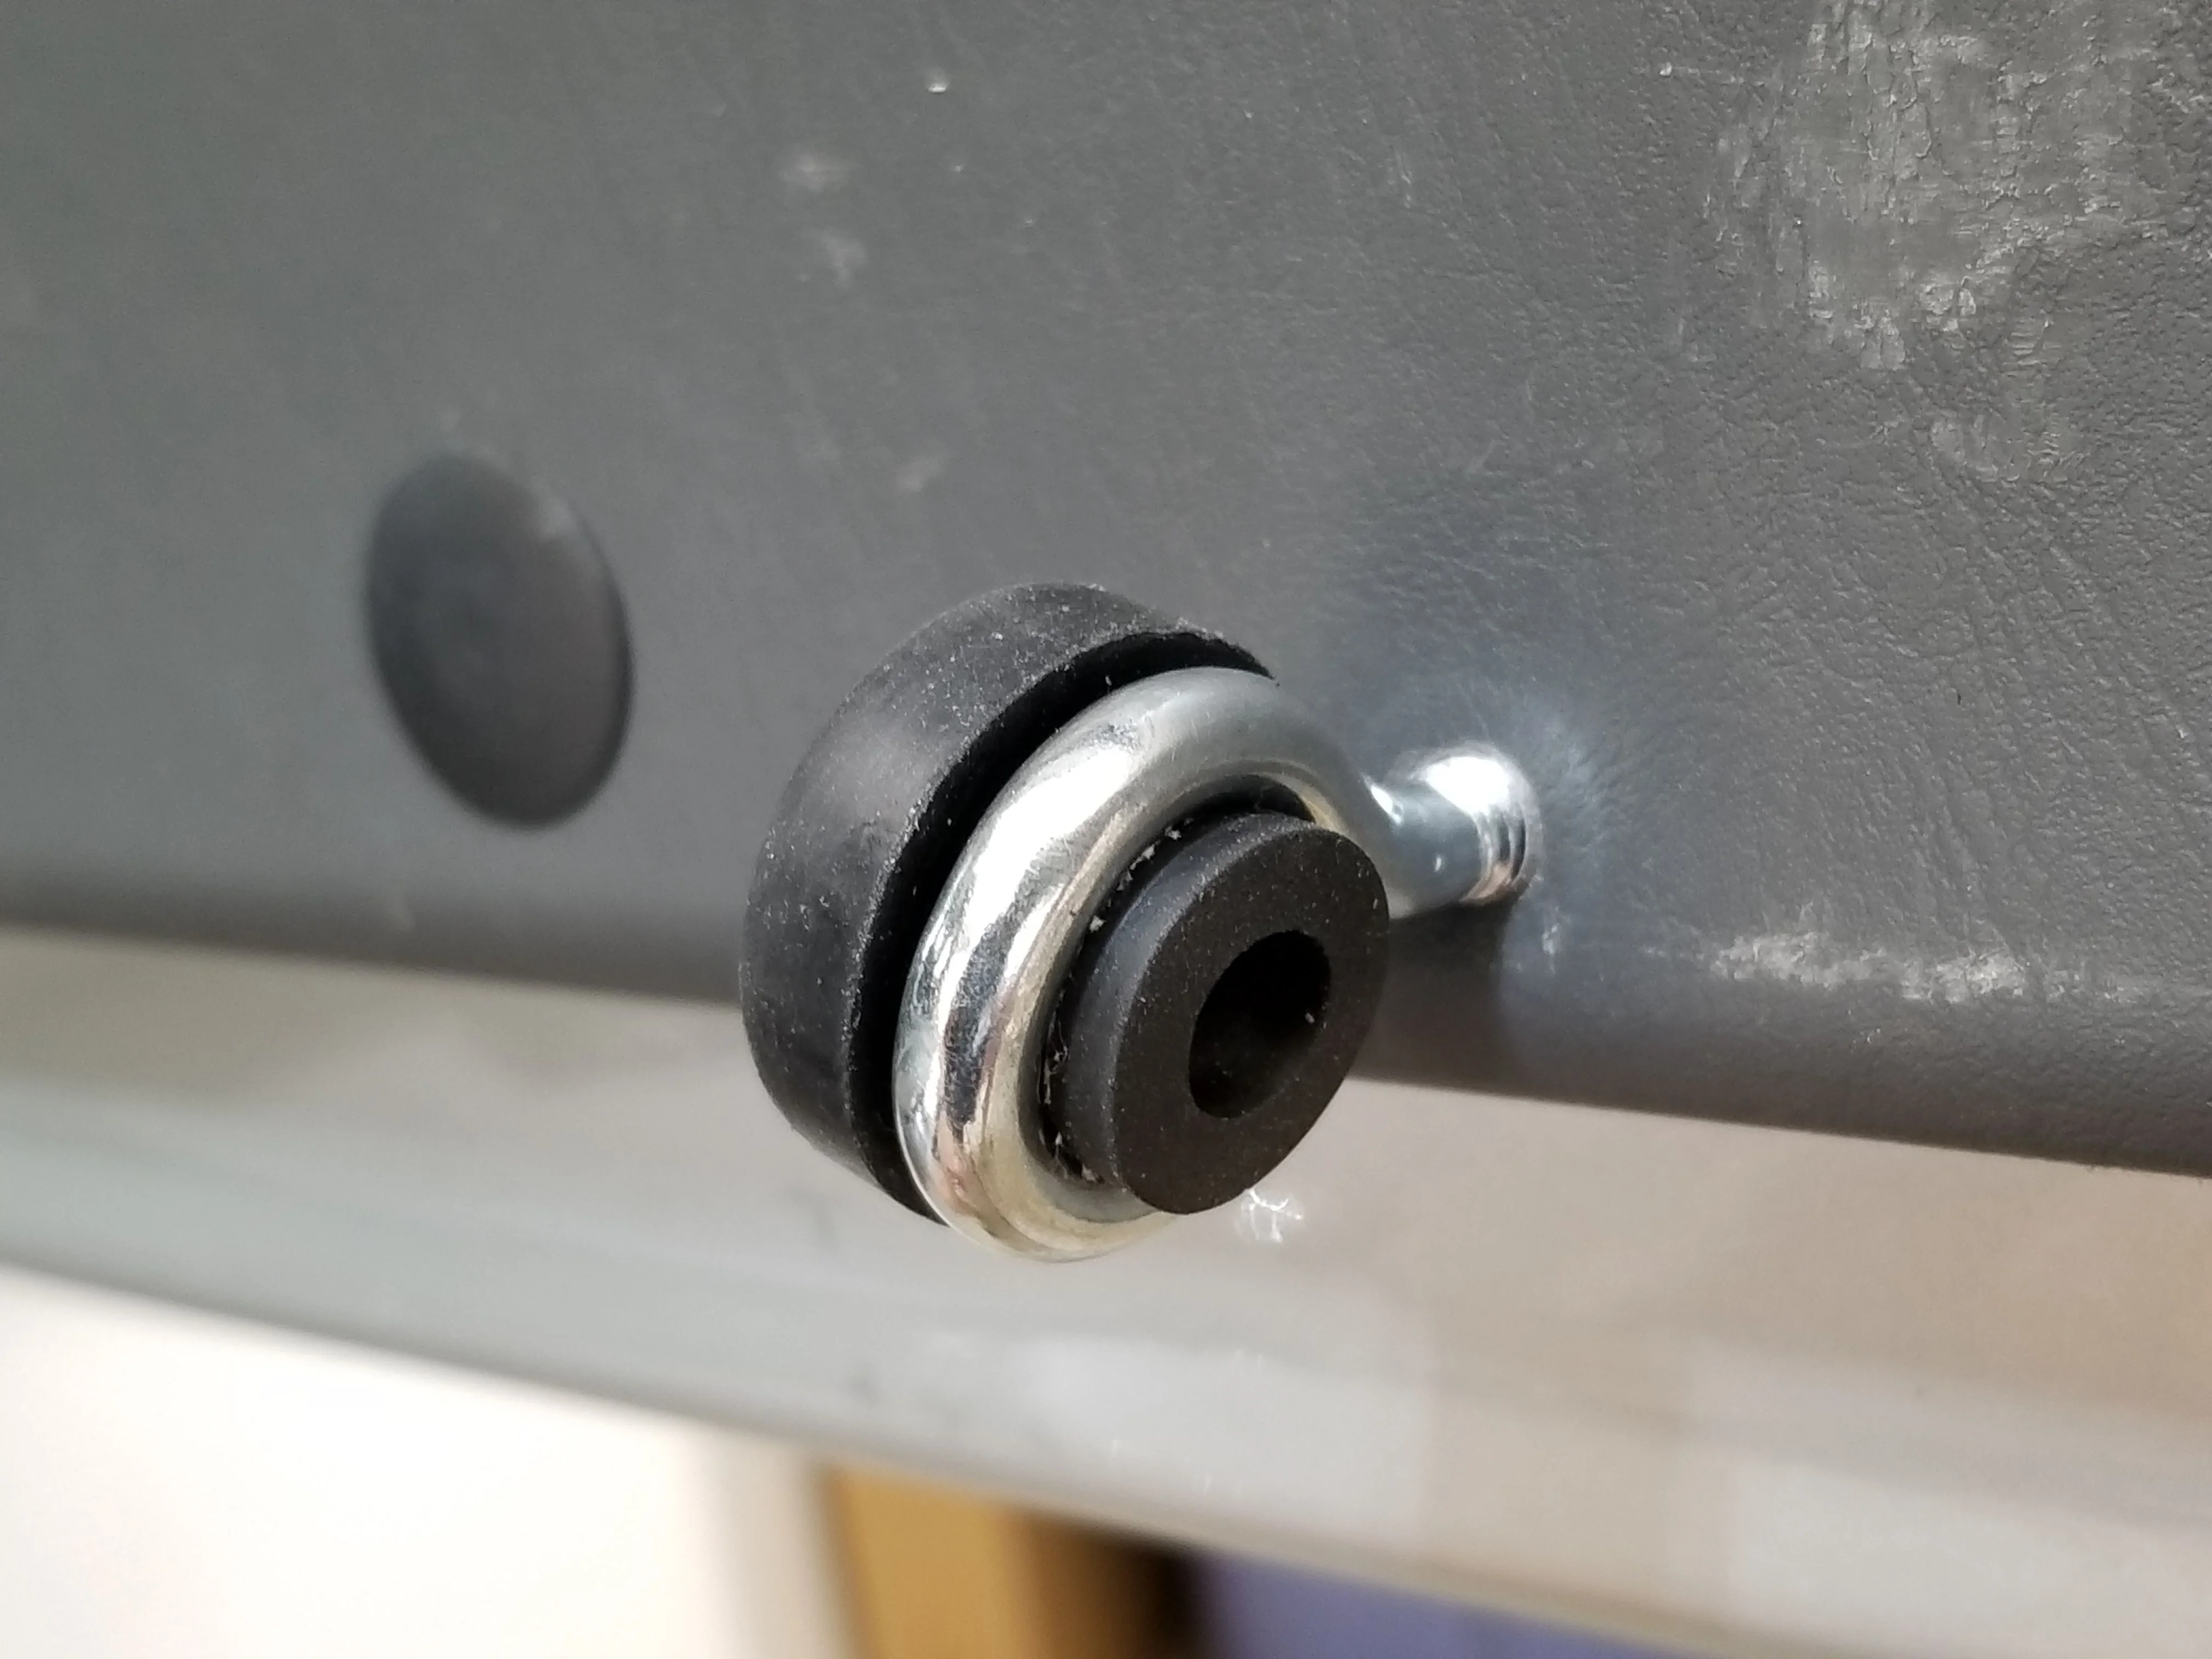
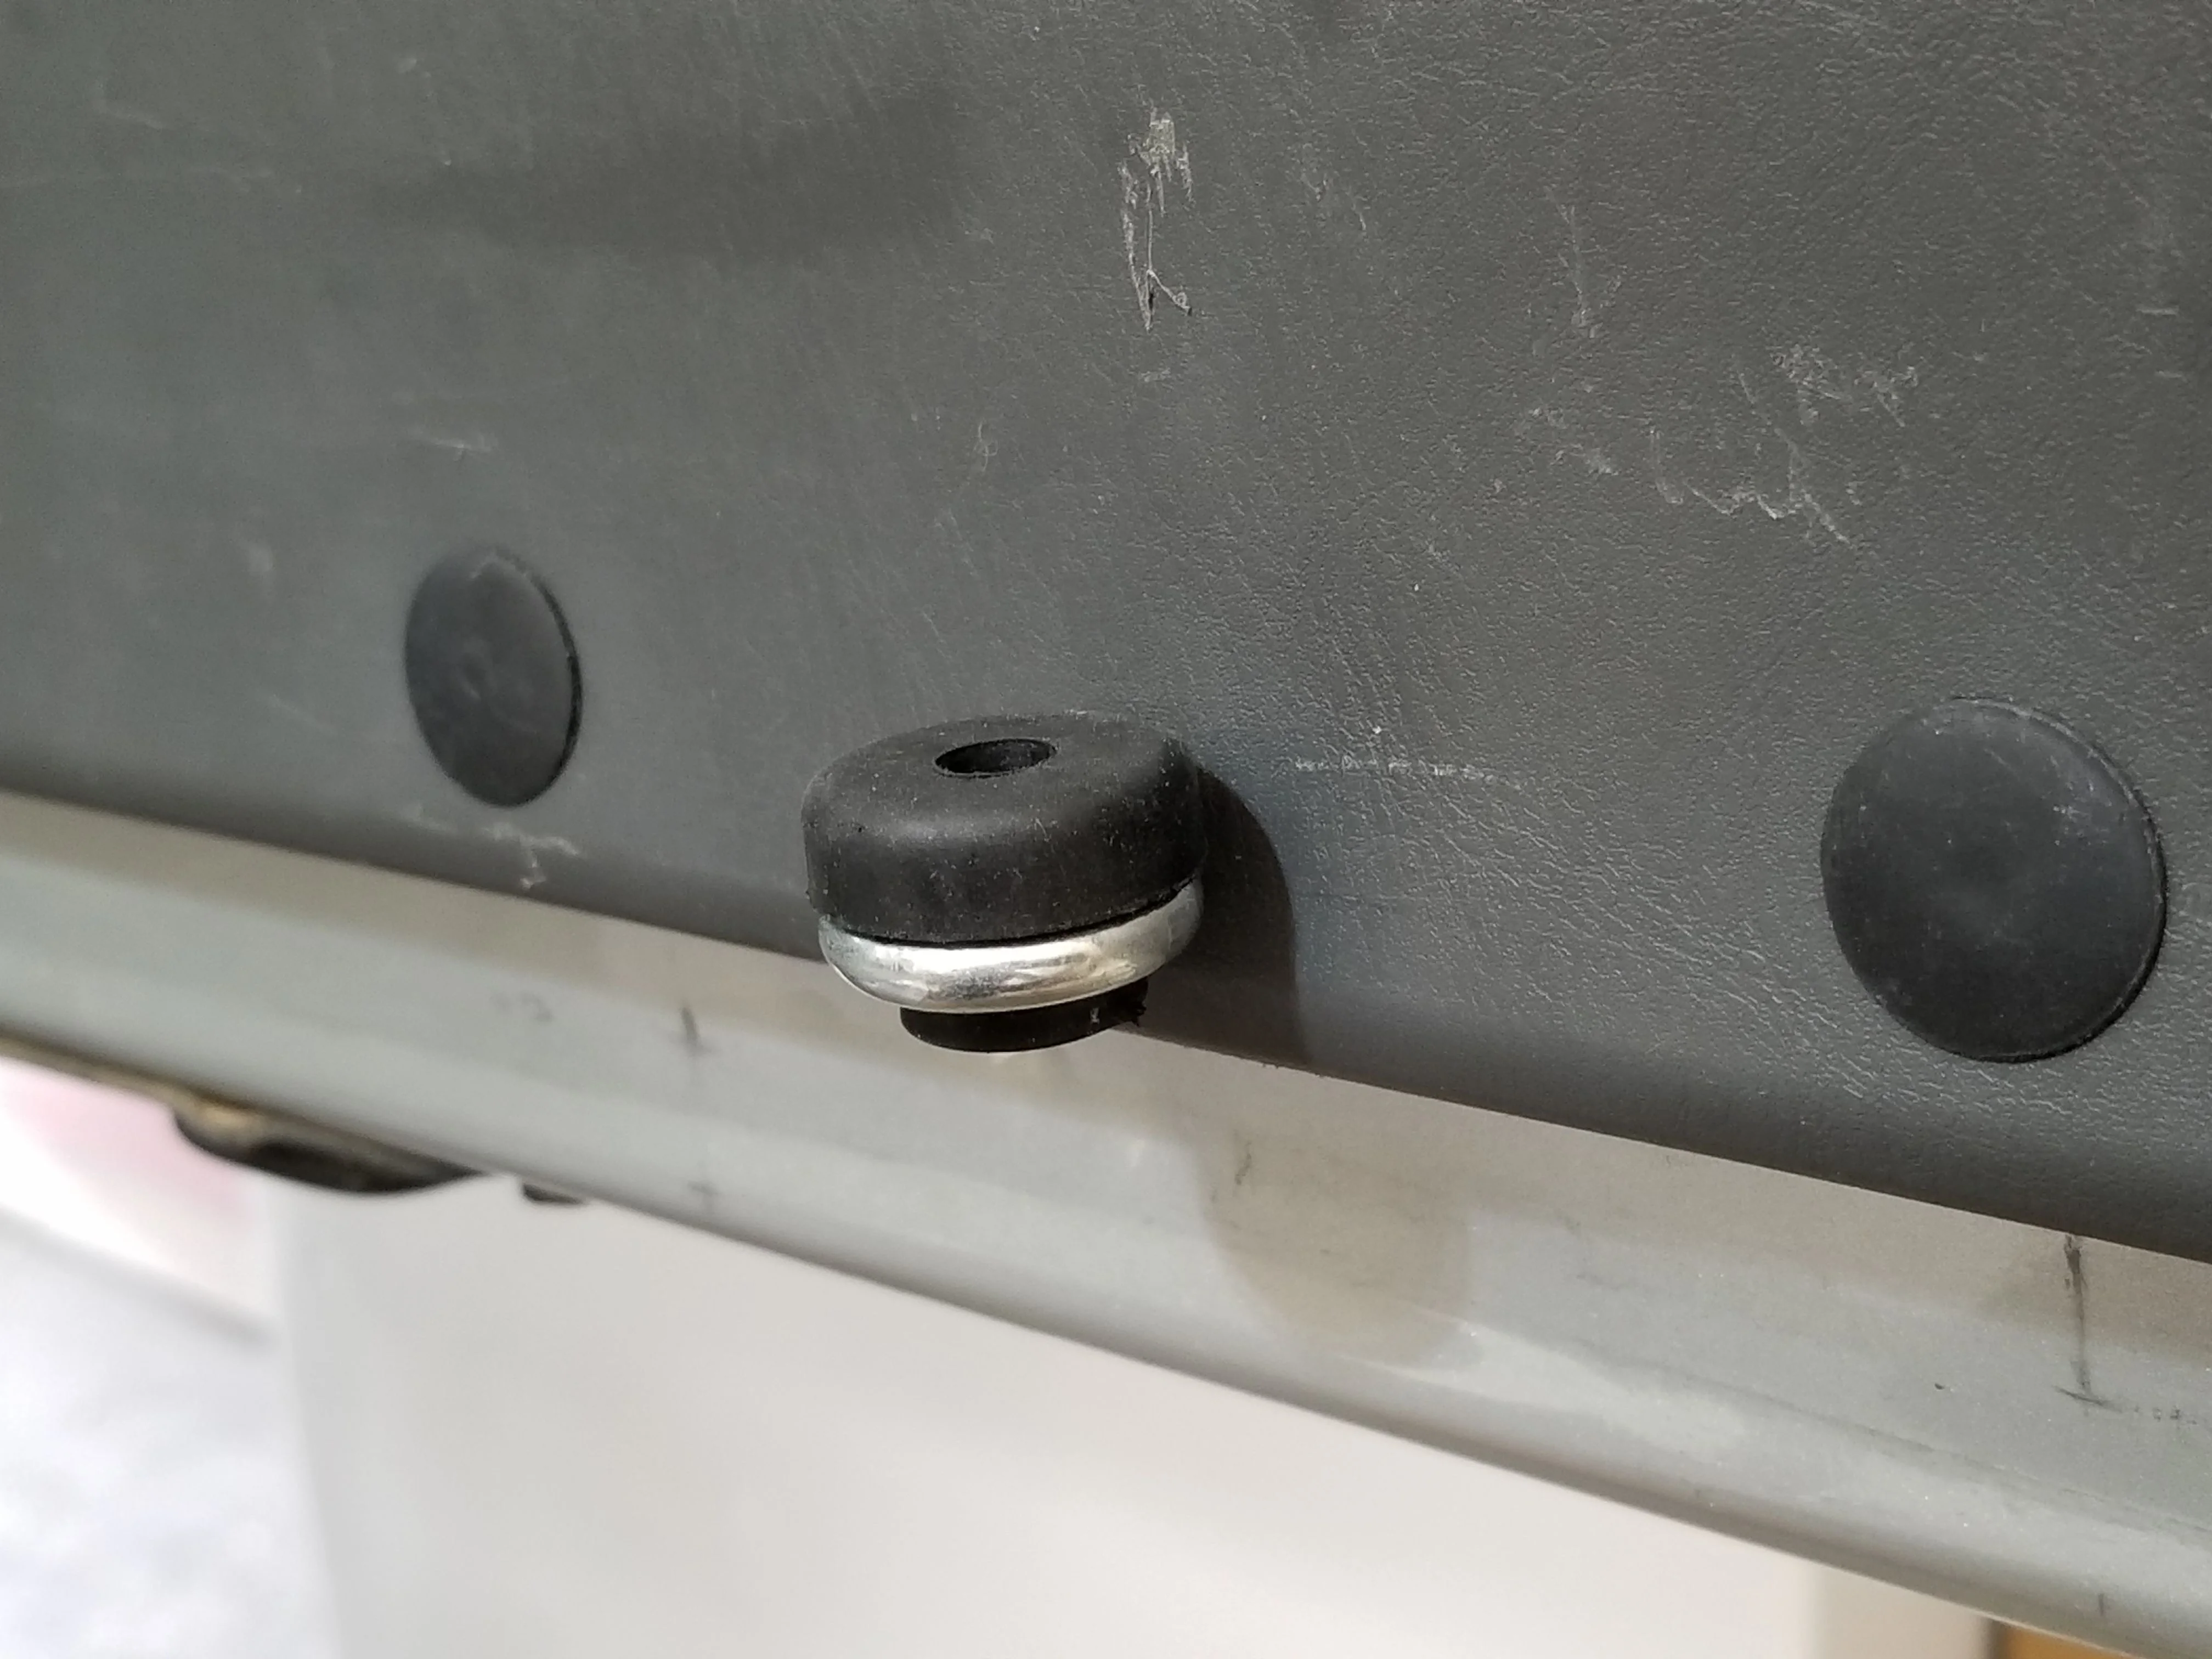
I wanted it to be removable and as flush and "minimalist" as possible. I wanted it to hold a decent amount of weight too, so the quick release button clips are screwed into rivnuts (@DRANGED is where I learned about those) I installed in the metal behind the door panel. I then measured where to drill the holes through the plastic door panel. (Changed anchor location halfway through, drilled too many holes, filled them in with clipped in black trim clips.) I don't have a table saw, so you can see how I used another board as a straight edge guide to cut with a circular saw .
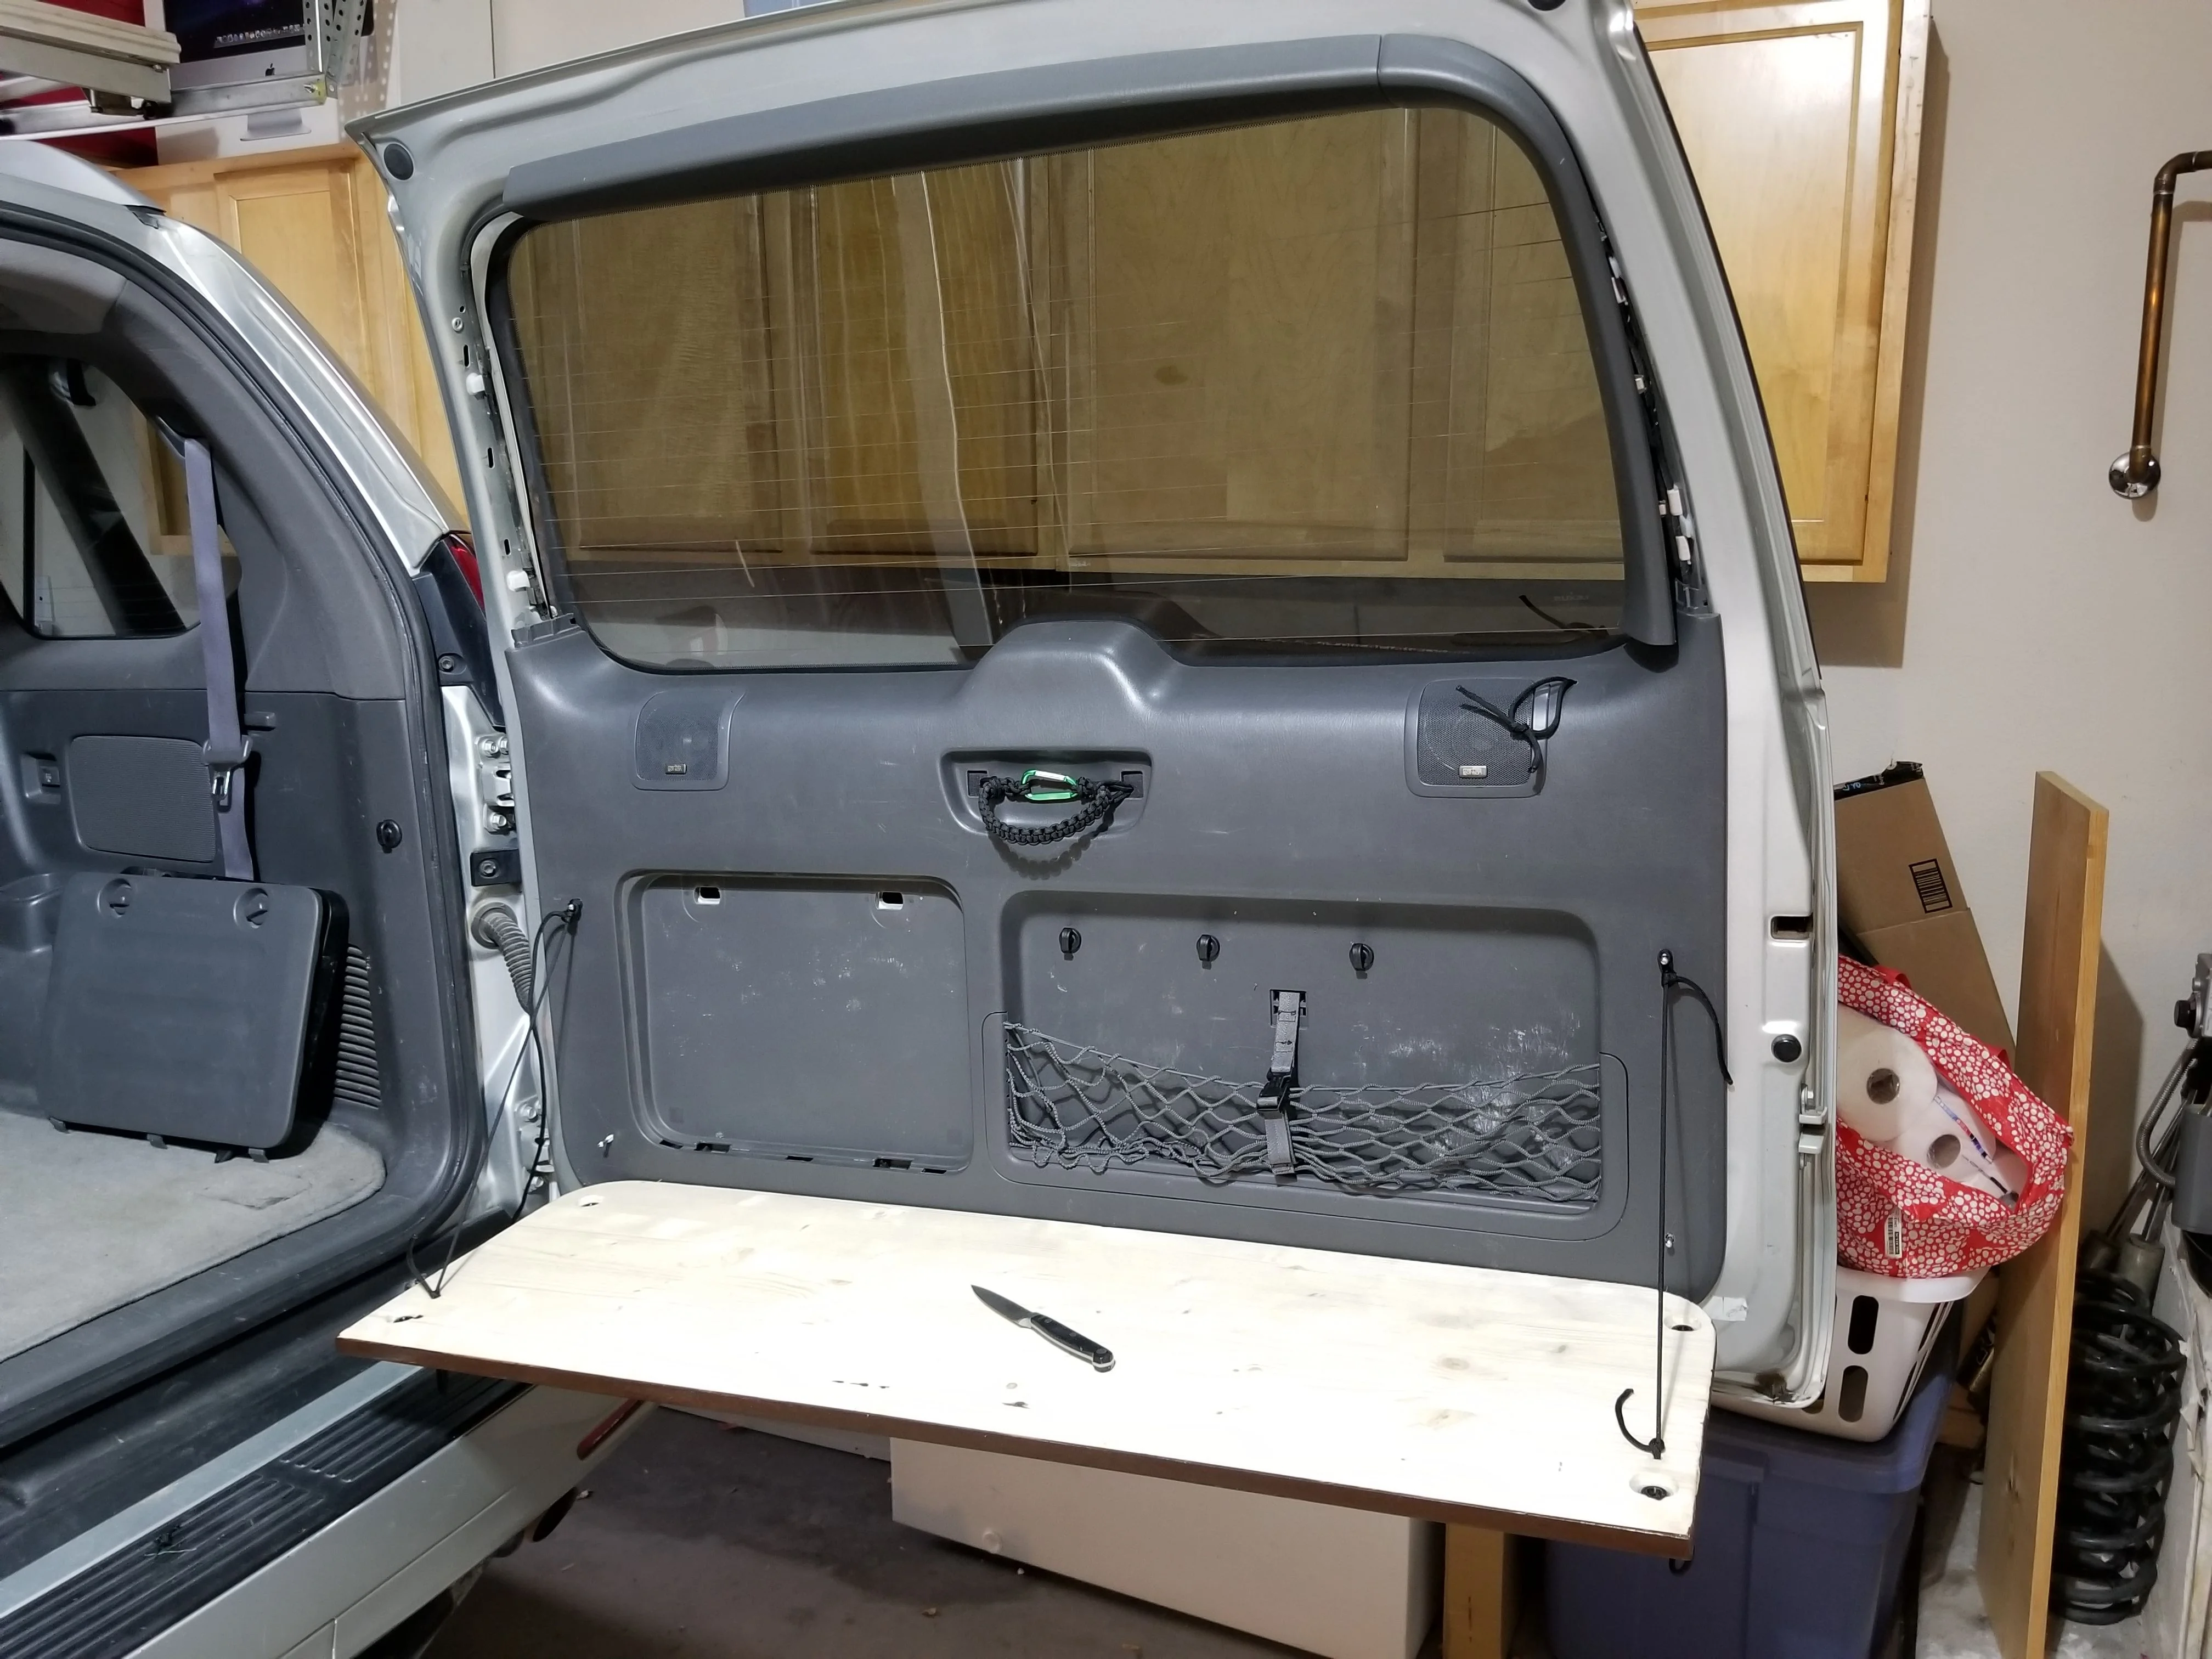
.
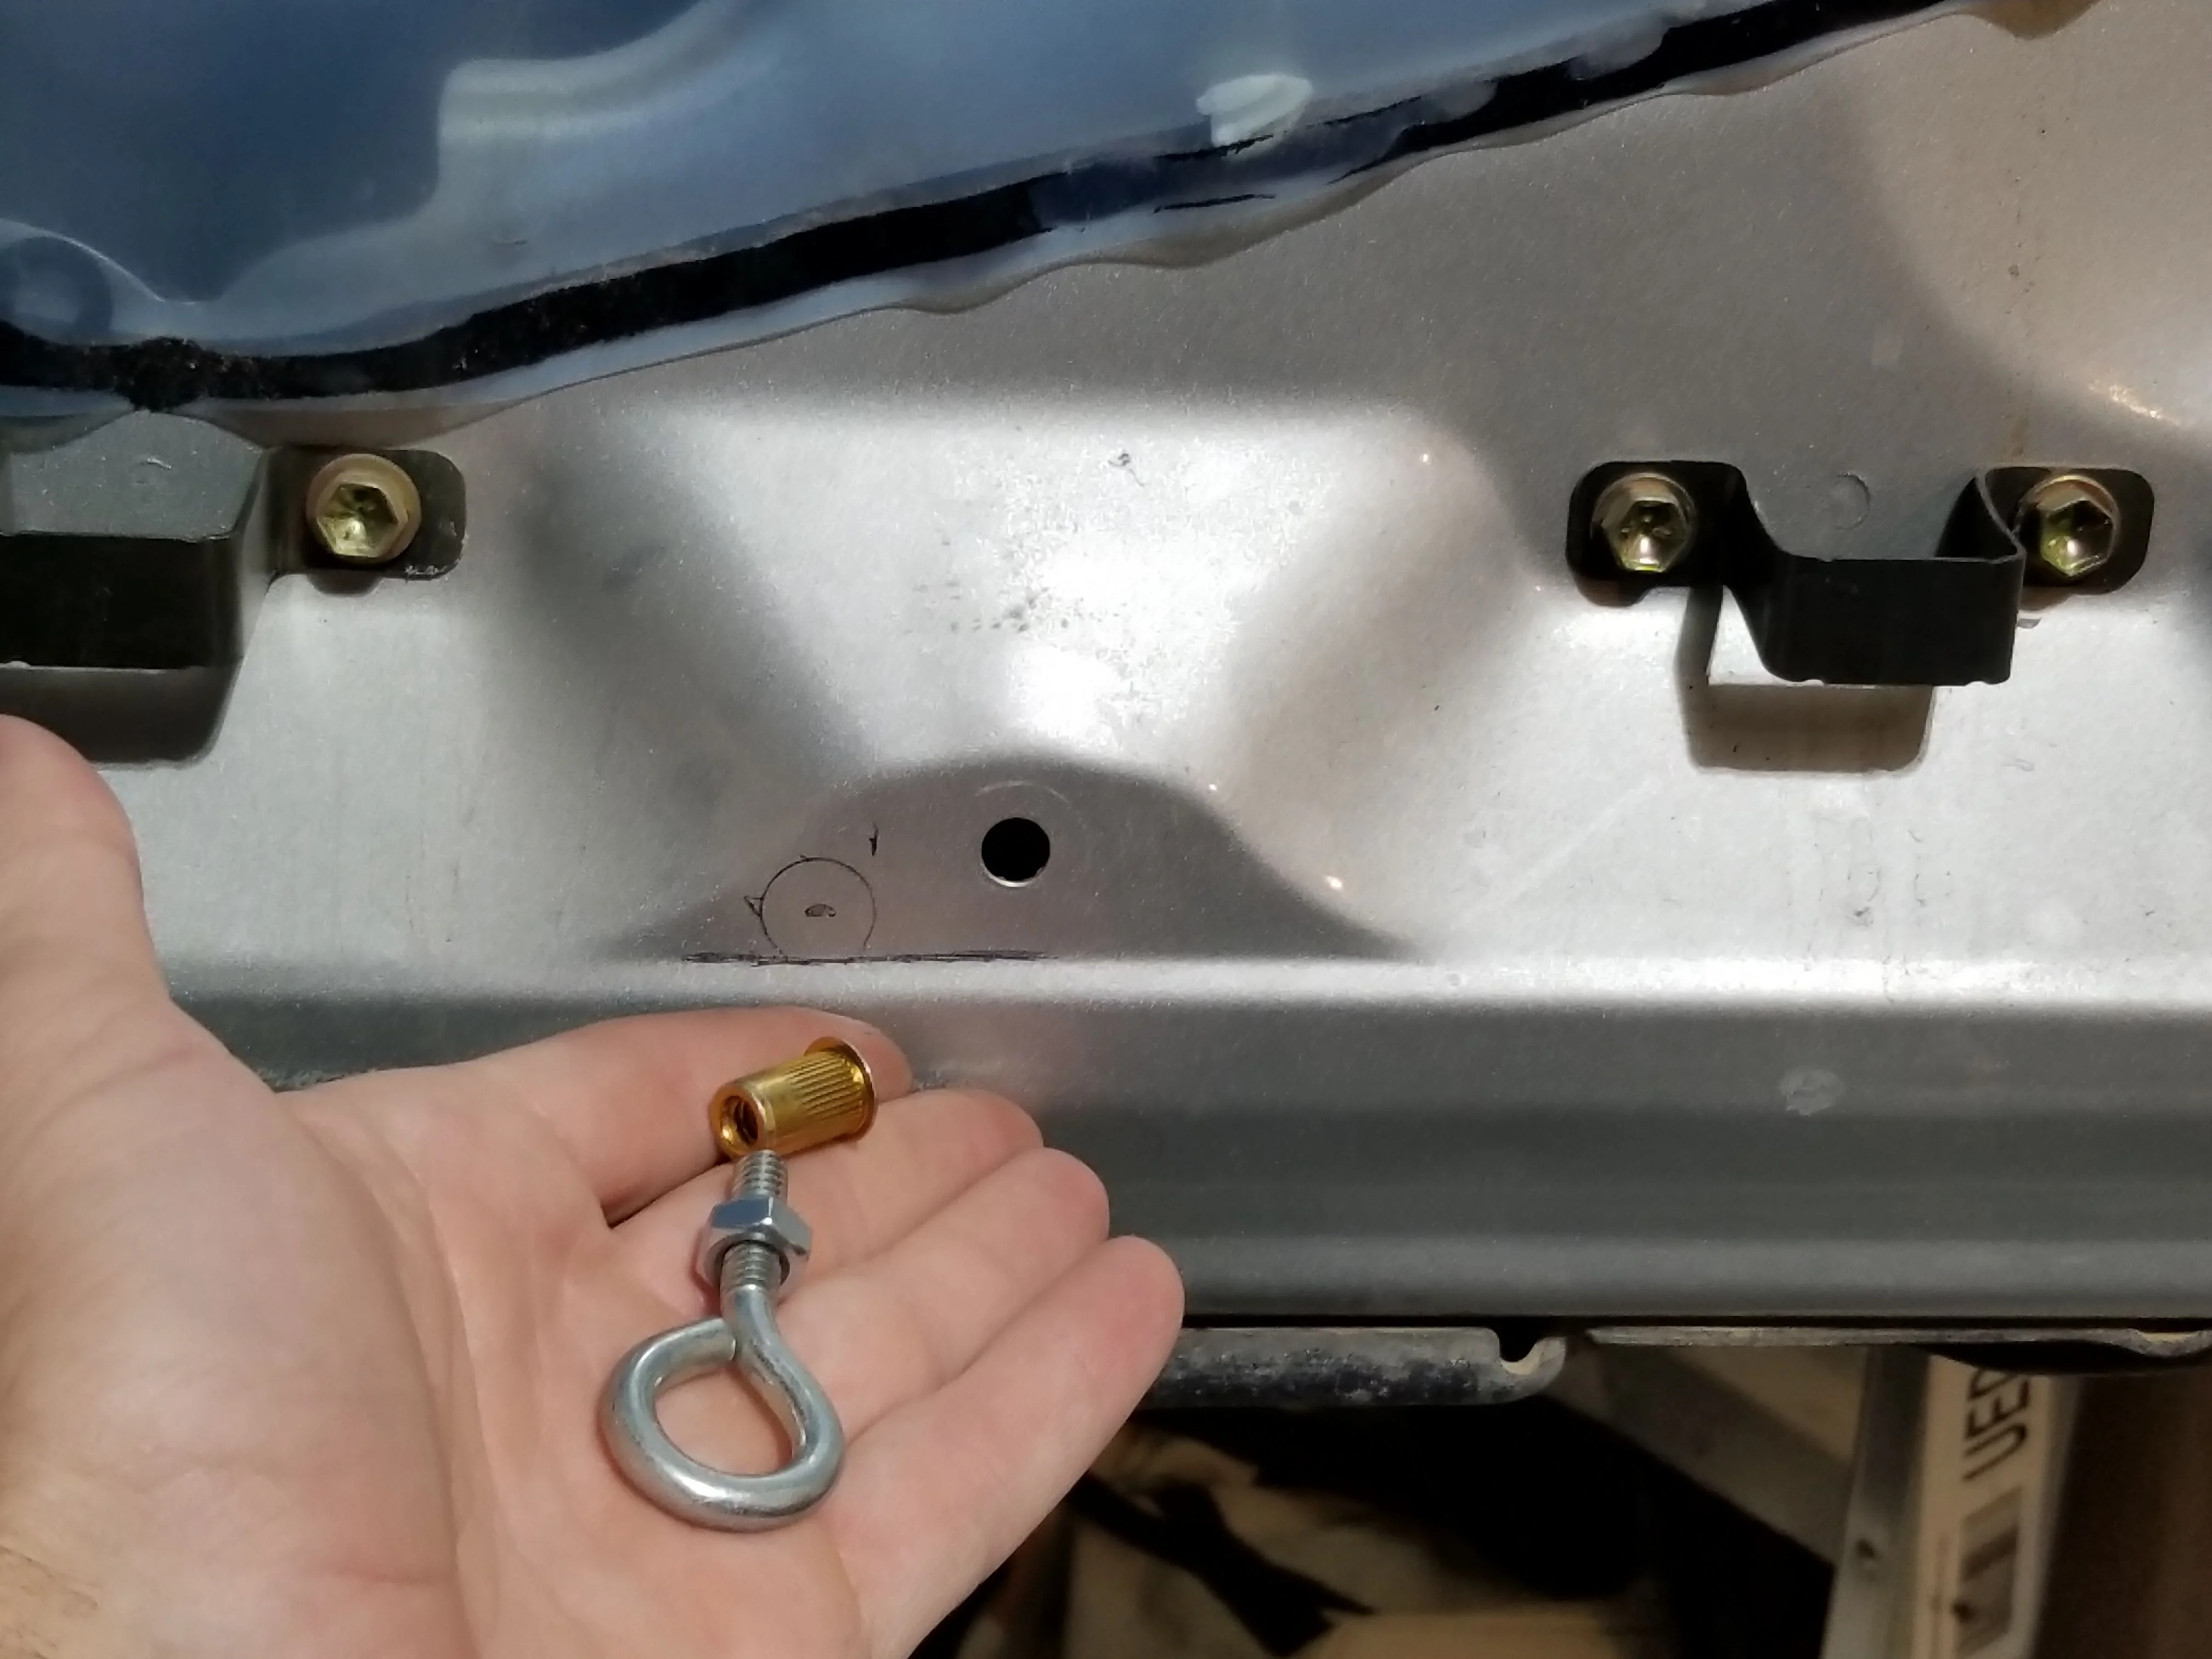
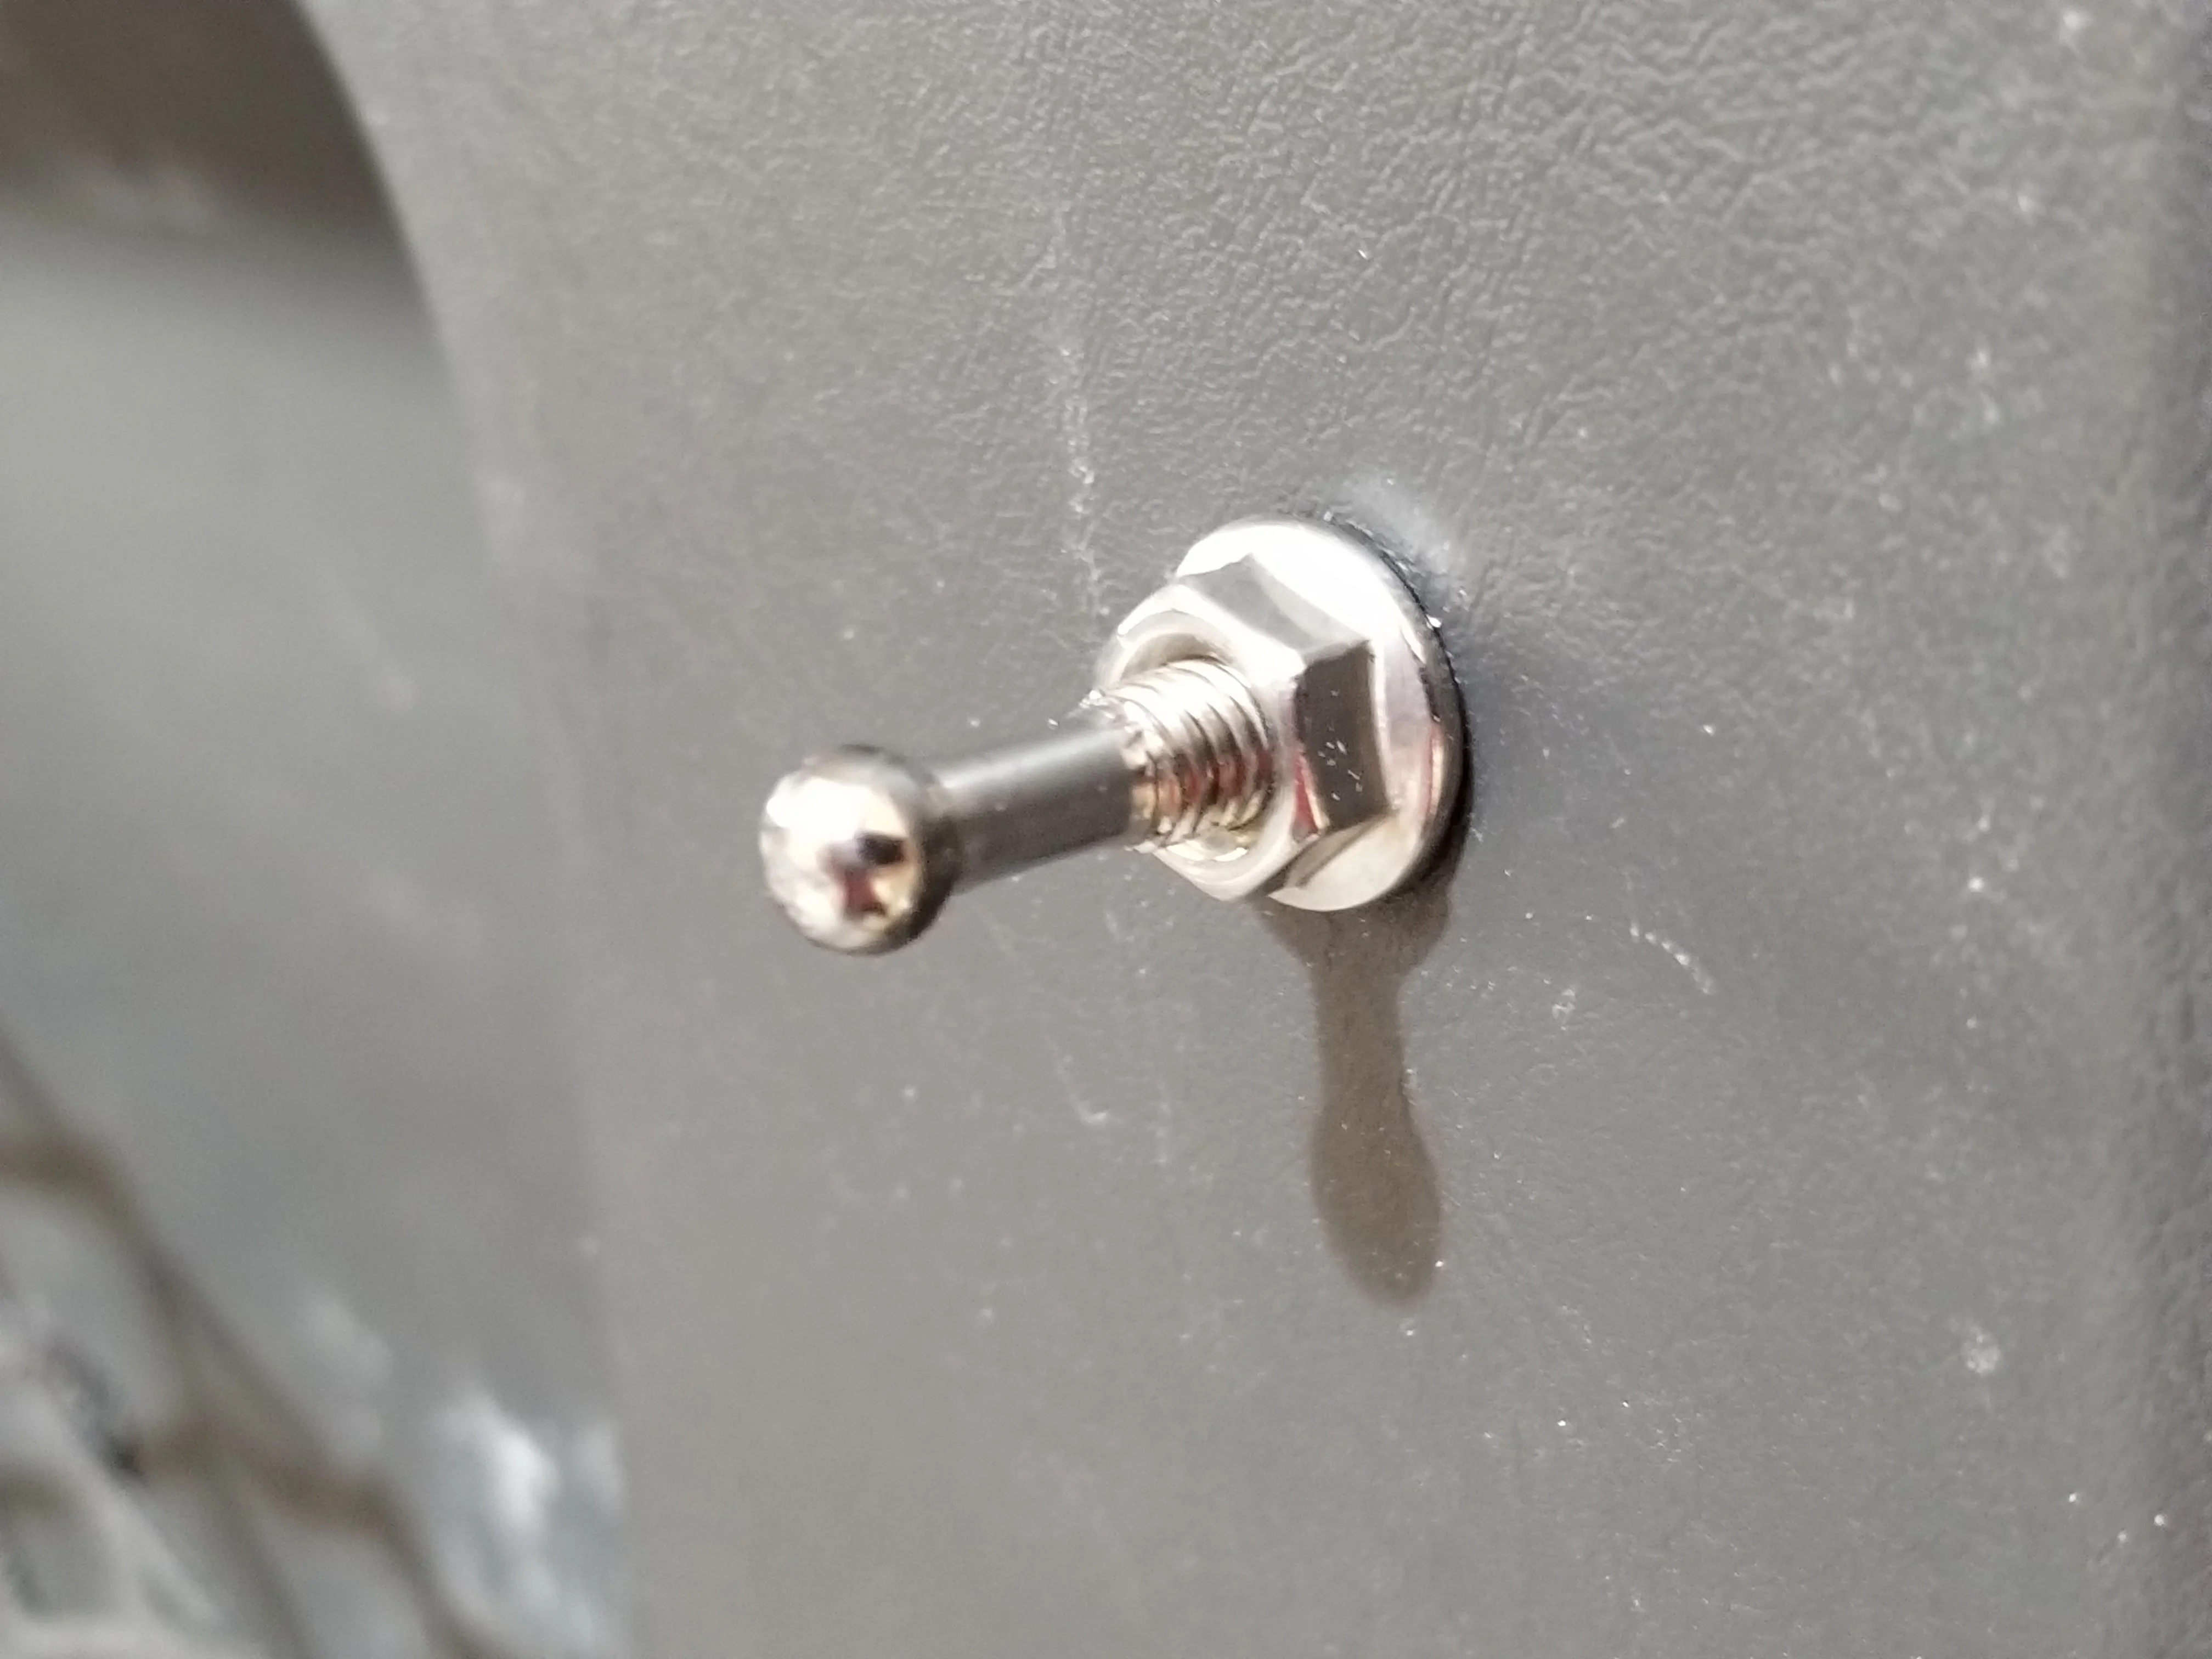
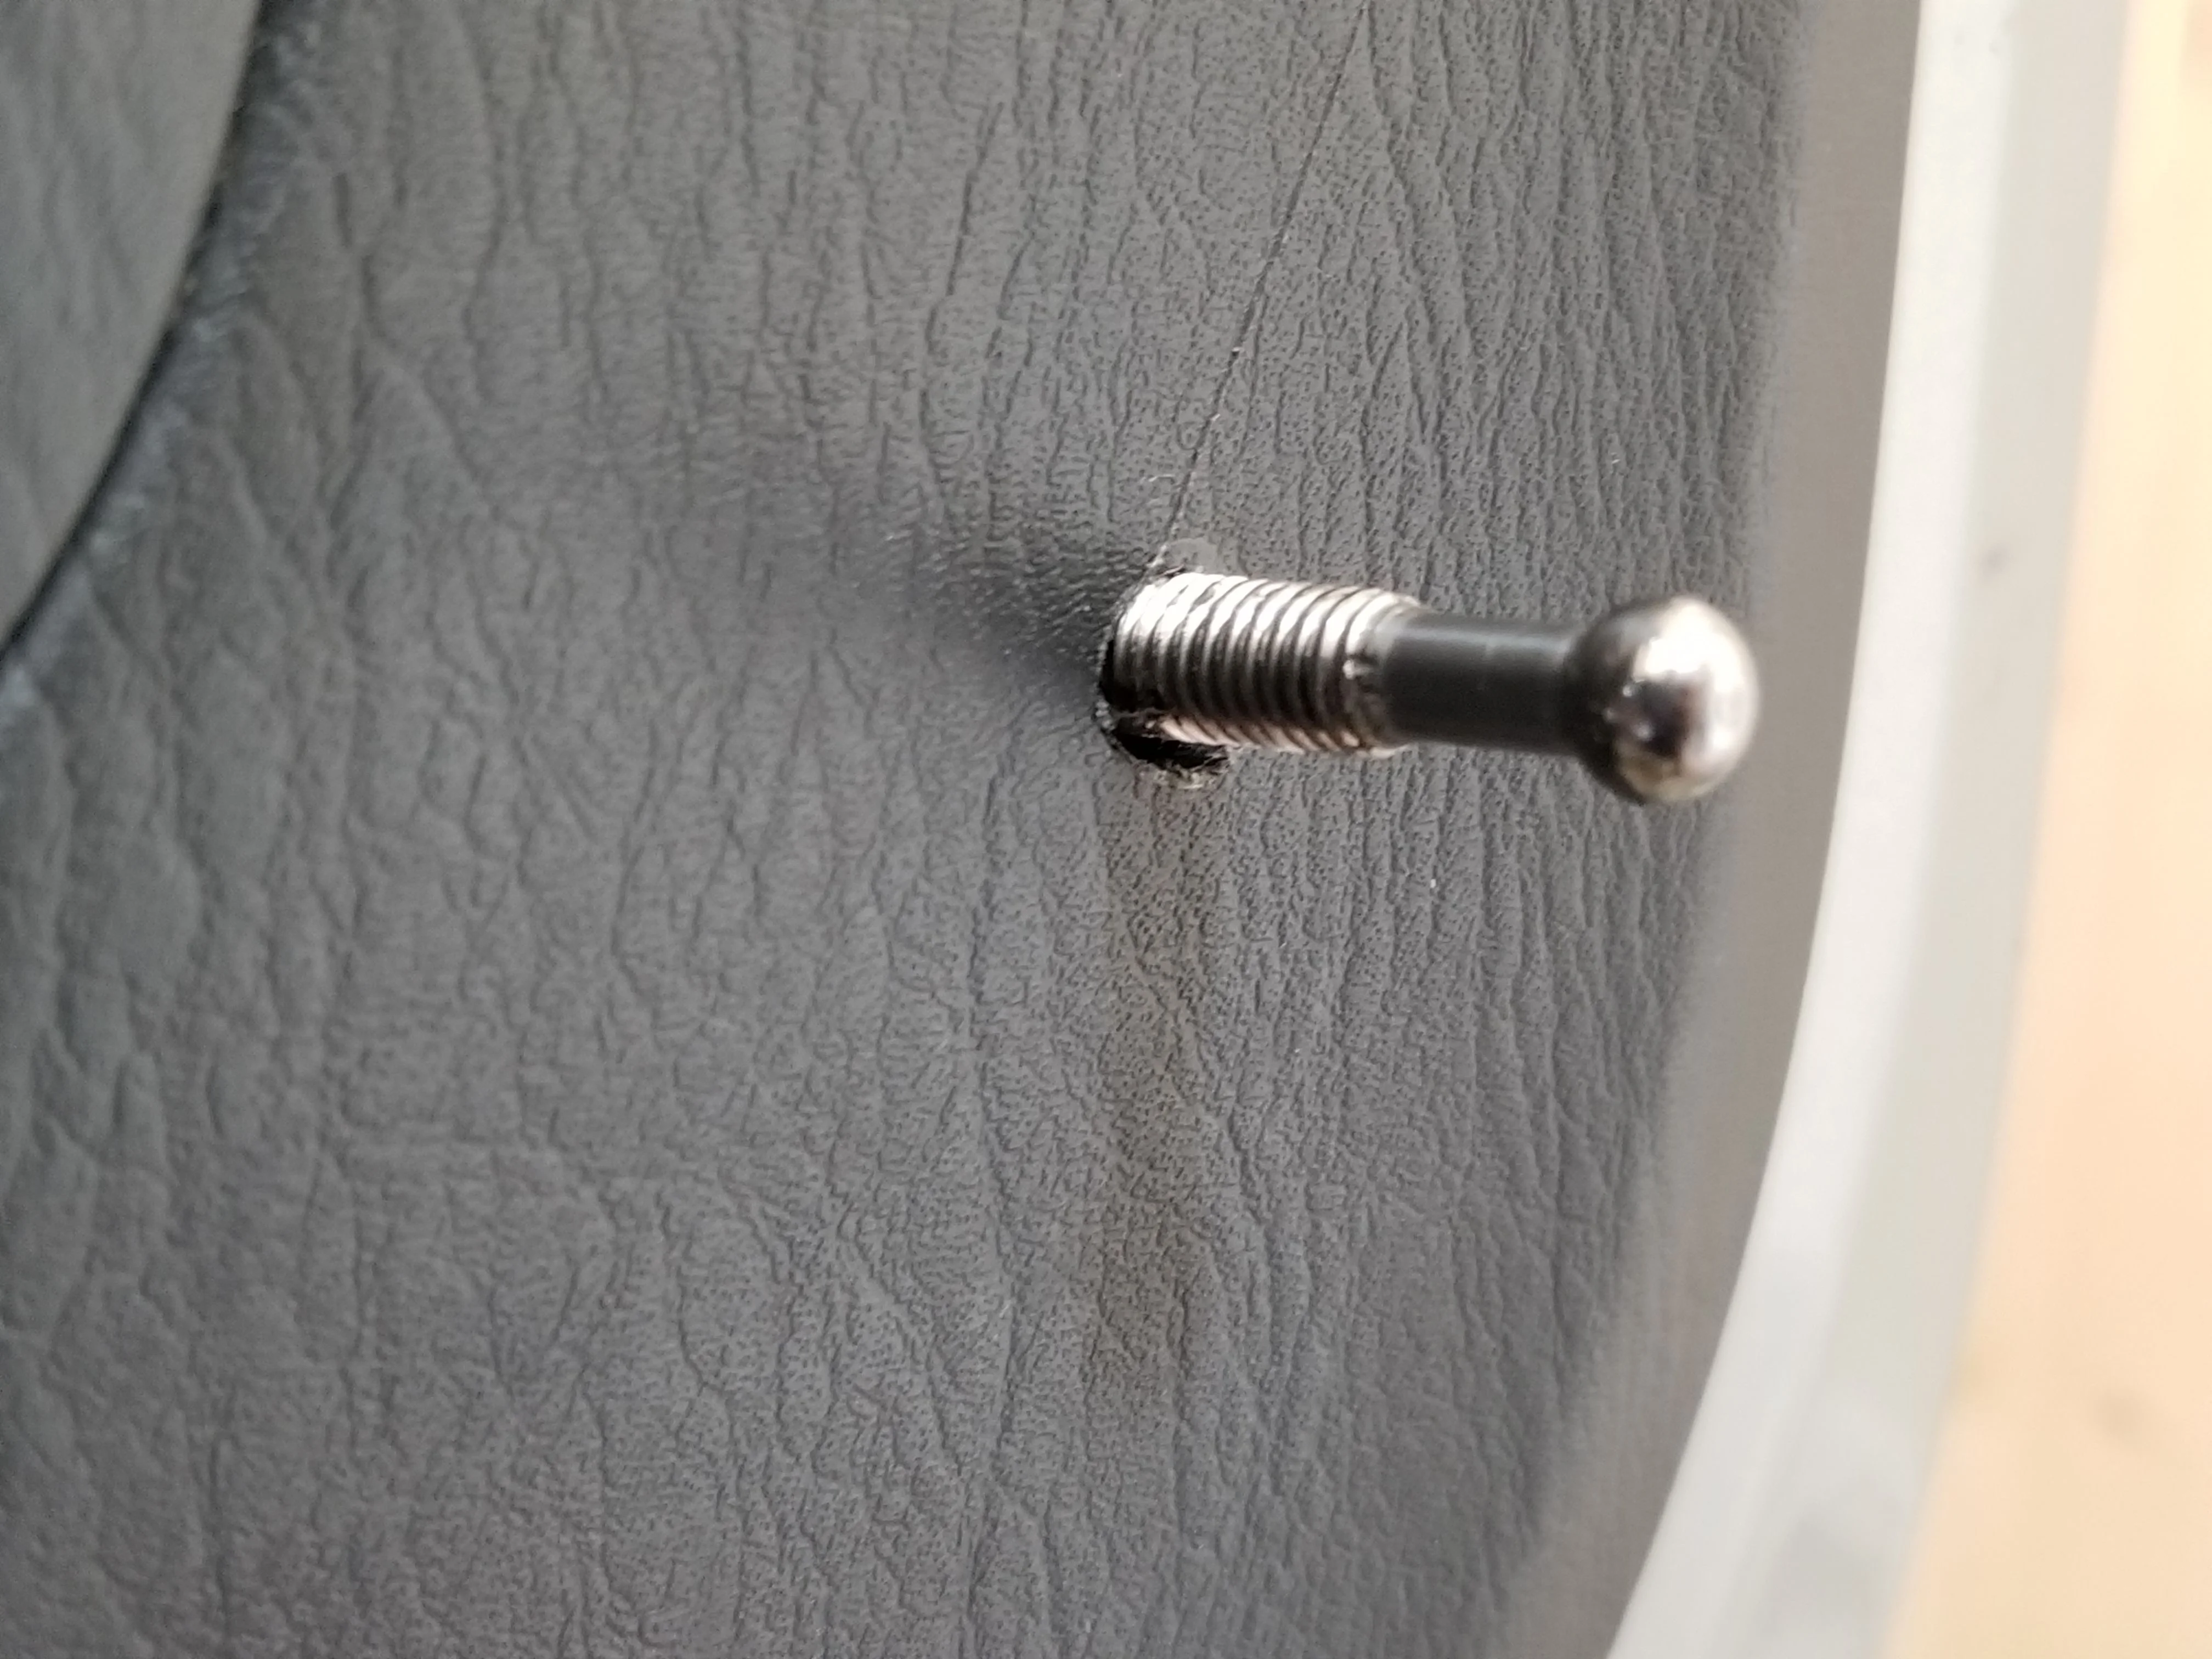
I measured the maximum width table top that would fit with door closed. 44 7/8" by 14" tall. The table works be being unclipped and then folded down... The back side has three carriage bolts that stick out, and these bolts are inserted into the three eye bolts on the bottom to secure the back side of the table (also anchored in metal behind door with rivnuts) I found the perfect rubber grommets that fit in the eye bolts. The grommets secure everything tighter and reduce any type of rattle I would anticipate by loading the bottom of the table with clipped or velcro'd on gear when in the stowed up position. When stowed the table is secured by the 4 quick release button clips AND also rests on the three eye bolts for added support if ever needed.
I'll post some random pics and a video if I can figure the video out.
youtube link of it in action:
Small modification/install update:
I've see a ton of pro fabricated, and personal made rear tables. I've liked a lot of the ideas of some of them and tried to put some of them together. Like my rear cargo/bed platform I wanted it to be 100% removable. I'm weird like that
. And with the third row seating installed and in use, we'll still be able to fit the perfect sized cooler in there that we found. The table is all done, I still plan on adding some clip on storage to the underside of the table to hold random stuff, probably a molle panel and small bags??Cost:
$10. I bought some random hardware + rubber grommets.
$20 for quick release button clips.
$20 for wood
$2 for mineral oil
(Everything else I had on hand or my neighbor - paracord, stain)
Construction:
I wanted it to be removable and as flush and "minimalist" as possible. I wanted it to hold a decent amount of weight too, so the quick release button clips are screwed into rivnuts (@DRANGED is where I learned about those) I installed in the metal behind the door panel. I then measured where to drill the holes through the plastic door panel. (Changed anchor location halfway through, drilled too many holes, filled them in with clipped in black trim clips.) I don't have a table saw, so you can see how I used another board as a straight edge guide to cut with a circular saw
.I measured the maximum width table top that would fit with door closed. 44 7/8" by 14" tall. The table works be being unclipped and then folded down... The back side has three carriage bolts that stick out, and these bolts are inserted into the three eye bolts on the bottom to secure the back side of the table (also anchored in metal behind door with rivnuts) I found the perfect rubber grommets that fit in the eye bolts. The grommets secure everything tighter and reduce any type of rattle I would anticipate by loading the bottom of the table with clipped or velcro'd on gear when in the stowed up position. When stowed the table is secured by the 4 quick release button clips AND also rests on the three eye bolts for added support if ever needed
.I'll post some random pics and a video if I can figure the video out.
youtube link of it in action:


Last edited:
Pretty awesome build thread. Glad I stumbled upon it!!!
Oh man is this a great idea for a minimalist board. This is a shameless placeholder...
Great Build and plenty of inspiration once I pick up my 470
- Thread starter
- #55
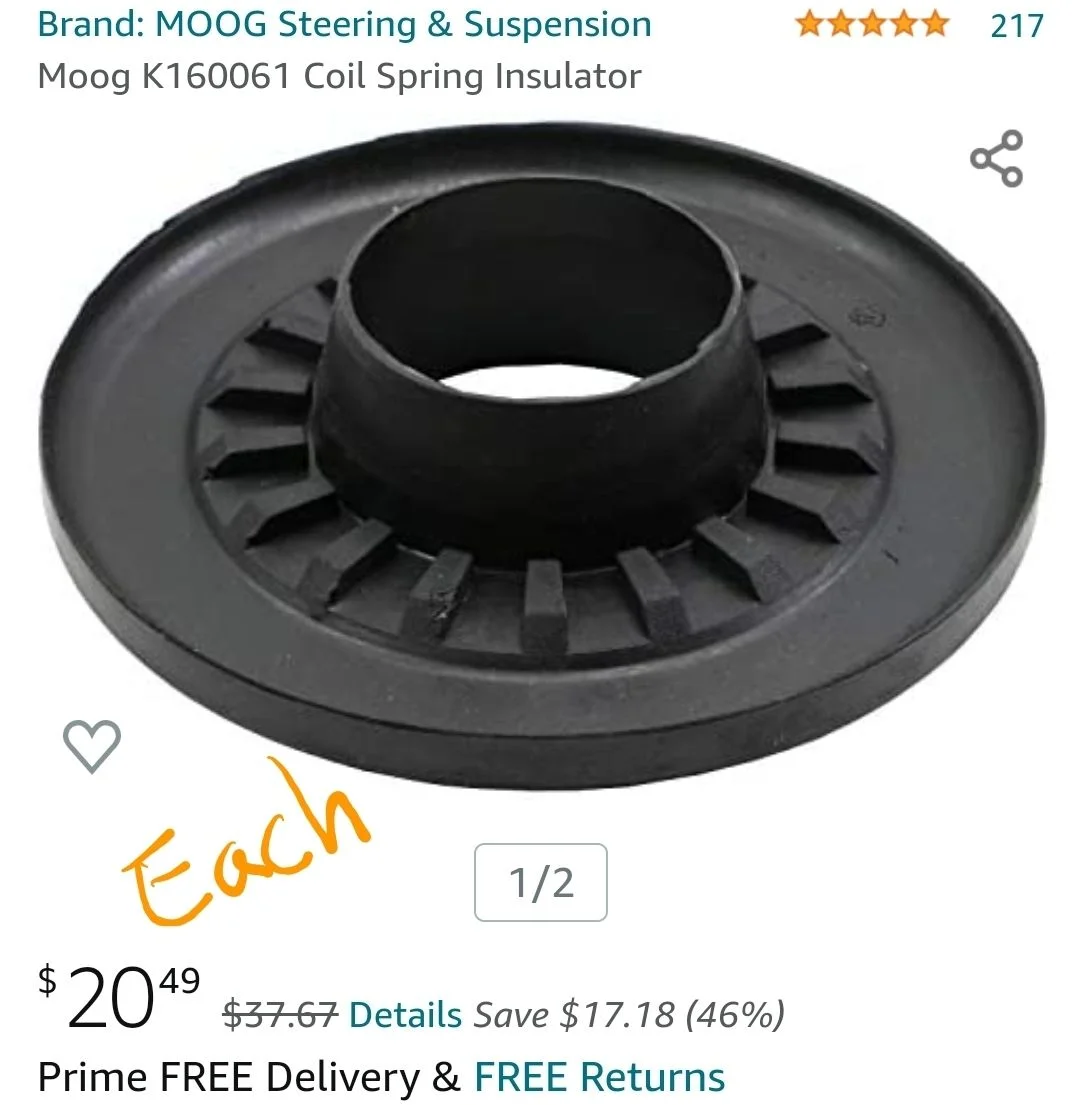
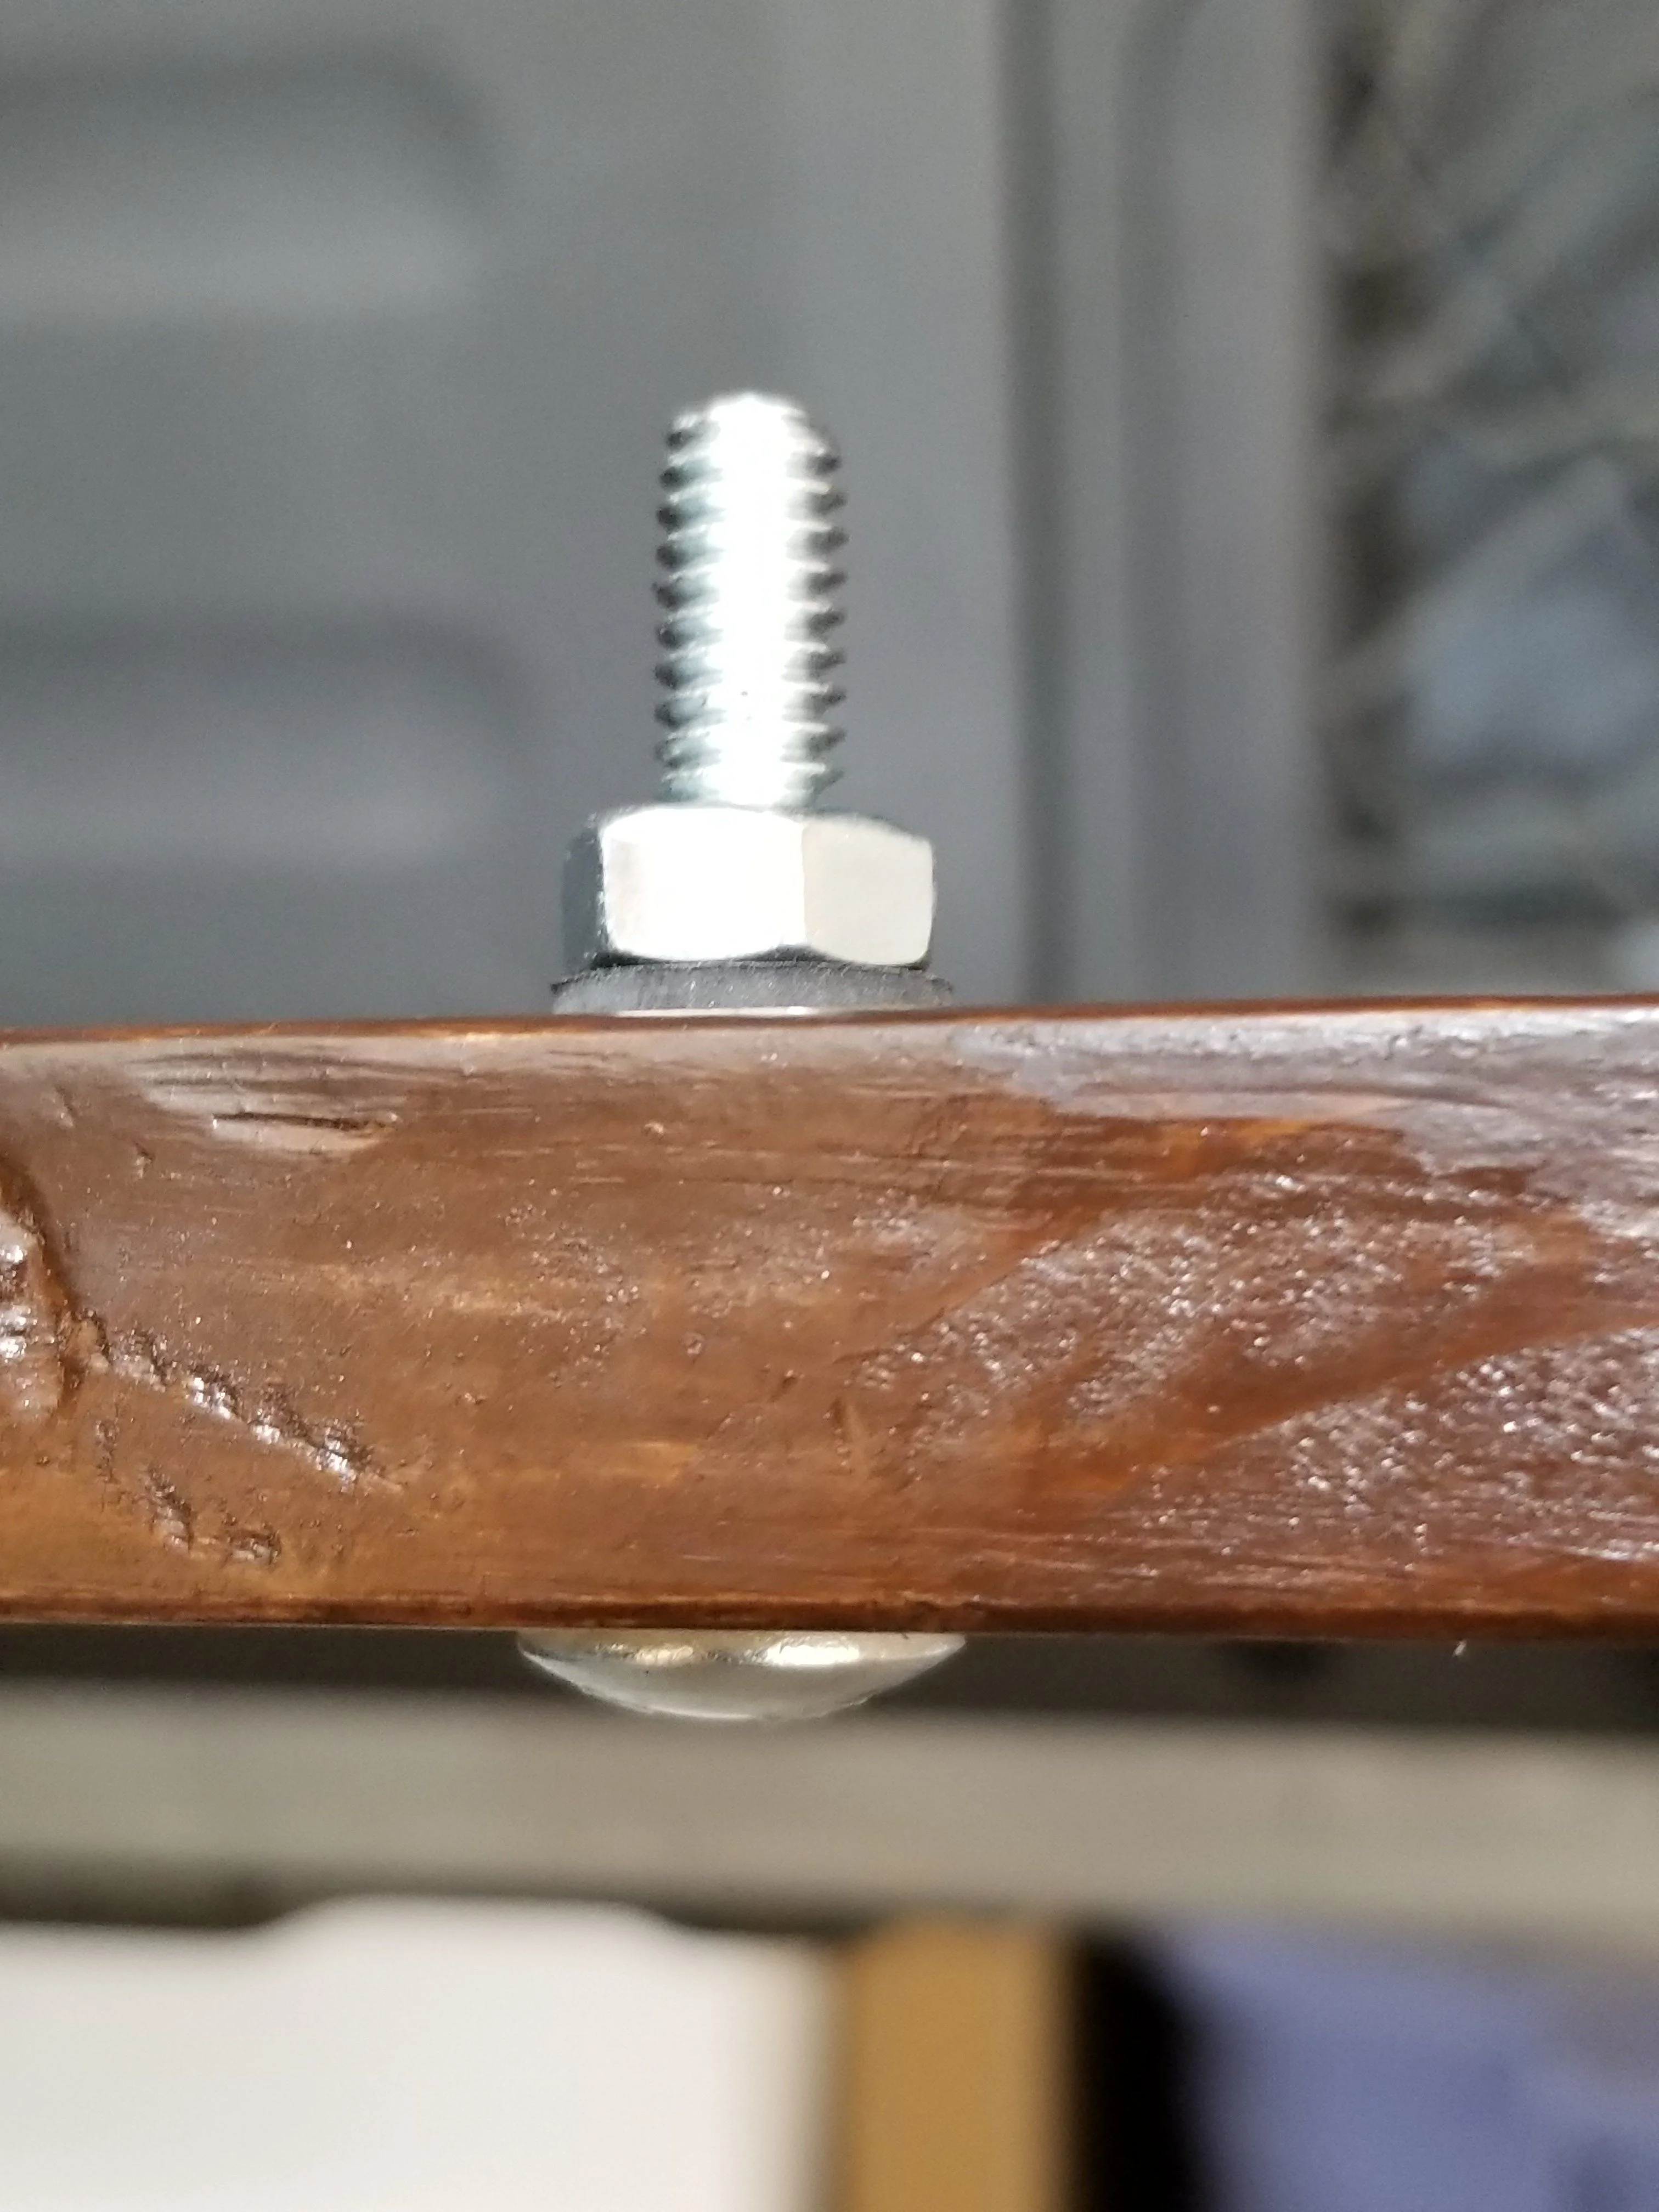
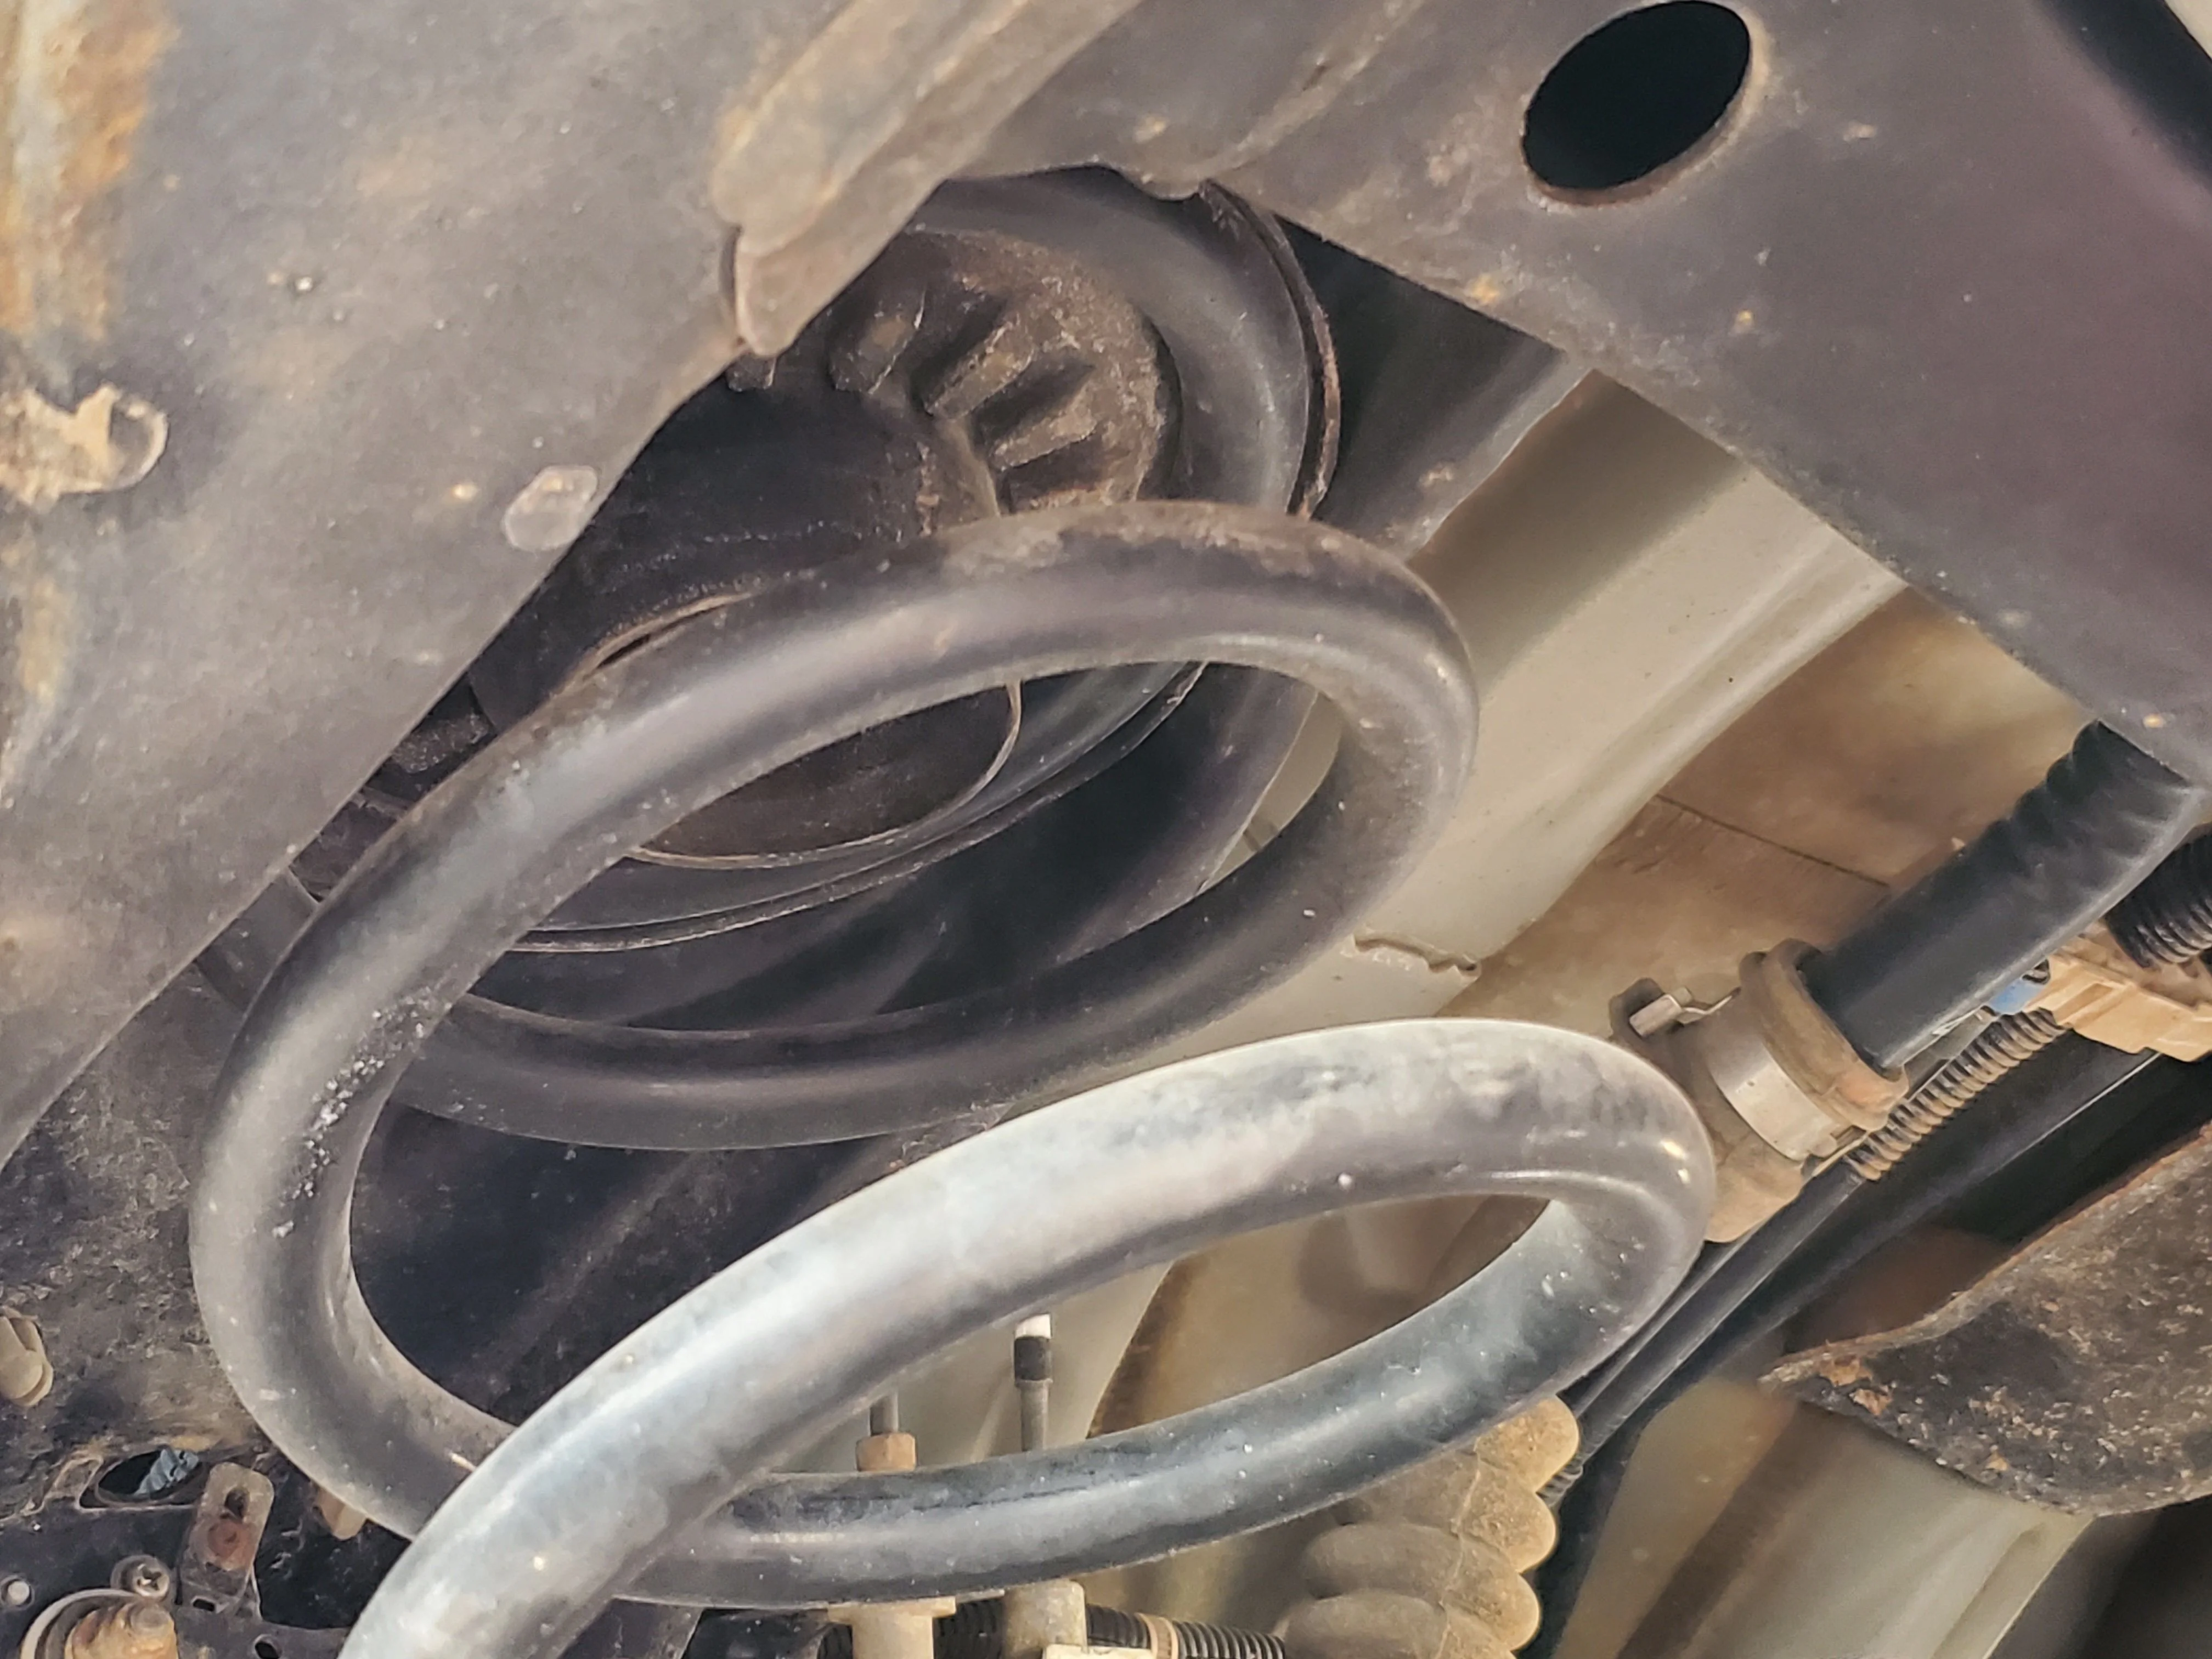
DIY rear coil conversion kit.
Hockey pucks, bolts, fender washers, done.
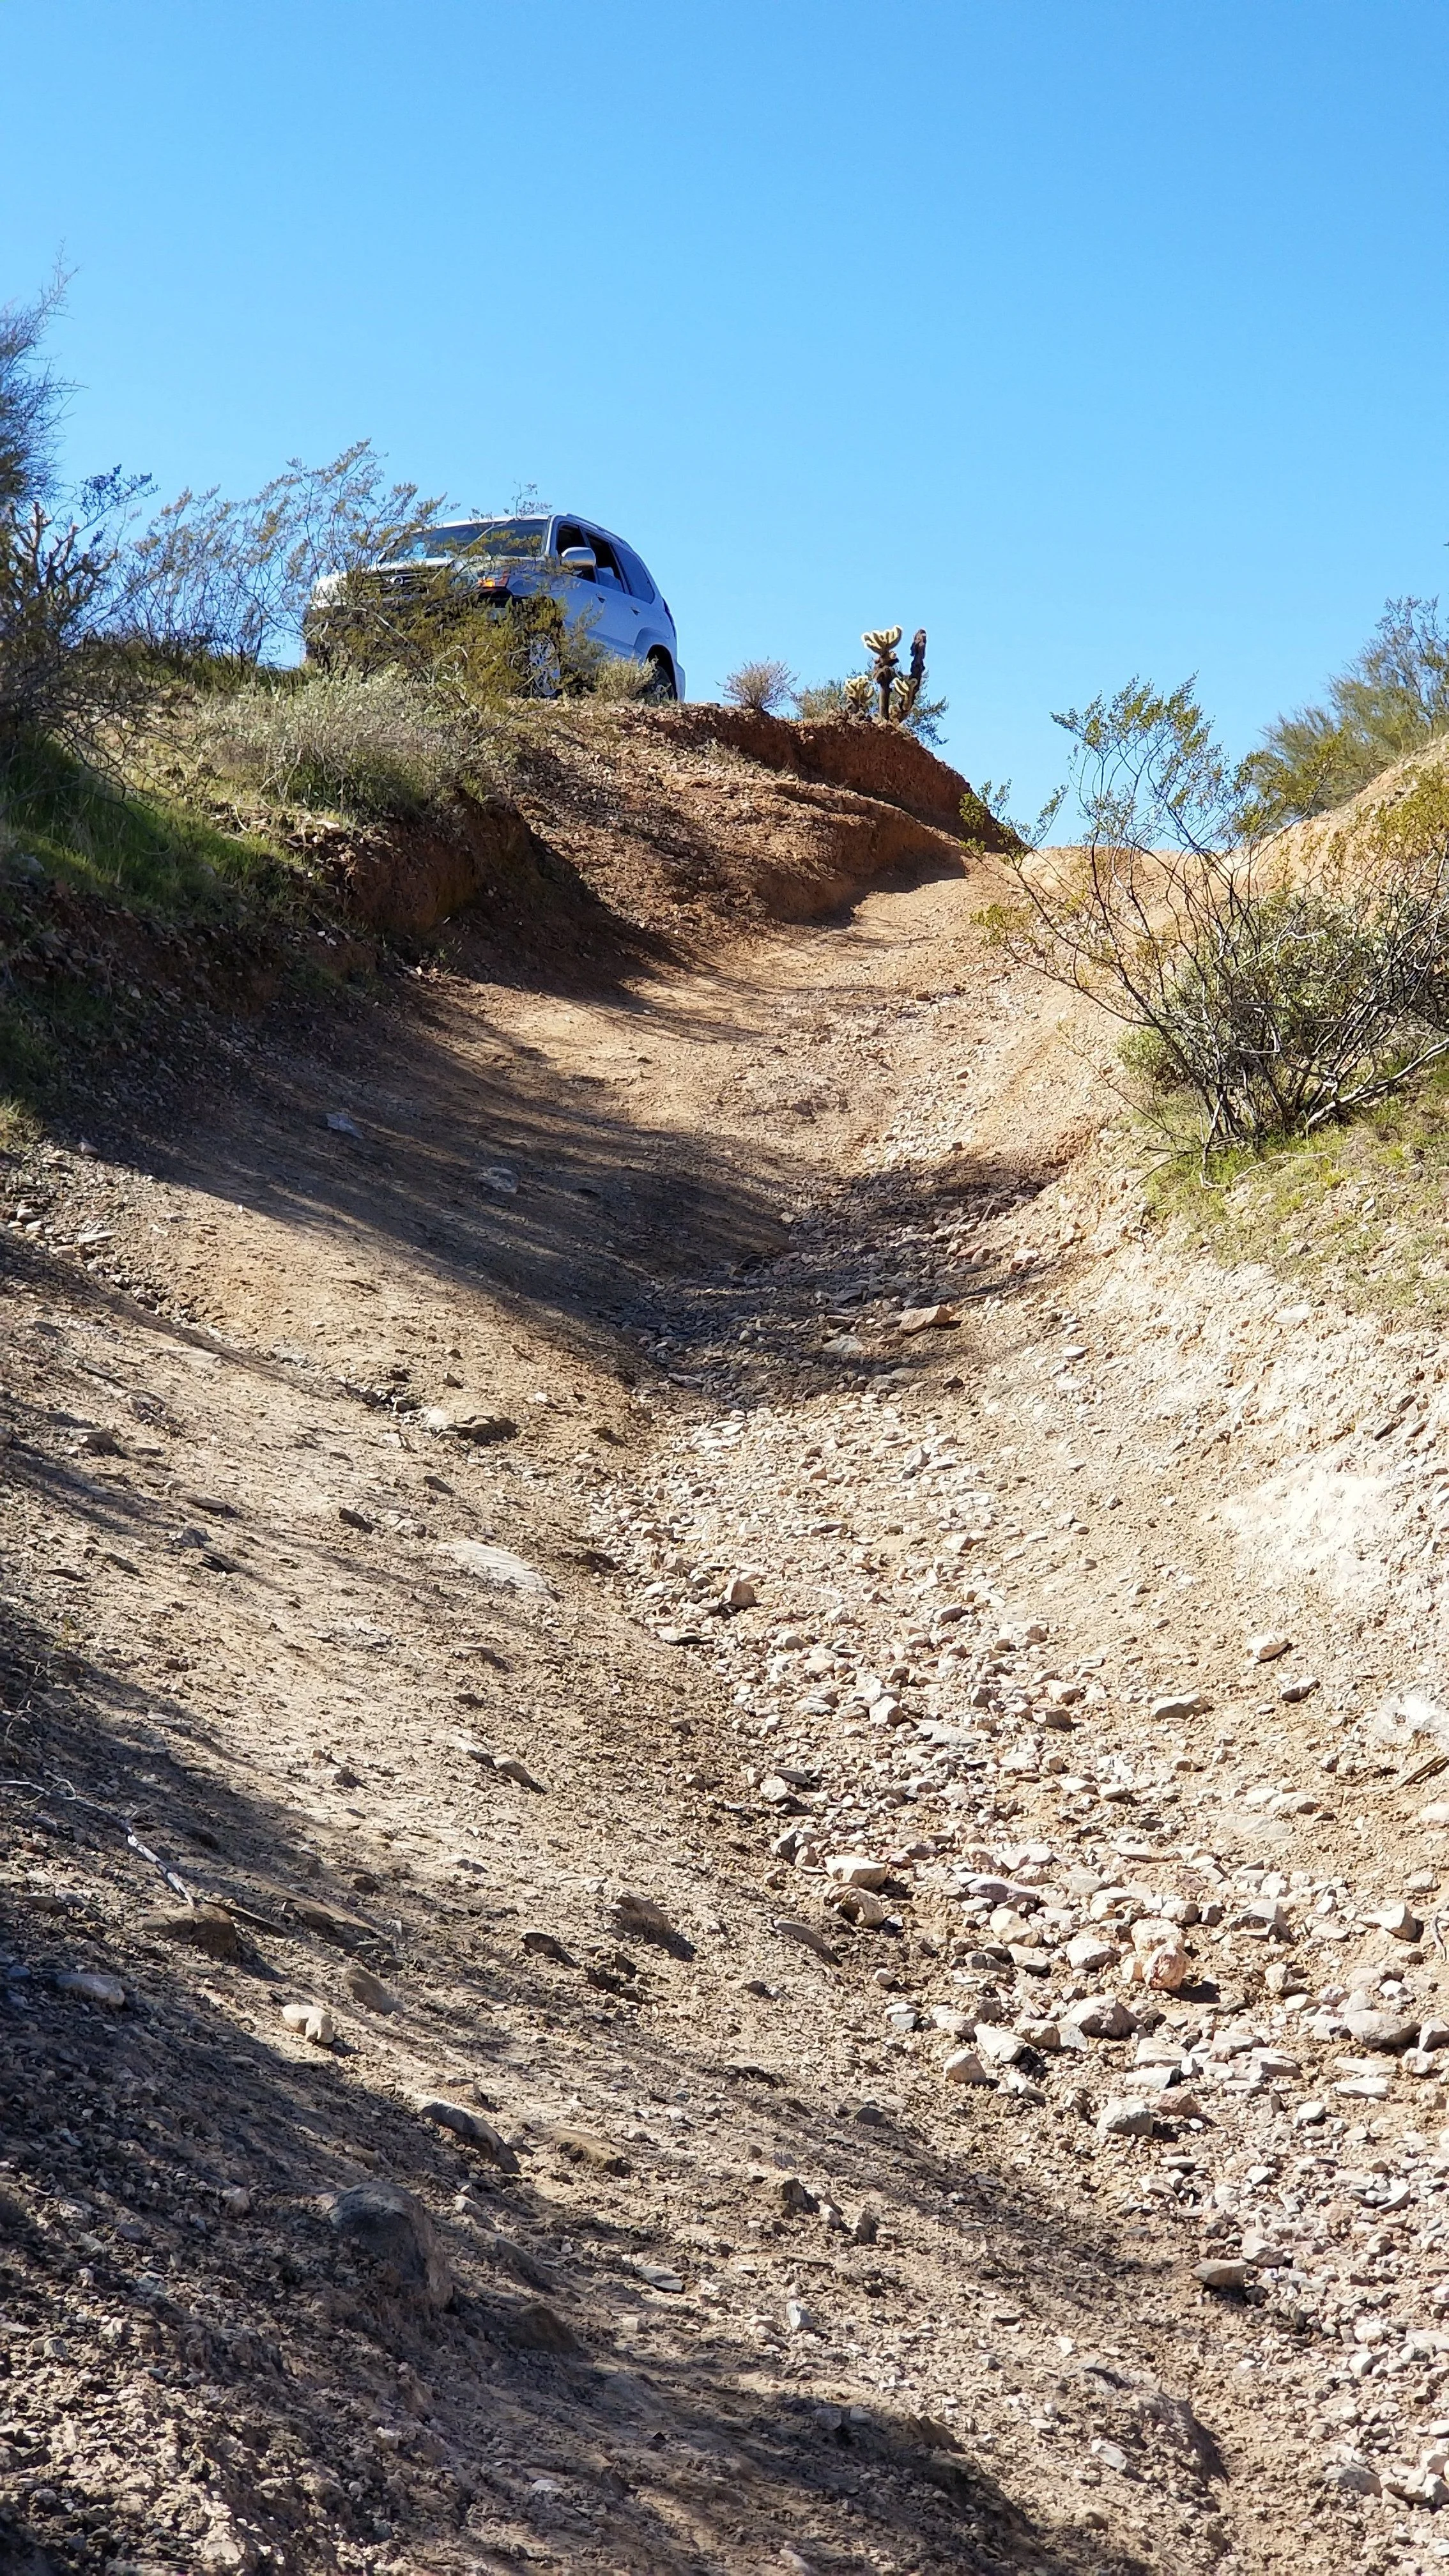
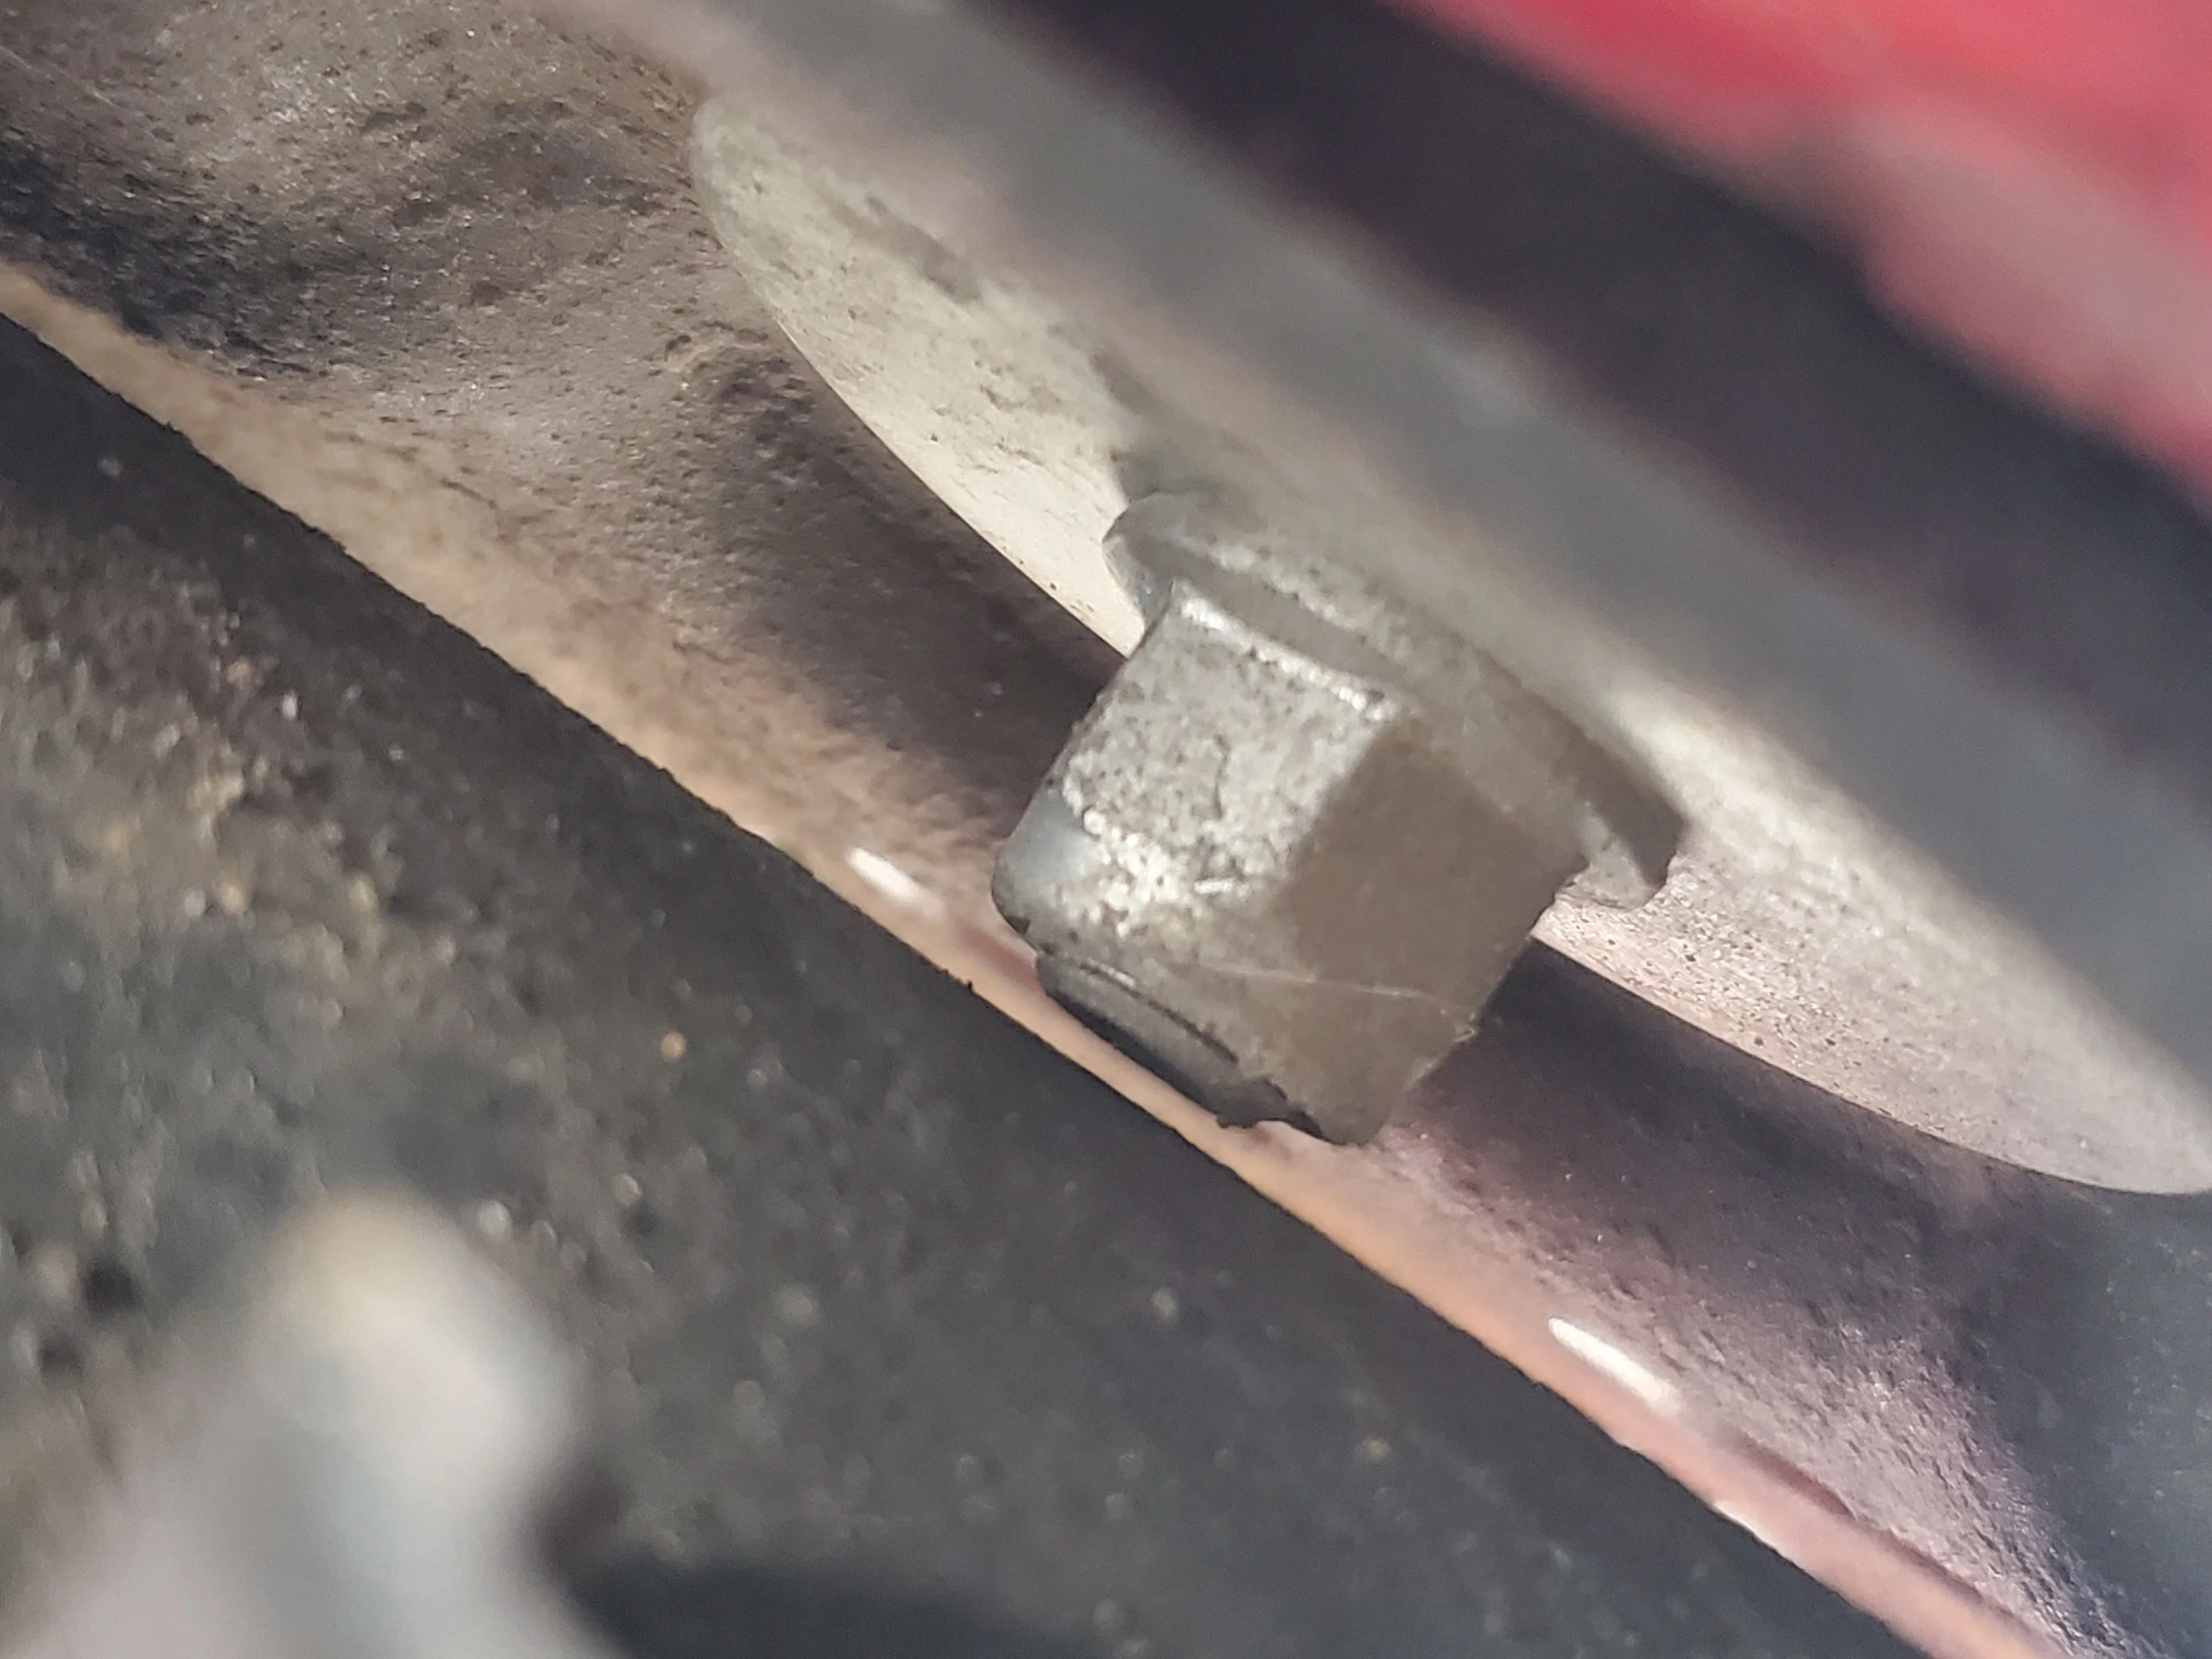
I saw this mod at least 2 years ago and put a mental bookmark in my mind anticipating doing it myself. I did it, it was like $20 for some Hockey pucks and some bolts and washers. If you want the upper and lower spring isolators like I did the whole kit will be about $80. Lower red Energy Suspension isolators come as a pair. The upper Moog isolators are sold individually. Pics speak for themselves, ask any questions if needed. It's essentially drilling a hole in the center of the pucks. (The diy kit I saw only used 1 puck per side, why cheap out, I did two). Then secure with a nylon lock nut and bolt and a washer. I eyeballed the length of bolt I'd need and grabbed a few extra washers for spacers if needed to clear the small gap in the axle perch they had to connect to. I needed that many washers to space. I also used the thickest bolt I could fit reasonably through the perch mount.. so far so good . If you like DIY, and saving a few bucks, give it a shot. Been installed for 5 months now with some crazy snow wheeling and some good amount of flex. I'm not worried.
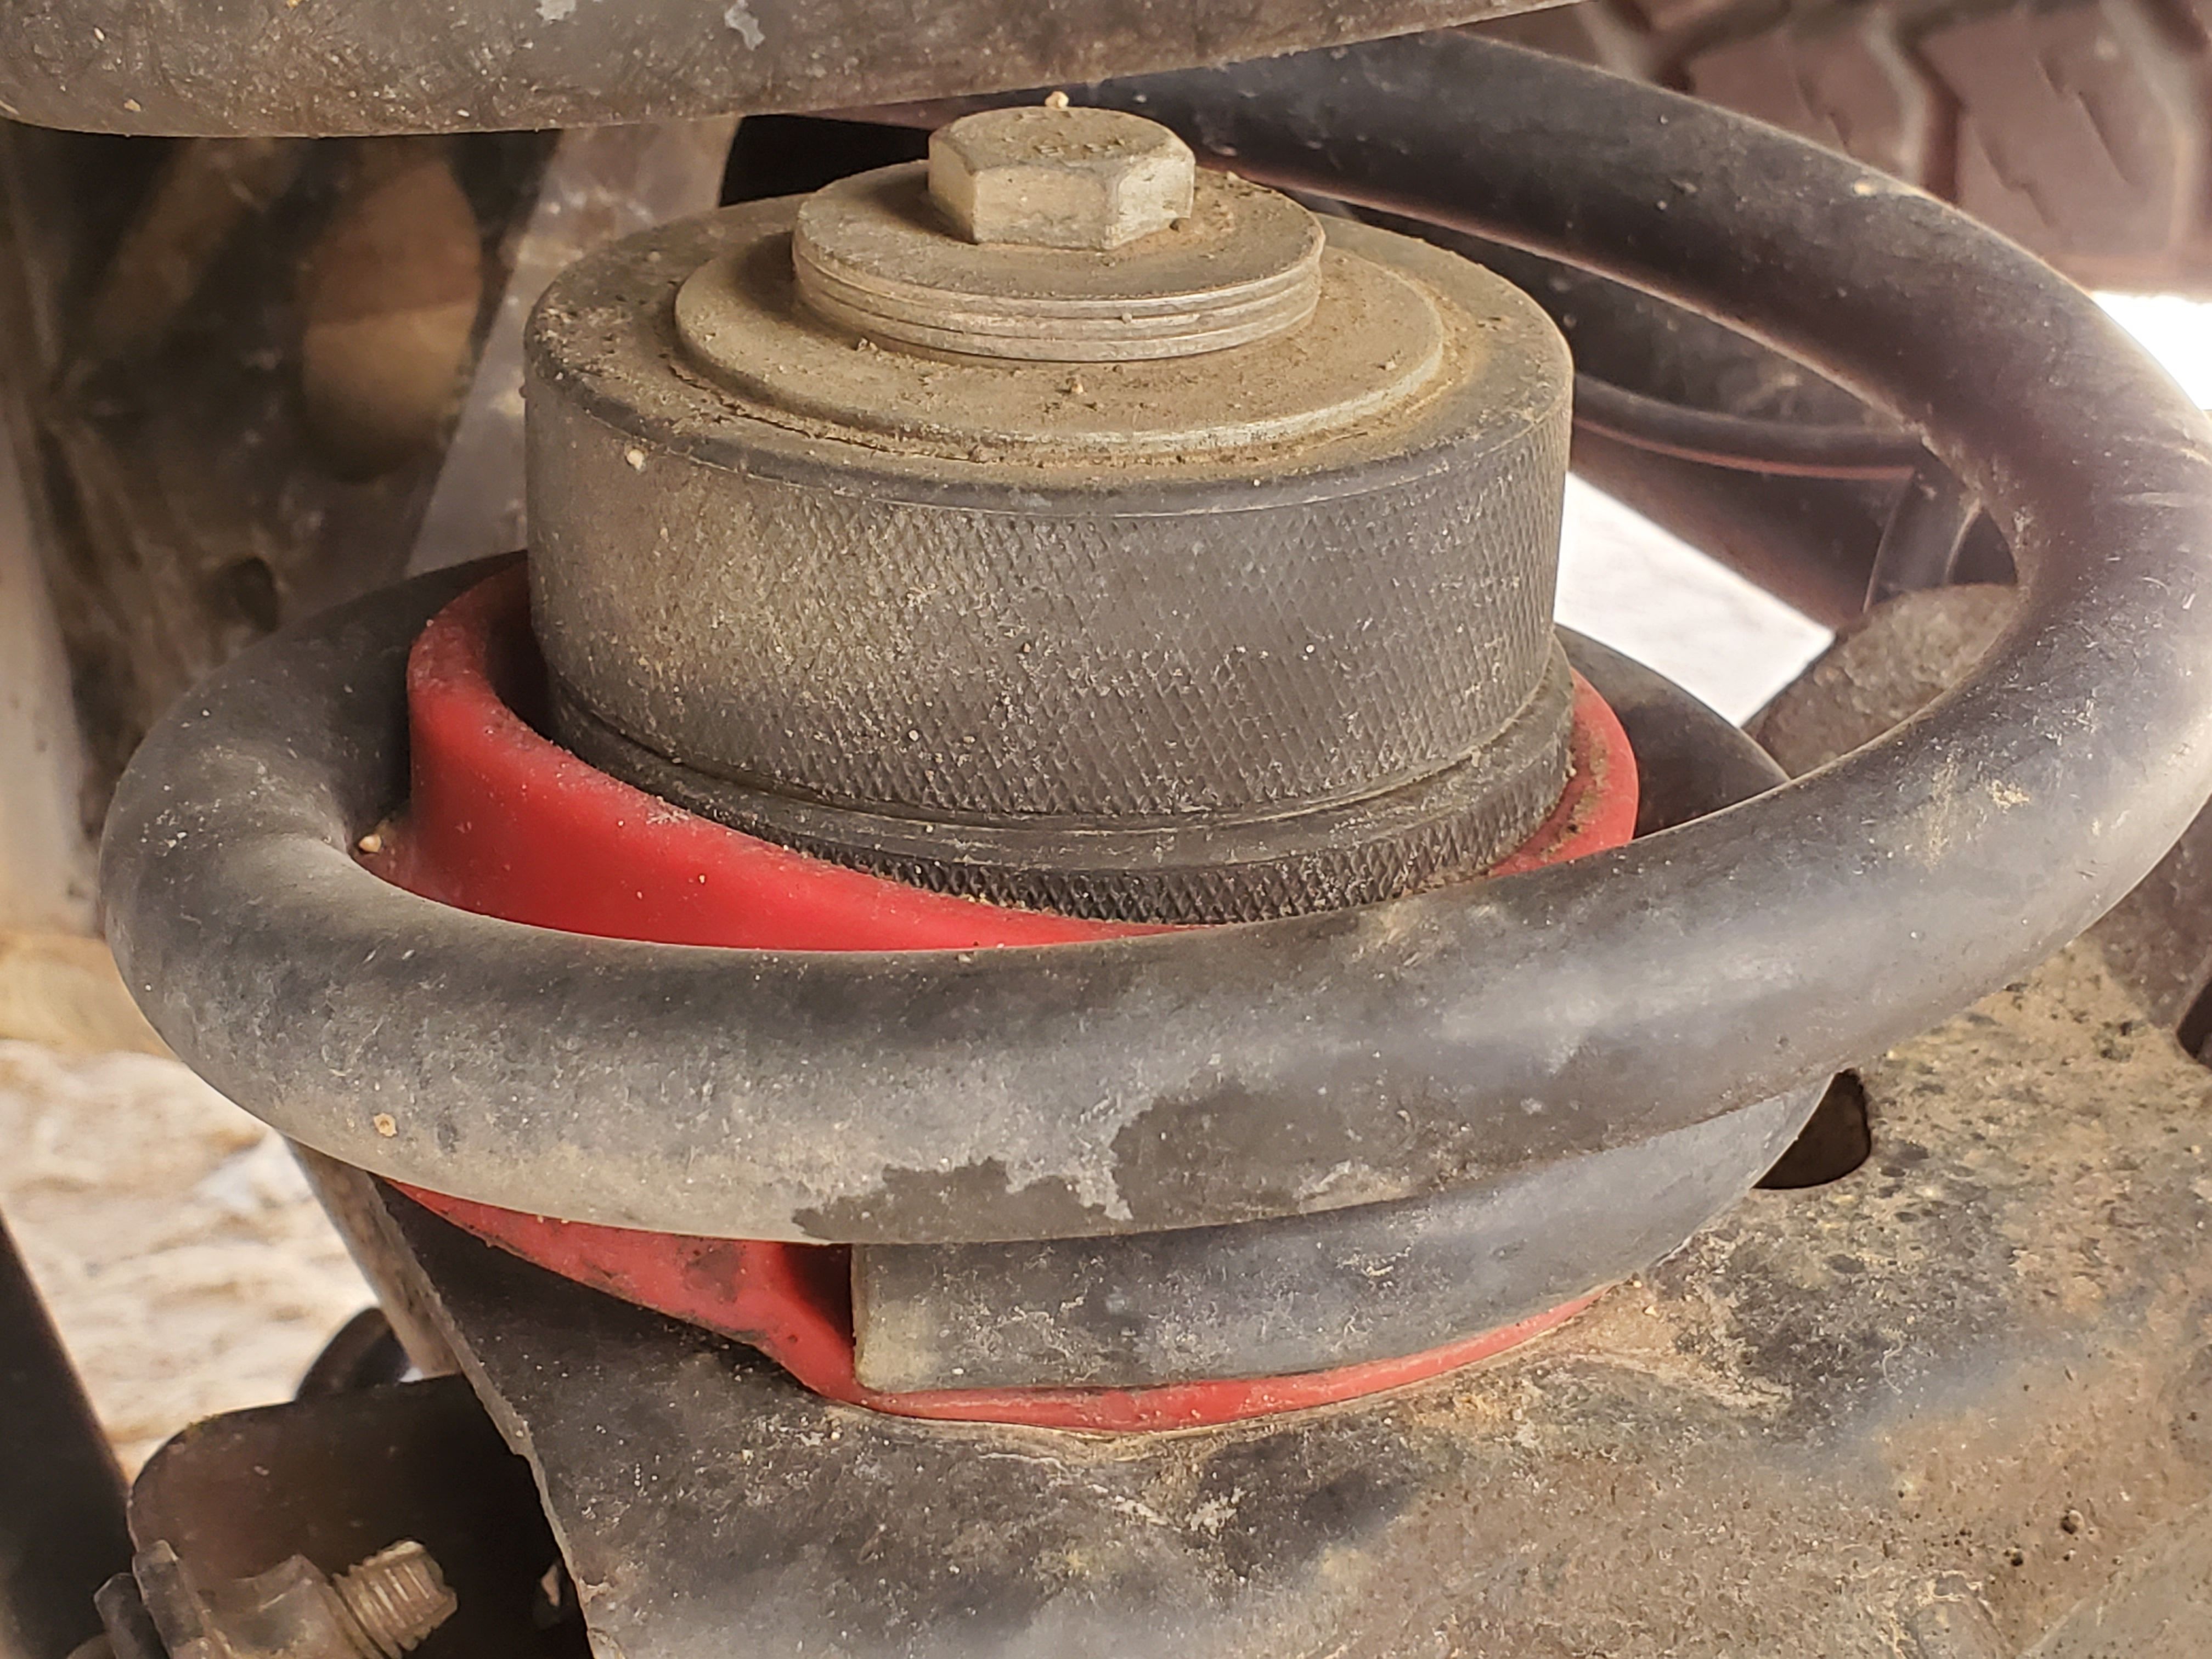
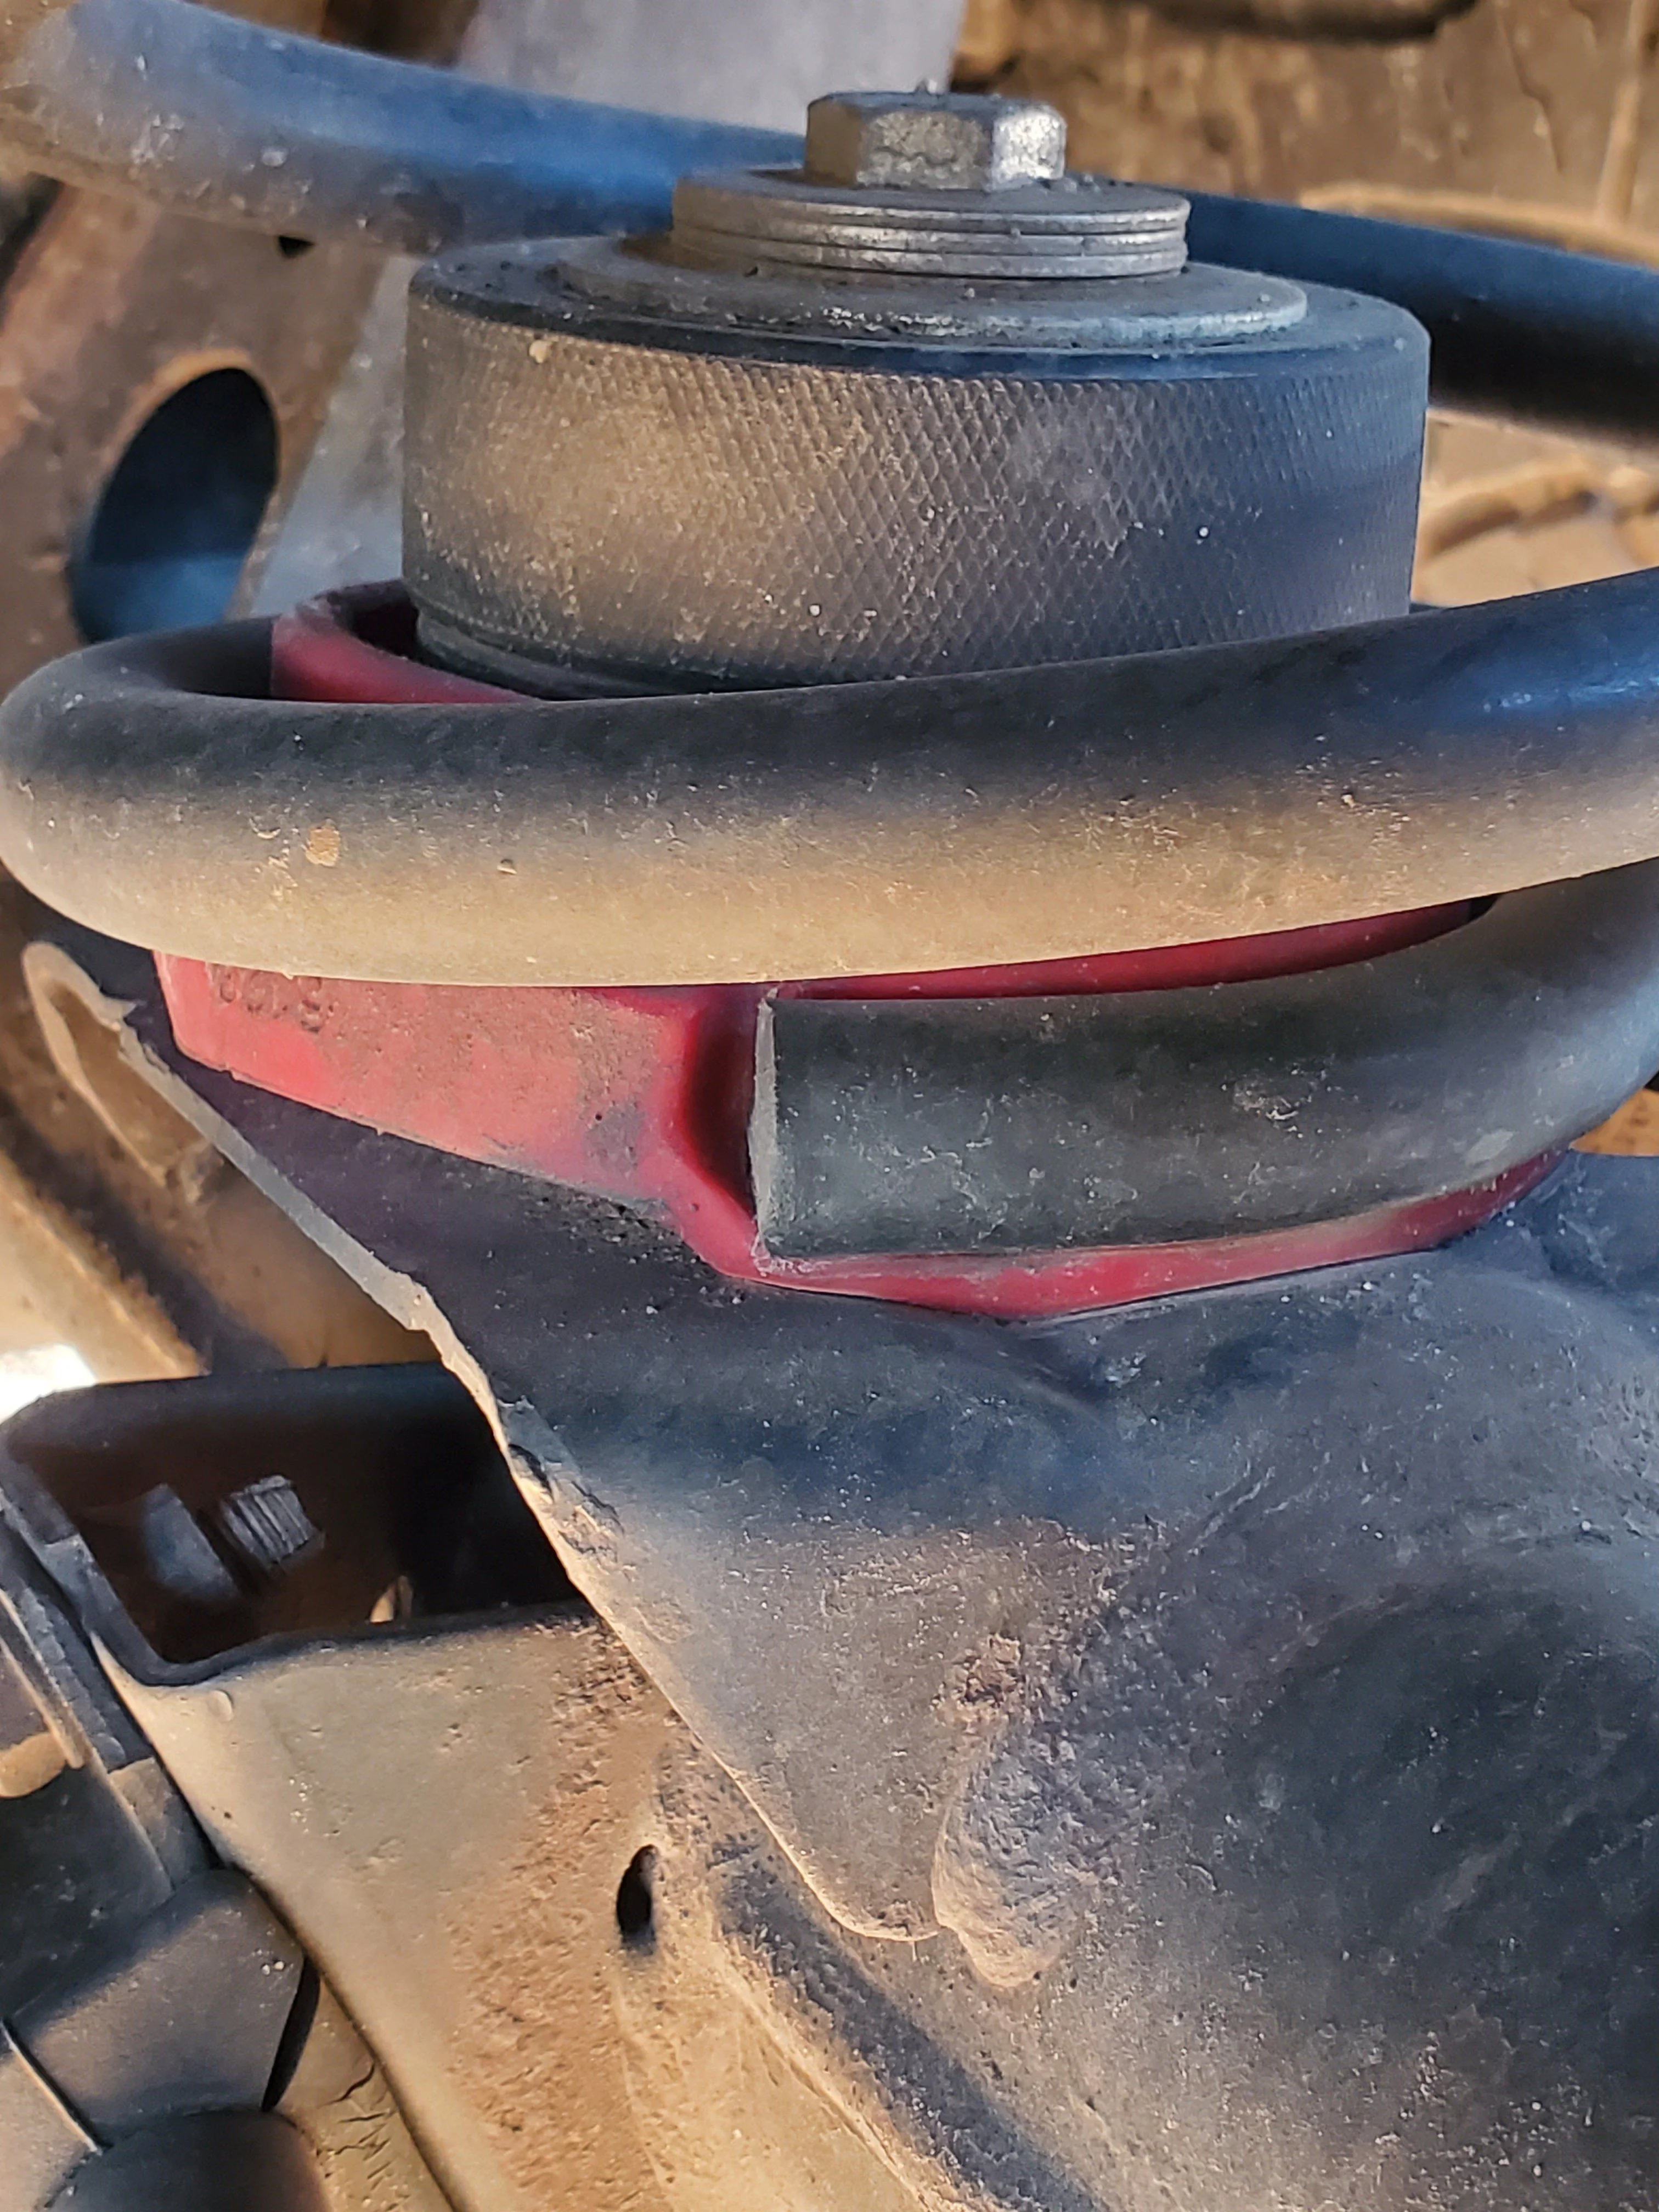
Amazon items: (not pictured hockey pucks and bolts, the actual parts of the kit )
)
Amazon product ASIN B000CN72II
Amazon product ASIN B0031GX3OK
Hockey pucks, bolts, fender washers, done.
I saw this mod at least 2 years ago and put a mental bookmark in my mind anticipating doing it myself. I did it, it was like $20 for some Hockey pucks and some bolts and washers. If you want the upper and lower spring isolators like I did the whole kit will be about $80. Lower red Energy Suspension isolators come as a pair. The upper Moog isolators are sold individually. Pics speak for themselves, ask any questions if needed. It's essentially drilling a hole in the center of the pucks. (The diy kit I saw only used 1 puck per side, why cheap out, I did two
). Then secure with a nylon lock nut and bolt and a washer. I eyeballed the length of bolt I'd need and grabbed a few extra washers for spacers if needed to clear the small gap in the axle perch they had to connect to. I needed that many washers to space. I also used the thickest bolt I could fit reasonably through the perch mount.. so far so good. If you like DIY, and saving a few bucks, give it a shot. Been installed for 5 months now with some crazy snow wheeling and some good amount of flex. I'm not worried.
Hockey.puck.rear.spring.conversion.gx470.2.jpg
Hockey.puck.rear.spring.conversion.gx470.2
Amazon items: (not pictured hockey pucks and bolts, the actual parts of the kit
)Amazon product ASIN B000CN72II

Amazon product ASIN B0031GX3OK