
very nice build, that angle is a pain to get right isn't it?
Navigation
Install the app
How to install the app on iOS
Follow along with the video below to see how to install our site as a web app on your home screen.
Note: This feature may not be available in some browsers.
More options
Style variation
You are using an out of date browser. It may not display this or other websites correctly.
You should upgrade or use an alternative browser.
You should upgrade or use an alternative browser.
Build Project 16
- Thread starter BionicCruiser
- Start date
Member Build Threads
This site may earn a commission from merchant affiliate
links, including eBay, Amazon, Skimlinks, and others.
- Thread starter
- #122
you ain't kidding! the hardest part is getting the top and bottom squared up with the legs separating them. it is a tad off after finishing, but close enough to get the sheet metal cover on straight enough. we have the frame part done. I just brought home the 16 guage to cover it with and the fenders. guess I forgot those pics too.
yes, I did. we are just tacking it there. I'm careful not to weld it sitting flush on the concrete. good to check that I knew that though.
I am a firefighter and have seen cement, block, mortar, etc. spal from heat and once splatter shrapnel at me.

Then I probably shouldn't tell you of the rotten tricks I'd play on my dad's employees with firecrackers taped to the bottom of what they were welding.... good thing if there is a statute of limitations I'm several decades beyond it.
")
With that said, firefighters have the good stories
")
- Thread starter
- #124
 good stories and good practical jokes too. we took the chain off the chainsaw, broke into another sleeping ff's bunkroom, pinned him to the bed and acted like we were cutting his leg off with it while another one threw warm water on him...
brutal.... but funny
Very cool about the welding... ummm.. did you know that welding can heat the residual water in the concrete and could cause the concrete to explode?
Hmmm... I never knew that. Makes total sense, though, just never thought about it.
- Thread starter
- #127
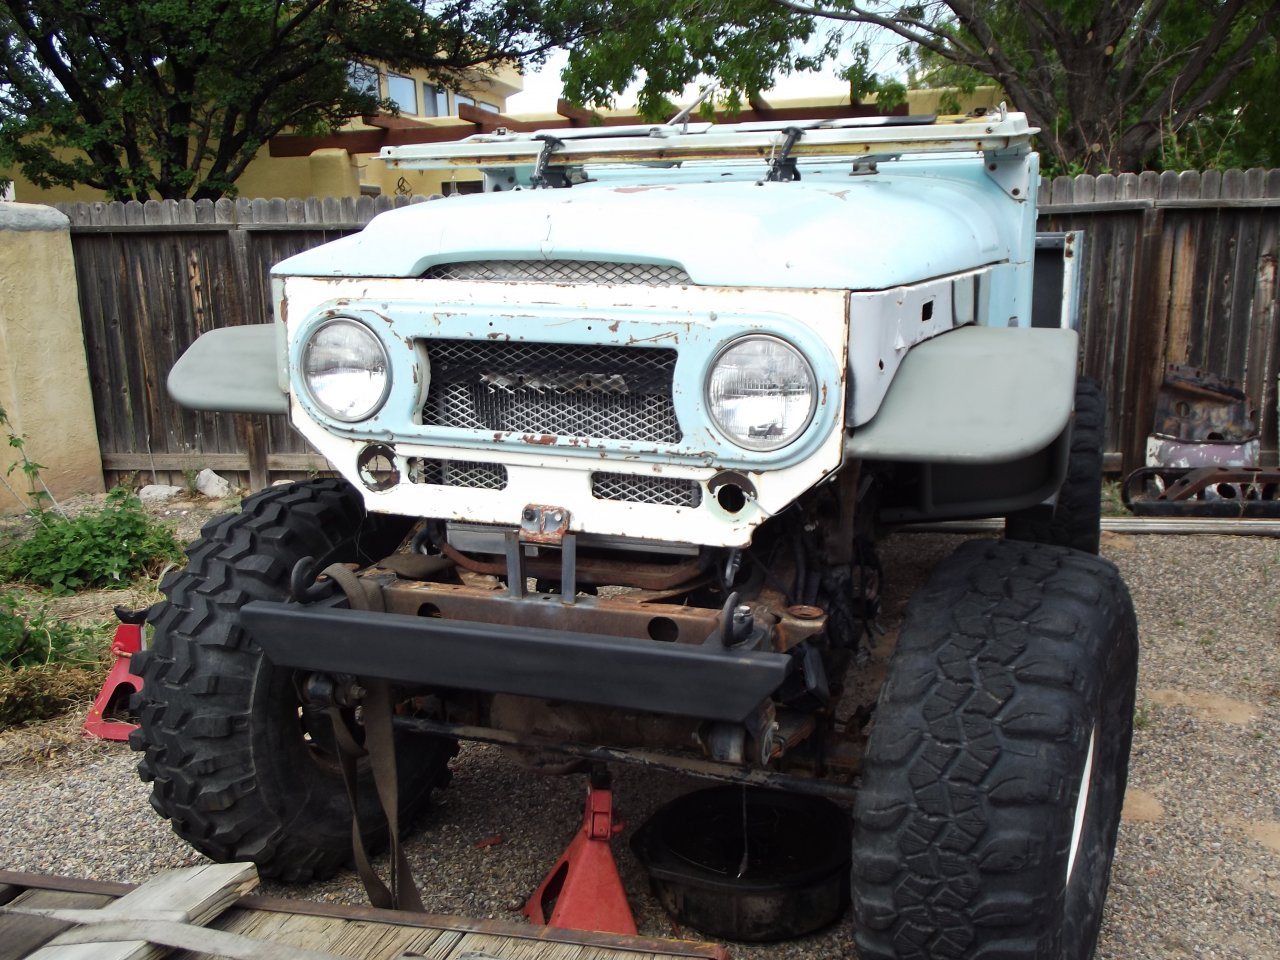
the thread is still alive! we skinned the fenders and shot some primer on them. things were slow for the winter as work got more of my time. but motivation is back up and we are moving forward...
there's a little gap around the fender to the apron, but I'm not going to worry about it.
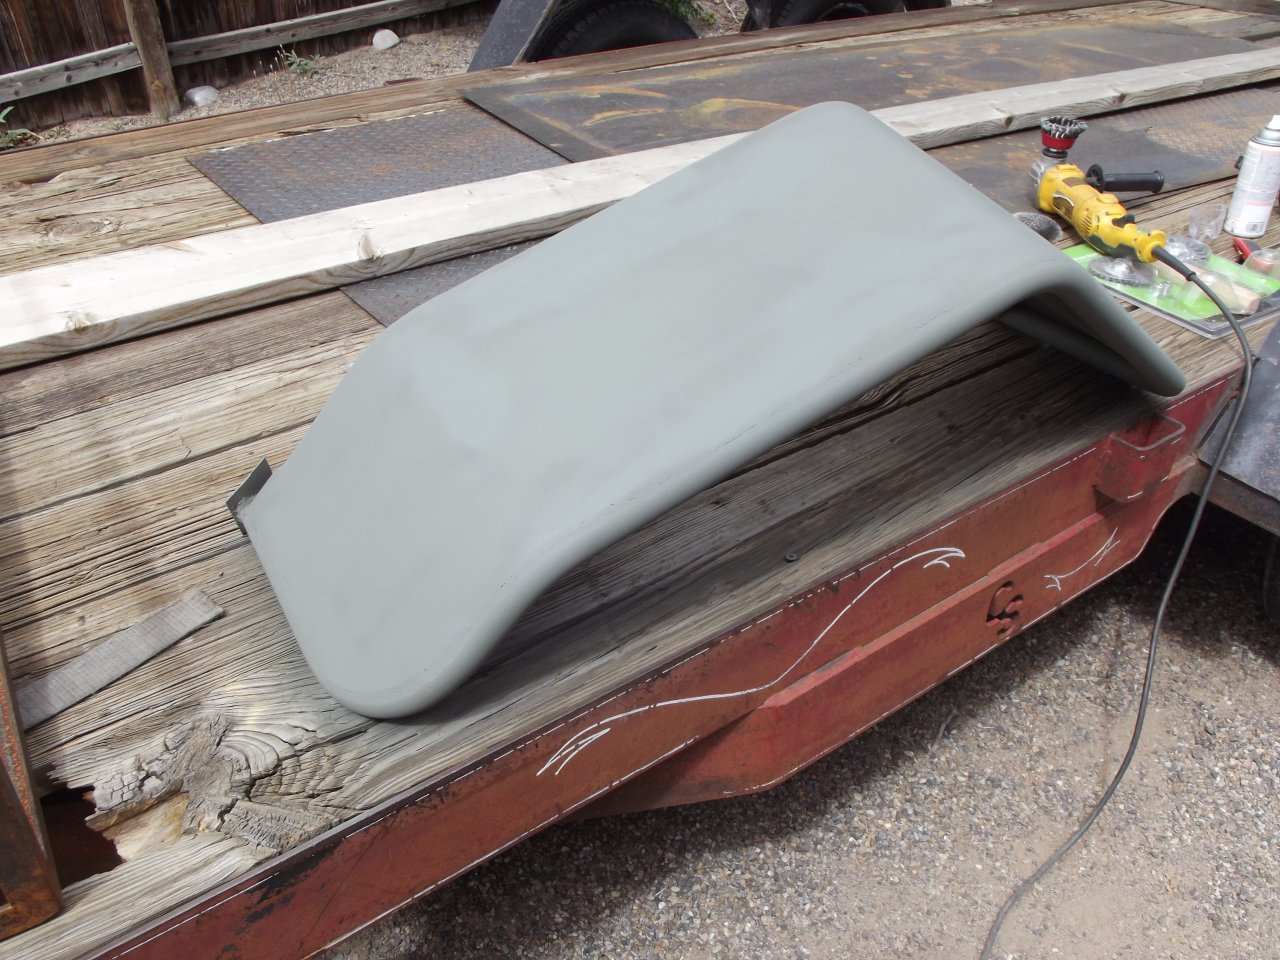
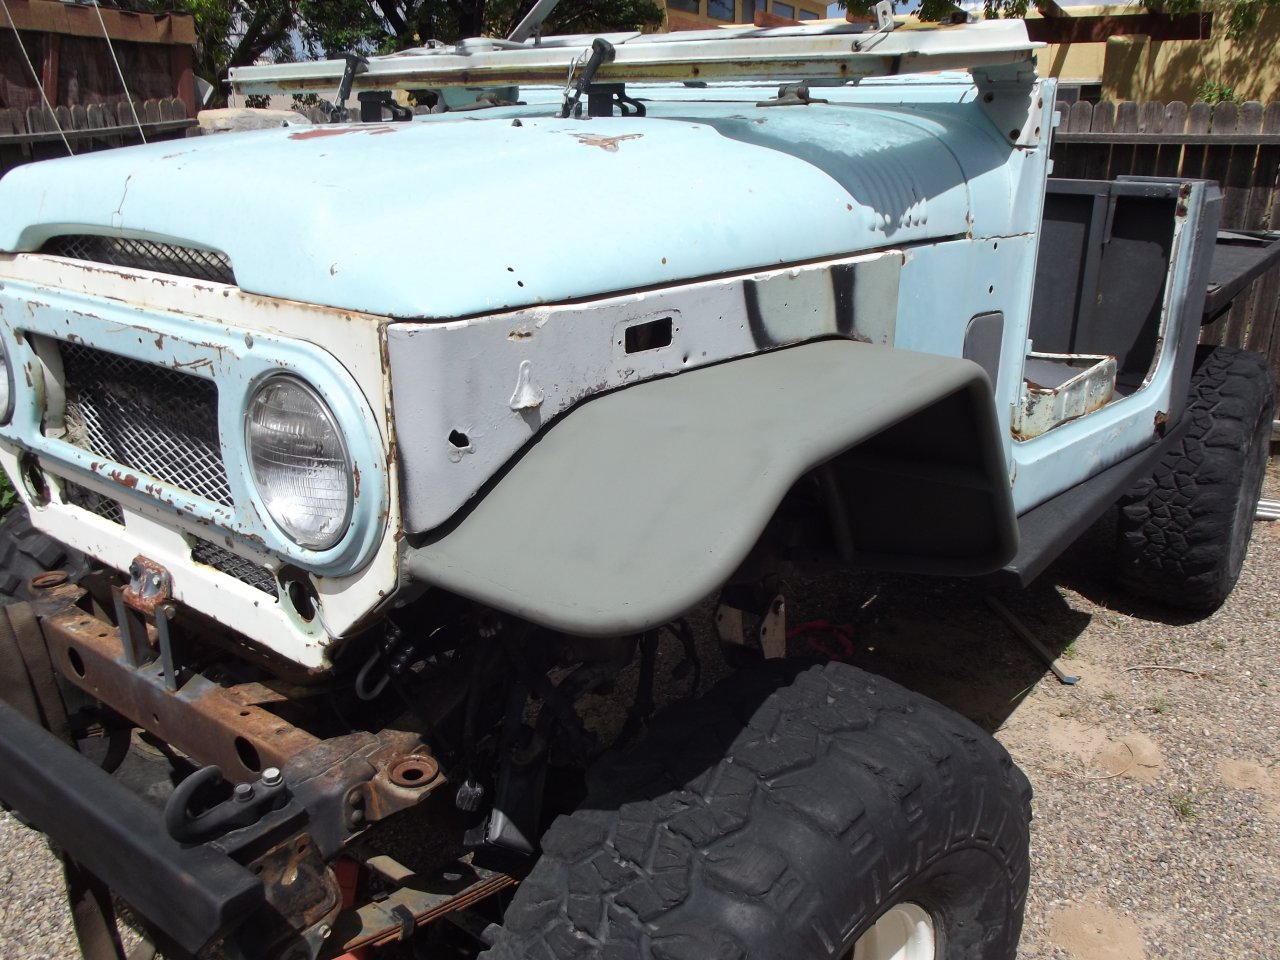
there's a little gap around the fender to the apron, but I'm not going to worry about it.
- Thread starter
- #128
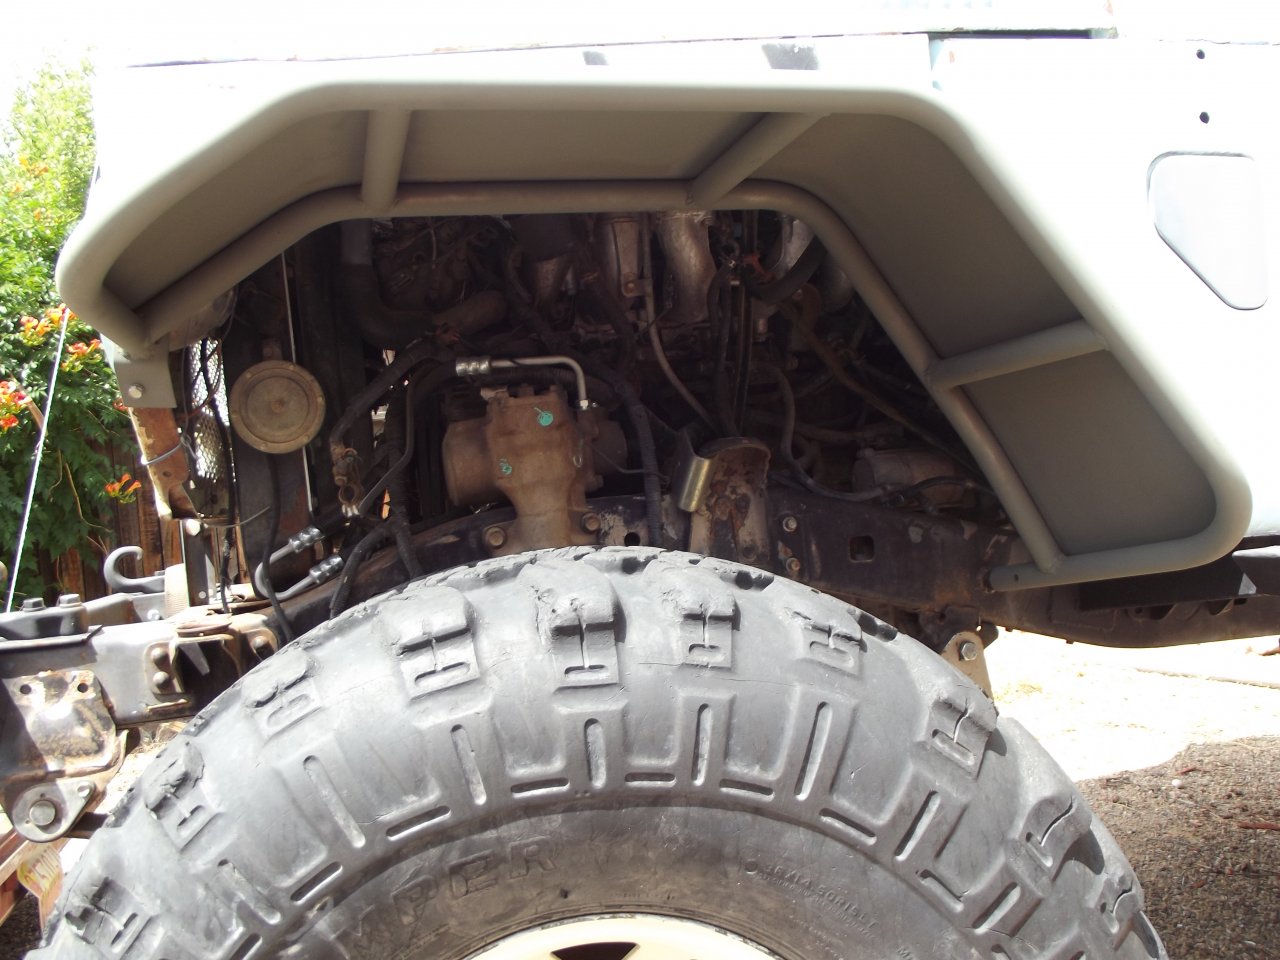
one more from underneath
Build looks sweet ass!! Its funny how minds think alike. Just at different times or parts of the world
- Thread starter
- #130
ok, back into it. no excuses with this weather!
got the rear plate for tail lights trimmed and mocked in. then got roll cage hoops bent with some help from a buddy.


got the rear plate for tail lights trimmed and mocked in. then got roll cage hoops bent with some help from a buddy.
- Thread starter
- #131
my son and I tacked in the rear cage. it will get some diagonals in the corners. then on to cutting out the tail light ovals.


- Thread starter
- #132
also got the rear hoop of the cab cage tacked in and put some final welds on the bed cage

nice work!
- Thread starter
- #134
thanks! your work is top notch, so that means something. of course, this all took me 3 days.
of course, this all took me 3 days.- Thread starter
- #135
I put doors on it in order to get dimensions for the front cage(pic 1). it's starting to look like a cruiser! BUT, that brought to light a problem. the driver door opening is tweaked. it didn't surprise me, because I knew the truck had likely been hit just behind the driver door in the past. the frame from the body (that was made into a trailer) showed evidence of it. I tried to adjust the door from 2 directions, but it still was too narrow at the top of the opening and the door hung low.
pic 2- driver door forced shut. note the angle of the door top to bottom and along the bottom
pic 3- passenger door with plenty of room.


pic 2- driver door forced shut. note the angle of the door top to bottom and along the bottom
pic 3- passenger door with plenty of room.
- Thread starter
- #136
I tried several ways to adjust the door with the hinges, removed them from the body side and bent them to pull the top of the door forward, no change other than the door now hits the hinge .
.
soooooo, some creative use of monster power tools opened the top of the opening by force. and it worked! both back and bottom lines are close enough now. I'll see later what I did to screw something else up, I'm sure.


. soooooo, some creative use of monster power tools opened the top of the opening by force. and it worked! both back and bottom lines are close enough now. I'll see later what I did to screw something else up, I'm sure.
- Thread starter
- #137
ok, I have been given the time schedule by SWMBO. June (holy crap WHAT?!). she wants to go to Rubithon with this and my 40. works re-starts now!
I've used High lift Jacks more than once to widen a door opening. After the "fix" there were no more problems. Cruiser bodies are loosey goosey enough to allow for the variation
- Thread starter
- #139
hope so! I figured the custom body mounts won't line up or something. we'll see when it gets torn down for paint.
- Thread starter
- #140
so it looks like a cruiser, but next steps are making it run and drive correctly...